
Articles
How To Carve A Wooden Bowl With Hand Tools
Modified: January 8, 2024
Learn how to carve a beautiful wooden bowl using only hand tools. Our articles provide step-by-step instructions and expert tips for beginners and experienced woodworkers.
(Many of the links in this article redirect to a specific reviewed product. Your purchase of these products through affiliate links helps to generate commission for Storables.com, at no extra cost. Learn more)
Introduction:
Carving a wooden bowl with hand tools is a craft that dates back centuries. It is a labor of love that requires skill, patience, and attention to detail. The process of transforming a simple block of wood into a functional and beautiful bowl is a gratifying experience that allows you to create a unique piece of art.
Carving a wooden bowl by hand offers a sense of connection to the material and a deep appreciation for the craftsmanship involved. It allows you to engage with the natural beauty of wood and create a functional object that can be passed down through generations.
In this article, we will guide you through the process of carving a wooden bowl with hand tools. From choosing the right wood to refining the shape and adding a smooth finish, we will cover all the essential steps to help you create a stunning piece of functional art.
Whether you are a seasoned woodworker or a beginner looking to explore the world of carving, this guide will provide you with the knowledge and techniques needed to carve a wooden bowl with hand tools.
So, let’s get started on this exciting journey of creating a handmade wooden bowl that you can be proud of!
Key Takeaways:
- Carving a wooden bowl with hand tools is a labor of love that requires patience, skill, and attention to detail. It allows you to create a unique piece of functional art while connecting with the natural beauty of wood.
- Choosing the right wood, essential hand tools, and proper preparation are crucial for successfully carving a wooden bowl. Embrace the meditative nature of the craft and enjoy the journey of creating a handmade masterpiece.
Read more: How To Carve Wood With Hand Tools
Choosing the Right Wood for Carving:
When it comes to carving a wooden bowl, selecting the right type of wood is crucial for the success and longevity of your project. Different woods have different characteristics, and choosing the appropriate wood will determine the durability, aesthetics, and usability of the final product.
Here are some factors to consider when choosing wood for carving a bowl:
- Hardwoods vs. Softwoods: Hardwoods such as maple, cherry, walnut, and oak are ideal for carving bowls because they are durable and have a beautiful grain pattern. Softwoods like pine and cedar are less suitable as they are more prone to denting and scratching.
- Grain Orientation: Look for wood with a straight grain pattern. This will make carving and shaping the bowl easier and less prone to splitting. Avoid wood with knots or irregular grain patterns as they may cause structural weaknesses in the finished bowl.
- Moisture Content: It is important to choose wood that has been properly dried and seasoned. Green or freshly cut wood will shrink and warp as it dries, compromising the integrity of the bowl. Ideally, the wood should have a moisture content of around 8-12%.
- Availability and Cost: Consider the availability of the wood species in your area and whether it fits within your budget. Some rare or exotic woods may be more difficult to source or expensive, while more common woods can still produce beautiful results.
Ultimately, the choice of wood for your bowl carving project will depend on personal preference and the intended use of the bowl. Each wood has its own unique characteristics, color variations, and grain patterns, which can add a distinct aesthetic appeal to the finished piece.
It is also worth mentioning that reclaimed or salvaged wood can be an excellent option for carving a bowl. Not only does it have an interesting story and character, but it also contributes to sustainable practices by utilizing wood that would otherwise go to waste.
Before starting your carving project, it is recommended to spend some time researching and familiarizing yourself with different wood species and their specific properties. This will help you make an informed decision and choose the perfect wood for your hand-carved bowl.
Essential Hand Tools for Carving a Wooden Bowl:
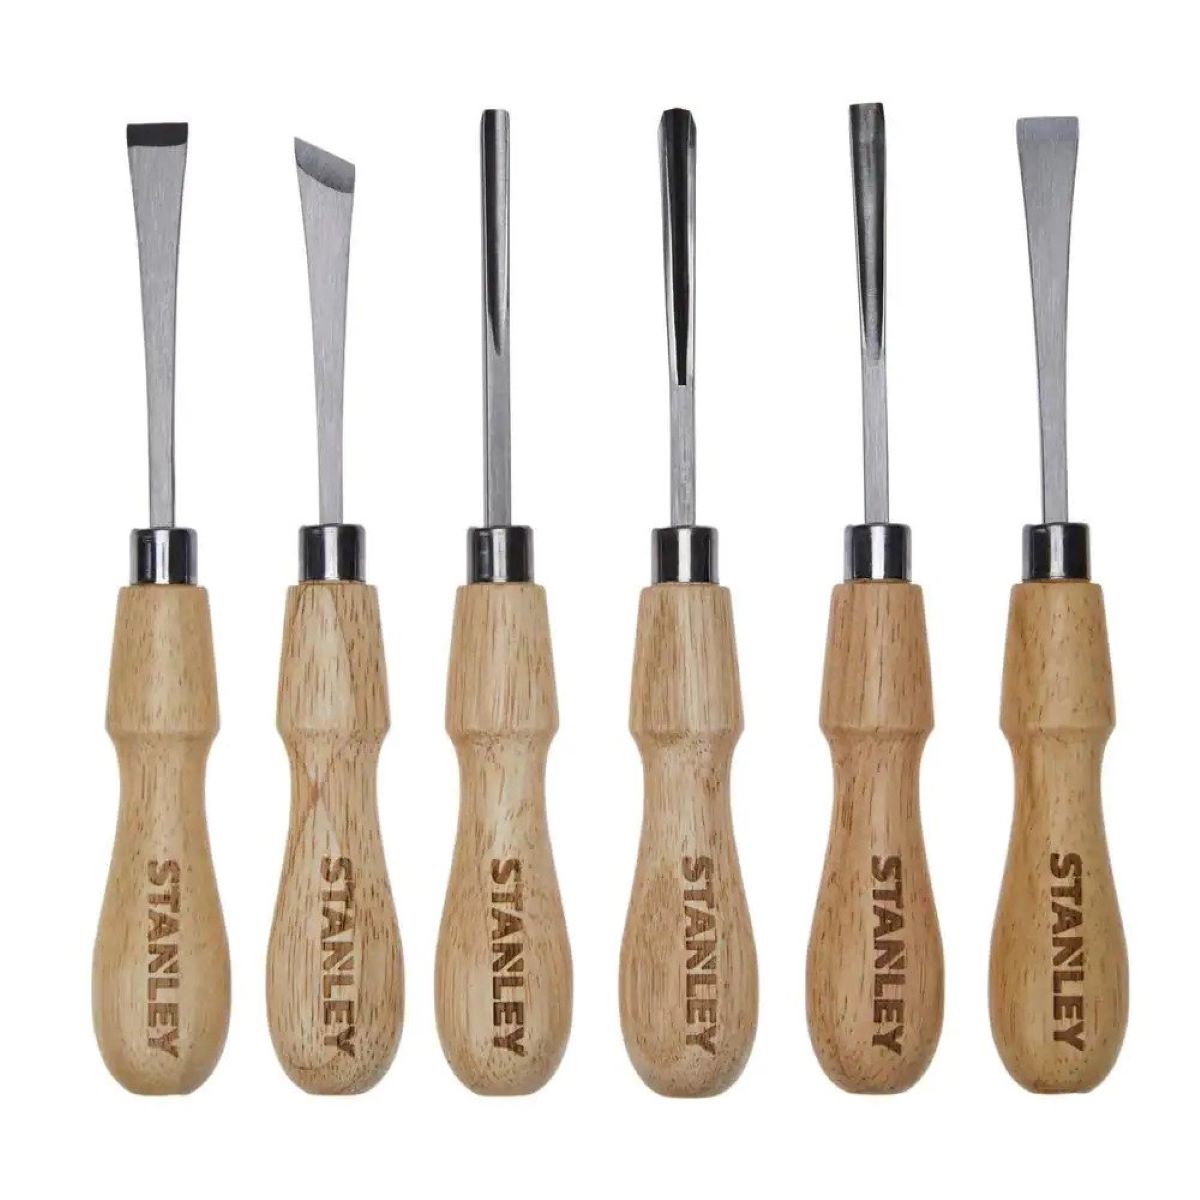
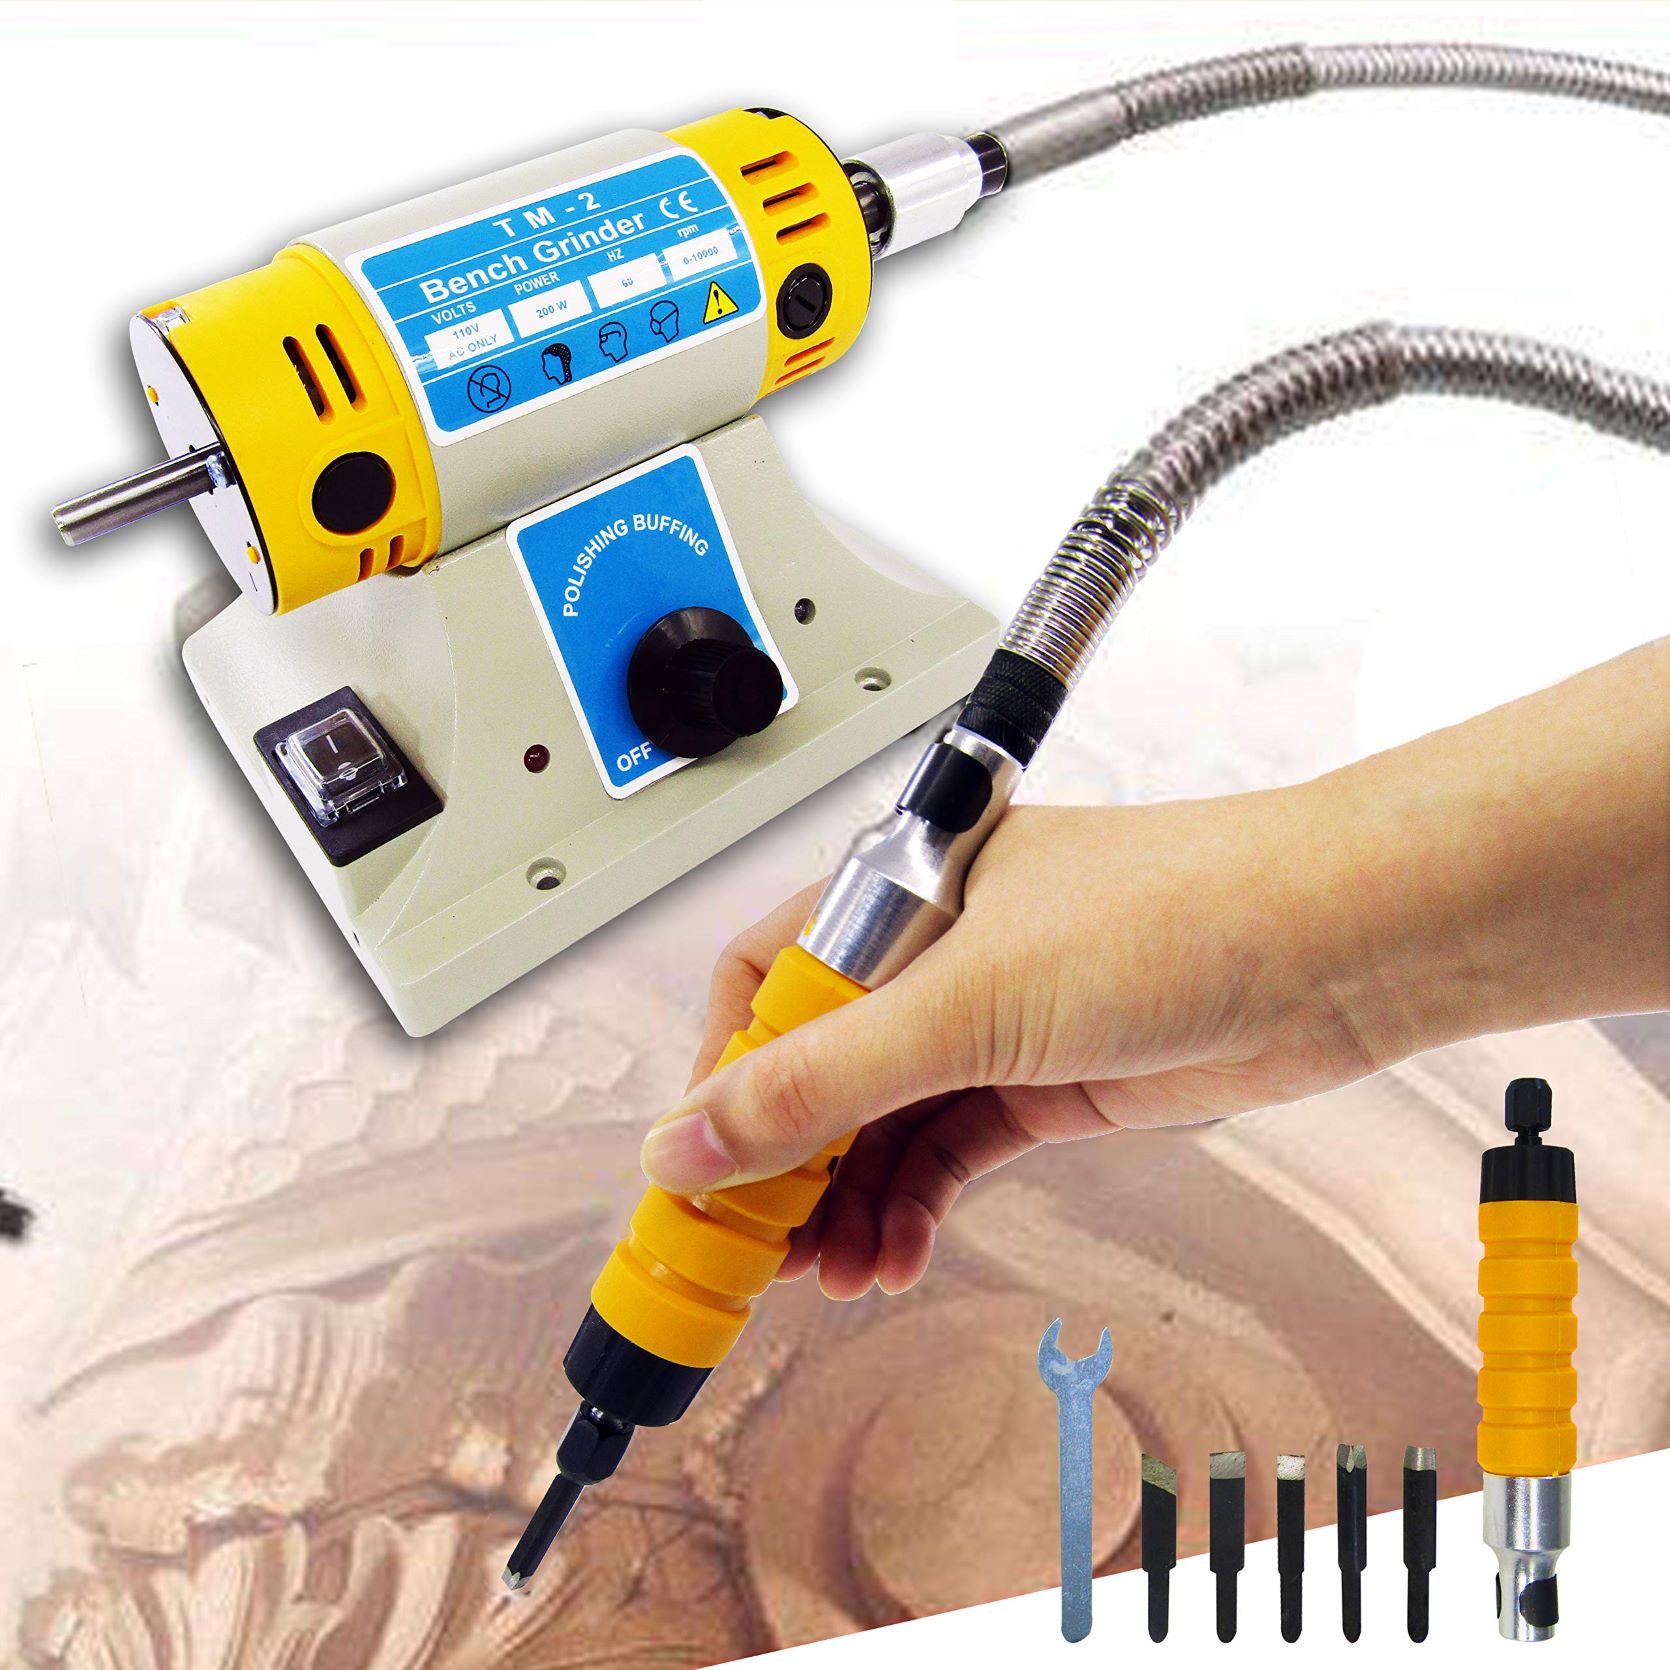
Carving a wooden bowl requires a specific set of hand tools to shape and hollow out the wood. While there are a wide variety of tools available, here are the essential ones you will need to get started:
- Carving Knives: A set of carving knives is essential for shaping the outer surface of the bowl. Look for knives with different blade shapes and sizes to accommodate various contours and detail work.
- Hook Knife: This specialty knife has a curved blade that is perfect for hollowing out the inside of the bowl. The curved shape allows you to scoop out the wood and create the desired bowl shape.
- Gouges and Chisels: Gouges and chisels are used for removing larger chunks of wood. They have curved or straight blades and come in different widths to create various contours and shapes.
- Carving Mallet: A carving mallet is a wooden or rubber-headed mallet used in combination with gouges and chisels to provide extra force when cutting through the wood. It helps to achieve deeper cuts and more precise control.
- Spokeshave: A spokeshave is a versatile tool used for shaping and smoothing both the inner and outer surfaces of the bowl. It has a blade set at an angle to the handle, allowing for easy control and precise cuts.
- Sanding Tools: To achieve a smooth and flawless finish, sanding tools such as sandpaper or sanding blocks are essential. Start with a rough grit to remove any tool marks, then gradually move to finer grits for a polished result.
- Sharpening Tools: Keeping your tools sharp is crucial for achieving clean and precise cuts. Invest in sharpening stones or honing systems to maintain the sharpness of your carving knives, gouges, and chisels.
These are the basic tools you will need to carve a wooden bowl, but as you gain more experience, you may find yourself exploring additional tools and accessories to enhance your carving process. Each tool serves a specific purpose and contributes to the overall outcome of your bowl carving project.
Remember that quality and craftsmanship matter when it comes to choosing your hand tools. Invest in well-made tools from reputable brands, as they will provide better performance, longevity, and a more enjoyable carving experience.
Now that you have your essential tools ready, the next step is to prepare the wood for carving. Let’s dive into the process of getting your wood block ready for shaping and hollowing.
Preparing the Wood for Carving:
Before you begin carving a wooden bowl, it is essential to properly prepare the wood to ensure a smooth and successful carving process. Here are the steps involved in preparing the wood:
- Selecting the Wood: Choose a well-seasoned wood block that is large enough to accommodate the size of the bowl you wish to carve. Ensure that the wood is free from knots, cracks, and other defects that may weaken the structure of the bowl.
- Marking the Center: Using a ruler or a marking gauge, mark the center of the wood block on both ends. This will serve as a reference point for carving the bowl symmetrically.
- Rough Shaping: Use a band saw, coping saw, or carving knife to remove excess wood from the corners and create a rough exterior shape of the bowl. This will make it easier to handle and carve the bowl later on.
- Orientation: Determine the orientation of the grain and mark it on the wood block. This will help you avoid any issues that may arise due to changes in fiber direction during carving.
- Securing the Wood: Clamp the wood block securely to a workbench or carving stand to prevent it from moving or slipping while you carve.
- Removing Bark: If your wood block still has bark, remove it carefully using a chisel or a drawknife. This will expose the clean surface of the wood and make carving easier.
- Sealing the Ends: Apply a wood sealer or wax to the ends of the wood block to prevent rapid moisture loss and minimize the risks of cracking or splitting.
- Checking for Stability: Examine the wood block for any signs of instability or checks (cracks). If you notice any, consider stabilizing the wood using wood stabilizing solutions or techniques like filling the cracks with epoxy resin.
By following these steps, you are ensuring that your wood block is properly prepared and ready for carving. Taking the time to prepare the wood will make the carving process more efficient and enjoyable, and it will increase the chances of achieving a successful and durable final product.
Once the wood block is prepared, you can move on to the next step, which is creating the rough shape of the bowl. We will explore this step in detail in the following section.
Creating the Rough Shape of the Bowl:
After preparing the wood block, the next step in carving a wooden bowl is to create the rough shape. This involves removing excess wood to establish the basic form of the bowl. Here’s how to create the rough shape:
- Visualize the Design: Before making any cuts, visualize the shape and size of the bowl you want to create. Consider factors such as depth, curvature, and overall aesthetic appeal.
- Use a Carving Knife: Start carving the exterior of the bowl using a carving knife. Begin by making shallow, strategic cuts to define the outer shape. Work gradually, removing small amounts of wood at a time, and constantly refer back to your visualization.
- Work with the Grain: Pay attention to the direction of the grain and carve in the same direction as much as possible. This will prevent the wood from splitting and make the carving process easier and smoother.
- Refine the Contours: As you continue shaping the bowl, focus on refining the contours. Use carving knives or gouges to create smooth curves and transitions, ensuring a visually pleasing form.
- Frequent Checking: Regularly step back and examine the bowl from different angles. This will help you identify areas that need further shaping or adjustments to achieve the desired shape.
- Measurements and Symmetry: Use a measuring tool to check the depth, diameter, and symmetry of the bowl. Make adjustments as needed to ensure a balanced and proportionate shape.
- Remember the Bowl Bottom: Pay special attention to the bowl bottom as you shape the sides. Make sure it is level and flat to ensure the bowl sits securely when placed on a surface.
- Take Your Time: Carving the rough shape of a bowl takes time and patience. Don’t rush the process. Enjoy the meditative nature of the carving and take breaks when needed.
Remember, the rough shaping stage sets the foundation for the final bowl, so take your time to achieve the desired shape and form. It’s better to make gradual and incremental adjustments rather than removing too much wood at once.
Once you are satisfied with the rough shape, you can proceed to the next step – hollowing out the bowl. We will explore this crucial step in detail in the following section.
When carving a wooden bowl with hand tools, start with a well-seasoned hardwood to avoid warping. Use sharp tools and work with the grain for smoother carving.
Hollowing Out the Bowl:
After creating the rough shape of the bowl, the next step in carving a wooden bowl is to hollow it out. Hollowing out the bowl involves removing wood from the interior to create the desired depth and shape. Here’s how you can hollow out the bowl:
- Mark the Desired Depth: Use a pencil or marking gauge to mark the desired depth inside the bowl. This will serve as a guide for the hollowing process.
- Begin with a Hook Knife: Start by using a hook knife to remove larger chunks of wood from the center of the bowl. Work in a scooping motion, gradually deepening the hollowed area.
- Work from the Center Outward: Start hollowing from the marked center point and gradually work your way outward. This will help maintain symmetry and even thickness throughout the bowl.
- Be Mindful of the Grain Direction: Work with the grain as much as possible while hollowing out the bowl. This will make the process smoother and reduce the risk of any wood splitting or tear-out.
- Use Gouges and Chisels: As you remove larger chunks of wood with the hook knife, you can switch to gouges and chisels to refine the shape and smooth the interior of the bowl. Use different sizes and shapes of gouges to create curves and contours.
- Progress Gradually: Take your time and work in small increments. It is easier to remove more wood later if needed, but once it’s removed, it cannot be added back.
- Check the Depth Regularly: Use a depth gauge or a straight edge to check the depth of the hollowed bowl. Continuously refer back to your marked depth and make adjustments as necessary.
- Create a Smooth Surface: Use rasps, files, and sandpaper to smooth the interior surface of the bowl. This will remove any tool marks and create a seamless and visually appealing finish.
- Don’t Forget the Bowl Bottom: Pay attention to the bottom of the bowl and make sure it is leveled and smooth. This will ensure the bowl sits properly and securely on a surface.
Hollowing out the bowl requires focus and precision. Take your time and constantly evaluate the progress to achieve the desired depth and shape. Remember to remove wood gradually and take breaks when needed.
Once you have hollowed out the bowl, it’s time to move on to the next step – refining the shape and smoothing the surface of the wooden bowl. We will explore this step in detail in the next section.
Refining the Shape and Smoothing the Surface:
After hollowing out the bowl, the next step in carving a wooden bowl is to refine the shape and smooth the surface. This involves removing any tool marks, refining the curves, and achieving a consistent, smooth finish. Here’s how you can refine the shape and smooth the surface of the wooden bowl:
- Remove Tool Marks: Start by carefully inspecting the bowl for any visible tool marks. Use carving knives, gouges, or sandpaper to remove these marks and create a clean surface.
- Refine the Shape: Pay close attention to the curves and contours of the bowl. Use carving knives, gouges, and sandpaper to refine the shape, ensuring smooth transitions and an aesthetically pleasing form.
- Smooth the Interior: Use sandpaper wrapped around a dowel or your fingers to reach the interior surfaces of the bowl. Work incrementally from coarse to fine grits to achieve a smooth and even finish.
- Smooth the Exterior: Use rasps, files, and sandpaper to smooth the exterior surface of the bowl. This will remove any rough areas, refine the curves, and create a pleasing tactile experience.
- Check for Symmetry: Regularly step back and assess the symmetry of the bowl. Make any necessary adjustments to achieve a balanced and visually appealing shape.
- Take Care of Grain Tear-Out: If you encounter any grain tear-out or chipping, use a scraper or sandpaper to gently smooth out these areas. Pay attention to the grain direction and work with it to minimize tear-out.
- Keep the Bowl Snug: If the bowl starts to loosen on the workbench or carving stand, use clamps or padding to keep it stable and in place, especially during the refining process.
- Frequent Evaluation: Continuously evaluate the progress and make necessary adjustments. Take breaks to rest your hands and eyes, then return with fresh perspective to refine further if needed.
- Create a Comfortable Rim: Round over and smooth the rim of the bowl to create a comfortable and aesthetically pleasing edge.
Refining the shape and smoothing the surface of the wooden bowl is where the true beauty starts to emerge. Remember to work gradually and meticulously, paying attention to every detail. The goal is to achieve a flawless finish that captivates both the eye and the touch.
Once you are satisfied with the shape and surface of the wooden bowl, it’s time to move on to the next step – sanding and finishing. We will explore this final step in detail in the following section.
Sanding and Finishing the Wooden Bowl:
After refining the shape and smoothing the surface of the wooden bowl, the final step in carving a wooden bowl is to sand and finish it. Sanding and finishing enhances the appearance of the bowl, protects the wood, and brings out its natural beauty. Here’s how you can sand and finish the wooden bowl:
- Sanding Process: Start by sanding the bowl using a progression of sandpaper grits, starting with a coarse grit (around 80-100) to remove any remaining tool marks or imperfections. Gradually work your way to finer grits (e.g., 120, 220, 320) to achieve a smooth and polished surface.
- Hand Sanding: Wrap the sandpaper around a soft block or use a sanding sponge to sand the curved surfaces of the bowl. Take care to sand evenly and follow the contours of the bowl to maintain its shape.
- Random Orbital Sander: For larger bowls or flat surfaces, you can use a random orbital sander to speed up the sanding process. Start with a coarse grit and gradually move to finer grits as you progress.
- Remove Dust: After each sanding stage, use a brush or compressed air to remove all the sanding dust from the bowl. This will ensure a cleaner surface and prevent the dust from interfering with the finishing process.
- Applying a Finish: Choose a food-safe finish or wood sealer suitable for the intended use of the bowl. Common finishes include food-grade mineral oil, beeswax, or a combination of oils and waxes. Apply the finish according to the manufacturer’s instructions, making sure to coat the entire surface of the bowl.
- Multiple Coats: Depending on the type of finish, you may need to apply multiple coats, allowing each coat to dry before applying the next. This will provide better protection and enhance the appearance of the wood.
- Buffing and Polishing: After the final coat, you can use a soft cloth or buffer to buff and polish the surface of the bowl. This will bring out the natural luster and shine of the wood.
- Reapply Finish if Needed: Over time, the finish on the bowl may wear off. If necessary, reapply the finish to maintain the protection and beauty of the wooden bowl.
- Enjoy Your Finished Bowl: Once the finish is dry, your wooden bowl is ready to be admired and put to use. It not only serves as a functional piece but also showcases the craftsmanship and artistry of your hand-carved creation.
Sanding and finishing the wooden bowl is an important step that brings out the beauty and protects the wood. Take your time, follow the sanding process meticulously, and choose a finish that complements the wood species and intended use of the bowl.
Congratulations! You have successfully gone through the entire process of carving a wooden bowl with hand tools. Embrace the satisfaction of creating a unique and functional piece of art that can be cherished for years to come.
Now, go ahead and display your beautifully finished wooden bowl with pride!
Final Thoughts and Tips:
As you complete your journey in carving a wooden bowl with hand tools, here are some final thoughts and tips to keep in mind:
- Patience is Key: Carving a wooden bowl is a labor-intensive process that requires patience and attention to detail. Take your time and enjoy the meditative nature of the craft.
- Start with Simple Designs: If you’re new to bowl carving, it’s best to start with simpler designs before tackling more complex shapes. This will allow you to develop your skills and build confidence.
- Stay Safe: Always prioritize safety when working with hand tools. Wear appropriate protective gear, such as gloves and safety glasses, and use tools with care to prevent accidents.
- Practice Proper Tool Maintenance: Regularly sharpen and maintain your carving tools to ensure clean and efficient cuts. This will result in a more enjoyable carving experience and better results.
- Embrace Mistakes: Don’t be discouraged by mistakes or imperfections. They add character and can be seen as part of the unique charm of a hand-carved wooden bowl. Embrace and learn from them.
- Experiment with Wood Species: Explore different wood species to discover their unique characteristics and grain patterns. Each wood offers a distinct aesthetic, allowing you to create truly one-of-a-kind bowls.
- Seek Inspiration: Look for inspiration from other bowl carvers, woodworking books, and online resources. Study different styles and techniques to expand your knowledge and refine your craft.
- Share Your Work: Don’t be afraid to share your hand-carved bowls with others. Display them proudly, give them as gifts, or participate in local craft fairs to showcase your skills and dedication.
- Continued Learning: Carving is a lifelong learning journey. Continue to improve your skills and experiment with new techniques to expand your artistic repertoire.
Remember, carving a wooden bowl with hand tools is not just about the end result, but also about the process and the joy of creating something by hand. Each bowl you carve is a unique expression of your creativity and love for woodworking.
Embrace the challenges, enjoy the journey, and let your passion for carving guide you. Happy carving!
Frequently Asked Questions about How To Carve A Wooden Bowl With Hand Tools
Was this page helpful?
At Storables.com, we guarantee accurate and reliable information. Our content, validated by Expert Board Contributors, is crafted following stringent Editorial Policies. We're committed to providing you with well-researched, expert-backed insights for all your informational needs.


0 thoughts on “How To Carve A Wooden Bowl With Hand Tools”