Articles
How To Change Flush Mount Light
Modified: August 27, 2024
Discover expert tips and step-by-step instructions on how to change flush mount light fixtures with our informative articles. Enhance your home lighting today!
(Many of the links in this article redirect to a specific reviewed product. Your purchase of these products through affiliate links helps to generate commission for Storables.com, at no extra cost. Learn more)
Introduction
Welcome to our step-by-step guide on how to change a flush mount light! Whether you’re looking to update the lighting in your home or replace a faulty fixture, this tutorial will provide you with the necessary guidance. Changing a flush mount light may seem daunting, but with the right tools and a little know-how, you can easily complete this task.
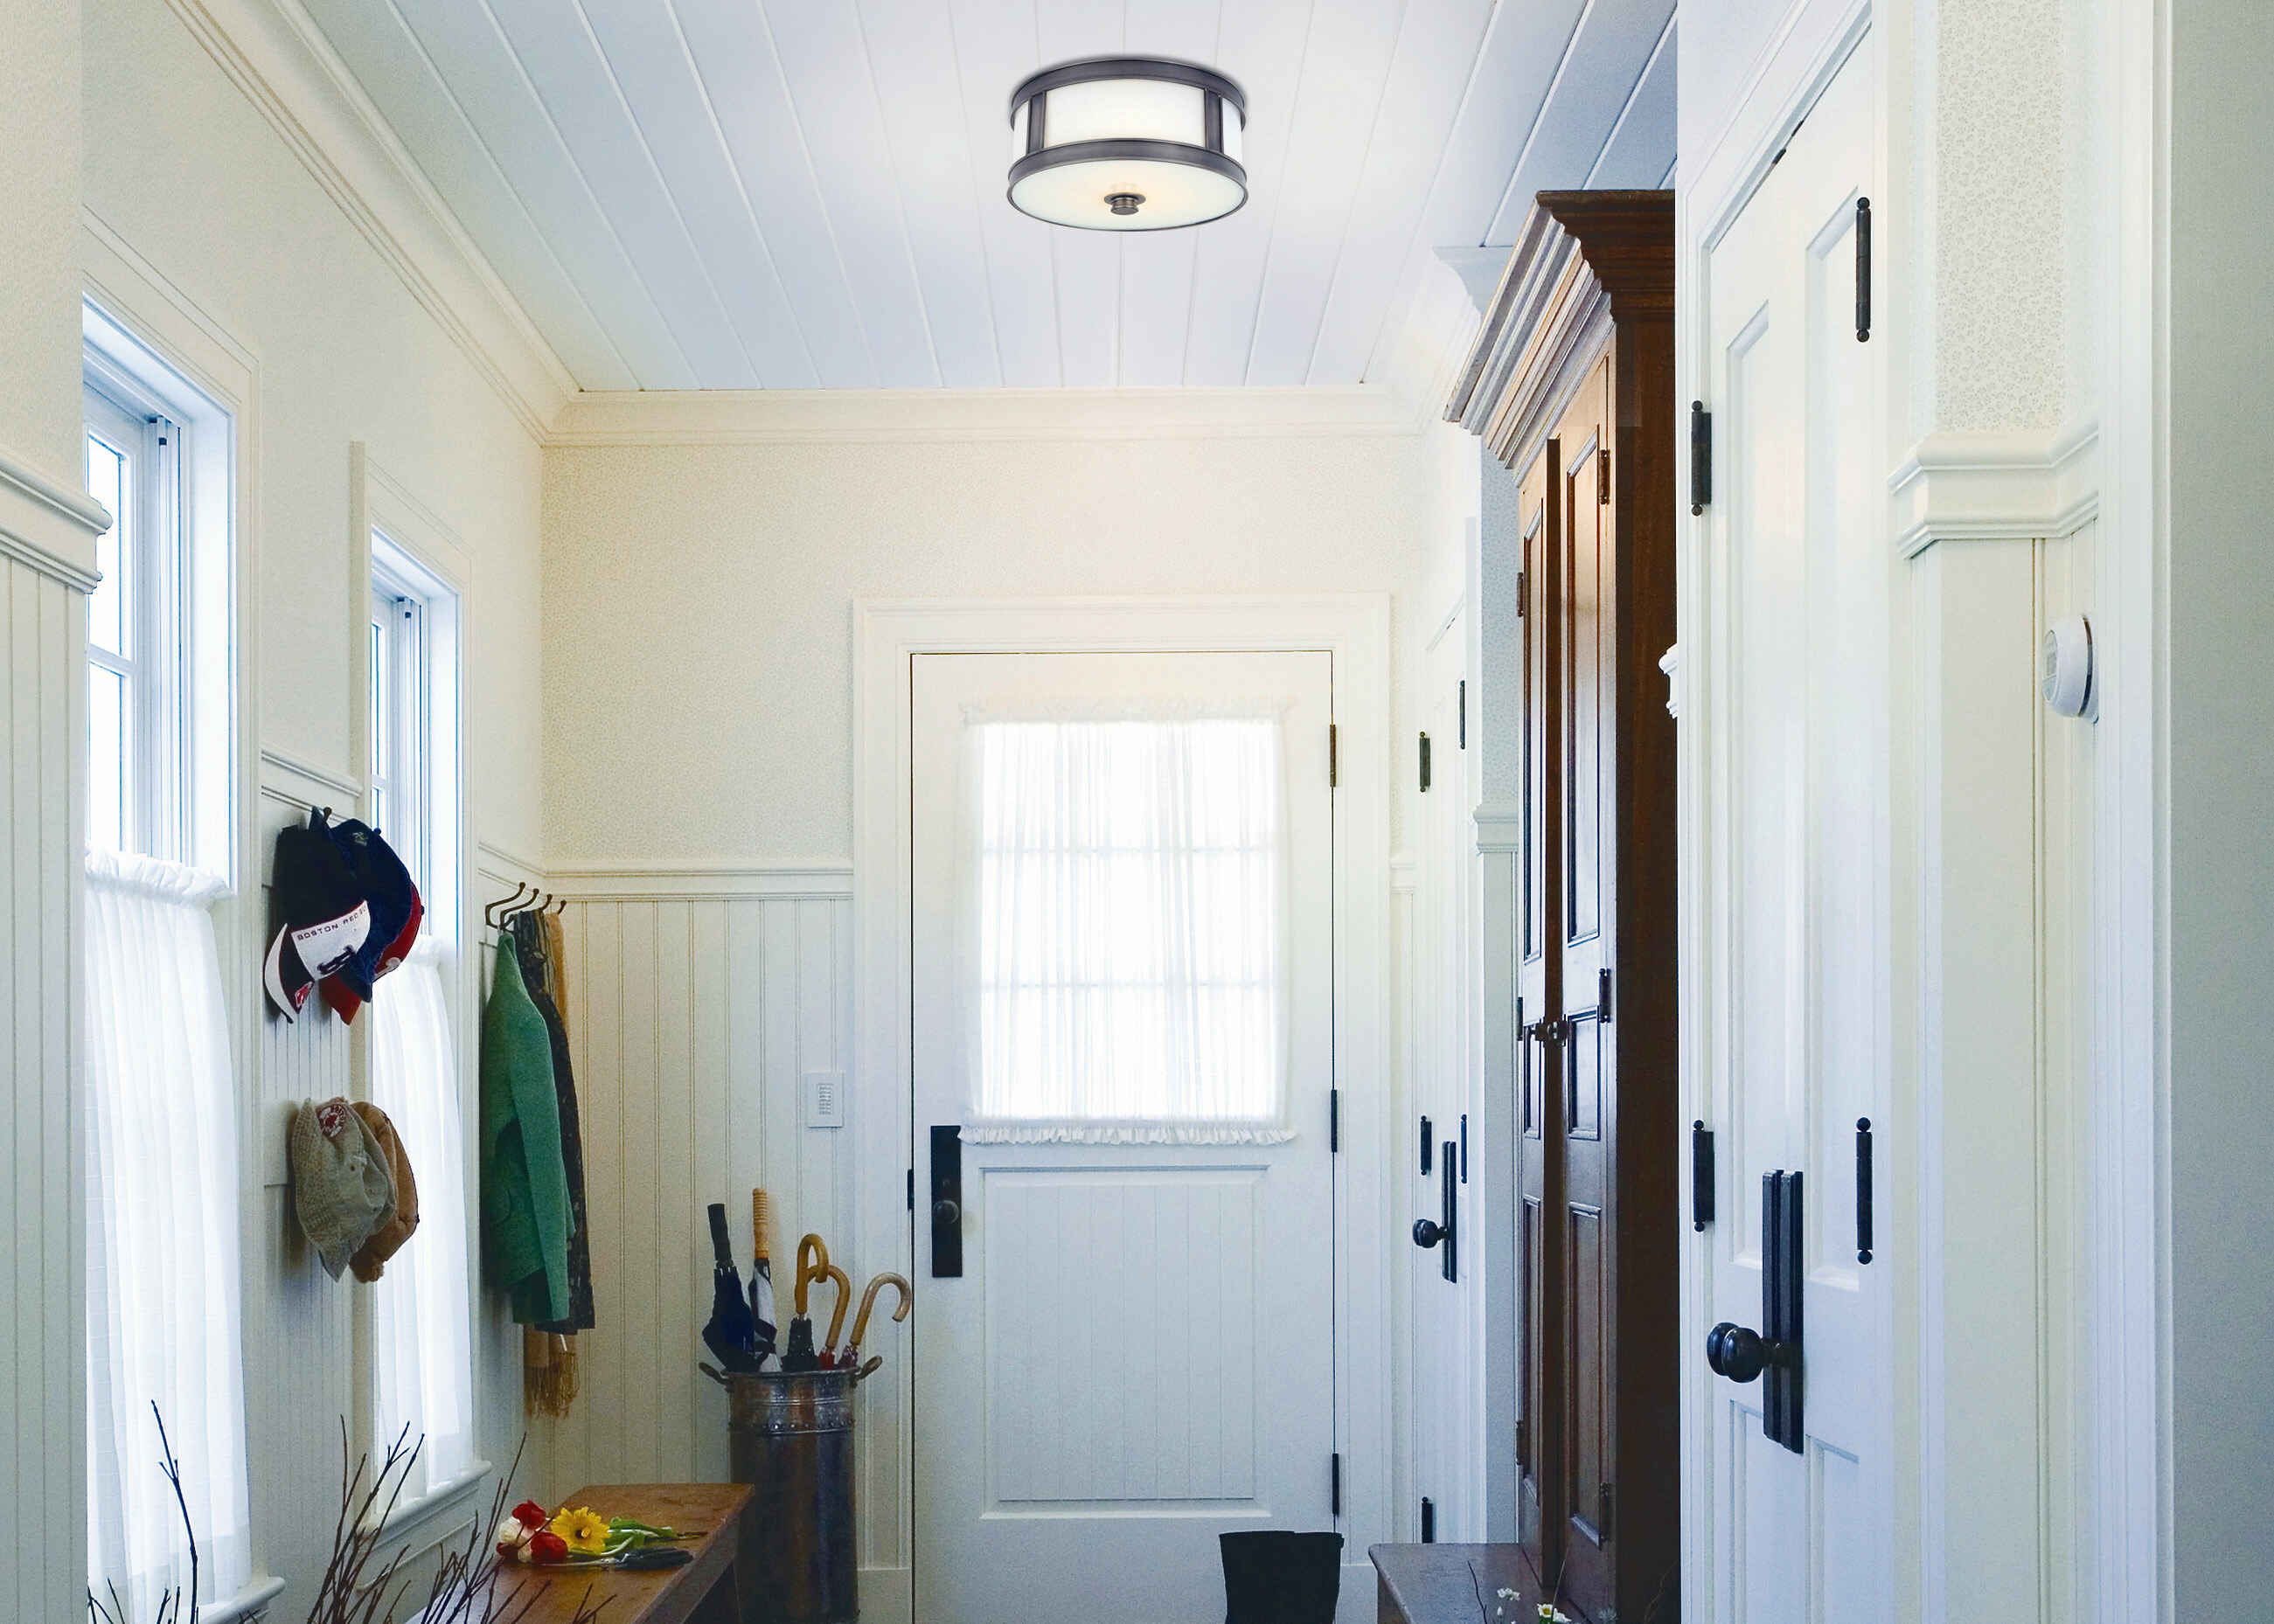
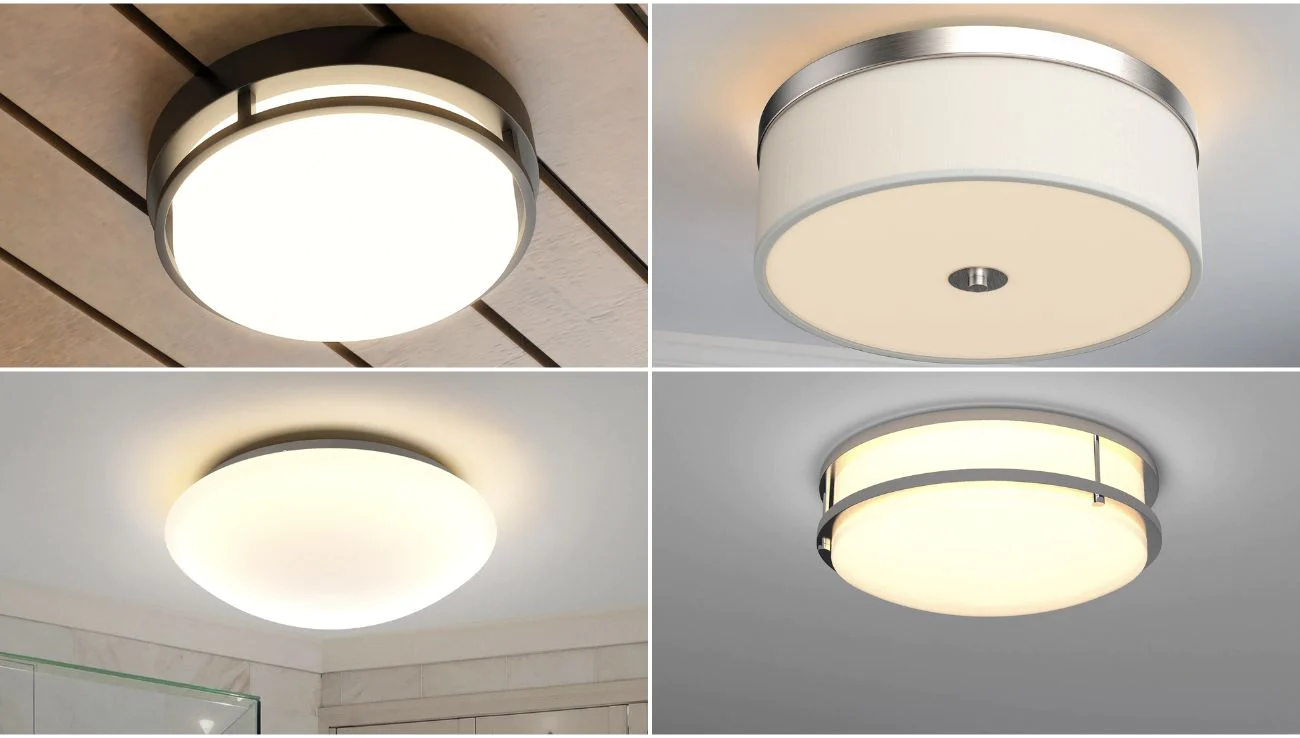
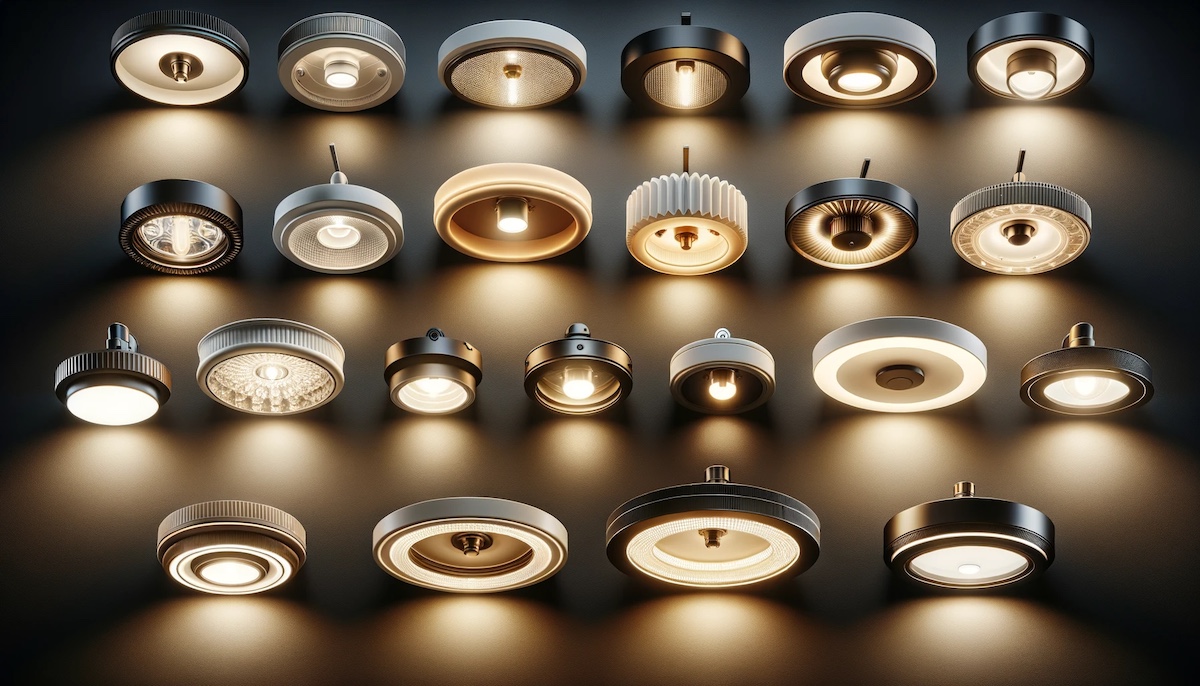
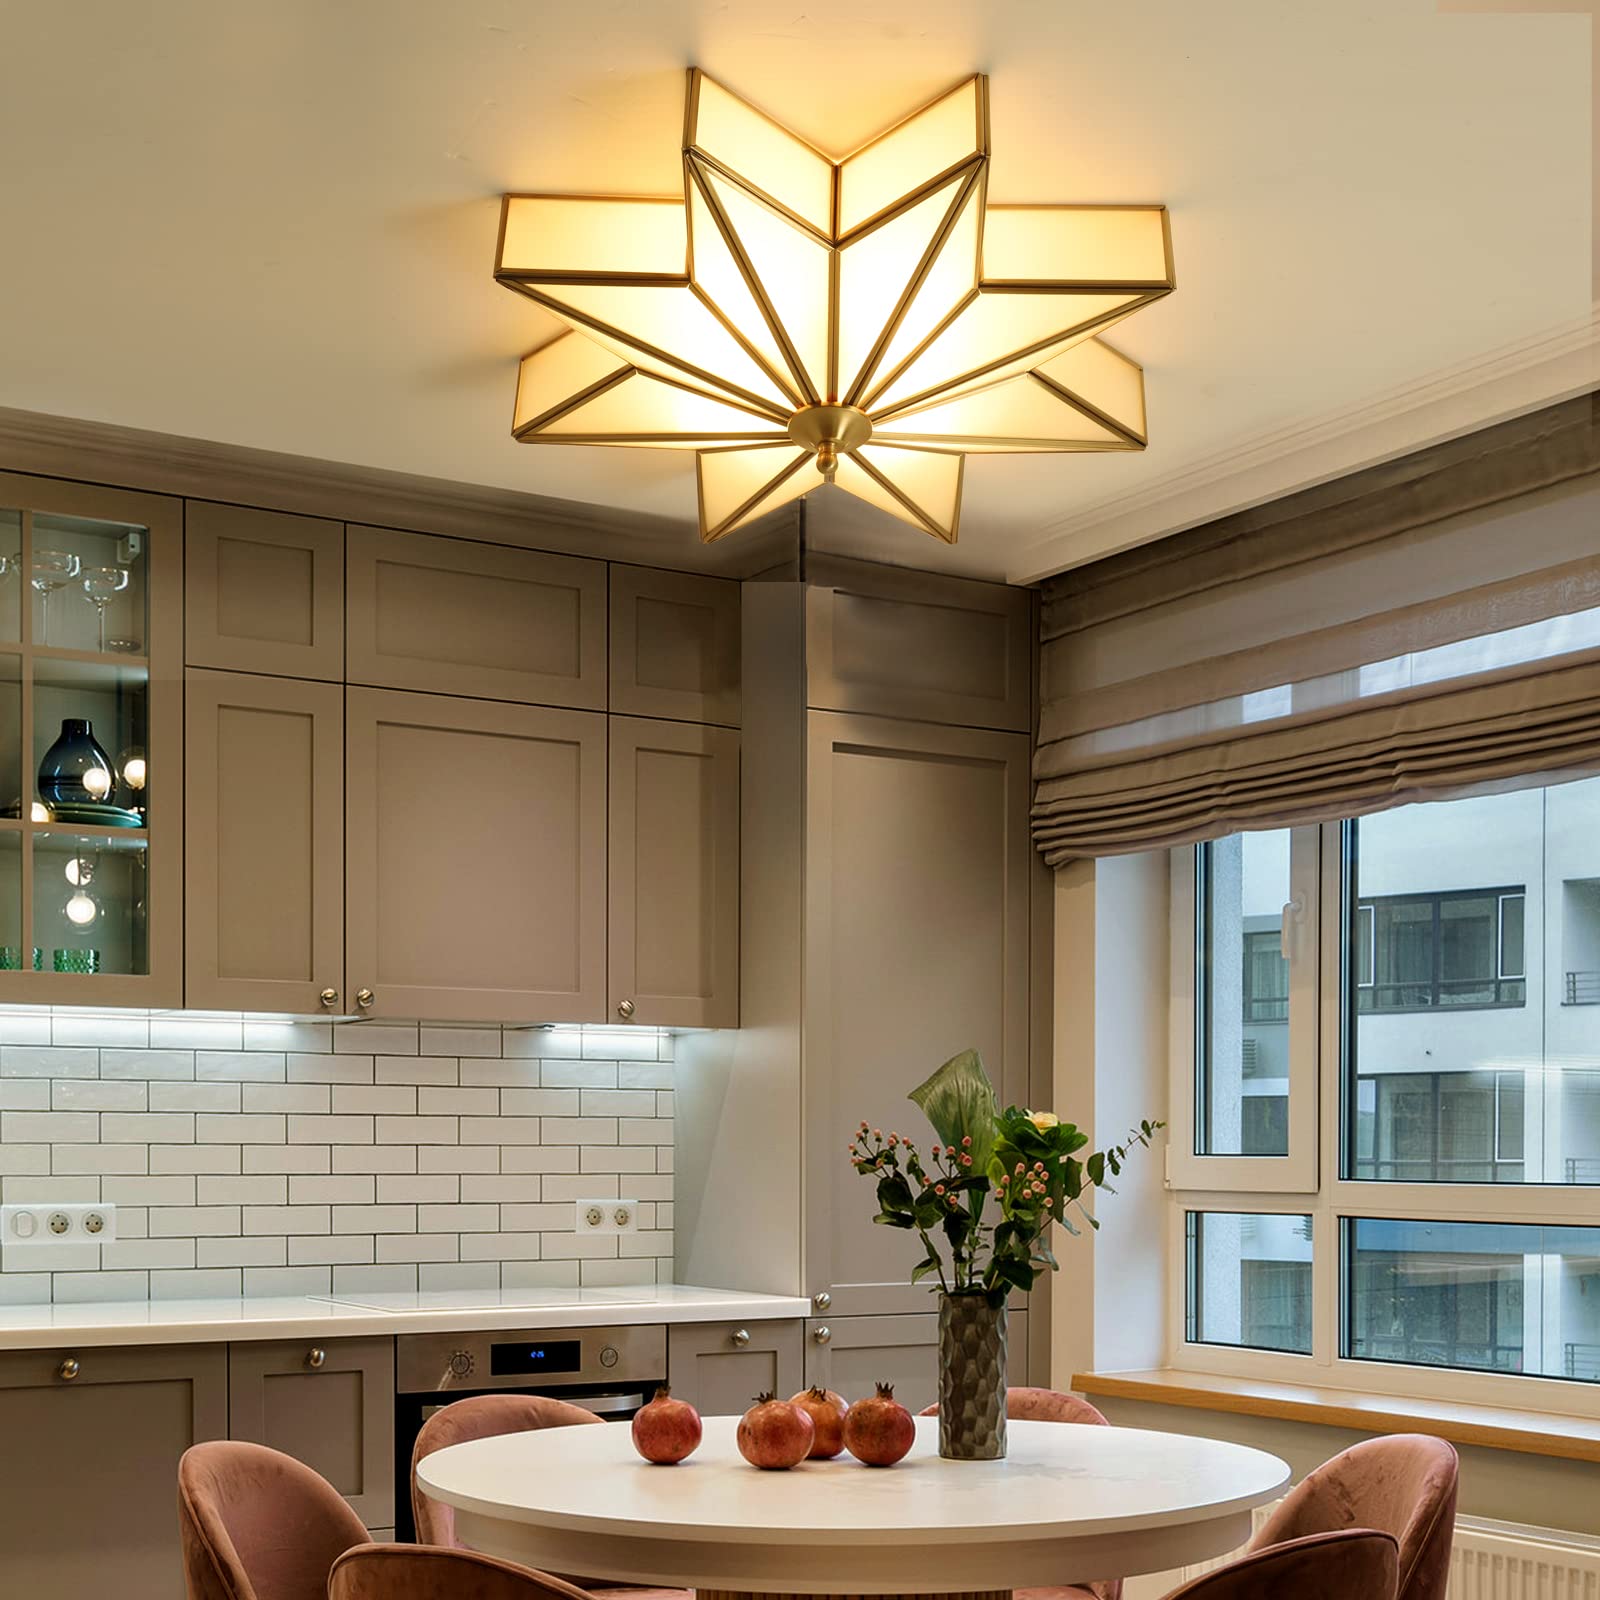
Flush mount lights are a popular choice for many homeowners due to their seamless and compact design. They are typically installed on the ceiling and provide a bright and even illumination to any space. Over time, however, these lights may become outdated or experience technical issues. Fortunately, replacing a flush mount light is a relatively straightforward process that can be completed by most DIY enthusiasts.
In this guide, we will take you through each step of the process to ensure a successful installation. From gathering the necessary tools to testing the new fixture, we’ve got you covered. So, let’s get started!
Key Takeaways:
- Easily replace outdated or faulty flush mount lights with the right tools and know-how. Prioritize safety, gather materials, and follow step-by-step instructions for a successful DIY installation.
- Enhance your space with a new flush mount light by securely connecting wiring, attaching the fixture, and testing functionality. Enjoy improved lighting and ambiance while prioritizing safety throughout the process.
Read more: How To Change Light Bulb Flush Mount
Step 1: Gather the necessary tools and materials
Before you begin changing a flush mount light, it’s important to gather all the necessary tools and materials. This will help ensure a smooth and efficient installation process. Here’s what you’ll need:
- Screwdriver set
- Wire cutters/strippers
- Voltage tester
- New flush mount light fixture
- Mounting bracket (if not included with the new fixture)
- Wire connectors
- Electrical tape
- Step ladder or sturdy platform
Having these tools and materials ready before you begin will save you time and frustration during the installation. Ensure that you have a variety of screwdrivers (both flathead and Phillips) to accommodate different types of screws.
Additionally, it’s crucial to have a voltage tester on hand to ensure that the power is turned off before working on the light fixture. This will help prevent accidental electrical shock.
If your new flush mount light fixture doesn’t come with a mounting bracket, you’ll need to purchase one separately. The mounting bracket provides stability and support for the fixture, ensuring it stays securely attached to the ceiling.
Lastly, make sure you have a step ladder or a sturdy platform to safely access the ceiling and work on the fixture. It’s important to prioritize your safety throughout the installation process.
Once you have gathered all the necessary tools and materials, you’re ready to move on to the next step: turning off the power to the existing flush mount light.
Step 2: Turn off the power to the existing flush mount light
Safety should always be the top priority when working with electrical fixtures. Before you start changing a flush mount light, it’s crucial to turn off the power to the existing fixture. Here’s how to do it:
- Locate the circuit breaker panel in your home. It is usually found in a basement, garage, or utility room.
- Open the circuit breaker panel carefully.
- Look for the breaker that controls the power supply to the room where the flush mount light is located. Check for any labels indicating the lighting circuit.
- Flip the corresponding breaker switch to the off position. You can usually identify the off position by the switch being in the opposite direction of the other breakers.
Once you have switched off the breaker, use a voltage tester to double-check that there is no power flowing to the existing flush mount light. This simple step is important to ensure your safety and prevent any accidents while working on the fixture.
If you’re unsure which breaker controls the power to the specific room, you can turn off the main breaker to cut off power to the entire house. However, this should only be done by someone with a good understanding of electrical systems.
Remember, it’s crucial to handle electricity with caution. If you’re unsure or uncomfortable working with electrical systems, it’s always best to consult a licensed electrician. Safety should never be compromised.
Once you have confirmed that the power to the existing flush mount light is turned off, you can proceed to the next step: removing the old fixture.
Step 3: Remove the old flush mount light
With the power turned off, you’re ready to remove the old flush mount light fixture. Follow these steps:
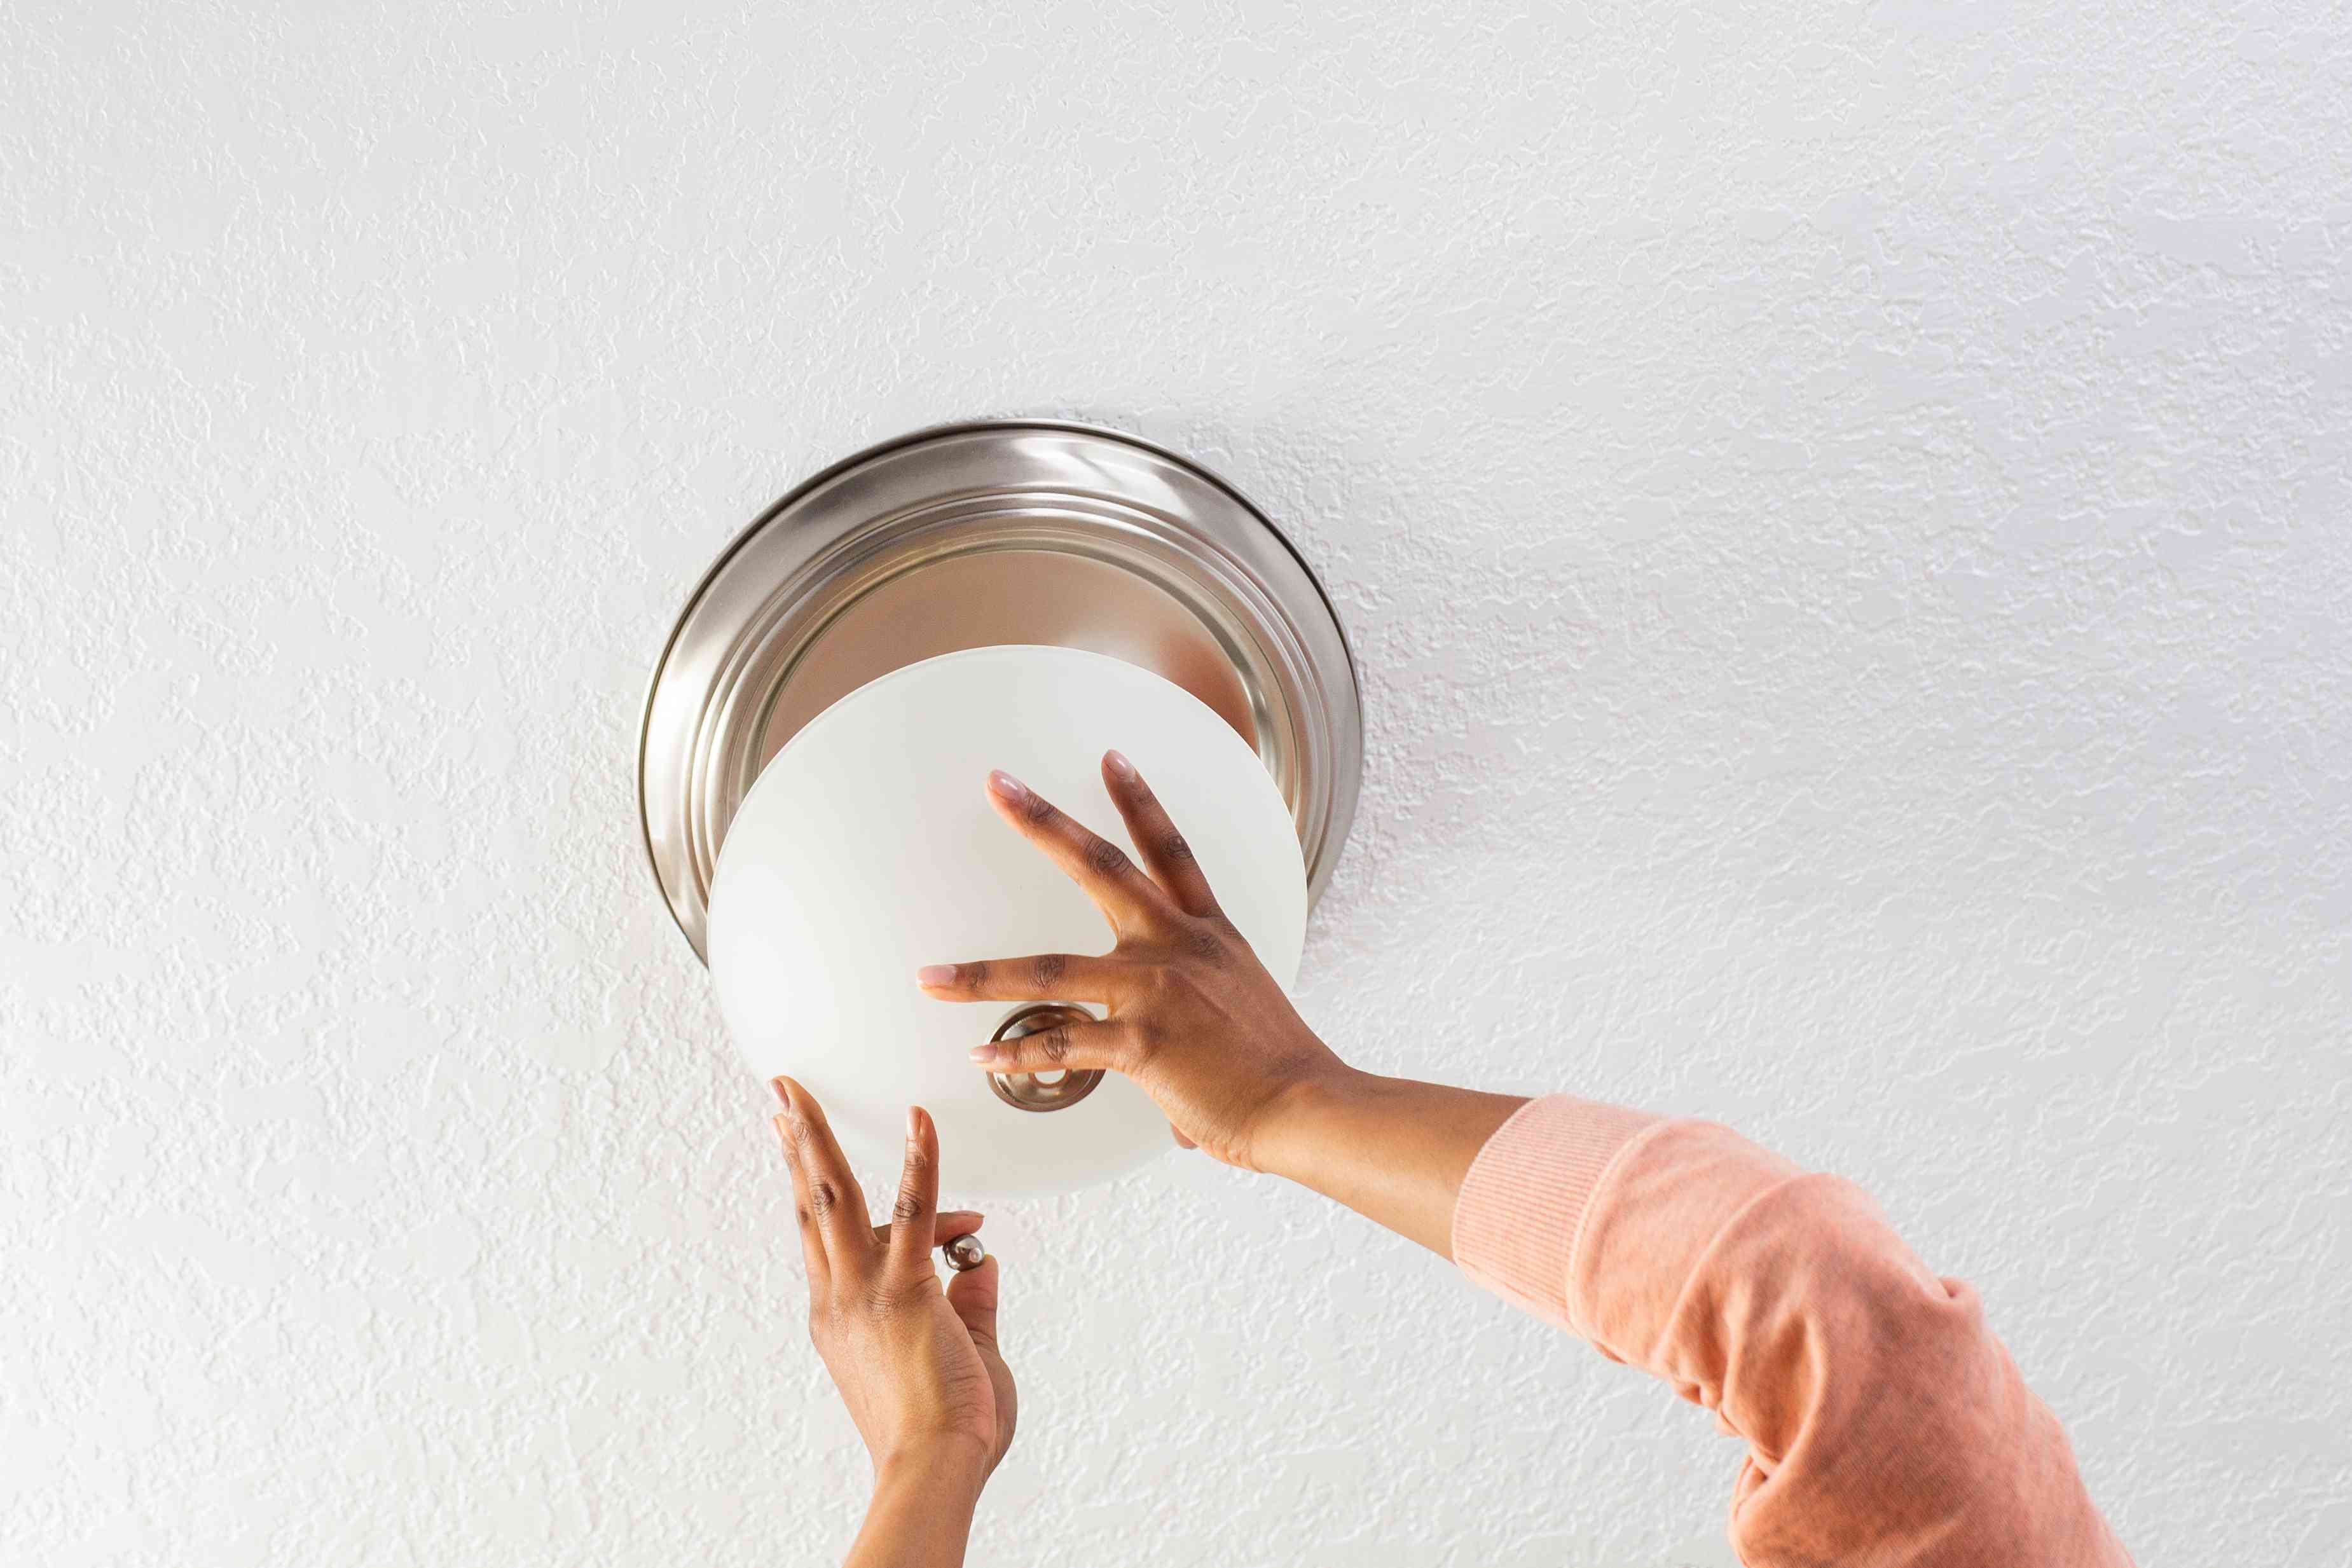
- Use a screwdriver to remove any screws or fasteners holding the fixture to the ceiling. Depending on the design of the flush mount light, you may need to remove a decorative cover or glass dome first.
- Gently pull the fixture away from the ceiling, exposing the wiring behind it. Take care not to pull too forcefully or twist any wires.
- Locate the wire connectors that connect the fixture wires to the electrical wires in the ceiling. Unscrew or untwist the connectors, separating the fixture wires from the electrical wires.
- Once the wires are disconnected, set the old fixture aside.
It’s worth noting that some flush mount light fixtures may have additional electrical connections, such as a ground wire or a wire for a separate switch. If this is the case, follow the manufacturer’s instructions or consult a professional for guidance on disconnecting these additional connections.
After removing the old flush mount light fixture, take a moment to inspect the mounting bracket or plate that was supporting it. If it appears damaged or unstable, now is a good time to replace it with a new one.
Removing the old flush mount light is an important step in the process. It allows you to prepare the space for the new fixture and ensures a clean installation. With the old fixture out of the way, you can move on to the next step: installing the mounting bracket for the new flush mount light.
Step 4: Install the mounting bracket for the new flush mount light
Installing the mounting bracket is an essential step in properly securing your new flush mount light fixture. The mounting bracket provides stability and support, ensuring that your new fixture stays securely attached to the ceiling. Follow these steps to install the mounting bracket:
- Start by taking the mounting bracket included with your new flush mount light fixture. If a bracket is not provided, you can purchase a compatible one separately at a local hardware store.
- Hold the mounting bracket against the ceiling, aligning it with the electrical box where the wires are located.
- Using a screwdriver or drill, drive screws through the mounting holes in the bracket and into the ceiling. Ensure the bracket is securely fastened.
- Double-check that the bracket is level and properly aligned.
It’s important to note that the specific installation method may vary depending on the type of mounting bracket and ceiling you have. If you’re unsure about the process, refer to the manufacturer’s instructions or consult a professional electrician for guidance.
Once the mounting bracket is securely installed, you’re ready to move on to the next step: connecting the wiring for the new flush mount light.
Remember to always exercise caution when working with electrical components. If you’re unsure or uncomfortable with electrical work, it’s best to seek assistance from a licensed electrician.
Before starting to change a flush mount light, make sure to turn off the power at the circuit breaker to avoid any electrical accidents. Always use a voltage tester to ensure the power is off before proceeding with the installation.
Step 5: Connect the wiring for the new flush mount light
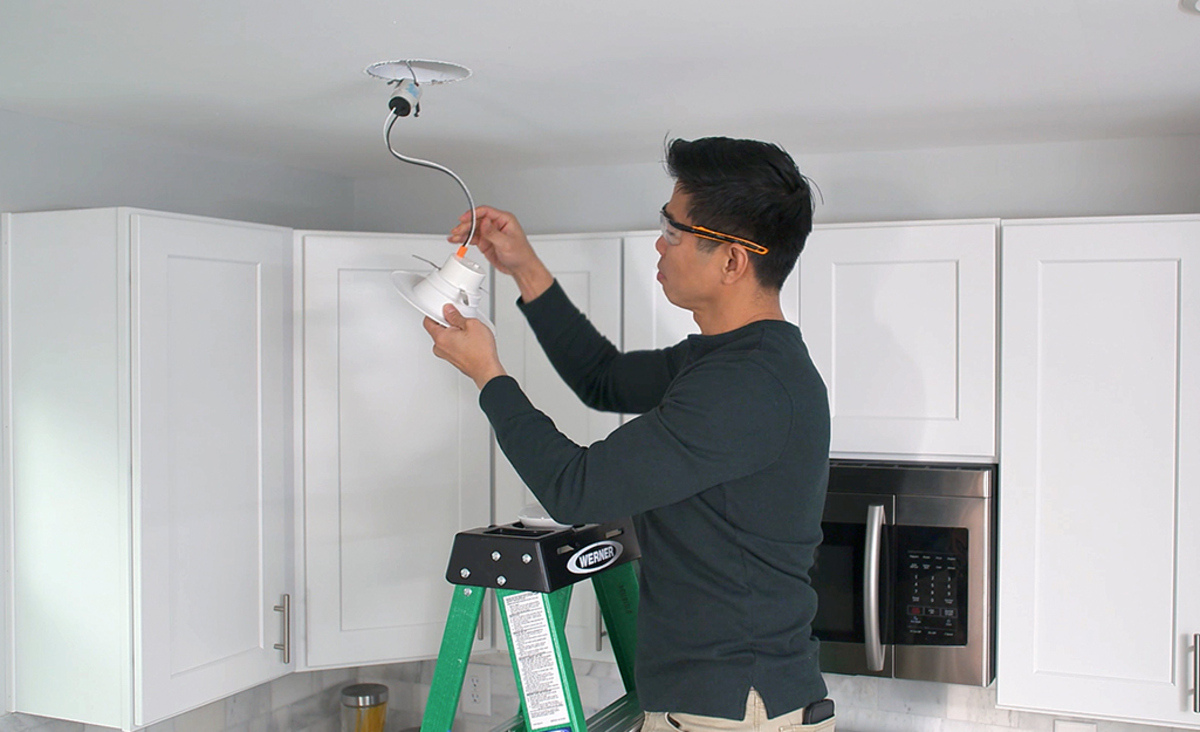
Now that the mounting bracket is securely in place, it’s time to connect the wiring for your new flush mount light fixture. Follow these steps:
- Begin by identifying the electrical wires in the ceiling. Typically, you’ll find a black (hot) wire, a white (neutral) wire, and a bare copper or green (ground) wire.
- Inspect the wires from the new flush mount light fixture. They should also include a black (hot) wire, a white (neutral) wire, and a bare copper or green (ground) wire.
- Hold the new flush mount light fixture near the mounting bracket. Align the fixture’s wires with the corresponding ceiling wires.
- Twist the ends of the black (hot) wires together, ensuring a secure connection. Cover the twisted ends with a wire connector, twisting it firmly in place.
- Repeat this process for the matching white (neutral) wires.
- If your new flush mount light fixture has a bare copper or green (ground) wire, connect it to the ground wire in the ceiling using a wire connector.
It’s crucial to ensure that the wire connections are secure to avoid any potential electrical hazards. Give each wire a gentle tug to ensure they are tightly connected.
Be sure to follow any specific instructions provided by the manufacturer for wiring connections. If you’re not confident in your electrical abilities, it’s best to consult a licensed electrician to ensure a safe and proper installation.
Next, carefully tuck the connected wires into the electrical box in the ceiling, ensuring they do not get pinched or damaged when the new fixture is installed.
With the wiring connected, you’re ready to proceed to the next step: attaching the new flush mount light to the mounting bracket.
Step 6: Attach the new flush mount light to the mounting bracket
With the wiring successfully connected, it’s time to attach the new flush mount light to the mounting bracket. Follow these steps:
- Hold the new flush mount light fixture close to the mounting bracket.
- Align the holes or slots on the fixture with the corresponding tabs or screws on the mounting bracket.
- Insert the screws or engage the tabs to secure the fixture to the mounting bracket. Make sure the fixture is flush against the ceiling.
- Tighten the screws or fastenings to ensure a secure and stable attachment.
If your fixture has a decorative cover or glass dome, carefully place it over the fixture and secure it in place according to the manufacturer’s instructions.
Ensure that the fixture is level and straight by using a level if necessary. Adjust the positioning if needed before fully tightening the screws or fastenings.
By securely attaching the new flush mount light fixture to the mounting bracket, you ensure that it remains stable and correctly positioned for optimal illumination in your space.
Now that the new flush mount light is installed, it’s essential to test it before moving on to the next step.
Proceed to the next step: testing the new flush mount light.
Step 7: Test the new flush mount light
Before finalizing the installation, it’s important to test the new flush mount light to ensure it’s functioning properly. Follow these steps to test your new fixture:
- Turn on the power to the room at the circuit breaker panel.
- Return to the area where the flush mount light is installed.
- Flip the light switch or use the designated control to turn on the light.
- Observe the flush mount light and check if it illuminates as expected.
If the light doesn’t turn on or if there are any issues with the illumination, there may be a problem with the wiring or the fixture itself. In such cases, it’s best to consult a licensed electrician for further assistance.
While testing the new flush mount light, also take note of any flickering, buzzing, or other abnormalities. These may indicate potential electrical issues that require attention.
If the light functions correctly and provides the desired illumination, you can proceed to the final step: turning on the power and enjoying your new flush mount light.
Keep in mind that safety should always be a priority. If you encounter any electrical problems or if you’re unsure about the installation, it’s advisable to seek professional help to ensure a safe and proper setup.
Once you’ve verified that the new flush mount light is working correctly, it’s time to move on to the last step: turning on the power and enjoying your newly installed fixture.
Step 8: Turn on the power and enjoy your new flush mount light
Congratulations! You’re almost done with the installation process. It’s time to turn on the power and bask in the glow of your newly installed flush mount light. Follow these final steps:
- Double-check that all wiring connections are secure and properly insulated.
- Return to the circuit breaker panel and locate the breaker you previously turned off.
- Flip the breaker switch to the on position, restoring power to the room.
- Head back to the area where the flush mount light is installed.
- Flip the light switch or use the designated control to turn on the light.
- Observe the room as it is brightly illuminated by your new flush mount light.
Take a moment to appreciate the improved lighting and ambiance that the new fixture brings to your space. Enjoy the enhanced functionality and visual appeal it provides to the area.
If everything is properly installed and functioning as expected, you can now sit back, relax, and enjoy your newly installed flush mount light.
Remember, if you encounter any issues or concerns with the light after turning on the power, it’s advisable to consult a professional electrician to investigate and rectify the problem.
It’s important to note that regular maintenance, such as replacing light bulbs or cleaning the fixture, should be done to keep your flush mount light in optimal condition. Refer to the manufacturer’s instructions for guidance on maintenance and care.
With the power on and your new flush mount light shining brightly, you have successfully completed the installation process. Pat yourself on the back for a job well done!
Thank you for following our step-by-step guide on how to change a flush mount light. We hope this guide has been helpful in accomplishing your home improvement project. Enjoy your newly illuminated space!
Read more: What Are Flush Mount Lights
Conclusion
Changing a flush mount light may seem like a challenging task, but with the right tools, knowledge, and careful execution, it can be a rewarding and relatively simple DIY project. By following our step-by-step guide, you can successfully replace an outdated or malfunctioning fixture with a new flush mount light that enhances the lighting and ambiance of your space.
Throughout the process, your safety should always be a priority. Ensure that the power is turned off before beginning any work, and double-check all electrical connections to prevent any accidents or electrical hazards.
Gathering all the necessary tools and materials before starting the installation is essential for a smooth and efficient process. Having a comprehensive list of items, including screwdrivers, wire cutters, and a voltage tester, guarantees that you are adequately prepared for the task at hand.
Each step, from turning off the power and removing the old light fixture to connecting the wiring and attaching the new flush mount light, requires precision and attention to detail. Take your time and follow the instructions carefully to ensure a successful installation.
Finally, after the wiring connections have been secured, the new flush mount light can be attached to the mounting bracket. Once the power is turned on, you can test the light to ensure that it functions properly and illuminates your space as intended.
Remember, if you ever feel uncomfortable or unsure about any step in the process, it’s always best to consult a licensed electrician. They can provide expert guidance and ensure a safe and professional installation.
We hope this comprehensive guide has provided you with the knowledge and confidence to change a flush mount light in your home. Enjoy the improved lighting and aesthetic appeal that your new fixture brings to your living space!
Frequently Asked Questions about How To Change Flush Mount Light
Was this page helpful?
At Storables.com, we guarantee accurate and reliable information. Our content, validated by Expert Board Contributors, is crafted following stringent Editorial Policies. We're committed to providing you with well-researched, expert-backed insights for all your informational needs.


0 thoughts on “How To Change Flush Mount Light”