Articles
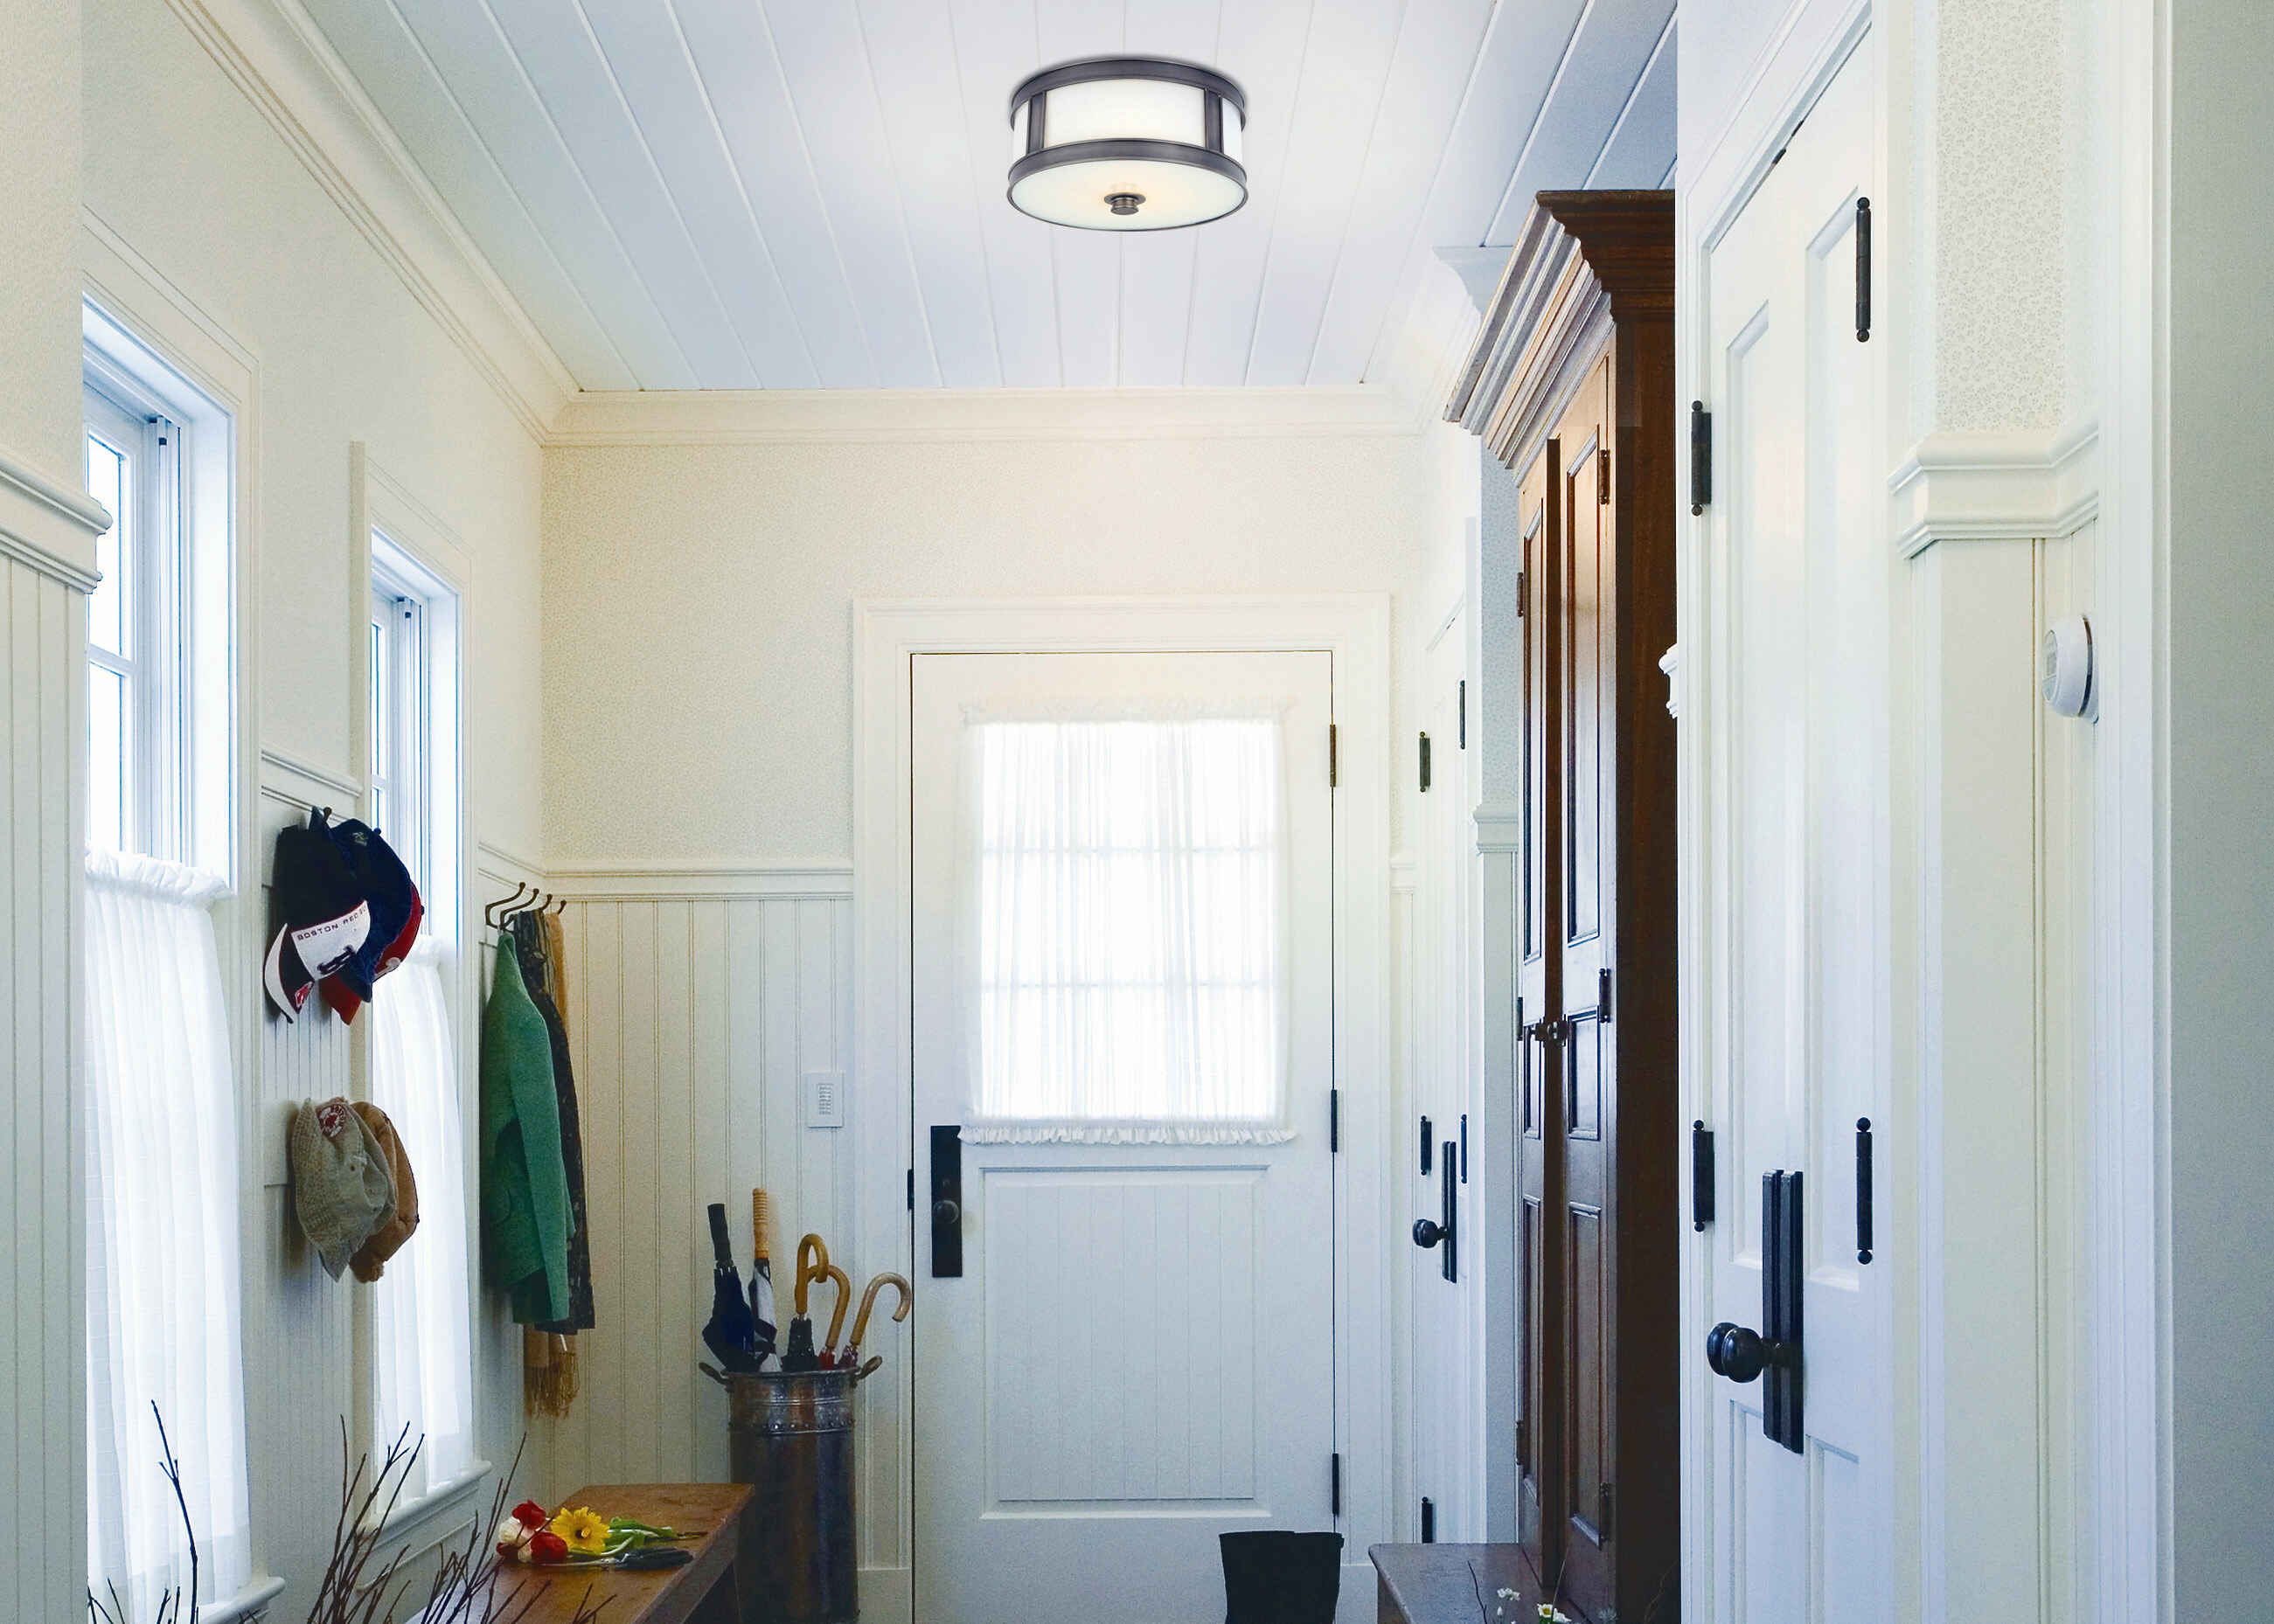
How To Install A Flush Mount Light
Modified: October 19, 2024
Learn how to easily install a flush mount light in your home with step-by-step instructions and expert tips. Our articles cover everything you need to know!
(Many of the links in this article redirect to a specific reviewed product. Your purchase of these products through affiliate links helps to generate commission for Storables.com, at no extra cost. Learn more)
Introduction
Installing a flush mount light in your home can instantly update the look and feel of any room. Whether you’re replacing an outdated fixture or adding a new one, the process can be done with a few simple steps. In this article, we will guide you through the process of installing a flush mount light, ensuring a safe and successful installation.
Before we dive into the steps, it’s important to note that safety should always be your top priority when working with electrical fixtures. Make sure to turn off the power to the circuit you’ll be working on and use proper safety gear, such as gloves and safety goggles.
Now, let’s gather the materials and tools you’ll need for this installation.
Key Takeaways:
- Safety first! Always turn off the power and gather the necessary materials before installing a flush mount light. Following the steps carefully ensures a successful and stylish lighting upgrade for any room.
- From removing the old fixture to securing the new one, each step is crucial. Take your time, prioritize safety, and enjoy the enhanced ambiance of your newly installed flush mount light.
Step 1: Gather Materials and Tools
Before you begin the installation process, it’s essential to gather all the necessary materials and tools. This will ensure that you have everything you need and make the installation process smoother and more efficient.
Here’s a list of materials and tools you’ll need:
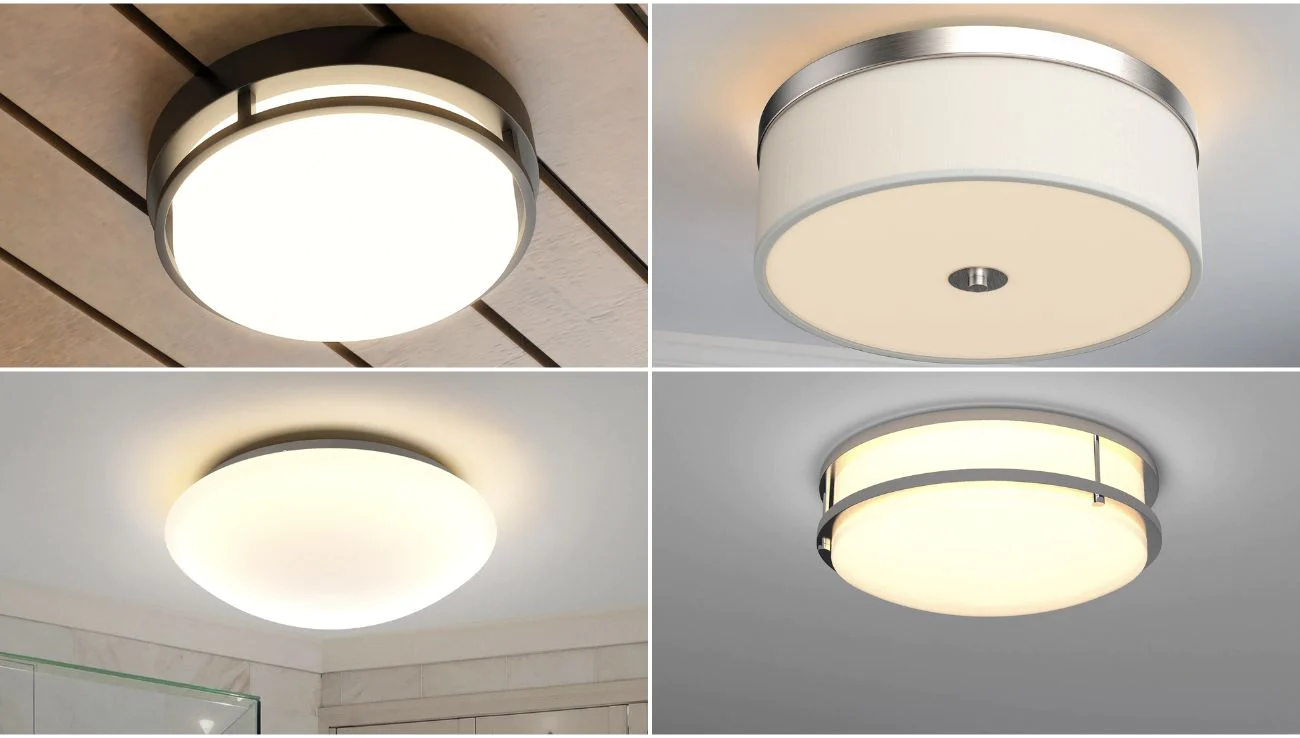
- Flush mount light fixture
- Mounting bracket
- Wire connectors
- Electrical tape
- Screwdriver
- Wire cutter/stripper
- Ladder or step stool
- Voltage tester
- Optional: stud finder
Ensure that you have all the materials and tools readily available before you proceed with the installation. Doing so will save you time and prevent any unnecessary delays or interruptions during the process.
Once you have gathered all the necessary materials and tools, it’s time to move on to the next step: turning off the power.
Step 2: Turn off Power
Before working with any electrical fixtures, it is crucial to turn off the power to the circuit you’ll be working on. This step ensures your safety and prevents any potential electrical hazards.
Follow these steps to turn off the power:
- Locate your electrical panel or circuit breaker box. It is usually found in the basement, garage, or utility room.
- Identify the circuit breaker that controls the power to the area where you’ll be installing the flush mount light. If you’re unsure which breaker it is, you can turn off the main power switch to cut off electricity to the entire house.
- Flip the switch for the identified circuit breaker to the “off” position. You can test if the power is off by using a voltage tester on the wires of the light fixture you’ll be working on.
- Once you’ve confirmed that the power is off, place a small piece of electrical tape over the circuit breaker switch to prevent anyone from accidentally turning it back on while you’re working.
Remember, it’s always better to be safe than sorry. Take the time to double-check that the power is off before proceeding to the next step.
With the power turned off, you’re ready to move on to removing the old light fixture.
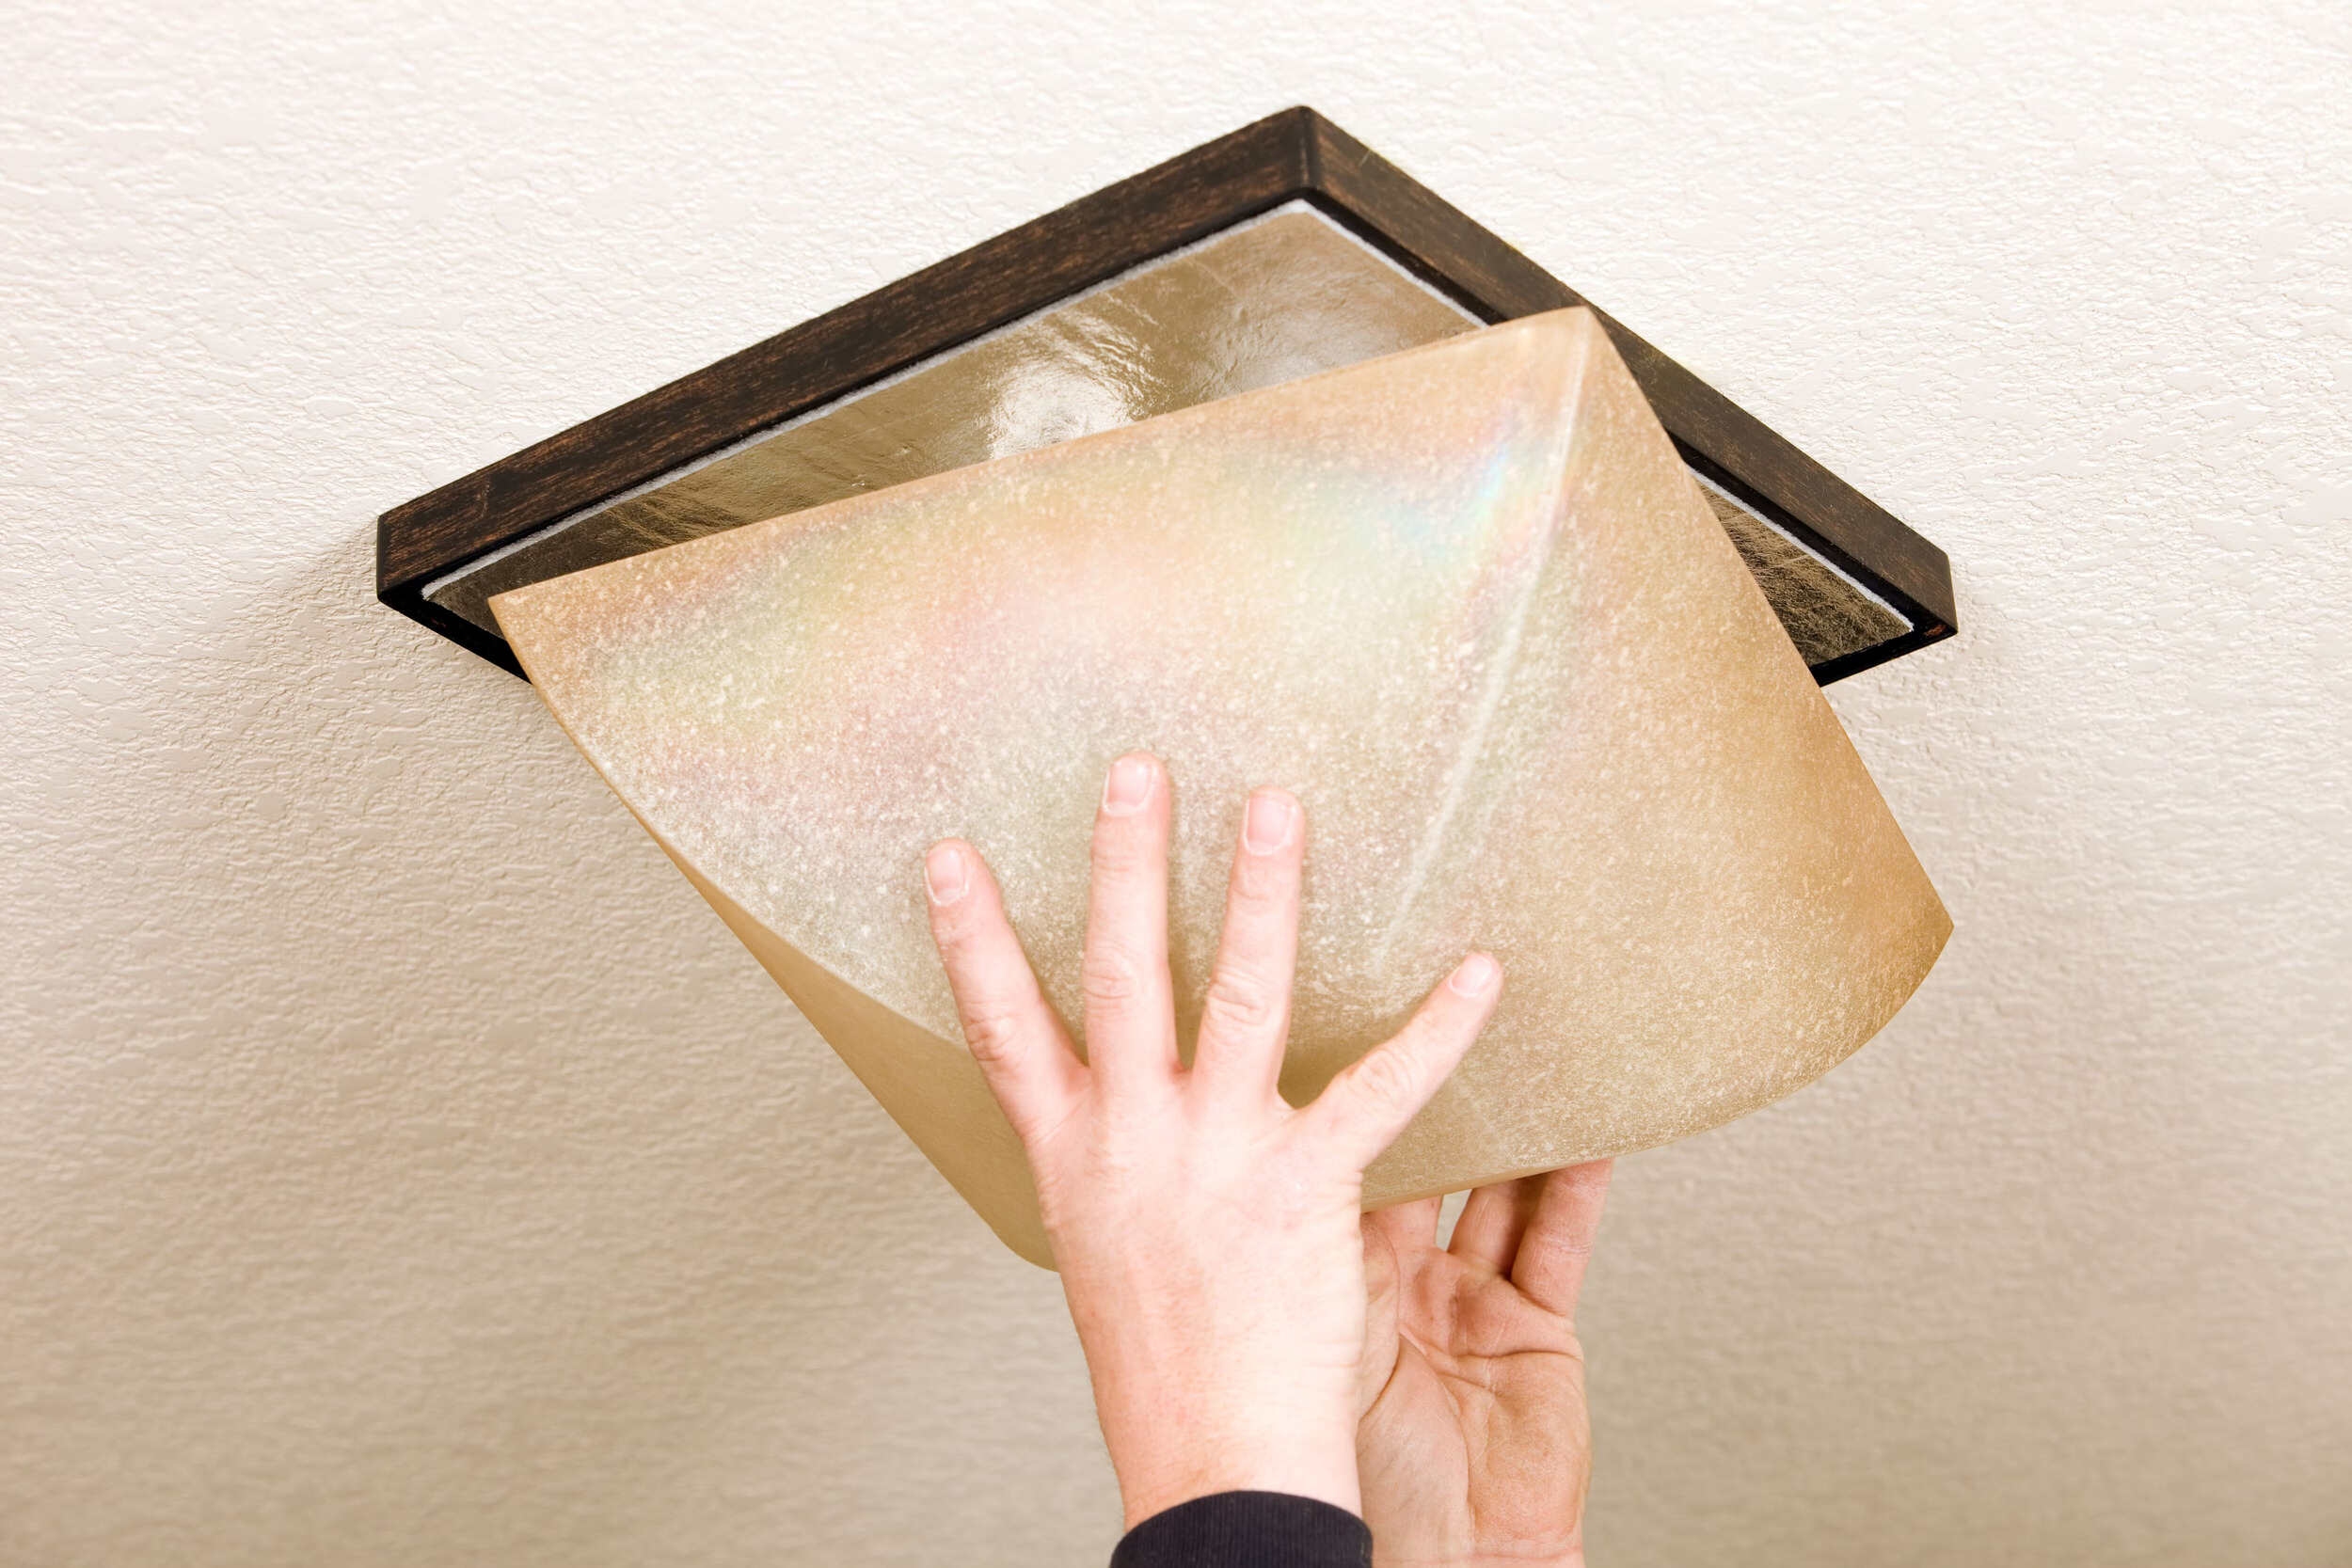
Step 3: Remove Old Light Fixture
Now that the power is turned off, it’s time to remove the old light fixture. Follow these steps:
- Begin by removing the light bulb(s) from the fixture. Set them aside in a safe place.
- Locate the mounting screws or nuts that hold the fixture to the ceiling or wall. Use a screwdriver or pliers to loosen and remove them.
- Gently lower the old light fixture and disconnect the wiring from the electrical box. Pay attention to how the wires are connected, taking note of any wire color combinations or labels.
- Once the wiring is disconnected, carefully remove the old fixture from the mounting bracket or electrical box. Set it aside.
Inspect the mounting bracket or electrical box for any damage or loose connections. If necessary, repair or replace them before proceeding with the installation of the new flush mount light.
With the old light fixture removed, you’re now ready to install the mounting bracket for the new flush mount light. This step will provide a secure base for the new fixture.
Step 4: Install Mounting Bracket
Now, it’s time to install the mounting bracket for the new flush mount light fixture. The mounting bracket provides a secure and stable base for attaching the fixture to the ceiling or wall. Follow these steps:
- Remove the mounting bracket from the packaging and familiarize yourself with its components.
- Hold the mounting bracket against the electrical box in the ceiling or wall, aligning the screw holes of the bracket with those of the box.
- Insert the screws provided with the mounting bracket into the screw holes and tighten them using a screwdriver or a power drill with a screwdriver bit.
- Ensure that the mounting bracket is securely attached to the electrical box.
Once the mounting bracket is installed, you’re ready to move on to connecting the wiring for the new flush mount light.
Note: If your new flush mount light comes with its own built-in mounting bracket, follow the manufacturer’s instructions for installation.
Before installing a flush mount light, make sure to turn off the power at the circuit breaker to avoid any electrical accidents. Always use a voltage tester to double-check that the power is off before starting the installation.
Read more: What Are Flush Mount Lights
Step 5: Connect Wiring
With the mounting bracket securely installed, it’s time to connect the wiring for the new flush mount light. Before you begin, make sure the power to the circuit is turned off and double-check using a voltage tester.
Follow these steps to connect the wiring:
- Locate the electrical wires protruding from the ceiling or wall. You’ll typically find a black (hot) wire, a white (neutral) wire, and a green or copper (ground) wire.
- If necessary, strip the insulation from the end of each wire using a wire stripper, exposing about ½ inch of bare wire.
- Take the black wire from the new flush mount light fixture and connect it to the black (hot) wire in the ceiling or wall. Twist the exposed ends of the wires together clockwise and secure them with a wire connector. Repeat this step for the white (neutral) wires and the green or copper (ground) wires.
- Once the wires are securely connected, gently push them into the electrical box and make sure they are not pinched or in contact with any sharp edges.
- Use electrical tape to secure the wire connectors and provide additional insulation.
Double-check your wiring connections to ensure they are secure and properly insulated. Avoid leaving any exposed wire ends or loose connections, as they can cause electrical hazards.
Now that the wiring is connected, you’re ready to attach the new flush mount light fixture to the mounting bracket.
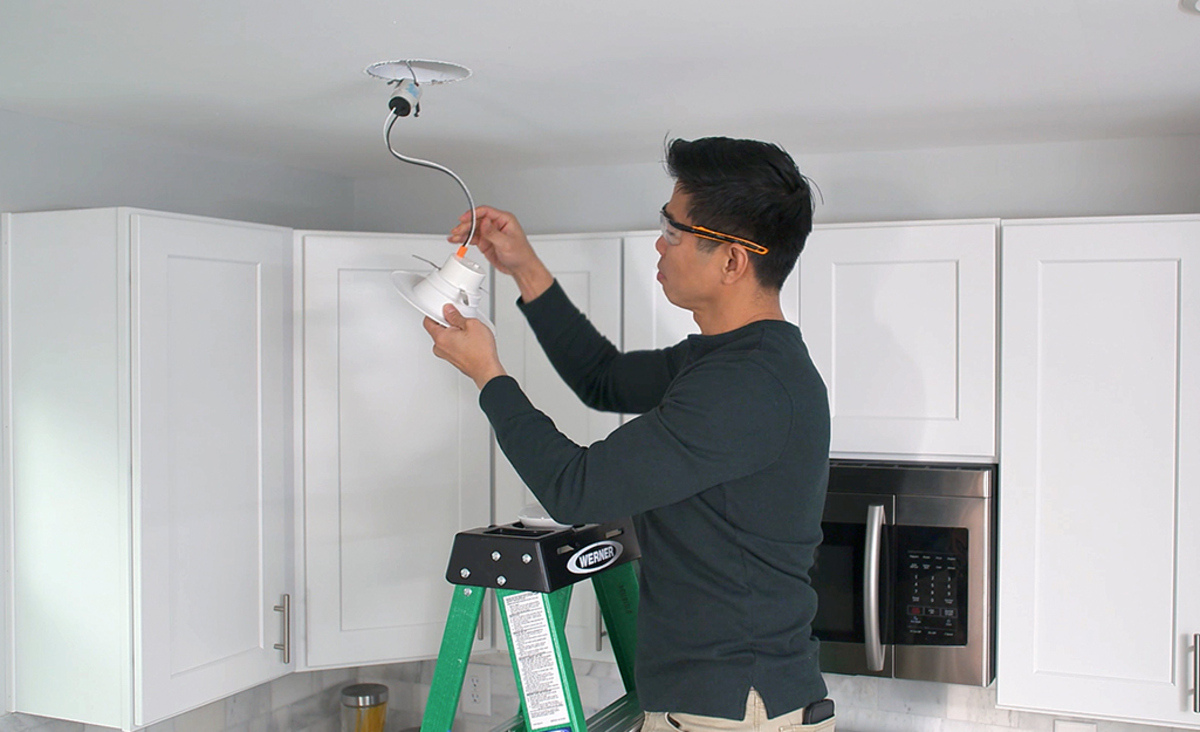
Step 6: Attach Light Fixture to Mounting Bracket
With the wiring securely connected, it’s time to attach the new flush mount light fixture to the mounting bracket. This step will ensure that the fixture is securely in place and ready for use. Follow these steps:
- Hold the flush mount light fixture against the mounting bracket, aligning the screw holes on the fixture with those on the bracket.
- Insert the screws provided with the fixture into the screw holes and tighten them using a screwdriver or a power drill with a screwdriver bit. Be sure not to over tighten, as it may damage the fixture or the bracket.
- Give the fixture a gentle tug to ensure it is securely attached to the mounting bracket.
Once the light fixture is securely attached, you can move on to the next step: securing the light fixture.
Note: If your flush mount light fixture has additional installation requirements or specific instructions, refer to the manufacturer’s manual for guidance.
Step 7: Secure Light Fixture
Now that the light fixture is attached to the mounting bracket, it’s important to ensure that it is securely in place. This step will help prevent any accidental dislodging or movement of the fixture. Follow these steps to secure the light fixture:
- Double-check that all screws are tightly secured and there is no wobbling or looseness in the fixture.
- If your flush mount light fixture comes with decorative nuts or finials, ensure they are properly tightened to secure the fixture in place.
- Give the fixture a gentle shake or tug to test its stability. If it feels secure, you can proceed to the final step.
Securing the light fixture is important not only for aesthetics but also for safety. A loose or unstable fixture could potentially fall and cause damage or injury.
Once you have ensured the security of the fixture, it’s time to move on to the final step: turning on the power.
Step 8: Turn on Power
With the light fixture securely in place, it’s time to turn on the power to illuminate your new flush mount light. Follow these steps to safely restore power:
- Return to the electrical panel or circuit breaker box.
- Locate the circuit breaker that controls the power to the area where you installed the flush mount light fixture.
- Slowly flip the switch for the identified circuit breaker to the “on” position.
- Use the light switch connected to the newly installed fixture to turn it on and confirm that the light is functioning properly.
Observe the light fixture for any flickering, dim lighting, or other irregularities. If you notice any issues, immediately turn off the power and double-check your connections to ensure everything is properly connected and secured.
Congratulations! You have successfully installed a flush mount light fixture in your home. Enjoy the improved lighting and ambiance it provides.
Remember, if you encounter any difficulties during the installation process or if you’re unsure about any step, it’s always recommended to consult a licensed electrician for assistance.
Thank you for following this guide, and we hope this has been a helpful resource for your flush mount light installation!
Read more: How To Change Flush Mount Light
Conclusion
Installing a flush mount light can transform the look and feel of any room, and with the right tools and knowledge, it can be a straightforward process. By following the steps outlined in this guide, you’ll be able to safely and successfully install a flush mount light fixture in your home.
Remember to prioritize safety throughout the installation process. Always turn off the power to the circuit you’re working on and use safety gear to protect yourself from any potential hazards.
Gathering the necessary materials and tools beforehand will make the installation process smoother and more efficient. Ensuring that you have the right mounting bracket, wiring connectors, and tools will help you complete the installation with ease.
From turning off the power and removing the old fixture to connecting the wiring and securing the new light fixture, each step plays a crucial role in a successful installation. Take your time and double-check your work at each stage to ensure everything is properly installed.
Lastly, don’t forget to turn on the power and test the newly installed flush mount light fixture. Enjoy the improved lighting and ambiance it brings to your space.
If you have any doubts or encounter any difficulties during the installation process, it’s always recommended to seek the assistance of a licensed electrician.
We hope this guide has been informative and helpful in guiding you through the process of installing a flush mount light fixture. Happy lighting!
Frequently Asked Questions about How To Install A Flush Mount Light
Was this page helpful?
At Storables.com, we guarantee accurate and reliable information. Our content, validated by Expert Board Contributors, is crafted following stringent Editorial Policies. We're committed to providing you with well-researched, expert-backed insights for all your informational needs.


0 thoughts on “How To Install A Flush Mount Light”