Articles
How To Flush Mount A TV
Modified: August 27, 2024
Learn how to flush mount your TV with our informative articles. Find step-by-step instructions and helpful tips to create a sleek and space-saving setup.
(Many of the links in this article redirect to a specific reviewed product. Your purchase of these products through affiliate links helps to generate commission for Storables.com, at no extra cost. Learn more)
Introduction
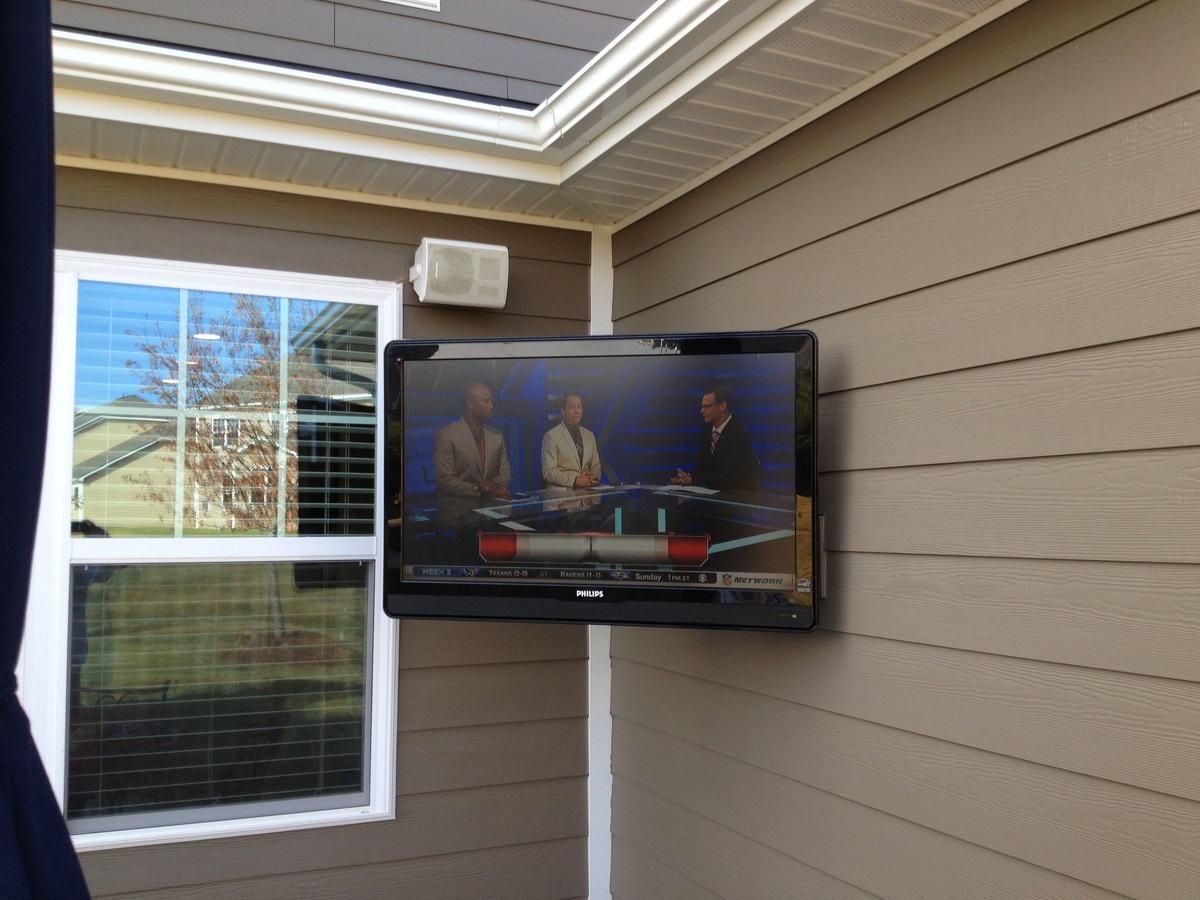
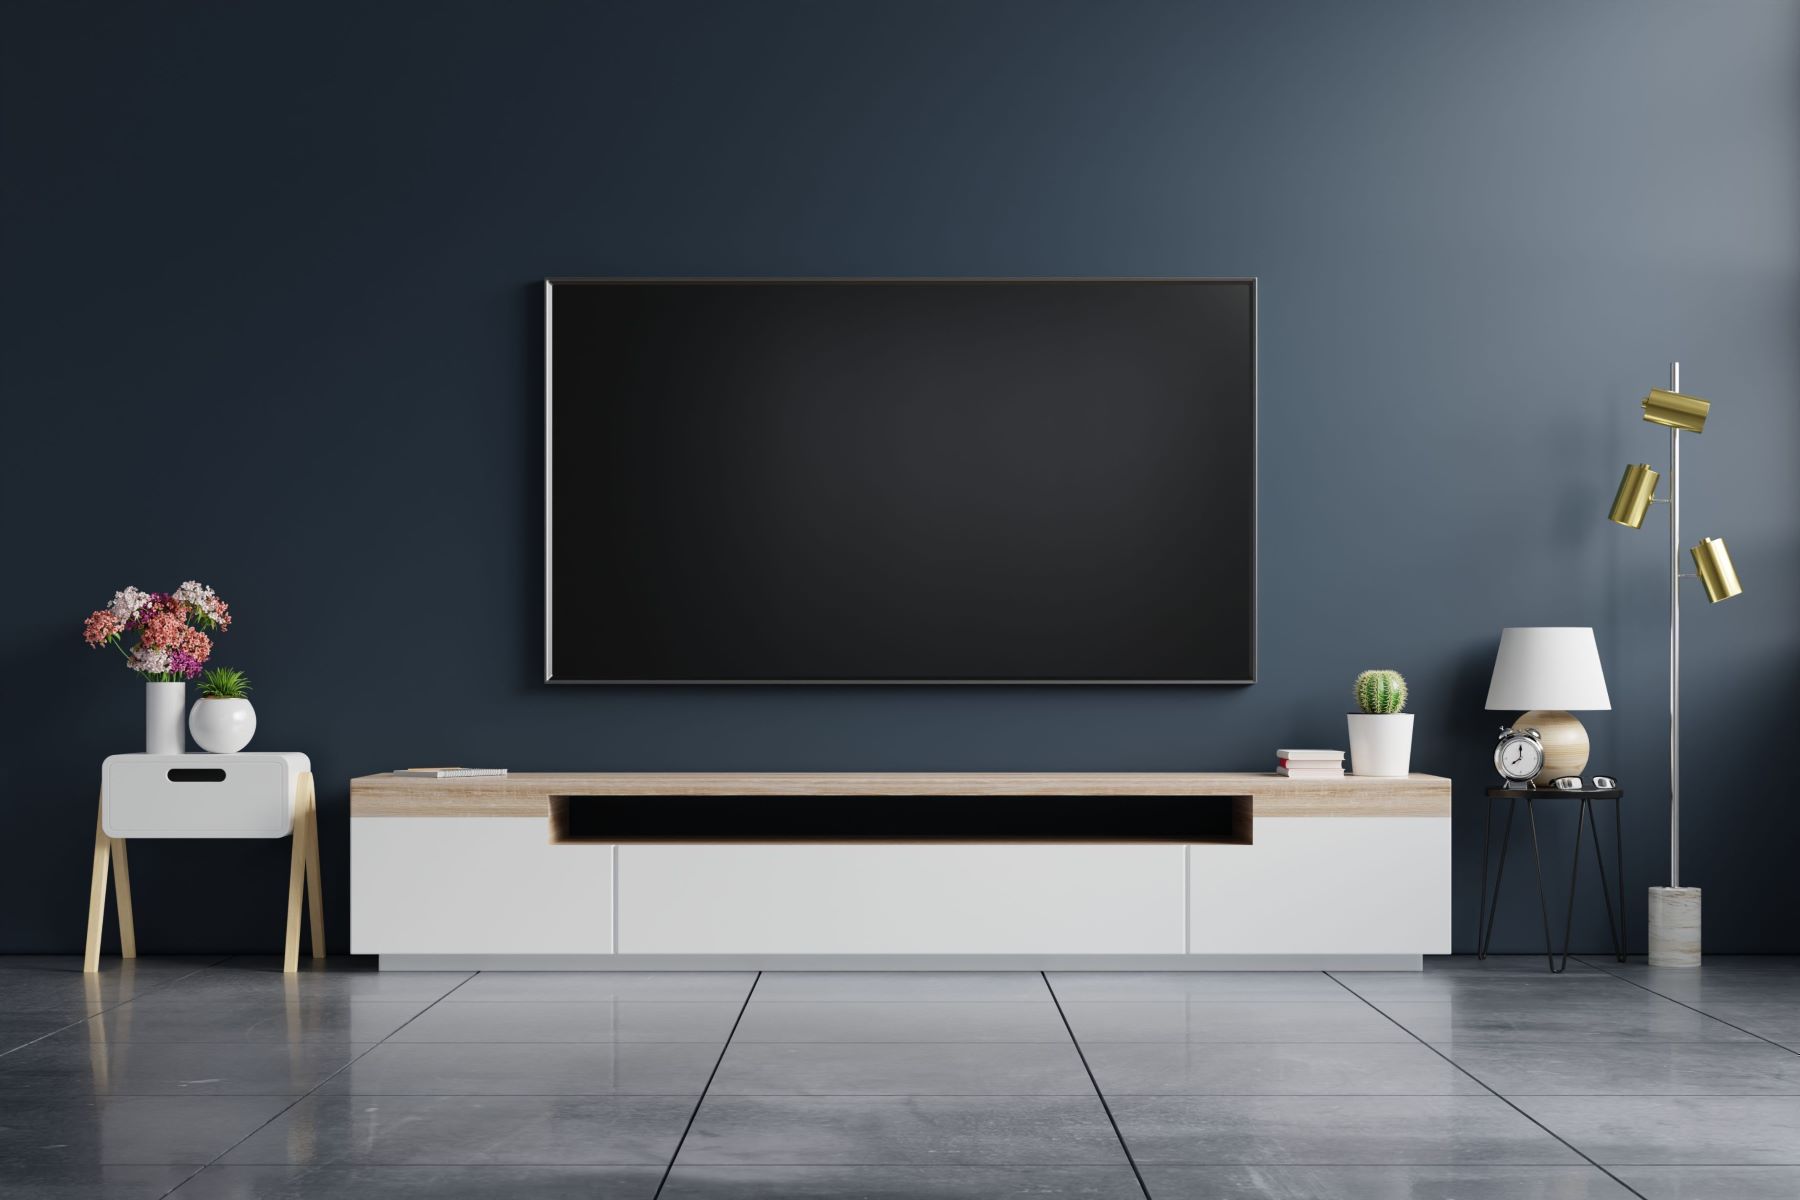
Mounting a TV on the wall is a great way to save space and create a sleek and modern look in your living room or entertainment area. While there are various methods to mount a TV, one popular option is a flush mount installation. This type of installation allows the TV to sit flat against the wall, giving it a seamless and integrated appearance.
However, flush mounting a TV requires some careful planning and a few essential steps to ensure a secure and professional installation. In this article, we will guide you through the process of flush mounting a TV, from gathering the necessary tools and materials to concealing the cables for a clean and neat finish.
Before you begin, it’s important to note that flush mounting a TV is a relatively advanced DIY project. If you are not confident in your abilities or have any concerns, it’s recommended to seek the assistance of a professional installer. Safety should always be your top priority.
Now, let’s dive into the step-by-step process of flush mounting a TV for a stunning and clutter-free entertainment space.
Key Takeaways:
- Flush mounting a TV requires careful planning, precise measurements, and attention to detail. It’s a fantastic way to save space and create a sleek and modern look in your living space, enhancing the overall aesthetics and viewing experience.
- Concealing cables, testing the installation, and making necessary adjustments are crucial steps in achieving a professional flush mount installation. Prioritizing safety and seeking professional assistance when needed will ensure a successful and secure TV mounting process.
Read more: How To Mount A TV On A TV Stand
Step 1: Gather the necessary tools and materials
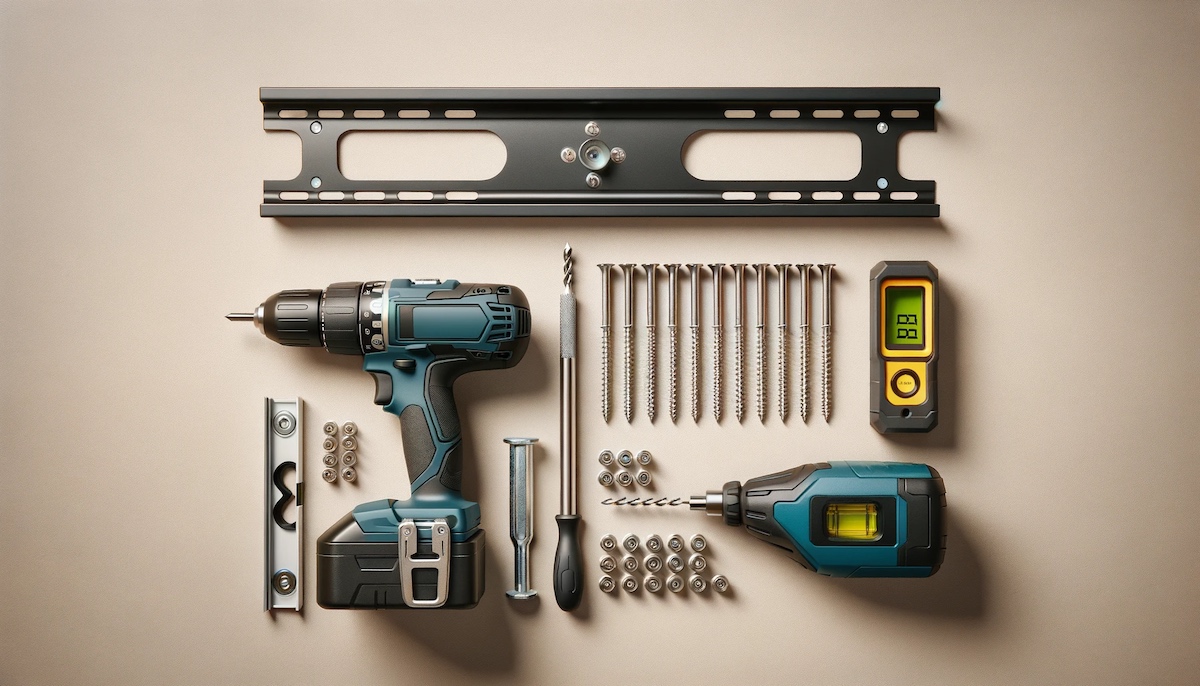
Before you start the flush mounting process, it’s important to ensure you have all the required tools and materials on hand. Here is a list of what you’ll need:
- TV mounting bracket: Choose a high-quality bracket that is compatible with the size and weight of your TV. Make sure it includes all the necessary hardware for installation.
- Stud finder: This tool will help you locate the studs in your wall, which are essential for a secure mount.
- Level: Use a level to ensure that your TV will be straight and properly aligned.
- Socket wrench or screwdriver: Depending on the type of mounting bracket, you may need one of these tools to secure it to the wall.
- Power drill: A power drill will be useful for drilling pilot holes and securing the bracket.
- Cable management kit: To achieve a clean and organized look, consider investing in a cable management kit to hide and manage the cables.
- Painter’s tape and pencil: These tools will help you mark and measure the placement of the bracket on the wall.
- Safety goggles and gloves: It’s always a good idea to protect yourself while working with tools and hardware.
Once you have gathered all the necessary tools and materials, you’ll be ready to move on to the next steps of the flush mounting process. Make sure to read the instructions that come with your specific mounting bracket to familiarize yourself with the installation process.
Step 2: Choose the right location for flush mounting the TV
Choosing the right location for flush mounting your TV is crucial for optimal viewing experience and overall aesthetics. Here are a few factors to consider when deciding where to mount your TV:
- Room layout: Take into account the layout of your room and consider the viewing angles from different seating areas. You’ll want to choose a location that provides a comfortable viewing experience for everyone.
- Wall material: Ensure that the wall you choose has enough structural support to hold the weight of the TV. Studs or solid wood walls are ideal for secure mounting.
- Height: Consider the height at which you’ll be mounting your TV. The center of the screen should be at eye level when seated for comfortable viewing.
- Glare and lighting: Take note of any sources of glare or natural light in the room. Avoid mounting the TV directly opposite windows or light sources to minimize glare and maintain good picture quality.
Once you’ve considered these factors, use a stud finder to locate the studs in the wall. Mounting the TV on the studs will provide the necessary support and stability. Mark the location of the studs using painter’s tape and a pencil.
Next, use the bracket or TV itself as a guide to determine the height and placement on the wall. Use a level to ensure that the bracket will be straight. Once you’re satisfied with the placement, mark the holes for the mounting screws using a pencil.
With the location chosen and marked, you’re now ready to prepare the wall for installation. This includes ensuring the wall is clean and smooth, as well as making any necessary cutouts or modifications for cable management.
Step 3: Prepare the wall for installation
Preparing the wall before installing the TV is an important step to ensure a secure and professional installation. Here’s what you need to do:
- Clean the wall: Start by cleaning the wall where you will be mounting the TV. Remove any dust, dirt, or debris to ensure a clean and smooth surface.
- Consider wall condition: Evaluate the condition of the wall. If there are any cracks, holes, or imperfections, it’s recommended to repair them before proceeding. Fill any holes with spackling compound and use sandpaper to smooth out the surface.
- Cut openings for cable management: If you’re using a cable management kit, now is the time to cut openings in the wall. Carefully measure and mark the location where the openings will be, ensuring they are in line with the placement of the TV and the mounting bracket.
- Use a drywall saw or utility knife to carefully cut along the marked lines. Be cautious when cutting to avoid damaging any electrical wires or plumbing behind the wall.
- Once the openings are cut, use sandpaper to smooth the edges and create a clean finish.
Preparing the wall will not only make the installation process easier but also ensure a neater and more professional-looking result. Once you have finished preparing the wall, it’s time to move on to installing the mounting bracket.
Step 4: Install the mounting bracket
Now that the wall is prepared, it’s time to install the mounting bracket. Follow these steps:
- Position the mounting bracket: Take the mounting bracket and align it with the pre-marked holes on the wall. Make sure the bracket is level by using a spirit level.
- Mark the hole positions: Once the bracket is level, mark the hole positions on the wall using a pencil. These marks will guide you during the drilling process.
- Drill pilot holes: Using a power drill and the appropriate size drill bit, carefully drill pilot holes into the marked positions. Make sure to drill into the studs to ensure a secure mount.
- Secure the bracket: After drilling the pilot holes, align the bracket with the holes and attach it to the wall using screws or bolts provided with the bracket. Use a socket wrench or screwdriver to secure the bracket tightly.
- Double-check the level: After securing the bracket, use the spirit level again to ensure it is still level. Make any necessary adjustments if needed.
It’s essential to ensure that the mounting bracket is securely attached to the wall to support the weight of the TV. Take your time during this step to ensure a strong and level foundation for the next phase of the installation process.
With the mounting bracket securely installed, you’re now ready to proceed to the next step, which is attaching the TV to the bracket.
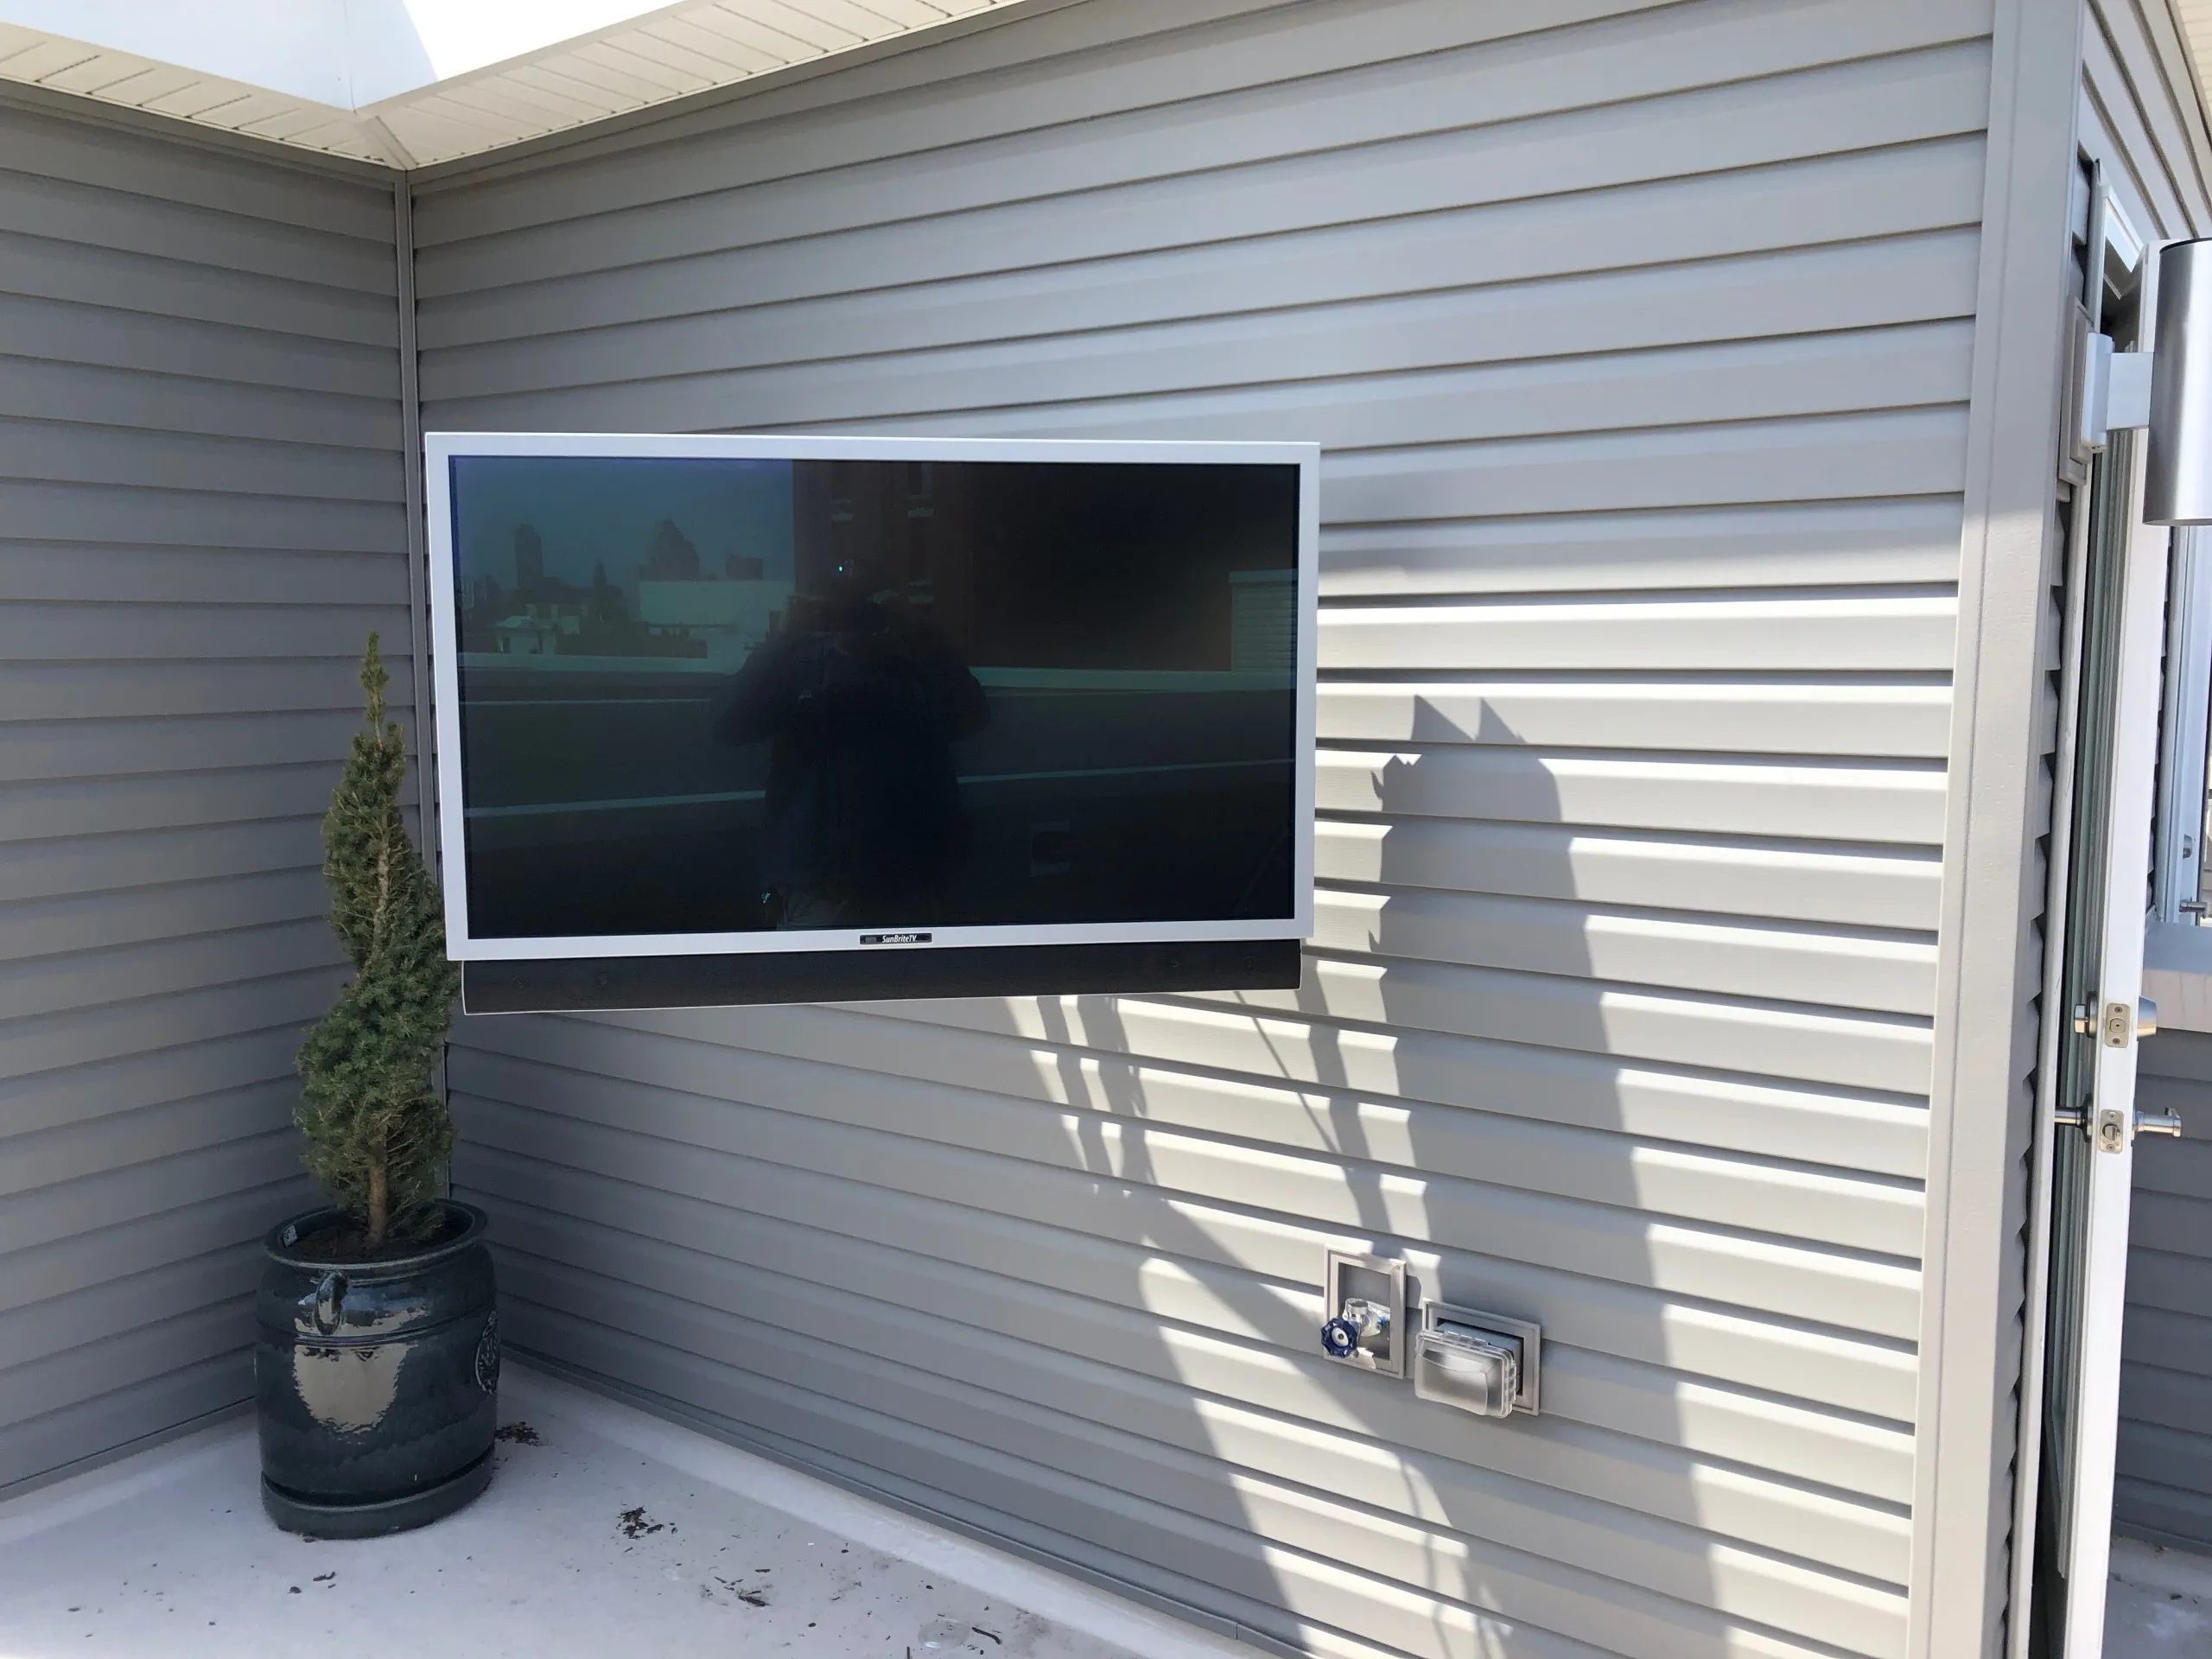
When flush mounting a TV, make sure to use a stud finder to locate the studs in the wall for secure installation. Use a level to ensure the TV is straight and evenly mounted.
Read more: What Are Flush Mount Lights
Step 5: Attach the TV to the mounting bracket
Now that the mounting bracket is securely installed on the wall, it’s time to attach the TV to the bracket. Follow these steps:
- Locate the mounting holes on the back of the TV: Every TV will have VESA mounting hole patterns on the back. These holes are used to attach the TV to the mounting bracket. Check the TV’s manual or online specifications to find the VESA measurement and ensure compatibility with the bracket.
- Remove any protective covers: Some TVs may have protective covers over the VESA mounting holes. Carefully remove these covers before proceeding.
- Align the TV with the mounting bracket: With the help of a friend or family member, carefully lift the TV and align the VESA mounting holes on the back of the TV with the corresponding holes on the mounting bracket.
- Secure the TV to the bracket: Once the holes are aligned, insert the bolts or screws provided with the mounting bracket into the holes and tighten them securely. Use the appropriate screwdriver or wrench to ensure a tight fit, but be careful not to overtighten and damage the TV.
- Double-check the alignment: After securing the TV to the bracket, step back and double-check that the TV is level and properly centered.
Attaching the TV to the mounting bracket requires caution and precision to avoid any accidental damage. It’s helpful to have another person assist you in this step to prevent any mishaps. Take your time to ensure the TV is securely attached and properly aligned.
With the TV successfully attached to the mounting bracket, it’s time to move on to the next step, which involves concealing the cables for a clean and organized look.
Step 6: Conceal the cables
One of the key aspects of achieving a clean and organized look when flush mounting a TV is to conceal the cables. Here are some steps to help you achieve that:
- Plan the cable route: Before you start concealing the cables, plan the route that they will take from the TV to the nearby power outlet or any other necessary connections. Take note of any obstacles, such as furniture or wall fixtures, and choose the most inconspicuous path. This will help you determine how much cable length you’ll need and where to place the cable management materials.
- Use cable management materials: There are several options available to help you hide and manage the cables. You can use cable raceways, wall-mounted conduits, or even paintable cable covers. These materials will allow you to run the cables along the wall, keeping them out of sight and organized.
- Secure the cables: Use adhesive clips or cable ties to secure the cables to the cable management materials. This will prevent them from dangling or getting tangled, ensuring a clean and professional-looking installation.
- Test the setup: Once the cables are concealed, make sure to test the TV and all connected devices to ensure everything is working properly. Check for any loose connections or issues with picture or sound quality.
Concealing the cables not only improves the aesthetics of your installation but also helps to maintain a safe and clutter-free environment. Taking the time to properly plan and execute cable management will result in a more polished and professional finish.
With the cables concealed, you’re almost done! The next step involves testing the installation and making any necessary adjustments.
Step 7: Test the installation and make necessary adjustments
After completing the installation of your flush-mounted TV and concealing the cables, it’s important to test the setup and make any necessary adjustments to ensure everything is working properly. Here’s what you need to do:
- Power on the TV: Connect the TV to a power source and turn it on. Check that the display is functioning correctly and the picture quality is clear.
- Check audio and video connections: If you have any external devices connected to the TV, such as a soundbar or DVD player, verify that the audio and video connections are secure and properly working. Adjust any settings if needed.
- Test all input sources: Switch between different input sources, such as cable/satellite TV, streaming devices, or gaming consoles, to ensure that the TV is receiving and displaying content from each source correctly.
- Adjust the TV position: Stand in various viewing positions and angles to assess the TV’s placement. Make any necessary adjustments to the tilt or swivel of the TV to improve the viewing experience for different seating areas.
- Check for any potential issues: Look for any signs of loose connections, overheating, or unusual noises. If you notice any issues, consult the TV’s manual or contact the manufacturer for troubleshooting steps.
Testing the installation is crucial to ensure that everything is working as expected and to address any issues early on. Take the time to carefully evaluate the TV’s performance and make the necessary adjustments to optimize your viewing experience.
If any adjustments or modifications are needed, such as repositioning the TV or adjusting the cable management system, make sure to do so before proceeding to the final step of the installation process.
Step 8: Enjoy your flush mounted TV!
Congratulations! You have successfully completed the process of flush mounting your TV. Now, it’s time to sit back, relax, and enjoy your newly installed flush mounted TV. Here are a few suggestions to enhance your viewing experience:
- Optimize your seating arrangement: Arrange your seating furniture in a way that allows for comfortable viewing angles and minimal glare. Consider adding additional seating or rearranging existing furniture if needed.
- Calibrate the TV settings: Take the time to calibrate your TV’s picture and audio settings to suit your preferences. This can ensure the best possible viewing and audio experience.
- Explore additional features: Familiarize yourself with the various features and functionalities of your TV. Some TVs offer smart capabilities, streaming services, and voice control options. Take advantage of these features to enhance your entertainment experience.
- Keep the area clean: Regularly dust and clean the TV screen and surrounding area to maintain optimal picture quality and overall cleanliness.
Having a flush mounted TV not only adds a sleek and modern touch to your living space but also provides a more immersive and enjoyable viewing experience. Whether you’re watching your favorite movies, bingeing on TV shows, or gaming with friends, you can now do so with enhanced style and convenience.
Remember to share your newfound TV installation knowledge with friends and family who may be interested in mounting their own TVs. By following these steps and sharing your expertise, you can help others achieve a professional and aesthetically pleasing flush mount installation.
Enjoy the sleek look and immersive experience of your flush mounted TV and create lasting memories with family and friends in your stylish and comfortable entertainment area!
Read more: What Is Flush Mount Album
Conclusion
Flush mounting a TV is a fantastic way to save space and create a sleek and modern look in your living room or entertainment area. The process may seem daunting at first, but by following the steps outlined in this article, you can achieve a secure and professional installation.
From gathering the necessary tools and materials to concealing the cables and testing the installation, each step is crucial in ensuring a seamless and enjoyable viewing experience. The proper planning, precise measurements, and attention to detail throughout the process will result in a clean and organized installation that enhances the aesthetics of your space.
Remember to always prioritize safety when working with tools and hardware. If you have any doubts or concerns, it is wise to seek the assistance of a professional installer to ensure a successful and secure flush mount installation.
Once your TV is securely mounted and all the cables are neatly concealed, it’s time to sit back, relax, and enjoy your flush mounted TV. Whether you’re watching movies, sports, or gaming, the sleek and integrated look of the TV on the wall will enhance your viewing experience and create a visually pleasing focal point in your room.
Now that you have the knowledge and skills to flush mount a TV, feel free to share your expertise with others who may be interested in achieving a similar setup. By helping others with their TV installations, you can spread the joy and satisfaction of a professionally mounted TV.
So, gather your tools, follow the steps outlined in this article, and enjoy the benefits of a flush mounted TV in your home. It’s time to transform your entertainment area into a stylish and immersive space that will impress family and friends alike.
Frequently Asked Questions about How To Flush Mount A TV
Was this page helpful?
At Storables.com, we guarantee accurate and reliable information. Our content, validated by Expert Board Contributors, is crafted following stringent Editorial Policies. We're committed to providing you with well-researched, expert-backed insights for all your informational needs.


0 thoughts on “How To Flush Mount A TV”