Articles
How To Charge Google Doorbell
Modified: September 2, 2024
Learn how to charge your Google Doorbell with these helpful articles.
(Many of the links in this article redirect to a specific reviewed product. Your purchase of these products through affiliate links helps to generate commission for Storables.com, at no extra cost. Learn more)
Introduction
Welcome to our comprehensive guide on how to charge your Google Doorbell. The Google Doorbell is a smart home device that allows you to monitor and secure your front door. It provides a range of features, including HD video recording, two-way audio communication, and motion detection capabilities. To ensure that your Google Doorbell functions at its best, it is crucial to keep it adequately charged.
In this article, we will walk you through the step-by-step process of charging your Google Doorbell. Whether you are a new owner of a Google Doorbell or have been using one for a while, this guide will help you understand the charging process and ensure that your device is always ready for use.
Before we dive into the details, it’s important to note that the exact procedure for charging your Google Doorbell may vary slightly depending on the model you own. Therefore, it’s always recommended to refer to the user manual provided by Google for specific instructions.
Now, without further ado, let’s get started with charging your Google Doorbell!
Key Takeaways:
- Ensure you have the correct charging cable and power source to charge your Google Doorbell. Follow the step-by-step process to connect the cable, monitor the charging process, and test the device for optimal functionality.
- Familiarize yourself with your Google Doorbell’s features and charging port location to ensure a smooth and successful charging process. Monitor the battery level and test the device after charging to verify its proper functionality.
Read more: How To Charge Eufy Doorbell
Step 1: Understanding the Google Doorbell
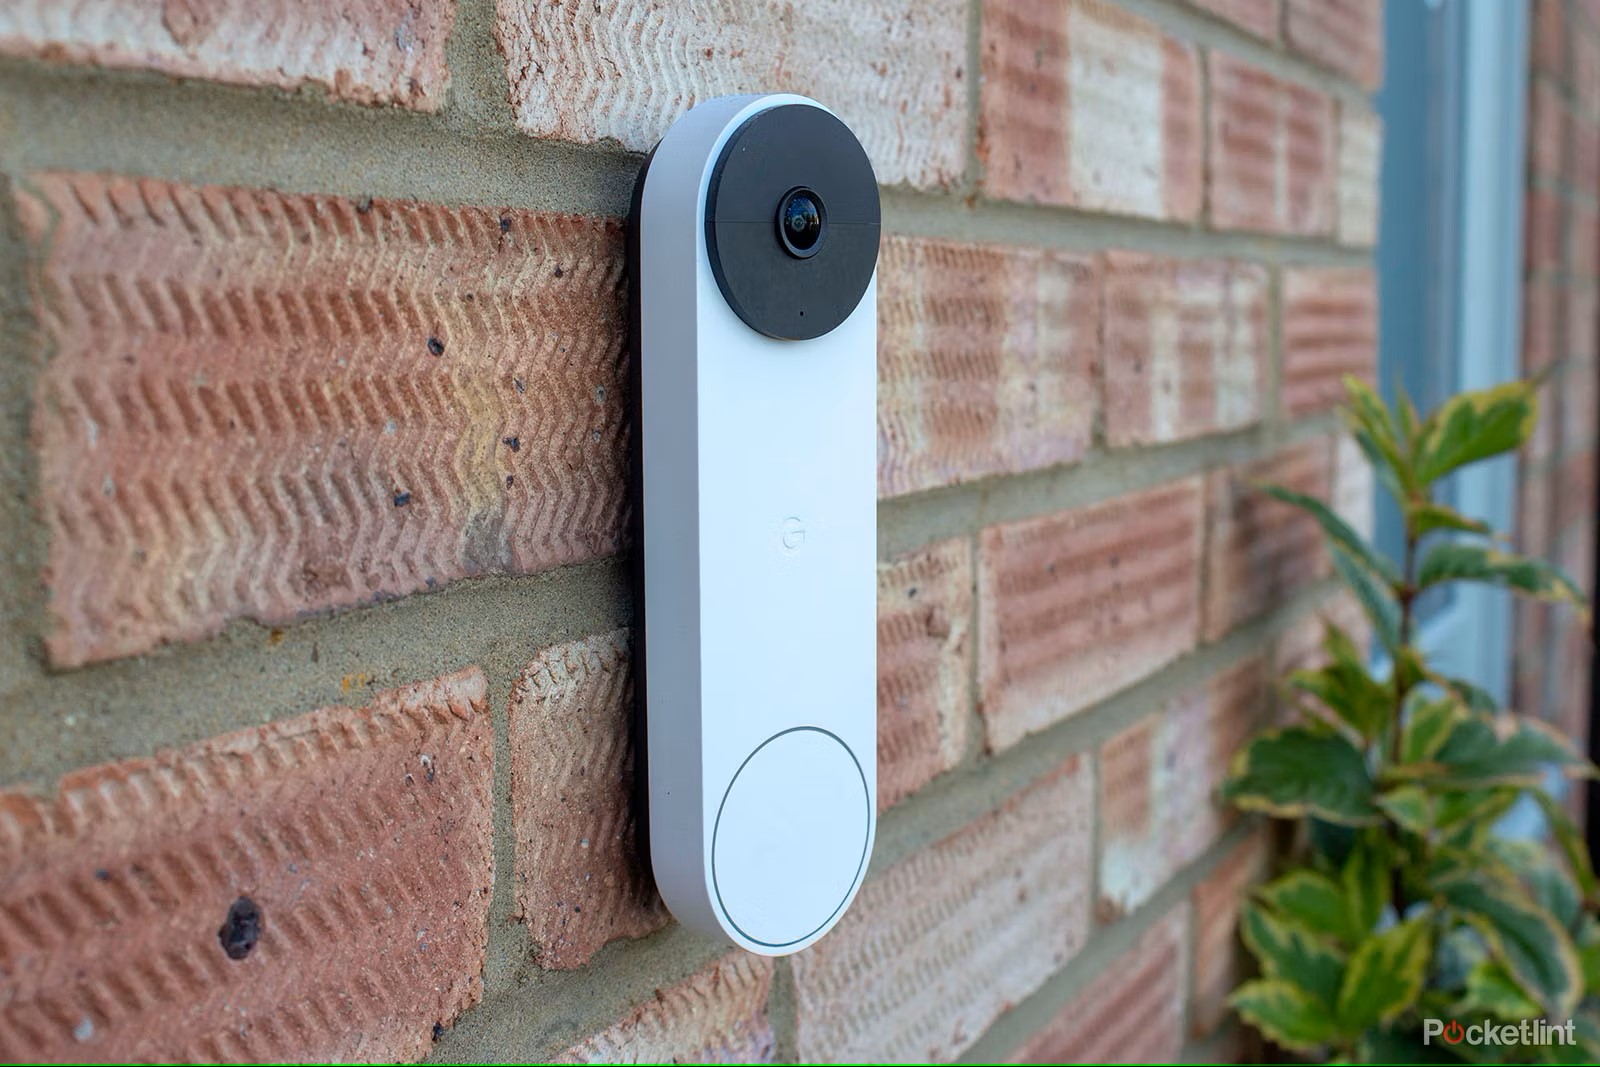
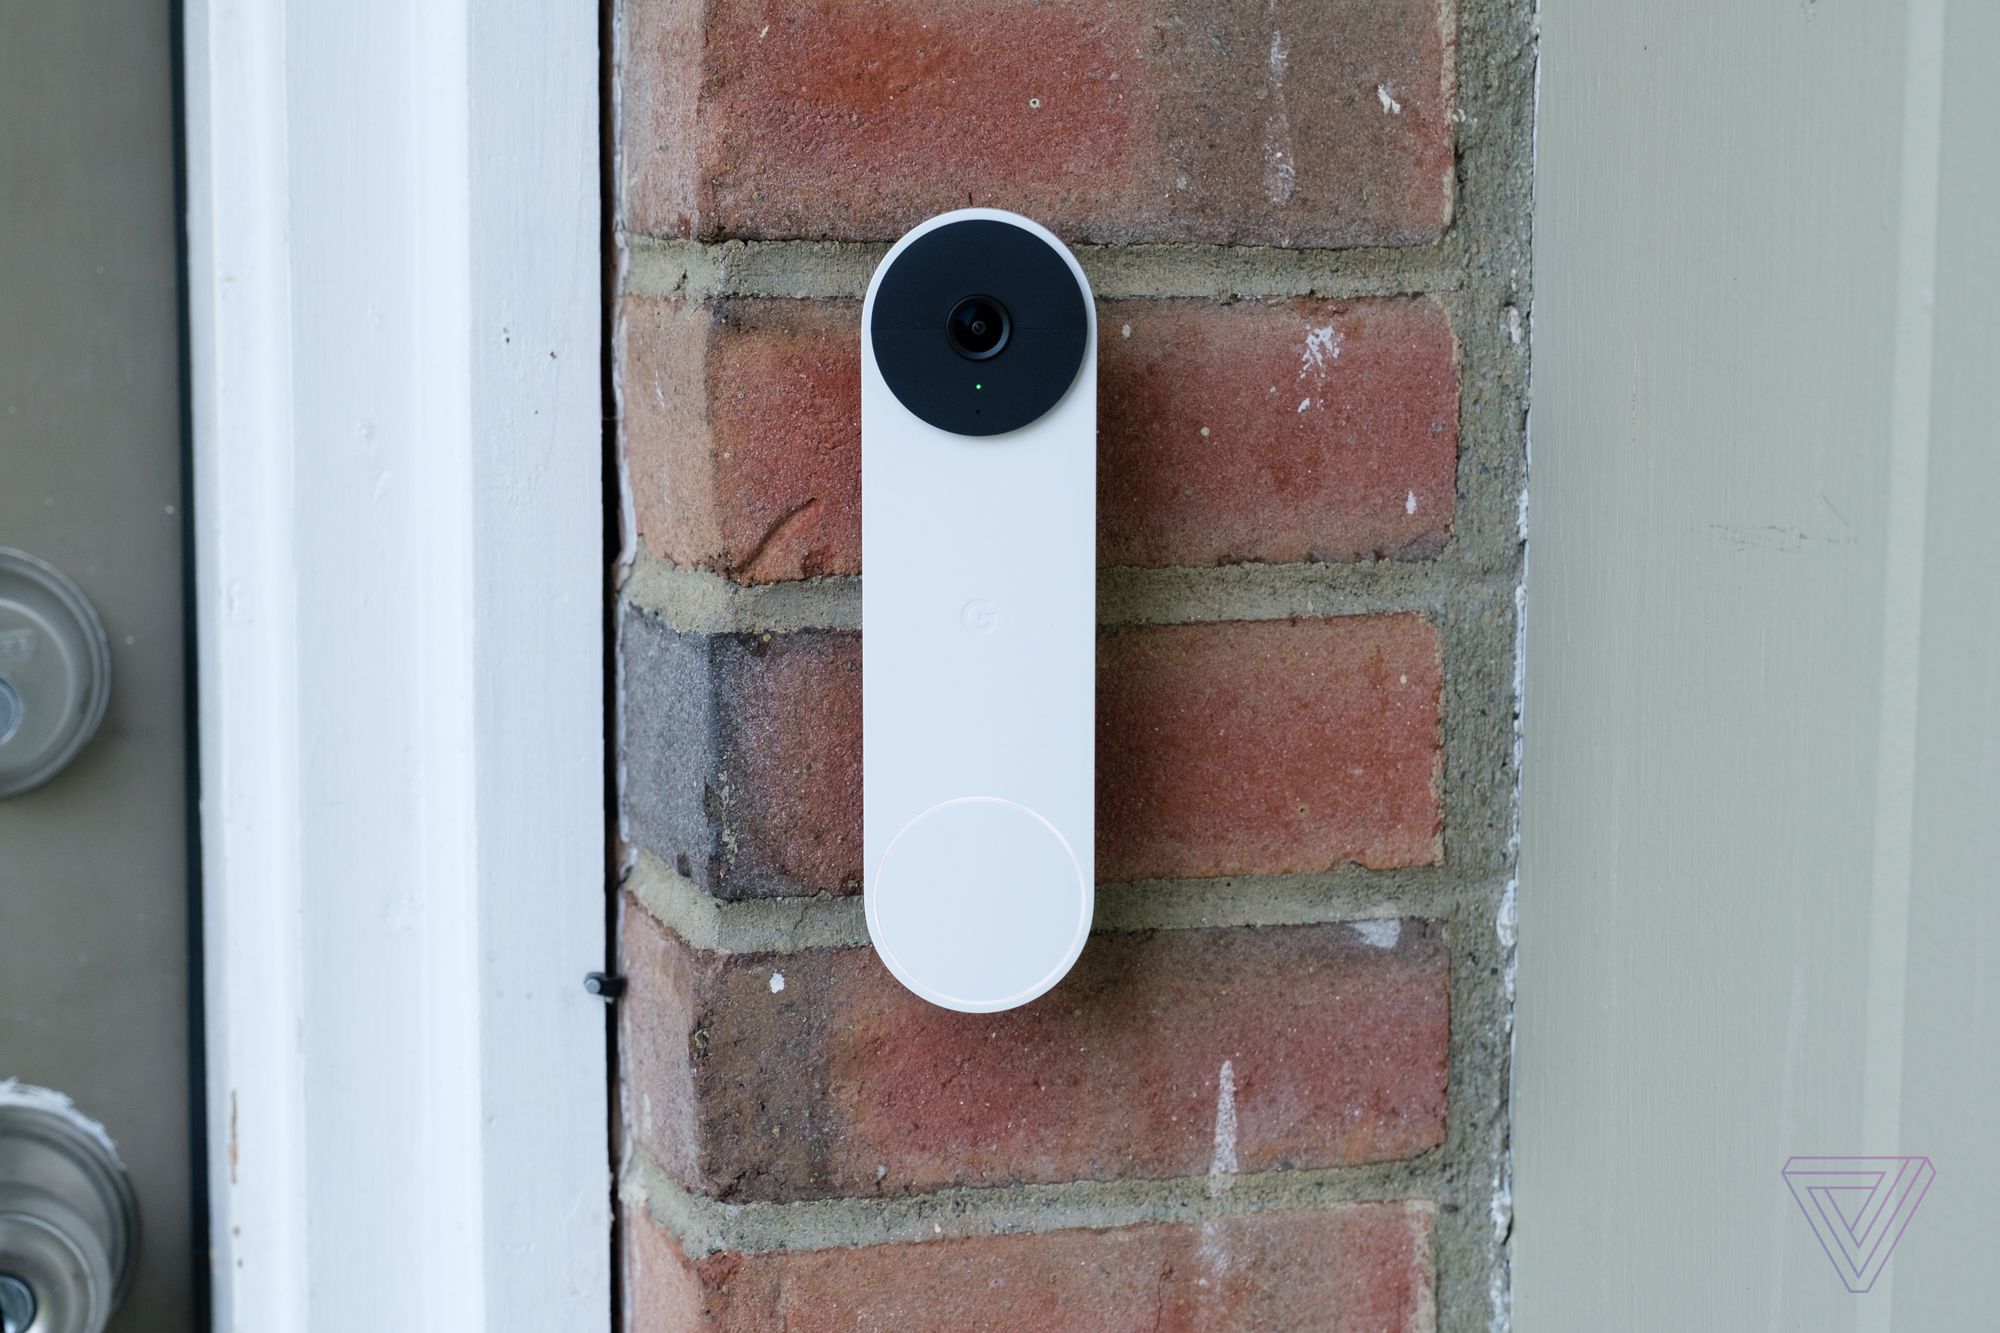
Before you begin the charging process, it’s essential to have a clear understanding of your Google Doorbell. The Google Doorbell is a smart home device that is designed to enhance the security and convenience of your home. It is equipped with a high-definition camera that allows you to view and monitor your front door from anywhere using your smartphone or tablet.
In addition to video monitoring, the Google Doorbell also features two-way audio communication, enabling you to communicate with visitors or delivery personnel right from your mobile device. It also has built-in motion detection sensors, which will alert you whenever there is activity detected in front of your door.
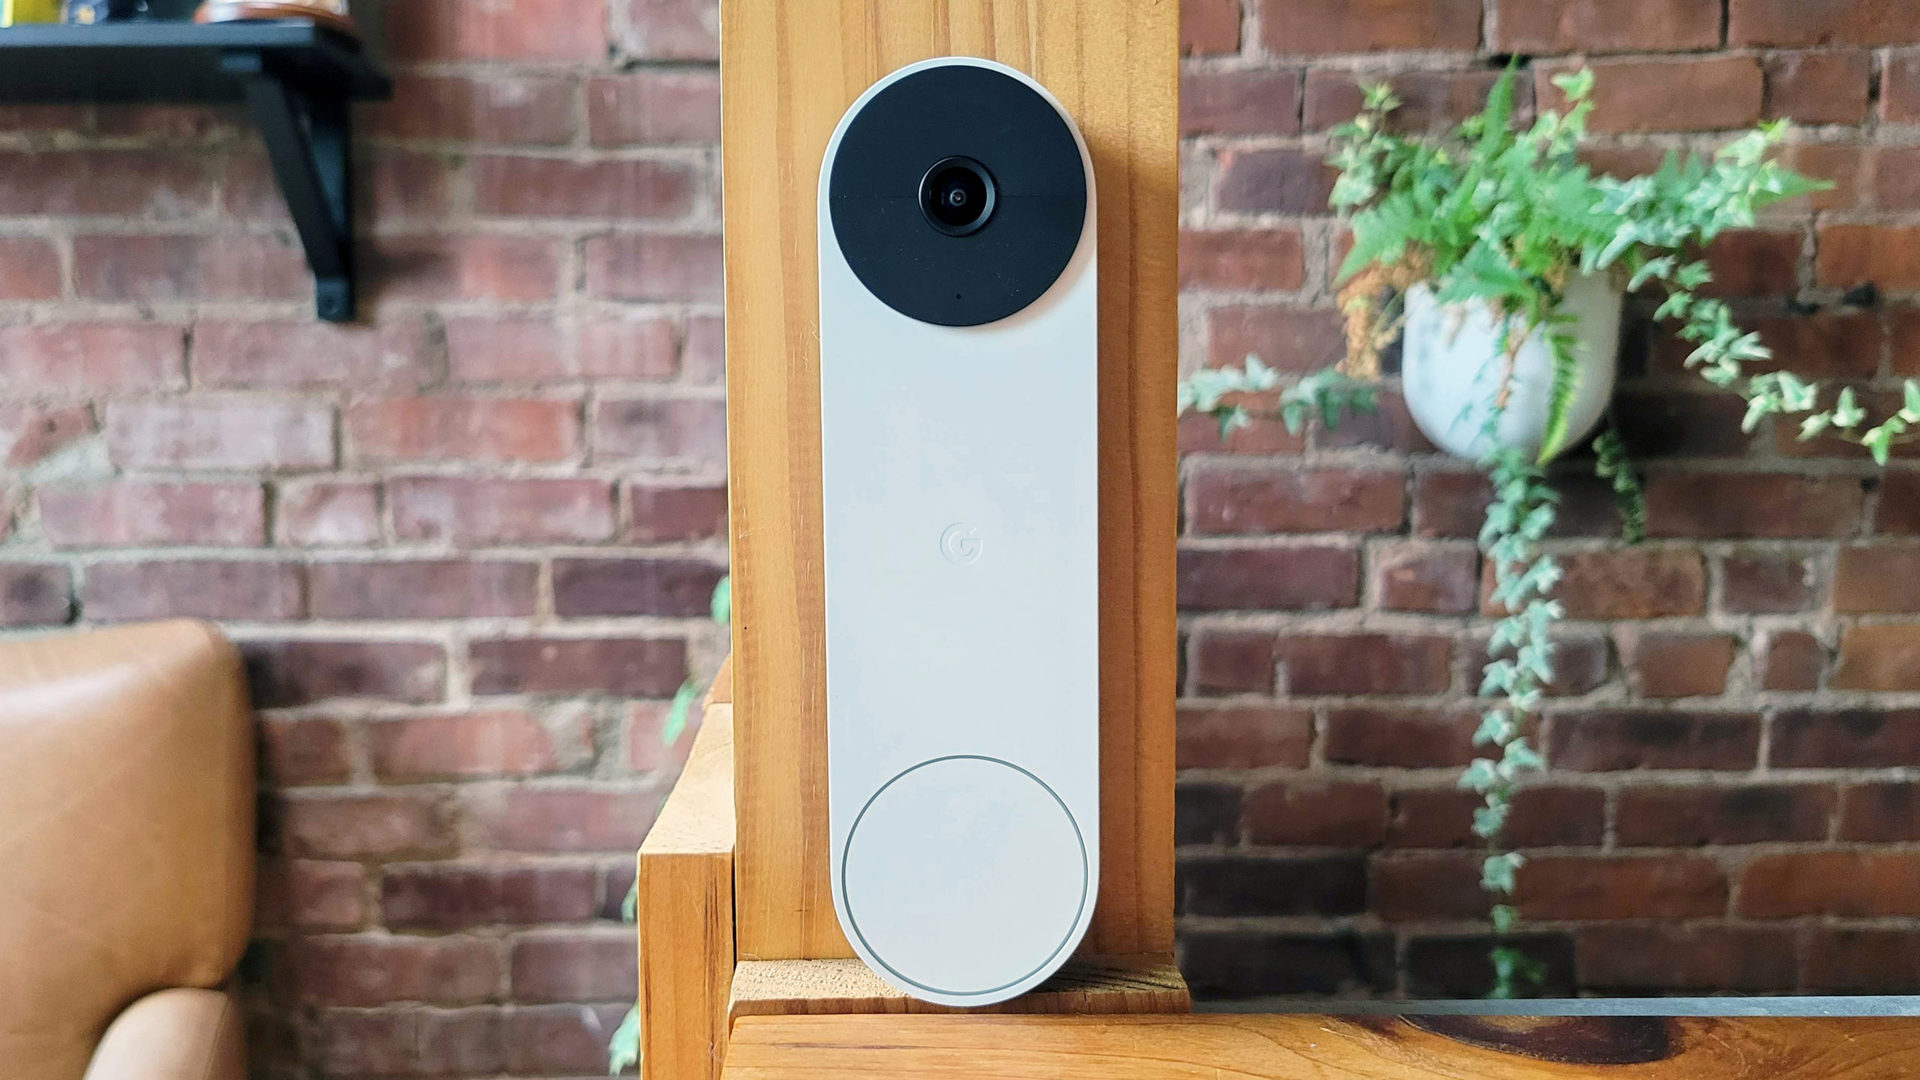
Understanding the various features and functionalities of your Google Doorbell is crucial for maximizing its usage and ensuring that it remains in good working condition. Take some time to familiarize yourself with the device’s layout, buttons, and settings by referring to the user manual provided by Google.
By understanding the Google Doorbell’s capabilities, you will be better equipped to utilize its features while charging it.
Step 2: Gather the necessary equipment
Before you can proceed with charging your Google Doorbell, it’s crucial to gather all the necessary equipment. Here’s a checklist of what you’ll need:
- A charging cable: Most Google Doorbell models come with a proprietary charging cable specifically designed for the device. Make sure you have the correct cable that is compatible with your Google Doorbell model. If you don’t have the original cable, you may need to purchase a replacement from an authorized retailer.
- A power source: You will need access to a power source to connect the charging cable. This can be an electrical outlet located near your Google Doorbell or a USB port on a computer or a power bank.
- A smartphone or tablet: Although not necessarily a requirement for charging, having a smartphone or tablet is handy for monitoring the charging process and configuring any settings on your Google Doorbell.
Once you have gathered all the necessary equipment, you’re ready to move on to the next step of the charging process. Ensure that all the components are in good working condition before proceeding.
Step 3: Find the charging port on the Google Doorbell
Before you can connect the charging cable, you need to locate the charging port on your Google Doorbell. The charging port is where you will plug in the cable to transfer power and charge the device.
The location of the charging port may vary depending on the specific model of your Google Doorbell. Generally, the charging port is situated on the back or bottom of the device. It is often protected by a rubber or plastic cover to prevent dust or water from entering.
To find the charging port:
- Take a close look at the exterior of your Google Doorbell, particularly the sides, back, and bottom.
- Look for any markings or symbols that indicate the presence of the charging port.
- Gently remove any protective coverings that may be over the charging port. Be careful not to damage the cover or the port itself.
If you’re having trouble locating the charging port, refer to the user manual provided by Google for detailed instructions. Each model may have specific nuances and design variations that affect the location of the charging port.
Once you’ve found the charging port, you’re ready to move on to the next step and connect the charging cable to your Google Doorbell.
Step 4: Connect the charging cable
Now that you have located the charging port on your Google Doorbell, it’s time to connect the charging cable.
Follow these steps to connect the charging cable:
- Ensure that the charging cable is in good condition and free from any damages or frayed wires. Using a damaged cable could lead to ineffective charging or potential damage to your device.
- Take the charging cable and align the plug with the charging port on your Google Doorbell.
- Gently insert the plug into the charging port, making sure it fits securely. Avoid exerting excessive force to prevent any damage to the port or cable.
- Once the cable is inserted, give it a light tug to ensure that it is firmly connected to the Google Doorbell.
Take note of any LED indicators on your Google Doorbell. Some models may have a charging status indicator that will light up when the charging cable is properly connected. This can be useful to verify that your Google Doorbell is successfully linked to the power source.
If you encounter any difficulties or challenges while connecting the charging cable, refer to the user manual provided by Google for additional guidance. Each model may have slight variations in the connection process.
With the charging cable securely connected, it’s time to move on to the next step and power up your Google Doorbell.
When charging your Google Doorbell, make sure to use the provided USB cable and plug it into a power source with a stable connection. Avoid using third-party chargers to prevent damage to the device.
Read more: How Long To Charge Arlo Doorbell Battery
Step 5: Plug the charging cable into a power source
Now that you have successfully connected the charging cable to your Google Doorbell, the next step is to plug it into a power source. The power source can be an electrical outlet or a USB port on a computer or power bank.
Follow these steps to plug in the charging cable:
- Identify a suitable power source that is conveniently located near your Google Doorbell.
- If you are using an electrical outlet, ensure that it is in good working condition and that there is power flowing to it.
- If you are using a USB port on a computer or power bank, double-check that the device is powered on and functioning properly.
- Take the charging cable and locate the corresponding plug that fits into your chosen power source.
- Align the plug with the power source’s port and gently insert it. Ensure that it is fully inserted and securely connected.
- If your Google Doorbell has an LED charging indicator, look for it to light up or show a flashing pattern to indicate that the charging process has begun.
It is important to note that the charging time for your Google Doorbell may vary depending on the device model and the power source’s output. It is recommended to refer to the user manual provided by Google for estimated charging times and any specific instructions for optimal charging.
With the charging cable plugged in and the power source connected, you can now proceed to the next step and monitor the charging process.
Step 6: Monitor the charging process
Once you have connected your Google Doorbell to a power source, it’s essential to monitor the charging process to ensure that it progresses smoothly and without any issues. Monitoring the charging process allows you to keep track of the battery level and ensure that your device is charging properly. Here are a few tips to effectively monitor the charging process:
- Check the LED indicators: Some Google Doorbell models have LED indicators that provide information about the charging status. These indicators may vary in color or flashing patterns. Refer to the user manual to understand the specific meaning of each LED indicator.
- Use the companion app: If your Google Doorbell has a companion app, you can install it on your smartphone or tablet. The app may provide real-time notifications and updates about the charging status, battery level, and estimated time remaining for a full charge.
- Regularly check the battery level: Most Google Doorbell models allow you to check the battery level directly on the device or through the companion app. Take a glance at the battery level periodically to ensure that it is increasing as expected.
- Observe any abnormal behaviors: While monitoring the charging process, pay attention to any unusual behaviors or indicators that may suggest a problem. If you notice any overheating, sudden battery drain, or any other issues, consider disconnecting the charging cable and contacting Google support for assistance.
The duration of the charging process depends on factors such as the battery level before charging, the model of your Google Doorbell, and the power source’s output. It’s recommended to allow sufficient time for a full charge to ensure optimal performance.
As you monitor the charging process, remember to keep the Google Doorbell connected to the power source until the battery is fully charged. Disconnecting the charging cable prematurely may lead to incomplete charging and reduced battery life.
Once the Google Doorbell has reached a full charge, you can proceed to the next step and disconnect the charging cable.
Step 7: Disconnect the charging cable
After successfully charging your Google Doorbell, it’s time to disconnect the charging cable and prepare it for normal usage. Disconnecting the charging cable ensures that your device is no longer dependent on a power source and can operate on its internal battery. Here are the steps to properly disconnect the charging cable:
- Check the battery level: Before disconnecting the charging cable, it’s advisable to check the battery level of your Google Doorbell. Ensure that it has reached a satisfactory level for normal usage. Most devices will display the battery percentage on the screen or through the companion app.
- Power off the device (optional): If desired, power off your Google Doorbell before disconnecting the charging cable. This step is not mandatory but can help prevent any accidental interactions or unnecessary power consumption during the disconnection process.
- Gently remove the charging cable: Hold the charging cable near its plug and gently pull it out of the charging port on the Google Doorbell. Avoid pulling forcefully or at an angle that may damage the port or cable.
- Store the charging cable: Properly store the charging cable in a safe and secure location for future use. This will help prevent any damage or tangles that may affect its functionality.
It’s important to note that the charging cable should only be disconnected when the battery level is satisfactory for your needs. If the battery level is low, it is recommended to keep the device connected to a power source until it reaches an acceptable level.
Now that you have successfully disconnected the charging cable, your Google Doorbell is ready to be used wirelessly. Enjoy the functionality and convenience it offers while keeping an eye on your front door!
Step 8: Testing the charged Google Doorbell
Once you have disconnected the charging cable and ensured that your Google Doorbell is fully charged, it’s time to test the device to ensure that it is functioning properly. Testing your charged Google Doorbell will help verify that all features, including video recording, two-way communication, and motion detection, are working as expected. Follow these steps to test your Google Doorbell:
- Power on your Google Doorbell: If you had powered off the device during the disconnection process, make sure to power it back on by following the manufacturer’s instructions.
- Verify the battery level: Check the battery level once again to make sure it is at an optimal level. This will ensure that your Google Doorbell has sufficient power for testing.
- Test video recording: Trigger the video recording feature of your Google Doorbell to capture a short video clip. Verify that the video is being recorded and saved properly. Later, review the footage to ensure its quality and clarity.
- Test two-way communication: Use the two-way audio communication feature to have a conversation through your Google Doorbell. Verify that you can hear the person outside clearly, and they can hear you as well.
- Test motion detection: Move in front of your Google Doorbell camera to test the motion detection feature. Verify that you receive push notifications or alerts when motion is detected. Additionally, check if the recorded footage captures the detected motion accurately.
- Test app connectivity: Ensure that your companion app is properly connected to your Google Doorbell. Check if you can access the device’s live footage and adjust settings from within the app.
If any issues arise during the testing process, consult the user manual provided by Google or visit their support website for troubleshooting steps. It is essential to address any issues promptly to ensure the smooth functionality of your Google Doorbell.
Congratulations! By successfully testing your charged Google Doorbell, you can now feel confident in its performance and rely on it for monitoring your front door and enhancing your home’s security.
Read more: How To Tell If Ring Doorbell Is Charging
Conclusion
Congratulations on successfully charging your Google Doorbell! By following the step-by-step process outlined in this guide, you have learned how to properly charge your device and ensure it remains in good working condition. Regularly charging your Google Doorbell is essential for maintaining its functionality and maximizing its features.
Remember, before charging your Google Doorbell, it is important to understand its features and locate the charging port. Gathering the necessary equipment, such as the charging cable and a power source, is crucial for a smooth charging process. Connect the charging cable securely, plug it into a power source, and monitor the charging process to ensure everything progresses as expected.
Once the charging is complete, disconnect the cable and test your charged Google Doorbell to verify that all features, including video recording, two-way communication, and motion detection, are working properly. It’s also a good practice to regularly check your battery level to ensure your Google Doorbell is ready for use whenever needed.
Remember, each Google Doorbell model may have its own unique features and charging specifications, so it’s important to refer to the user manual provided by Google for specific instructions and guidelines.
With your fully charged Google Doorbell, you can now enjoy enhanced security and convenience for your home. Stay connected and monitor your front door with ease, knowing that your Google Doorbell is always ready for action.
Thank you for reading our comprehensive guide on how to charge your Google Doorbell. We hope this article has been helpful and informative, allowing you to make the most out of your smart home device.
Frequently Asked Questions about How To Charge Google Doorbell
Was this page helpful?
At Storables.com, we guarantee accurate and reliable information. Our content, validated by Expert Board Contributors, is crafted following stringent Editorial Policies. We're committed to providing you with well-researched, expert-backed insights for all your informational needs.


My Google door ringer did not come with a charger, no wires, nothing... We had it installed on early August 2023. Now the battery does not seem to want to take a charge. The blue light does not come on when plugged in with a charger we use for our phones since it did not come with a specific charger. Where can I acquire the correct charger for it and how can I purchase a new replacement battery for it?