Articles
How High To Install Ring Doorbell
Modified: November 2, 2024
Discover the optimal installation height for your Ring Doorbell with our informative articles. Ensure maximum security and convenience with our expert tips and guidelines.
(Many of the links in this article redirect to a specific reviewed product. Your purchase of these products through affiliate links helps to generate commission for Storables.com, at no extra cost. Learn more)
Introduction
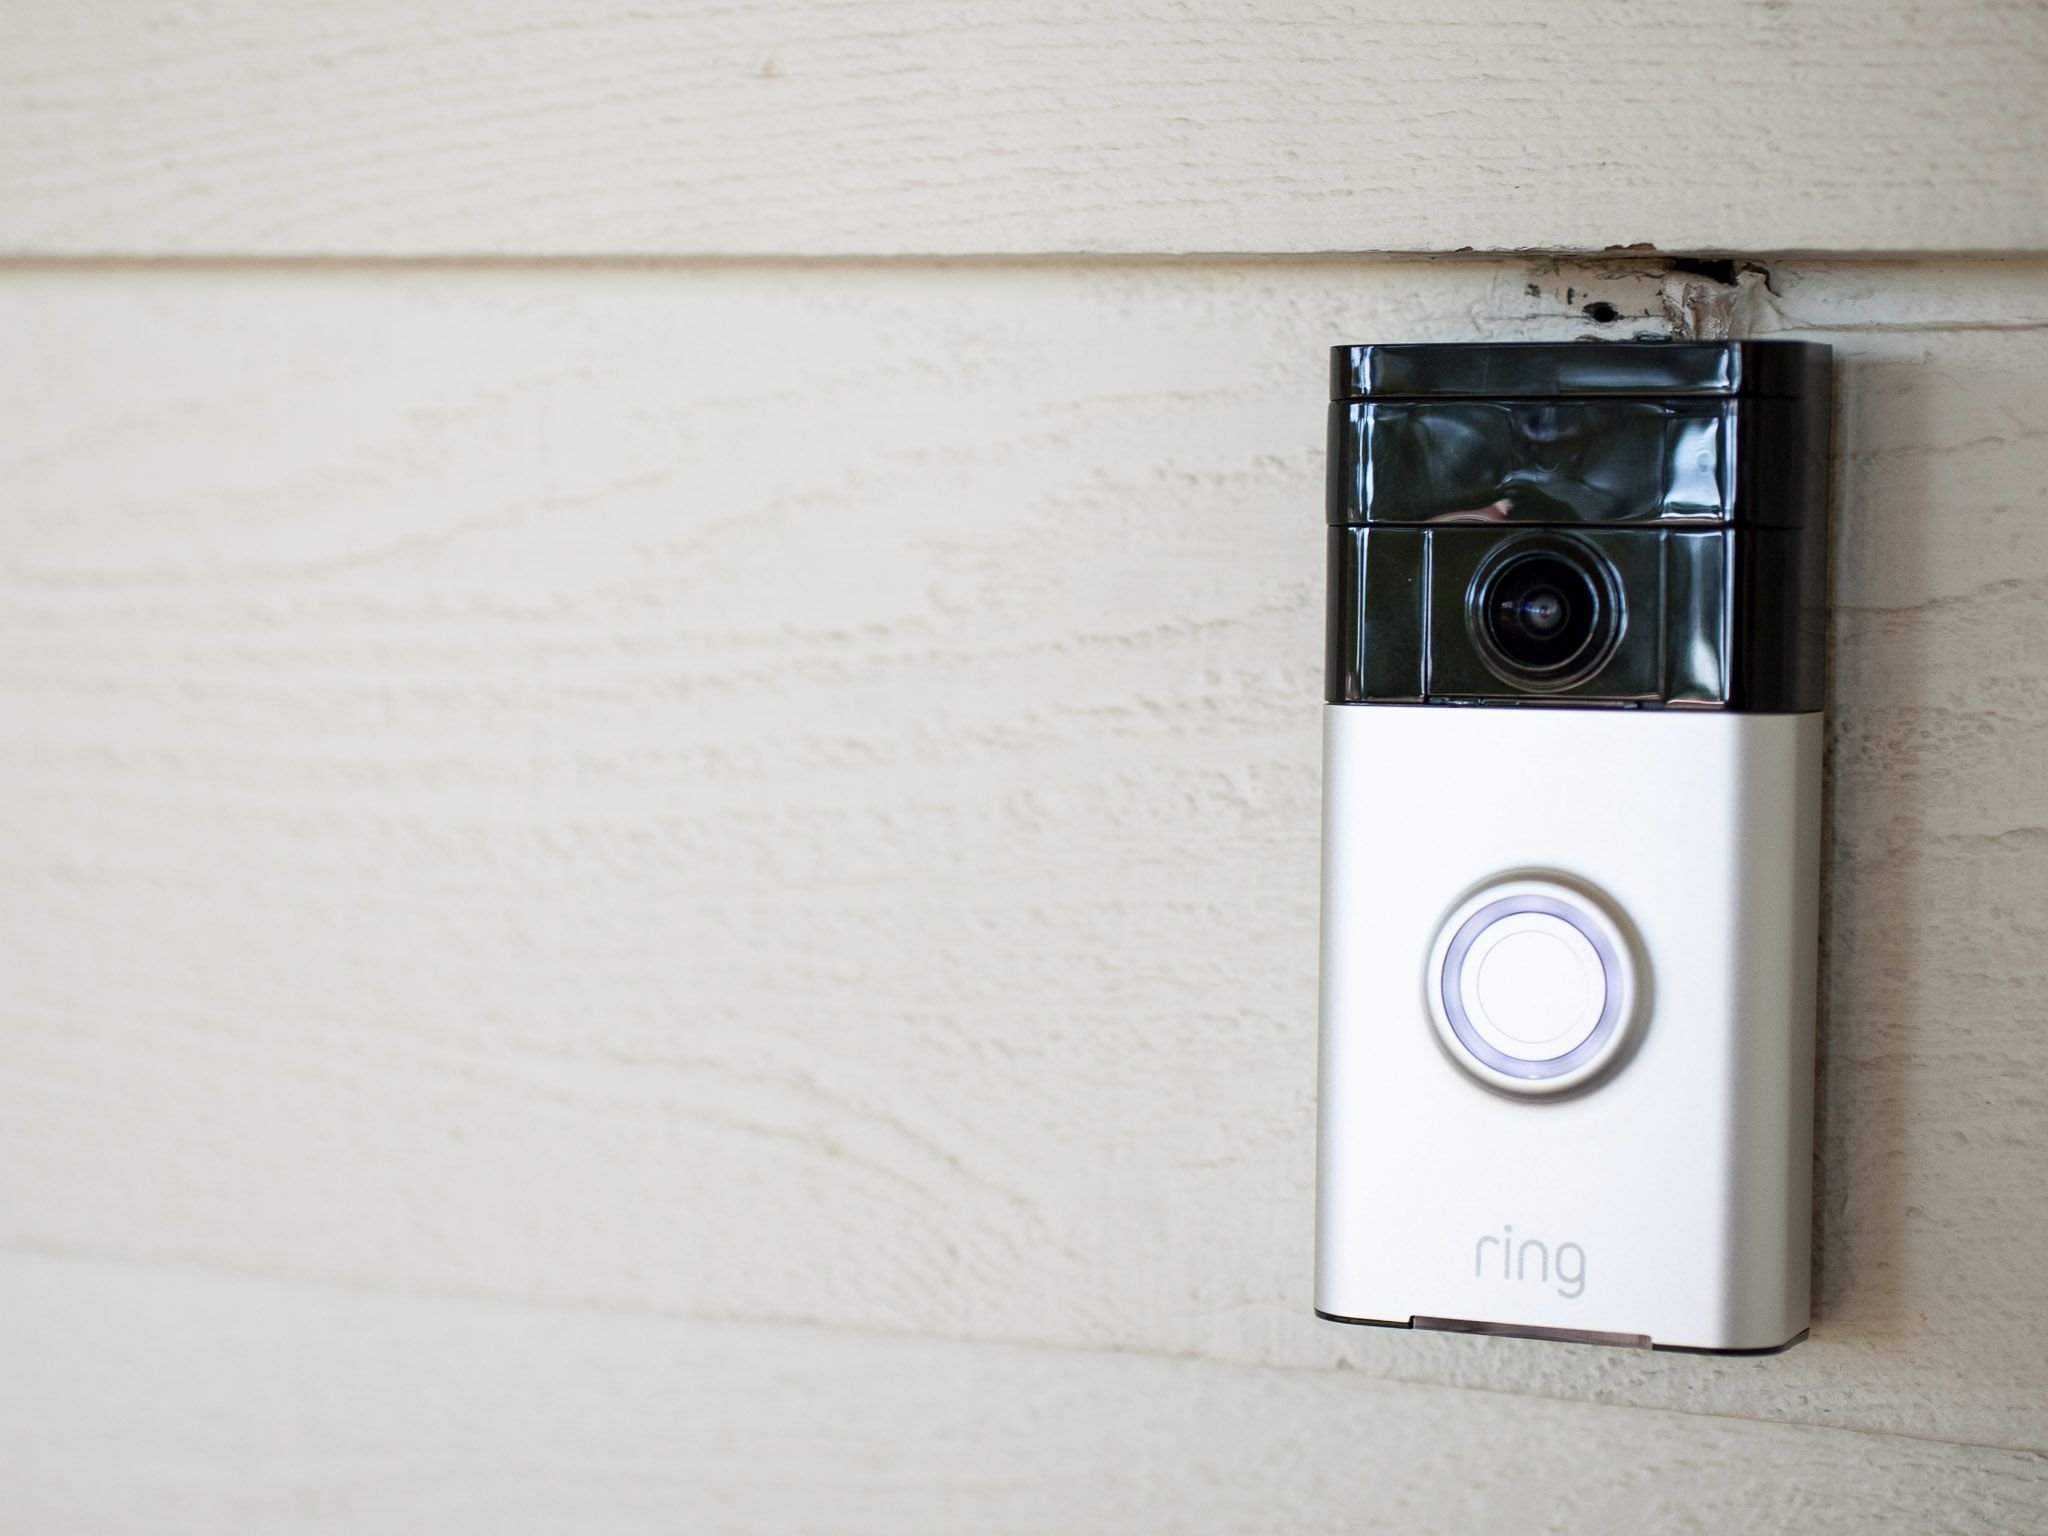
Installing a Ring Doorbell is a great way to enhance the security and convenience of your home. With its advanced features like motion detection, two-way audio, and remote access, a Ring Doorbell can provide you with peace of mind and allow you to keep an eye on your property at all times. However, one crucial aspect to consider when installing a Ring Doorbell is the optimal height at which it should be placed. In this article, we’ll discuss the various factors to consider before installation, the recommended height for installing a Ring Doorbell, step-by-step installation process, common mistakes to avoid, and additional tips for maximizing the effectiveness of your Ring Doorbell.
Before diving into the specifics of height, it’s important to assess the overall layout and specific requirements of your property. Factors such as the entryway design, the height of your front door, and potential obstructions should all be taken into account. Additionally, it’s crucial to consider the different types of Ring Doorbells available as each model may have slight variations in optimal positioning.
The height at which you install your Ring Doorbell is essential because it determines the camera’s field of view and the effectiveness of its motion detection capabilities. Placing it too high may limit its ability to detect people or objects near the ground, while installing it too low may risk potential tampering or damage.
In general, it is recommended to install a Ring Doorbell at a height between 48 inches (4 feet) and 60 inches (5 feet). This range ensures that the camera captures a clear view of anyone approaching your door, while also being accessible for notifications and interactions via the Ring app.
Next, we’ll explore the step-by-step installation process to help you set up your Ring Doorbell securely and efficiently.
Key Takeaways:
- When installing a Ring Doorbell, aim for a height between 48 inches and 60 inches to ensure optimal camera view and easy interaction. Consider factors like eye level, clear line of sight, and accessibility for the best placement.
- Avoid common installation mistakes such as poor Wi-Fi signal, inadequate power source, and improper camera angle. Utilize motion zones, enable notifications, and maintain a clean lens to maximize the effectiveness of your Ring Doorbell.
Read more: How To Install A Wired Ring Doorbell
Factors to Consider Before Installation
Before you begin the installation process for your Ring Doorbell, there are several factors that you should take into consideration:
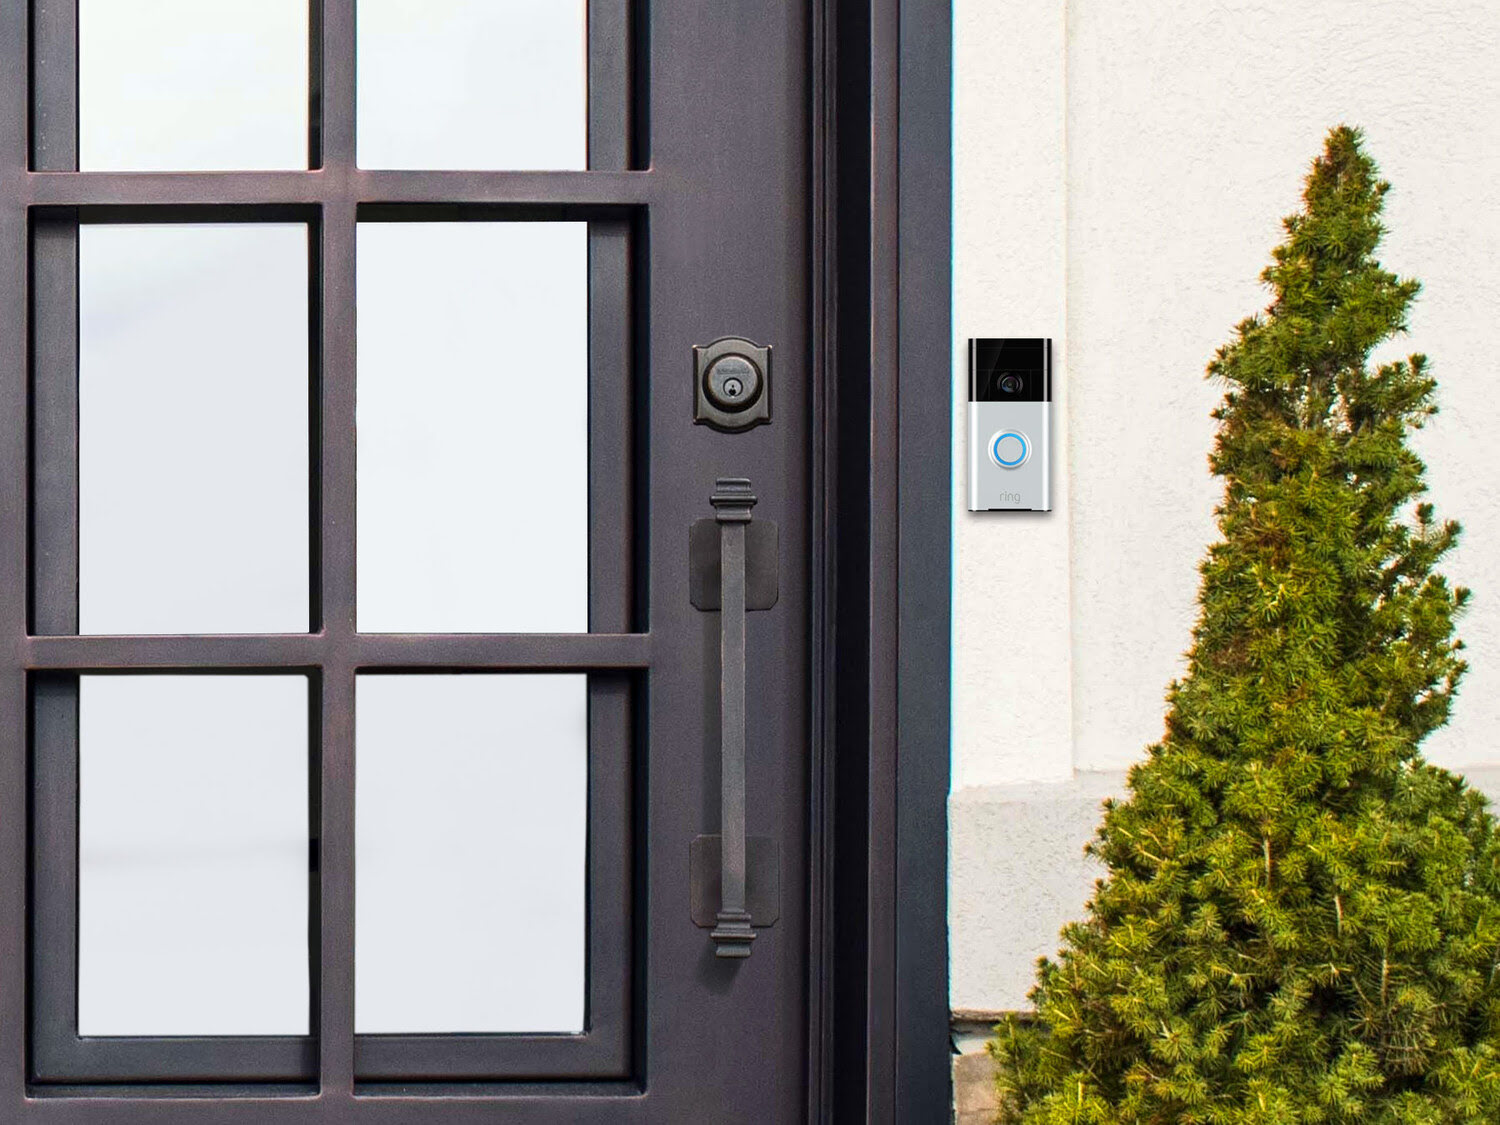
- Location: Choose an appropriate location for your Ring Doorbell that provides a clear view of your entryway. Avoid areas with obstructions such as trees or walls that may impede the camera’s field of view.
- Power Source: Determine if your Ring Doorbell requires battery power or if it needs to be connected to existing doorbell wiring. This will affect the location options for installation.
- Internet Connection: Ensure that you have a stable and reliable Wi-Fi connection near the chosen installation location. A weak or unreliable Wi-Fi signal can affect the performance of your Ring Doorbell.
- Doorway Height: Take note of the height of your front door and any steps leading up to it. This will help you determine the appropriate height for installing your Ring Doorbell.
- Lighting Conditions: Consider the lighting conditions at the installation location. If the area is poorly lit, you may need to install additional lighting fixtures to ensure clear footage.
- Weather Resistance: Check that your chosen installation location is adequately protected from rain, snow, and extreme temperatures. Your Ring Doorbell should be able to withstand various weather conditions.
- Accessibility: Ensure that the installation height allows for easy access to the Ring Doorbell. It should be at a comfortable height for interaction and adjustment.
- Tamper Protection: Consider how vulnerable your Ring Doorbell is to potential tampering or theft. Installing it at a height that is not easily reached can help deter unauthorized access.
By taking these factors into account before installation, you can ensure that your Ring Doorbell is installed in an optimal and secure location.
Optimal Height for Installing the Ring Doorbell
When it comes to installing your Ring Doorbell, finding the optimal height is essential for maximizing its effectiveness. The ideal height will allow the camera to capture a clear view of anyone approaching your door while providing easy access for notifications and interactions. Here are some guidelines to determine the optimal height:
- Eye Level: A general rule of thumb is to install the Ring Doorbell at eye level. This ensures that the camera captures the best possible view of people’s faces and minimizes obstructions such as door frames or other objects. For most people, eye level is between 48 inches (4 feet) and 60 inches (5 feet) from the ground.
- Clear Line of Sight: Make sure the Ring Doorbell is not obstructed by any objects or features, such as door handles, mailboxes, or side panels. The camera should have a clear line of sight to capture clear and unobstructed footage.
- Distinguish Faces and Packages: Consider the height at which you can easily identify individuals’ faces and see packages. Installing the Ring Doorbell too low might hinder your ability to clearly see faces, while installing it too high might make it difficult to see packages placed on the ground.
- Accessibility: Keep in mind that you’ll need to interact with the Ring Doorbell via the Ring app on your smartphone or other devices. Therefore, avoid placing it at an excessively high or low height that may be difficult to access comfortably.
- Children and Pets: If you have children or pets, it may be beneficial to install the Ring Doorbell at a slightly lower height to capture their interaction with the door. This can help provide additional security and peace of mind.
By following these guidelines, you can ensure that your Ring Doorbell is installed at an optimal height that maximizes its performance and functionality.
Installation Process Step-by-Step
Installing a Ring Doorbell is a straightforward process that can be completed in just a few simple steps. Here is a step-by-step guide to help you through the installation:
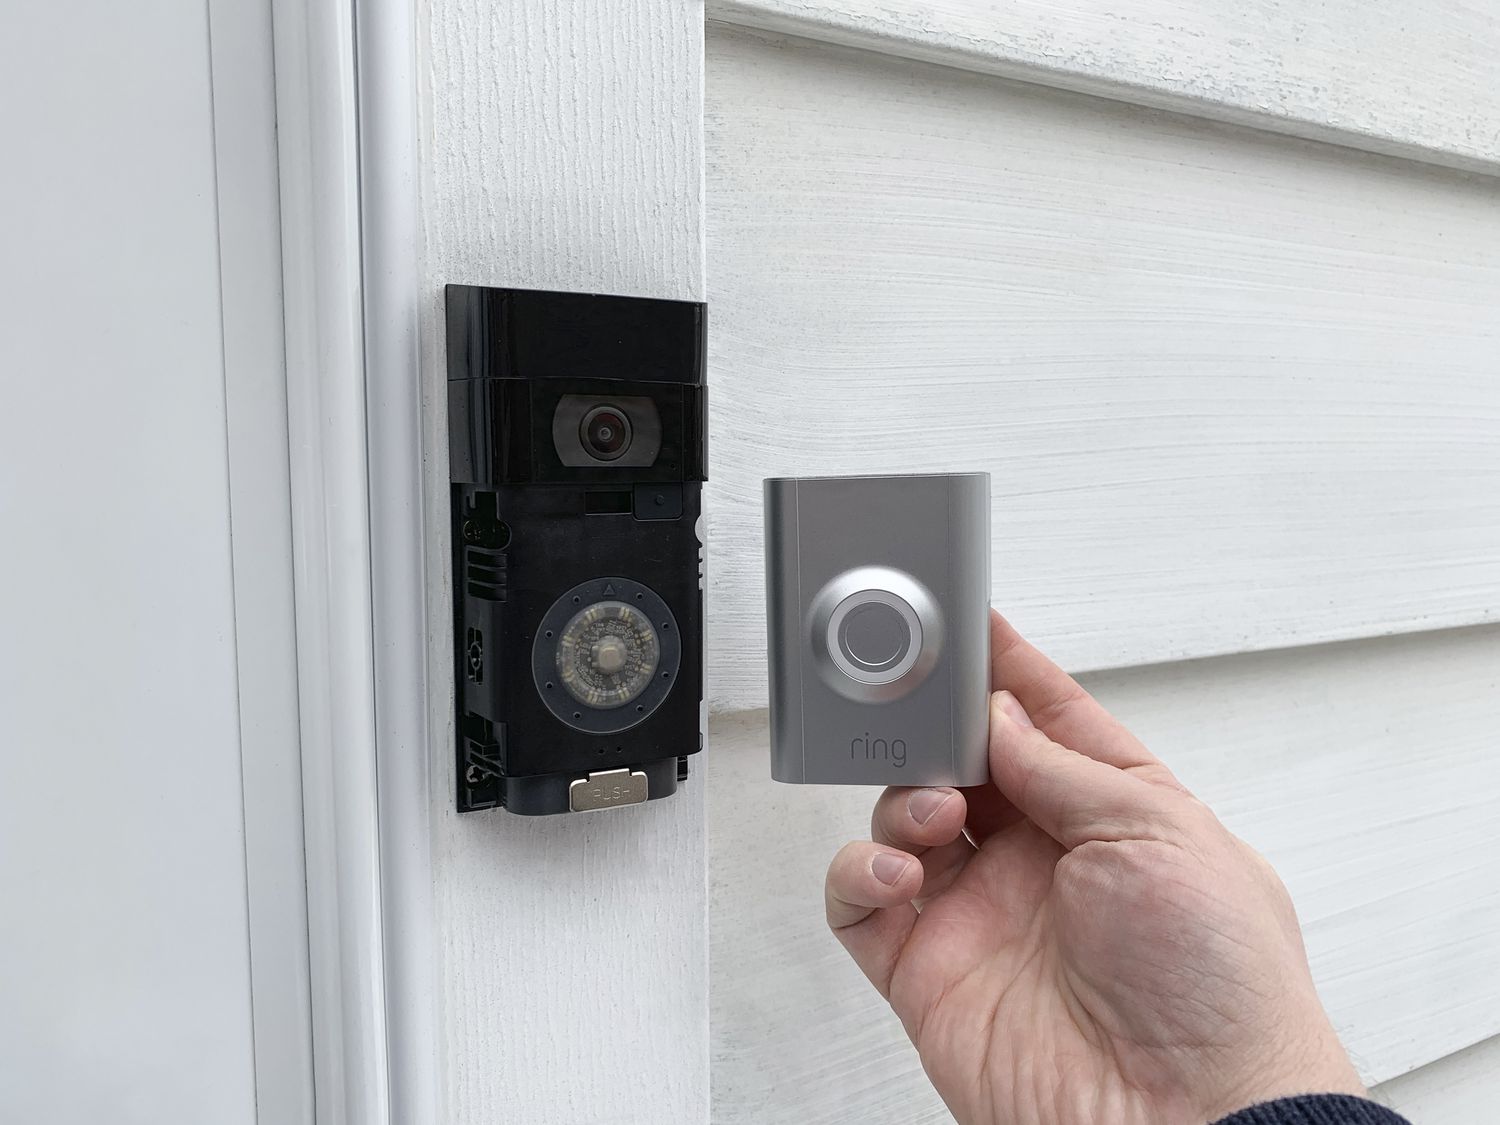
- Prepare the Ring Doorbell: Start by unboxing the Ring Doorbell and gathering all the necessary components. Make sure you have the mounting bracket, screws, and any other accessories that come with your specific model.
- Charge the Ring Doorbell (if applicable): If your Ring Doorbell has a rechargeable battery, fully charge it before installation. This will ensure that you have sufficient power for the setup process.
- Select the Installation Method: Depending on your specific needs and circumstances, you can choose between battery-powered or hardwired installation methods. Follow the instructions provided by Ring to select the appropriate method for your setup.
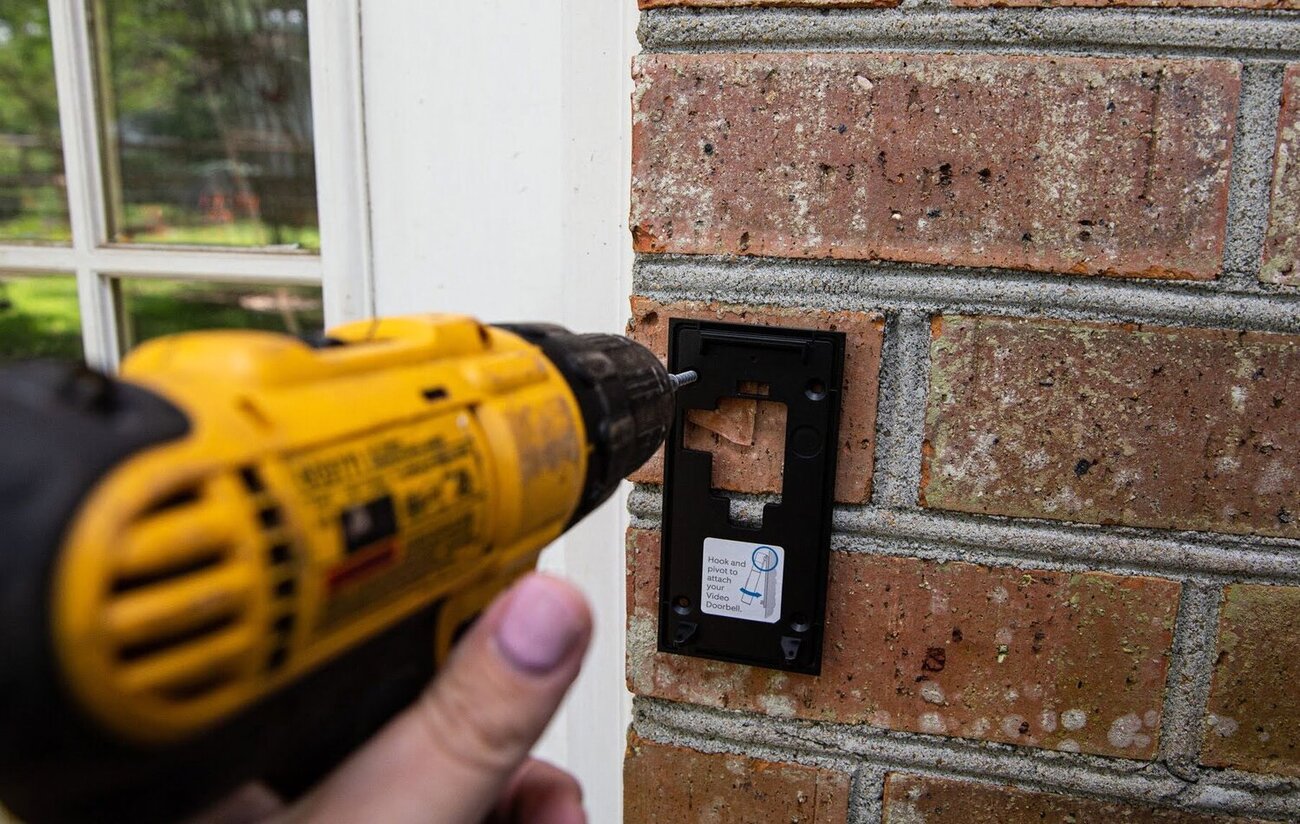
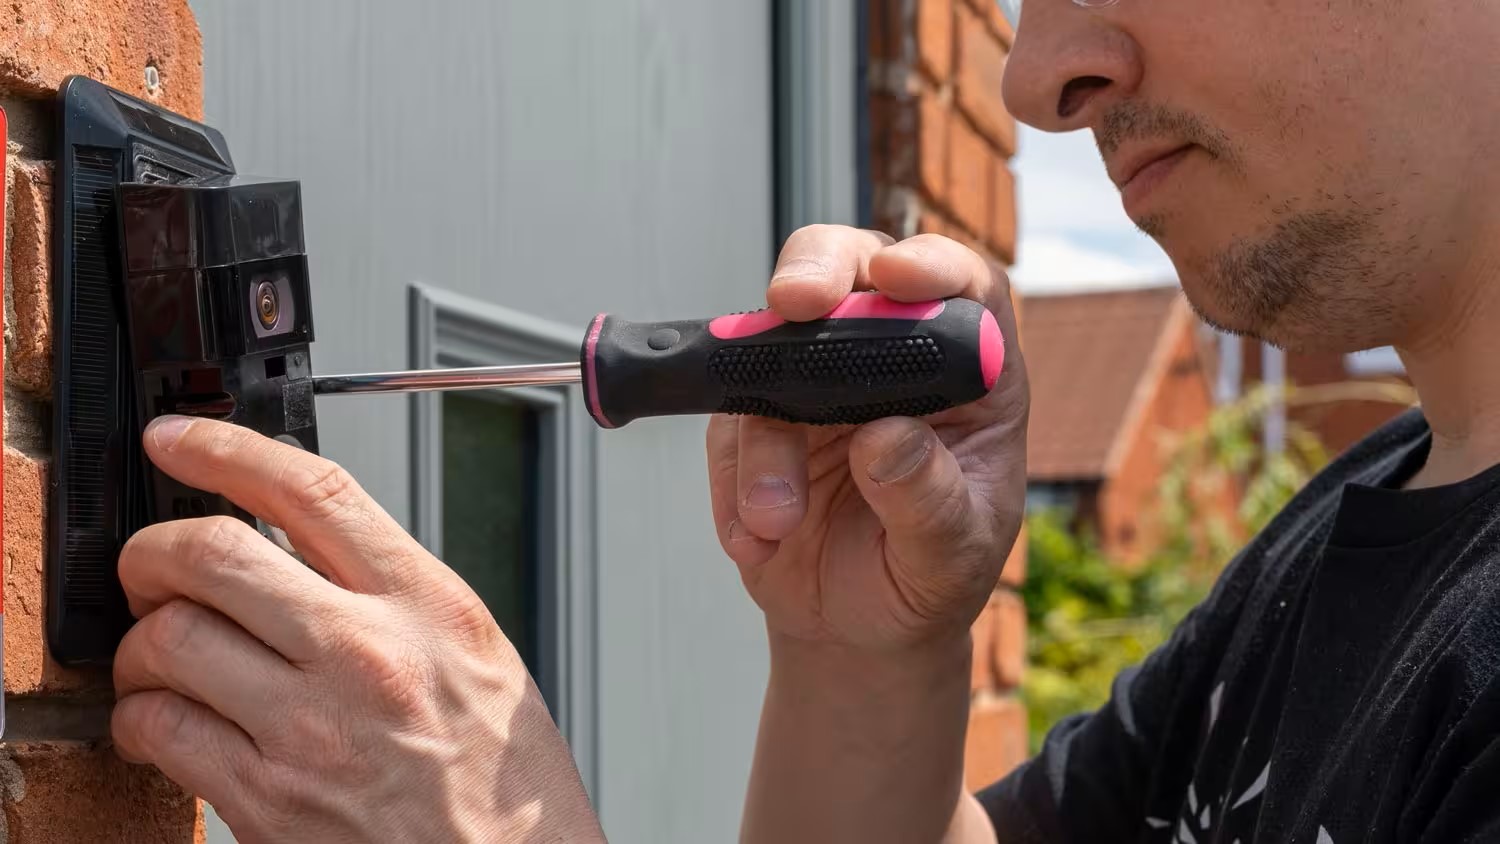
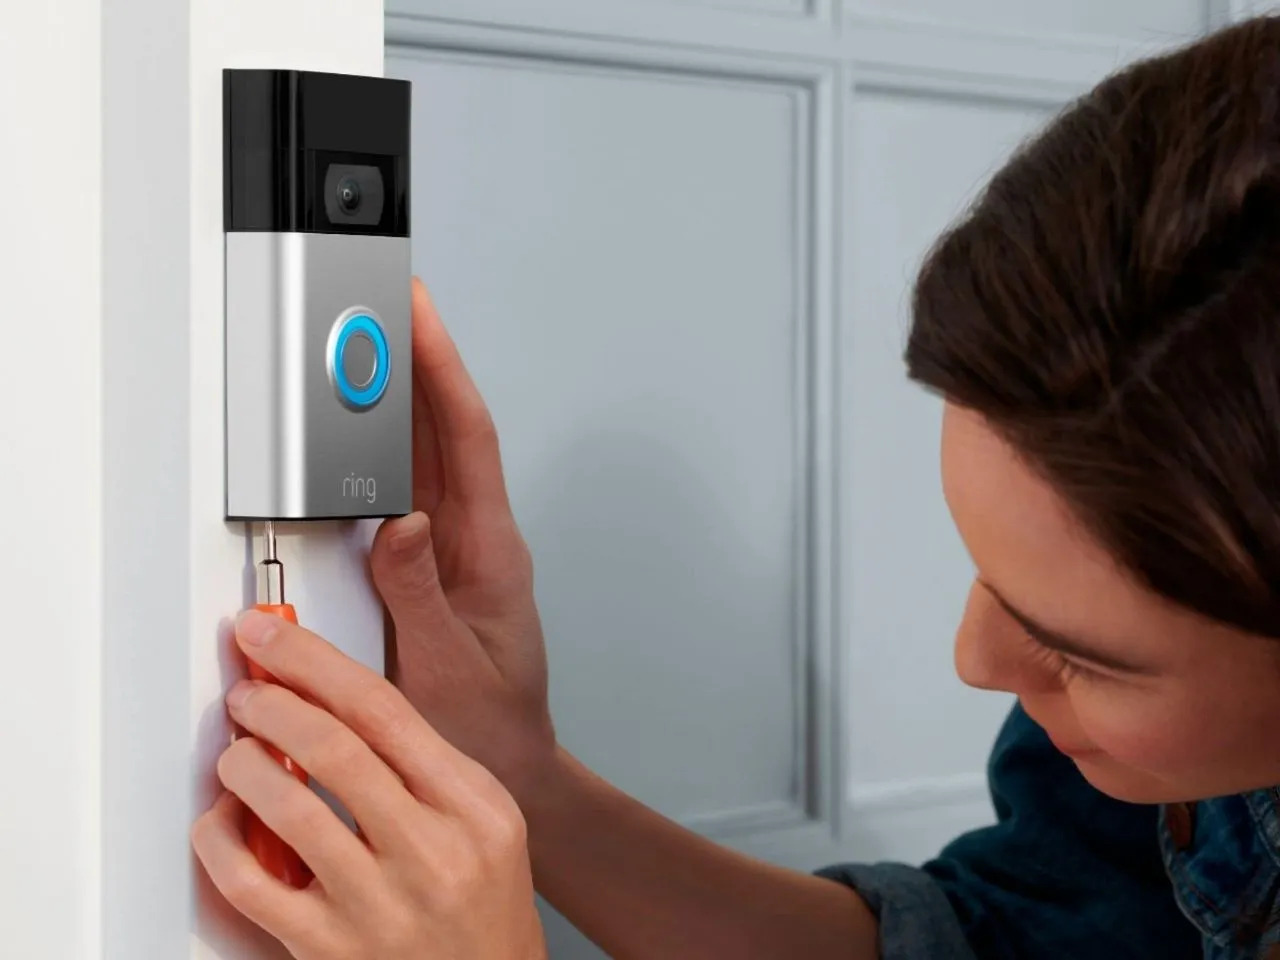
- Install the Mounting Bracket: Using the provided screws, attach the mounting bracket to the desired location. Ensure that it is secured tightly and positioned at the desired height.
- Connect the Wiring (if applicable): If you are opting for a hardwired installation, follow the wiring instructions provided by Ring. Make sure to turn off the power to the doorbell circuit before connecting the wires to prevent any electrical accidents.
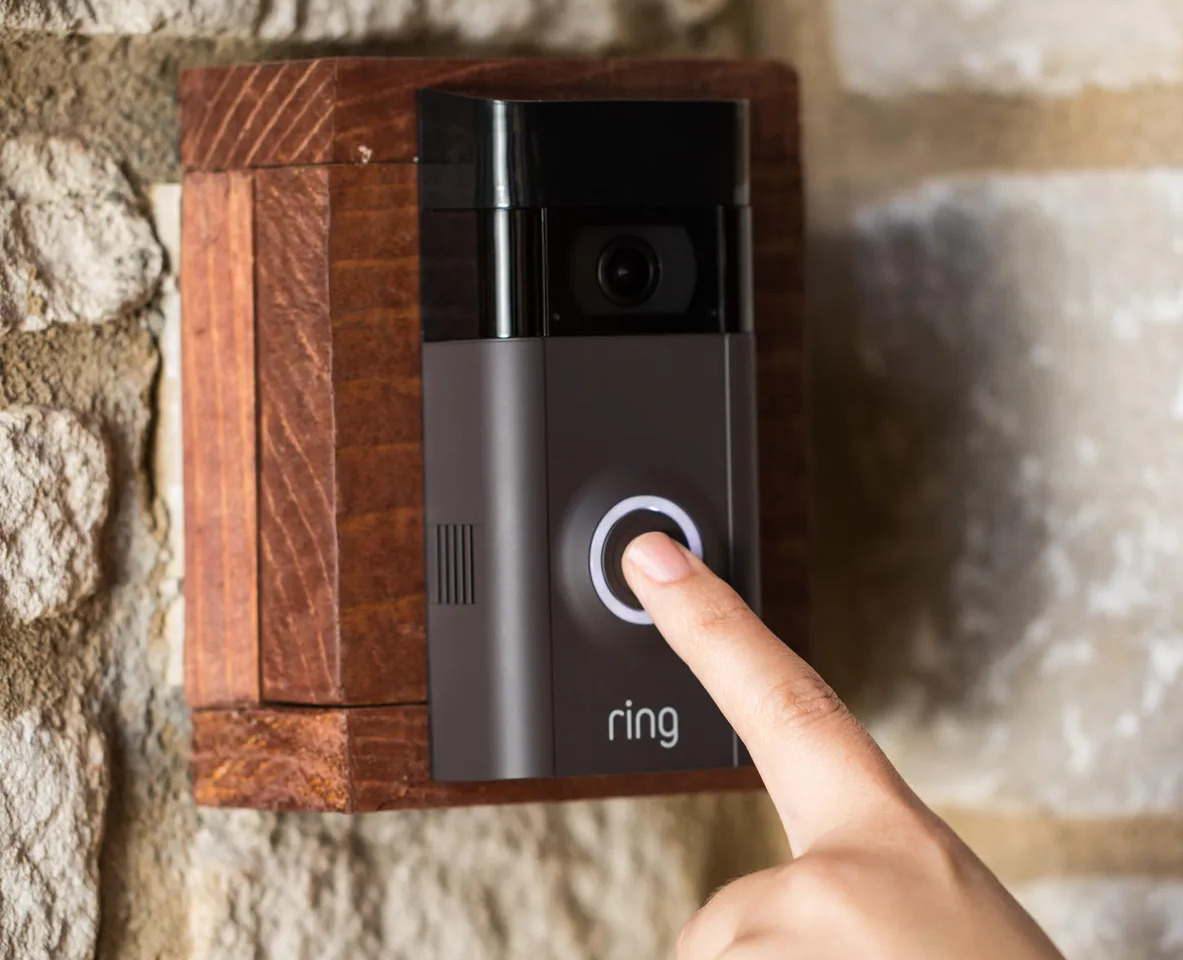
- Attach the Ring Doorbell: Align the Ring Doorbell with the mounting bracket and gently press it into place. Secure it by tightening the screws on the bottom of the device, ensuring a snug fit.
- Set Up the Ring Doorbell: Follow the instructions provided by the Ring app to connect your Ring Doorbell to your Wi-Fi network and complete the setup process. This may include creating a Ring account and customizing your settings.
- Test the Installation: Once the setup is complete, perform a quick test to ensure that the Ring Doorbell is functioning correctly. Check the live view, motion detection, and two-way audio features to confirm everything is working as expected.
- Adjust Camera Angle (if needed): If you find that the camera angle is not ideal, you can adjust it by loosening the screws and tilting the Ring Doorbell to the desired position. Once adjusted, tighten the screws to secure the new angle.
Remember to refer to the specific instructions provided by Ring for your model, as installation steps may vary slightly. If you encounter any difficulties during the process, don’t hesitate to reach out to Ring’s customer support for assistance.
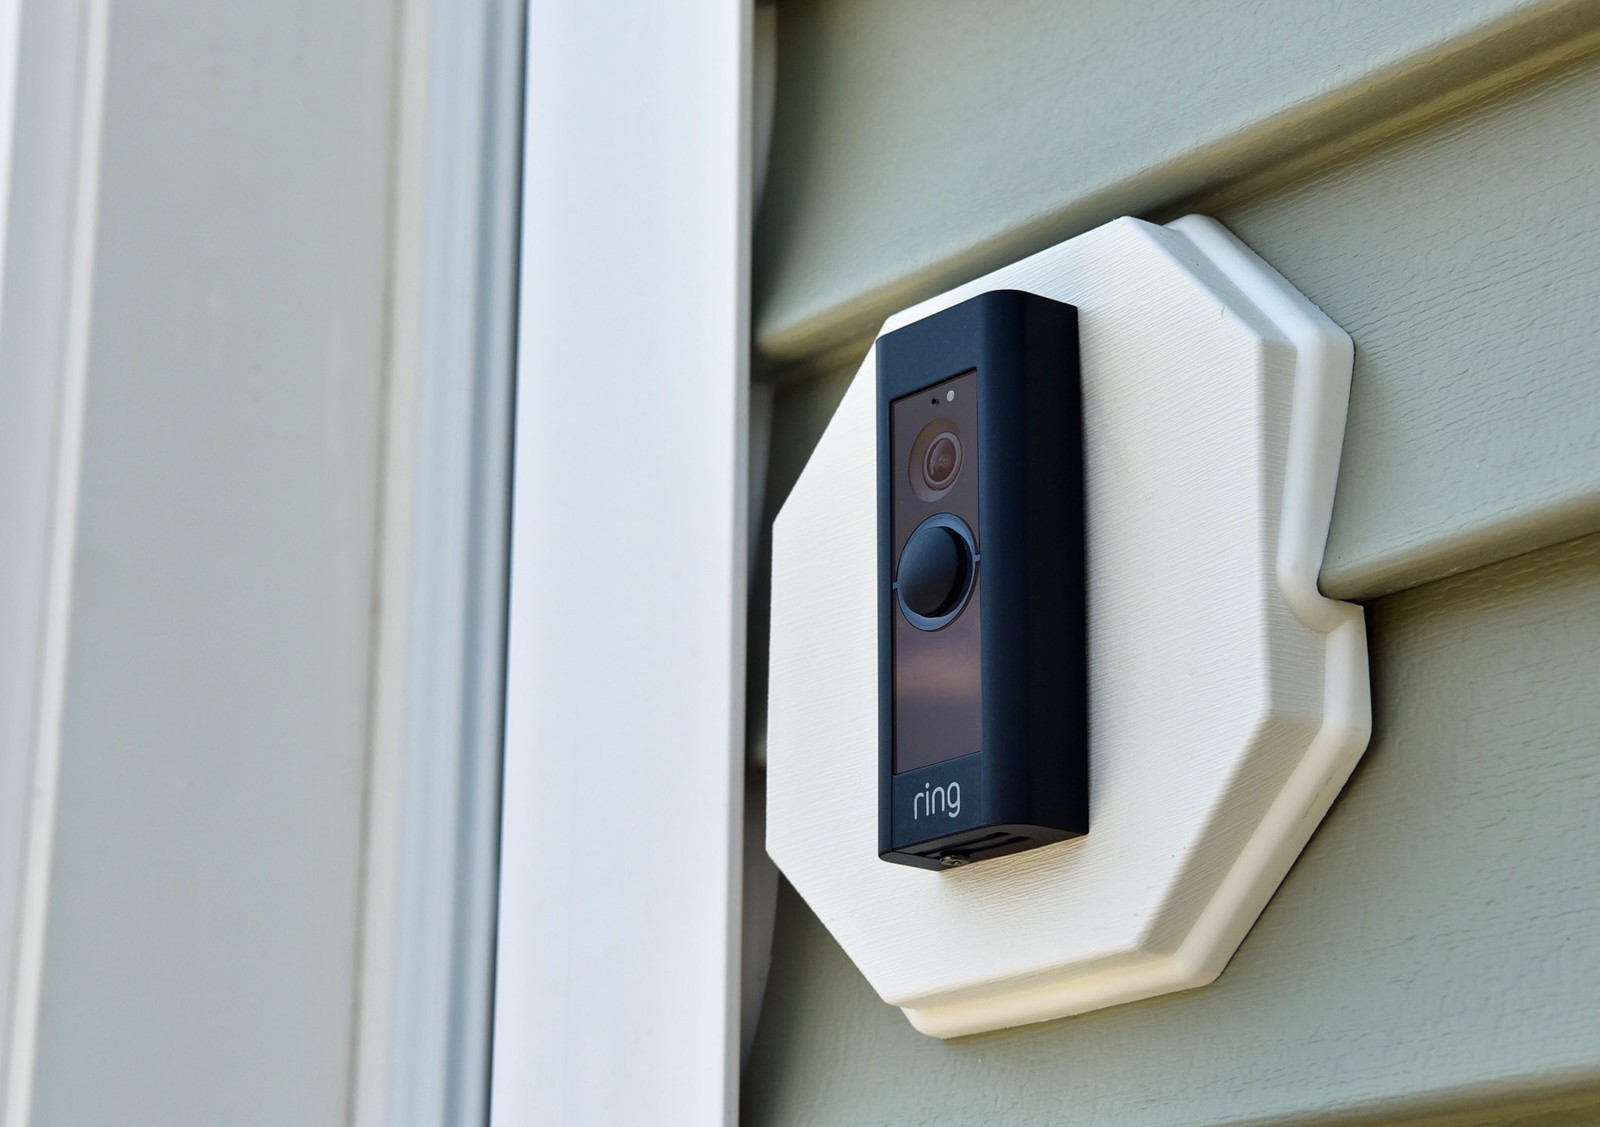
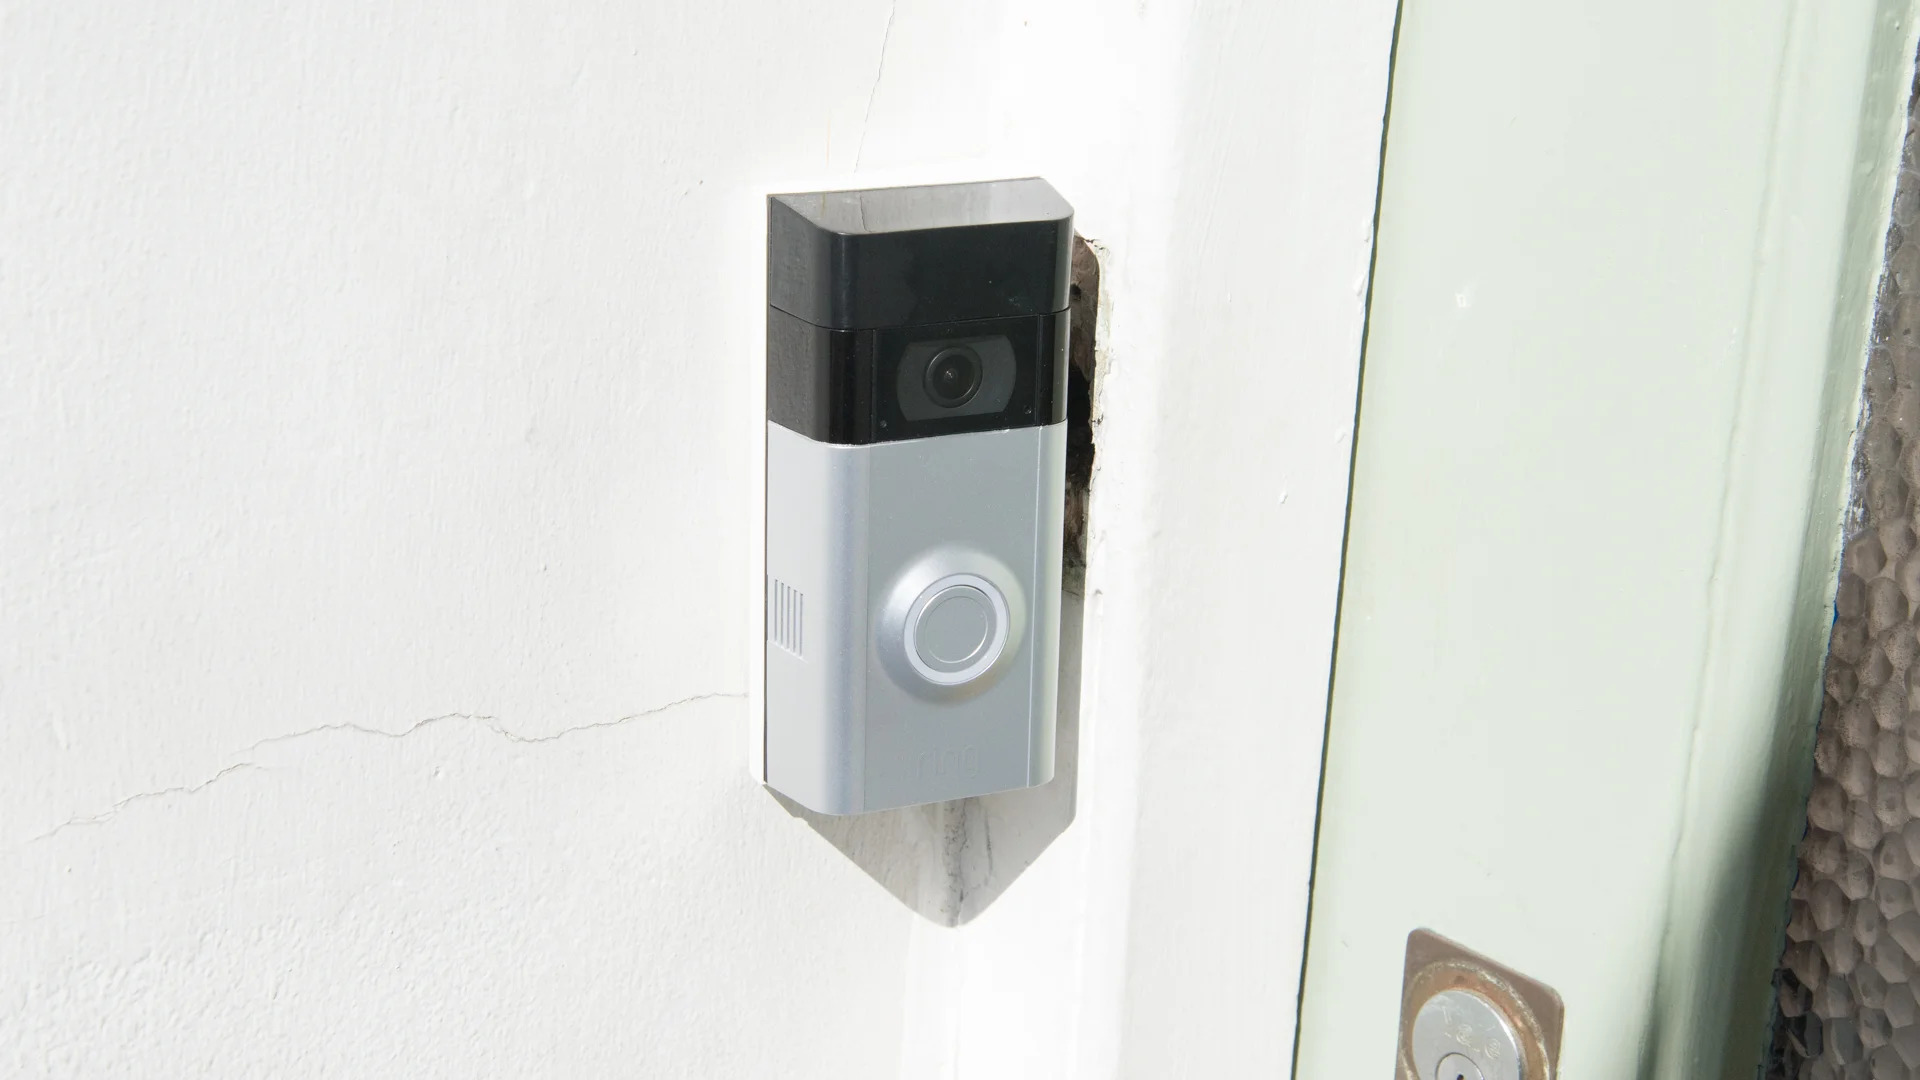
When installing a Ring Doorbell, it is recommended to place it at a height of 48 inches (about 4 feet) from the ground for optimal performance and to capture the best view of visitors.
Common Mistakes to Avoid During Installation
Installing a Ring Doorbell may seem like a simple task, but there are a few common mistakes that you should avoid to ensure a successful and hassle-free installation process. By being aware of these mistakes, you can save yourself time and frustration. Here are the most common mistakes to watch out for:
- Incorrect Height: One of the most common mistakes is installing the Ring Doorbell at the wrong height. As mentioned earlier, aim for an optimal height between 48 inches (4 feet) and 60 inches (5 feet) to ensure a clear view and easy interaction.
- Poor Wi-Fi Signal: Make sure that your Ring Doorbell has a strong and stable Wi-Fi connection. Placing it too far away from your router or in an area with a weak signal can result in poor performance and connectivity issues.
- Inadequate Power Source: If you are opting for a battery-powered Ring Doorbell, ensure that the battery is fully charged before installation. Failing to do so may lead to unexpected power interruptions and the need for frequent recharging.
- Inadequate Weather Protection: Your Ring Doorbell is exposed to various weather conditions, so it’s important to provide adequate protection. Make sure it is installed in a location that is shielded from direct rain, snow, and extreme temperatures.
- Poor Mounting Bracket Installation: Take your time to properly secure the mounting bracket to the wall or door frame. Failing to do so may result in a loose or unstable installation, affecting the performance and longevity of your Ring Doorbell.
- Ignoring Software Updates: Ring regularly releases software updates with bug fixes and new features. Failing to update your Ring Doorbell’s firmware can leave it vulnerable to security risks and may limit its functionality.
- Improper Camera Angle: Pay attention to the camera angle when installing the Ring Doorbell. Ensure that it is properly aligned to capture the desired area and adjust it if needed. A misaligned camera may result in ineffective motion detection or obscured footage.
- Forgetting to Test: Once the installation is complete, don’t forget to thoroughly test the Ring Doorbell’s features. Check the live view, motion detection, and audio capabilities to ensure everything is working properly.
By avoiding these common mistakes, you can ensure a successful installation process and get the most out of your Ring Doorbell’s features and functionality.
Read more: How To Install Ring Doorbell In An Apartment
Additional Tips and Recommendations
Now that you have the essential information for installing your Ring Doorbell, here are some additional tips and recommendations to optimize your experience:
- Positioning for the Best View: Experiment with the positioning of your Ring Doorbell to find the best angle and view of your entryway. You may need to make small adjustments to capture the desired area effectively.
- Utilize Motion Zones: Take advantage of the motion zone settings in the Ring app to customize the areas where you want your Ring Doorbell to detect motion. This can help reduce false alerts and focus on specific areas of interest.
- Enable Notifications: Ensure that you have enabled notifications on your smartphone or other devices to receive alerts from your Ring Doorbell. This will keep you informed of any activity at your front door, even when you are away from home.
- Regularly Check the Battery: If you have a battery-powered Ring Doorbell, make it a habit to check the battery status periodically. This will help you avoid running out of power and ensure uninterrupted operation.
- Consider Cloud Storage Plans: Ring offers cloud storage plans for recorded video footage. Consider subscribing to a plan that suits your needs if you want to keep a record of captured events or access additional features like video sharing.
- Secure Your Ring Account: Protect your Ring Doorbell and personal information by enabling two-factor authentication on your Ring account. This adds an extra layer of security and prevents unauthorized access.
- Maintain a Clean Lens: Regularly clean the camera lens to ensure clear and sharp video footage. Use a soft, lint-free cloth to remove any debris or smudges that may obstruct the view.
- Review Local Regulations: Familiarize yourself with any local regulations or laws regarding the use of surveillance devices. Ensure that your use of the Ring Doorbell aligns with the applicable privacy rules in your area.
- Stay Informed: Keep up to date with any product updates or news related to Ring Doorbells. Check the Ring website or subscribe to their newsletter to receive important information and tips.
- Seek Professional Help if Needed: If you are unsure about any aspect of the installation process or encounter difficulties, don’t hesitate to seek assistance from a professional electrician or Ring’s customer support.
By following these additional tips and recommendations, you can make the most out of your Ring Doorbell and ensure a seamless and secure experience for your home security needs.
Conclusion
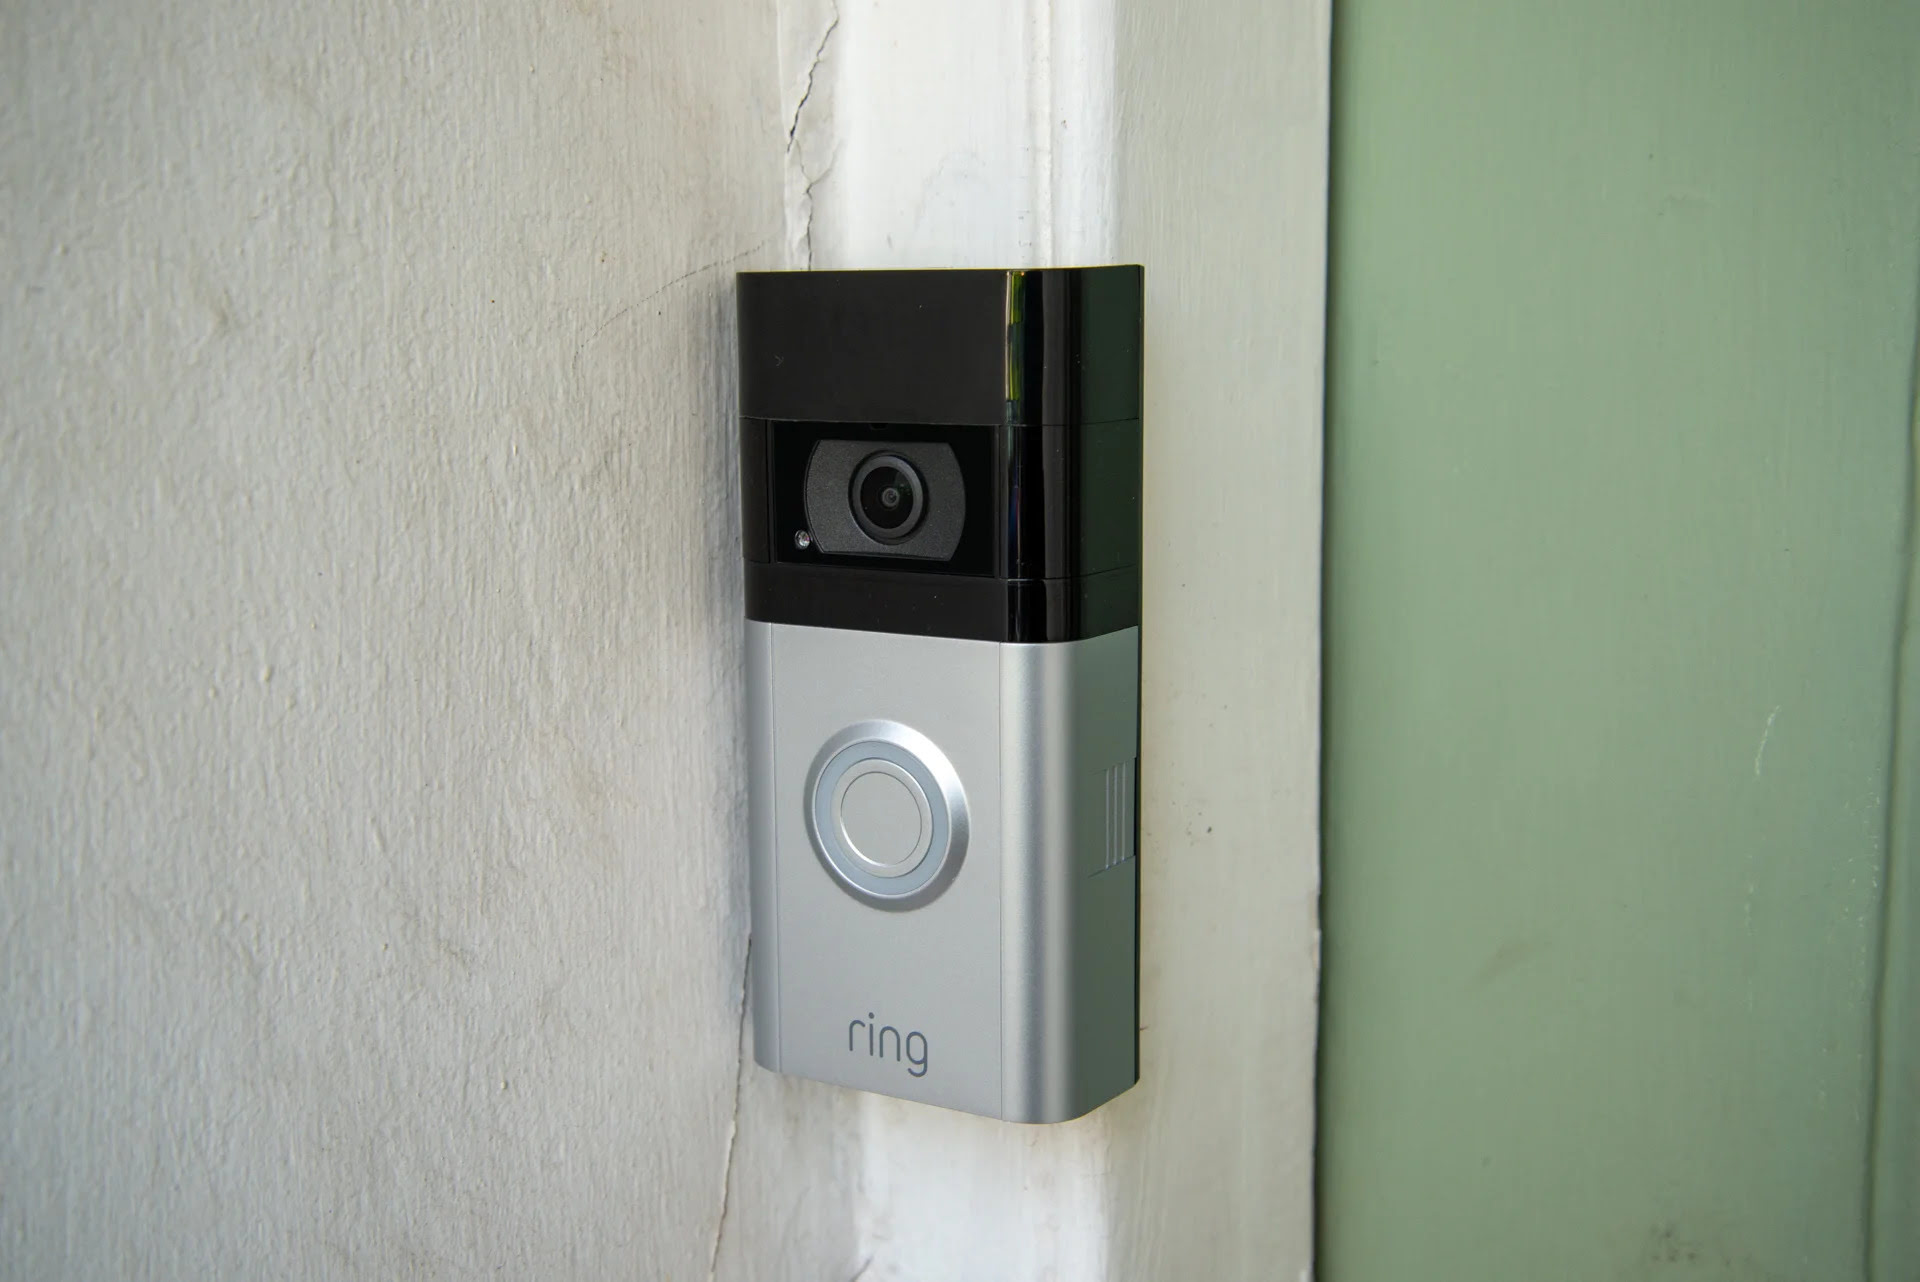
Installing a Ring Doorbell can greatly enhance the security and convenience of your home. By considering the factors discussed in this article, such as location, power source, doorway height, and weather resistance, you can ensure a successful installation process. Remember to aim for an optimal height between 48 inches (4 feet) and 60 inches (5 feet) to achieve the best camera view and easy interaction.
By following the step-by-step installation process, avoiding common mistakes, and implementing the additional tips and recommendations, you can maximize the effectiveness of your Ring Doorbell. Take advantage of features like motion zones, cloud storage plans, and regular maintenance to get the most out of your device.
Remember to stay informed about any software updates or local regulations related to your Ring Doorbell. Additionally, always prioritize the security of your Ring account by enabling two-factor authentication and regularly checking for any unusual activity.
Installing a Ring Doorbell is a small investment for the peace of mind it provides, knowing that you can monitor your property and interact with visitors, even when you’re not at home. With its advanced features and easy-to-use interface, the Ring Doorbell is a valuable addition to any home security system.
So, don’t wait any longer. Take the necessary steps to install your Ring Doorbell and enjoy the enhanced security and convenience it brings to your home.
Frequently Asked Questions about How High To Install Ring Doorbell
Was this page helpful?
At Storables.com, we guarantee accurate and reliable information. Our content, validated by Expert Board Contributors, is crafted following stringent Editorial Policies. We're committed to providing you with well-researched, expert-backed insights for all your informational needs.


0 thoughts on “How High To Install Ring Doorbell”