Articles
How To Remove Nest Doorbell To Charge
Modified: August 26, 2024
Learn how to remove your Nest doorbell in simple steps to charge it. Read our informative articles for easy solutions.
(Many of the links in this article redirect to a specific reviewed product. Your purchase of these products through affiliate links helps to generate commission for Storables.com, at no extra cost. Learn more)
Introduction
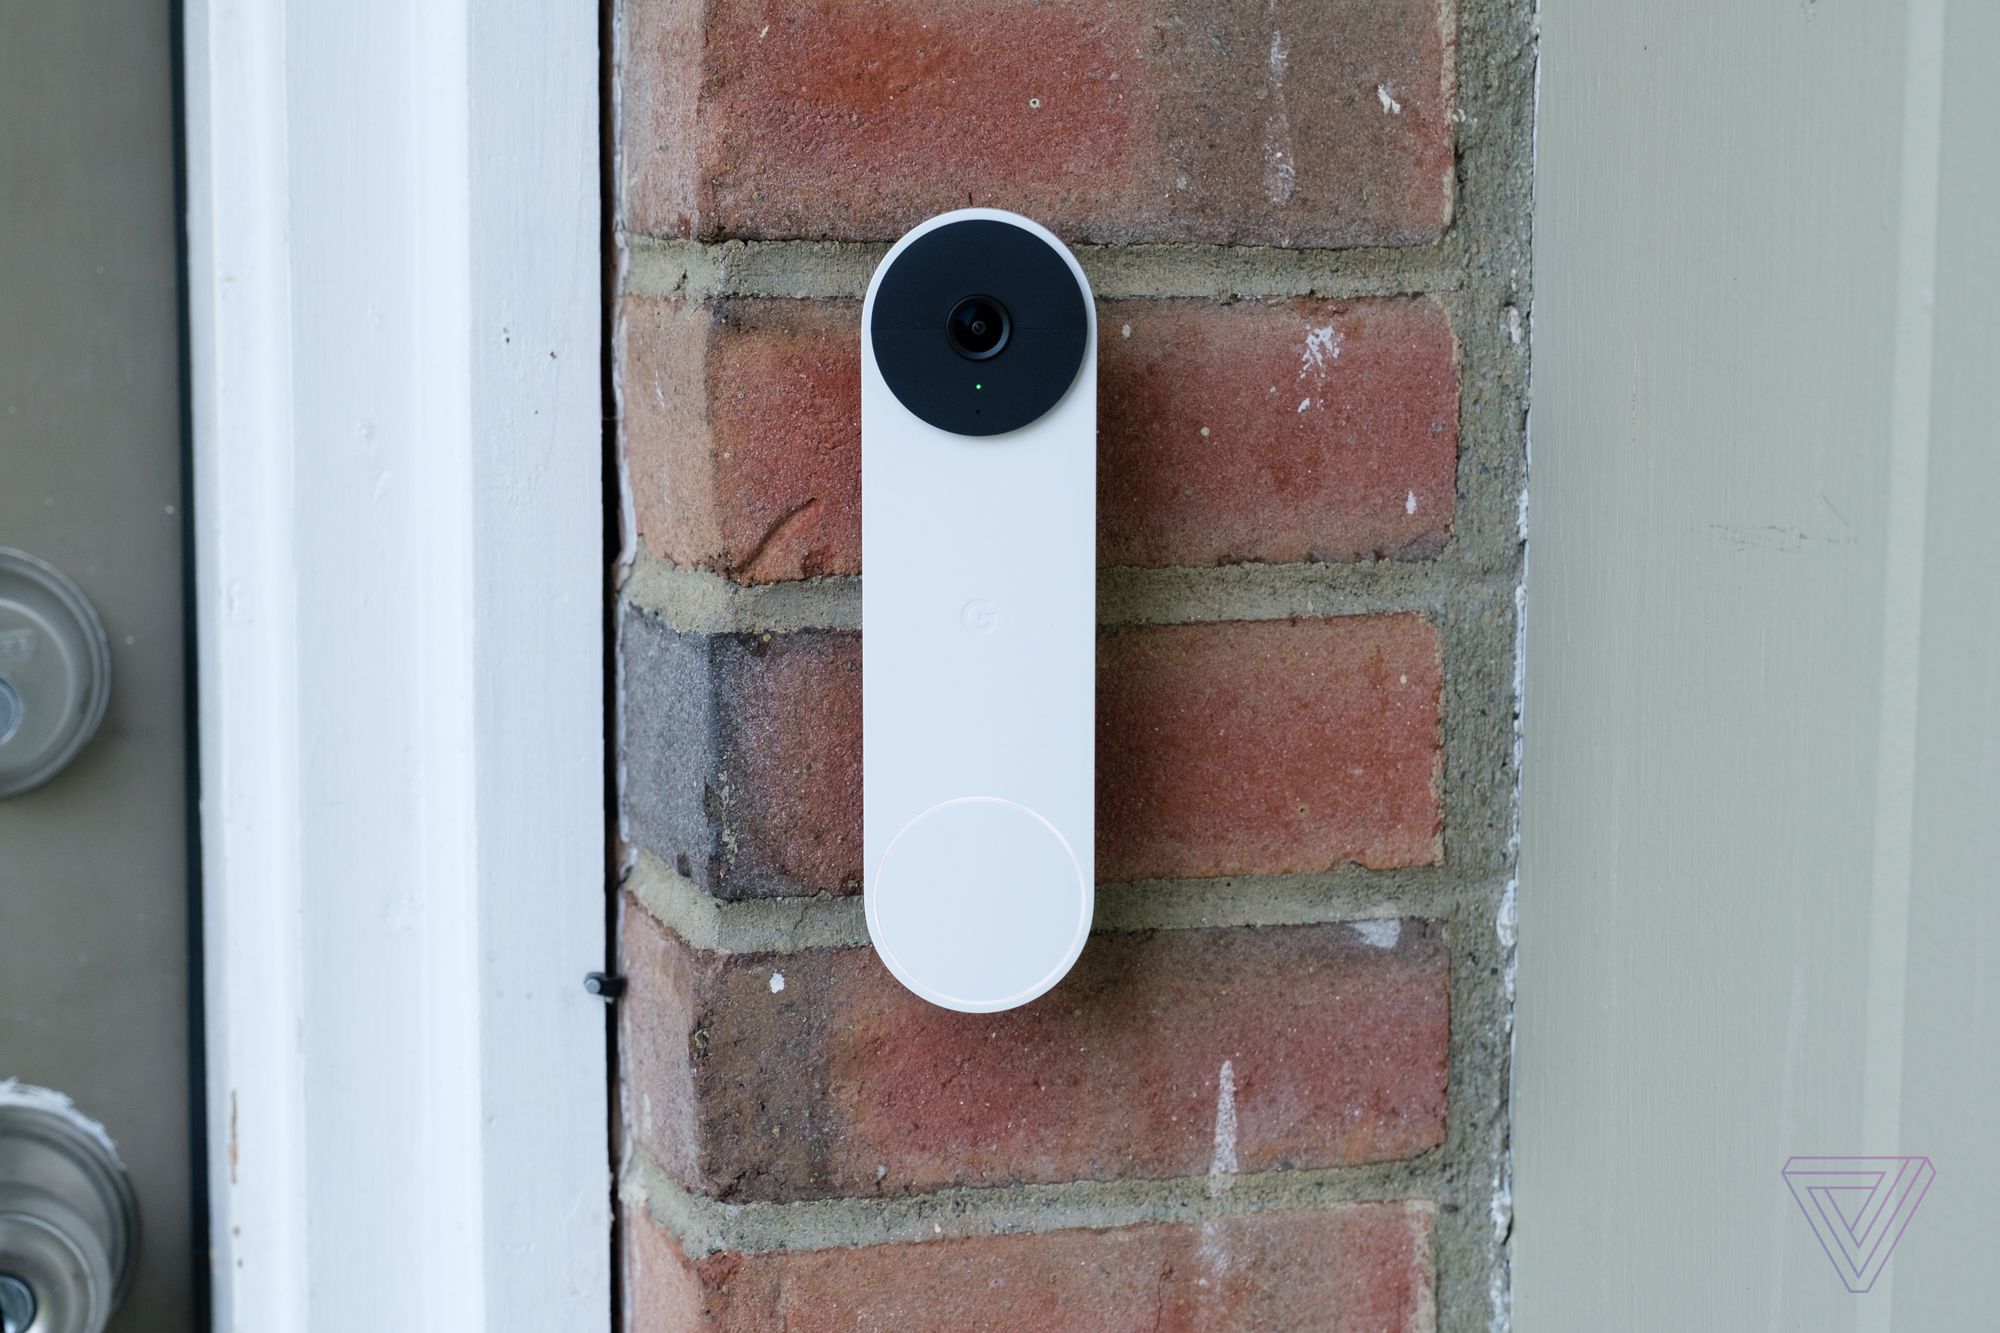
Welcome to our guide on how to remove your Nest doorbell for charging. The Nest doorbell is a wonderful device that provides security and convenience to homeowners. With its sleek design and advanced features, it is becoming increasingly popular among smart home enthusiasts.
However, like any other electronic device, the Nest doorbell requires occasional charging to ensure uninterrupted functionality. In this article, we will walk you through the step-by-step process of safely removing your Nest doorbell to charge it.
Before we dive into the details, it’s important to note that the exact steps may vary slightly depending on the specific model of your Nest doorbell. It’s always a good idea to consult the user manual that came with your device for any specific instructions. With that said, let’s get started!
Key Takeaways:
- Ensure a smooth removal and charging process for your Nest doorbell by preparing tools, powering off the device, and following step-by-step instructions to safely detach, charge, and reinstall the doorbell.
- Regularly charging your Nest doorbell is essential for maintaining its performance and reliability, ensuring uninterrupted security and convenience for your home. Follow the detailed steps to safely remove, charge, and reinstall your device.
Step 1: Prepare for Removal
Before you begin the process of removing your Nest doorbell, it’s important to gather the necessary tools and take a few precautions to ensure a smooth and safe removal process. Here’s what you need to do:
- Gather the tools: You will need a small Phillips screwdriver and a flathead screwdriver. These tools will help you remove the faceplate and detach the doorbell from the wall.
- Turn off the power: Locate the circuit breaker or fuse box that controls the power to your doorbell. Flip the switch or remove the fuse to cut off the power supply. This step is crucial to prevent any electrical shocks while handling the doorbell.
- Prepare a clean workspace: Find a stable surface near the doorbell to place the removed components. This will prevent any damage or loss of small parts during the removal process.
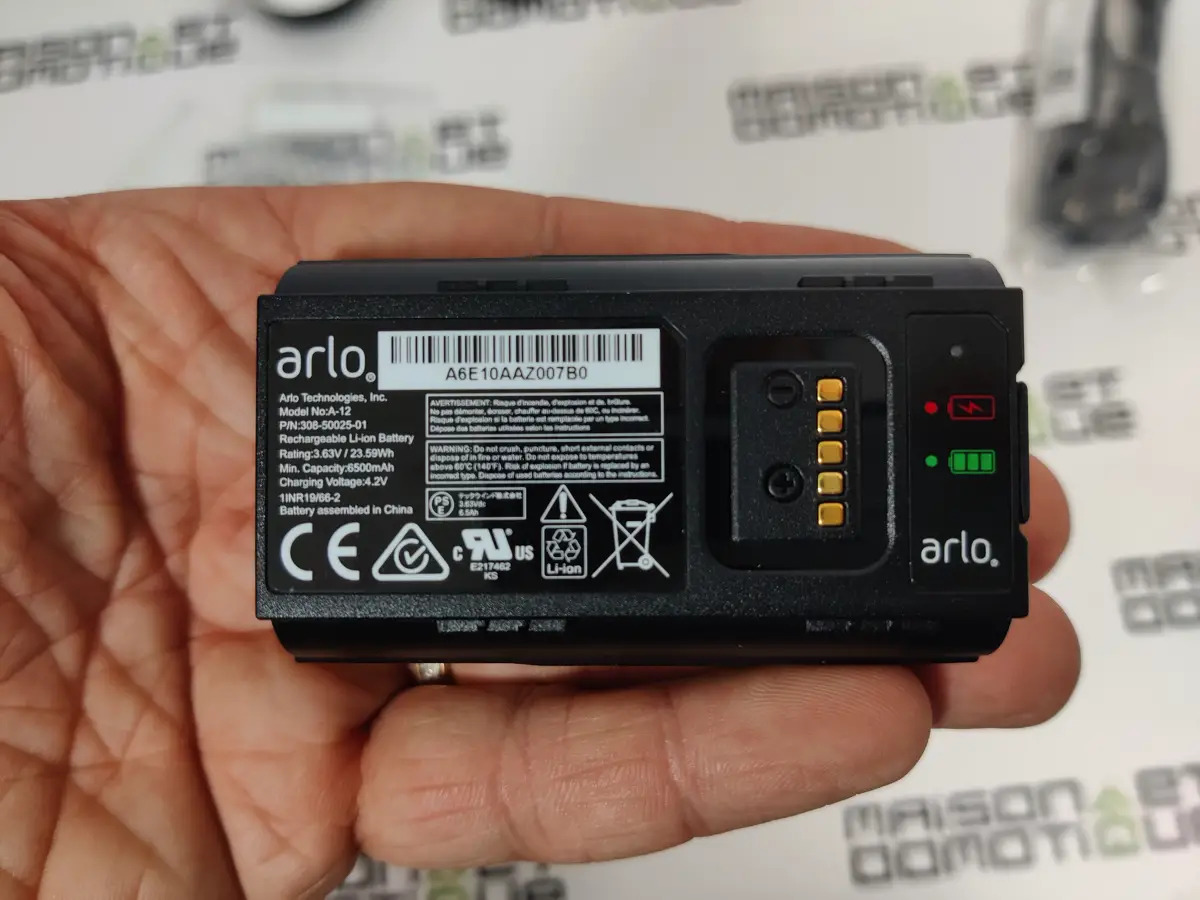
- Charge the replacement battery: If you have a spare battery for your Nest doorbell, make sure it is fully charged and ready to be installed after removing the current battery. If not, make a note to charge the battery separately before reinstallation.
- Read the user manual: Take a few minutes to review the user manual for your Nest doorbell. Familiarize yourself with the different parts and mechanisms involved in the removal process. This will help you navigate the steps more confidently.
By properly preparing for the removal process, you can minimize the risk of accidents and ensure a successful removal of your Nest doorbell. Once you have completed these steps, you are ready to move on to the next stage of the process.
Step 2: Power off the Nest Doorbell
Before you can safely remove your Nest doorbell, it is crucial to ensure that the device is powered off. This will minimize the risk of electrical shock and protect both you and the doorbell during the removal process. Here’s how you can power off your Nest doorbell:
- Locate the power source: The power source for your Nest doorbell is typically a low-voltage transformer or a wired connection. These are commonly found near your doorbell or inside your electrical panel.
- Turn off the power: Once you have located the power source, take the necessary steps to turn off the power supply. This may involve flipping a switch, removing a fuse, or turning off the breaker that controls the doorbell.
- Test the doorbell: After turning off the power, it is essential to ensure that the doorbell is no longer functional and does not produce any sounds or notifications. Press the doorbell button and check if it remains inactive. If the doorbell still functions, you may need to double-check the power source and ensure it is completely off.
- Verify the power is off: To be absolutely certain that the power is off, you can use a voltmeter or multimeter to check for electrical currents. Follow the instructions provided with your testing device to accurately determine if there is any remaining power.
By taking the necessary precautions to power off your Nest doorbell, you eliminate the risk of electrical accidents and ensure a safe removal process. Once you have confirmed that the doorbell is powered off, you can proceed to the next step of removing the faceplate.
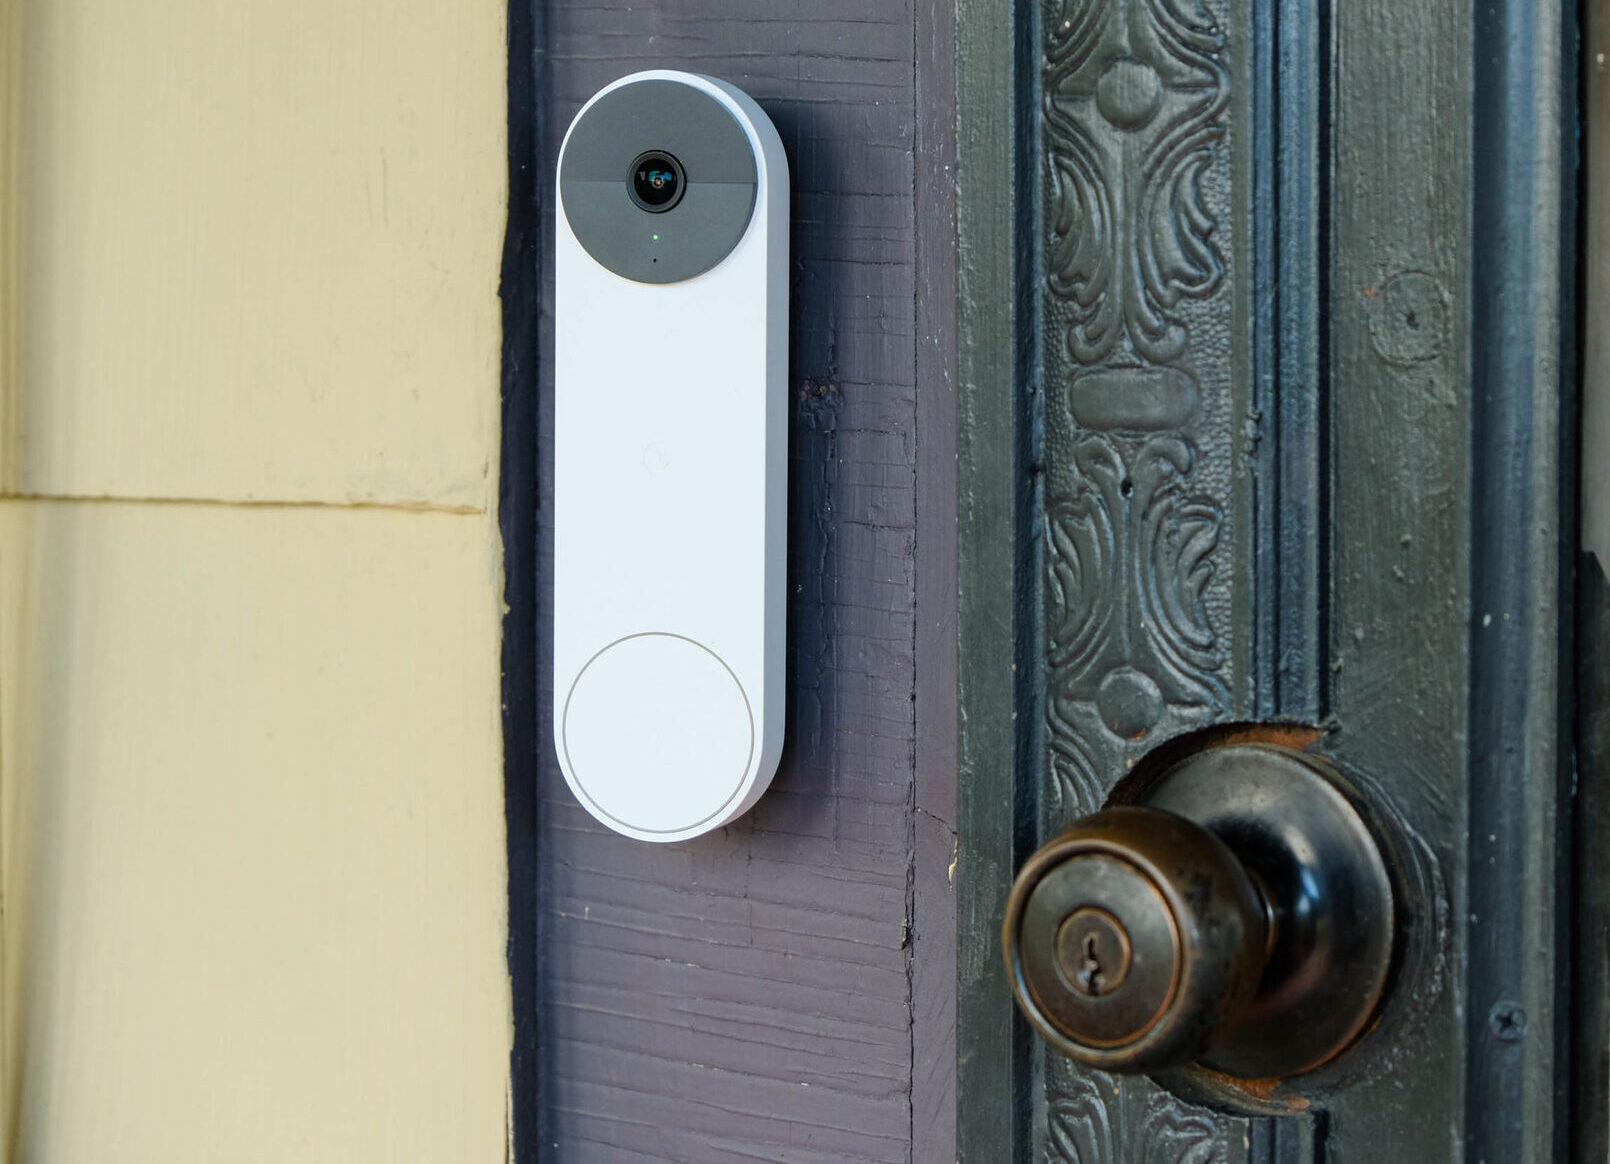
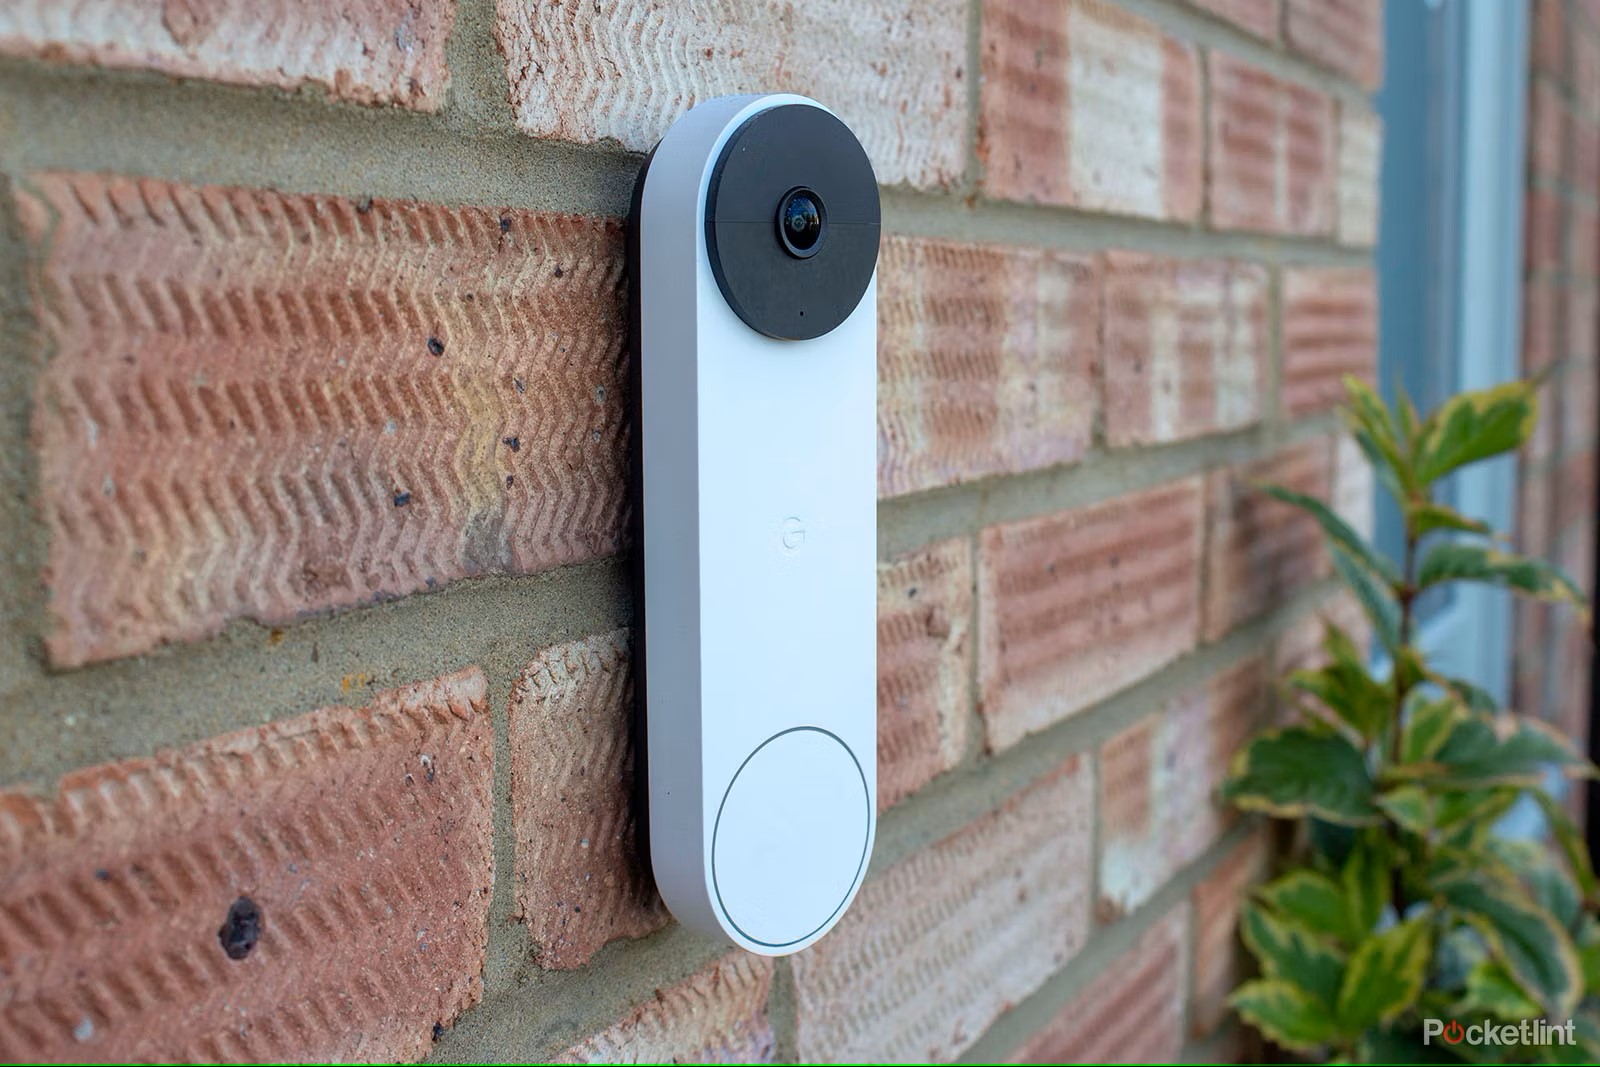
Step 3: Remove the Faceplate
Now that you have powered off your Nest doorbell, it’s time to remove the faceplate. The faceplate is the visible part of the doorbell that covers the internal components. Here’s how you can safely remove the faceplate:
- Locate the locking mechanism: On the bottom of the Nest doorbell, you will find a small locking mechanism that holds the faceplate in place. It may be a screw or a latch, depending on the model of your doorbell.
- Use the appropriate tool: Based on the type of locking mechanism, use a flathead screwdriver or a small Phillips screwdriver to loosen or remove the screw or latch. Gently apply pressure and rotate counterclockwise to release the faceplate.
- Detach the faceplate: Once the locking mechanism is loosened or removed, you can carefully lift the faceplate away from the main body of the doorbell. Be cautious not to force it as it may still be attached by clips or connectors.
- Disconnect any connectors: Check if there are any connectors or wires attaching the faceplate to the main body of the doorbell. If present, gently disconnect them by firmly gripping the connectors and pulling them apart. Take note of the orientation and positioning of the connectors for proper reinstallation.
With the faceplate successfully removed, you now have access to the internal components of your Nest doorbell. Handle the faceplate with care and place it in a safe location to prevent any damage or loss of small parts.
Proceed to the next step to detach the doorbell from the wall and continue with the removal process.
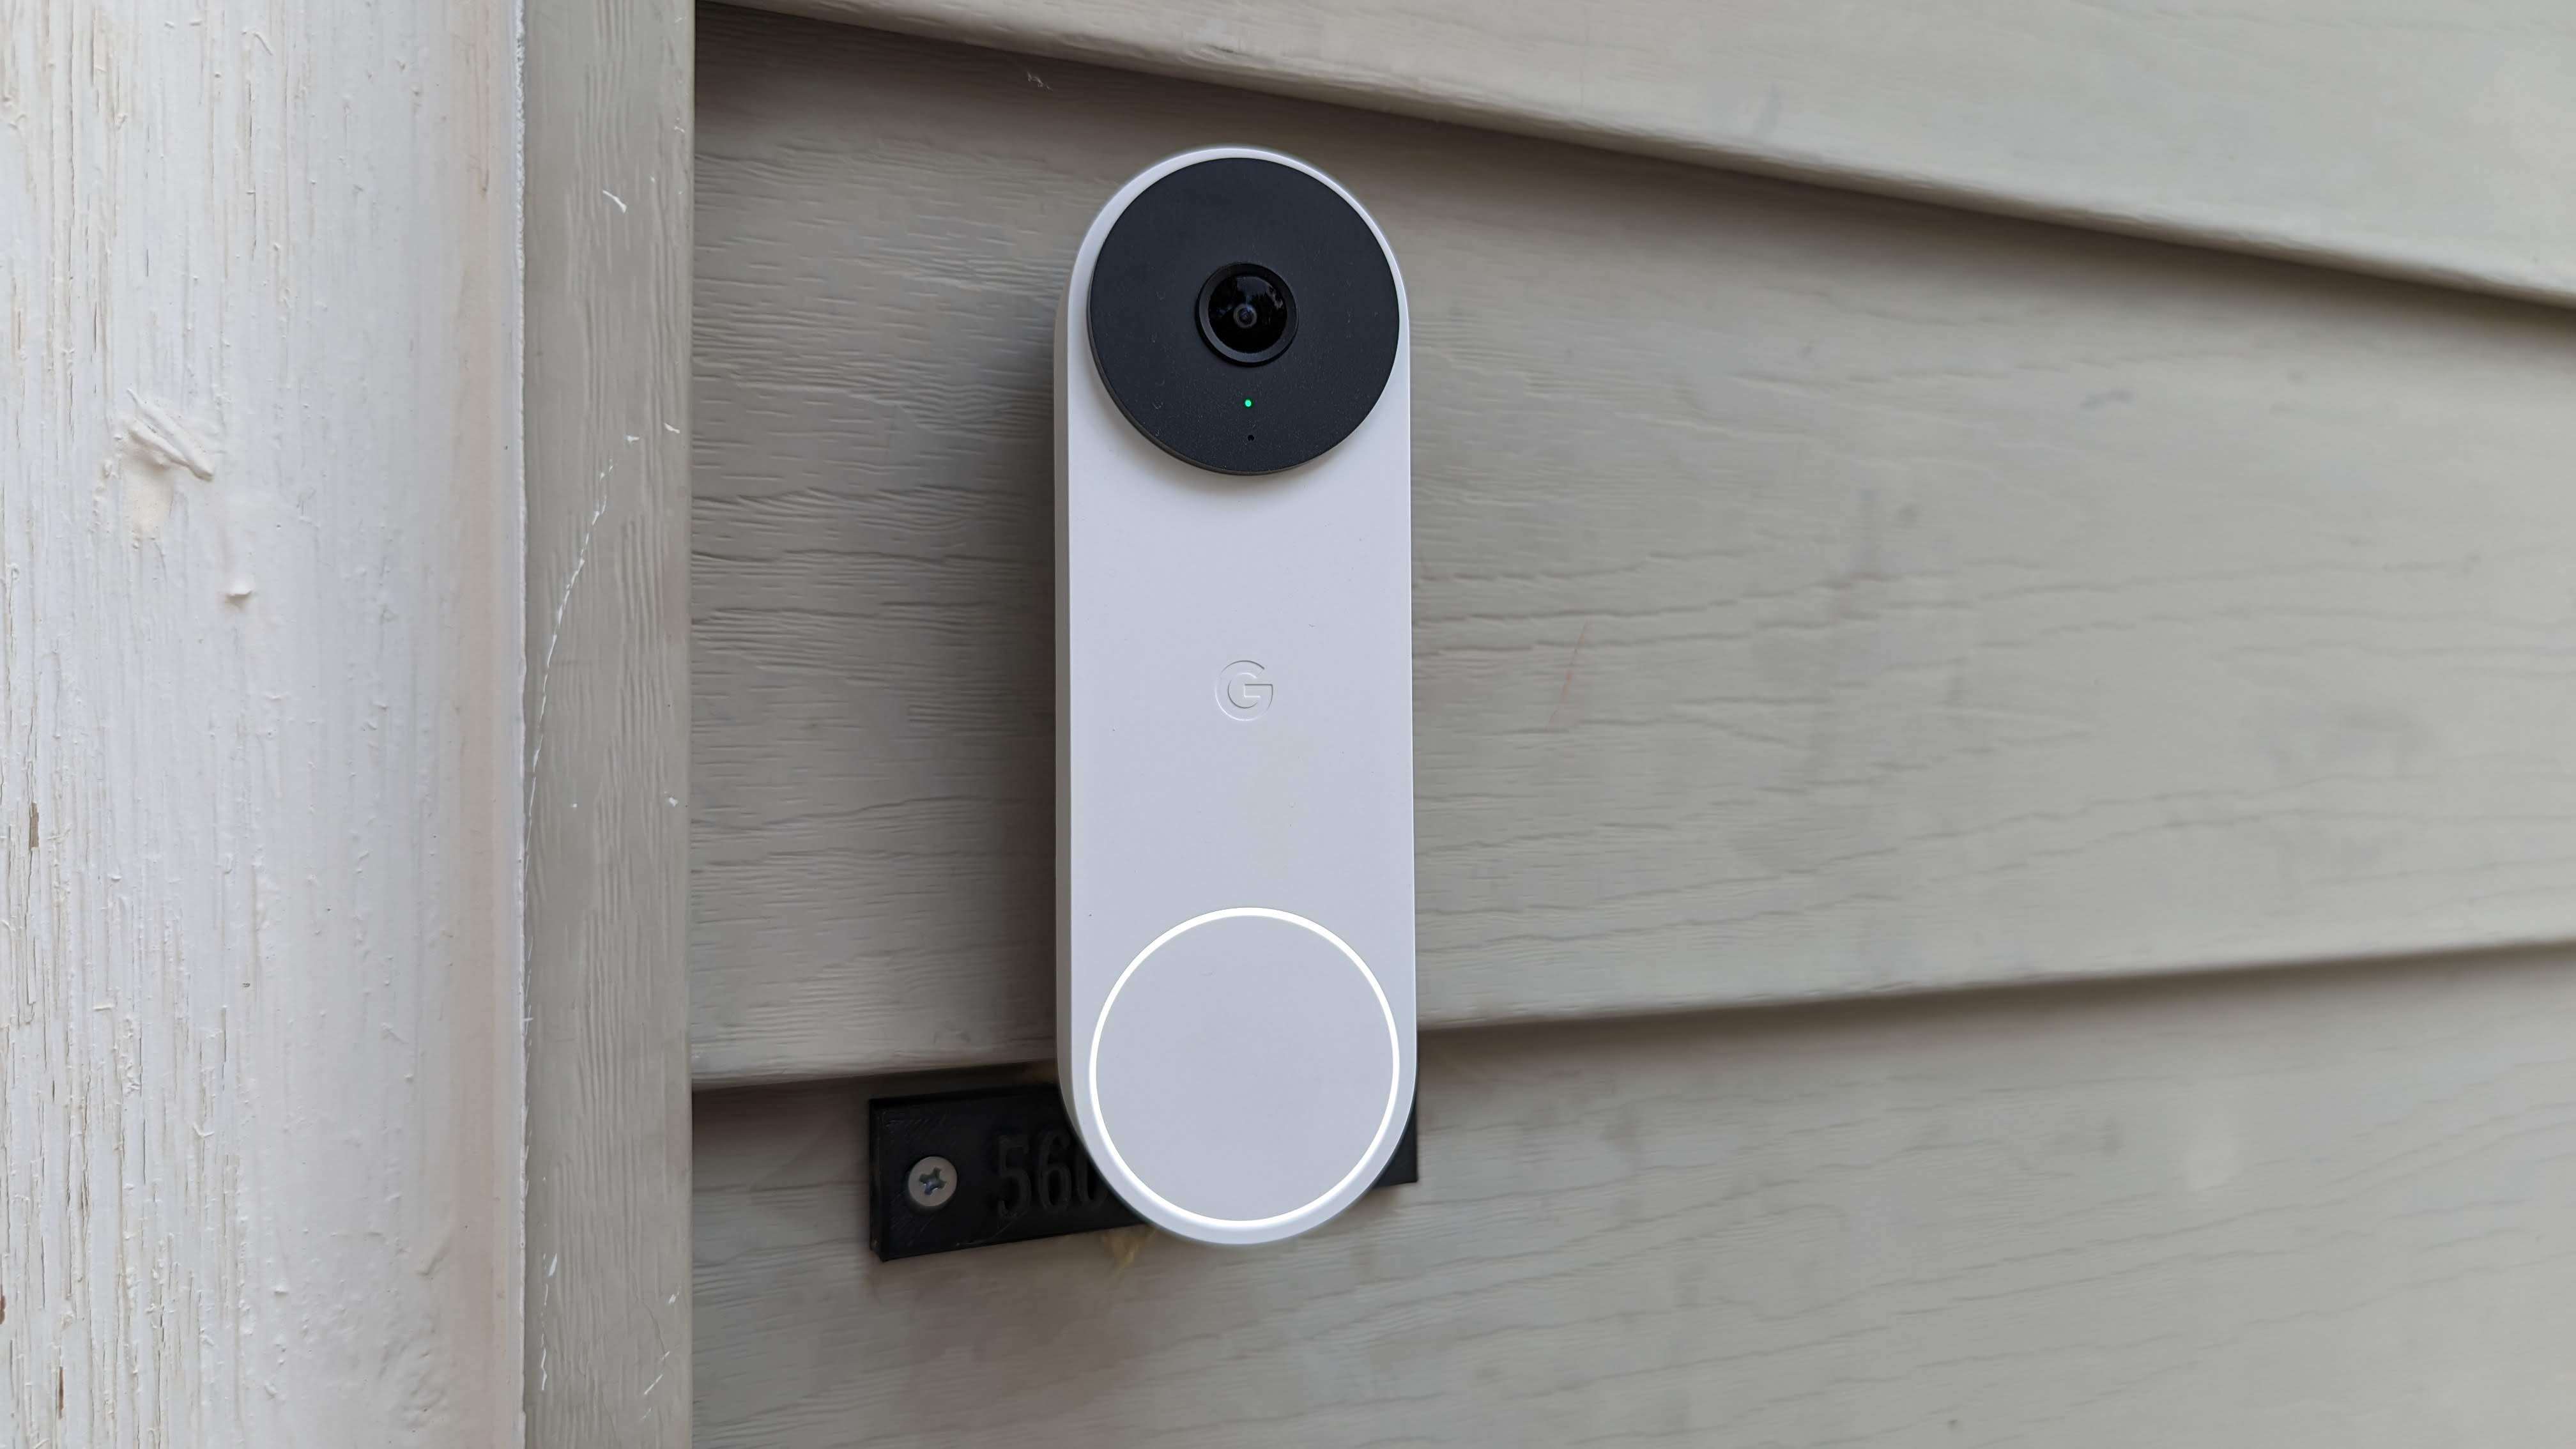
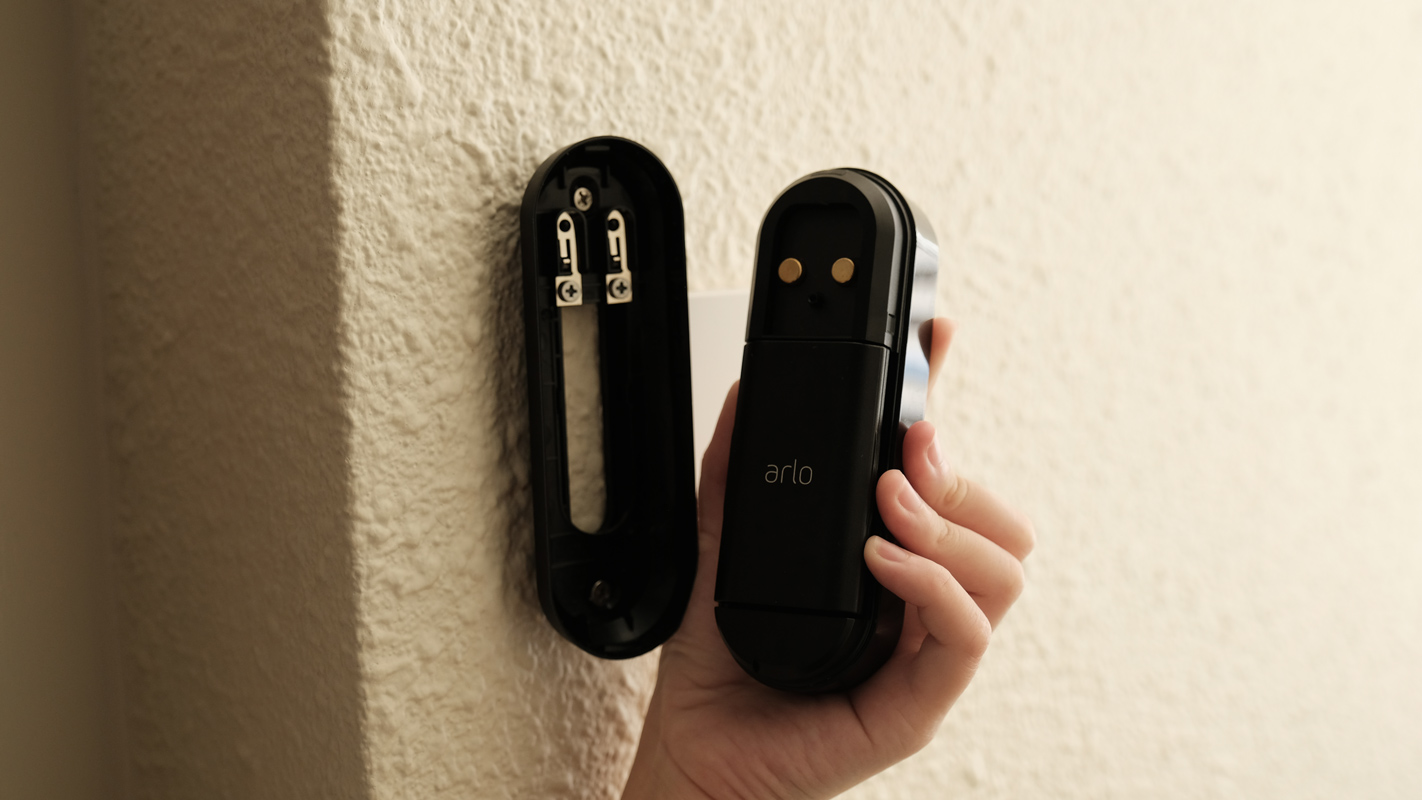
Step 4: Detach the Doorbell from the Wall
Now that the faceplate has been removed, it’s time to detach the Nest doorbell from the wall. This step will require a bit more effort and attention to ensure a successful removal. Here’s how you can safely detach the doorbell from the wall:
- Inspect the mounting bracket: Take a moment to examine the mounting bracket that holds the doorbell in place. The bracket is typically fixed to the wall using screws or adhesive, depending on the installation method.
- Remove any screws: If your Nest doorbell is mounted using screws, use a screwdriver to carefully remove the screws that secure the device to the mounting bracket. Be cautious not to drop the screws or lose them during the process.
- Release the adhesive: If your Nest doorbell is attached using adhesive, gently pry the device away from the mounting bracket using a flathead screwdriver or a similar tool. Apply gradual pressure to loosen the adhesive bond while ensuring not to damage the wall or the doorbell.
- Pull out the doorbell: Once the screws are removed or the adhesive is loose, you can gently pull the Nest doorbell away from the wall. Use a steady and even motion to avoid any unnecessary strain on the doorbell or the wiring.
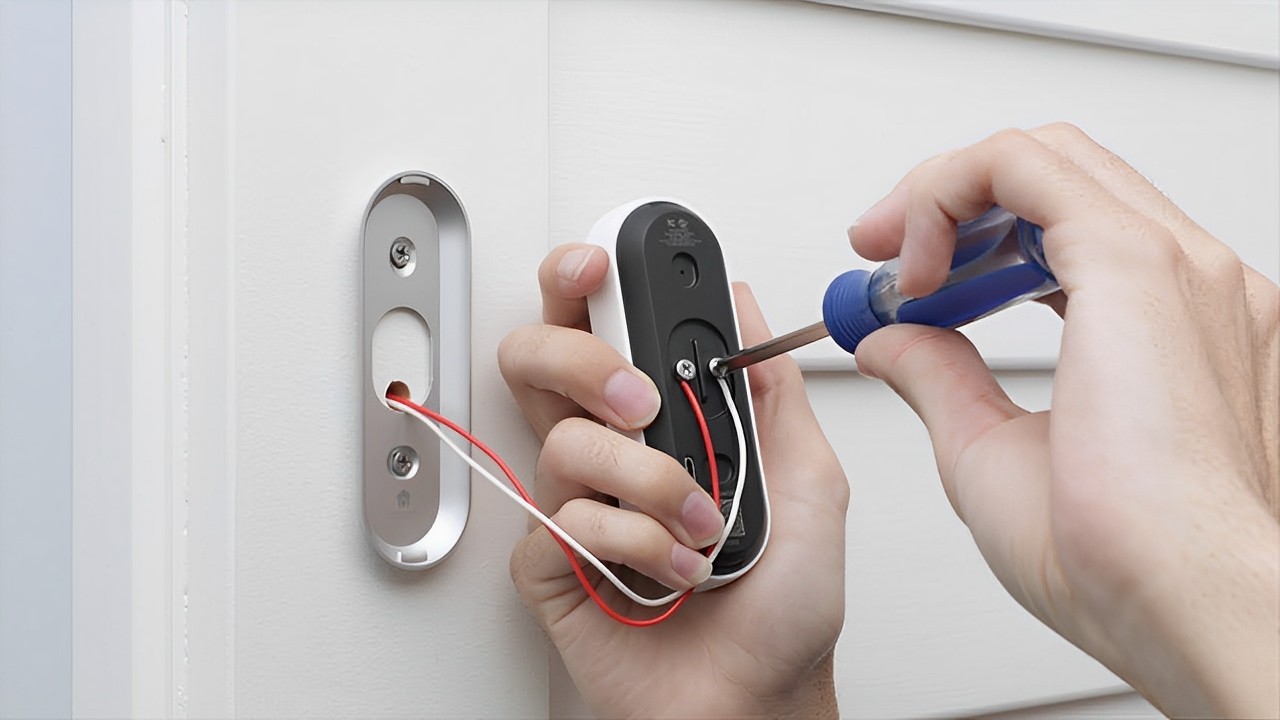
- Disconnect the wiring (if applicable): If your Nest doorbell is hardwired, you may need to disconnect the wiring at this stage. Carefully detach the wires from the terminals by loosening the screws or utilizing any release mechanisms provided.
Once the Nest doorbell is fully detached from the wall, set it aside in a secure location. Take care to keep any loose screws or wiring safely organized and readily accessible for reinstallation.
Now that the doorbell itself is removed, you can proceed to the next step to prepare for charging.
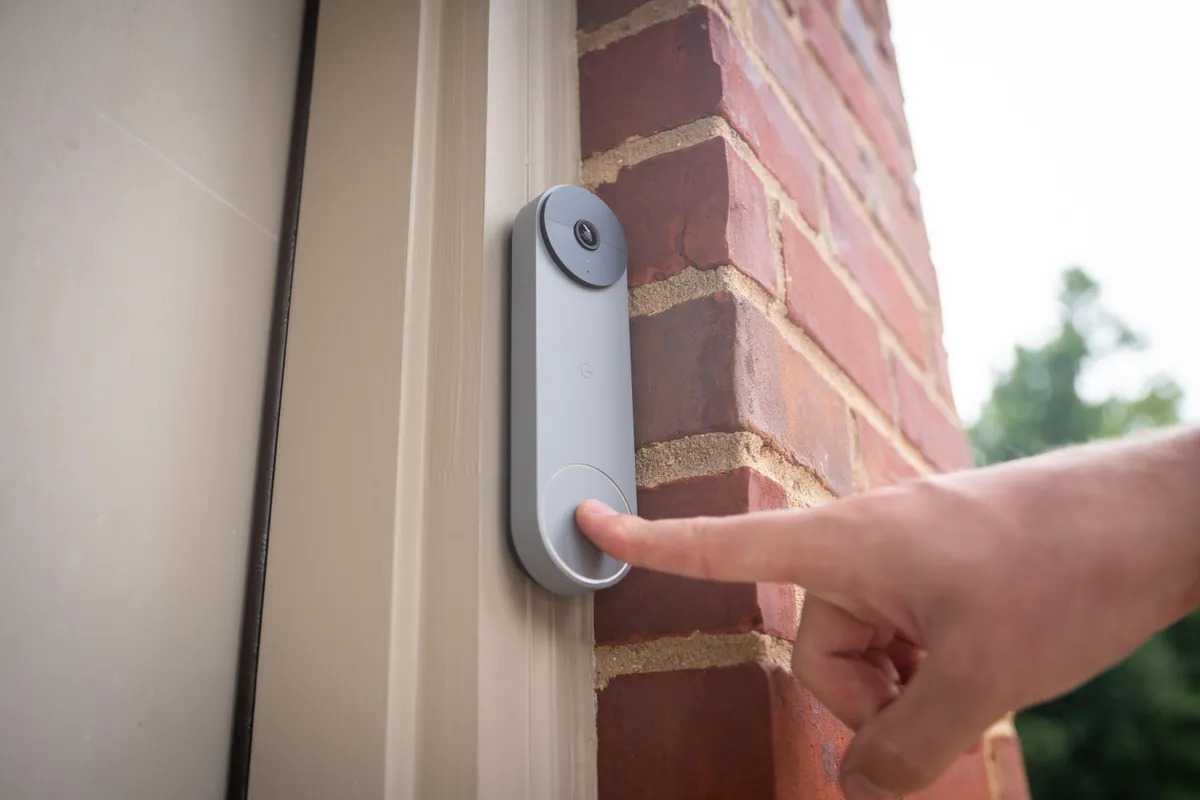
To remove a Nest doorbell for charging, first, gently press the release button at the bottom of the device. Then, pull the doorbell straight out from the wall mount. Make sure to use the included tools for a safe removal.
Read more: How To Reboot Nest Doorbell
Step 5: Prepare for Charging
With the Nest doorbell successfully detached from the wall, it’s time to prepare for the charging process. Proper preparation is essential to ensure a smooth and efficient charging experience for your device. Here’s what you need to do:
- Inspect the components: Take a moment to inspect the Nest doorbell, the faceplate, and any other removable parts for any signs of damage or wear. Look for any dust or debris that may have accumulated and gently clean the surfaces using a soft, lint-free cloth.
- Check the battery level: If your Nest doorbell has a built-in battery, check the battery level to determine if it needs charging. You can usually find this information within the device’s settings or on the companion app. Restarting the device after removing the power source may cause the battery level to reset, so double-check before proceeding.
- Prepare a charging location: Find a suitable location to charge your Nest doorbell. Ideally, it should be a flat, stable surface with access to a power source. Ensure that the area is well-ventilated and away from direct sunlight or extreme temperatures.
- Ensure the charging cable is available: Locate the charging cable that came with your Nest doorbell or any compatible charging cable. Make sure the cable is undamaged, with no frayed wires or loose connections.
- Connect the charging cable: If your Nest doorbell has a removable battery, connect one end of the charging cable to the charging port on the device. If your doorbell is hardwired and does not have a removable battery, skip this step.
By properly preparing for the charging process, you ensure that your Nest doorbell will receive the necessary power to recharge efficiently. With all the necessary steps completed, you are now ready to proceed with charging your Nest doorbell.
Step 6: Charge the Nest Doorbell
Now that you have prepared your Nest doorbell for charging, it’s time to power up your device. Charging your Nest doorbell will provide it with the necessary power to operate effectively. Follow these steps to charge your Nest doorbell:
- Plug in the charging cable: Connect the other end of the charging cable into a power source such as a wall outlet or a USB port on a computer. Ensure that the charging cable is securely plugged in.
- Monitor the charging progress: Once the charging cable is connected, check if the device indicates that it is charging. Some Nest doorbell models may have LED lights or display screens that show the charging status. Refer to the user manual or the device’s settings to determine how to monitor the charging progress.
- Leave the Nest doorbell to charge: Allow the Nest doorbell to charge for the recommended duration, which is typically several hours. The charging time may vary depending on the specific model and the current battery level.
- Check the charging status: Periodically check the charging status to ensure that the Nest doorbell is charging properly. If you notice any issues or if the device does not indicate any charging activity, double-check the connections and try a different charging cable or power source if necessary.
- Disconnect the charging cable: Once the Nest doorbell has reached a sufficient charge level, disconnect the charging cable from the device. Take care not to damage the charging port or the cable during the disconnection process.
Charging your Nest doorbell regularly will ensure that it remains functional and ready to capture and transmit video footage when needed. Once you have completed the charging process, you can move on to the final step of reinstalling the doorbell.
Step 7: Reinstall the Doorbell
After charging your Nest doorbell, it’s time to reinstall the device and restore its functionality. Follow these steps to reinstall your Nest doorbell:
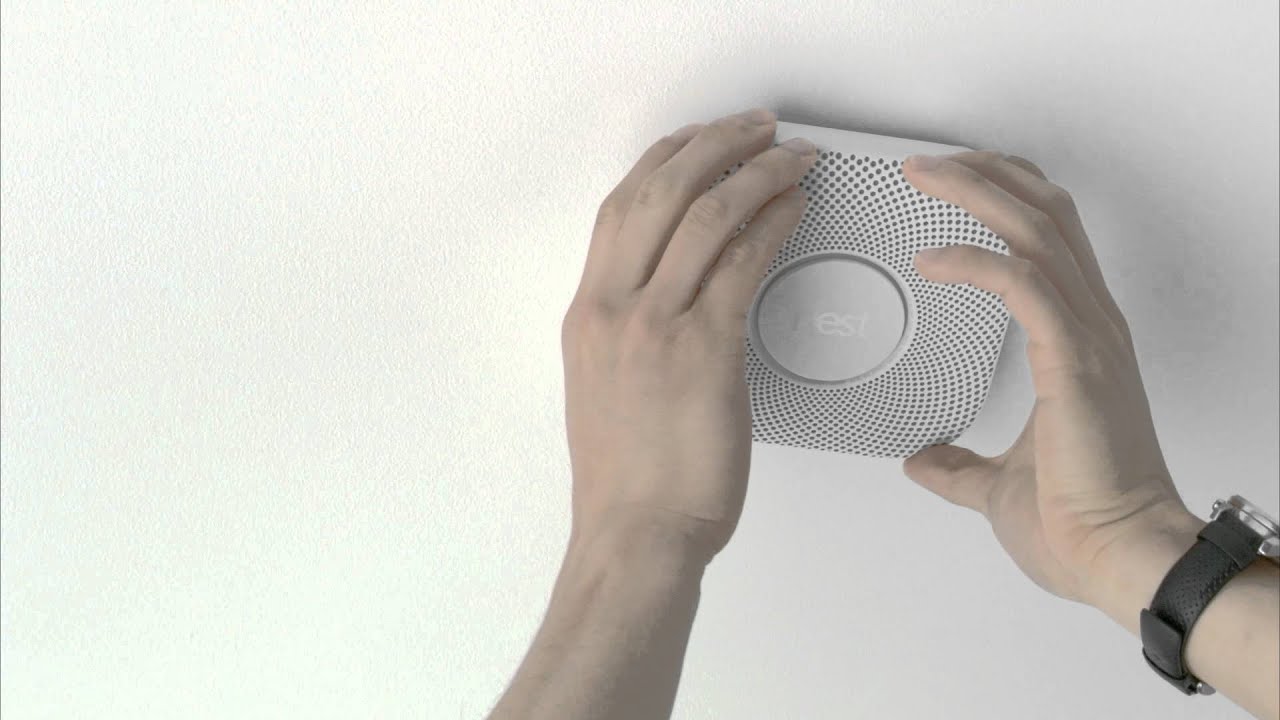
- Position the doorbell: Choose the desired location for your Nest doorbell and ensure it is within range of your Wi-Fi network. Place the doorbell against the wall, aligning it with the mounting bracket or screws that were previously in place.
- Secure the doorbell: If your Nest doorbell uses screws for installation, use the appropriate screwdriver to fasten the device to the mounting bracket. Make sure the doorbell is firmly secured in place. If you have an adhesive installation, press and hold the doorbell against the wall for a few seconds to ensure it adheres properly.
- Connect the wiring (if applicable): If your Nest doorbell is hardwired, reconnect the wiring to the appropriate terminals. Follow the instructions or labeling on the doorbell to ensure the correct connections. Tighten any screws if necessary, but avoid over-tightening as it may damage the wires or the doorbell.
- Attach the faceplate: Once the doorbell is securely in place, align the faceplate with the main body of the Nest doorbell. Gently press down until it clicks or snaps into place. If your doorbell uses a screw or latch to secure the faceplate, follow the appropriate steps provided in the user manual to attach it.
- Power on the doorbell: If you had turned off the power source during the removal process, now is the time to turn it back on. Restore power to your Nest doorbell by flipping the switch, inserting the fuse, or resetting the breaker.
- Test the doorbell: After restoring power, give your Nest doorbell a test run to ensure that it is working as expected. Press the doorbell button and check if it produces a chime or sends notifications to connected devices. Use the companion app or the device settings to verify that the doorbell’s functions, such as video camera and motion detection, are working properly.
By following these steps, you will successfully reinstall your Nest doorbell and restore its functionality. Take the time to ensure that all connections are secure and that the doorbell is functioning as intended. Congratulations, you have now completed the process of removing and reinstalling your Nest doorbell!
Conclusion
Removing and charging your Nest doorbell is a simple process that ensures the continuous functionality of your device. By following the steps outlined in this guide, you can safely remove the doorbell, charge it, and reinstall it with ease. Here’s a quick recap of the steps:
- Prepare for removal by gathering tools, turning off the power, and preparing a workspace.
- Power off the Nest doorbell by locating the power source and disconnecting the power supply.
- Remove the faceplate by loosening the locking mechanism and detaching any connectors.
- Detach the doorbell from the wall by removing screws or releasing adhesive.
- Prepare for charging by inspecting components, checking battery level, and finding a charging location.
- Charge the Nest doorbell by connecting the charging cable and monitoring the charging progress.
- Reinstall the doorbell by positioning it, securing it in place, connecting wiring if applicable, attaching the faceplate, and restoring power.
Remember, it is important to consult the user manual that came with your Nest doorbell for any specific instructions or differences in the removal and charging process.
By following these steps, you can ensure that your Nest doorbell remains fully charged and ready to provide security and convenience to your home. Regularly charging your doorbell will help maintain its performance and reliability over time.
We hope this guide has been informative and helpful to you. If you have any further questions or concerns, don’t hesitate to reach out to the Nest support team or refer to their online resources. Enjoy the seamless functionality of your Nest doorbell!
Now that you've mastered removing your Nest Doorbell for charging, why not learn more about getting it up and running again? Our guide on reactivating your smart doorbell walks you through every necessary step. Looking to expand your tech-savvy domain? Dive into our roundup of the most innovative home automation systems slated for next year. These insights could transform your living space into a hub of convenience and modernity.
Frequently Asked Questions about How To Remove Nest Doorbell To Charge
Was this page helpful?
At Storables.com, we guarantee accurate and reliable information. Our content, validated by Expert Board Contributors, is crafted following stringent Editorial Policies. We're committed to providing you with well-researched, expert-backed insights for all your informational needs.

0 thoughts on “How To Remove Nest Doorbell To Charge”