Articles
How To Turn On Google Nest Doorbell
Modified: May 6, 2024
Learn how to turn on your Google Nest Doorbell with step-by-step instructions in this informative article. Never miss a visitor again!
(Many of the links in this article redirect to a specific reviewed product. Your purchase of these products through affiliate links helps to generate commission for Storables.com, at no extra cost. Learn more)
Introduction
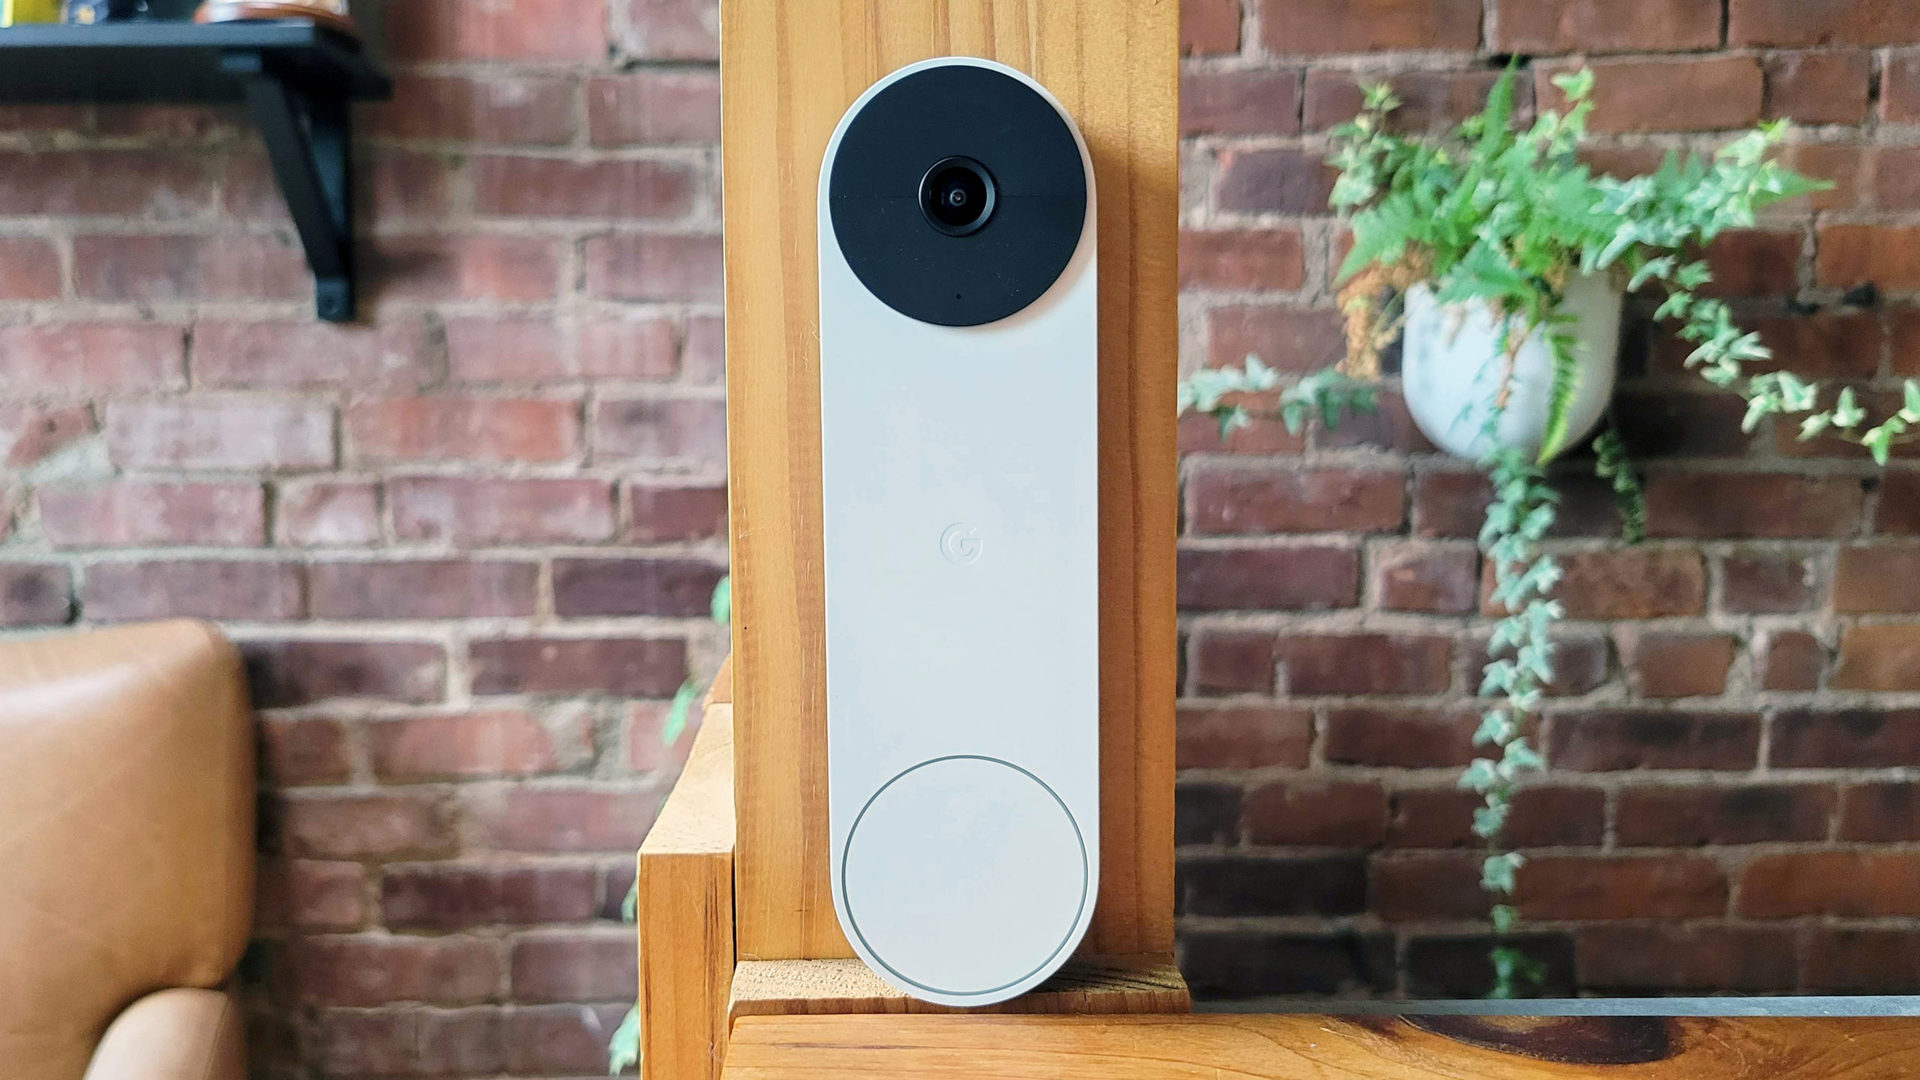
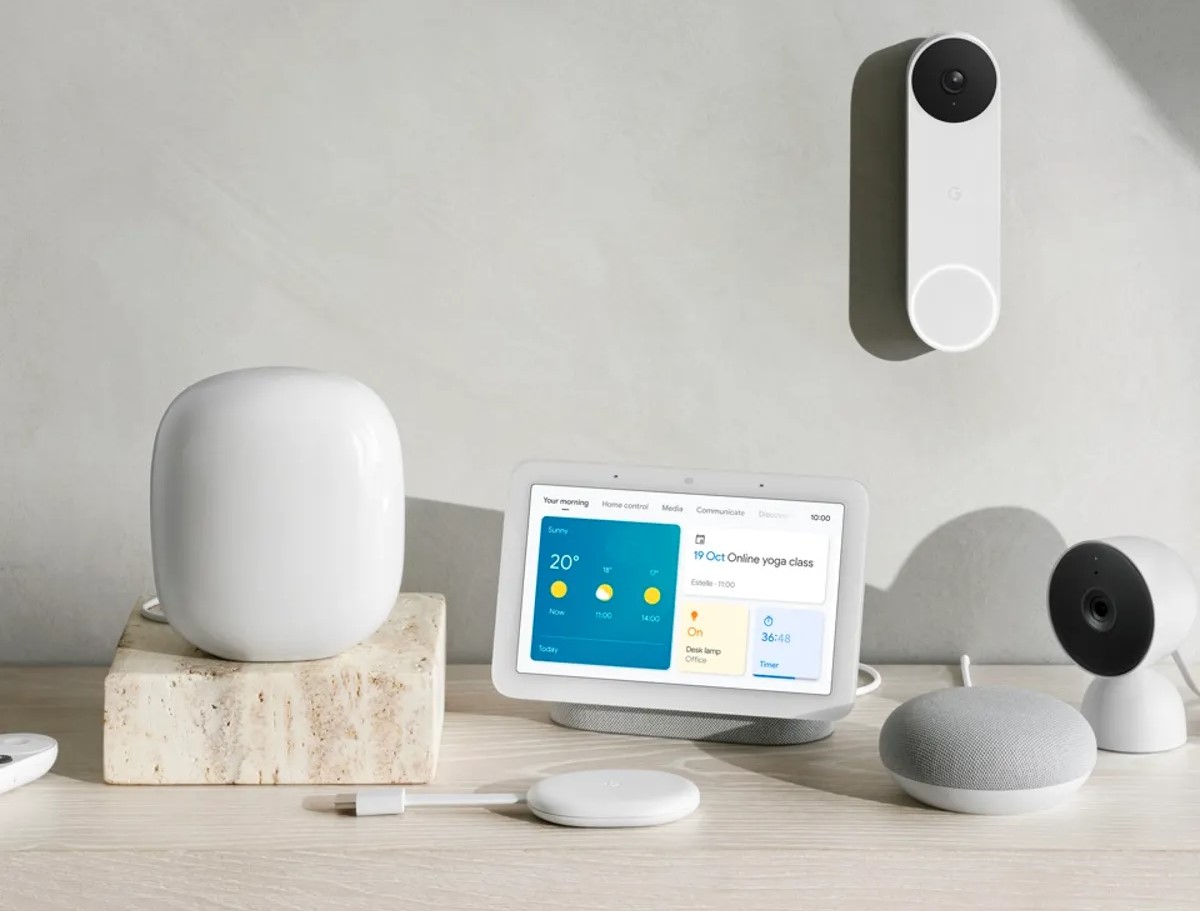
Welcome to the world of smart home technology! If you’ve recently purchased a Google Nest Doorbell, you’re on your way to enhancing the security and convenience of your home. The Google Nest Doorbell allows you to see and interact with visitors at your front door, even when you’re not home. In this article, we will guide you through the process of turning on your Google Nest Doorbell and getting it set up to start enjoying its benefits.
Before we begin, it’s important to note that the following instructions are specific to the Google Nest Doorbell and may not apply to other doorbell models. Additionally, make sure you have a stable and reliable Wi-Fi connection before proceeding with the setup. With that said, let’s get started!
Key Takeaways:
- Setting up your Google Nest Doorbell involves downloading the app, connecting to Wi-Fi, physical installation, app setup, customization, and testing. Enjoy enhanced security and convenience with this smart home addition.
- Customize your doorbell settings to suit your preferences, including motion detection, activity zones, notifications, and more. Regularly update the app and enjoy the peace of mind that comes with a well-protected front door.
Step 1: Download the Google Nest app
The first step to turning on your Google Nest Doorbell is to download and install the Google Nest app on your smartphone or tablet. The Google Nest app is available for both iOS and Android devices and can be easily found in the respective app stores.
Once you have downloaded the app, open it and sign in with your Google account. If you don’t have a Google account, you will need to create one. This is important as the app will be used to connect and control your Google Nest Doorbell.
After signing in, you will be prompted to grant necessary permissions for the app to function properly. Make sure to allow access to your camera, microphone, and location, as these are required for the doorbell to work effectively.
Once you have successfully downloaded and set up the Google Nest app, you’re ready to move on to the next step.
Step 2: Connect the Google Nest Doorbell to your Wi-Fi network
Now that you have the Google Nest app installed and ready, it’s time to connect your Google Nest Doorbell to your Wi-Fi network. This step is crucial as it allows your doorbell to communicate with your smartphone or tablet for remote access and control.
To begin the process, open the Google Nest app and tap on the “Add” button. This will initiate the setup process for your doorbell.
Next, follow the on-screen instructions to select the Google Nest Doorbell from the list of available devices. Be sure to have your Wi-Fi network name and password handy, as you will need to provide them during the setup process.
Once you have entered your Wi-Fi credentials, the app will attempt to establish a connection between your doorbell and your network. This may take a few moments, so be patient.
If the connection is successful, you will be prompted to assign a name for your doorbell. This can be a descriptive name like “Front Door” or “Main Entrance”. Choose a name that will help you easily identify the location of your doorbell within the app.
Finally, the app will display a message indicating that your Google Nest Doorbell is connected and ready to use. Congratulations! You have successfully connected your doorbell to your Wi-Fi network.
Now that the connection is established, you can proceed to the next step to physically install the Google Nest Doorbell.
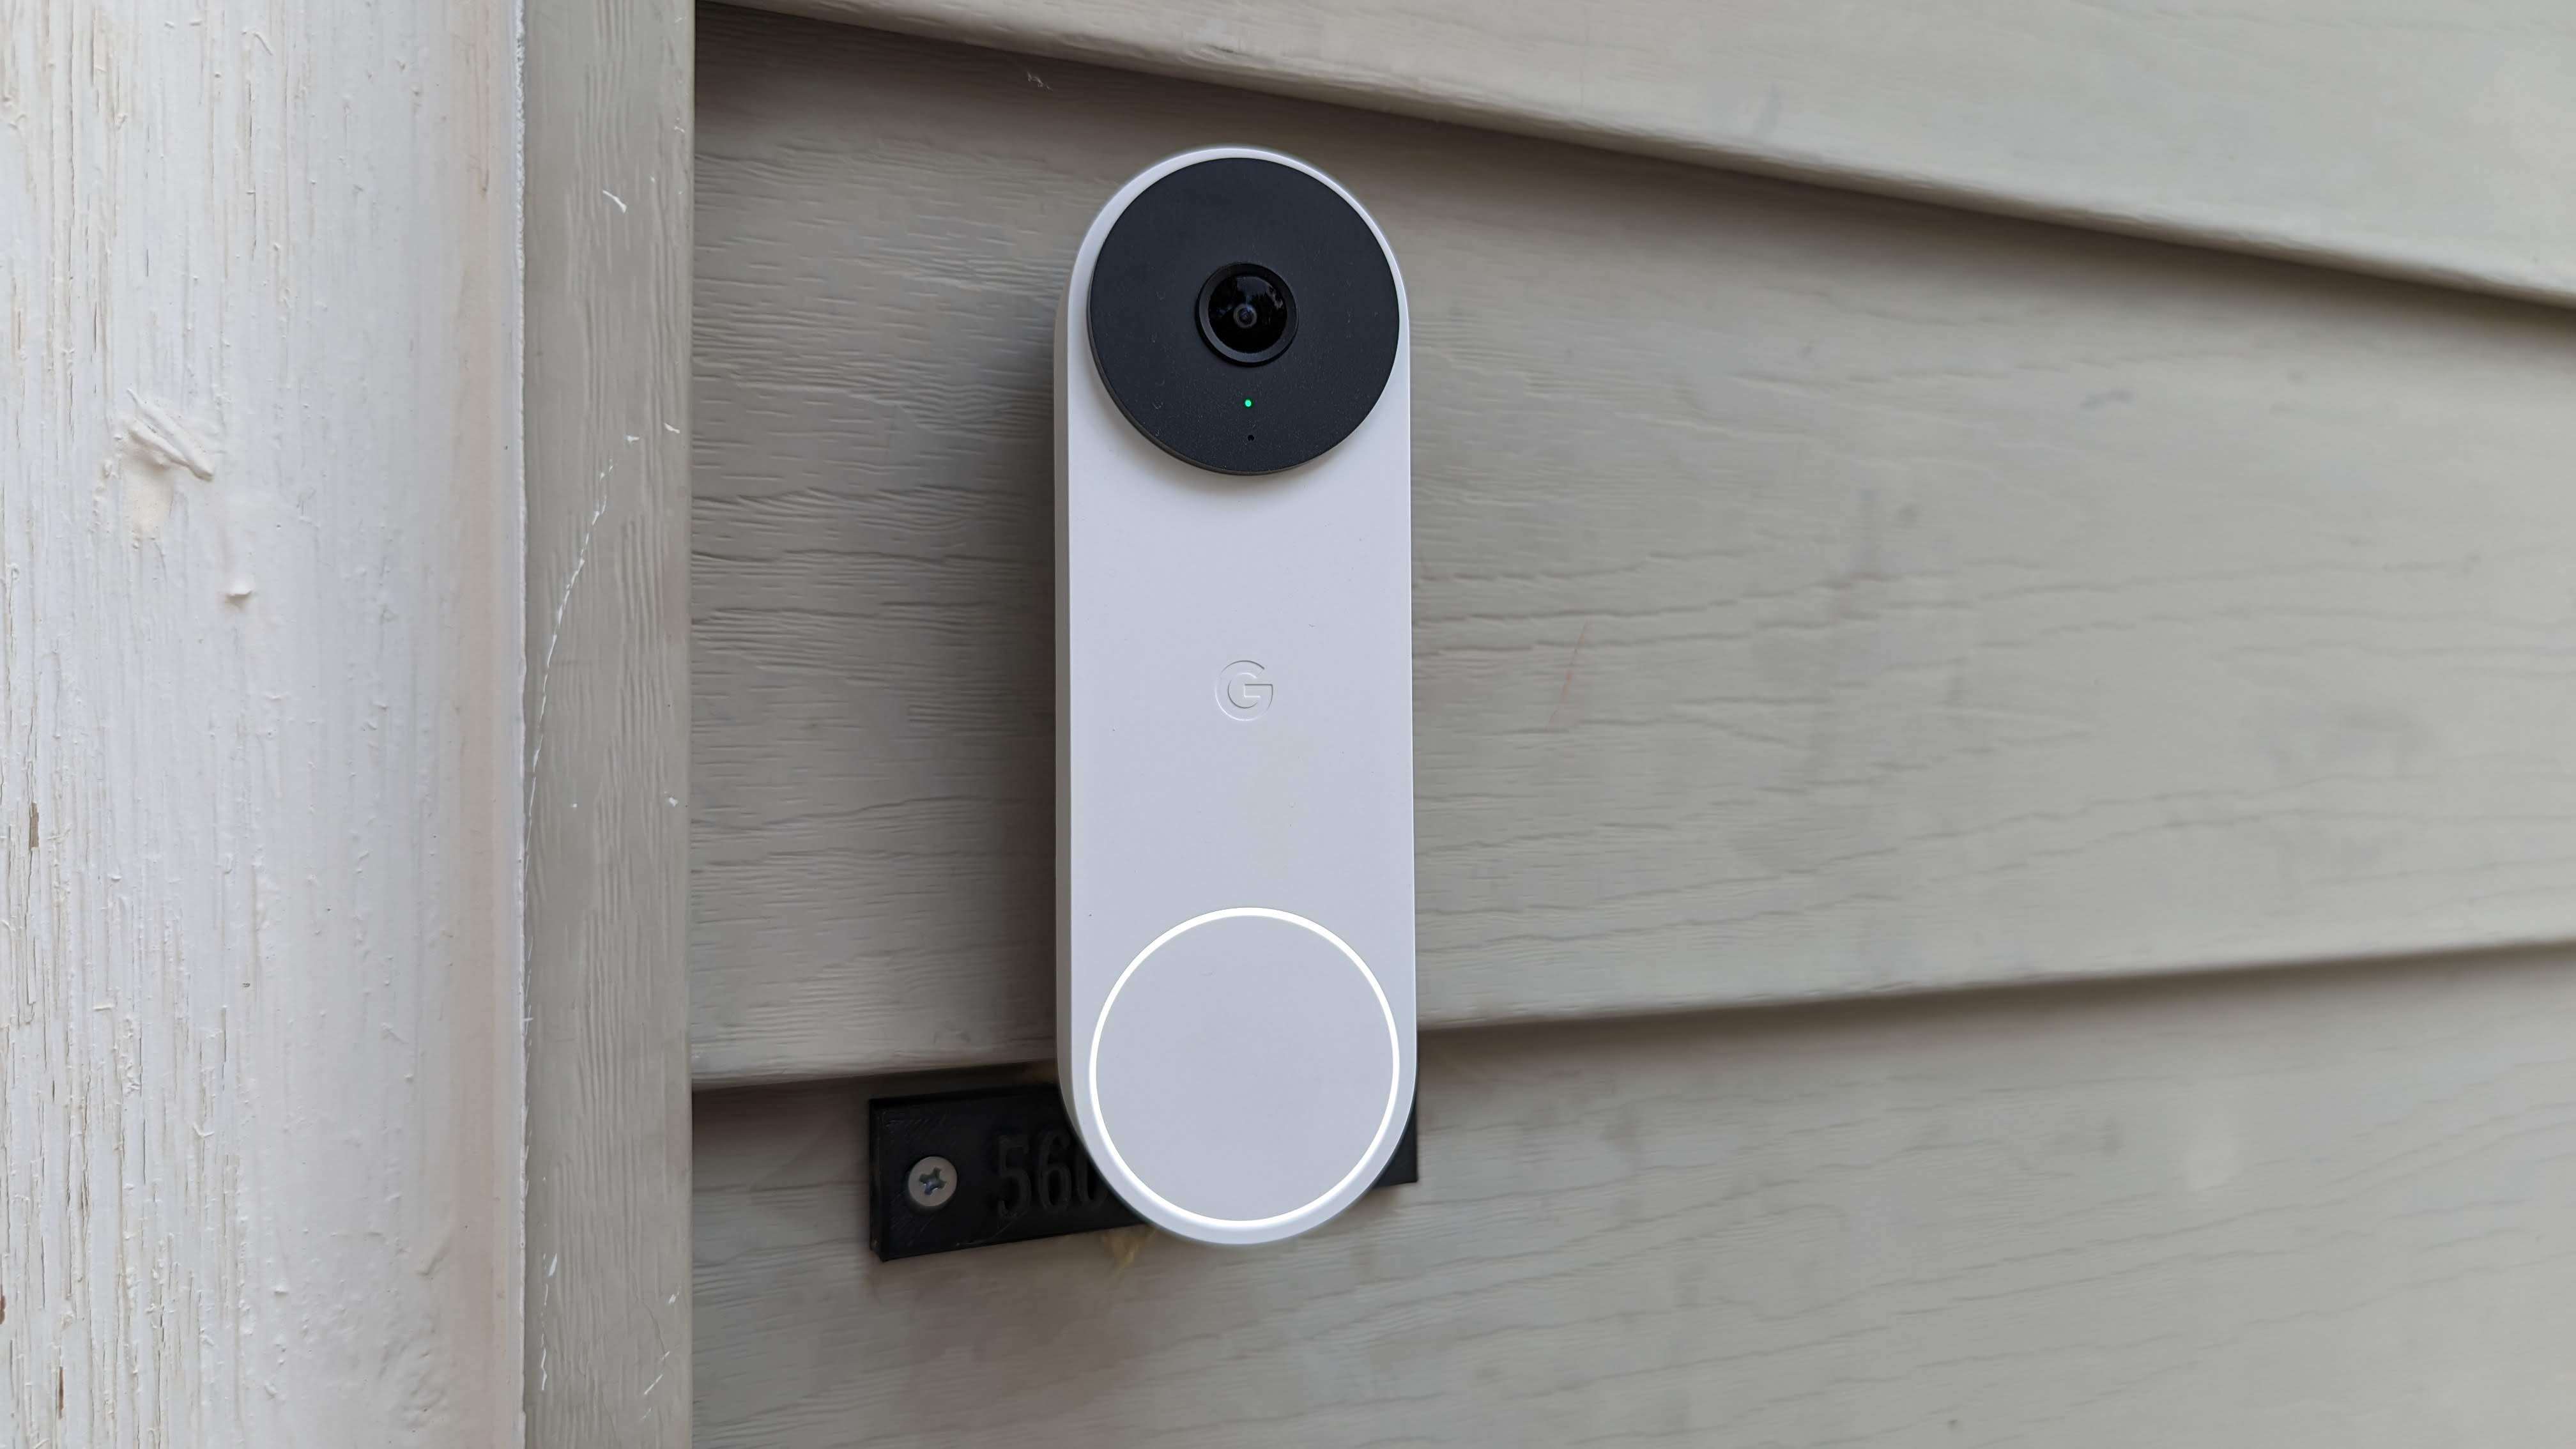
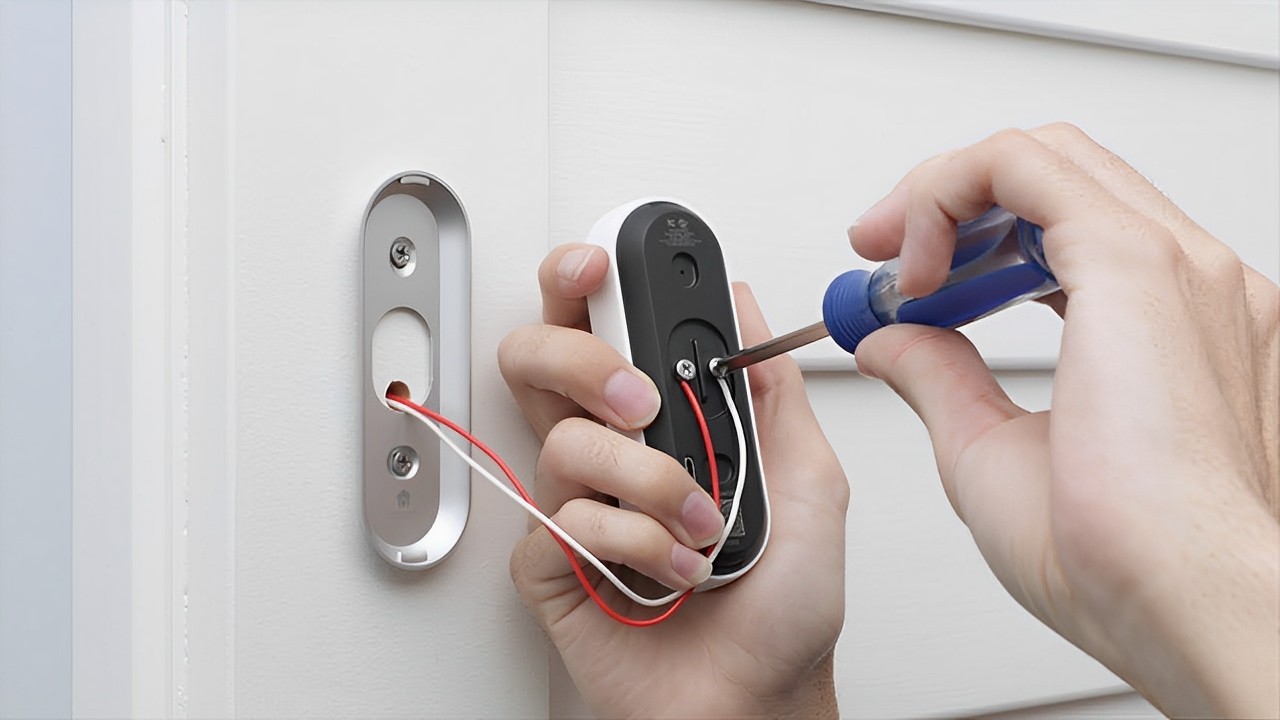
Step 3: Install the Google Nest Doorbell
With your Google Nest Doorbell connected to your Wi-Fi network, it’s time to install it at your desired location. Follow these steps to ensure a proper installation:
- Choose the location: Select a suitable location for your Google Nest Doorbell. Ideally, it should be near your front door and within the range of your Wi-Fi network. Make sure the surface is clean and flat.
- Prepare the mounting bracket: Remove the adhesive backing of the mounting bracket and firmly attach it to the chosen location. Alternatively, you can also use screws and anchors to secure the bracket if needed.
- Attach the doorbell: Align the back of the Google Nest Doorbell with the mounting bracket and slide it into place. Apply gentle pressure to ensure that the doorbell is securely attached to the bracket.
- Secure the wires: If your doorbell requires wiring, carefully route the wires through the designated area on the mounting bracket. Make sure to follow the provided instructions for proper wire placement and connection.
- Test the doorbell: Before finalizing the installation, give the doorbell a test to ensure it’s functioning correctly. Press the doorbell button and check if you receive a notification on your smartphone or tablet through the Google Nest app.
- Adjust the angle: If necessary, adjust the angle of the doorbell to optimize the view of your front porch or entrance. Most Google Nest Doorbells allow for horizontal and vertical adjustments to get the perfect viewing angle.
- Secure any loose components: Double-check that all components, including the doorbell button and faceplate, are securely attached. This will prevent any accidental removal or tampering.
Once you have completed these steps, your Google Nest Doorbell will be properly installed and ready to use. Now, let’s move on to the next step and set up your doorbell within the Google Nest app.
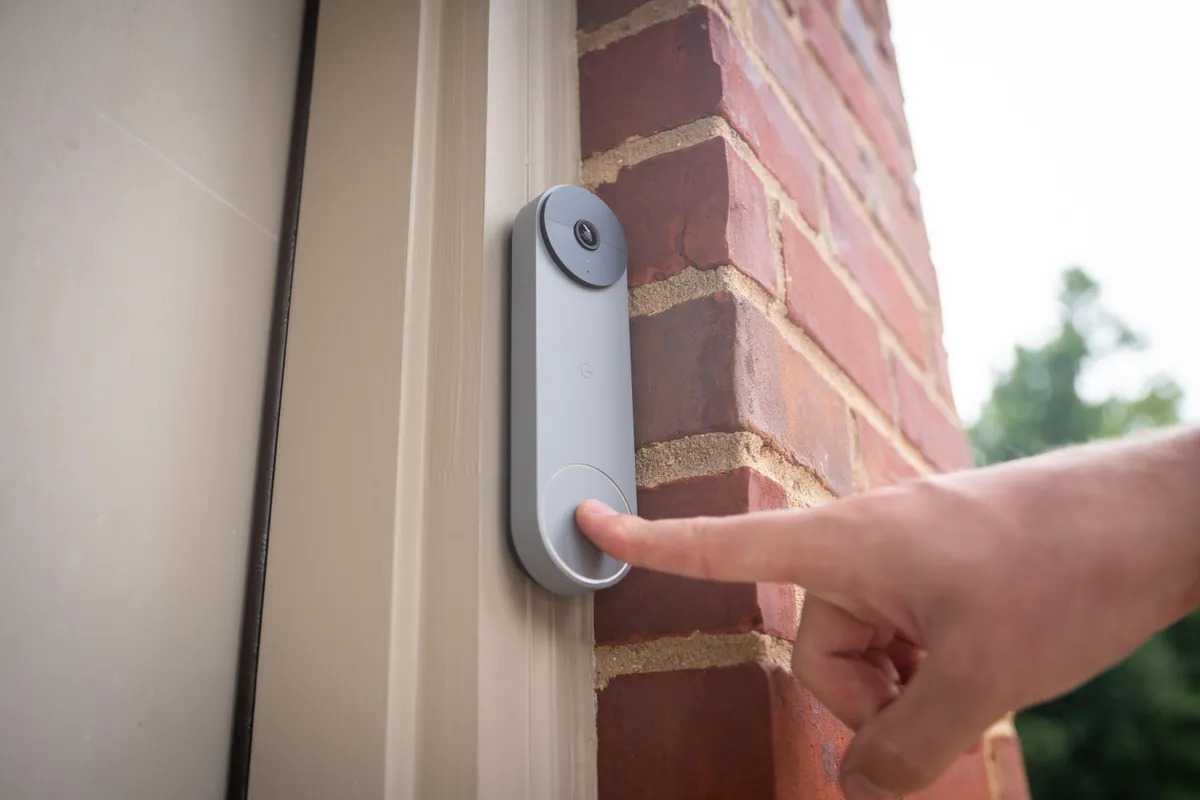
To turn on your Google Nest Doorbell, simply press the button on the front of the doorbell. You can also use the Nest app to turn it on remotely.
Step 4: Set up the Google Nest Doorbell in the app
Now that your Google Nest Doorbell is physically installed, it’s time to set it up within the Google Nest app. Follow these steps to complete the setup process:
- Open the Google Nest app: Launch the Google Nest app on your smartphone or tablet.
- Select the doorbell: Tap on the “Add” button and choose the Google Nest Doorbell from the list of available devices.
- Scan the QR code: Use your device’s camera to scan the QR code on the back of the doorbell. This will automatically detect and add the doorbell to your app.
- Confirm the installation location: Verify that the app has correctly identified the installation location of your doorbell.
- Choose a Wi-Fi network: Select your Wi-Fi network from the options provided and enter the password, if prompted.
- Wait for the connection: The Google Nest app will now connect your doorbell to your Wi-Fi network. This process may take a few minutes, so remain patient.
- Test the doorbell functionality: Once the connection is established, you can test the doorbell by pressing the button on the front. Check if you receive an immediate notification on your device and can see a live video feed from the doorbell.
- Customize settings: Explore the various settings and options available in the Google Nest app to personalize your doorbell experience. You can adjust motion detection sensitivity, set up activity zones, enable notifications, and more.
- Add additional users: If you want to grant access to other family members or trusted individuals, you can invite them to join your Google Nest home and provide them with access to the doorbell.
- Complete the setup: Once you have customized the settings to your liking, you have successfully set up your Google Nest Doorbell in the app.
With the doorbell set up, you can now enjoy the convenience and security features it offers. But before you start, let’s proceed to the next step and customize your Google Nest Doorbell settings.
Step 5: Customize your Google Nest Doorbell settings
One of the great advantages of the Google Nest Doorbell is the ability to customize and personalize its settings according to your preferences. Follow these steps to customize your doorbell settings:
- Open the Google Nest app: Launch the Google Nest app on your smartphone or tablet.
- Select your doorbell: Tap on the device icon representing your Google Nest Doorbell.
- Access settings: Look for the settings menu or gear icon, usually located in the top-right corner of the screen. Tap on it to access the doorbell settings.
- Adjust motion detection: Fine-tune the sensitivity of the doorbell’s motion detection feature. This will determine how the doorbell responds to movement in its field of view. You can choose between low, medium, or high sensitivity settings.
- Set up activity zones: Define specific areas within the camera’s view where you want to receive motion detection alerts. This can be useful if you want to focus on particular areas, such as your porch or driveway.
- Customize notification preferences: Decide how and when you want to be notified of activities or events detected by the doorbell. You can customize settings like sound alerts, vibration, and choose whether to enable or disable specific types of notifications.
- Enable facial recognition (if available): Some Google Nest Doorbell models offer facial recognition features. If your doorbell supports this, you can set it up to receive specific alerts when recognized faces are detected.
- Check storage and subscription options: Review the available storage options and subscription plans for video recording and cloud storage. Choose the storage plan that best suits your needs. Note that some features, like continuous recording, may require a subscription.
- Configure other settings: Explore the additional settings available in the app, such as adjusting camera brightness, enabling night vision, or setting up a schedule for quiet hours when doorbell notifications are muted.
- Save your settings: Once you have customized your Google Nest Doorbell settings to your liking, make sure to save the changes or hit the apply button, if prompted.
By customizing your doorbell settings, you can ensure that it works precisely the way you want and provide a seamless experience. Now that you’ve personalized your settings, let’s move on to the final step and perform a test to ensure the doorbell is functioning correctly.
Step 6: Test your Google Nest Doorbell
Now that you have customized your Google Nest Doorbell settings, it’s time to perform a test to ensure everything is working properly. Follow these steps to test your doorbell:
- Activate the doorbell: Press the button on the front of the doorbell to simulate a visitor ringing your doorbell.
- Check for notifications: Open the Google Nest app on your smartphone or tablet and verify that you receive a notification indicating that someone is at your door.
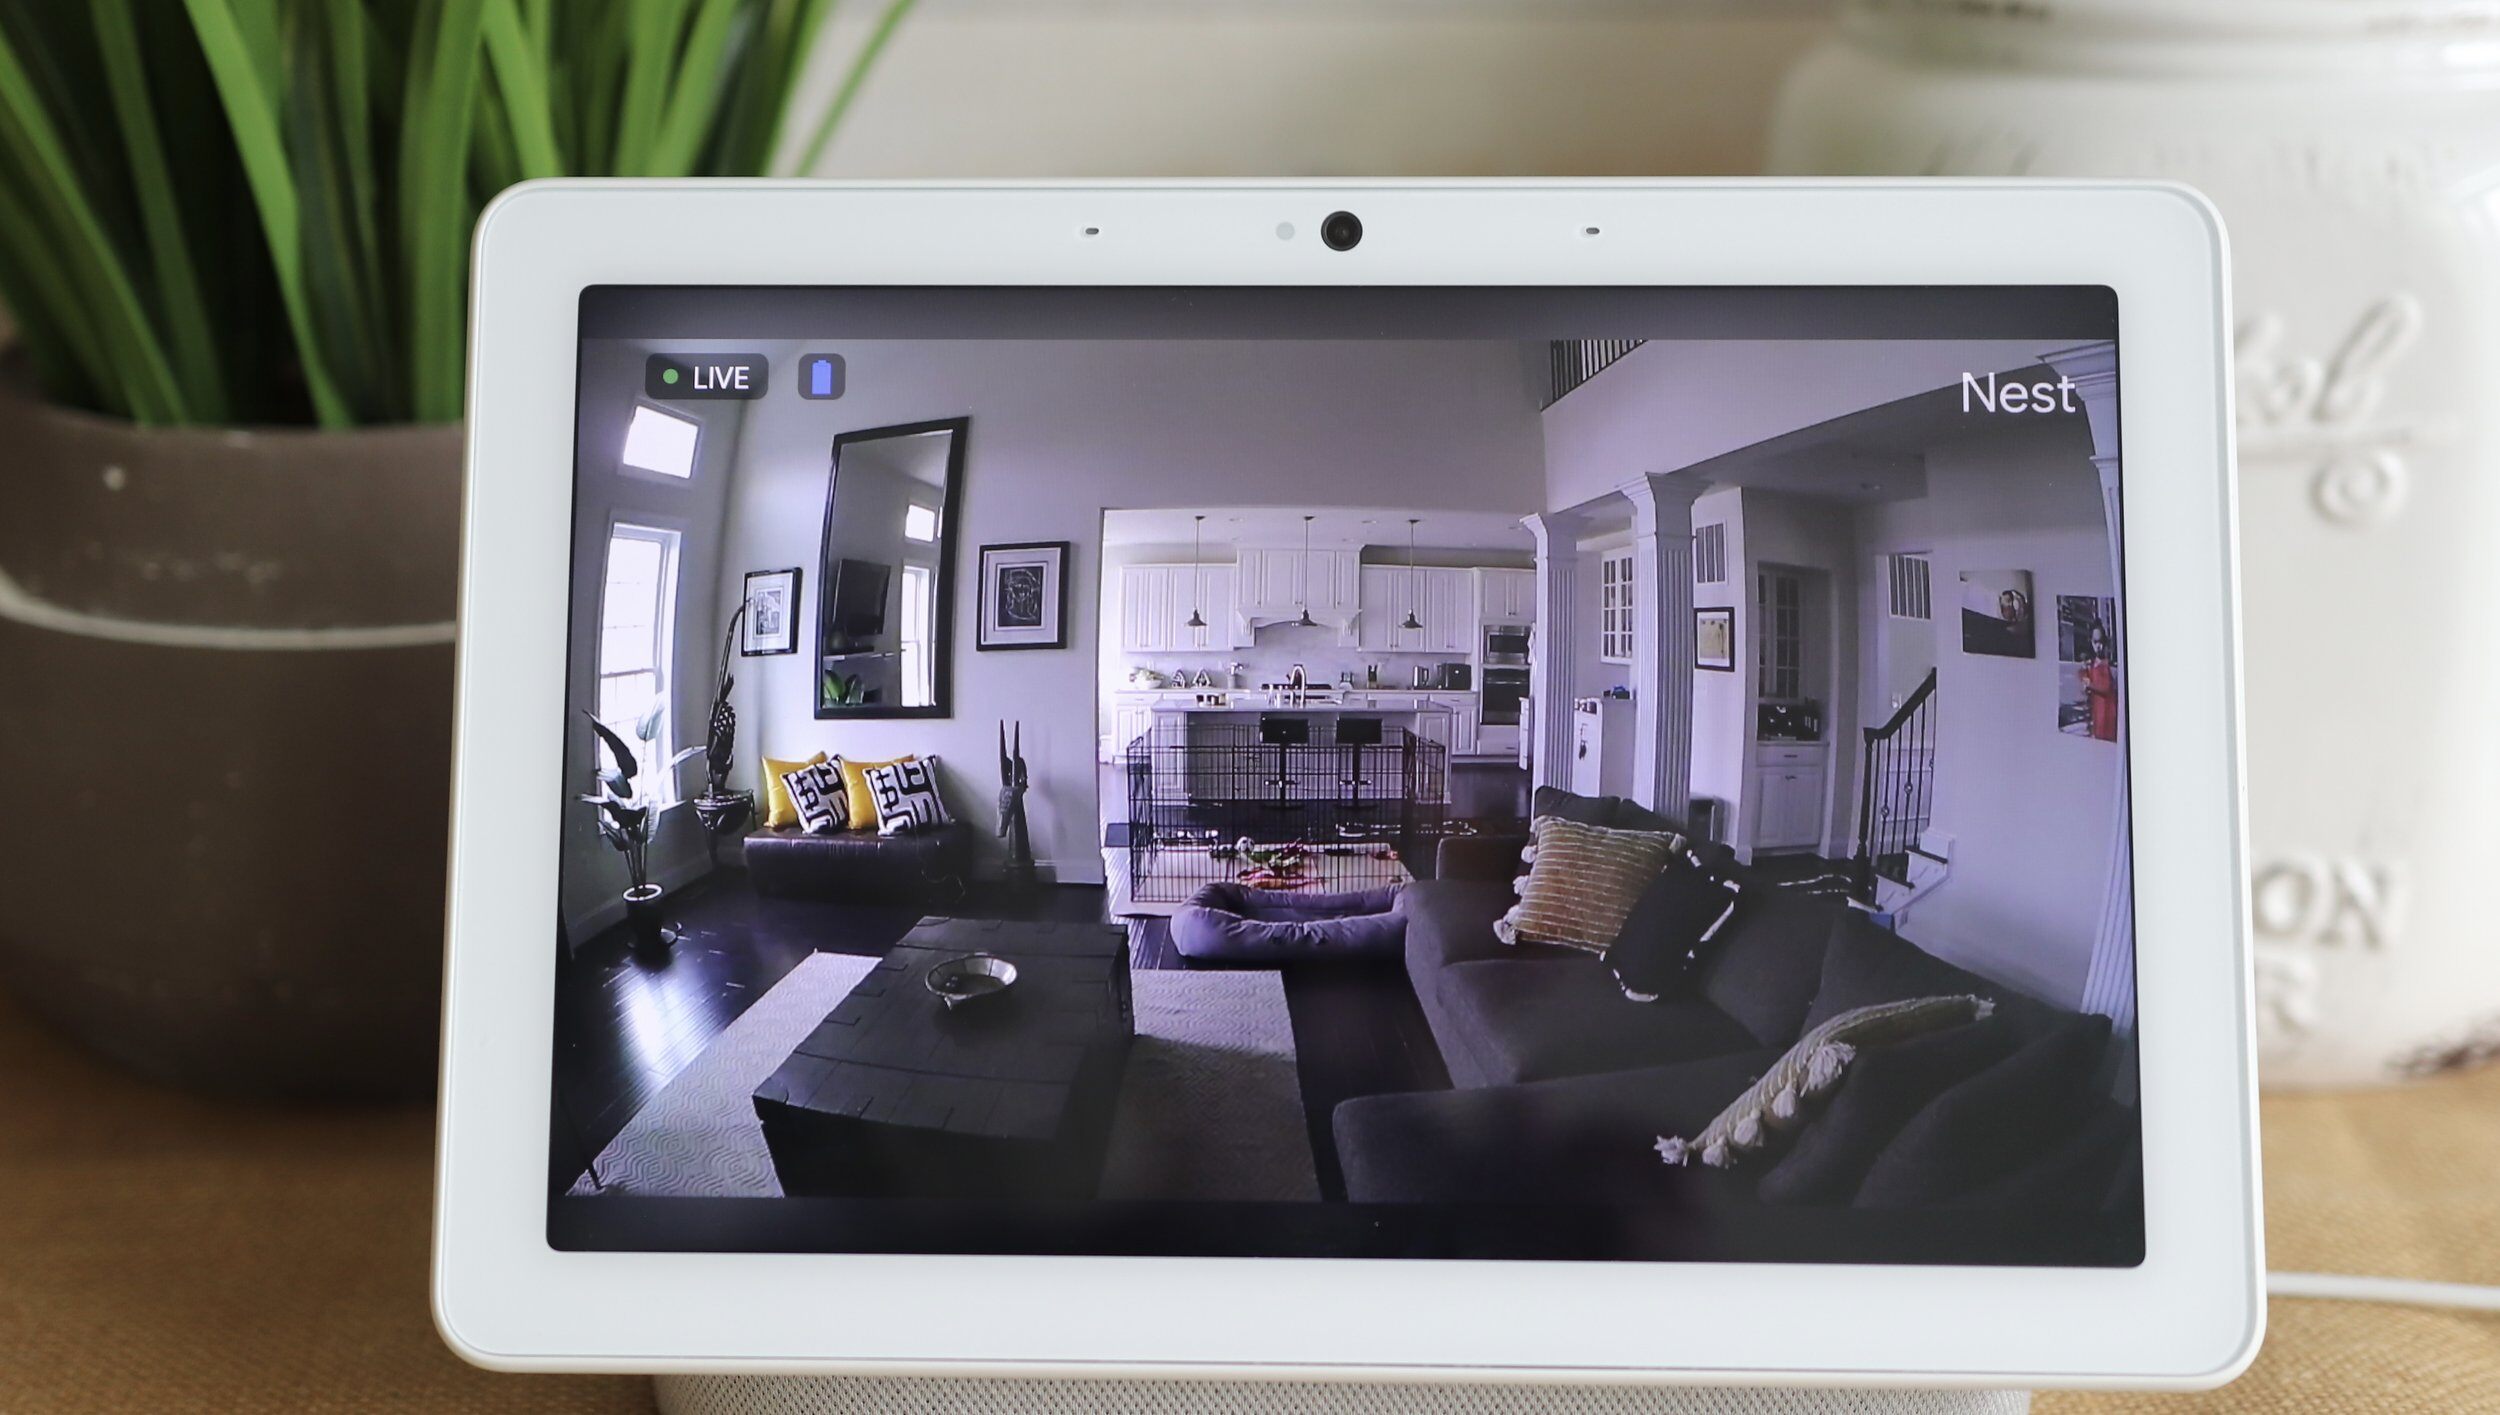
- View the live video feed: Tap on the notification to view the live video feed from your Google Nest Doorbell. Make sure the image is clear and the audio is working correctly.
- Test two-way audio: Speak into your device and verify that your voice is transmitted through the doorbell’s speaker. You should be able to communicate with anyone near the doorbell.
- Check motion detection: Walk in front of the doorbell’s camera to test the motion detection feature. Make sure the doorbell captures any movement and sends you a notification if enabled in your settings.
- Verify night vision functionality: If your Google Nest Doorbell has night vision capabilities, test it by going to a dark area and checking if the camera can still capture clear images in low-light conditions.
- Review recorded footage (if applicable): If you have a subscription plan that includes video recording, review the recorded footage in the app to ensure it is accurately capturing and storing events.
- Repeat the test: Perform the test multiple times to ensure consistent performance and to identify any potential issues.
- Make adjustments if necessary: If you encounter any issues during the test, go back to the Google Nest app and review your settings to make any necessary adjustments or troubleshoot the problem.
By conducting a thorough test of your Google Nest Doorbell, you can feel confident that it is functioning correctly and providing you with the security and convenience you desire. Once you have validated its performance, you are all set to enjoy the benefits of your Google Nest Doorbell.
Congratulations! You have successfully turned on and set up your Google Nest Doorbell. With its advanced features and customizable settings, you can now enjoy enhanced security and convenience at your front door. Remember to regularly check for firmware updates and keep your Google Nest app up to date to ensure optimal performance.
Conclusion
Congratulations on successfully setting up your Google Nest Doorbell! You have taken a significant step towards enhancing the security and accessibility of your home. The process outlined in this article has guided you through downloading the Google Nest app, connecting your doorbell to your Wi-Fi network, installing the physical device, setting it up within the app, customizing the settings, and performing a thorough test.
With the Google Nest Doorbell, you now have the ability to see and interact with visitors at your front door, even when you’re not at home. The convenience and peace of mind that it offers are invaluable. Whether it’s monitoring package deliveries, checking on loved ones, or deterring potential intruders, your Google Nest Doorbell provides an extra layer of security.
Remember to regularly check the settings and make any necessary adjustments to suit your preferences. Whether you want to fine-tune the motion detection sensitivity, set up activity zones, or enable facial recognition, the Google Nest app offers a range of customizable features to tailor your doorbell experience.
Additionally, keep an eye out for any new firmware updates released by Google. These updates can enhance the performance and functionality of your Google Nest Doorbell, ensuring that you always have access to the latest features and improvements.
Thank you for following this guide and investing in the Google Nest Doorbell. We hope that it brings you added peace of mind and convenience as you go about your daily life. Enjoy the benefits of your smart home security system and take pride in knowing that your front door is well protected.
Remember, if you have any questions or encounter any issues, consult the Google Nest support resources for assistance. Happy doorbell-ing!
Excited about upgrading your home's tech? Check out our latest articles where we delve into the future of doorbells with selections that promise to impress any visitor. Plus, for those keen on making their residence smarter, we've curated essential insights on home automation systems set to transform living spaces in 2024. Don't miss out on these engaging reads to enhance your home's intelligence and convenience!
Frequently Asked Questions about How To Turn On Google Nest Doorbell
Was this page helpful?
At Storables.com, we guarantee accurate and reliable information. Our content, validated by Expert Board Contributors, is crafted following stringent Editorial Policies. We're committed to providing you with well-researched, expert-backed insights for all your informational needs.

0 thoughts on “How To Turn On Google Nest Doorbell”