Articles
How To Clean A Dining Room
Modified: March 24, 2024
Learn the best techniques and tips for cleaning your dining room in our informative articles. Create a fresh and inviting space for your family and guests.
(Many of the links in this article redirect to a specific reviewed product. Your purchase of these products through affiliate links helps to generate commission for Storables.com, at no extra cost. Learn more)
Introduction
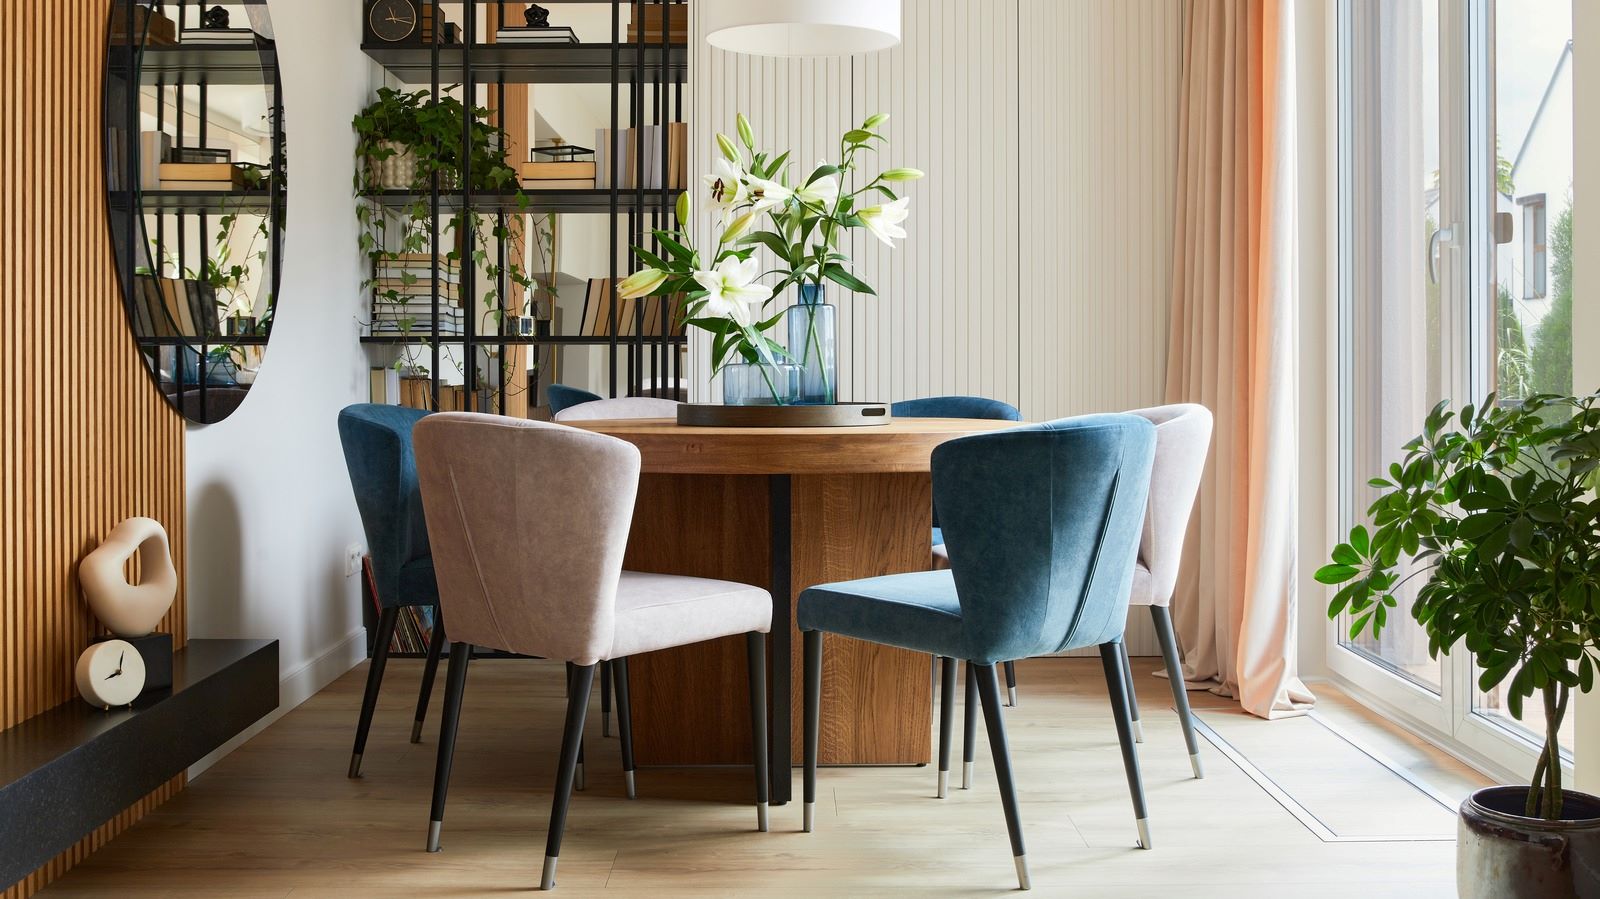
Welcome to our comprehensive guide on how to clean a dining room. The dining room is a space where friends and family gather to enjoy meals and create lasting memories. As the heart of the home, it’s important to keep this area clean and inviting. However, cleaning a dining room may seem like a daunting task, especially if it’s been neglected for a while. But fear not, with the right approach and a few helpful tips, you’ll have your dining room looking immaculate in no time.
Before we jump into the cleaning process, it’s essential to gather all the necessary supplies. Having the right tools and cleaning products will streamline the process and ensure optimal results. So, before you begin, make sure you have the following items on hand:
- Dust cloths or microfiber cloths
- All-purpose cleaner
- Glass cleaner
- Furniture polish (if applicable)
- Broom or vacuum cleaner
- Mop or steam cleaner
- Gloves
- Bucket
Now that you’re well-equipped, let’s dive into the step-by-step process of cleaning your dining room.
Key Takeaways:
- Transform your dining room into a clean, organized, and inviting space by following the step-by-step guide. From gathering supplies to polishing wood furniture, create a fresh oasis for meals and gatherings.
- Don’t overlook the often forgotten areas like light fixtures, windows, and mirrors. By giving them the attention they deserve, you can brighten up the space and enhance the overall appearance of your dining room.
Read more: How To Clean A Dining Room
Gather Supplies
The first step in cleaning your dining room is to gather all the necessary supplies. Having everything you need within reach will save you time and effort as you tackle each cleaning task. Here are the essential supplies you’ll need:
- Dust cloths or microfiber cloths: These are great for dusting surfaces without leaving any streaks or scratches.
- All-purpose cleaner: Choose a cleaner that is safe for use on various surfaces like tables, chairs, and countertops.
- Glass cleaner: For sparkling clean windows, mirrors, and glass surfaces.
- Furniture polish (if applicable): If you have wooden furniture in your dining room, a furniture polish will help restore its shine.
- Broom or vacuum cleaner: Depending on your flooring type, you’ll need either a broom or a vacuum cleaner to remove loose dirt and debris.
- Mop or steam cleaner: To thoroughly clean the floor and remove any stubborn stains or spills.
- Gloves: Protect your hands from harsh chemicals by wearing rubber gloves.
- Bucket: Use a bucket to hold water or cleaning solutions when mopping the floor.
Make sure to gather each of these supplies before you start cleaning. Having everything in one place will prevent you from running back and forth to retrieve missing items.
Clear Out the Room
Before you start cleaning your dining room, it’s important to clear out the space to make the cleaning process more efficient. Removing any unnecessary items and decluttering the room will allow you to access all the surfaces easily. Here are the steps to clear out your dining room:
- Remove any dishes, utensils, or tableware from the dining table. Place them in the kitchen sink or dishwasher for cleaning.
- Take out any decorative items, such as centerpieces, vases, or candle holders, and set them aside in a safe place.
- If you have a buffet or sideboard in your dining room, remove any items on top of it and store them in another room temporarily.
- Clear off any shelves or display cabinets, and store the items elsewhere while you clean.
- If there are any rugs or carpets in the dining room, roll them up and move them to another area to prevent them from getting dirty during the cleaning process.
By clearing out the room, you create a clean slate to work with. This allows you to thoroughly clean all the surfaces without any obstructions. It also helps to protect your belongings from potential damage or accidental spills during the cleaning process.
Once you’ve removed all the items from the room, take a moment to assess the condition of the dining room. Look for any stains, spills, or areas that may require extra attention. This will help you prioritize your cleaning tasks and ensure that nothing is overlooked.
With the room cleared and ready for cleaning, you’re now ready to move on to the next step: dusting and wiping surfaces.
Dust and Wipe Surfaces
Now that the room is cleared out, it’s time to tackle the dust and wipe down all the surfaces in your dining room. Dusting and wiping surfaces not only removes dirt and grime but also helps create a fresh and clean environment. Here’s how you can do it:
- Start by dusting the ceiling and corners of the room using a microfiber cloth or a duster. Work your way down the walls, paying special attention to any cobwebs or dust buildup.
- Dust the light fixtures, including chandeliers or pendant lights. If the fixtures are removable, carefully take them down and wipe them clean. Make sure to turn off the lights and allow them to cool before handling.
- Dust the surfaces of any furniture, such as the dining table, sideboards, and shelves. Use a dust cloth or microfiber cloth to capture and trap the dust effectively.
- Wipe down the surfaces of the furniture with a damp cloth or an all-purpose cleaner. For wooden furniture, use a cleaner suitable for wood surfaces. Be sure to follow the manufacturer’s instructions for any specific cleaning requirements.
- Don’t forget to wipe down the chair frames and legs, paying attention to any stains or marks. Use an appropriate cleaner or soapy water for any stubborn spots that need extra attention.
- Move around the room and wipe the window sills, door frames, and baseboards. These areas can accumulate dust and dirt over time, so be thorough in your cleaning.
As you go along, keep an eye out for any stains, spills, or tough-to-clean spots on the surfaces. Take note of these areas, as we will address them later in the cleaning process.
By dusting and wiping surfaces, you’re removing the initial layer of dirt and ensuring that your dining room is a clean and inviting space. With the surfaces looking refreshed, it’s time to move on to the next step: cleaning the dining table.
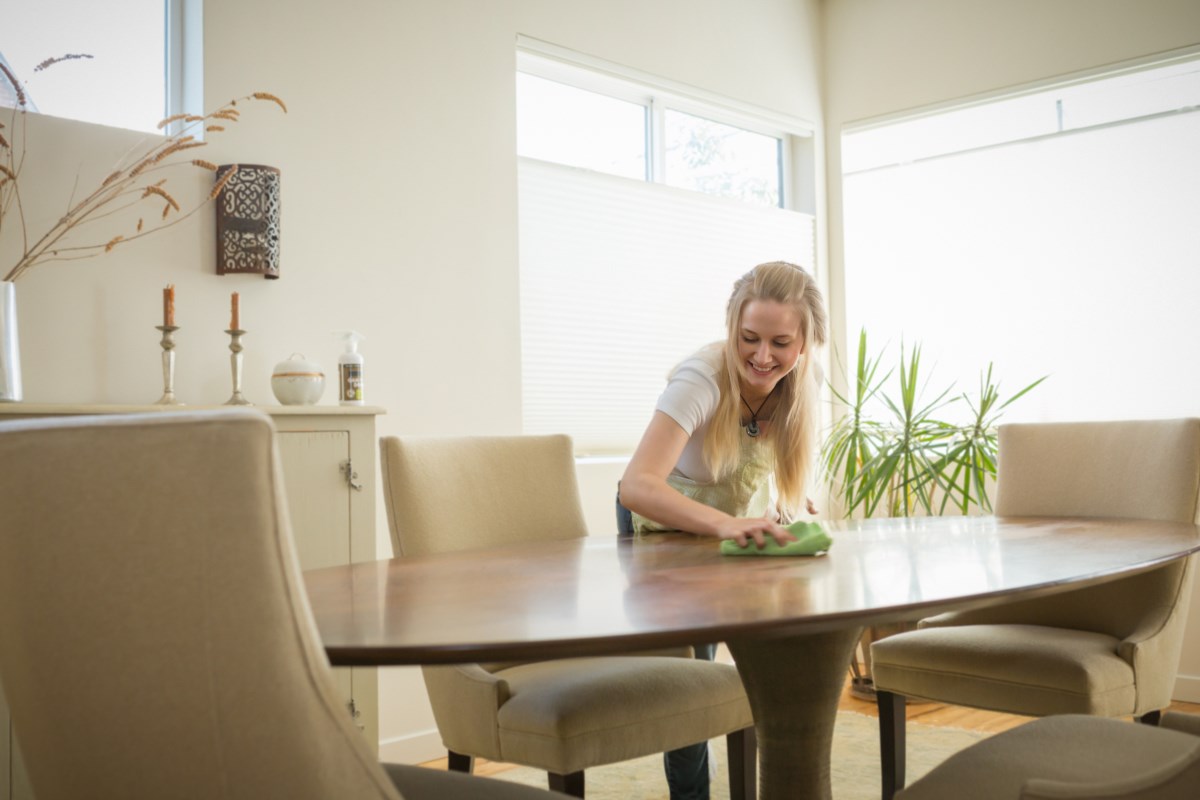
Clean the Dining Table
The dining table is the centerpiece of your dining room, where meals are enjoyed and conversations take place. It’s essential to clean and maintain this surface regularly to keep it looking beautiful. Here’s how you can clean your dining table:
- Start by removing any items on the table, such as dishes, placemats, or decorative pieces. Set them aside to be cleaned separately.
- Using a microfiber cloth or dust cloth, wipe away any loose crumbs or debris from the table surface. Pay attention to the edges and corners where dirt tends to accumulate.
- Prepare a solution of warm water and a mild dish soap or an all-purpose cleaner. Dip a soft cloth or sponge into the solution and wring out any excess liquid.
- Gently scrub the table surface, focusing on any stains or spills. Be careful not to apply too much pressure, especially if your table has a delicate finish.
- Rinse the cloth or sponge with clean water and wring out the excess. Use this damp cloth to wipe away the soapy residue from the table.
- If your table has a wooden finish, it may require periodic polishing to maintain its shine. Apply a small amount of furniture polish to a clean cloth and gently rub it onto the surface, following the wood grain. Wipe away any excess polish with a clean, dry cloth.
- Finally, use a glass cleaner and a lint-free cloth to clean any glass or mirrored elements on your dining table, such as tabletop inserts or glass accents.
Once you’ve finished cleaning the dining table, give it a final wipe-down with a dry cloth to remove any remaining moisture. This will prevent watermarks or streaks from forming on the surface.
Remember to also clean and dry any items that were removed from the table, such as dishes or placemats, before returning them to their respective places.
With the dining table looking pristine, it’s time to move on to cleaning the chairs in your dining room.
Read more: How To Clean Dining Room Table
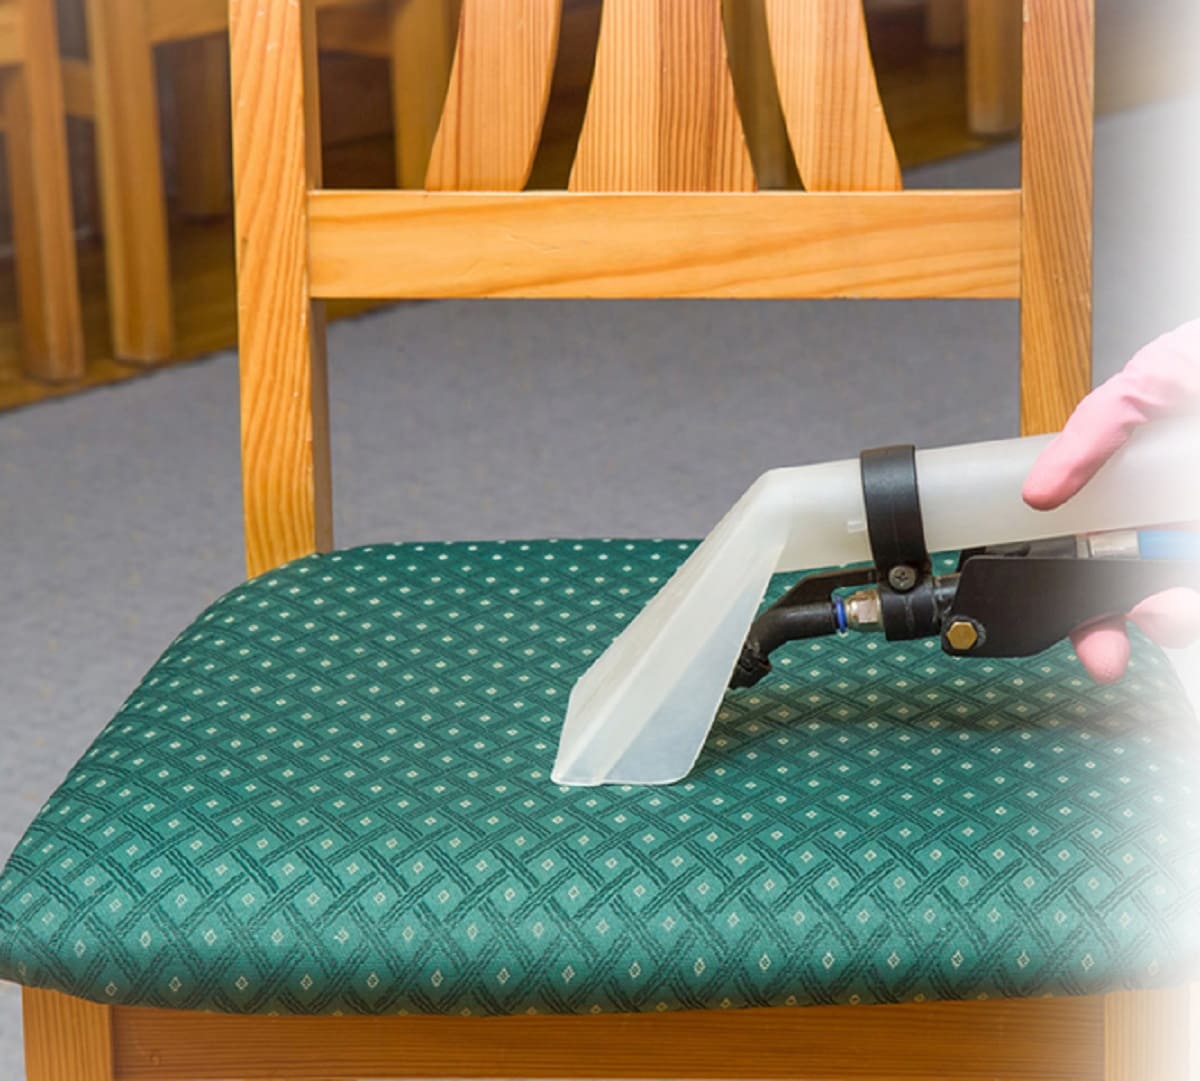
Clean the Chairs
Just like the dining table, the chairs in your dining room also require regular cleaning to keep them looking their best. Here’s a step-by-step guide on how to clean your dining chairs:
- Begin by removing any seat cushions or removable covers from the chairs. If they are machine washable, follow the manufacturer’s instructions for cleaning. If not, set them aside to be cleaned later.
- Using a dust cloth or a vacuum cleaner with a brush attachment, remove any loose dirt or debris from the chair frames and legs. Pay attention to areas where dust tends to accumulate, such as the joints or crevices.
- If your chairs have upholstered seats or backs, check the manufacturer’s cleaning recommendations and use an appropriate upholstery cleaner. Test the cleaner on a small, inconspicuous area first to ensure it doesn’t cause any damage or discoloration.
- For wooden or metal chairs, prepare a solution of warm water and a mild dish soap or all-purpose cleaner. Dip a soft cloth or sponge into the solution, wringing out any excess liquid.
- Gently wipe down the chair frames and legs, paying attention to any stains or marks. For wooden chairs, be cautious not to saturate the wood with too much moisture to avoid damage. Dry the chairs immediately with a clean, dry cloth.
- If your chairs have any cushioned areas, use a fabric cleaner to spot-clean any stains or spills. Follow the manufacturer’s instructions for application and ensure the fabric is completely dry before replacing the seat cushions or covers.
- Once the chairs are clean and dry, reattach any seat cushions or covers that were removed earlier. Ensure they are securely fastened to the chairs.
Regularly cleaning the chairs in your dining room will not only maintain their appearance but also prolong their lifespan. By removing dirt and stains, you create a fresh and inviting seating area for your family and guests.
With the chairs now clean and ready, it’s time to focus on the floor of your dining room. Whether you have carpet, hardwood, or tile flooring, we’ll guide you through the steps to keep it looking pristine.
Vacuum or Sweep the Floor
Keeping the floor of your dining room clean is essential for maintaining a tidy and inviting space. The cleaning method you choose will depend on the type of flooring you have. Here’s how you can vacuum or sweep your dining room floor:
Carpeted Floors:
- Start by removing any loose debris or larger crumbs from the carpeted floor by hand or with a dustpan and brush.
- Using a vacuum cleaner with a suitable attachment, thoroughly vacuum the entire carpeted area. Pay close attention to high-traffic areas and areas near the dining table where food crumbs or spills may have accumulated.
- If there are any visible stains on the carpet, treat them with a carpet stain remover according to the manufacturer’s instructions. Gently blot the stained area with a clean cloth or sponge to remove the stain.
- For a deeper clean, consider using a carpet cleaner or hiring professional carpet cleaners periodically.
Hardwood or Tile Floors:
- Start by removing any loose dirt or debris from the floor using a broom or a dust mop. Make sure to sweep the dust into a dustpan for easy disposal.
- If your hardwood or tile floors have visible stains or spills, clean them using an appropriate floor cleaner and a mop or cloth. Follow the manufacturer’s instructions for dilution ratios and application methods.
- Be careful not to saturate hardwood floors with too much water, as excessive moisture can damage the wood. For tile floors, make sure to clean the grout lines to remove any dirt or grime.
- Allow the floor to air dry completely before walking on it or placing any furniture back in the dining room.
Regular vacuuming or sweeping of the dining room floor will help prevent dirt and debris from accumulating. This not only keeps the room clean but also extends the life of your flooring.
Next, we’ll move on to mopping the floor to ensure a thorough and deep clean.
Read more: How To Clean Fabric On Dining Room Chairs
Mop the Floor
Mopping the floor is an essential step in deep cleaning your dining room. Whether you have hardwood, tile, or linoleum flooring, a proper mop will help remove any remaining dirt, stains, or spills. Here’s how you can effectively mop your dining room floor:
- Start by preparing a bucket of warm water. Depending on the type of flooring and the level of dirt or stains, you can add a mild floor cleaner or a few drops of dish soap to the water. Follow the manufacturer’s instructions for dilution ratios and use a gentle cleaner suitable for your specific flooring type.
- Dip a clean mop into the bucket of cleaning solution, allowing the mop head or pad to absorb the liquid. Wring out any excess moisture from the mop to avoid over saturating the floor.
- Starting from one corner of the room, work your way across the floor, mopping in a back-and-forth motion. Focus on small sections at a time to ensure thorough cleaning.
- For hardwood floors, make sure to use a mop specifically designed for wood surfaces or a microfiber mop. Avoid using excessive water, as it can seep into the wood and cause damage. Instead, lightly dampen the mop head and wring it out before mopping.
- For tile or linoleum floors, you can use a traditional mop or a flat mop with a removable and washable cleaning pad. Make sure the mop head or pad is clean and free of dirt or debris before mopping.
- Pay extra attention to any spills, stains, or high-traffic areas while mopping. If necessary, go over heavily soiled spots multiple times to ensure they are thoroughly cleaned.
- Once you’ve finished mopping the entire dining room floor, allow it to air dry or use a dry mop or cloth to remove any excess moisture.
Mopping the floor not only removes dirt and grime but also leaves your dining room looking fresh and clean. It’s important to maintain the cleanliness of the floor by regularly mopping it to prevent the buildup of dirt and bacteria.
Next, we’ll move on to cleaning the other areas of your dining room, including light fixtures, windows, and mirrors.
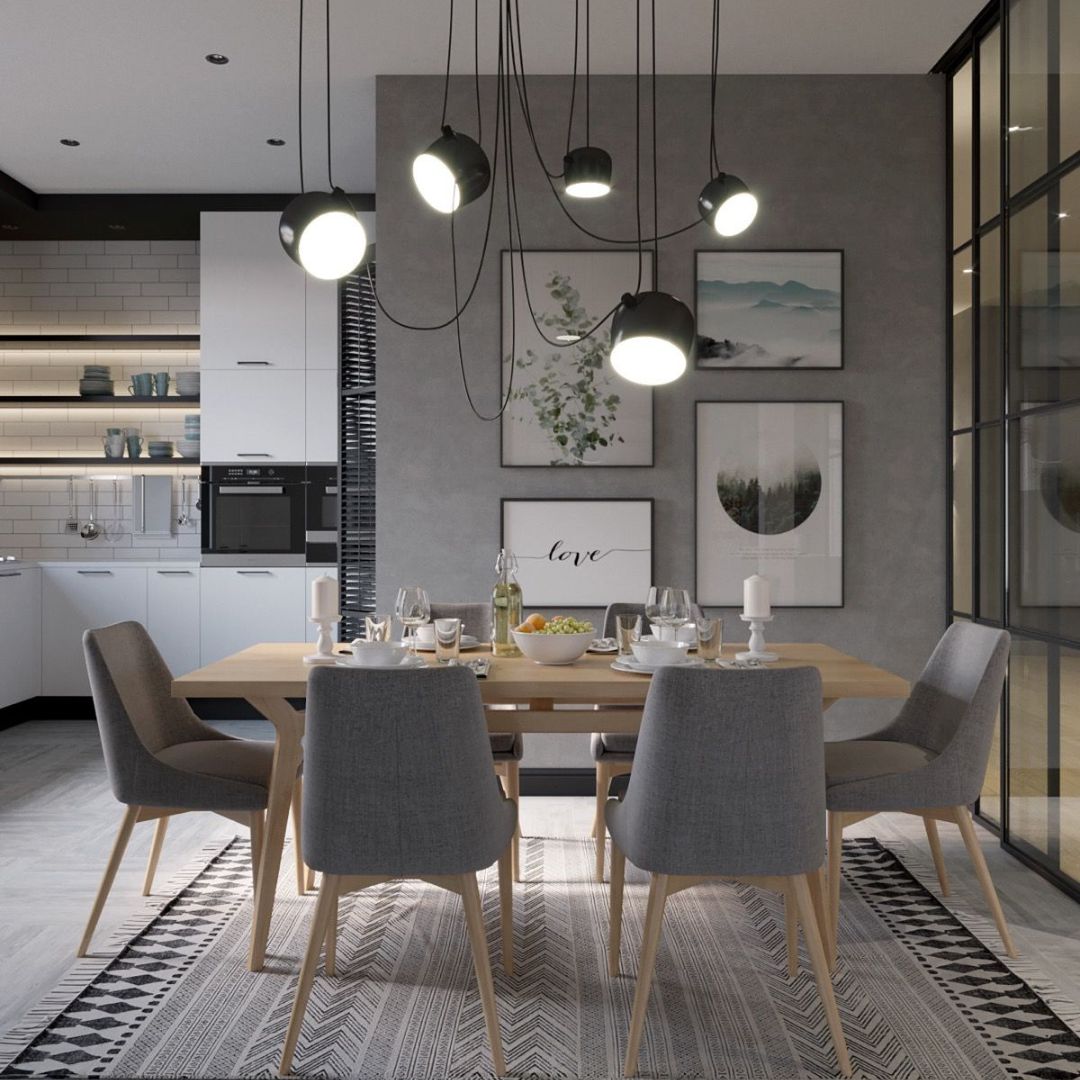
Use a microfiber cloth to dust the dining table and chairs, starting from the top and working your way down. This will help prevent dust from settling on already cleaned surfaces.
Clean the Light Fixtures
Light fixtures are an often overlooked area when it comes to cleaning the dining room. However, clean and well-maintained light fixtures not only enhance the overall ambience but also ensure optimal lighting. Here’s how you can effectively clean the light fixtures in your dining room:
- First, turn off the power to the light fixtures from the main switch or breaker. This will ensure your safety as you clean them.
- If your light fixtures have removable parts, carefully detach them and set them aside. This could include lampshades, glass shades, or decorative elements.
- Using a microfiber cloth or a feather duster, gently dust the light fixtures to remove any loose dirt or debris. Pay special attention to the corners and crevices where dust tends to accumulate.
- For glass or acrylic light fixtures, fill a bucket or basin with warm water and a few drops of dish soap. Soak a soft cloth or sponge in the soapy water and wring it out to remove excess moisture.
- Carefully wipe down the glass or acrylic surfaces, removing any fingerprints, smudges, or dust. If there are stubborn stains or grime, you may need to use a glass cleaner or a solution of water and vinegar. Be sure to follow the manufacturer’s instructions for cleaning the specific type of glass or acrylic material.
- If you have fabric lampshades, gently brush them with a soft brush or a lint roller to remove any dust or pet hair. Avoid using water or liquid cleaners on fabric lampshades, as they may damage the material.
- For metal or brass light fixtures, use a suitable metal cleaner or a solution of warm water and mild dish soap. Apply the cleaner with a soft cloth or sponge, then rinse with clean water and dry thoroughly.
- Once all the light fixtures and their components are clean and dry, reattach them to the respective fixtures. Make sure they are securely fastened.
- Finally, turn the power back on and enjoy the sparkling clean and well-lit dining room.
Regular cleaning of light fixtures will not only improve their appearance but also ensure that they provide optimal lighting and ambiance for your dining room. Clean fixtures will also prevent the buildup of dust and cobwebs, contributing to a fresh and inviting atmosphere.
Next, let’s move on to cleaning the windows and mirrors in your dining room.
Clean the Windows and Mirrors
Windows and mirrors play a crucial role in the overall aesthetics of your dining room. Keeping them clean and streak-free will maximize the amount of natural light and create a polished look. Here’s how you can effectively clean the windows and mirrors in your dining room:
- Start by gathering your cleaning supplies, which may include a glass cleaner, a microfiber cloth, and a squeegee.
- Remove any curtains, blinds, or window coverings to access the windows easily.
- Use a microfiber cloth or a duster to remove any loose dust or debris from the window frames, sills, and corners.
- Prepare a solution of warm water and a few drops of dish soap or use a commercial glass cleaner. Wet a clean, lint-free cloth with the solution.
- Starting from the top corner, wipe the surface of the window or mirror using vertical or horizontal strokes. This will help prevent streaks and ensure even coverage.
- If you’re using a glass cleaner, spray it directly onto the surface and then wipe it away with a cloth. Avoid applying excessive pressure to prevent the cleaner from seeping into the frame.
- To achieve a streak-free finish, use a squeegee to remove excess liquid and cleaner from the glass surface. Start at the top and pull the squeegee downward in a straight line, wiping the blade after each stroke.
- If there are any stubborn marks or spots, use a bit of glass cleaner or a vinegar and water solution and gently scrub with a soft cloth or sponge.
- For hard-to-reach areas or smaller mirrors, use a handheld mirror cleaning tool or cotton swabs to ensure all surfaces are clean.
- Once you’ve cleaned all the windows and mirrors, dry them with a clean, lint-free cloth to remove any remaining moisture or streaks.
- Rehang curtains or blinds and step back to admire the clear and sparkling windows and mirrors in your dining room.
Regularly cleaning the windows and mirrors will not only improve the overall appearance of your dining room but also enhance the natural light and create an open and inviting atmosphere. Plus, streak-free surfaces will reflect light more effectively, making the space appear brighter and more spacious.
Next, let’s move on to polishing the wood furniture, if applicable, to restore its natural shine and protect it from wear and tear.
Polish the Wood Furniture (if applicable)
If you have wooden furniture in your dining room, regular polishing helps maintain its beauty, restore its shine, and protect it from scratches and wear. Here’s how you can effectively polish the wood furniture in your dining room:
- Ensure the surfaces of the wooden furniture are clean and free from dust or debris. Use a dust cloth or a microfiber cloth to gently wipe away any loose dirt or particles.
- Select a suitable furniture polish or wood cleaner specifically designed for the type of wood used in your furniture. Read the manufacturer’s instructions for proper usage and any precautions.
- Apply a small amount of furniture polish to a clean, lint-free cloth or a sponge. Test it on a small, inconspicuous area of the furniture to ensure compatibility and no adverse reactions.
- Starting from one end of the furniture piece, apply the polish in a circular motion, following the direction of the wood grain. Make sure to distribute the polish evenly and cover the entire surface.
- Focus on any areas with visible scratches or wear. Gently rub the polish into these areas using a bit more pressure to help minimize their appearance.
- Allow the polish to sit on the furniture for the recommended amount of time specified by the manufacturer. This will give the polish a chance to penetrate the wood and work its magic.
- Using a clean, dry cloth, buff the furniture in the direction of the wood grain. This will remove any excess polish and reveal a beautiful, lustrous shine.
- Continue to buff the furniture until the surface feels smooth and has a polished finish. Take your time and ensure the entire piece is adequately buffed.
- Repeat the process for all the wooden furniture in your dining room, paying attention to specific care instructions and recommendations for each piece.
- Finally, step back and admire your revitalized and luxurious wood furniture, adding warmth and elegance to your dining room.
Regularly polishing your wood furniture not only enhances its appearance but also helps protect the wood from drying out and fading over time. It also minimizes the appearance of scratches, keeping your furniture looking like new for years to come.
Now that you’ve given your wood furniture the attention it deserves, the next step is to organize and restock your dining room to create a functional and inviting space.
Read more: What Is In A Dining Room?
Organize and Restock the Dining Room
Now that you’ve thoroughly cleaned the various elements of your dining room, it’s time to focus on organizing and restocking the space. This step will ensure that everything is in its proper place and that you have everything you need for a functional and inviting dining area. Here’s how you can organize and restock your dining room:
- Start by organizing the contents of any storage furniture in your dining room, such as sideboards or buffets. Sort through any items and remove anything that doesn’t belong or is no longer needed.
- Take inventory of your dining essentials, such as dishes, glasses, and silverware. Assess their condition and discard any damaged or worn-out items.
- Organize your dishes and glasses by type or purpose, considering how often you use them and accessibility. Store them in a way that makes them easy to reach and visually pleasing.
- Restock any essential items that may be running low, such as napkins, placemats, or tablecloths. Consider adding a touch of freshness and creativity by choosing new designs or colors.
- If you have a bar or beverage station in your dining room, organize your drinkware, including wine glasses, cocktail shakers, and decanters. Ensure everything is clean, polished, and ready for use.
- Consider adding some functional and decorative elements to your dining room, such as a centerpiece, candles, or artwork. These personal touches can enhance the ambiance and create a warm and inviting atmosphere.
- Tidy up any cords or cables from electronics or lighting fixtures that may be visible in the dining room. Use cable management solutions, like cord clips or cable sleeves, to keep them neat and out of sight.
- Arrange any dining room furniture, such as chairs or bar stools, in a way that promotes easy movement and comfortable seating. Ensure that there is enough space for guests to navigate around the dining area without feeling cramped.
- Consider adding storage solutions, like baskets or bins, for items that tend to accumulate in the dining room, such as mail, keys, or small accessories. This will help keep the space clutter-free and organized.
- Take a final look around the dining room to ensure everything is in its proper place and visually appealing. Make any necessary adjustments to create a balanced and visually pleasing arrangement.
By organizing and restocking your dining room, you create a well-functioning and visually appealing space. This allows you to fully enjoy your meals and gatherings while also maintaining a clean and tidy environment.
With the dining room now organized and restocked, take a moment to appreciate your hard work and enjoy the refreshed and inviting atmosphere you’ve created. Cheers to a beautifully cleaned and organized dining room!
Conclusion
Cleaning a dining room may seem like a daunting task, but with the right approach and a bit of effort, you can transform your dining space into a clean, organized, and inviting area. By following the step-by-step guide outlined in this article, you can ensure that every nook and cranny of your dining room is thoroughly cleaned and refreshed.
Starting with gathering the necessary supplies, clearing out the room, and dusting and wiping surfaces, you create a clean slate to work with. From there, you can move on to cleaning the dining table and chairs, vacuuming or sweeping the floor, and mopping it to a spotless shine.
Don’t forget about the often overlooked areas, such as light fixtures, windows, and mirrors. By giving them the attention they deserve, you can brighten up the space and enhance the overall appearance of your dining room.
If you have wooden furniture, taking the time to polish and protect it will ensure its longevity and keep it looking its best. Finally, organizing and restocking your dining room allows for a functional and visually appealing space that is ready to welcome guests.
With your dining room transformed into a clean and organized oasis, you can now enjoy meals and gatherings with family and friends in a fresh and inviting environment. Remember to maintain the cleanliness and organization of your dining room by cleaning it regularly and keeping all the elements in their designated places.
Thank you for following this comprehensive guide on how to clean a dining room. Cheers to a sparkling and delightful dining experience!
Frequently Asked Questions about How To Clean A Dining Room
Was this page helpful?
At Storables.com, we guarantee accurate and reliable information. Our content, validated by Expert Board Contributors, is crafted following stringent Editorial Policies. We're committed to providing you with well-researched, expert-backed insights for all your informational needs.


0 thoughts on “How To Clean A Dining Room”