Articles
How To Clean Dining Room Table
Modified: August 27, 2024
Learn the best way to clean your dining room table with our informative articles. Keep your table looking fresh and inviting for family meals and gatherings.
(Many of the links in this article redirect to a specific reviewed product. Your purchase of these products through affiliate links helps to generate commission for Storables.com, at no extra cost. Learn more)
Introduction
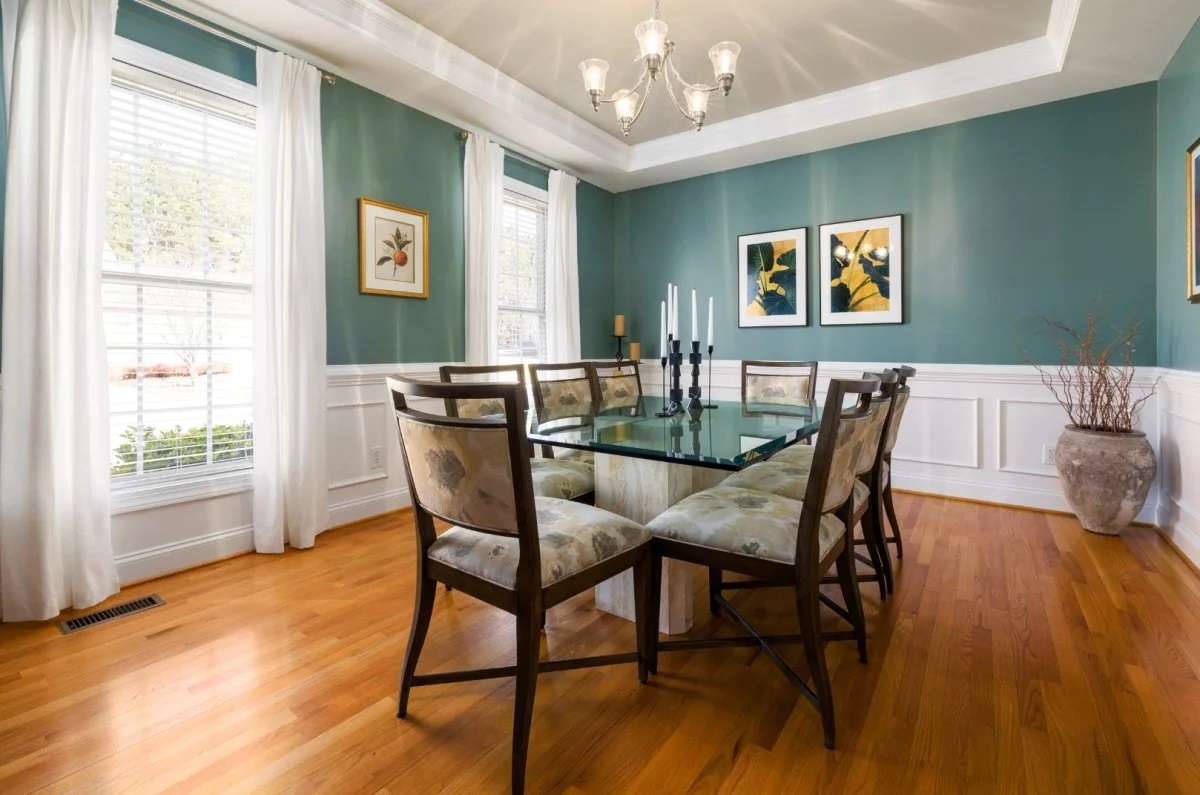
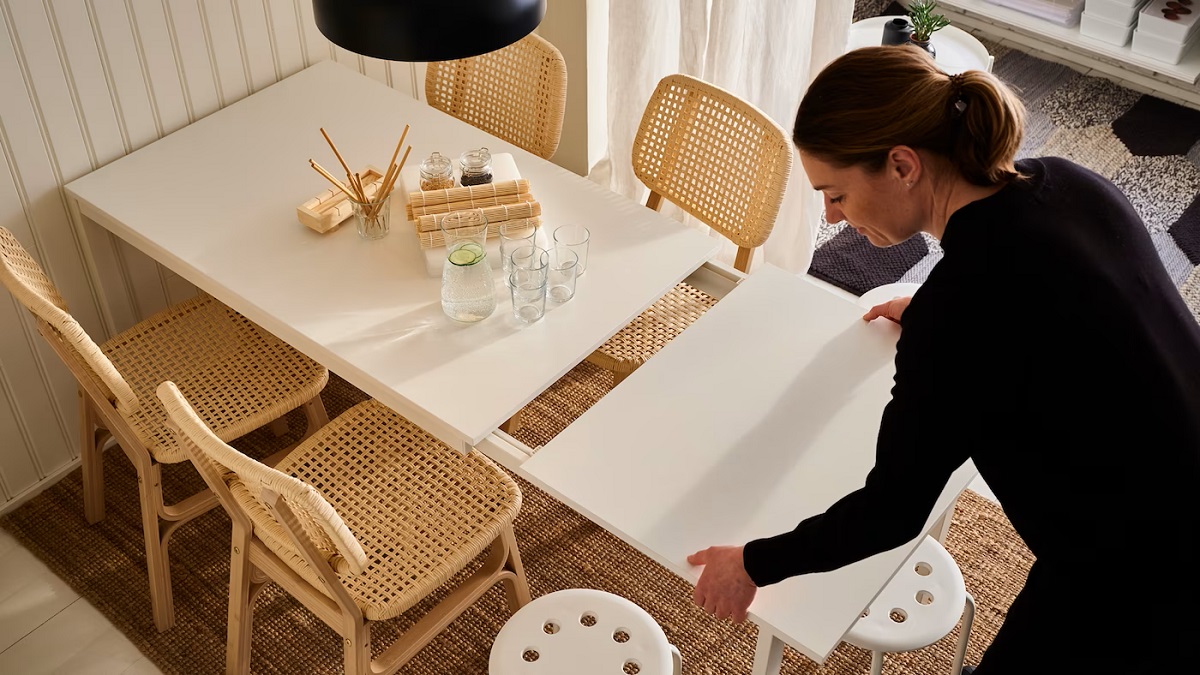
A dining room table serves as the centerpiece of countless family gatherings, dinner parties, and daily meals. With regular use, it’s inevitable that the table will accumulate dirt, dust, and stains over time. To maintain its beauty and functionality, it’s important to clean your dining room table regularly.
But how do you clean a dining room table effectively without causing any damage? In this article, we will provide you with a step-by-step guide on how to clean a dining room table and keep it looking its best. Whether you have a wooden, glass, or laminate table, these tips will help you achieve a spotless and sparkling surface.
Before we dive into the cleaning process, it’s essential to gather the necessary cleaning supplies. This will ensure that you have everything you need at hand and can complete the task efficiently. Once you have the supplies ready, follow the steps outlined in this article to transform your dining room table from dingy to dazzling.
Key Takeaways:
- Keep your dining room table looking its best by gathering the right cleaning supplies, removing debris, dusting, and using appropriate cleaners for different materials. Don’t forget to clean and polish the table legs and chairs for a complete dining set refresh.
- Reorganize and decorate your dining room table to create a warm and inviting atmosphere. Choose a centerpiece, add tableware, and maintain simplicity to enhance the visual appeal while keeping the table functional for family gatherings and meals.
Read more: How To Clean A Dining Room
Step 1: Gather the necessary cleaning supplies
Before you begin the cleaning process, it’s important to gather all the necessary cleaning supplies. This will help you avoid any unnecessary interruptions or delays during the cleaning process. Here are the essential items you’ll need to have on hand:
- Mild dish soap or a specialized cleaner for your table’s material
- Warm water
- Microfiber or soft cotton cloths
- Soft-bristled brush or toothbrush
- Bucket or basin for mixing the cleaning solution
- Protective gloves
It’s essential to use mild dish soap or a cleaner specifically designed for the material of your dining room table. Avoid using harsh chemicals or abrasive cleaners, as they can damage the surface of the table. Warm water is ideal for creating a gentle and effective cleaning solution.
Microfiber or soft cotton cloths are perfect for wiping and polishing your dining room table. These materials are gentle and won’t scratch the surface. A soft-bristled brush or toothbrush can be used to clean hard-to-reach areas or remove stubborn stains.
Having a bucket or basin to mix your cleaning solution is convenient and helps keep everything organized. Remember to wear protective gloves to avoid direct contact with the cleaning solution, especially if you have sensitive skin or are using stronger cleaners.
Once you’ve gathered all the necessary supplies, you’re ready to move on to the next step: removing any debris or clutter from the table.
Step 2: Remove any debris or clutter from the table
Before you can start cleaning your dining room table, it’s important to remove any debris or clutter that may be on the surface. This includes items such as plates, cutlery, placemats, and any other objects that should not be in direct contact with the cleaning solution.
Begin by clearing off the table completely. Place items in their proper storage locations or temporarily set them aside in a designated area. This will give you unhindered access to the entire surface of the table.
Next, use a brush or your hand to gently sweep away any loose debris, like crumbs or dust. Pay particular attention to the corners and edges of the table, where dirt tends to accumulate. This step will prevent any dirt or debris from getting caught in the cleaning solution and potentially scratching the table’s surface.
If there are any sticky residue or spills on the table, gently scrape them off with a plastic scraper or the edge of a credit card. Be careful not to use anything sharp or abrasive that could scratch or damage the table.
Once you have removed all the debris and clutter from the table, it’s time to move on to the next step: dusting the table surface.
Step 3: Dust the table surface
Dusting the table surface is an essential step in keeping your dining room table clean and free from dirt and debris. Dust can accumulate on the surface over time, making it look dull and less appealing. By regularly dusting your table, you can maintain its beauty and prevent scratches.
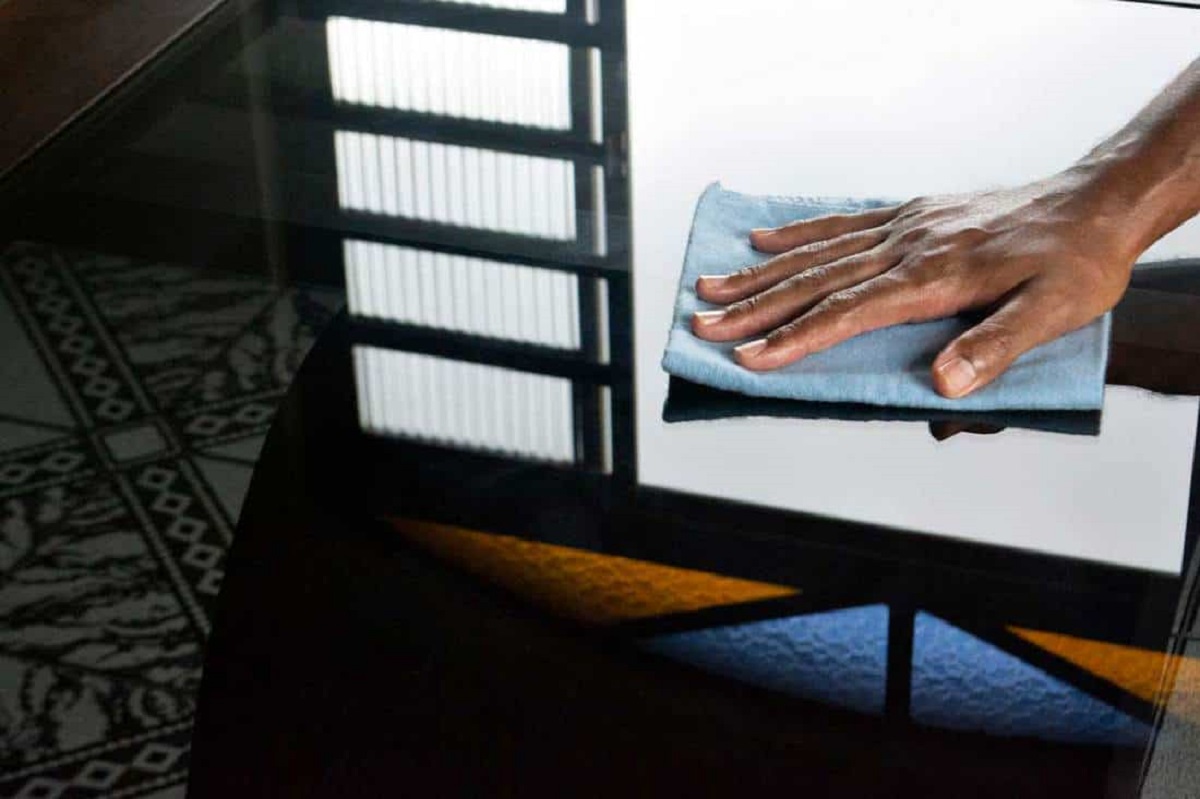
To dust the table surface, start by using a dry, clean microfiber cloth or a soft cotton cloth. Avoid using feather dusters or dry dusting cloths that can disperse dust particles into the air.
Begin at one end of the table and work your way across the entire surface. Use long, sweeping motions to capture the dust particles effectively. Pay attention to the corners, edges, and any intricate details of the table that may collect dust.
If you’re dealing with intricate carvings or hard-to-reach spots, you can use a soft-bristled brush or a toothbrush to gently loosen the dust. Be gentle and avoid applying too much pressure to prevent scratching the table’s surface.
Remember to dust not only the tabletop but also the sides and underneath the table if accessible. Dust can collect in these areas as well, so it’s important to give them some attention.
Once you have dusted the entire surface, carefully shake out the cloth to remove any trapped dust particles. You can also rinse the cloth under running water if necessary. Avoid using any cleaning agents at this stage, as it is a dry dusting process.
By regularly dusting your dining room table, you can keep it looking clean, fresh, and inviting. Now that the table surface is dust-free, it’s time to proceed to the next step: using the appropriate cleaner for your table’s material.
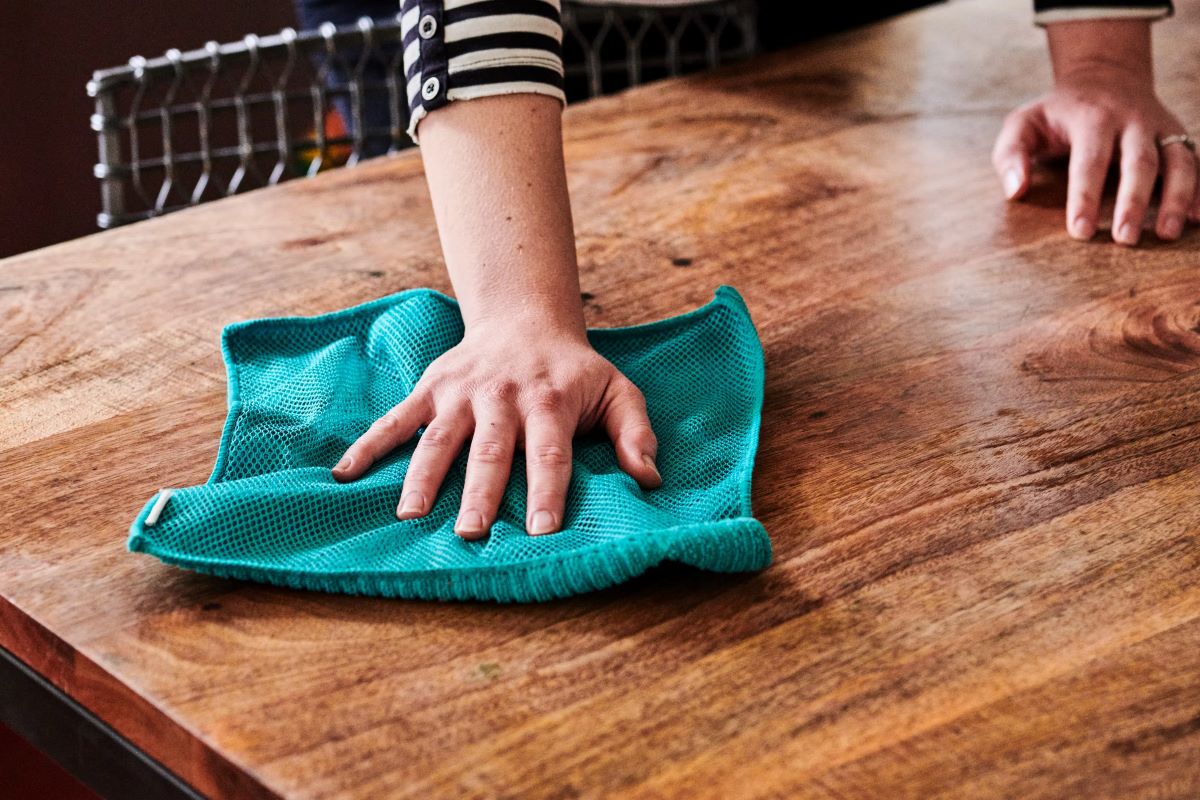
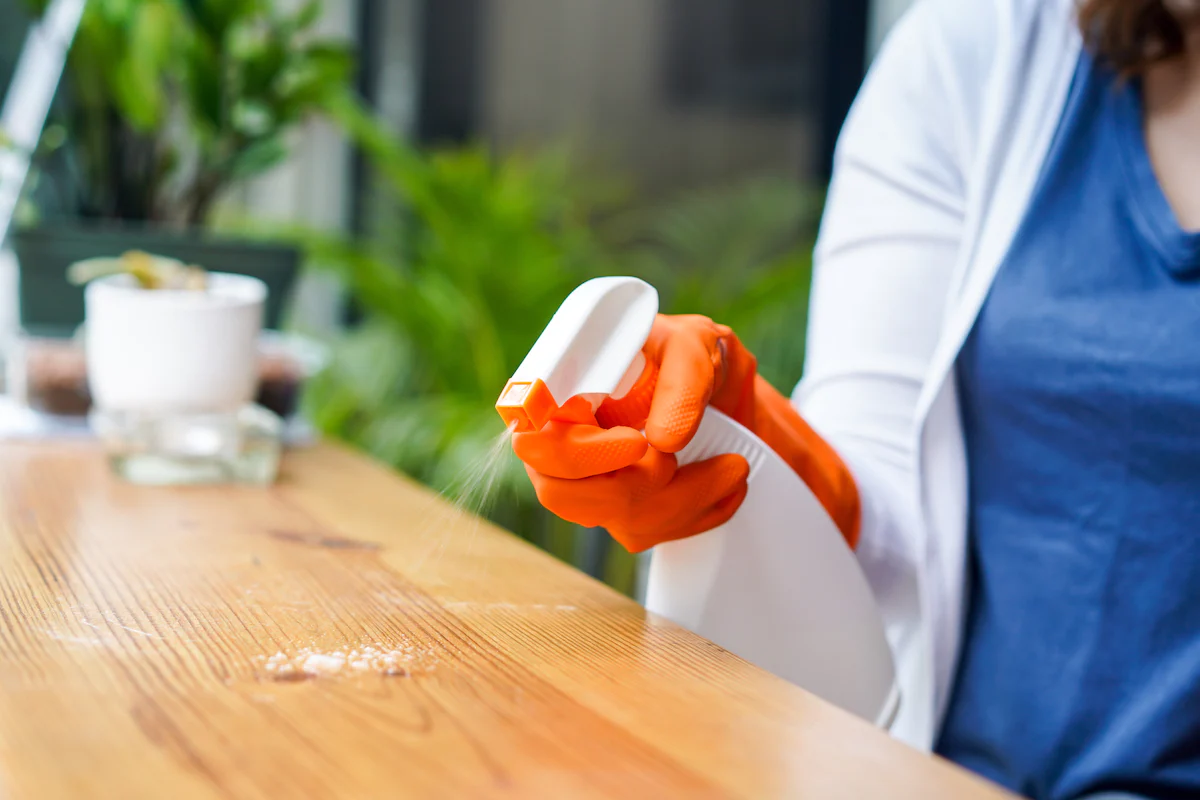
Use a mixture of mild dish soap and warm water to clean your dining room table. Wipe with a soft cloth in the direction of the wood grain to avoid scratches. Avoid using harsh chemicals or abrasive sponges.
Step 4: Use the appropriate cleaner for your table’s material
Using the appropriate cleaner for your dining room table’s material is crucial to achieving a thorough and safe cleaning. Different table materials require specific cleaning methods to prevent damage and maintain their integrity. Whether your table is made of wood, glass, laminate, or another material, here are some cleaning recommendations:
- Wood: If you have a wooden dining room table, it’s important to use a cleaner that is suitable for wood surfaces. Avoid harsh chemicals that can strip away the protective finish or cause discoloration. Instead, opt for mild dish soap mixed with warm water. Soak a clean cloth or sponge in the soapy water, wring out excess moisture, and gently wipe the table surface. To remove any stubborn stains, use a soft-bristled brush or toothbrush. Rinse the cloth or sponge frequently and change the water as needed. After cleaning, dry the table surface with a soft cloth to prevent moisture from seeping into the wood. To protect and restore the table’s shine, consider applying furniture polish or a natural oil-based product. Follow the manufacturer’s instructions for the best results.
- Glass: Cleaning a glass dining room table requires a gentle touch to avoid scratches or streaks. Begin by spraying a glass cleaner directly onto the table surface. You can also use a homemade solution of vinegar and water. Wipe the glass surface with a lint-free microfiber cloth or a soft cotton cloth in a circular motion. Pay attention to any smudges or fingerprints and apply a bit more pressure if necessary. For stubborn marks, consider using a glass scraper designed specifically for removing tough residues. Once the table is clean, use a dry cloth to remove any excess moisture and prevent streaking. To achieve a streak-free shine, you can finish by wiping the glass with a newspaper or a clean coffee filter.
- Laminate: Laminate dining room tables are relatively easy to clean and maintain. Start by diluting mild dish soap or a specialized laminate cleaner with warm water in a bucket or basin. Moisten a clean cloth or sponge in the soapy water, wring out excess moisture, and gently wipe the table surface. Pay attention to any sticky spots or spills, using a bit more pressure or a soft-bristled brush if needed. Rinse the cloth or sponge frequently and change the water as necessary. After cleaning, use a separate damp cloth to remove any soap residue from the table surface. Finally, dry the table with a soft cloth to prevent water spots or streaks.
It’s important to follow the manufacturer’s instructions and recommendations for cleaning your specific table material. This will ensure that you use the appropriate cleaning agents and methods to maintain the table’s quality and appearance. Once your dining room table is clean and dry, it’s time to move on to the next step: cleaning and polishing the table legs.
Read more: How Can You Clean Fabric Dining Room Chairs?
Step 5: Clean and polish the table legs
While often overlooked, the table legs are an integral part of your dining room table’s overall appearance. Cleaning and polishing the table legs will enhance the overall look of your table and ensure that every aspect of it is sparkling clean.
Before you begin cleaning the table legs, make sure to protect the table’s surface by placing a soft cloth or towel underneath them. This will prevent any cleaning solution or residue from damaging or staining the table.
The cleaning process for table legs will vary depending on the material. Here are some general guidelines for different types of table legs:
- Wooden legs: If your dining room table has wooden legs, follow the same cleaning steps as mentioned in Step 4 for cleaning the table surface. Use a mild dish soap diluted in warm water to wipe down the legs. Make sure to remove any dust or dirt that may have accumulated on them. After cleaning, dry the legs thoroughly with a soft cloth to prevent water damage. If the table legs have any scratches or imperfections, you can consider using a wood wax or polish to restore their shine.
- Metal legs: Metal table legs can be cleaned with a simple mixture of warm water and mild dish soap. Dampen a cloth with the soapy solution and gently wipe down the legs, paying attention to any smudges or dirt. For tougher stains or grime, you can use a soft-bristled brush or a toothbrush. Rinse the cloth or brush frequently and change the water as needed. Once the legs are clean, dry them with a soft cloth to prevent water spots or rust. If desired, you can apply a metal polish specifically designed for the type of metal used in your table legs to enhance their shine and protect them from oxidation.
- Other materials: If your table legs are made of materials such as plastic, acrylic, or composite, refer to the manufacturer’s guidelines for cleaning and maintenance. In general, a mixture of warm water and mild dish soap can be used to wipe down these surfaces. Ensure that the cleaning solution is not abrasive or damaging to the material. Rinse the legs with clean water and dry them thoroughly to avoid water spots or residue.
Once you have cleaned the table legs and they are dry, take a moment to inspect them for any signs of damage or wear. Depending on the material, you may need to take additional steps such as applying a protective coating or addressing any scratches or chips.
With the table legs cleaned and potentially polished, your dining room table is now looking fresh and pristine. The next step is to wipe down the chairs and cushions, ensuring that your entire dining set is spotless.
Step 6: Wipe down the chairs and cushions
When cleaning your dining room table, it’s important not to forget about the chairs and cushions. Over time, they can accumulate dust, stains, and food particles, which can detract from the overall cleanliness and appearance of your dining set. Follow these steps to effectively clean your chairs and cushions:
- Wooden chairs: Start by removing any cushions or fabric from the chairs. Wipe down the wooden surfaces with a soft cloth or sponge dampened with a mild dish soap solution. Be sure to clean both the seat and backrest of each chair. For stubborn stains or grime, use a soft-bristled brush or toothbrush to gently scrub the affected areas. Rinse the cloth or sponge frequently and change the water as needed. Finally, dry the wooden surfaces thoroughly with a soft cloth to prevent water damage. If you have removable cushions, follow the instructions below for cleaning fabric cushions.
- Metal or plastic chairs: Similar to the table legs, metal or plastic chairs can be cleaned using a mixture of warm water and mild dish soap. Dampen a cloth with the soapy solution and wipe down the surfaces of the chairs, paying attention to any stains or dirt. For tougher stains or grime, use a soft-bristled brush or toothbrush. Rinse the cloth or brush frequently and change the water as needed. Dry the chairs with a soft cloth to prevent water spots or residue.
- Fabric cushions: If your dining chairs have fabric cushions, start by checking the care label for any specific cleaning instructions. Most fabric cushion covers can be safely cleaned using a mild detergent or upholstery cleaner. Prepare a mixture of warm water and the recommended cleaner in a bucket. Dip a sponge or cloth into the cleaning solution and gently scrub the cushions, paying extra attention to any stains or spills. Rinse the sponge or cloth frequently and change the water as necessary. Once cleaned, allow the fabric cushions to air dry fully before reattaching them to the chairs.
After cleaning the chairs and cushions, it’s a good idea to inspect them for any signs of damage, such as loose screws, frayed fabric, or worn-out padding. If necessary, make any repairs or replacements to ensure the chairs are sturdy, secure, and comfortable.
With the chairs and cushions cleaned and in good condition, your dining set will look and feel fresh. Now, let’s proceed to the final step: reorganizing and decorating the dining room table to complete the cleaning process.
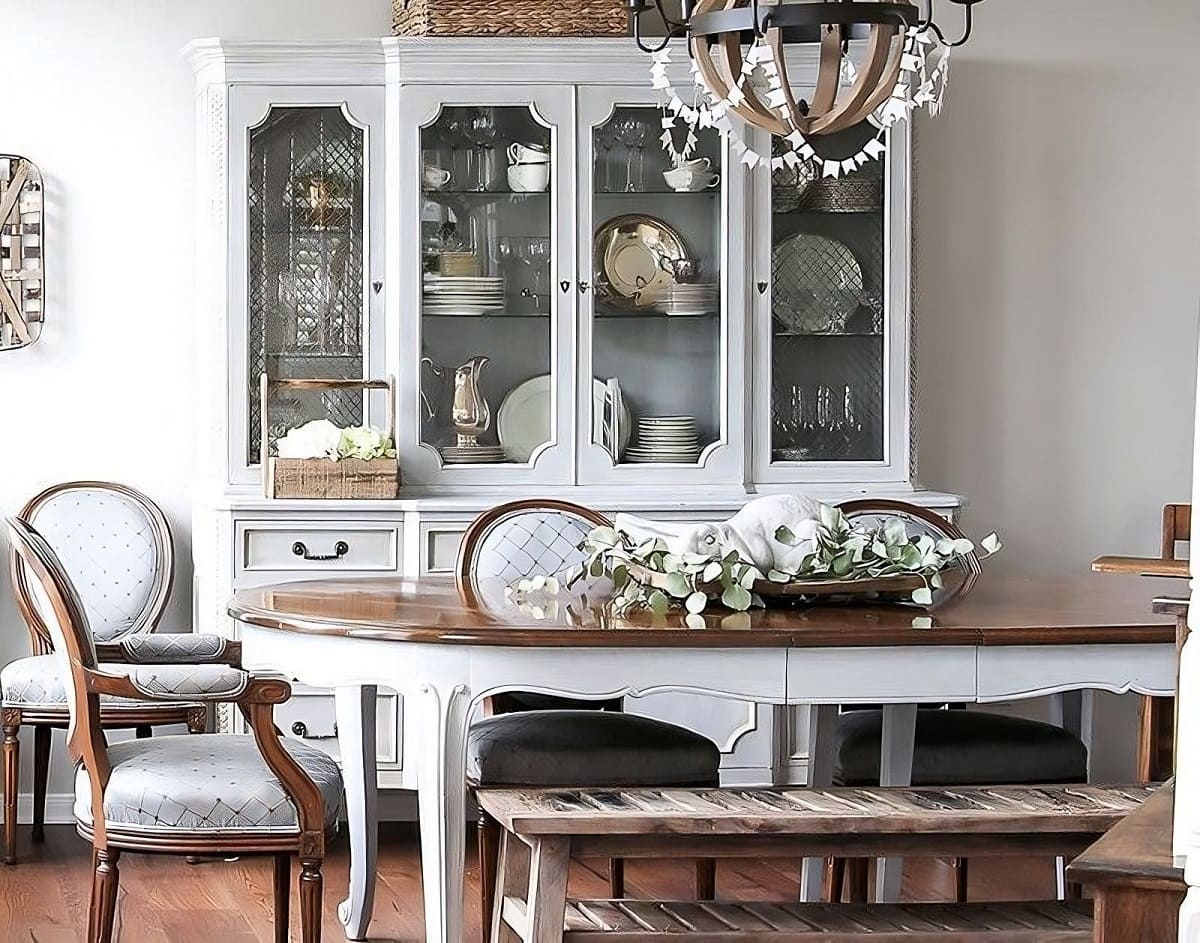
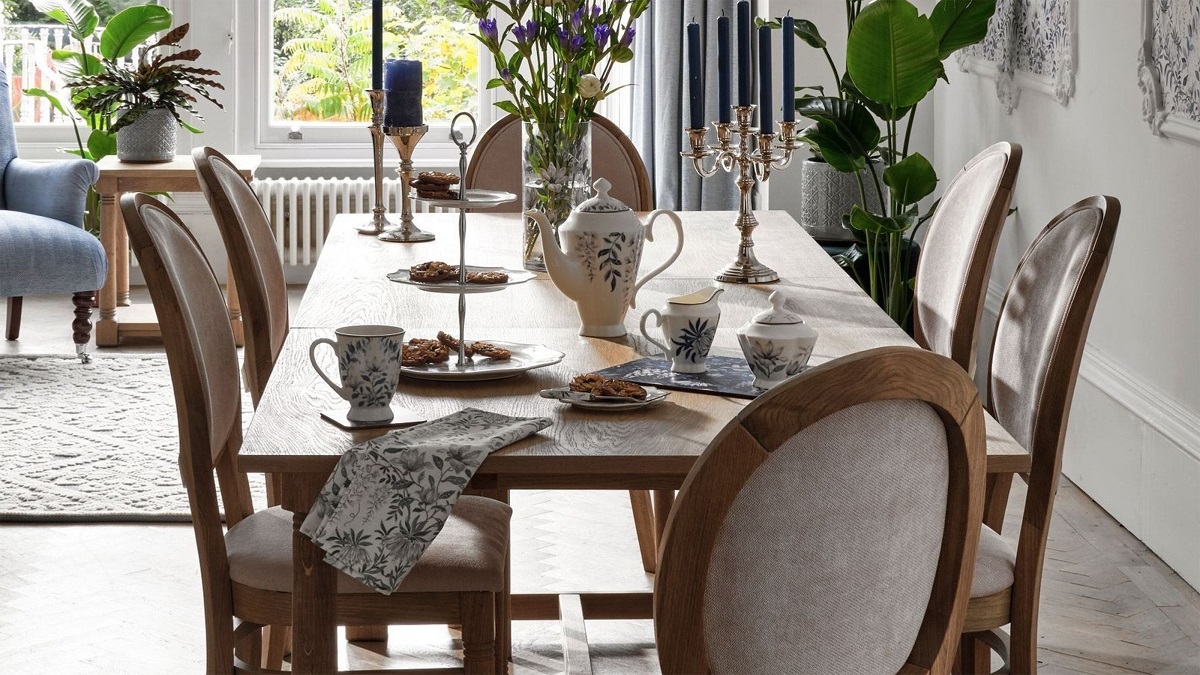
Step 7: Reorganize and decorate the dining room table
Now that your dining room table, chairs, and cushions are clean and refreshed, it’s time to put the finishing touches on your dining area. Reorganizing and decorating the dining room table will not only enhance its visual appeal but also create a warm and inviting atmosphere for mealtime. Follow these tips to reorganize and decorate your dining room table:
- Clear off any unnecessary items: Begin by removing any non-essential items from the table. This includes decor, centerpieces, or excessive clutter that may distract from the overall appearance of the table.
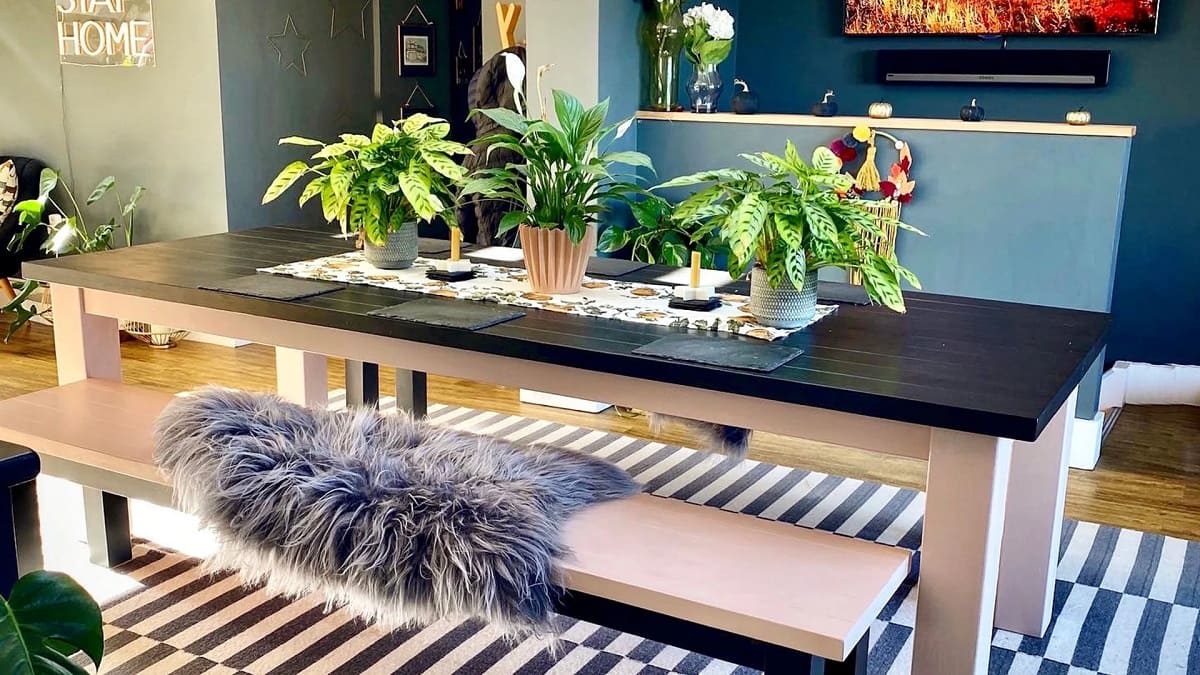
- Select a centerpiece: Choose a centerpiece that suits your personal style and complements the theme of your dining area. This can be a vase with fresh flowers, a decorative bowl, a candle arrangement, or any item that adds visual interest to the table without obstructing the view or impeding functionality.
- Add a table runner or placemats: Consider using a table runner or placemats that match the color scheme or theme of your dining room. This not only adds a touch of style but also protects the table surface from scratches, spills, and heat damage caused by hot plates or bowls.
- Arrange tableware: Set the table with plates, utensils, glassware, and napkins. Ensure that the tableware is clean and in good condition. You can also incorporate decorative elements such as folded napkins, place cards, or decorative napkin rings to add a personal touch.
- Include additional decor: Depending on the size of your table, you may have room to add additional decor. Consider incorporating items such as small potted plants, decorative figurines, or seasonal decorations to enhance the ambiance of your dining area.
- Maintain simplicity: While it’s essential to have an aesthetically pleasing table, remember to keep it functional and uncluttered. Avoid overcrowding the table with too many decorations or excessive tableware, as this can make it difficult for guests to navigate and enjoy their meals.
With your dining room table reorganized and decorated, take a step back and admire your hard work. The combination of a clean, visually appealing table with thoughtful decor will enhance your dining experience and create a welcoming atmosphere for family and guests.
By following these step-by-step instructions, you can confidently clean and maintain your dining room table, ensuring that it remains a stunning focal point in your home for years to come.
Frequently Asked Questions about How To Clean Dining Room Table
Was this page helpful?
At Storables.com, we guarantee accurate and reliable information. Our content, validated by Expert Board Contributors, is crafted following stringent Editorial Policies. We're committed to providing you with well-researched, expert-backed insights for all your informational needs.


0 thoughts on “How To Clean Dining Room Table”