
Articles
How To Clean A Freezer With Rotten Meat
Modified: August 20, 2024
Learn how to clean a freezer with rotten meat in this informative article. Follow our step-by-step guide for a fresh and odor-free freezer.
(Many of the links in this article redirect to a specific reviewed product. Your purchase of these products through affiliate links helps to generate commission for Storables.com, at no extra cost. Learn more)
Introduction
Discovering rotten meat in your freezer can be a distressing situation. The foul odor and potential health hazards make it imperative to take immediate action. Cleaning a freezer with rotten meat requires thoroughness and proper sanitation to ensure that it is safe to use again.
In this article, we will guide you through the steps of cleaning a freezer contaminated with rotten meat. We will discuss safety precautions, the supplies you will need, and provide a step-by-step cleaning process to effectively eliminate any traces of contamination.
Before we begin, it’s important to note that if your freezer has been affected by a power outage or malfunction for an extended period, causing the meat to thaw and spoil, you may need to consider disposing of the food and seeking professional help to assess potential damage to the freezer.
Now, let’s move forward with the necessary precautions to ensure your safety during the cleaning process.
Key Takeaways:
- Ensure safety by wearing protective gear, ventilating the area, and following manufacturer’s instructions. Promptly dispose of rotten meat and gather necessary supplies for an efficient cleaning process.
- Thoroughly defrost, clean, sanitize, and dry the freezer to eliminate bacteria and odors. Reassemble and monitor temperature to create a clean and safe environment for food storage.
Read more: How To Clean Freezer
Safety Precautions
Before embarking on the task of cleaning a freezer with rotten meat, it’s crucial to prioritize your safety. Follow these essential safety precautions to avoid any accidents or health risks:
- Wear protective gear: Put on rubber gloves, a face mask, and safety goggles to protect yourself from potential pathogens and foul odors.
- Ventilate the area: Make sure the cleaning area is well-ventilated by opening windows or using fans to avoid inhaling any unpleasant odors or fumes.
- Disconnect the freezer: Unplug the freezer from the power source to prevent any accidental switch-on and ensure your safety while cleaning.
- Prepare a cleaning solution: Mix a solution of equal parts warm water and white vinegar or use a mild disinfectant cleaner to sanitize the freezer.
- Keep children and pets away: Restrict access to the cleaning area to prevent accidents or potential exposure to harmful substances.
- Dispose of rotten meat properly: Double-bag the rotten meat in sealed plastic bags and dispose of it in a secure garbage bin to prevent further contamination.
- Follow manufacturer’s instructions: If available, refer to the freezer’s manual for specific cleaning instructions to avoid damaging the appliance.
By taking these safety precautions, you can ensure a safe and effective cleaning process. Now, let’s move on to gathering the necessary supplies for the task at hand.
Gather Supplies
Before you start cleaning a freezer with rotten meat, it’s important to gather all the necessary supplies. Having everything readily available will make the cleaning process more efficient. Here are the supplies you’ll need:
- Rubber gloves: Protect your hands from potential pathogens and chemicals by wearing a sturdy pair of rubber gloves.
- Face mask: A disposable face mask will help minimize exposure to foul odors and harmful particles.
- Safety goggles: Shield your eyes from any potential splashes or spatters while cleaning by wearing safety goggles.
- Warm water: Fill a bucket or basin with warm water for rinsing and diluting your cleaning solution.
- White vinegar: Vinegar is a natural disinfectant that can effectively eliminate odors and kill bacteria. Alternatively, you can use a mild disinfectant cleaner.
- Cloths or sponges: Have a supply of clean, lint-free cloths or sponges to wipe down surfaces and absorb excess moisture.
- Baking soda: Baking soda is excellent for absorbing odors. Keep some on hand to help combat any lingering smells in the freezer.
- Plastic bags: Use plastic bags for double-bagging and disposing of the rotten meat. They should be thick and durable to prevent leaks.
- Scrub brush: A scrub brush with stiff bristles will be handy for scrubbing away any stubborn residue.
- Empty containers: Prepare a few empty containers to hold any food items you need to temporarily transfer out of the freezer.
Ensure that you have all these supplies within reach before you start the cleaning process. This way, you can work efficiently and effectively to eliminate the rotten meat and restore your freezer to a clean and safe condition.
Empty the Freezer
Now that you have gathered all the necessary supplies, it’s time to empty the freezer. Removing all items from the freezer will allow you to thoroughly clean every surface and eliminate any traces of rotten meat. Follow these steps:
- Prepare a temporary storage area: Set up a designated area nearby, such as a table or cooler, to temporarily store the items from the freezer.
- Sort and organize: Take this opportunity to sort through the items and discard anything that is expired, freezer-burned, or unwanted.
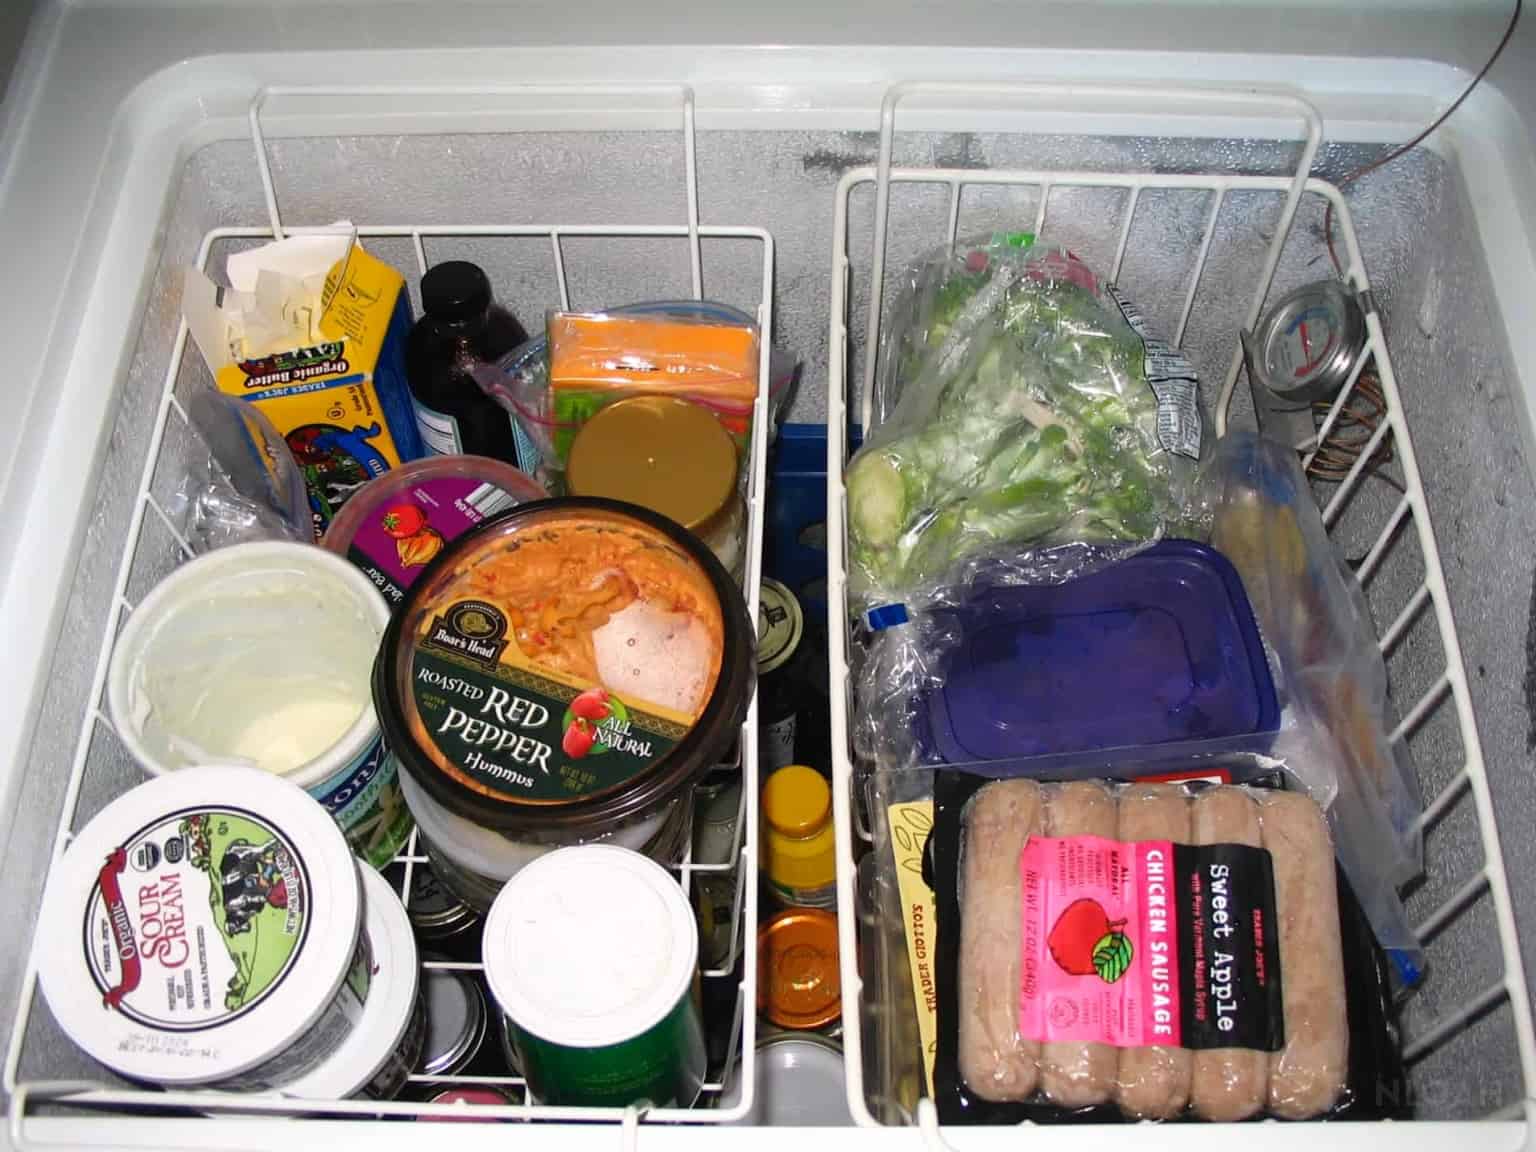
- Transfer items to storage containers: Place the remaining items into the empty containers you prepared earlier, ensuring they are sealed tightly to prevent any spoilage.
- Label containers: If necessary, label the containers with the contents and date to easily identify them when you’re ready to return them to the freezer.
- Remove shelves and drawers: If possible, remove the shelves, drawers, and other removable parts from the freezer for easier cleaning.
By emptying the freezer and organizing its contents, you’ll have a clear workspace to clean without any obstacles. It also gives you the opportunity to declutter and discard any unnecessary items. With the freezer empty and ready for cleaning, it’s time to move on to the next step: removing the rotten meat.
Remove Rotten Meat
One of the most important steps in cleaning a freezer with rotten meat is removing the source of contamination. Here are the steps to effectively and safely remove the rotten meat:
- Put on protective gear: Ensure you are wearing rubber gloves, a face mask, and safety goggles before handling the rotten meat to protect yourself from potential pathogens.
- Double-bag the rotten meat: Using thick and durable plastic bags, carefully place the rotten meat inside, ensuring that there are no leaks or tears.
- Tie the bags securely: Close the bags tightly and tie them securely to prevent any foul odors or liquids from leaking out.
- Dispose of the bags: Immediately take the double-bagged rotten meat to an outdoor garbage bin or disposal area. Do not leave it in your kitchen or any other indoor location.
- Inspect for any remaining traces: After removing the rotten meat, thoroughly inspect the freezer for any remaining traces or liquids. If you find any, clean them up using paper towels and dispose of them properly.
Remember, the removal and disposal of the rotten meat should be done quickly and safely to prevent the spread of bacteria and minimize any lingering odors. Now that the rotten meat has been properly disposed of, we can move on to the next step: defrosting the freezer.
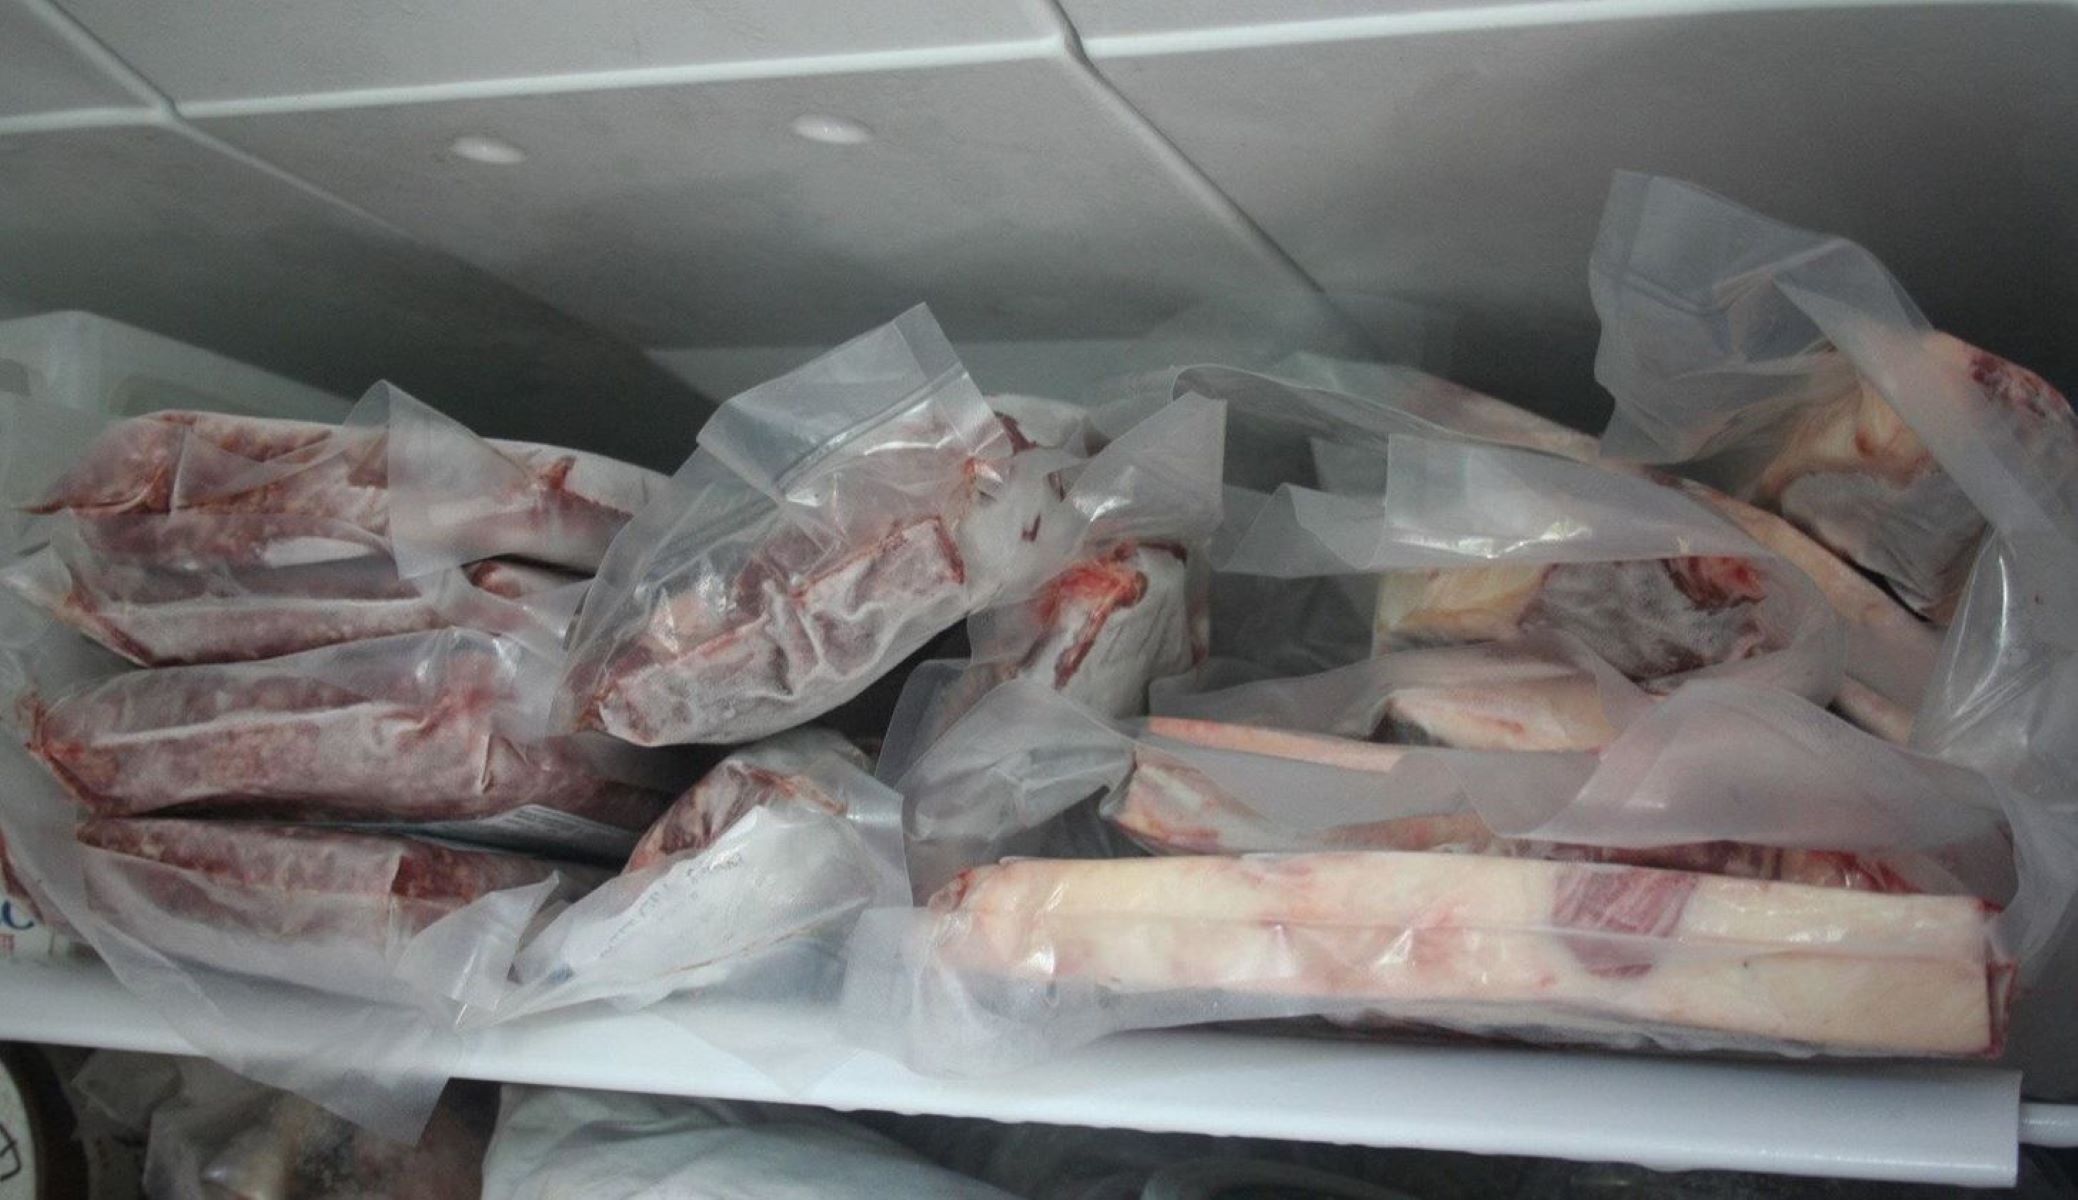
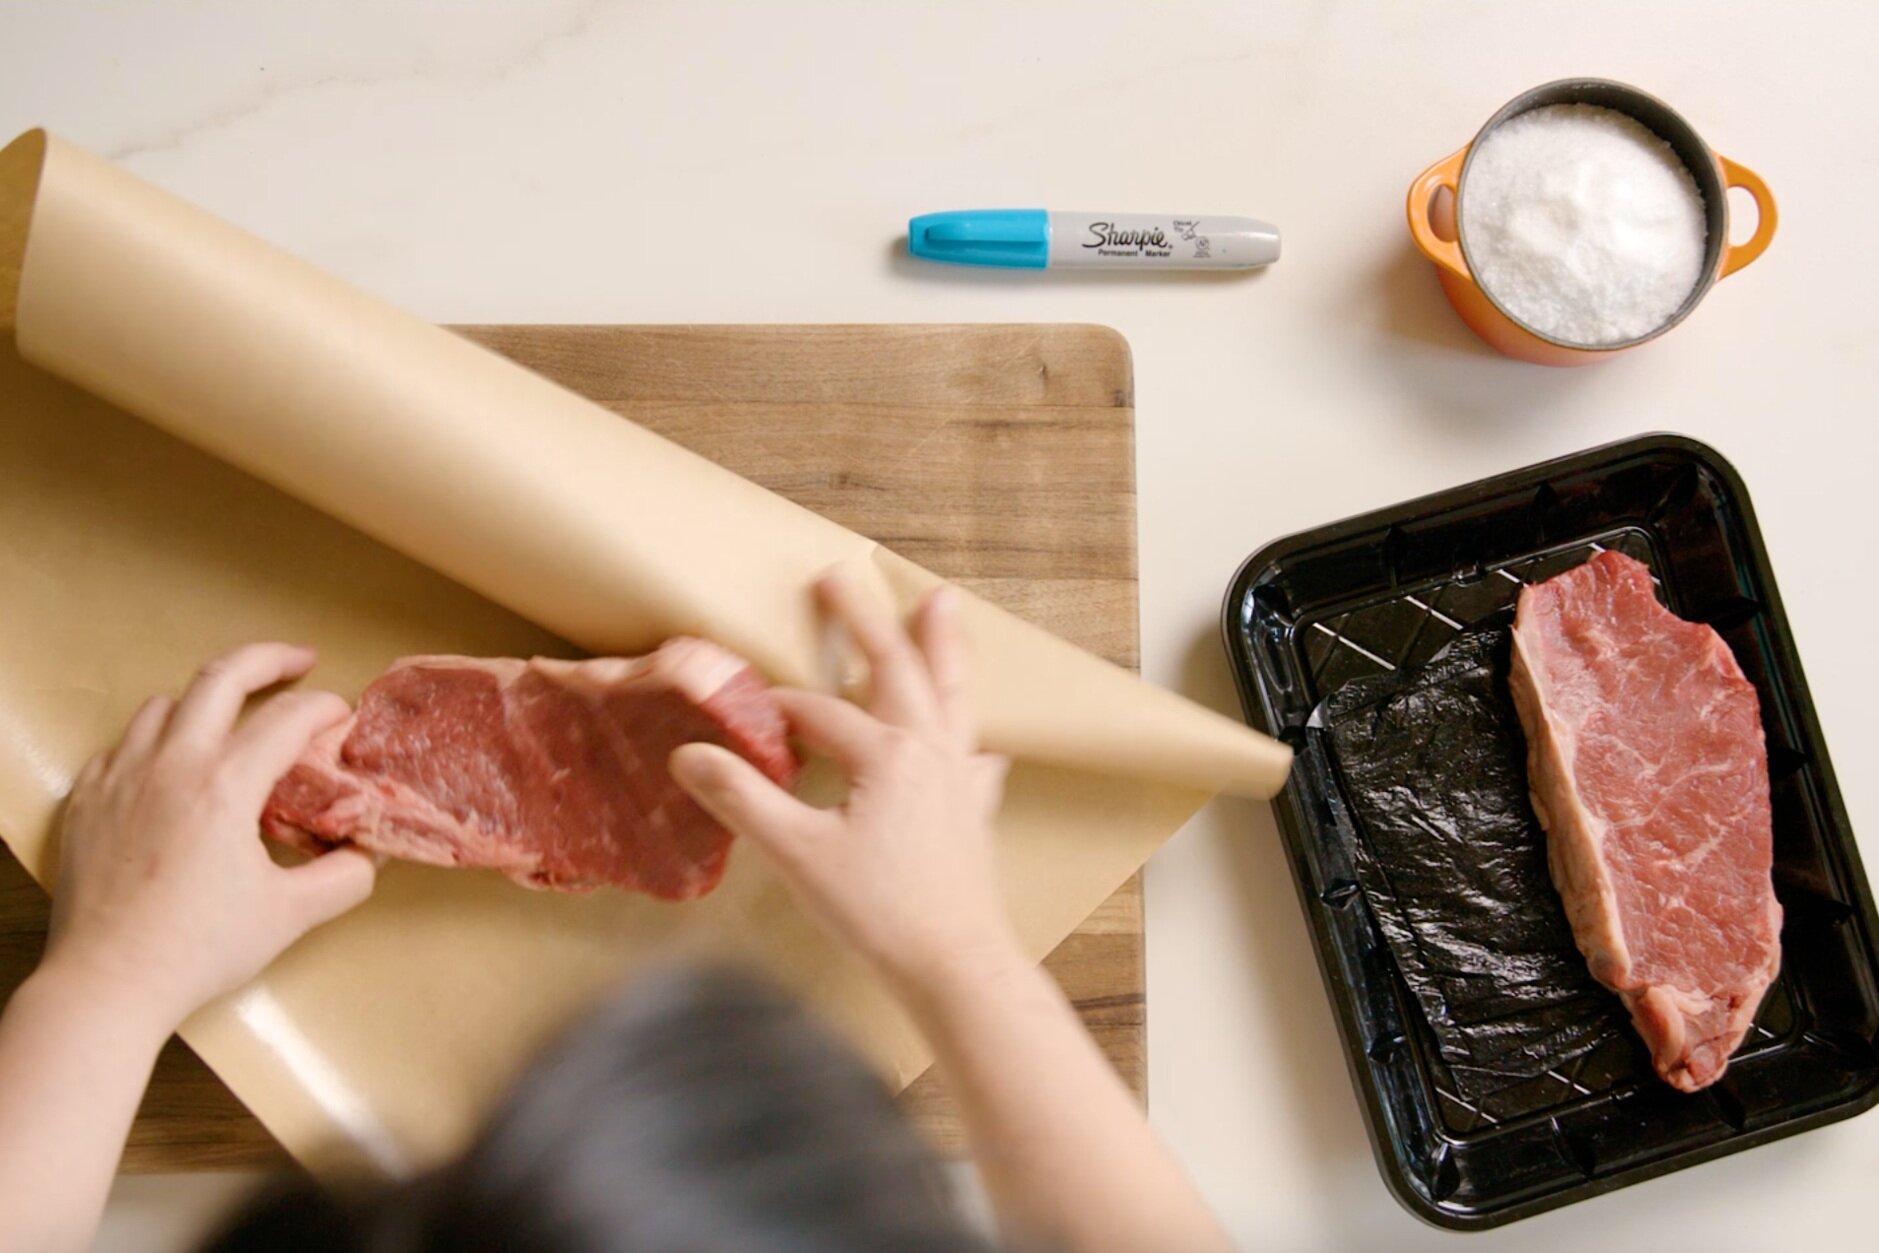
Read more: How To Store Beef In Freezer
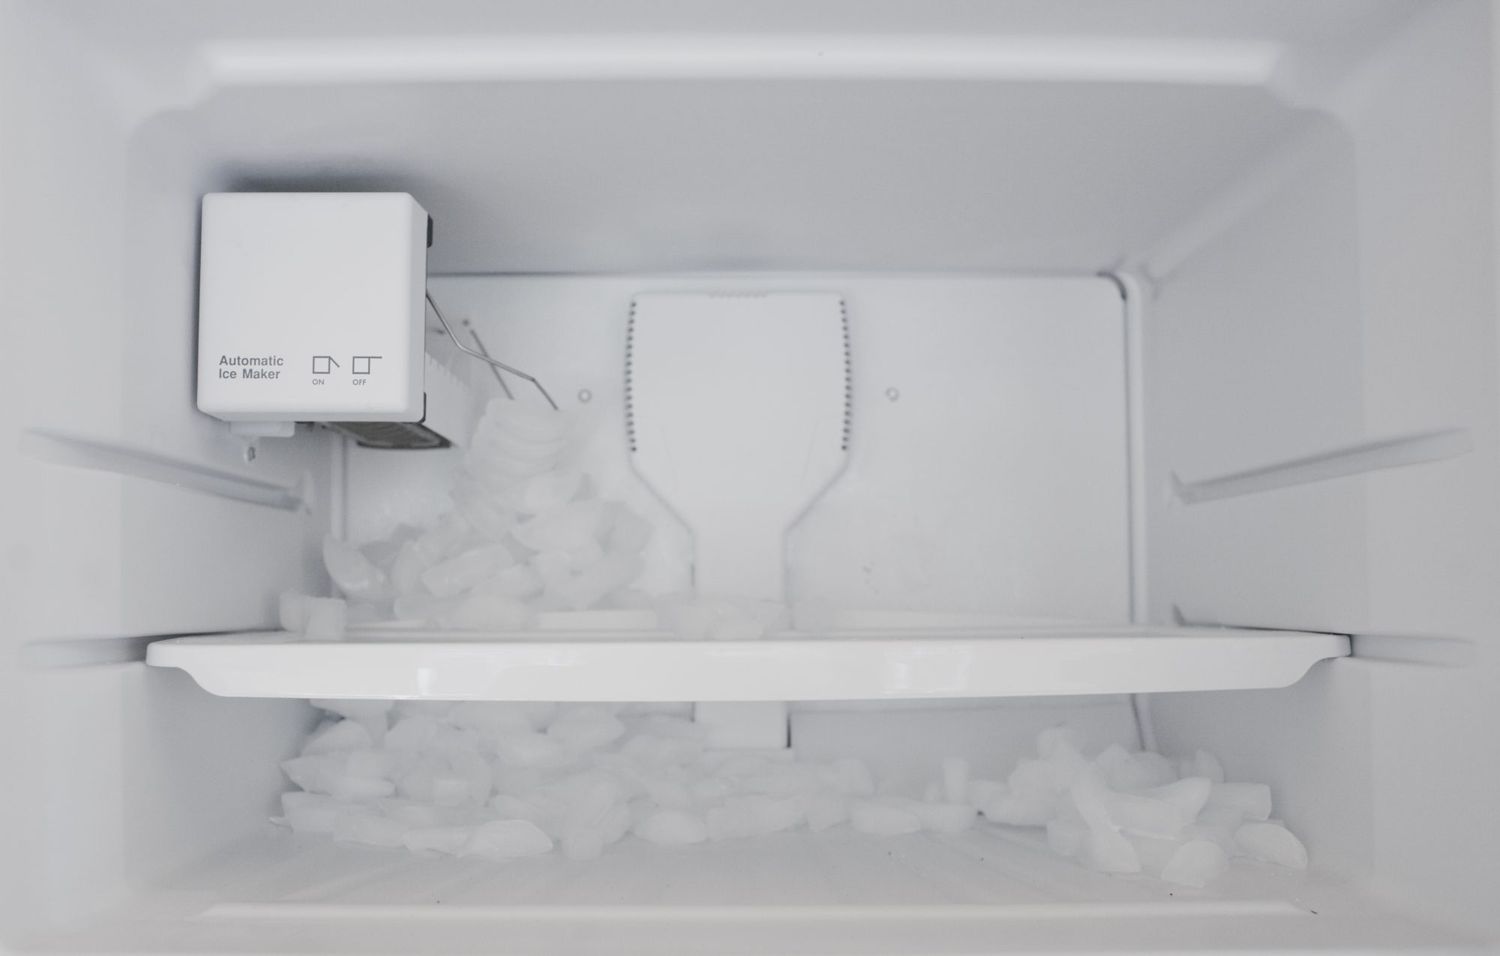
Defrost the Freezer
After removing the rotten meat, the next step in cleaning a freezer is to defrost it. Removing the ice build-up from the freezer will not only help in cleaning, but also improve its efficiency. Follow these steps to defrost the freezer:
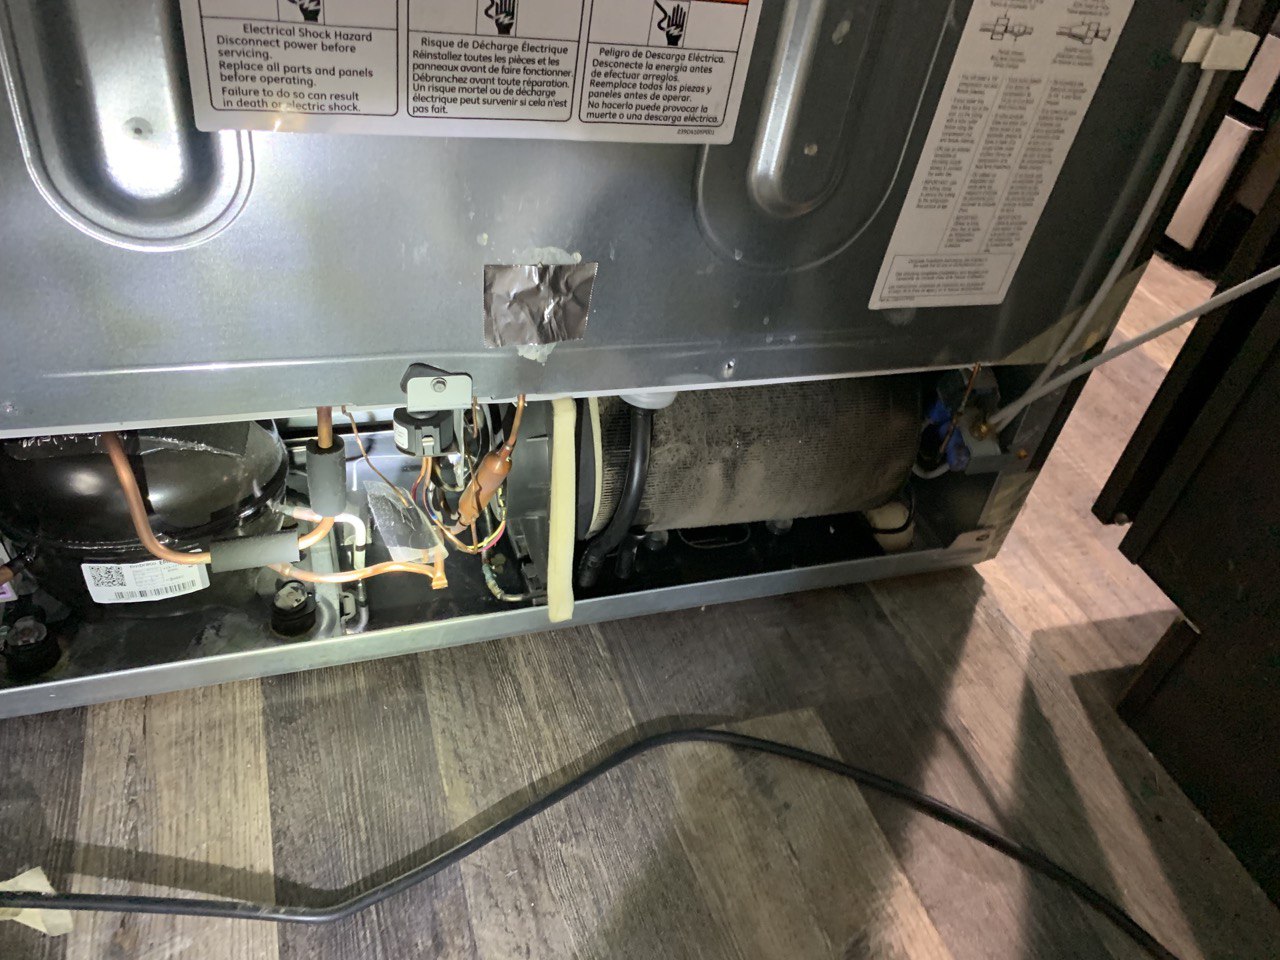
- Unplug the freezer: Ensure that the freezer is completely disconnected from the power source to avoid any accidents during the defrosting process.
- Open the freezer door: Leave the freezer door open to allow the ice inside to melt naturally. You can place towels or a plastic sheet on the floor to catch any water dripping from the freezer.
- Speed up the defrosting process (optional): If you are in a hurry, you can place bowls of hot water or use a hairdryer on a low heat setting to help melt the ice faster. However, be cautious not to melt the ice too quickly, as it may cause water to overflow and damage the freezer.
- Remove large chunks of ice: As the ice starts to melt, gently remove any large chunks of ice with a plastic or wooden spatula. Be careful not to use sharp objects or metal tools that may damage the interior surfaces.
- Wipe away excess water: Use a clean cloth or sponge to absorb any excess water that accumulates during the defrosting process. Make sure to wring out the cloth or sponge well to prevent excessive moisture.
- Clean the water drainage hole: Locate the water drainage hole at the bottom of the freezer and use a small brush or toothbrush to clean out any debris or ice blockage.
Allow the freezer to completely defrost before moving on to the next step. This process may take a few hours or overnight, depending on the thickness of the ice build-up. Once the ice has melted and the freezer is defrosted, we can proceed to clean the interior surfaces.
To clean a freezer with rotten meat, start by removing all the spoiled food and then defrost the freezer. Use a mixture of hot water and vinegar to clean the interior, and finish by wiping it down with a solution of baking soda and water to remove any lingering odors.
Clean Interior Surfaces
Now that the freezer has been defrosted, it’s time to clean the interior surfaces to remove any remaining residue or odors. Follow these steps to effectively clean the interior of your freezer:
- Mix a cleaning solution: In a bucket or basin, combine equal parts warm water and white vinegar or use a mild disinfectant cleaner. This solution will help sanitize and eliminate any lingering odors.
- Dip a cloth or sponge into the cleaning solution: Take a clean cloth or sponge and dip it into the cleaning solution. Make sure the cloth or sponge is damp, but not dripping wet.
- Wipe down the interior surfaces: Starting from the top, wipe down the interior walls and shelves of the freezer with the damp cloth or sponge. Pay special attention to any areas where there may have been contact with the rotten meat.
- Remove stubborn residue: For any stubborn residue or stains, use a scrub brush or toothbrush to gently scrub the affected areas. Avoid using abrasive scrubbers or harsh chemicals that may damage the freezer’s surfaces.
- Rinse with clean water: After cleaning, rinse the cloth or sponge in clean water and wring out any excess moisture. Wipe down the interior surfaces again to remove any cleaning residue or vinegar smell.
- Dry the interior: Use a clean and dry cloth or towel to thoroughly dry the interior of the freezer, ensuring there is no moisture left behind. This step is crucial to prevent the formation of ice or frost when the freezer is in use again.
By following these steps and using the appropriate cleaning solution, you can effectively remove any remaining residue, eliminate odors, and ensure that the interior of your freezer is clean and ready for use. Next, we’ll move on to cleaning the exterior surfaces of the freezer.
Clean Exterior Surfaces
While cleaning the interior of your freezer is important, don’t forget to pay attention to the exterior surfaces as well. Here are the steps to clean the exterior of your freezer:
- Prepare a cleaning solution: In a separate bucket or basin, mix warm water and a mild dish soap to create a cleaning solution for the exterior surfaces.
- Dampen a cloth or sponge: Dip a clean cloth or sponge into the cleaning solution, ensuring it is damp but not saturated.
- Wipe down the exterior: Start from the top and wipe down the exterior surfaces, including the sides, front, back, and handles. Pay attention to any fingerprints, stains, or spills, and gently scrub if necessary.
- Remove stubborn stains: For any stubborn stains or sticky residue, use a gentle non-abrasive cleaner or a paste made from baking soda and water. Apply it to the stain, let it sit for a few minutes, and then gently scrub with a soft cloth or sponge.
- Rinse with clean water: After cleaning, rinse the cloth or sponge in clean water and wring out any excess moisture. Wipe down the exterior surfaces again to remove any cleaning residue or soap residue.
- Dry the exterior: Use a clean and dry cloth or towel to thoroughly dry the exterior of the freezer. This will prevent streaks, water spots, and maintain a clean and polished appearance.
By following these steps, you can keep the exterior of your freezer looking clean, free from stains, and in optimal condition. It’s important to note that some freezers have a stainless steel exterior, so make sure to use cleaners and cloths that are safe for stainless steel surfaces. Now that the exterior is clean, we’ll move on to the next step: sanitizing the freezer.
Sanitize the Freezer
After cleaning, it’s crucial to sanitize the interior and exterior surfaces of your freezer to eliminate any remaining bacteria and ensure a safe and hygienic environment. Follow these steps to properly sanitize your freezer:
- Create a sanitizing solution: In a bucket or basin, mix one part bleach with ten parts water. Alternatively, you can use a disinfectant spray specifically designed for sanitizing freezers.
- Dip a cloth or sponge into the sanitizing solution: Immerse a clean cloth or sponge into the sanitizing solution, ensuring it is thoroughly dampened but not dripping.
- Wipe down the interior surfaces: Starting from the top, wipe down the interior walls, shelves, and any other surfaces that came into contact with the rotten meat. Make sure to cover all areas and corners of the freezer.
- Wipe down the exterior surfaces: Using the same sanitizing solution, wipe down the exterior surfaces of the freezer, including the sides, front, back, and handles.
- Allow the sanitizing solution to sit: To ensure effectiveness, allow the sanitizing solution to sit on the surfaces for a few minutes, as recommended by the manufacturer’s instructions or the bleach product label.
- Rinse with clean water: After the recommended contact time, rinse the cloth or sponge with clean water and wring out any excess moisture. Thoroughly wipe down the interior and exterior surfaces to remove any traces of the sanitizing solution.
- Dry the freezer: Use a clean, dry cloth or towel to thoroughly dry the interior and exterior of the freezer. This step is vital to prevent any moisture buildup that could lead to mold or odors.
By following these steps, you can effectively sanitize your freezer and eliminate any remaining bacteria or contaminants. This ensures a clean and safe environment for storing your food. Before finalizing the cleaning process, let’s move on to the last step: drying and reassembling the freezer.
Read more: How To Store Salmon In Freezer
Dry and Reassemble
After thoroughly cleaning and sanitizing your freezer, it’s essential to ensure that it is completely dry before reassembling and using it again. Follow these steps to properly dry and reassemble your freezer:
- Check for any remaining moisture: Inspect the interior and exterior surfaces of the freezer to ensure they are completely dry. Pay attention to corners, crevices, and any areas that may trap moisture.
- Use a clean, dry cloth or towel: Take a clean, dry cloth or towel and carefully wipe down all surfaces, removing any remaining moisture. This step is crucial for preventing the growth of mold or mildew.
- Reassemble the freezer: Once all surfaces are dry, reassemble any shelves, drawers, and removable parts that were taken out during the cleaning process. Make sure they are properly aligned and securely in place.
- Plug in the freezer: Plug the freezer back into the power source and ensure that it is properly connected.
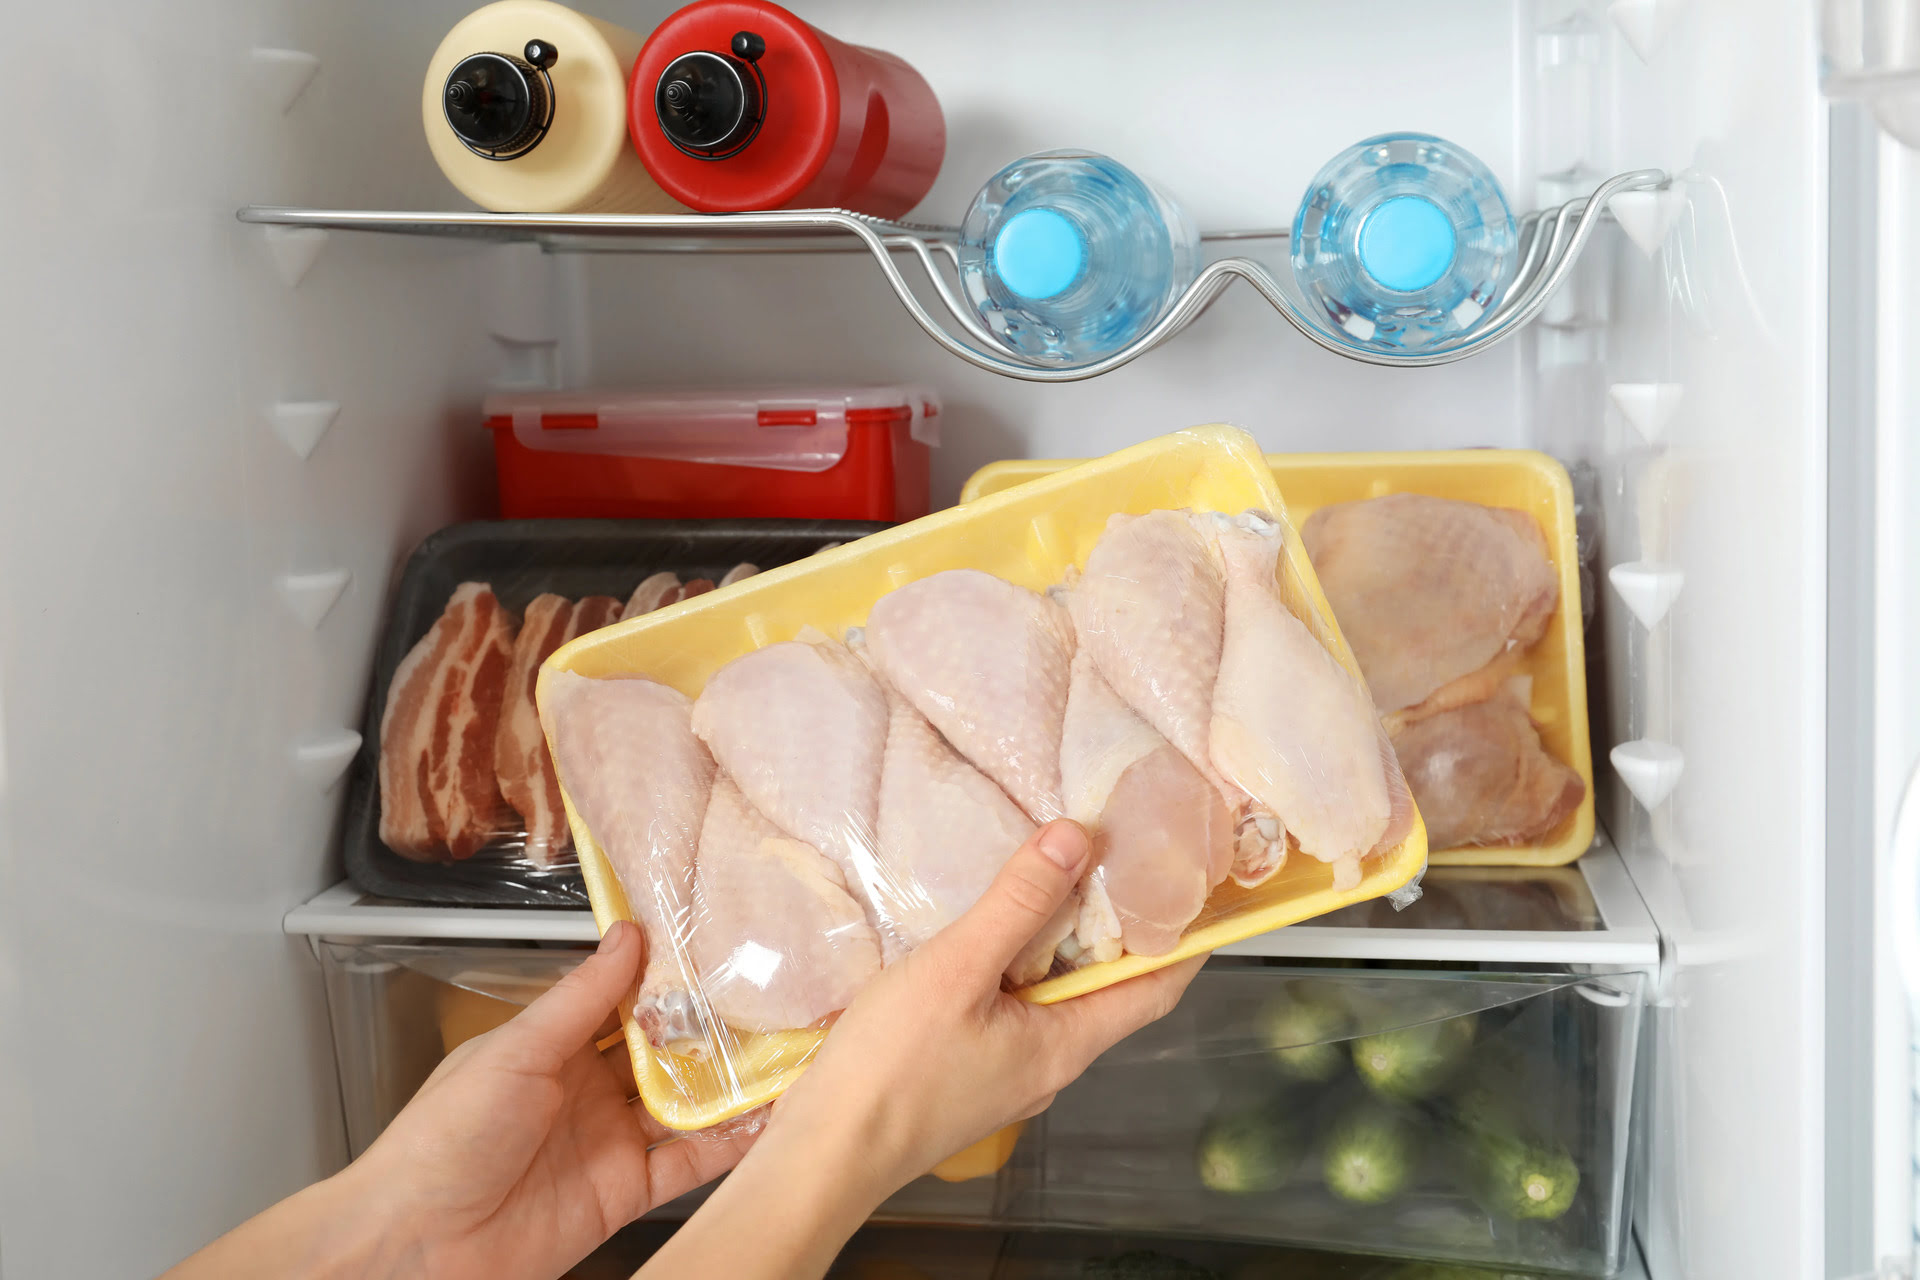
- Return food items to the freezer: Place the stored food items back into the freezer, organizing them as desired. Remember to check their expiration dates and discard any that are no longer safe to consume.
- Monitor the temperature: Allow the freezer to cool down to the desired temperature and ensure that it is functioning properly. Monitor the temperature over the next few hours to ensure it maintains the desired level of coldness.
Congratulations! You have successfully cleaned, sanitized, and dried your freezer. By following these steps, you have eliminated any traces of rotten meat and created a clean and safe environment for storing your food. Remember to regularly check and clean your freezer to prevent future issues. Enjoy using your clean and fresh freezer!
Note: Always refer to the manufacturer’s instructions for specific cleaning recommendations, as different models of freezers may have unique requirements.
Conclusion
Cleaning a freezer with rotten meat may initially seem like a daunting task, but by following the appropriate steps and taking necessary precautions, you can restore your freezer to a clean and safe condition. The process involves emptying the freezer, removing the rotten meat, defrosting, cleaning the interior and exterior surfaces, sanitizing, and finally drying and reassembling the freezer.
Throughout the cleaning process, it is crucial to prioritize your safety by wearing protective gear, ensuring proper ventilation, and following manufacturer’s instructions. Disposing of the rotten meat promptly and properly is essential to avoid further contamination and odors.
Gathering the necessary supplies, such as rubber gloves, cleaning solutions, and cloths, will make the cleaning process more efficient. Properly defrosting the freezer allows for easier cleaning and helps improve its efficiency. Cleaning the interior and exterior surfaces with appropriate sanitizing solutions ensures the elimination of bacteria and odors that may have resulted from the rotten meat.
Finally, drying the freezer thoroughly and reassembling it properly ensures that it is ready to store your food safely once again. Regularly monitoring the temperature and performing routine maintenance will help prevent future issues and keep your freezer in optimal condition.
By following the steps outlined in this article, you can successfully clean your freezer and create a clean and safe environment for storing your food. Remember to always prioritize your safety and refer to the manufacturer’s instructions specific to your freezer model.
Now that you have the knowledge and guidance, it’s time to tackle the task of cleaning your freezer with confidence, knowing that you are creating a clean and healthy environment for your food storage needs.
Now that your freezer is spotless and odor-free, why stop there? Perfect your skills with our guide on freezer cleaning, ensuring every nook and cranny shines without the hassle of defrosting. Next, tackle lingering smells in your kitchen with effective strategies for odor removal from your refrigerator. For those keen on personal care, don't miss our recommendations on deep cleaning tools for your face, ensuring you feel refreshed and rejuvenated for the new year.
Frequently Asked Questions about How To Clean A Freezer With Rotten Meat
Was this page helpful?
At Storables.com, we guarantee accurate and reliable information. Our content, validated by Expert Board Contributors, is crafted following stringent Editorial Policies. We're committed to providing you with well-researched, expert-backed insights for all your informational needs.
0 thoughts on “How To Clean A Freezer With Rotten Meat”