Articles
How To Clean Walk In Freezer Floor
Modified: November 1, 2024
Learn the best techniques and tips for cleaning the floor of your walk-in freezer in this informative article. Keep your freezer hygienic and efficient with our expert advice.
(Many of the links in this article redirect to a specific reviewed product. Your purchase of these products through affiliate links helps to generate commission for Storables.com, at no extra cost. Learn more)
Introduction
Welcome to this comprehensive guide on how to clean a walk-in freezer floor. Walk-in freezers are essential in many commercial settings to store perishable goods at low temperatures. However, due to frequent use and exposure to various substances, the freezer floor can get dirty and accumulate debris over time. It is crucial to maintain a clean and hygienic environment to ensure the longevity of the freezer and the quality of the stored products.
In this article, we will explore step-by-step instructions on cleaning a walk-in freezer floor effectively. We will also discuss safety precautions, necessary equipment and supplies, techniques for removing debris and stains, and tips for regular maintenance.
Before we delve into the cleaning process, it’s important to note that your safety should always be a top priority. Freezers operate at extremely low temperatures, so make sure to wear appropriate protective clothing such as gloves, boots, and a jacket to prevent frostbite. Also, ensure that the freezer is disconnected or switched off before starting the cleaning process to avoid accidents.
Now that we have covered the basics, let’s proceed to the next section, which outlines the necessary safety precautions you should take before cleaning a walk-in freezer floor.
Key Takeaways:
- Prioritize safety by wearing protective gear and following necessary precautions when cleaning a walk-in freezer floor to ensure a hygienic environment and prevent accidents.
- Regular maintenance, including daily sweeping and immediate spot cleaning, is essential to keep the walk-in freezer floor clean, safe, and in optimal condition for longer periods.
Read more: How To Make A Walk In Freezer
Safety Precautions
When it comes to cleaning a walk-in freezer floor, safety should always be your top priority. These precautions will help prevent accidents and ensure your well-being throughout the cleaning process:
- Wear protective clothing: Before entering the freezer, make sure to wear insulated gloves, slip-resistant boots, and a heavy-duty jacket. These items will not only protect you from the freezing temperatures but also provide additional safety in case of slips or falls.
- Turn off the power: Disconnect or switch off the freezer and any electrical equipment inside before starting the cleaning process. This will help prevent the risk of electric shock or other electrical accidents.
- Ventilate the area: Ensure there is proper ventilation in the freezer to prevent the buildup of harmful gases or fumes. Open the doors or use fans to circulate air during the cleaning process.
- Use non-slip matting: Place non-slip mats on the floor to provide better traction and reduce the risk of slipping on wet or slippery surfaces.
- Handle cleaning agents with care: If you decide to use cleaning agents, always follow the manufacturer’s instructions and use them in well-ventilated areas. Avoid mixing different types of cleaning agents as this may produce toxic fumes or reactions.
- Do not use sharp tools: Avoid using sharp tools or objects to scrape or remove debris from the floor, as this may damage the surface or cause injuries. Instead, opt for softer tools like brushes or mops.
- Stay hydrated: Working in a low-temperature environment can cause dehydration. Make sure to drink plenty of fluids before, during, and after the cleaning process.
- Work with a partner: If possible, have someone else present while cleaning the walk-in freezer. This way, you can provide assistance in case of an emergency or accident.
By following these safety precautions, you can minimize the risk of accidents and ensure a safe cleaning process for both yourself and your walk-in freezer. Now that we have covered the necessary precautions, let’s move on to the next section, which discusses the equipment and supplies you will need for cleaning the freezer floor.
Gathering Equipment and Supplies
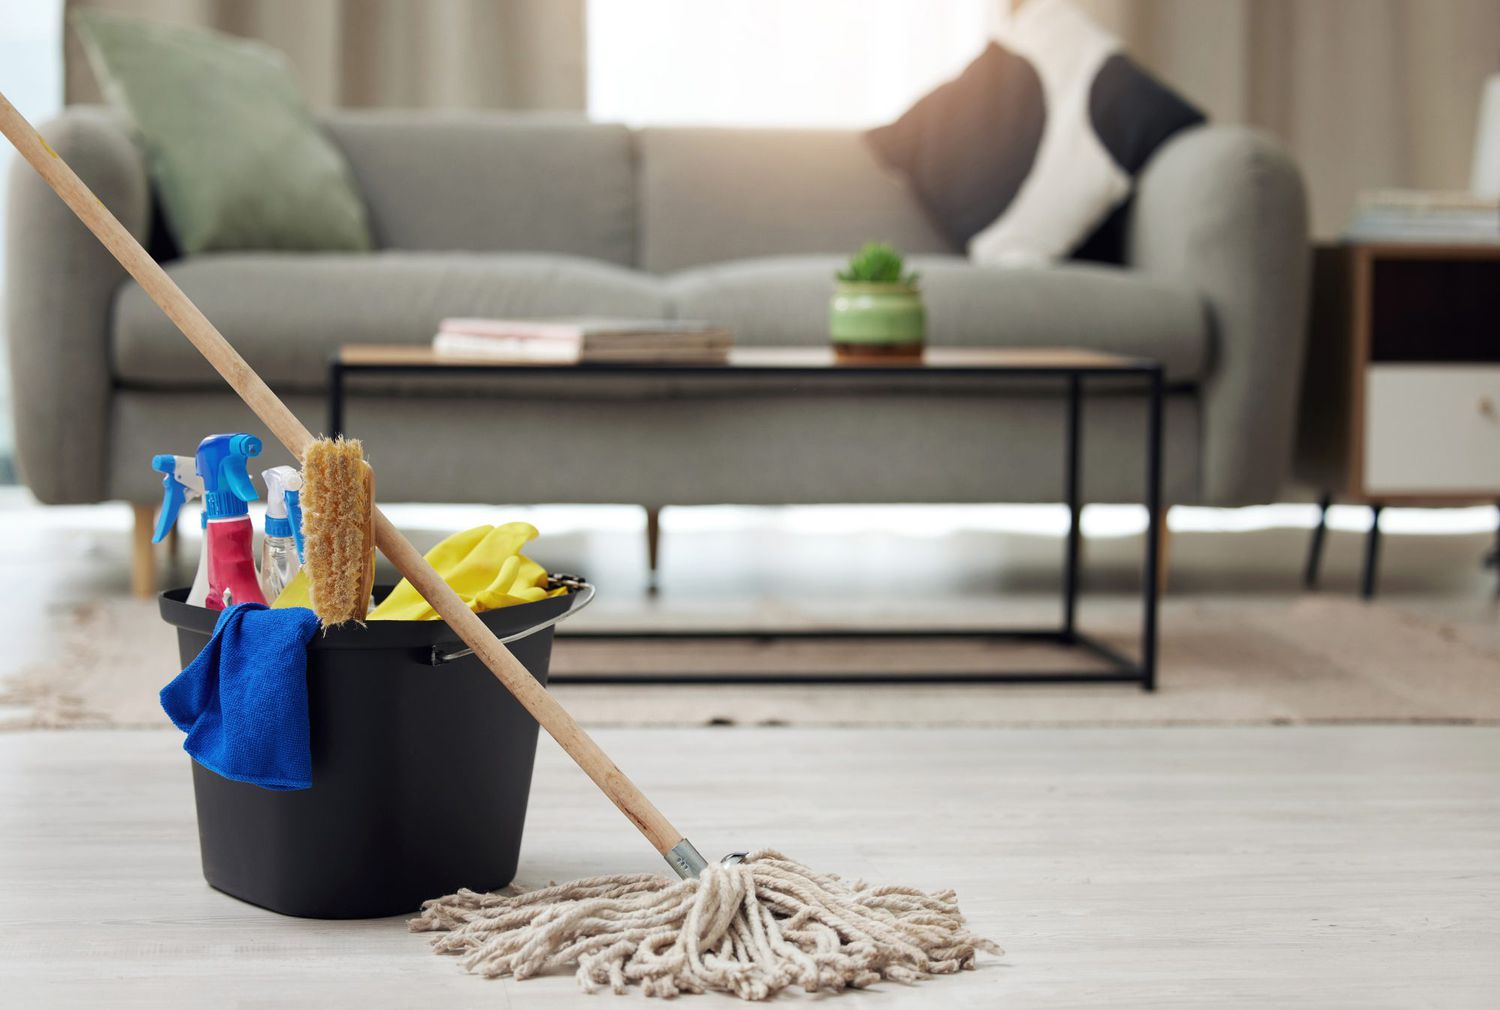
Before you begin cleaning your walk-in freezer floor, it’s important to gather the necessary equipment and supplies. Here’s a list of items you’ll need:
- Broom and dustpan: Start by sweeping the floor to remove loose debris, dirt, and dust. Use a sturdy broom and a dustpan to collect the swept-up debris.
- Mop and mop bucket: A mop will be your primary tool for cleaning the floor. Make sure to choose a mop with a long handle and durable mop head. Also, have a separate mop bucket for mixing cleaning solution and rinsing the mop.
- Cleaning solution: Select a cleaning solution that is safe for use in low-temperature environments. Check the labels of commercial cleaning products or consider using a mixture of warm water and a mild detergent.
- Gloves: Protect your hands by wearing thick, insulated gloves. They will shield your skin from the extreme cold and any chemicals present in the cleaning solution.
- Non-slip matting: If you don’t already have non-slip matting installed in your freezer, consider getting some to place on the floor for added safety and traction.
- Bucket and scrub brush: For stubborn stains or areas that require extra scrubbing, a smaller bucket and scrub brush can be helpful. This will allow you to focus on specific spots that require more attention.
- Safety goggles: While optional, safety goggles can protect your eyes in case any debris or cleaning solution accidentally splashes.
- Trash bags: Have a few trash bags handy for collecting and disposing of the swept-up debris and any other waste that accumulates during the cleaning process.
Before using any cleaning solution, make sure it is safe for use in a low-temperature environment. Always check the manufacturer’s instructions and guidelines. It’s also a good idea to have a first aid kit nearby and an emergency contact number easily accessible in case of any accidents or injuries.
By gathering these essential equipment and supplies, you’ll be well-prepared to tackle the task of cleaning your walk-in freezer floor. Next, we’ll discuss the step-by-step process of removing debris and dirt from the floor.
Removing Debris and Dirt
Before you can start cleaning the walk-in freezer floor, you need to remove any loose debris and dirt that may be present. Here’s a step-by-step process to effectively remove debris and get the floor ready for cleaning:
- Clear the area: Remove any equipment or items from the floor to create a clear workspace.
- Sweep the floor: Start by using a broom to sweep the entire floor, focusing on corners and hard-to-reach areas. Use long sweeping motions to push the debris toward the center of the freezer.
- Collect the debris: Once you’ve swept the floor, use a dustpan to collect the debris and transfer it into a trash bag. Seal the bag tightly and dispose of it in the appropriate waste receptacle.
- Inspect the floor: After removing the loose debris, inspect the floor for any stubborn dirt or stains that may require additional attention. Take note of any difficult areas or high-traffic spots.
- Pre-soak stubborn stains: For tough stains or areas with built-up grime, use a damp mop or cloth to pre-soak the affected area. This will help loosen the dirt and make it easier to clean later.
By following these steps, you’ll be able to successfully remove most of the debris and dirt from the walk-in freezer floor. However, depending on the condition of the floor, you may encounter stubborn stains or residues that require more intensive cleaning methods. In the next section, we’ll discuss how to clean the floor using a mop and sanitizing solution.
Cleaning with a Mop and Sanitizing Solution
Once you have removed debris and dirt from the walk-in freezer floor, it’s time to clean and sanitize the surface. The following steps will guide you through the process of using a mop and sanitizing solution:
- Prepare the mop and solution: Fill a mop bucket with warm water and add a suitable sanitizing solution. Follow the instructions on the product label to ensure the correct dilution ratio.
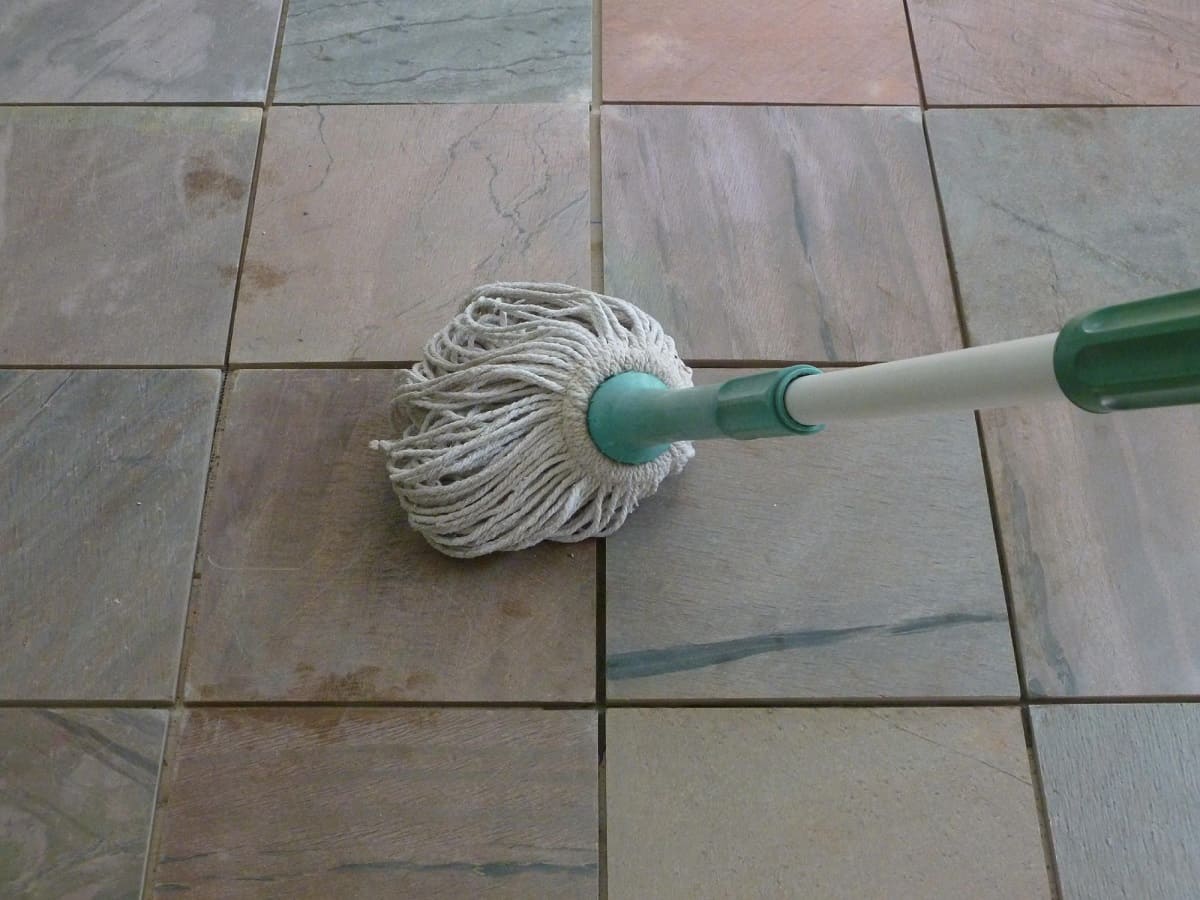
- Dip the mop: Immerse the mop head into the cleaning solution, making sure it is thoroughly saturated. Wring out any excess liquid to prevent excessive water from pooling on the floor.
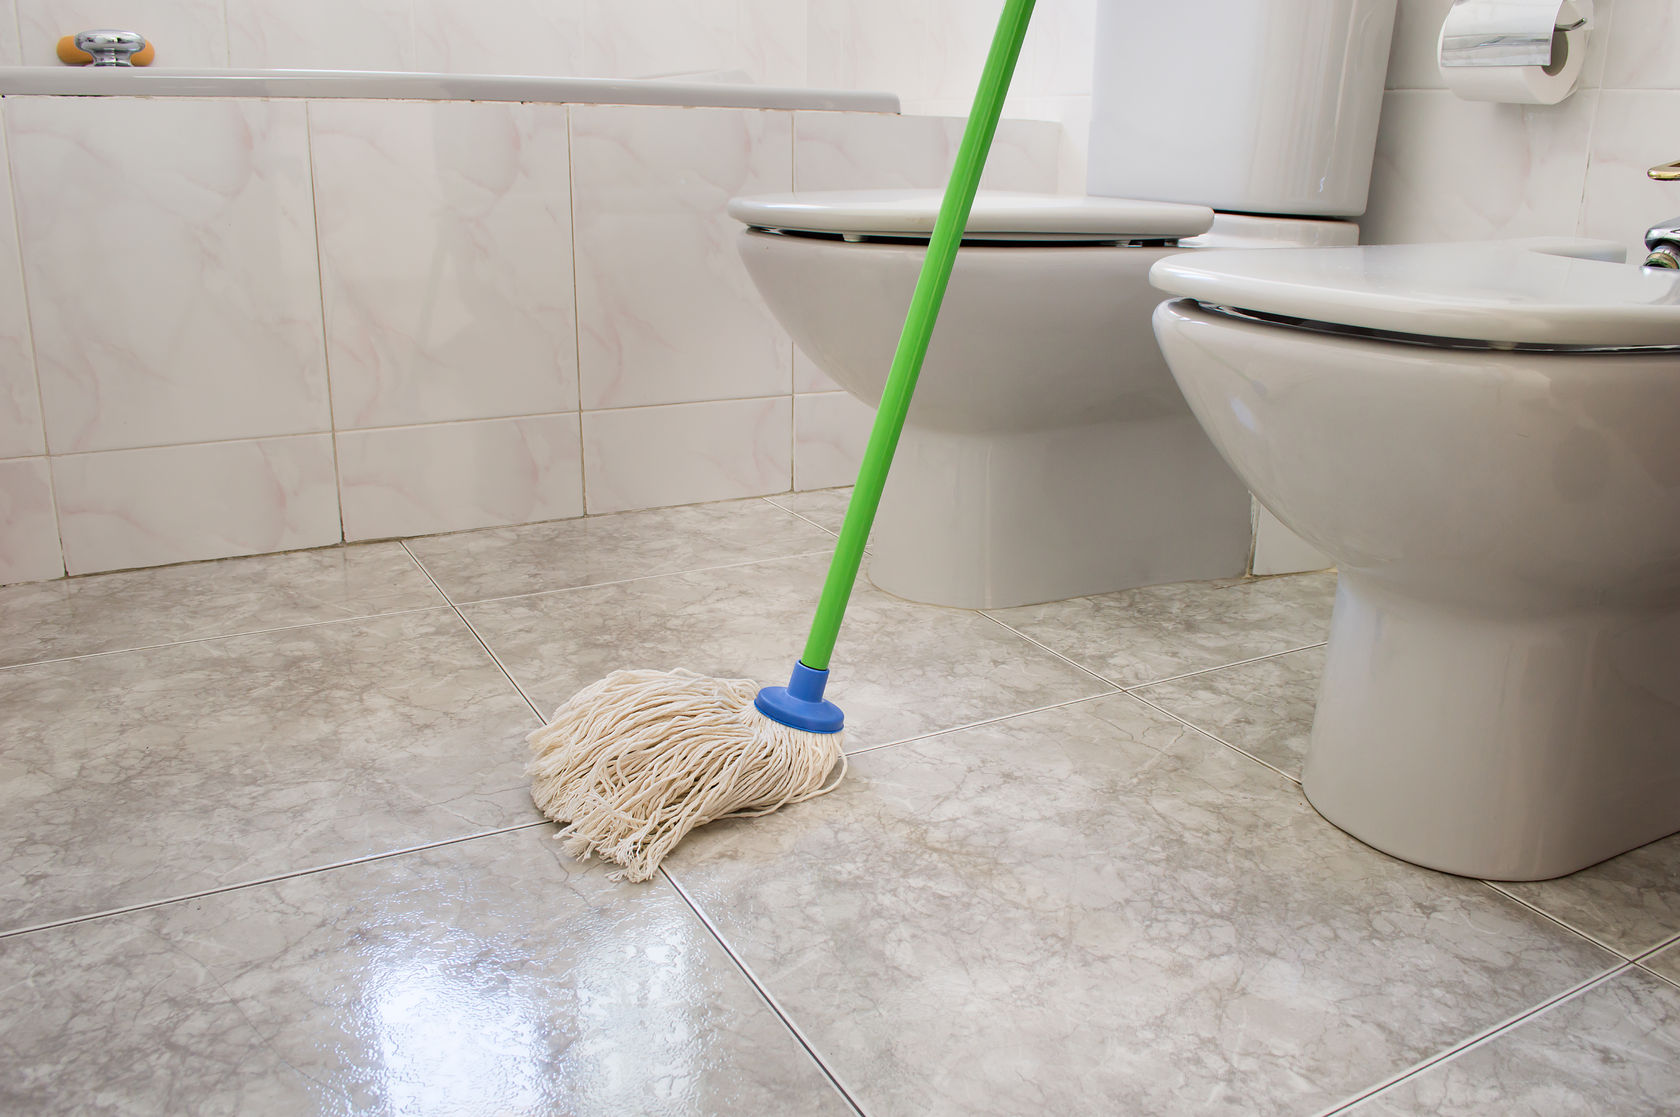
- Mop the floor: Starting from one corner, mop the floor using long, even strokes. Work your way across the entire floor, ensuring even coverage. Pay extra attention to areas with stains or residues.
- Rinse the mop: Periodically rinse the mop in a separate bucket of clean water to remove any dirt or debris that may have accumulated. This will prevent cross-contamination and ensure effective cleaning.
- Change the solution if necessary: If the cleaning solution becomes visibly dirty or loses its efficacy, replace it with fresh solution to maintain the cleanliness of the floor.
- Repeat as needed: Depending on the level of dirt and stains, you may need to repeat the mopping process several times to achieve the desired cleanliness. Keep mopping until the floor appears clean and free of residues.
Remember to work systematically and methodically, ensuring that no areas are missed during the cleaning process. Also, take breaks as needed to rest and allow the floor to dry before proceeding to the next step. The mop and sanitizing solution will effectively remove germs, bacteria, and other contaminants from the floor, ensuring a hygienic environment.
For stubborn stains or areas that require extra attention, you may need to employ additional cleaning methods such as scrubbing. We’ll explore these techniques in the next section.
Use a mixture of hot water and a mild detergent to mop the walk-in freezer floor. Avoid using harsh chemicals as they can leave a residue that may contaminate food. Dry the floor thoroughly to prevent slipping hazards.
Read more: How To Mop A Walk-In Freezer
Scrubbing Stubborn Stains
In some cases, you may encounter stubborn stains or residues on the walk-in freezer floor that are resistant to regular mopping. To effectively tackle these tough stains, follow these steps for scrubbing:
- Identify the stubborn stains: Inspect the floor and locate the areas with stubborn stains or residues that need extra attention.
- Mix a cleaning solution: Prepare a stronger cleaning solution by adding a mild detergent or a specialized floor cleaner to warm water. Follow the manufacturer’s instructions for the proper dilution ratio.
- Create a paste: If the stains are particularly tough, you can create a paste by mixing baking soda with water. This mixture can help to break down and lift stubborn stains.
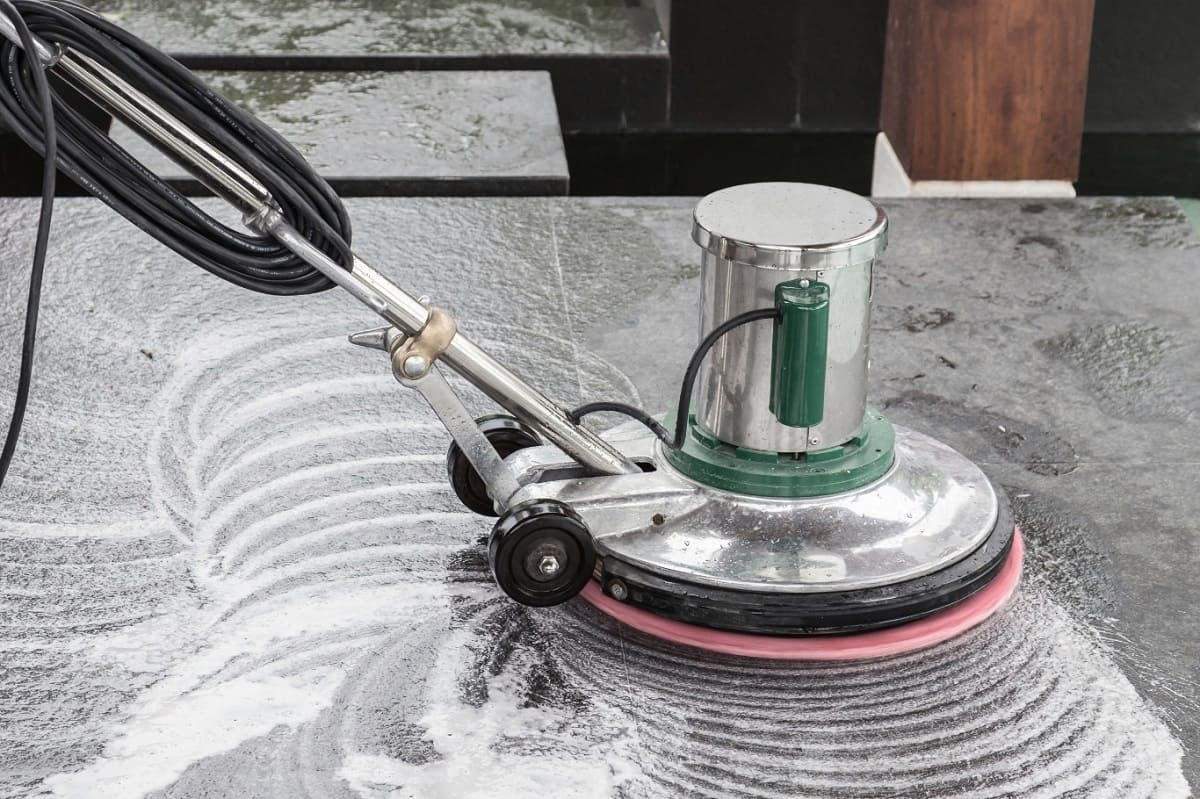
- Apply the solution or paste: Dip a scrub brush or sponge into the cleaning solution or paste, then apply it directly to the stains. Gently scrub the affected areas in a circular motion, applying moderate pressure.
- Rinse and repeat: After scrubbing, rinse the floor with clean water to remove the cleaning solution or paste. Assess the results and repeat the scrubbing process if necessary.
- Dry the floor: To prevent moisture and the risk of slipping, thoroughly dry the floor using clean, absorbent towels or a mop. Ensure that there is no standing water left on the surface.
It’s important to note that different types of stains may require specific cleaning techniques or specialized cleaning products. For example, grease stains may need a degreaser, while rust stains may require a rust remover. Consult the manufacturer’s instructions or seek professional advice for stubborn stains that are difficult to remove.
By following these steps, you’ll be able to effectively scrub and remove stubborn stains from your walk-in freezer floor. Once the stains are removed, it’s time to move on to the next step: drying the floor.
Drying the Floor
After completing the cleaning process, it is crucial to thoroughly dry the walk-in freezer floor to prevent the accumulation of moisture, which can pose a safety risk. Follow these steps to ensure proper drying:
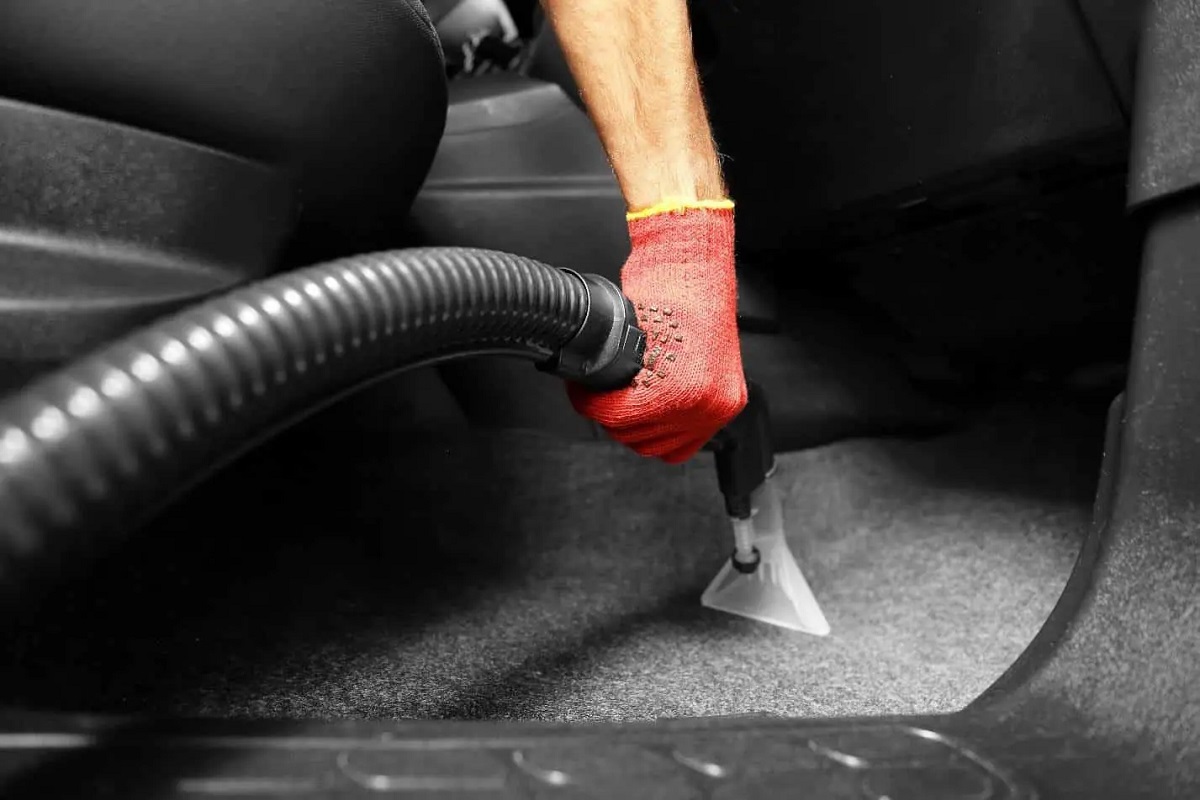
- Remove excess water: If there is any standing water or large puddles on the floor, use a wet/dry vacuum or a mop to absorb and remove the excess water. This will help speed up the drying process.
- Open the freezer doors: Open the doors of the walk-in freezer to allow air circulation and facilitate the evaporation of any remaining moisture. If possible, use fans or ventilation to increase air movement.
- Use absorbent materials: Place clean and absorbent towels, cloths, or mop heads on the floor to absorb any remaining moisture. Press them gently onto the floor and leave them in place for some time, periodically checking them and replacing them as needed.
- Inspect for dampness: Walk around the floor and visually inspect for any signs of dampness. Run your hand over various sections of the floor to feel for any lingering moisture.
- Monitor humidity levels: Keep a check on the humidity levels inside the freezer, as high humidity can prolong the drying process. Consider using a dehumidifier to help remove excess moisture from the air.
- Ensure proper ventilation: Allow sufficient time for the floor to air dry naturally. This will optimize the drying process and reduce the risk of moisture build-up.
Remember that the drying time can vary depending on factors such as the temperature and humidity level inside the freezer. It is essential to ensure that the floor is completely dry before resuming regular use or closing the freezer doors.
By following these steps and allowing ample time for the floor to dry, you can maintain a safe environment within your walk-in freezer. In the next section, we will discuss some valuable tips for regular maintenance to keep your freezer floor clean and in excellent condition.
Regular Maintenance Tips
To keep your walk-in freezer floor clean and in optimal condition, regular maintenance is essential. Here are some useful tips to incorporate into your maintenance routine:
- Sweep daily: Develop a habit of sweeping the floor with a broom or using a dust mop daily. This will help remove any loose debris, preventing it from accumulating and becoming harder to clean.
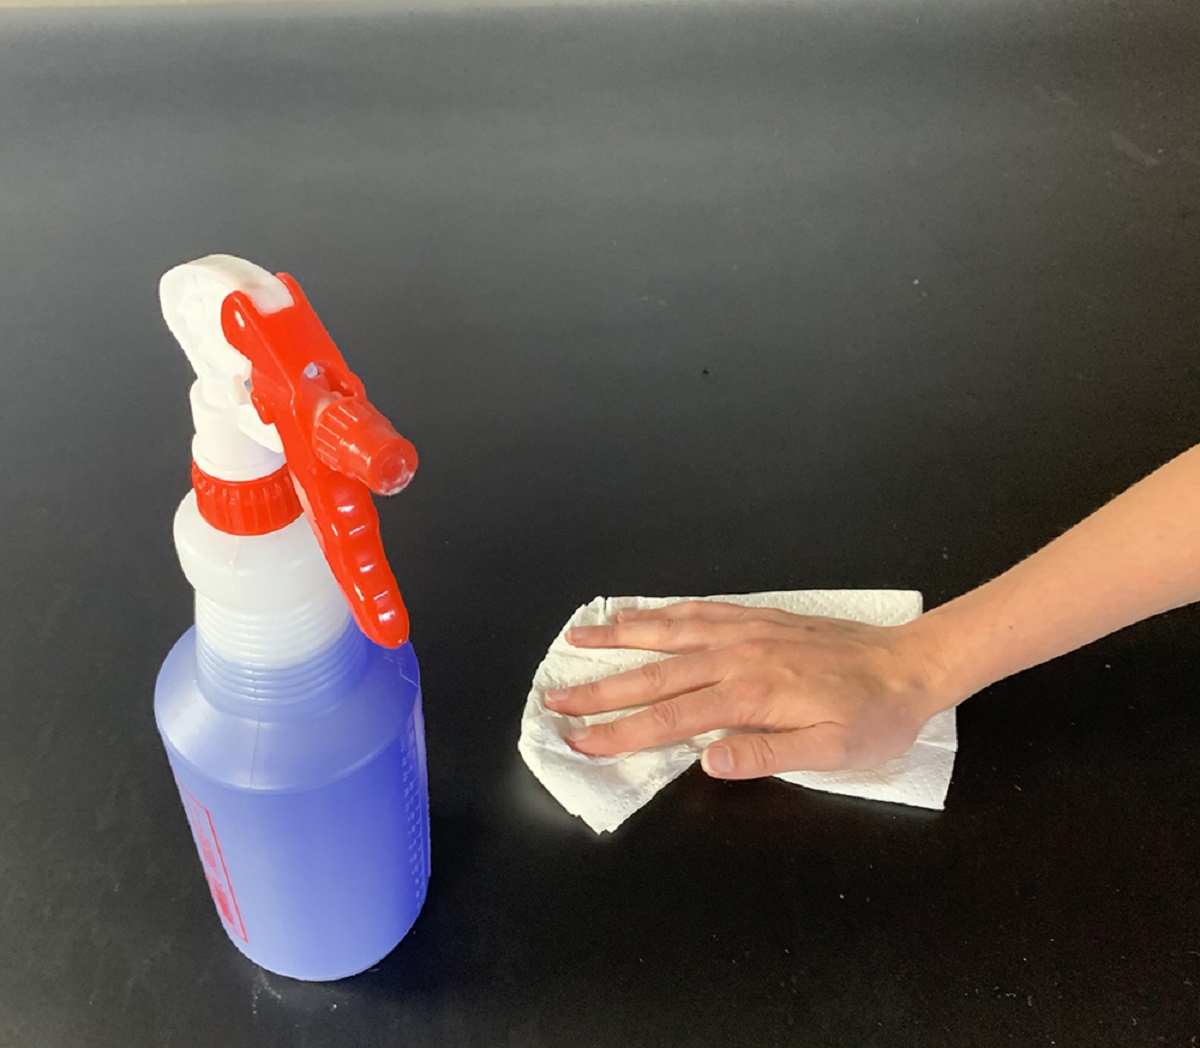
- Spot clean as needed: Attend to spills or stains immediately to prevent them from setting or causing damage. Use a cloth or paper towel to blot or wipe up the mess and follow up with a gentle cleaning solution if necessary.
- Implement a regular cleaning schedule: Establish a cleaning schedule that includes routine mopping and sanitizing of the floor. The frequency may depend on the level of foot traffic and usage of the freezer. Aim for at least once a week or more frequently if needed.
- Inspect for damages: Regularly inspect the floor for any signs of damage, such as cracks or worn-out surfaces. Address these issues promptly to prevent further deterioration and ensure the safety of the floor.
- Use appropriate cleaning products: When selecting cleaning products, opt for those specifically designed for low-temperature environments. Avoid using abrasive cleaners or harsh chemicals that can damage the floor or compromise food safety.
- Train staff on proper cleaning procedures: If you have a team responsible for cleaning the walk-in freezer, ensure they receive proper training on the correct cleaning techniques. This will help maintain consistency and prevent any potential damage.
- Regularly check and replace non-slip matting: If you have non-slip matting in your freezer, regularly inspect it for any signs of wear or damage. Replace any worn-out or damaged mats to ensure adequate traction and safety.
- Consult the manufacturer’s guidelines: Familiarize yourself with the manufacturer’s recommended maintenance guidelines for your specific walk-in freezer. Follow their recommendations for cleaning methods, frequency, and any specific care instructions.
By incorporating these regular maintenance tips into your routine, you can ensure that your walk-in freezer floor remains clean, safe, and in excellent condition for longer periods. Now, let’s conclude this article with a summary of the key points we’ve covered.
Conclusion
Cleaning and maintaining a walk-in freezer floor is crucial for maintaining a clean and hygienic environment within the freezer. By following the step-by-step instructions outlined in this guide, you can effectively clean the floor and ensure its longevity. Remember to prioritize safety by wearing appropriate protective gear and taking necessary precautions to prevent accidents.
We began by emphasizing the importance of safety precautions before diving into the cleaning process. We then discussed the necessary equipment and supplies, including brooms, mops, cleaning solutions, and protective gloves. Removing debris and dirt was covered, providing steps to effectively sweep the floor and collect any loose materials.
The next section focused on cleaning with a mop and sanitizing solution. We discussed the process of preparing the mop, mopping the floor, and rinsing the mop as needed. Additionally, we covered how to tackle stubborn stains using specialized cleaning solutions or creating a paste with baking soda.
Drying the floor properly is critical, and we provided essential steps to ensure thorough drying, including removing excess water, using absorbent materials, and monitoring humidity levels. Lastly, we shared valuable tips for regular maintenance, such as daily sweeping, spot cleaning, and inspecting for damages.
By incorporating these cleaning and maintenance practices into your routine, you can keep your walk-in freezer floor clean, safe, and in optimal condition, ensuring the longevity of your freezer and the quality of the stored products.
Remember to always refer to the manufacturer’s guidelines for specific care instructions and recommendations. By following these guidelines and personalizing your cleaning routine to suit your freezer’s needs, you can maintain a clean and functional walk-in freezer floor for years to come.
Frequently Asked Questions about How To Clean Walk In Freezer Floor
Was this page helpful?
At Storables.com, we guarantee accurate and reliable information. Our content, validated by Expert Board Contributors, is crafted following stringent Editorial Policies. We're committed to providing you with well-researched, expert-backed insights for all your informational needs.


0 thoughts on “How To Clean Walk In Freezer Floor”