Articles
How To Clean Freezer
Modified: August 24, 2024
Learn effective freezer cleaning tips and techniques with our informative articles. Keep your freezer fresh and organized with our expert advice.
(Many of the links in this article redirect to a specific reviewed product. Your purchase of these products through affiliate links helps to generate commission for Storables.com, at no extra cost. Learn more)
Introduction
Welcome to this comprehensive guide on how to clean your freezer! Keeping your freezer clean is essential for maintaining its efficiency and ensuring that your frozen foods remain fresh. Over time, frost can build up and food particles can accumulate, leading to unpleasant odors and potential contamination. By following the steps outlined in this article, you’ll learn the best methods for cleaning both the interior and exterior of your freezer.
Before we dive into the cleaning process, it’s important to gather the necessary supplies. Having the right tools and materials on hand will make the cleaning process much easier and more efficient. Let’s take a look at what you’ll need:
Key Takeaways:
- Regularly defrosting and cleaning your freezer is crucial for maintaining its efficiency and ensuring the freshness of your frozen foods. Follow the step-by-step guide to achieve a sparkling clean and well-organized freezer.
- Implement preventive measures such as checking the door seal, minimizing frequent door openings, and properly packaging items to reduce frost buildup and maintain optimal freezer performance. A well-maintained freezer contributes to a healthy and efficient kitchen environment.
Read more: How To Clean Chest Freezer
Gather Supplies
Before you begin cleaning your freezer, it’s important to gather all the necessary supplies. Here’s a list of items you’ll need:
- Warm water
- Mild dish soap or freezer cleaner
- Vinegar or baking soda (optional for tackling stubborn stains and odors)
- Clean cloths or sponges
- Plastic scraper or spatula
- Bucket or basin
- Old towels or newspapers
- Soft-bristled brush or toothbrush (for hard-to-reach areas)
- Rubber gloves
- Dry cloth or paper towels
Having these supplies ready will ensure that you have everything you need to tackle the cleaning process efficiently and effectively.
Now that you have your supplies gathered, it’s time to empty the freezer before beginning the cleaning process. This involves removing all the food items and finding a temporary storage solution for them. Let’s move on to the next step: emptying the freezer.
Empty the Freezer
Before you can start cleaning your freezer, you’ll need to empty it of all its contents. This includes removing any frozen food items, ice trays, and ice packs. It’s a good idea to have a cooler or another freezer available to store your perishable items while you clean.
When removing the food from the freezer, make sure to check the expiry dates and discard any items that have gone bad or are no longer safe to consume. This is also a great opportunity to declutter your freezer and get rid of any items that you no longer need.
Properly organizing and labelling your food items as you remove them from the freezer will make restocking easier once the cleaning process is complete. You can use containers or bags to group similar items together, making them easier to find in the future.
Once the freezer is empty, it’s time to move on to the next step: defrosting the freezer.
Defrosting the Freezer
Defrosting your freezer is an essential step in the cleaning process. Over time, ice and frost can build up, reducing the efficiency of your freezer and taking up valuable storage space. Here’s how to defrost your freezer:
- Turn off the freezer: Start by unplugging the freezer or turning off the power to ensure safety during the defrosting process.
- Remove ice trays and ice packs: Take out any ice trays or ice packs and place them in the sink or a cooler to prevent them from melting.
- Avoid scraping: Avoid using sharp tools or scraping the ice buildup to prevent damage to the interior of the freezer. Instead, let the ice melt naturally.
- Place towels or newspapers: Place old towels or newspapers on the bottom of the freezer to absorb the water as the ice melts.
- Open the door: Leave the freezer door open to allow the ice to melt. You can assist the process by placing a bowl of hot water inside, but be sure to monitor it to prevent spills.
- Be patient: Depending on the thickness of the ice buildup, it may take several hours for it to completely melt. Avoid using any methods to speed up the process.
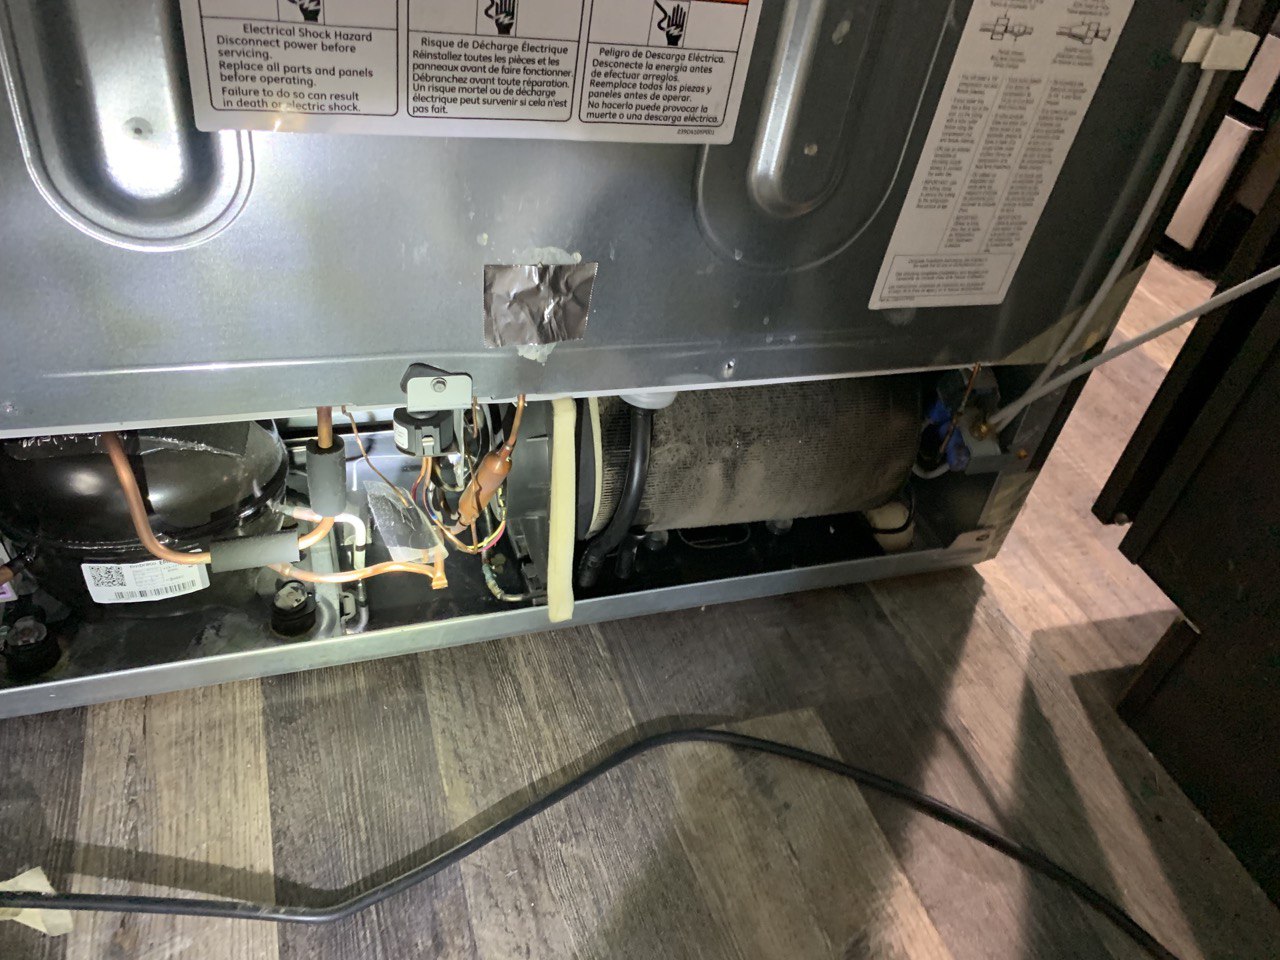
- Clean the water drain: Once the ice has melted, check the water drain at the bottom of the freezer. Make sure it’s clear of any debris or ice to allow proper drainage.
Once the ice has melted and the water has drained, it’s time to move on to the next step: cleaning the interior of the freezer.
Cleaning the Interior
Now that your freezer is defrosted, it’s time to clean the interior. Follow these steps to ensure a thorough cleaning:
- Mix a cleaning solution: In a bucket or basin, mix warm water with a mild dish soap or freezer cleaner. If you’re dealing with stubborn stains or odors, you can add a small amount of vinegar or baking soda to the solution.
- Remove shelves and drawers: Take out any removable shelves, drawers, and bins from the freezer for easier access to clean the interior.
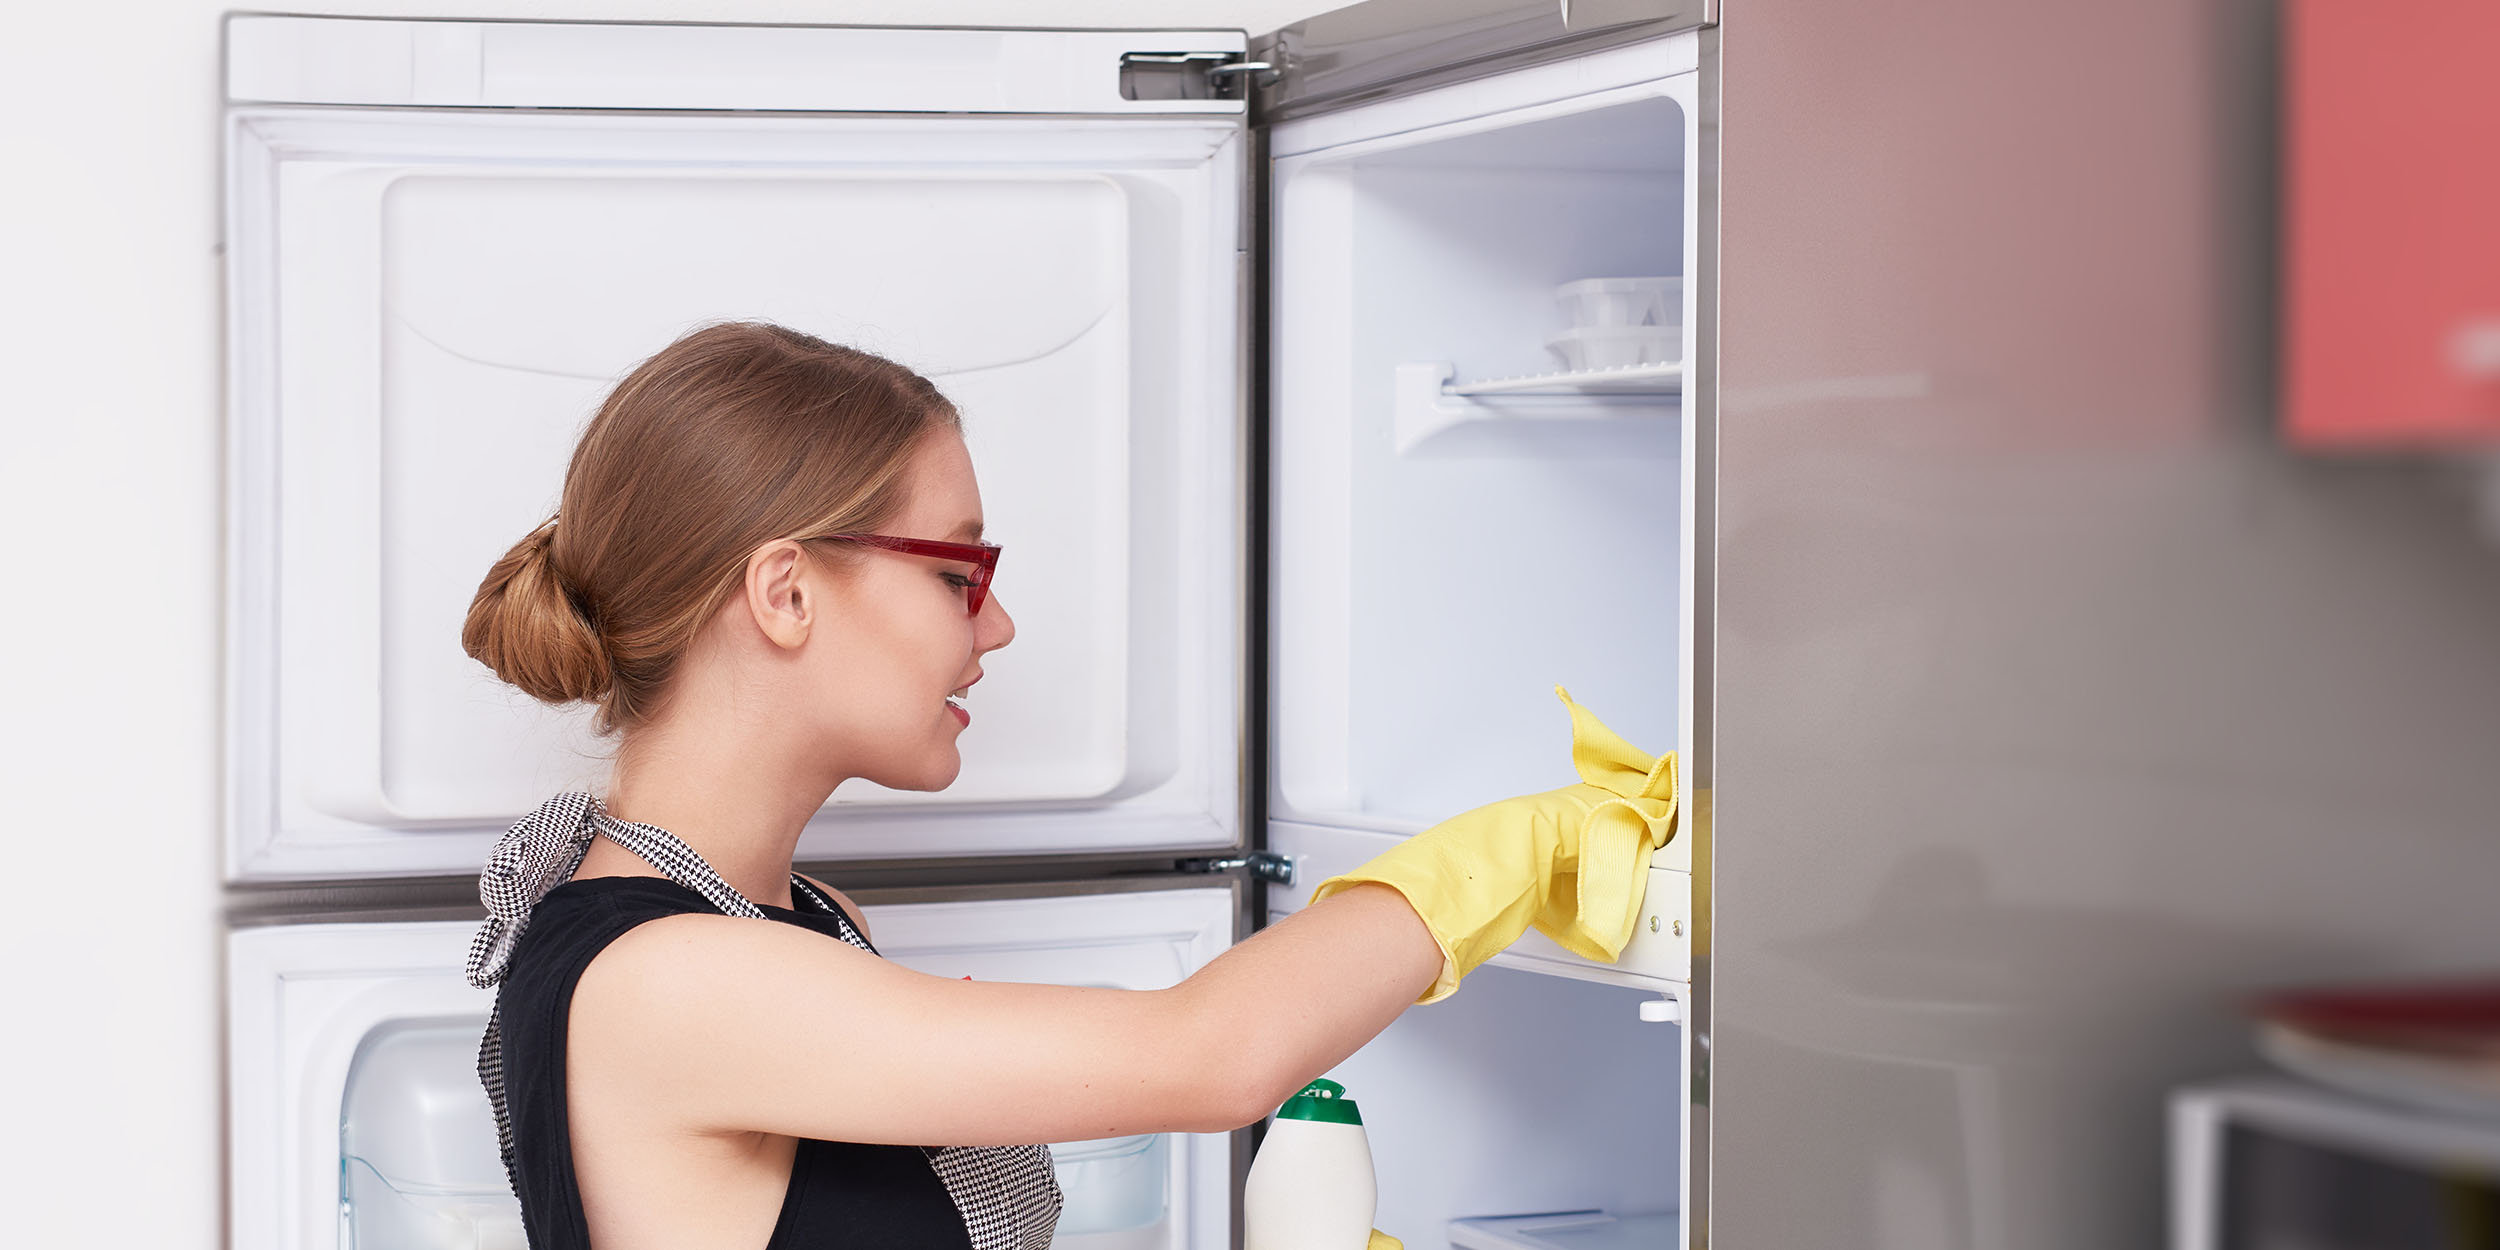
- Scrub the interior: Dip a clean cloth or sponge into the cleaning solution and use it to wipe down the walls, ceiling, and floor of the freezer. Pay special attention to any areas with stains or food residue. For hard-to-reach areas, you can use a soft-bristled brush or toothbrush.
- Clean shelves and drawers: Wash the removable shelves, drawers, and bins in the sink with warm, soapy water. Rinse them thoroughly and leave them to air dry.
- Wipe down the gasket: The rubber gasket that seals the freezer door can accumulate dirt and grime. Use a cloth dampened with the cleaning solution to gently wipe it down.
- Rinse with clean water: Once you’ve finished cleaning, use a clean cloth or sponge dampened with clean water to rinse away any soapy residue.
- Dry the interior: Use a dry cloth or paper towels to dry the interior of the freezer, including the shelves, drawers, and gasket.
By following these steps, you’ll be able to thoroughly clean the interior of your freezer, removing any remaining dirt, stains, and odors.
Now that you’ve cleaned the interior, it’s time to move on to the next step: cleaning the exterior of the freezer.
To clean your freezer, start by unplugging it and removing all the food. Use a mixture of warm water and mild detergent to wipe down the interior, then dry it thoroughly before plugging it back in.
Read more: How To Clean Freezer Ice Maker
Cleaning the Exterior
While you’re in the cleaning mode, it’s a great idea to give the exterior of your freezer some attention as well. Here’s how to clean the exterior:
- Unplug the freezer: Before you begin cleaning the exterior, make sure to unplug the freezer to ensure safety.
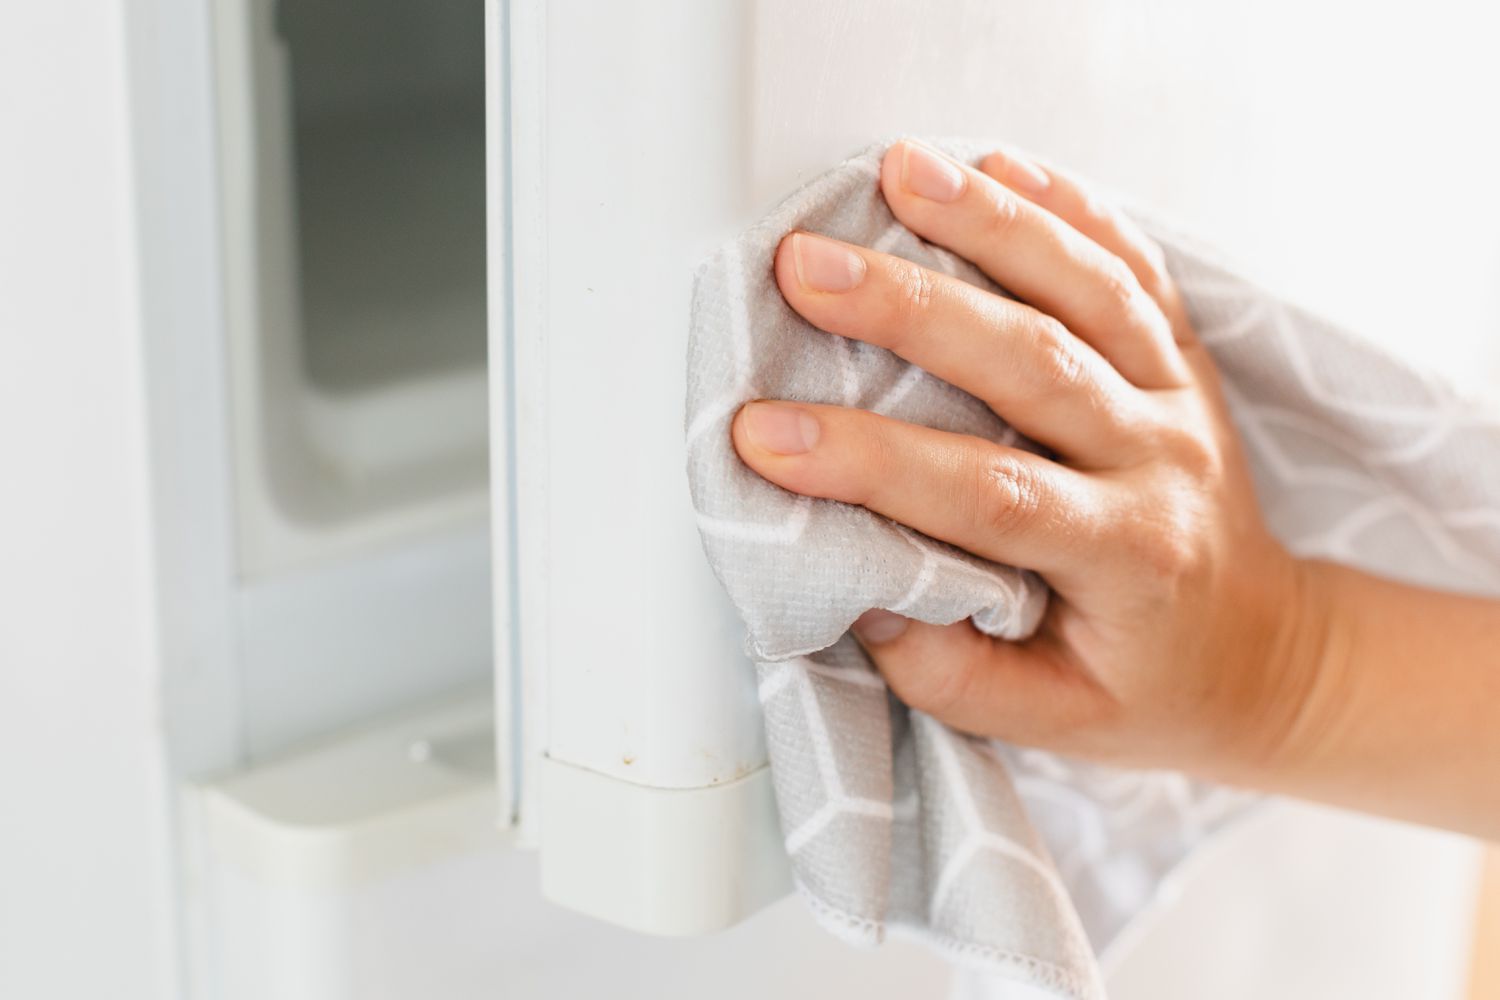
- Wipe down with a damp cloth: Start by wiping down the exterior surfaces of the freezer with a damp cloth to remove any dust or dirt. Pay attention to the top, sides, and front of the freezer.
- Remove stubborn stains: If there are any stubborn stains or sticky residue, dampen a cloth with a mild cleaning solution or a mixture of water and vinegar. Gently scrub the affected areas to remove the stains.
- Clean the door handle: The door handle of your freezer is an area that often gets overlooked but can harbor bacteria and grime. Use a cloth dampened with the cleaning solution to clean the handle thoroughly.
- Dry the exterior: After cleaning, use a dry cloth to wipe down the exterior surfaces of the freezer and remove any moisture.
- Shine the surface: If your freezer has a stainless steel surface, you can use a stainless steel cleaner to restore its shine and prevent fingerprints.
By taking the time to clean the exterior of your freezer, you’ll not only improve its appearance but also maintain its longevity and hygiene.
With the interior and exterior of your freezer now sparkling clean, it’s time to move on to the final steps: organizing and restocking the freezer.
Organizing and Restocking the Freezer
Now that your freezer is clean and ready, it’s time to organize and restock it with your frozen items. Follow these tips to maximize the efficiency and convenience of your freezer:
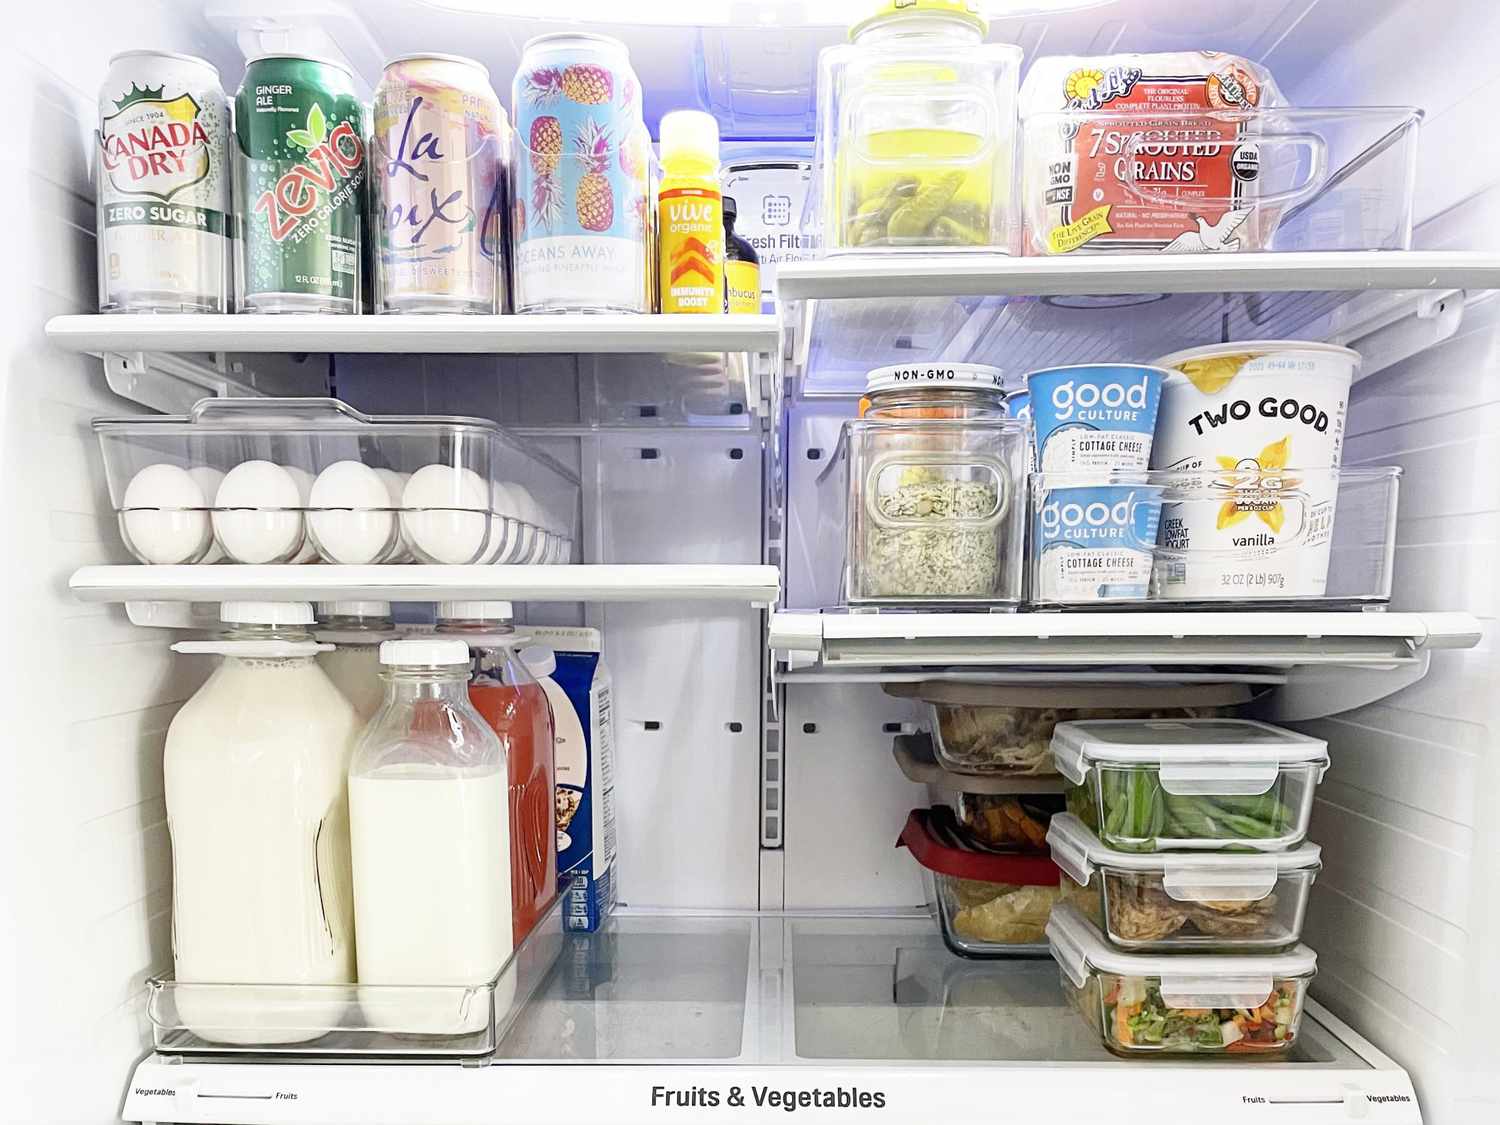
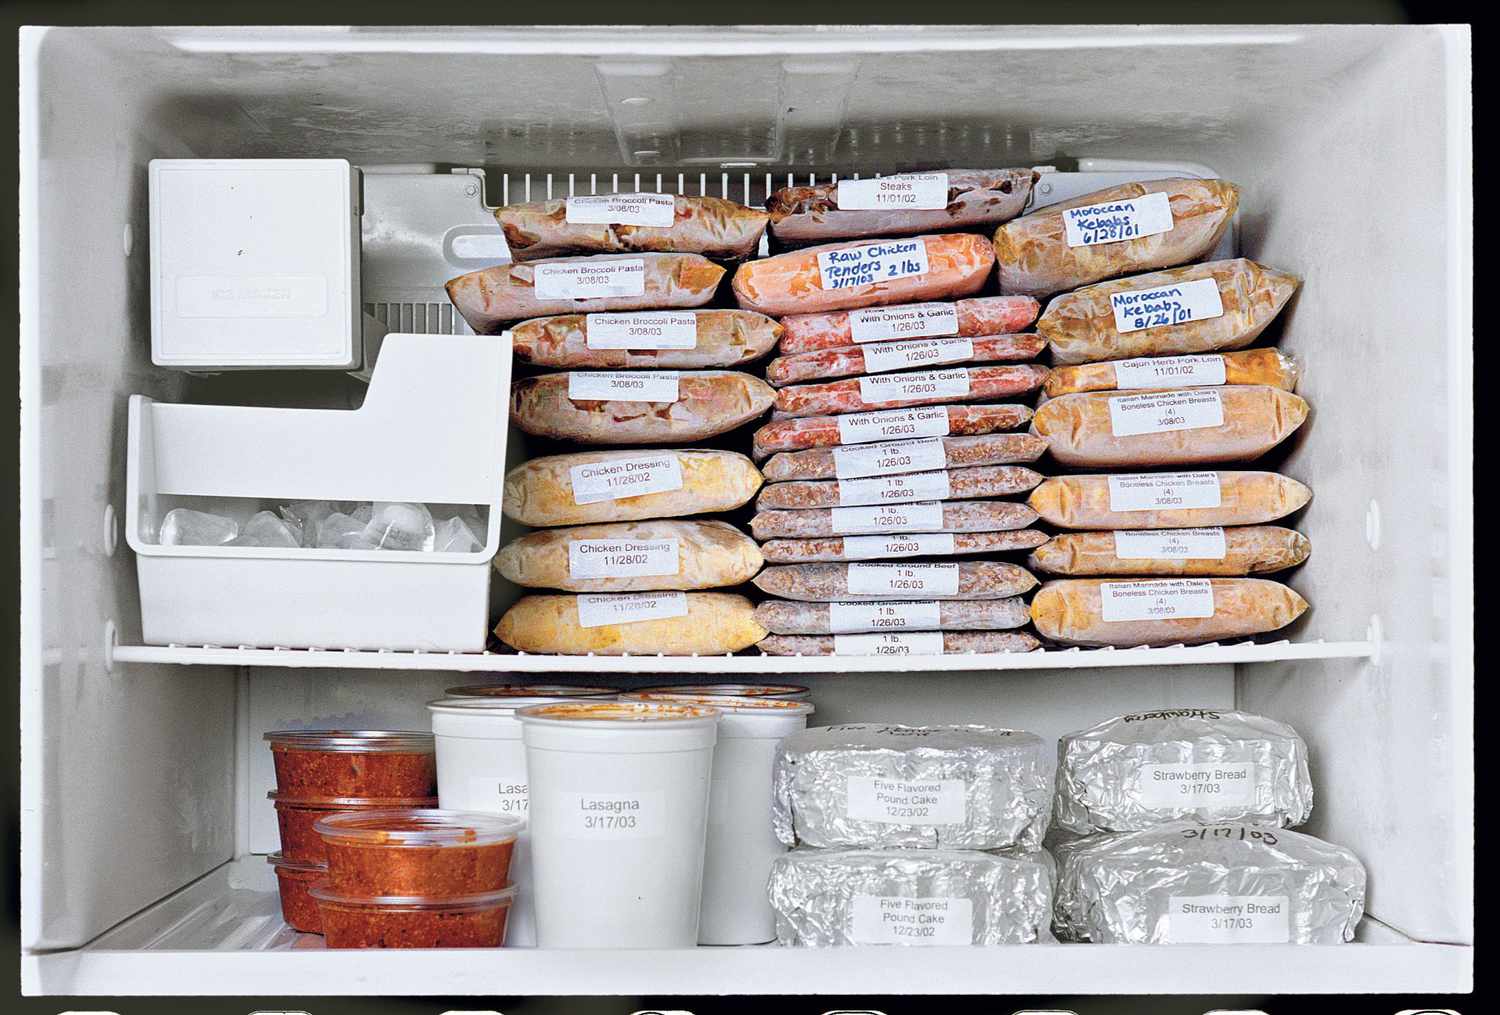
- Sort and categorize: Group similar items together to make them easier to find. Consider using labeled containers or freezer bags to keep things organized.
- Follow the first in, first out rule: When restocking your freezer, place newer items behind older ones. This will ensure that you use the oldest items first to prevent food waste.
- Consider the layout: Arrange your items in a way that makes sense to you. Keep frequently used items within easy reach and consider placing items with longer shelf lives, such as meats and vegetables, towards the back.
- Leave space for air circulation: It’s important to allow air to circulate within the freezer for efficient cooling. Avoid overcrowding the freezer and leave some space between items.
- Label and date items: To avoid confusion, label your containers or freezer bags with the contents and the date of freezing. This will help you keep track of how long items have been stored.
By following these organizing tips, you’ll be able to maintain an organized freezer and easily locate and access your frozen items.
Additionally, it’s a good practice to periodically go through your freezer and discard any expired or freezer-burned items. This will help keep your freezer clutter-free and ensure that you only keep food items that are still safe to consume.
Now that you have organized and restocked your freezer, let’s move on to some preventive measures to minimize frost buildup.
Tips for Preventing Frost Buildup
Frost buildup in the freezer can lead to reduced efficiency and make it difficult to find and retrieve items. Here are some tips to help prevent frost buildup:
- Check the door seal: Make sure the door seal is tight and in good condition. A loose or damaged seal can allow warm air to enter the freezer, leading to frost formation. If needed, replace the seal to ensure a proper seal.
- Avoid frequent door opening: Limit the number of times you open the freezer door unnecessarily. Every time the door is opened, warm air enters the freezer, which can lead to frost formation. Be mindful of what you need and plan accordingly.
- Allow hot foods to cool: Before placing hot leftovers or freshly cooked dishes in the freezer, allow them to cool down to room temperature. Introducing hot items into the freezer can cause condensation and contribute to frost buildup.
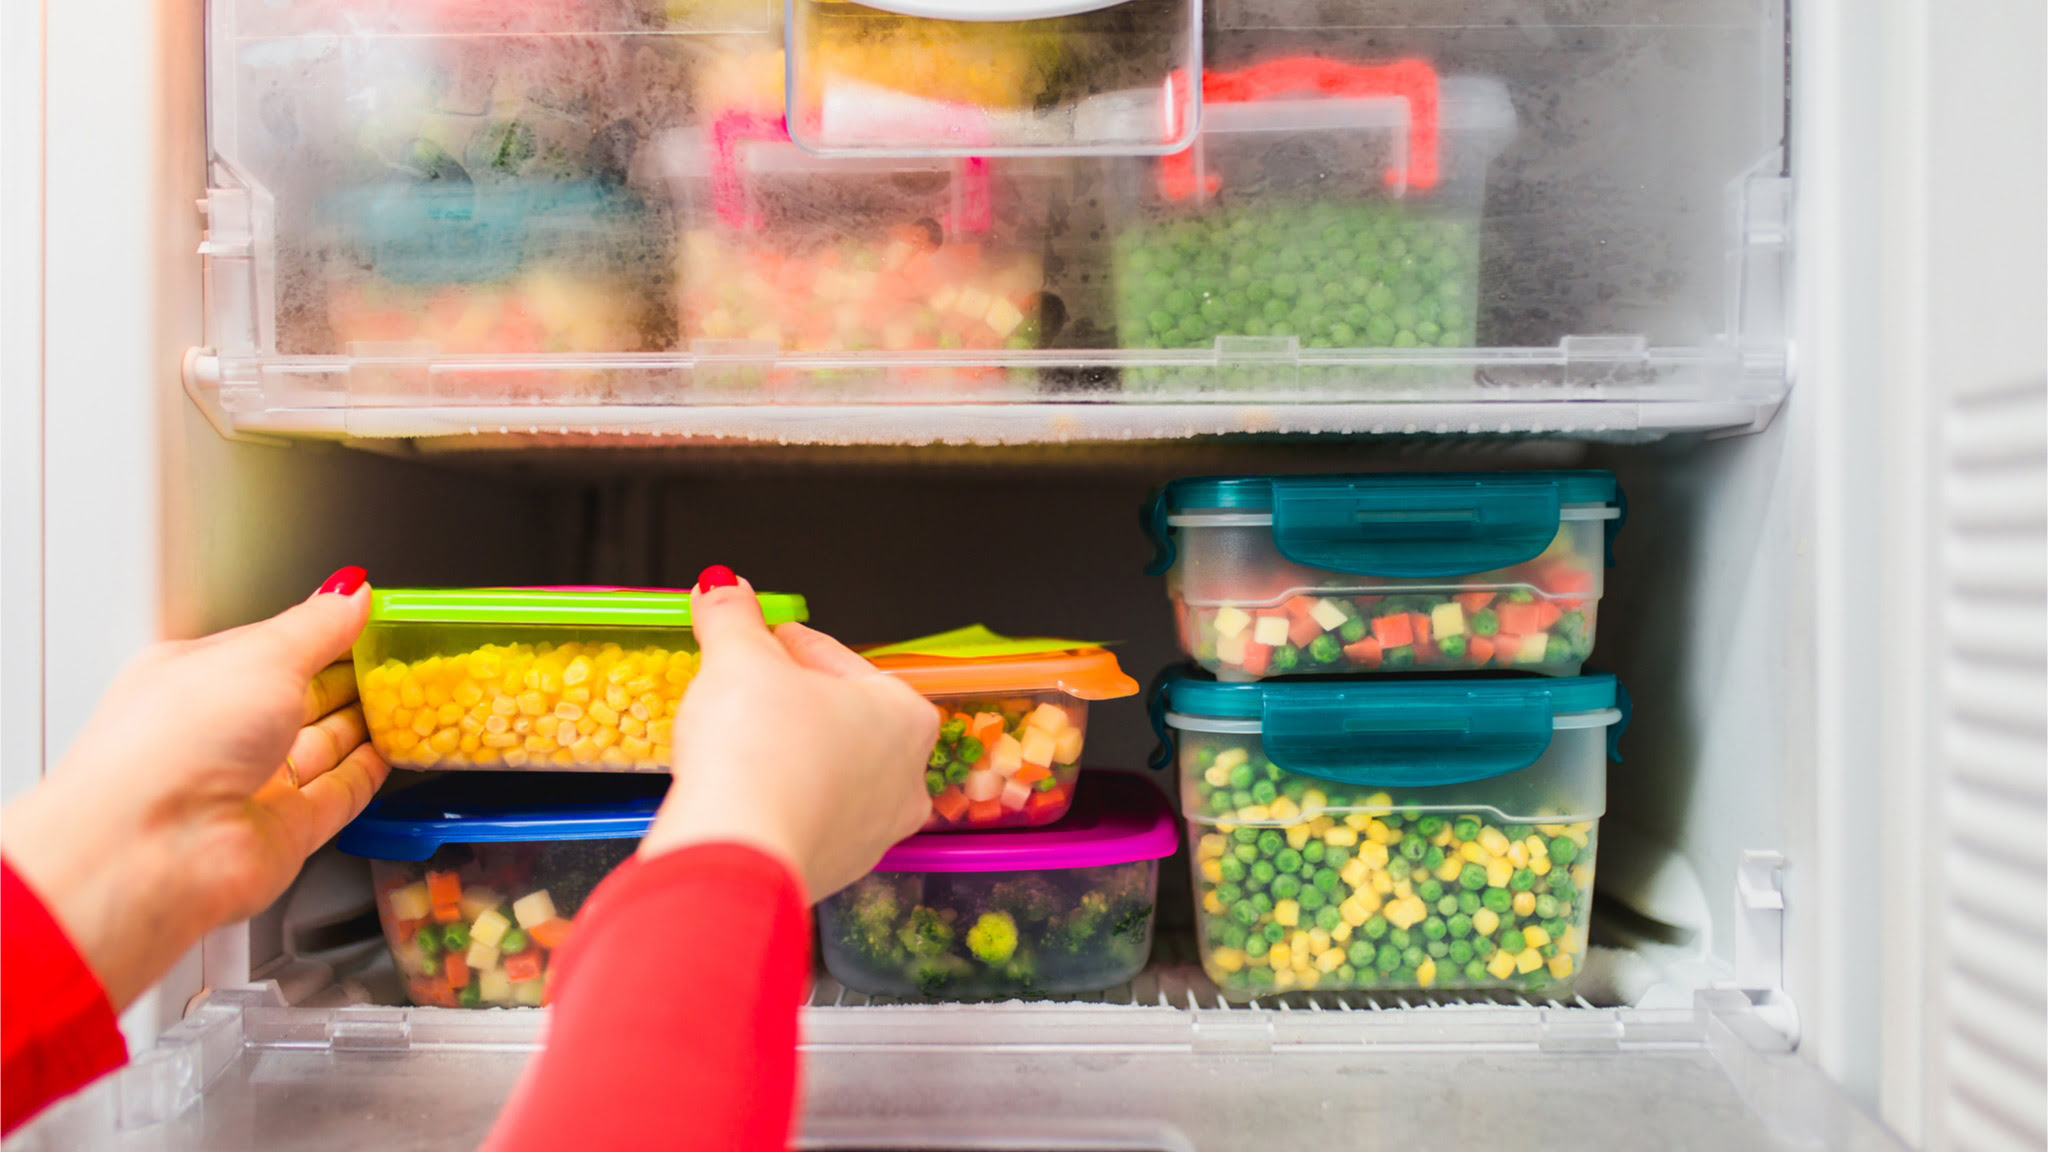
- Properly package and seal items: When storing items in the freezer, ensure they are properly packaged to prevent air and moisture from coming into contact with the food. Use airtight containers, freezer bags, or vacuum sealer bags to maintain the quality of the food and reduce the likelihood of frost formation.
- Keep an organized freezer: A well-organized freezer not only makes it easier to find and retrieve items but also allows for better air circulation. This can help maintain a consistent temperature and reduce the potential for frost buildup.
- Regularly defrost the freezer: Make it a routine to defrost your freezer regularly to remove any accumulated frost. Follow the steps outlined earlier in this article to defrost your freezer properly.
By implementing these preventive measures, you can significantly reduce the occurrence of frost buildup in your freezer and maintain its optimal performance.
Now that you have learned how to prevent frost buildup and keep your freezer in top condition, let’s conclude this guide.
Conclusion
Cleaning your freezer is an important task that should be done regularly to maintain its efficiency, hygiene, and organization. By following the steps outlined in this comprehensive guide, you can easily clean both the interior and exterior of your freezer, prevent frost buildup, and keep your frozen items fresh for longer.
Starting with gathering the necessary supplies, emptying the freezer, defrosting it, and then cleaning both the interior and exterior, you’ll be able to achieve a sparkling clean freezer. Organizing and restocking your freezer in an efficient manner will make it easier to find and access your frozen items. Additionally, adopting preventive measures such as checking the door seal, minimizing frequent door openings, properly packaging items, and regularly defrosting the freezer can help prevent frost buildup and maintain its optimal performance.
Remember to always check the expiry dates of your frozen food items and discard any that are no longer safe to consume. Maintaining a clean and well-organized freezer will not only ensure the longevity of your appliances but also contribute to a healthy and efficient kitchen environment.
We hope this guide has provided you with valuable insights and practical tips on how to clean your freezer effectively. By implementing these steps and adopting good freezer maintenance practices, you’ll be able to enjoy the benefits of a clean and well-functioning freezer for years to come.
Frequently Asked Questions about How To Clean Freezer
Was this page helpful?
At Storables.com, we guarantee accurate and reliable information. Our content, validated by Expert Board Contributors, is crafted following stringent Editorial Policies. We're committed to providing you with well-researched, expert-backed insights for all your informational needs.


0 thoughts on “How To Clean Freezer”