Articles
How To Clean Condenser Coils On Freezer
Modified: October 20, 2024
Learn effective methods for cleaning condenser coils on your freezer in this informative article. Keep your freezer running efficiently to ensure optimal performance and longevity.
(Many of the links in this article redirect to a specific reviewed product. Your purchase of these products through affiliate links helps to generate commission for Storables.com, at no extra cost. Learn more)
Introduction
Proper maintenance is crucial for keeping your freezer in optimal condition, and one essential aspect of maintenance is cleaning the condenser coils. Condenser coils play a vital role in the cooling process of a freezer, as they help transfer heat from the inside to the outside of the appliance. Over time, these coils can accumulate dust, dirt, and debris, which can impair their efficiency and lead to various problems, such as increased energy consumption and decreased cooling performance.
In this article, we will guide you through the process of cleaning condenser coils on a freezer. We’ll explain why this task is important, the tools and materials you’ll need, and the step-by-step process to effectively clean the coils.
By regularly cleaning your freezer’s condenser coils, you can prolong the lifespan of the appliance, improve its energy efficiency, and prevent costly repairs. So, let’s get started and learn how to properly clean condenser coils on your freezer!
Key Takeaways:
- Regularly cleaning condenser coils on your freezer improves energy efficiency, extends appliance lifespan, and prevents costly repairs. Follow the step-by-step guide for optimal freezer maintenance.
- Proper maintenance, including cleaning condenser coils, is crucial for optimal freezer performance. Regular cleaning enhances energy efficiency, cooling performance, and overall appliance longevity.
Understanding Condenser Coils
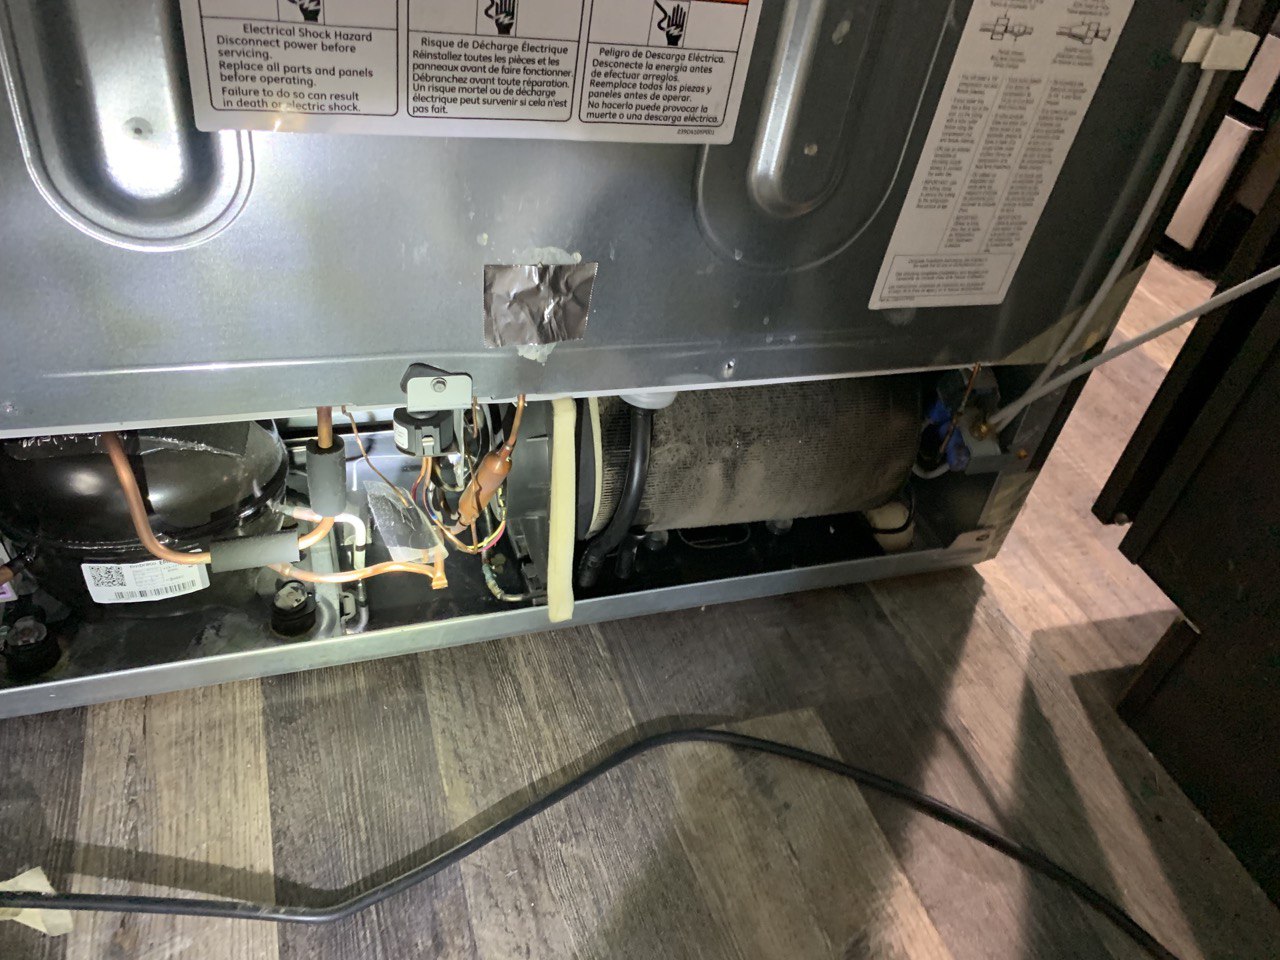
Before diving into the cleaning process, it’s important to understand what condenser coils are and their role in the functioning of your freezer. Condenser coils are part of the refrigeration system and are responsible for releasing heat from inside the freezer to the surrounding environment.
These coils are typically located at the back or bottom of the freezer and consist of a series of thin, metallic tubes that are filled with refrigerant. As the refrigerant travels through the coils, it absorbs heat from the inside of the freezer, causing it to evaporate into a gas. This process cools down the interior of the freezer.
However, as the gas flows through the condenser coils, it needs to be converted back into a liquid form by releasing the absorbed heat. This is where the condenser coils come into play. The coils are designed to facilitate the transfer of heat from the refrigerant to the surrounding air, allowing it to cool down and condense back into a liquid state.
Over time, the condenser coils can accumulate dust, dirt, and other debris, which creates a layer of insulation over the coils. This insulating layer hinders the heat-transfer process and reduces the coils’ efficiency. As a result, the freezer has to work harder to maintain the desired temperature, leading to increased energy consumption and decreased cooling performance.
Understanding the importance of clean condenser coils is crucial for maintaining the optimal performance of your freezer. Regular cleaning will not only improve energy efficiency but also extend the lifespan of your appliance by reducing strain on the compressor and other components.
Now that we have a better understanding of condenser coils, let’s move on to why cleaning them is so important.
Why Cleaning Condenser Coils is Important
Cleaning the condenser coils on your freezer is a critical maintenance task that should not be overlooked. Here are a few reasons why regular coil cleaning is important:
- Improved Energy Efficiency: When dust and debris accumulate on the condenser coils, they act as an insulating layer, inhibiting the heat transfer process. As a result, the freezer’s compressor has to work harder and longer to maintain the desired temperature, leading to increased energy consumption. By keeping the coils clean, you can improve energy efficiency and potentially reduce your electricity bills.
- Enhanced Cooling Performance: A layer of dirt and debris on the condenser coils restricts airflow and prevents efficient heat dissipation. This can lead to inadequate cooling and uneven temperature distribution in the freezer. Cleaning the coils removes the obstruction, allowing for proper airflow and optimal cooling performance.
- Extended Appliance Lifespan: When the condenser coils are dirty, the compressor and other components of the refrigeration system have to work harder to compensate for decreased heat transfer. This added strain can lead to premature wear and tear of the equipment, ultimately shortening the lifespan of your freezer. By regularly cleaning the coils, you can reduce the workload on the compressor and extend the lifespan of your appliance.
- Prevention of Costly Repairs: Neglecting to clean the condenser coils can result in various issues, such as compressor overheating, refrigerant leaks, and system malfunctions. These problems can be costly to repair and may even require replacing the entire freezer. By performing regular coil cleaning, you can prevent these issues from occurring and save yourself the headache and expense of major repairs.
- Improved Air Quality: A buildup of dust on the condenser coils can also impact the air quality inside your freezer. When the coils are dirty, there is a higher chance of dust particles being circulated throughout the appliance, potentially contaminating your food items. Cleaning the coils ensures cleaner air circulation, thus maintaining a healthier environment for your frozen goods.
Now that we understand the importance of cleaning condenser coils, let’s move on to the tools and materials you’ll need for the task.
Tools and Materials Required
Before you start cleaning the condenser coils on your freezer, gather the following tools and materials:
- Vacuum Cleaner: A vacuum cleaner with a brush attachment will help remove loose dust and debris from the coils.
- Coil Brush: A coil brush with soft bristles is specifically designed for cleaning condenser coils. It can effectively remove stubborn dirt and grime without damaging the coils.
- Fin Comb: A fin comb is a tool with a series of thin metal teeth. It is used to straighten bent fins on the coils, which can improve airflow and maximize the coils’ efficiency.
- Protective Gloves: It is always a good idea to wear protective gloves to avoid direct contact with any dirt or debris that may be present on the coils.
- Clean Cloth or Towel: Have a clean cloth or towel on hand to wipe down any excess dirt or moisture as you clean the coils.
- Cleaning Solution: Depending on the level of dirt and grime on the coils, you may need a mild detergent or coil cleaning solution. Be sure to check the manufacturer’s recommendations for cleaning products that are safe to use on your specific freezer model.
Before you begin the cleaning process, it’s important to ensure that you have all the necessary tools and materials. Having everything prepared will make the task more efficient and help achieve better results.
With your tools and materials ready, let’s move on to the step-by-step process of cleaning the condenser coils on your freezer.
Steps to Cleaning Condenser Coils
Now that you have gathered the necessary tools and materials, follow these steps to effectively clean the condenser coils on your freezer:
- Disconnect the Power: Before starting any maintenance work, unplug the freezer from the power source to ensure your safety.
- Locate the Access Panel: Depending on your freezer model, there may be an access panel at the back or bottom of the appliance that covers the condenser coils. Remove the panel to expose the coils.
- Vacuum Loose Debris: Use a vacuum cleaner with a brush attachment to gently remove any loose dust and debris from the coils. Start from the top and work your way down, ensuring that you cover the entire surface.
- Brush the Coils: Take the coil brush and gently scrub the coils to remove stubborn dirt and grime. Work in a back-and-forth motion, paying extra attention to any heavily soiled areas. Be careful not to apply too much pressure to avoid damaging the coils.
- Straighten Bent Fins: Inspect the fins of the condenser coils. If you notice any bent fins, use the fin comb to carefully straighten them. This will help improve airflow and maximize the coils’ performance.
- Wipe Down the Coils: Use a clean cloth or towel to wipe down any remaining dirt or moisture from the coils. Ensure that the coils are completely dry before proceeding.
- Reinstall the Access Panel: Once the coils are clean and dry, reattach the access panel to its original position on the freezer.
- Plug in the Freezer: Finally, plug the freezer back into the power source and turn it on. Allow the appliance to run for a few minutes to ensure that everything is functioning properly.
It is recommended to clean the condenser coils on your freezer at least once every six months, or more frequently if you have pets or live in a dusty environment.
By following these steps, you can effectively clean the condenser coils, optimize the performance of your freezer, and prolong its lifespan.
Next, we will cover the process of removing the access panels to gain access to the condenser coils.
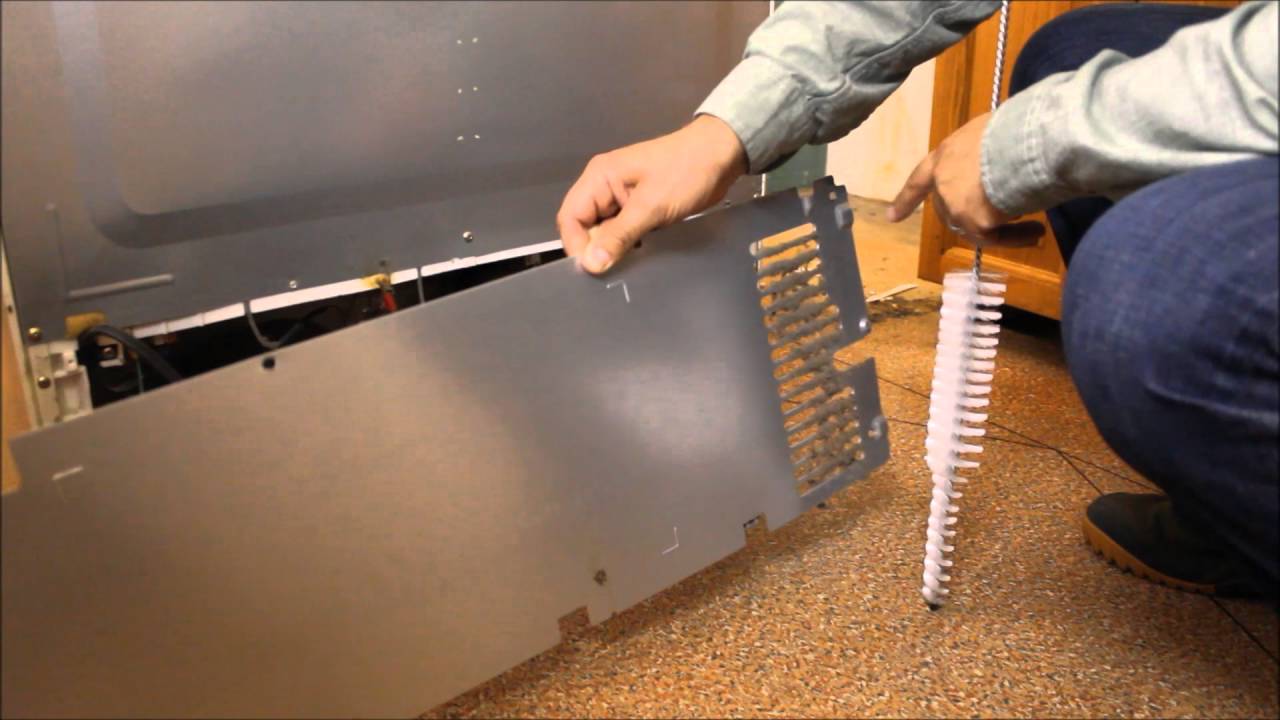
Removing Access Panels
Before you can start cleaning the condenser coils on your freezer, you’ll need to remove the access panels that cover them. Here’s how you can do it:
- Unplug the Freezer: Ensure the freezer is disconnected from the power source to avoid any risk of electric shock.
- Locate the Access Panel: Depending on the design of your freezer, the access panel may be located at the back or bottom of the appliance. Look for screws or clips that hold the panel in place.
- Use the Appropriate Tools: Use a screwdriver or the appropriate tool to remove the screws or release the clips holding the access panel. Carefully set aside any screws or clips in a safe place to avoid losing them.
- Gently Remove the Panel: Once the screws or clips are removed, gently pull or lift the access panel off the freezer. Be cautious not to exert too much force or damage any components.
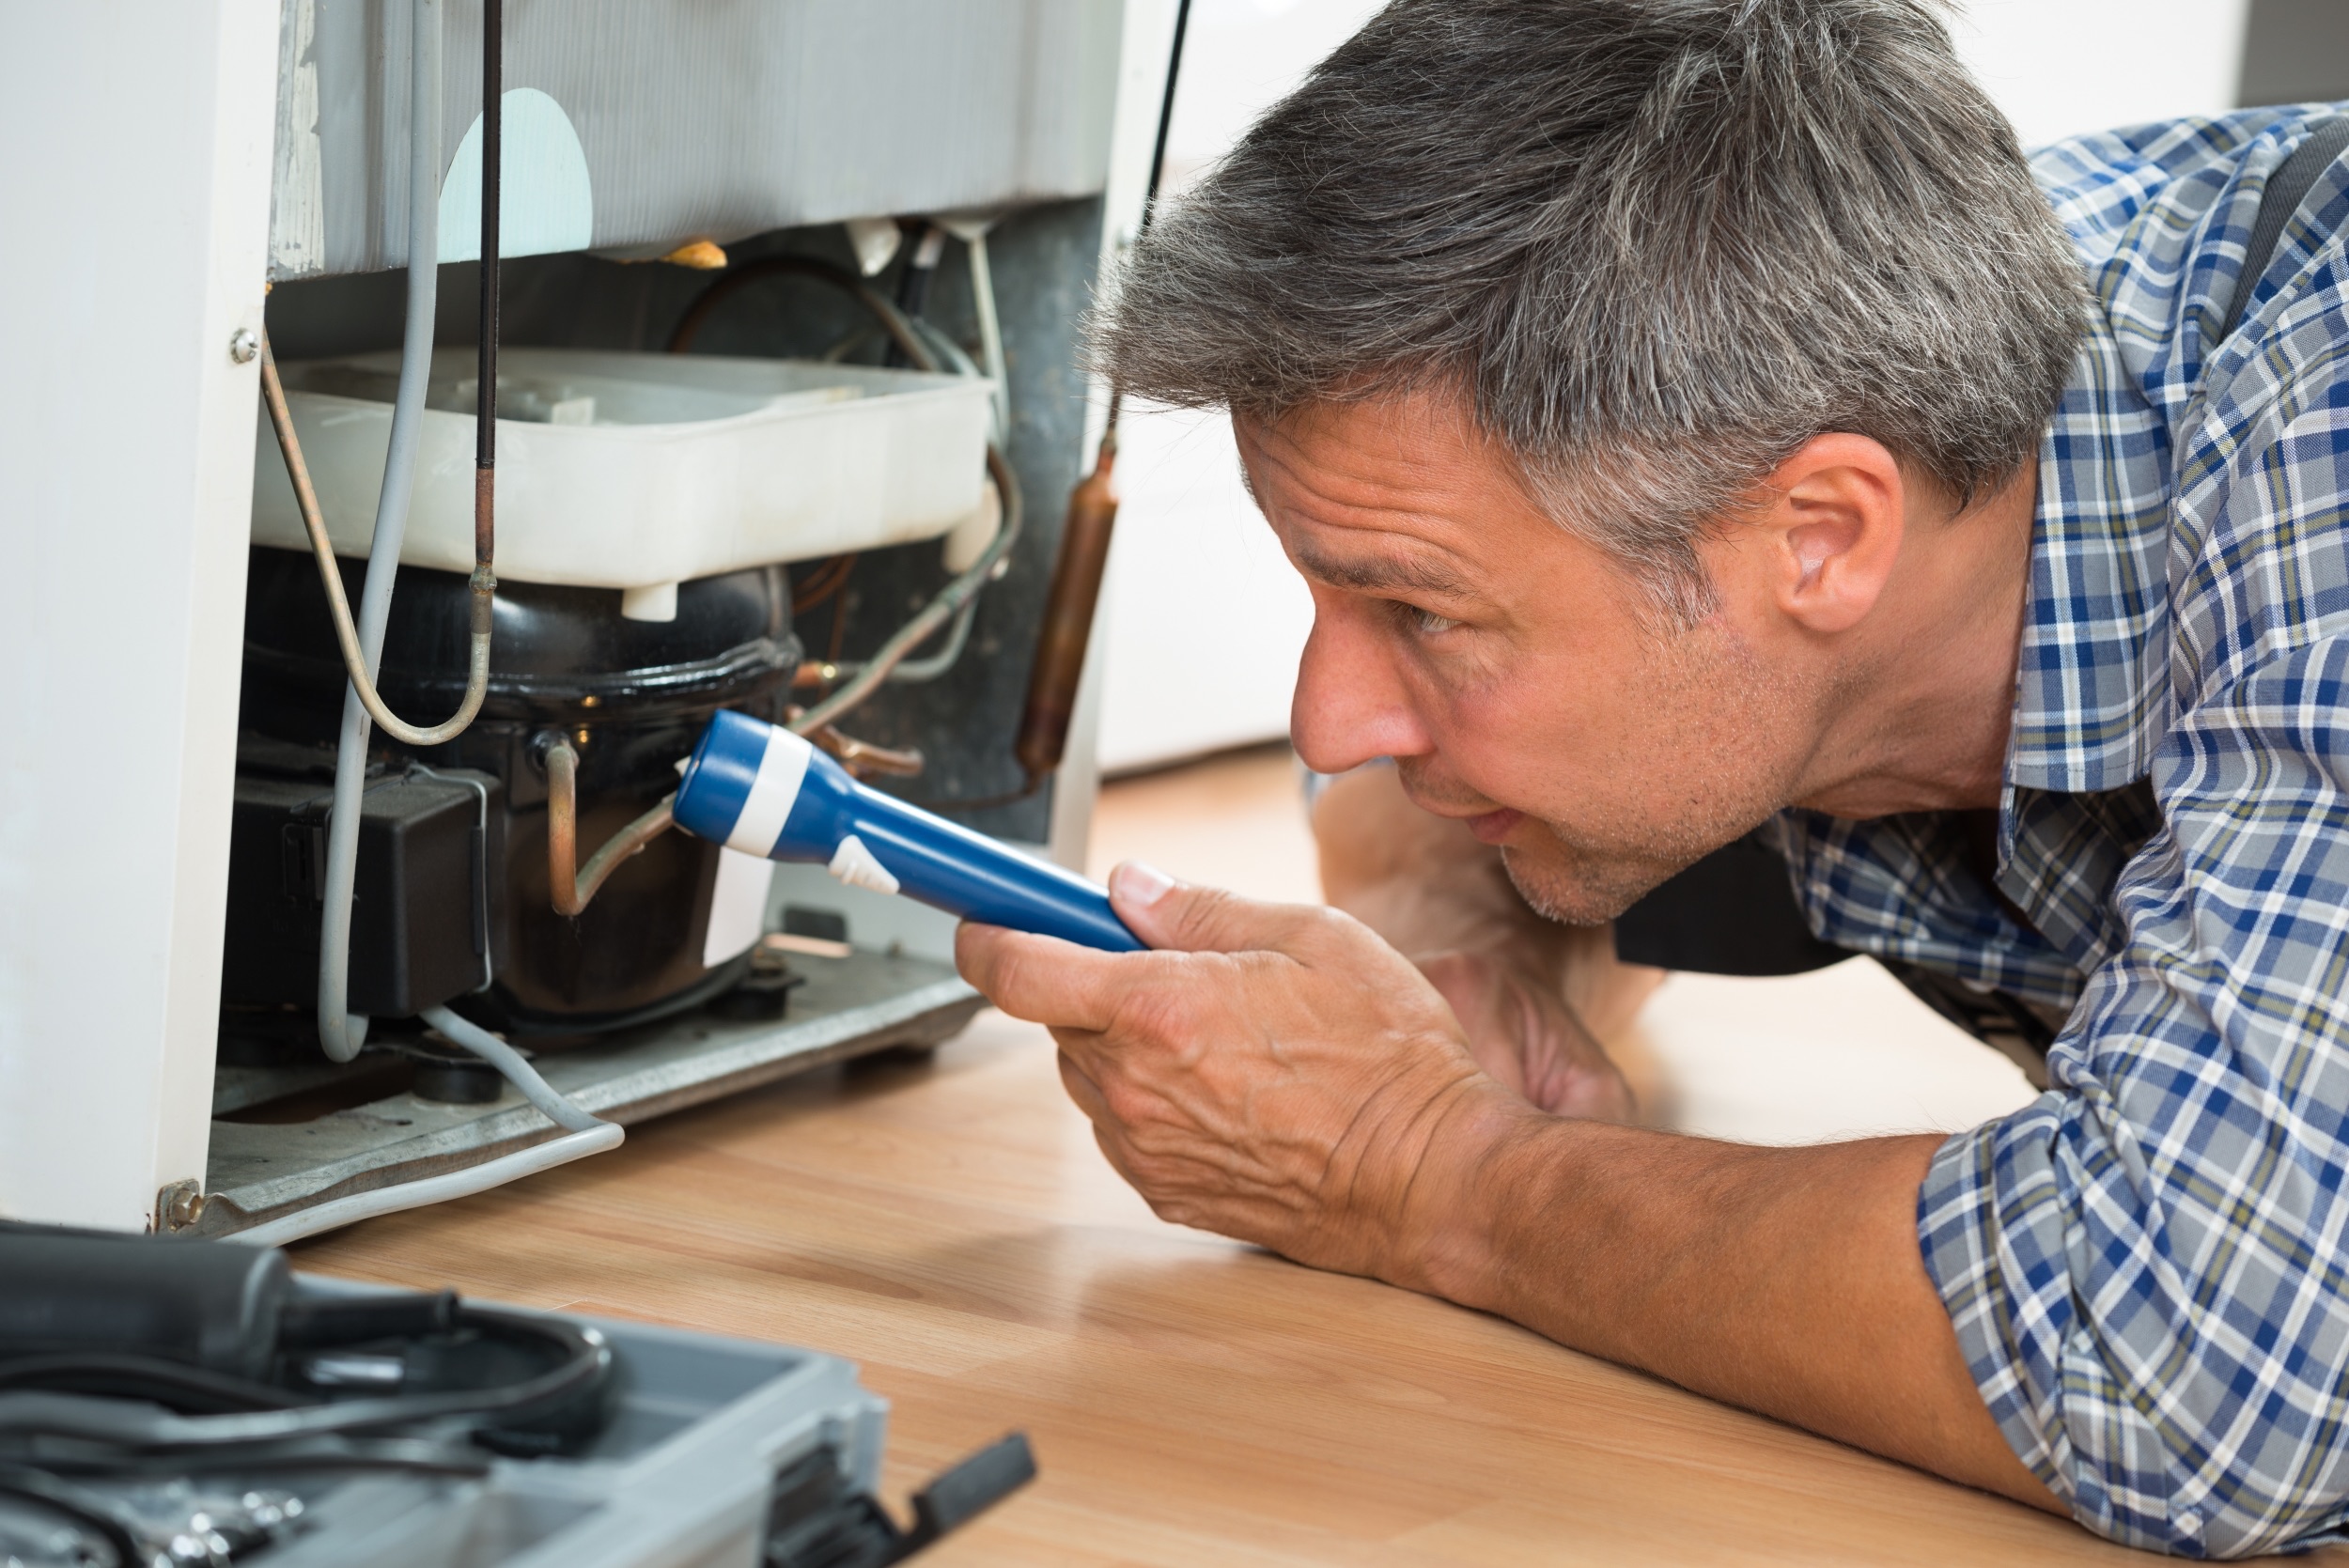
With the access panel removed, you will now have clear visibility and access to the condenser coils. Take a moment to inspect the coils for any visible signs of dirt, dust, or debris.
It’s important to note that the process of removing access panels may vary depending on the freezer model. Always refer to the manufacturer’s instructions or user manual for specific guidance.
Next, we will explain the process of vacuuming dust and debris from the condenser coils.
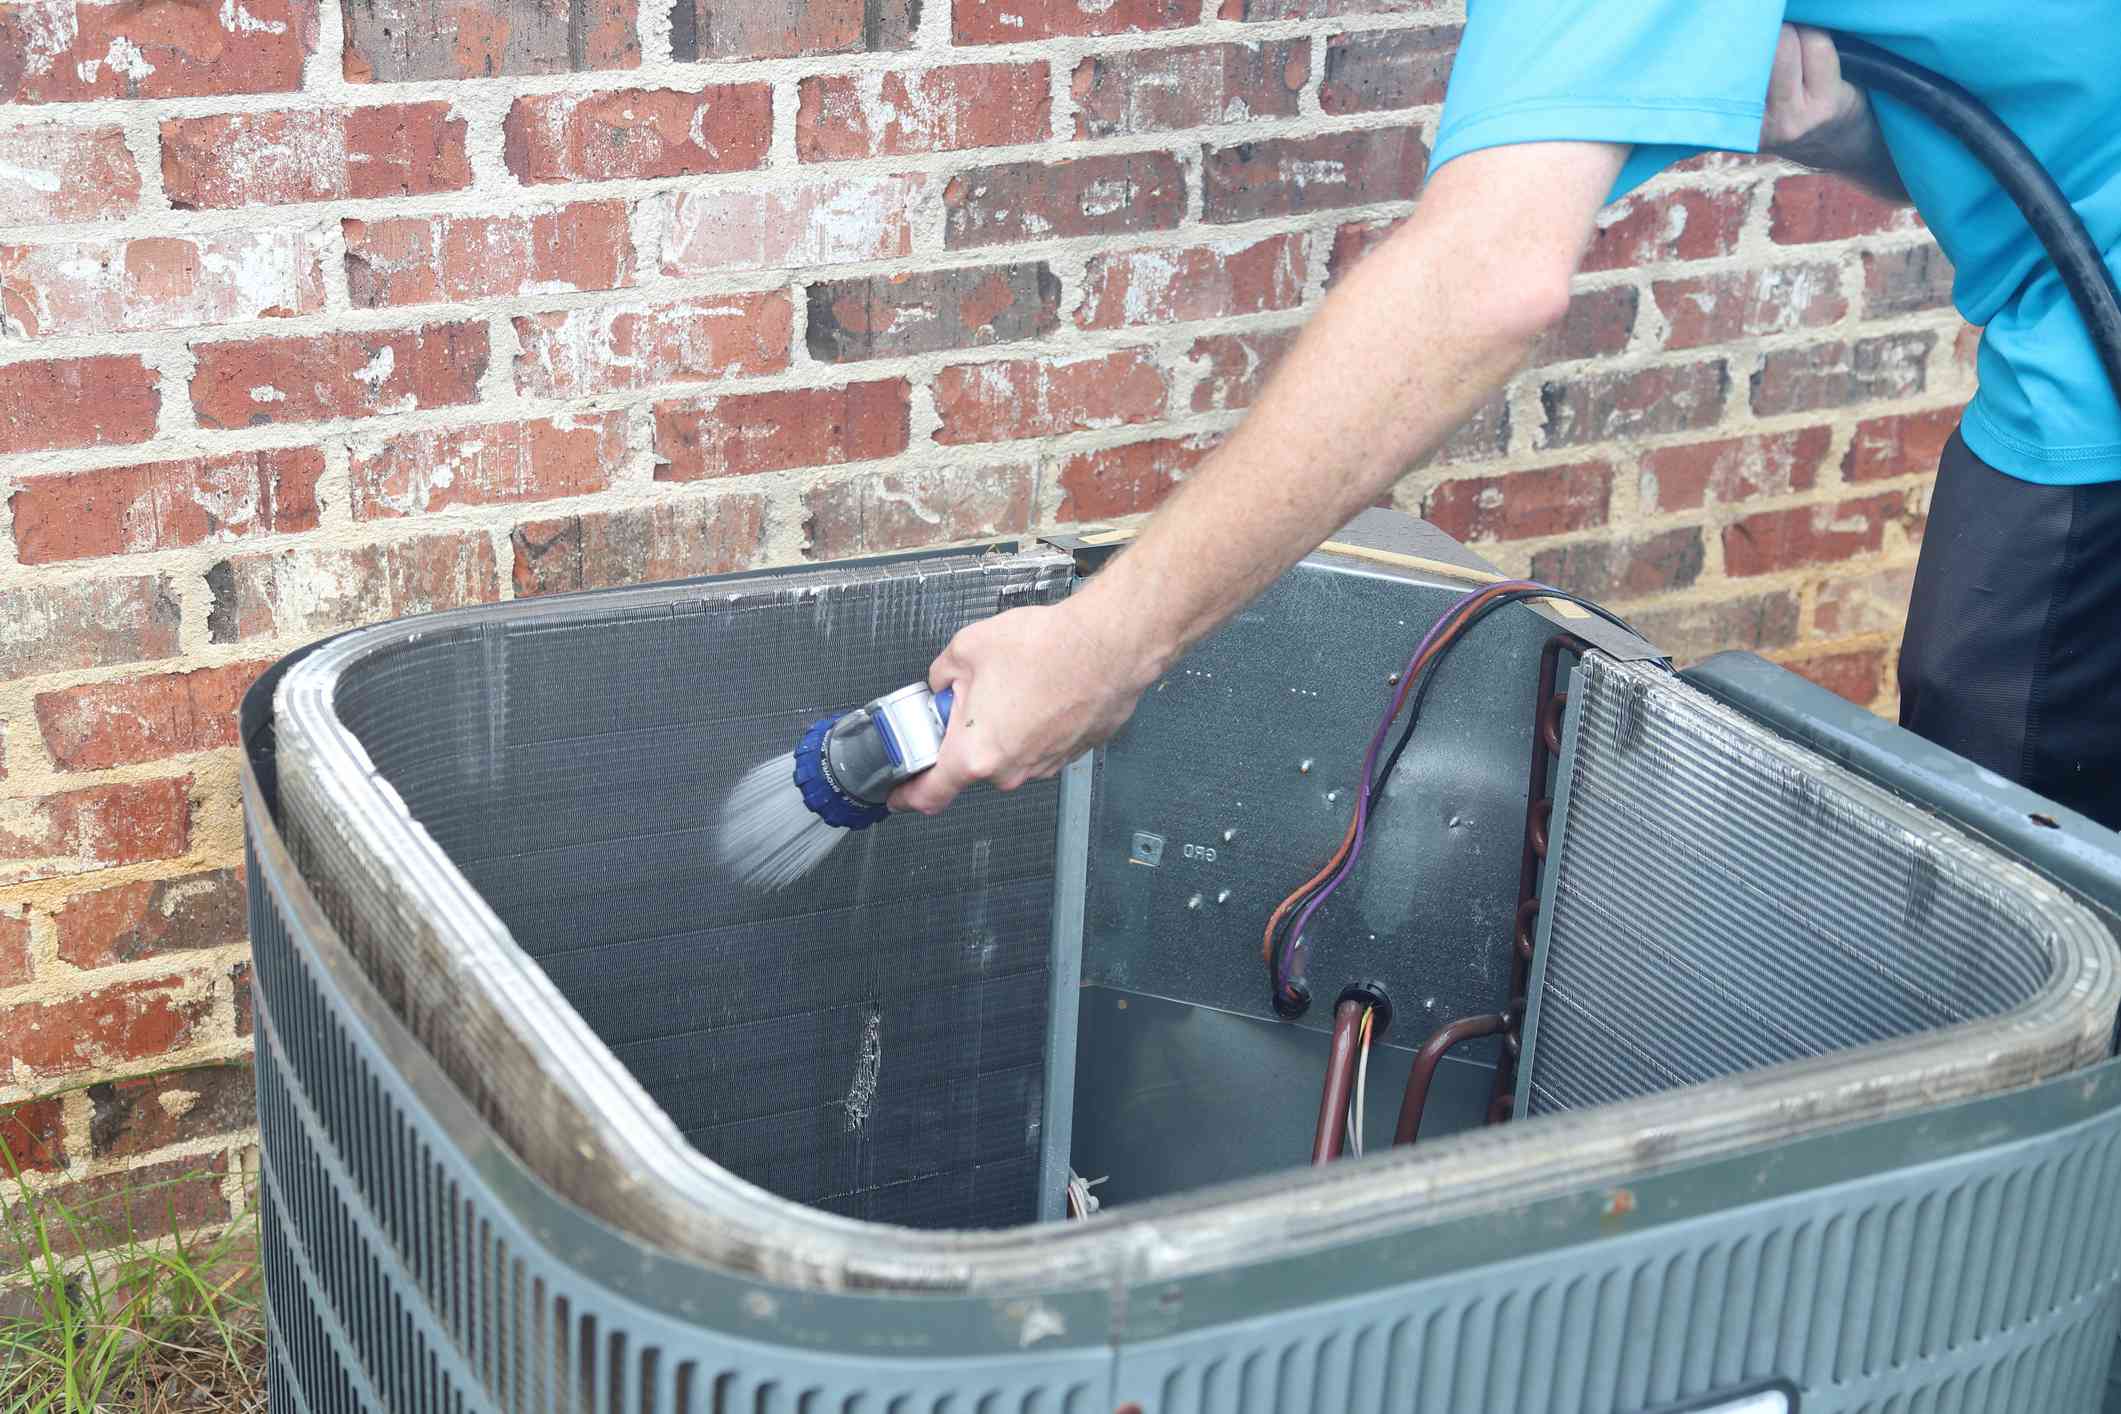
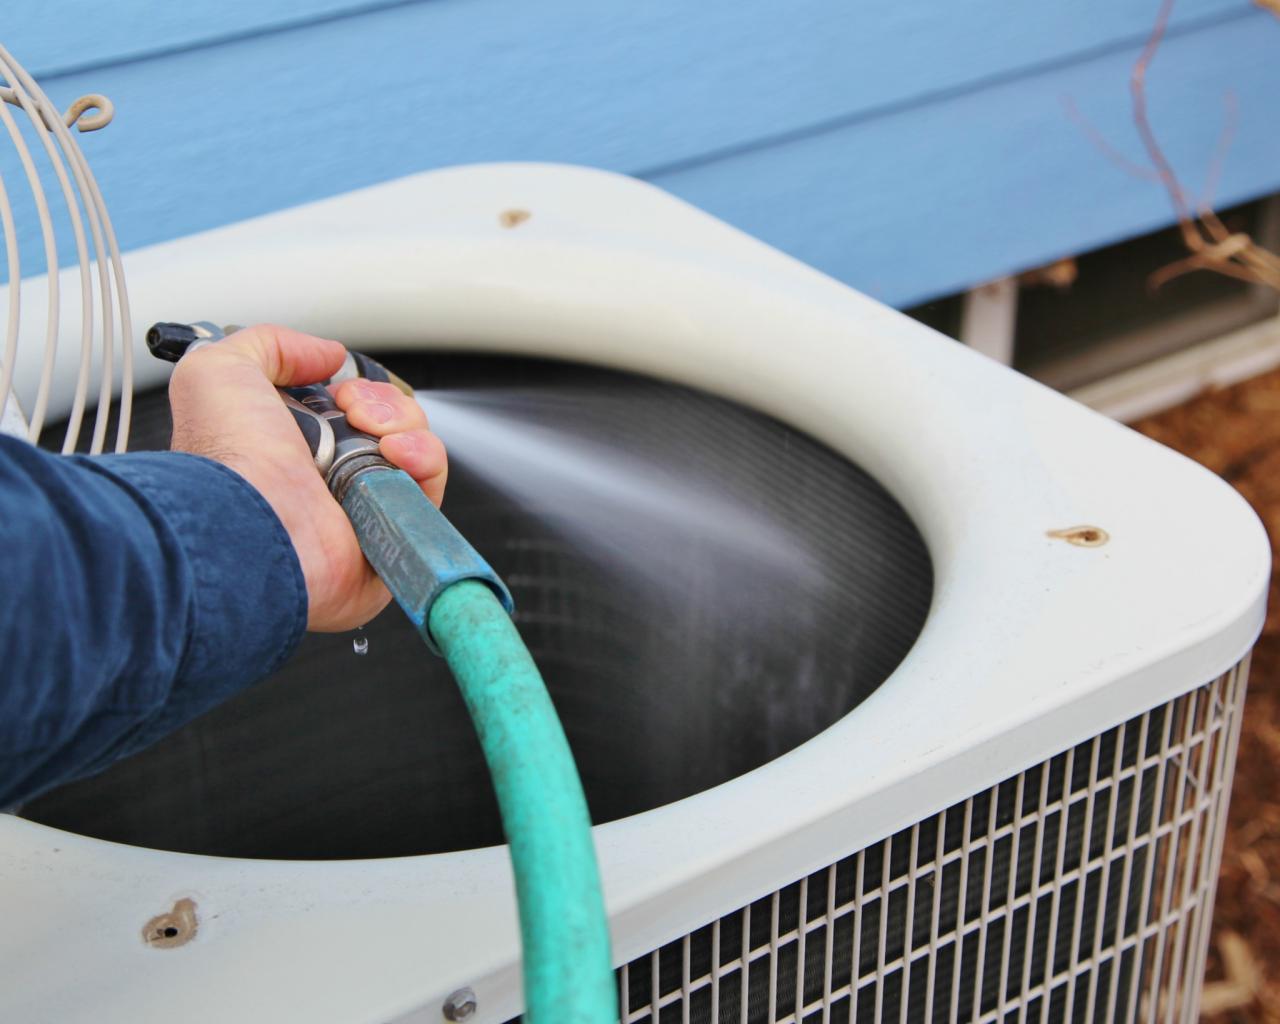
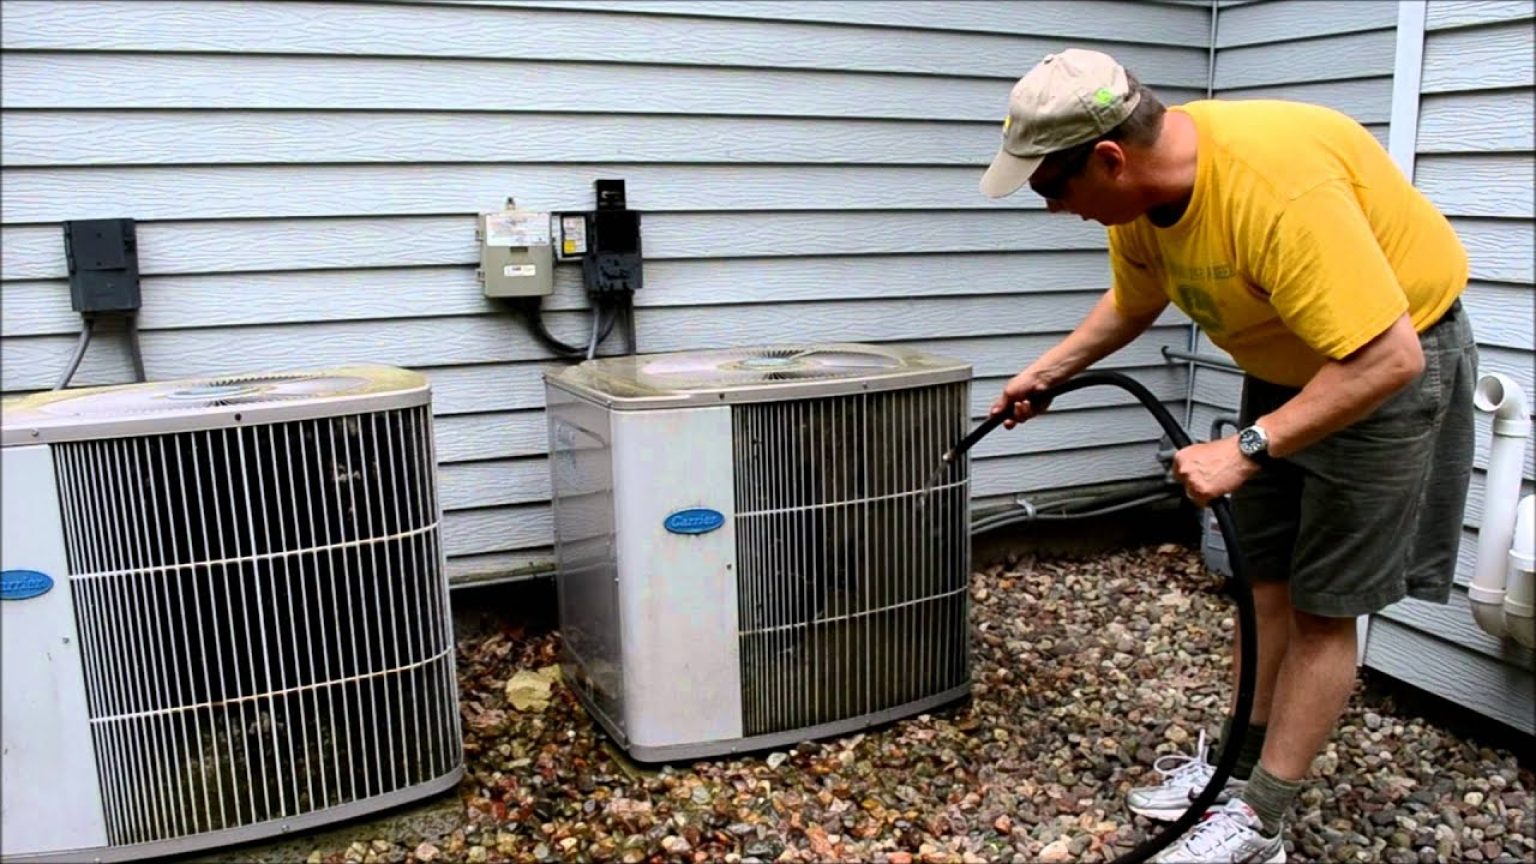
Use a vacuum or brush to remove dust and debris from the condenser coils on your freezer. Make sure to unplug the freezer and gently clean the coils to improve efficiency and prevent overheating.
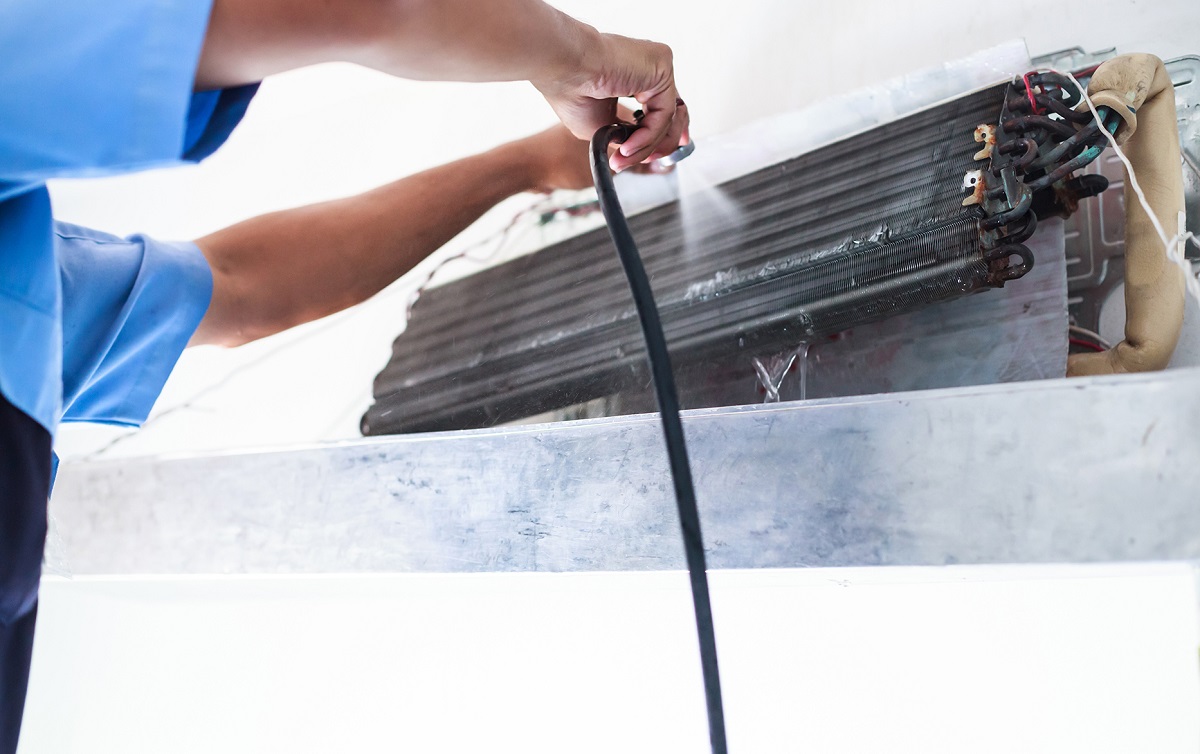
Vacuuming Dust and Debris
Once you have removed the access panels and have a clear view of the condenser coils, the next step is to vacuum any loose dust and debris from the coils. This will help prepare the coils for a more thorough cleaning. Follow these steps:
- Prepare the Vacuum Cleaner: Attach a brush attachment to your vacuum cleaner. This will help gently dislodge and remove dust without causing damage to the coils.
- Start from the Top: Begin at the top of the coils and work your way down. Use the vacuum cleaner to carefully suction away any loose dust and debris. Be thorough and ensure you cover the entire surface of the coils.
- Pay Attention to Crevices: Dust can accumulate in crevices and hard-to-reach areas of the coils. Use the brush attachment to gently clean these areas, dislodging any stubborn debris.
- Repeat if Necessary: If the coils are heavily soiled, you may need to make multiple passes with the vacuum cleaner to remove all the loose dirt. Take your time and ensure the coils are as clean as possible.
By vacuuming the coils, you are removing loose dirt and debris that can hinder the performance of your freezer. This step helps prepare the coils for a more thorough cleaning in subsequent steps.
Once you have finished vacuuming, it’s time to move on to the next step, which involves using a coil brush to further clean the condenser coils.
Using a Coil Brush
After vacuuming the loose dust and debris from the condenser coils, the next step is to use a coil brush to further clean the coils. The brush will help to dislodge stubborn dirt and grime that may be stuck to the coils. Follow these steps:
- Select a Coil Brush: Choose a coil brush with soft bristles. These brushes are specifically designed for cleaning condenser coils and will effectively remove dirt without causing any damage.
- Gently Scrub the Coils: Take the coil brush and gently scrub the coils in a back-and-forth motion. Start from the top and work your way down, ensuring that you cover the entire surface of the coils.
- Focus on Heavily Soiled Areas: Pay extra attention to areas that appear heavily soiled. Use gentle pressure and the bristles of the brush to dislodge any stubborn dirt or grime.
- Continue Until Clean: Continue brushing the coils until they appear clean and free from visible dirt or debris. Take your time and be thorough in your cleaning process to achieve the best results.
Be cautious not to apply too much pressure or use a brush with hard bristles, as this can damage the delicate coils. The goal is to remove dirt and grime without causing any harm.
Using a coil brush allows you to access those hard-to-reach areas of the condenser coils and ensures a more thorough cleaning. Once you have finished using the brush, you can proceed to the next step, which involves cleaning with a fin comb.
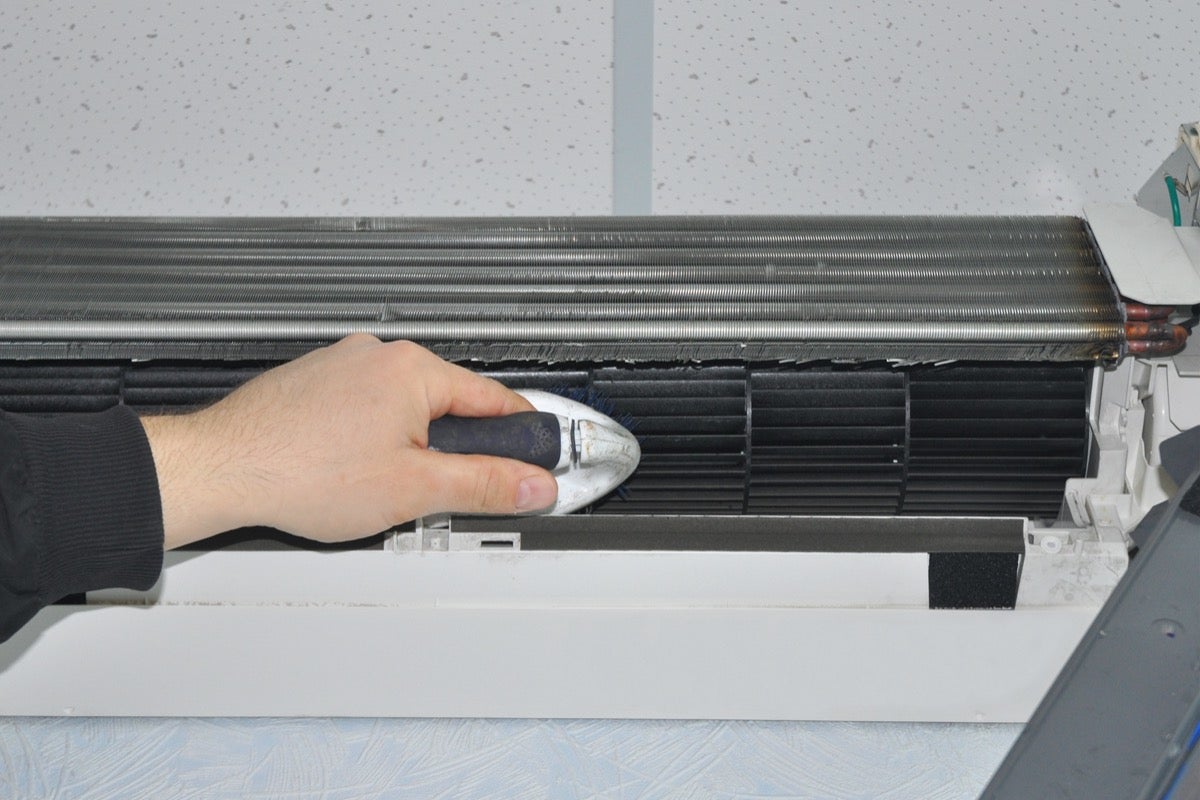
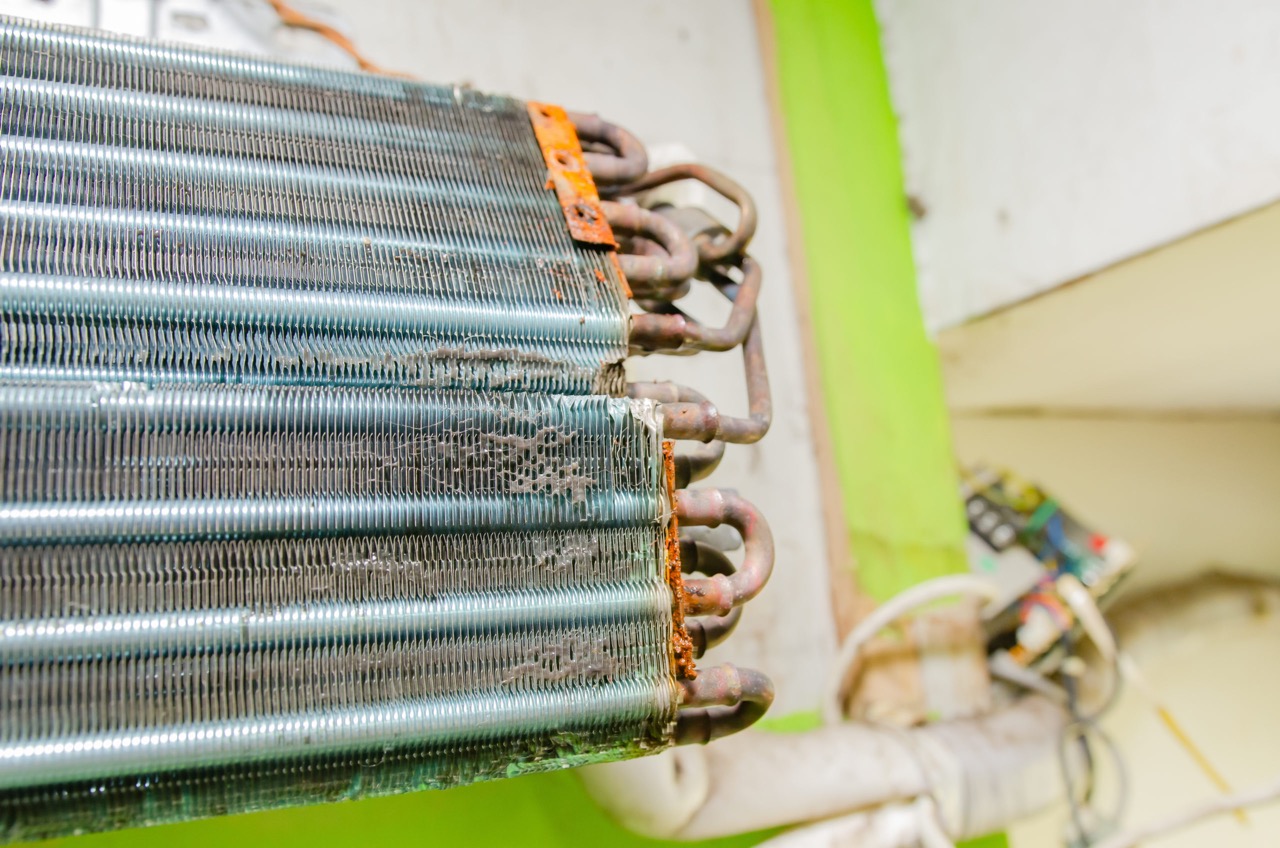
Cleaning with a Fin Comb
After vacuuming and brushing the condenser coils, the next step is to clean and straighten the fins using a fin comb. Fins are the thin metal pieces that are attached to the coils and aid in the heat transfer process. Over time, these fins can become bent or damaged, obstructing airflow and reducing the efficiency of the coils. Follow these steps to clean and straighten the fins:
- Select the Right Fin Comb: Choose a fin comb that matches the spacing of the fins on your freezer’s condenser coils. The fin comb should have metal teeth that are designed to fit between the fins.
- Gently Slide the Fin Comb: Starting from the top of the coils, insert the fin comb between the fins and slide it downward. Be careful not to force the comb or bend the fins further. Gently move the fin comb back and forth to straighten any bent fins.
- Work Your Way Down: Continue moving the fin comb down the coils, straightening any bent fins along the way. Take your time and ensure that all the fins are in their proper position.
- Inspect for Damage: While using the fin comb, keep an eye out for any fins that may be severely damaged or beyond repair. If you notice any fins that are completely flattened or broken, it may be necessary to contact a professional for repair or replacement.
Using a fin comb not only helps to improve the overall appearance of the condenser coils but also ensures proper airflow through the fins. With straightened fins, air can easily pass through the coils, maximizing heat transfer and enhancing the performance of your freezer.
Once you have finished cleaning and straightening the fins, you can move on to the final steps and recommendations to complete the condenser coil cleaning process.
Read more: How To Clean Coil Stove Burners
Final Steps and Recommendations
Now that you have completed the process of cleaning the condenser coils on your freezer, there are a few final steps and recommendations to keep in mind:
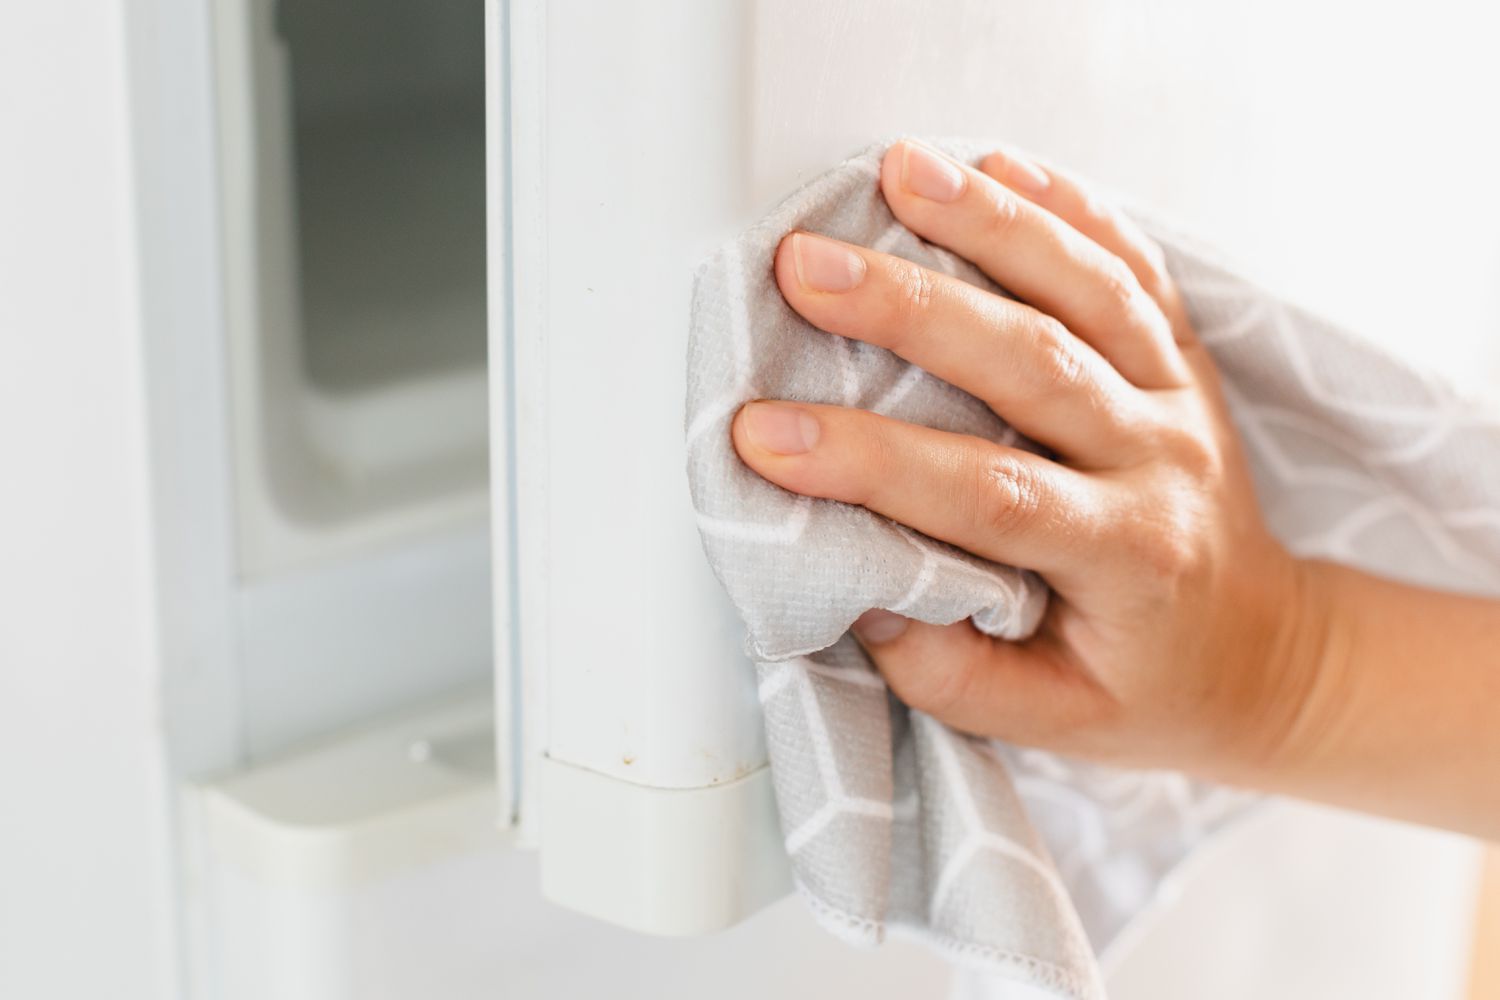
- Wipe Down the Coils: After using the fin comb, use a clean cloth or towel to wipe down the coils once more. This will help remove any loosened dirt or debris that may have accumulated during the cleaning process.
- Check for Proper Attachment: Ensure that all access panels and screws are securely reattached to the freezer. Loose panels can lead to air leaks and decreased cooling efficiency.
- Plug in the Freezer: Once you have confirmed that everything is properly reassembled, plug the freezer back into the power source and turn it on. Allow the appliance to run for a few minutes to ensure that it is functioning correctly.
- Regular Maintenance: Cleaning the condenser coils is an essential part of freezer maintenance. Make a habit of cleaning the coils at least once every six months, or more frequently if you notice excessive dirt or decreased cooling performance. Regular maintenance will help prolong the lifespan of your freezer and optimize its energy efficiency.
- Professional Service: If you are unsure about performing the cleaning yourself or encounter any issues during the process, it is best to seek professional assistance. A qualified technician can ensure that the cleaning is done properly and can also address any underlying problems with the condenser coils or freezer.
By following these final steps and recommendations, you can complete the condenser coil cleaning process and maintain the optimal performance of your freezer.
Remember, proper maintenance and care can greatly extend the lifespan of your freezer and help you avoid costly repairs in the future. Regularly cleaning the condenser coils is just one aspect of maintaining a well-functioning appliance.
Now that you have the knowledge and steps to clean the condenser coils on your freezer, take action and keep your freezer running efficiently and effectively!
Conclusion
Cleaning the condenser coils on your freezer is an important maintenance task that should not be overlooked. By removing dust, dirt, and debris from the coils, you can improve energy efficiency, enhance cooling performance, extend the lifespan of your appliance, and prevent costly repairs.
In this article, we explored the process of cleaning condenser coils step by step. We discussed the importance of understanding condenser coils and why regular cleaning is necessary. We also outlined the tools and materials required for the task, including a vacuum cleaner, coil brush, fin comb, protective gloves, clean cloth, and a suitable cleaning solution.
We then walked you through the steps involved in cleaning the condenser coils, starting from the removal of access panels to gain access to the coils, to vacuuming loose debris, using a coil brush to scrub away stubborn dirt, and straightening bent fins with a fin comb.
Lastly, we provided some final steps and recommendations, including wiping down the coils, ensuring proper attachment of panels, and scheduling regular maintenance to keep your freezer in top condition. We also highlighted the importance of seeking professional assistance if needed.
By following these guidelines and incorporating regular condenser coil cleaning into your freezer maintenance routine, you can ensure efficient operation, reduce energy consumption, and prolong the lifespan of your appliance. Clean condenser coils will not only save you money on your energy bills but also help your freezer function optimally, keeping your frozen goods fresh and preserving their quality.
Remember, a clean and well-maintained appliance is a reliable appliance. Take the time to care for your freezer’s condenser coils and enjoy the benefits of a more efficient and long-lasting appliance.
So, don’t delay! Start cleaning those condenser coils today and keep your freezer in optimal condition for years to come.
Frequently Asked Questions about How To Clean Condenser Coils On Freezer
Was this page helpful?
At Storables.com, we guarantee accurate and reliable information. Our content, validated by Expert Board Contributors, is crafted following stringent Editorial Policies. We're committed to providing you with well-researched, expert-backed insights for all your informational needs.

0 thoughts on “How To Clean Condenser Coils On Freezer”