
Articles
How Do You Clean A Keurig Coffee Machine
Modified: February 20, 2024
Discover effective methods to clean your Keurig coffee machine. Read our comprehensive articles on how to maintain and keep your coffee maker in top condition.
(Many of the links in this article redirect to a specific reviewed product. Your purchase of these products through affiliate links helps to generate commission for Storables.com, at no extra cost. Learn more)
Introduction
Welcome to our comprehensive guide on how to clean a Keurig coffee machine. As coffee enthusiasts, we understand the importance of regular maintenance to ensure that your Keurig machine consistently brews delicious, flavorful coffee. Cleaning your Keurig not only improves the taste of your coffee but also extends the lifespan of the machine and prevents clogs and malfunctions.
Over time, mineral deposits, coffee residue, and bacteria can build up inside your Keurig machine, affecting the taste and quality of your brew. A clean machine not only gives you better-tasting coffee but also ensures the optimal performance of your Keurig.
In this article, we will guide you through the step-by-step process of cleaning your Keurig coffee machine, from understanding its components to providing tips on maintenance and troubleshooting. So, let’s dive in and start brewing cleaner and tastier coffee!
Key Takeaways:
- Regular cleaning of your Keurig coffee machine improves taste, prevents clogs, extends lifespan, promotes hygiene, and maintains warranty, ensuring delicious coffee and a long-lasting brewing companion.
- Incorporating maintenance tips like using filtered water, descaling, and troubleshooting common issues ensures optimal performance and a satisfying coffee brewing experience.
Read more: How Do You Work A Keurig Coffee Machine
Why Clean Your Keurig Coffee Machine
Cleaning your Keurig coffee machine is essential for several reasons. Let’s explore why it’s crucial to maintain a clean and well-functioning machine:
- Improved Taste: Over time, mineral deposits, coffee oils, and other residue can accumulate inside your Keurig machine. This buildup can impact the flavor of your coffee, making it taste stale or off. Regular cleaning removes these contaminants, ensuring that every cup of coffee you brew is fresh and delicious.
- Prevention of Clogs: A dirty Keurig machine is prone to clogs. As leftover coffee residue accumulates in various components, such as the needles and water lines, it can obstruct the flow of water or puncture holes. By cleaning your machine regularly, you can prevent clogs and ensure a smooth brewing process.
- Extended Machine Lifespan: Neglecting to clean your Keurig can significantly shorten its lifespan. As residue builds up inside the machine, it puts strain on the various parts and can lead to premature wear and tear. Regular cleaning keeps your machine running smoothly and can help it last for many years to come.
- Promotion of Hygiene: Coffee machines, including Keurigs, provide the perfect breeding ground for bacteria and mold growth. The warm and moist environment inside the machine can promote the development of harmful microorganisms. Cleaning your Keurig ensures that your coffee is brewed in a hygienic environment, reducing the risk of bacterial contamination and keeping you and your family safe.
- Maintenance of Warranty: Many Keurig machines come with a warranty. However, failure to properly maintain and clean your machine may void the warranty. By following the recommended cleaning procedures, you can prevent any issues with your warranty and ensure that any potential future claims are valid.
Now that you understand the importance of cleaning your Keurig coffee machine, let’s move on to the next section, where we will break down the components of a Keurig machine and how to clean them effectively.
Understanding the Components of a Keurig Coffee Machine
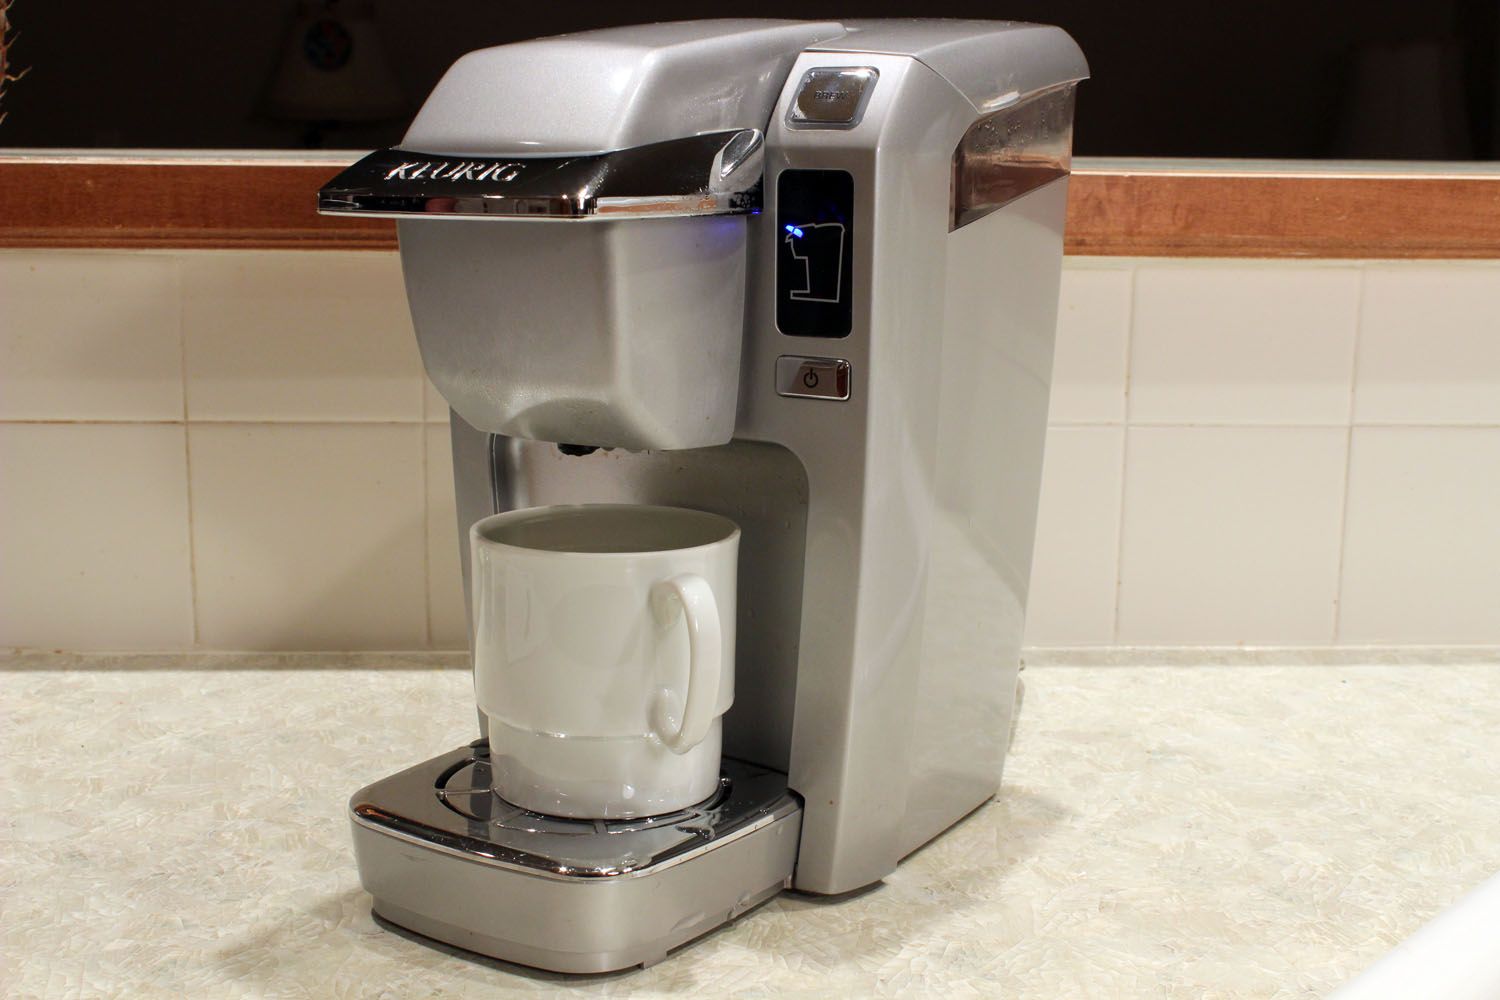
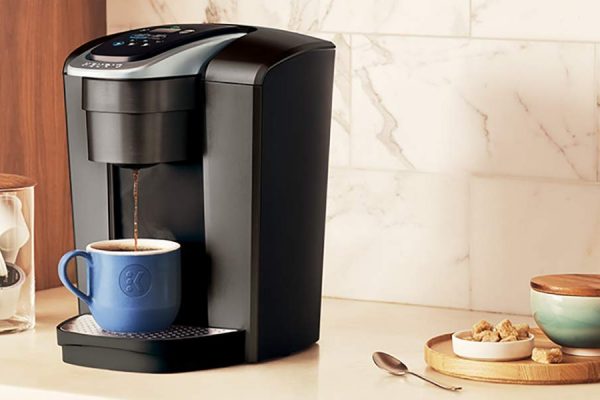
Before we delve into the cleaning process, it’s important to familiarize yourself with the different components of a Keurig coffee machine. Understanding these parts will help you clean your machine more effectively. Here are the key components:
- Water Reservoir: This is where you pour water to brew your coffee. It’s usually a detachable container located at the back or side of the machine. It’s important to clean the water reservoir regularly as stagnant water can attract bacteria and impede the machine’s performance.
- Brewing Chamber: The brewing chamber is where the magic happens. It holds the K-Cup or pod and facilitates the extraction process. Coffee residue can accumulate in this area, affecting the quality and taste of your brew.
- Needles: Keurig machines have two needles: the entrance needle and the exit needle. These needles puncture the K-Cup to allow water to flow in and coffee to flow out. Over time, these needles can get clogged with coffee grounds and require cleaning to maintain proper water flow.
- Drip Tray: The drip tray catches any excess coffee or water that drips while brewing. It’s essential to regularly empty the drip tray and clean it to prevent the growth of mold and bacteria.
- Exterior: While not directly related to the brewing process, it’s important to clean the exterior of your Keurig machine. Regular wiping and dusting help maintain a clean and presentable appearance.
Now that we have identified the main components of a Keurig coffee machine, let’s move on to the step-by-step guide on how to clean your Keurig machine.
Step-by-Step Guide to Cleaning Your Keurig Coffee Machine
Now that you understand the importance of cleaning your Keurig coffee machine and have familiarized yourself with its components, let’s dive into the step-by-step process of cleaning your machine:
- Unplug and Disassemble: Start by unplugging your Keurig machine. Allow it to cool down before disassembling the removable components such as the water reservoir, drip tray, and K-Cup holder. Check the manufacturer’s instructions to see which parts are detachable on your specific model.
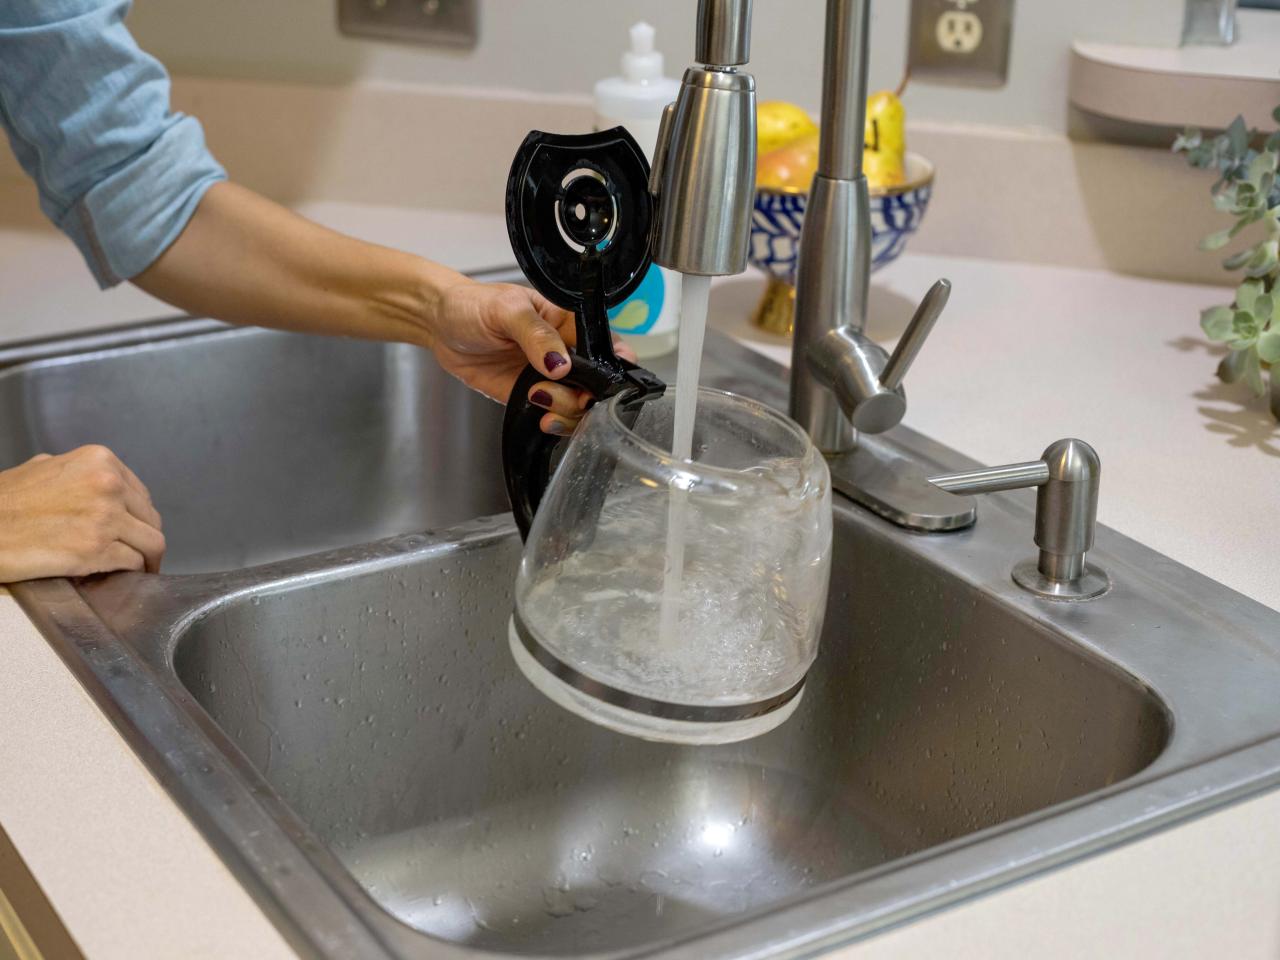
- Empty and Clean Water Reservoir: Empty any remaining water from the reservoir and wash it with warm soapy water. Rinse thoroughly to remove any soap residue. Pay close attention to the inside and the opening where water is poured. Allow it to air dry before reassembling.
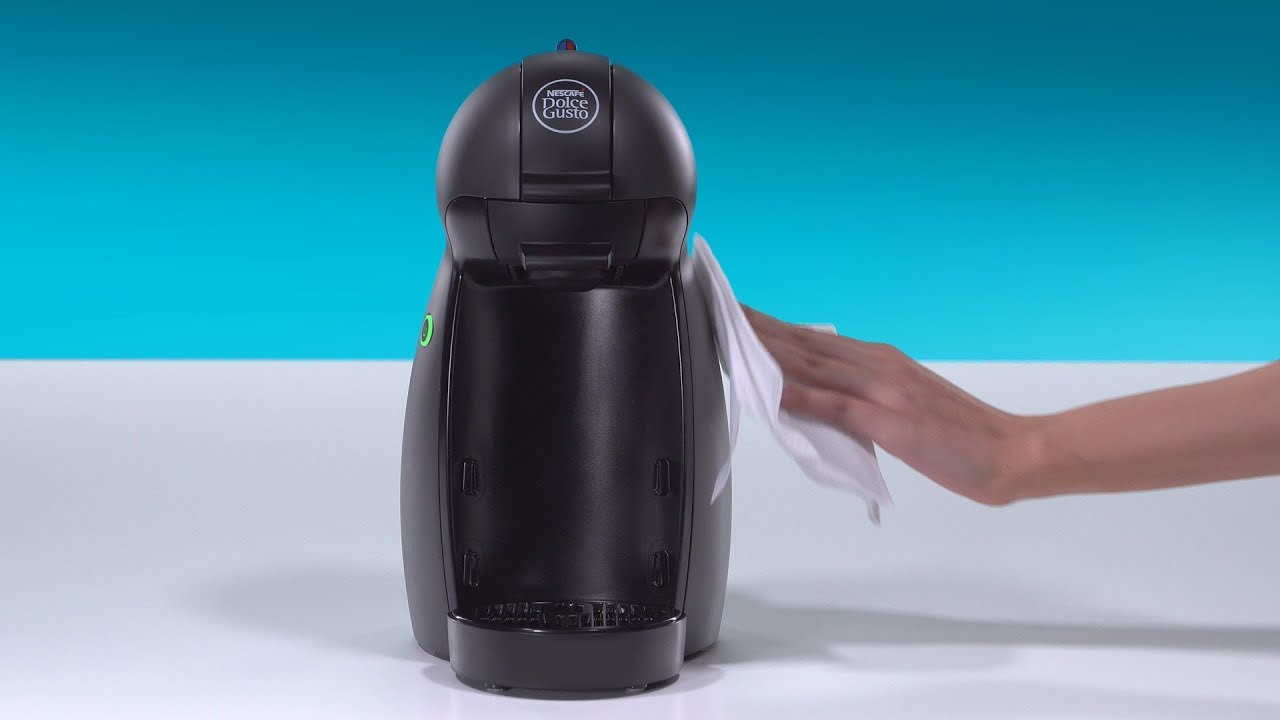
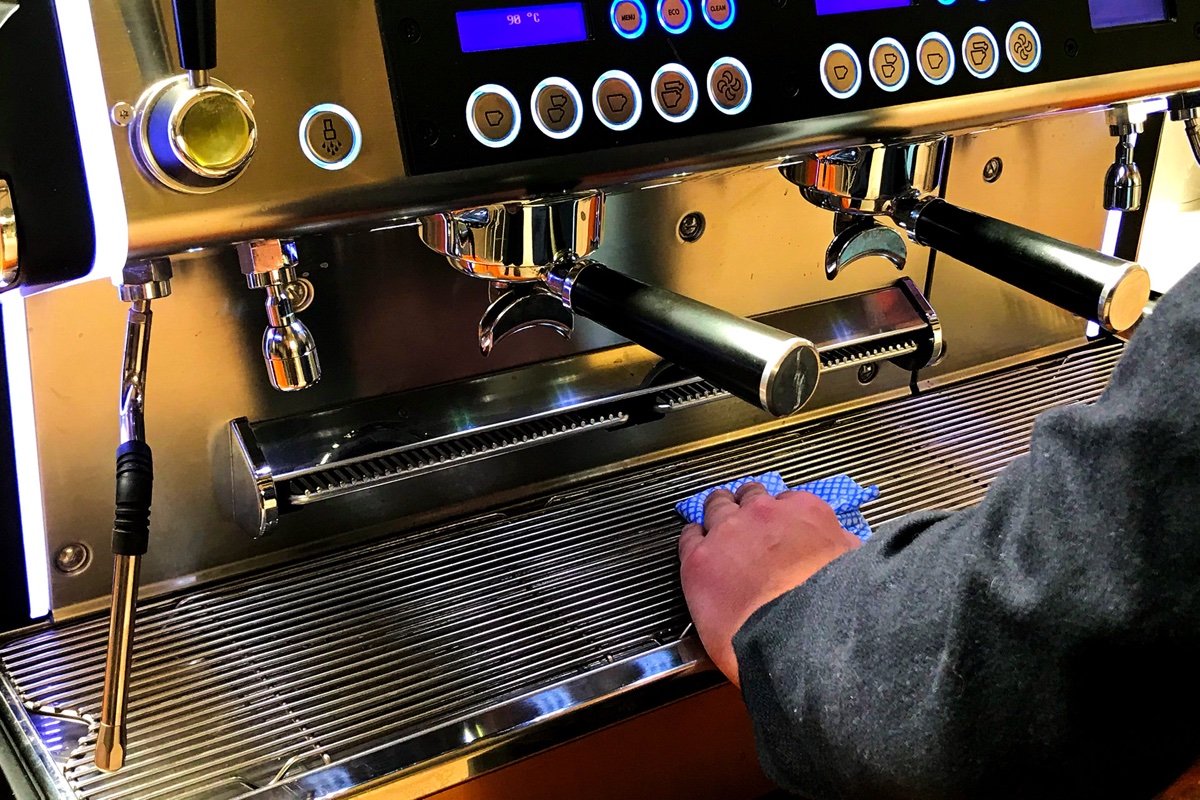
- Clean External Surfaces: Use a damp cloth or sponge to wipe down the external surfaces of your Keurig machine. Remove any dust, stains, or coffee spills. For stubborn stains, you can use a mild cleaning solution, but be sure to check that it is safe for your machine’s materials.
- Clean the Brewing Chamber: Use a soft brush or toothbrush to gently scrub the brewing chamber, removing any coffee residue or buildup. Pay close attention to the puncture needle areas and ensure they are clean and free of any clogs. Avoid using sharp or abrasive tools that could damage the machine.
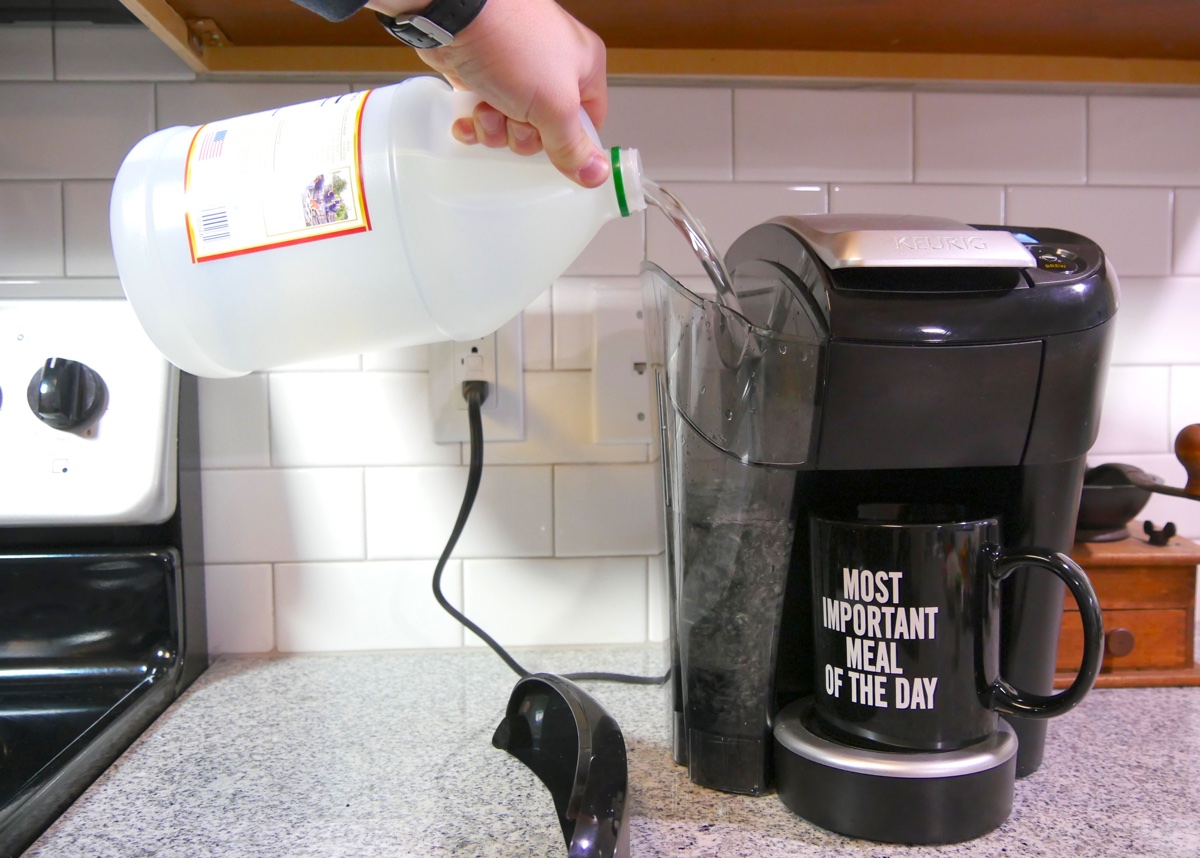
- Descale Your Keurig: Over time, mineral deposits from water can accumulate inside the machine, affecting its performance. To descale, mix equal parts of white vinegar and water in the water reservoir. Brew several cycles without a K-Cup, allowing the mixture to clean the internal components. Rinse the water reservoir thoroughly and perform a few more cycles with clean water to remove any vinegar residue.
- Clean the Drip Tray: Remove the drip tray and wash it with warm soapy water. Rinse thoroughly and ensure that it is completely dry before placing it back into the machine.
- Reassemble the Machine: Once all the components are clean and dry, reassemble your Keurig machine. Ensure that everything is properly aligned and securely fitted before plugging it back in.
- Run a Test Brew: Before brewing your first cup of coffee, run a test brew with just water. This will help ensure that all the components are functioning properly and that any residue from the cleaning process has been flushed out.
Congratulations! You have now successfully cleaned your Keurig coffee machine. Moving forward, it’s important to follow a regular cleaning routine to maintain the cleanliness and performance of your machine.
In the next section, we will share some tips and tricks for maintaining your Keurig coffee machine to keep it running smoothly for years to come.
To clean a Keurig coffee machine, regularly descale the machine with a vinegar solution and clean the removable parts with warm, soapy water. This will help maintain the machine’s performance and extend its lifespan.
Tips and Tricks for Maintaining Your Keurig Coffee Machine
Regular maintenance is key to keeping your Keurig coffee machine in optimal condition. Here are some tips and tricks to help you maintain your machine:
- Keep Your Machine Clean: Follow a regular cleaning routine to prevent the buildup of coffee residue, mineral deposits, and bacteria. Refer to the previous section for the step-by-step cleaning guide.
- Use Filtered Water: If possible, use filtered water to fill your Keurig’s water reservoir. This helps reduce the chances of mineral buildup and extends the lifespan of your machine.
- Replace the Water Filter: If your Keurig machine has a built-in water filter, make sure to replace it according to the manufacturer’s recommendations. This helps ensure that your coffee tastes fresh and that the machine functions properly.
- Avoid Stale Coffee: Use fresh coffee beans or pods to brew your coffee. Stale coffee can leave behind unwanted residue and affect the flavor of your brew.
- Run Water-only Brews: Periodically, run water-only brew cycles to flush out any residue that may have accumulated inside the machine. This helps maintain optimal performance.
- Store K-Cups Properly: Keep your K-Cups in a cool and dry place to maintain their freshness. Avoid exposing them to excessive heat or moisture.
- Perform Descaling Regularly: Even if you use filtered water, mineral buildup can still occur over time. Follow the manufacturer’s recommendations on how often to descale your machine to keep it running smoothly.
- Read the User Manual: Familiarize yourself with the user manual that came with your Keurig machine. It contains valuable information on maintenance, troubleshooting, and specific cleaning instructions for your model.
By incorporating these tips into your routine, you’ll ensure that your Keurig coffee machine continues to produce delicious cups of coffee for a long time.
In the next section, we will provide additional cleaning and troubleshooting tips to address common issues that may arise with your Keurig machine.
Read more: What Is The Newest Keurig Coffee Machine
Additional Cleaning and Troubleshooting Tips
While regular cleaning and maintenance can prevent most issues with your Keurig coffee machine, there may be times when you encounter specific problems. Here are some additional cleaning and troubleshooting tips to help you address common issues:
- Cleaning the Needle: If your machine is experiencing slow water flow or brewing issues, the needle may be clogged. Use a paper clip or needle cleaning tool (if provided) to carefully clean the needle by inserting it and gently wiggling it to dislodge any debris.
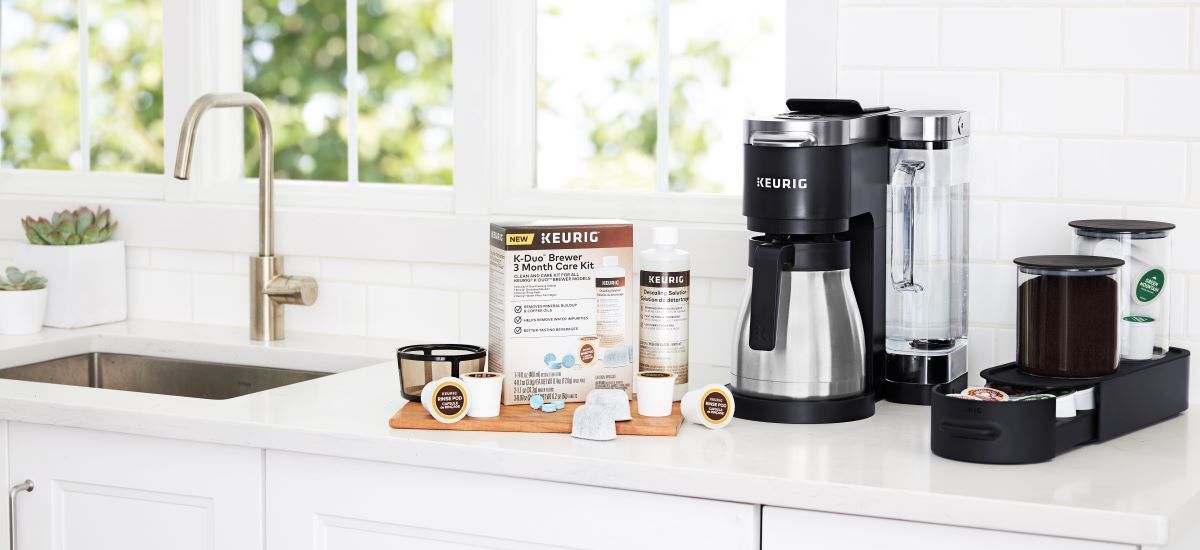
- Removing Mineral Deposits: If you notice mineral deposits on the inner components of your machine, you can use a descaling solution specifically designed for coffee machines. Follow the instructions on the product, as different solutions may have varying dilution ratios.
- Removing Coffee Stains: To remove coffee stains from the exterior or the drip tray, mix a solution of equal parts white vinegar and water. Dampen a cloth or sponge with the solution and gently scrub the affected areas. Rinse thoroughly and dry.
- Checking for Leaks: If you notice water or coffee leaking from your machine, check the seal on the water reservoir and ensure it is properly closed. If the issue persists, contact Keurig customer support for further assistance.
- Resetting the Machine: If your Keurig is not functioning properly or displaying error messages, try resetting the machine. Unplug it from the power source for a few minutes, then plug it back in and power it on. This can often resolve minor issues.
- Replacing Parts: If you experience persistent issues, such as a faulty brewing chamber or malfunctioning buttons, contact Keurig customer support or visit their website to order replacement parts.
- Professional Cleaning: If you’ve tried troubleshooting and cleaning your Keurig machine but are still experiencing problems, consider taking it to a professional for a thorough cleaning and inspection.
Remember, each Keurig machine may have unique features and troubleshooting methods. Refer to the user manual or Keurig’s official website for model-specific instructions and support.
Following these additional cleaning and troubleshooting tips will help you maintain a clean and fully functional Keurig coffee machine, ensuring that you can always enjoy a delicious cup of coffee whenever you want.
Let’s wrap up this guide with a summary of what we’ve learned.
Conclusion
Cleaning and maintaining your Keurig coffee machine is essential to keep it running smoothly and brewing delicious cups of coffee. Regular cleaning helps improve the taste of your coffee, prevents clogs, extends the lifespan of your machine, promotes hygiene, and maintains your warranty. By following the step-by-step cleaning guide and incorporating the tips and tricks we’ve shared, you can ensure that your Keurig continues to provide you with a satisfying coffee brewing experience.
Remember to regularly clean the water reservoir, brewing chamber, needles, and drip tray. Descaling your machine periodically helps remove mineral deposits. Use filtered water, store K-Cups properly, and perform water-only brew cycles to maintain optimal performance.
If you encounter specific issues, such as clogs, leaks, or error messages, don’t hesitate to troubleshoot and seek further assistance if needed. Contact Keurig’s customer support or consult the user manual for model-specific instructions and support.
By dedicating a little time to cleaning and maintaining your Keurig coffee machine, you can enjoy consistently delicious cups of coffee and prolong the lifespan of your beloved brewing companion.
We hope this comprehensive guide has provided you with the knowledge and tools needed to clean and maintain your Keurig machine effectively. Now, go ahead and brew yourself a fantastic cup of coffee!
Frequently Asked Questions about How Do You Clean A Keurig Coffee Machine
Was this page helpful?
At Storables.com, we guarantee accurate and reliable information. Our content, validated by Expert Board Contributors, is crafted following stringent Editorial Policies. We're committed to providing you with well-researched, expert-backed insights for all your informational needs.


0 thoughts on “How Do You Clean A Keurig Coffee Machine”