Home>Home Appliances>Cleaning Appliances>How To Clean A Vacuum Cleaner Hose
Cleaning Appliances
How To Clean A Vacuum Cleaner Hose
Modified: October 19, 2024
Learn how to effectively clean a vacuum cleaner hose to maintain optimal performance. Discover expert tips for cleaning appliances and ensuring a hygienic home environment.
(Many of the links in this article redirect to a specific reviewed product. Your purchase of these products through affiliate links helps to generate commission for Storables.com, at no extra cost. Learn more)
Introduction
Welcome to the ultimate guide on how to clean a vacuum cleaner hose! A vacuum cleaner is an indispensable tool for keeping your home clean and free of dust, dirt, and debris. However, over time, the hose of your vacuum cleaner can become clogged with dust, hair, and other particles, which can diminish its suction power and overall effectiveness. Regular maintenance and cleaning of your vacuum cleaner hose are essential to ensure that it continues to operate at its optimal performance level.
In this comprehensive guide, we will walk you through the step-by-step process of cleaning your vacuum cleaner hose, enabling you to restore its suction power and maintain a hygienic living environment. By following these simple yet effective cleaning techniques, you can prolong the lifespan of your vacuum cleaner and ensure that it continues to deliver exceptional cleaning results.
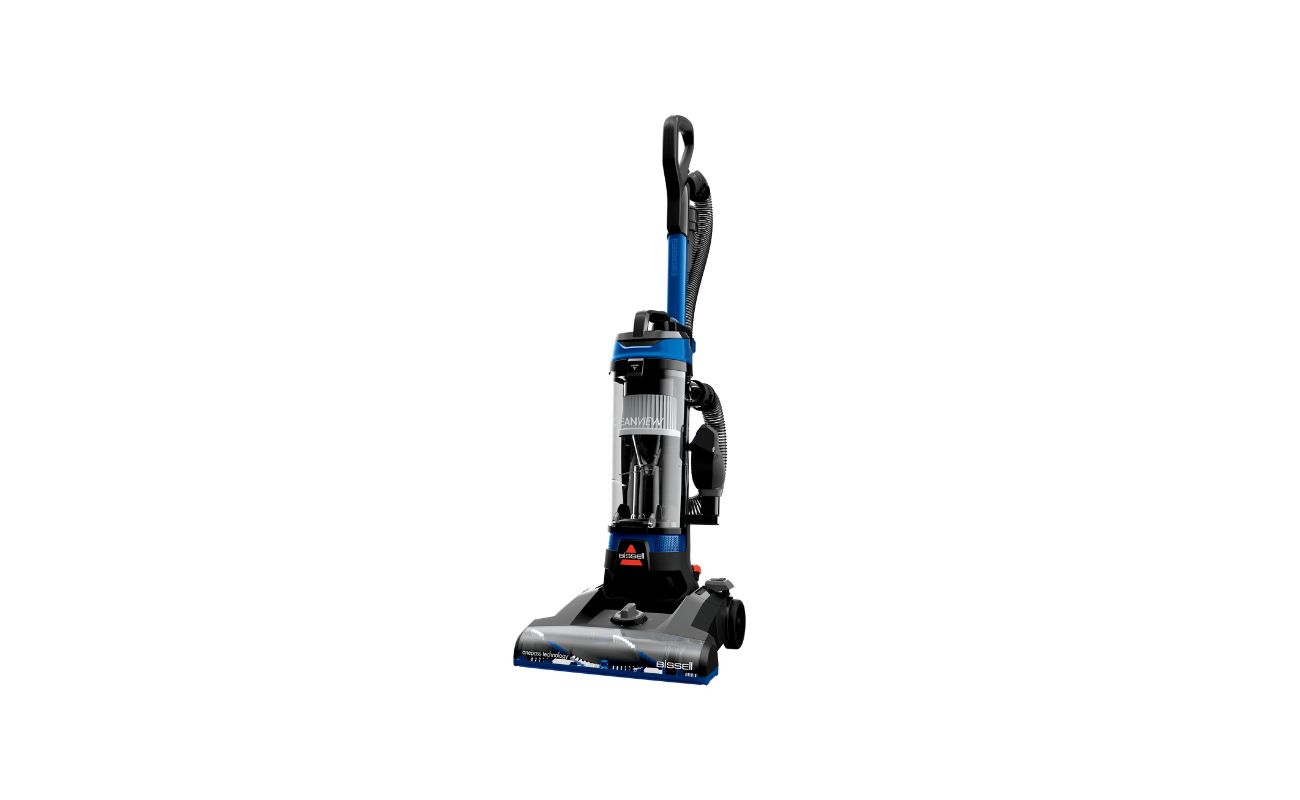
Whether you have a canister vacuum, upright vacuum, or any other type of vacuum cleaner, the methods outlined in this guide are universally applicable. Get ready to learn how to give your vacuum cleaner hose the deep cleaning it deserves, so you can enjoy a cleaner, healthier home environment.
Key Takeaways:
- Keep your vacuum cleaner hose clean to maintain its suction power and effectiveness. Regular cleaning ensures a hygienic living environment and prolongs the lifespan of your vacuum cleaner.
- Follow the step-by-step guide to safely remove, clean, and reattach your vacuum cleaner hose. Testing the hose after cleaning ensures optimal performance for a cleaner home.
Read more: How To Clean The Vacuum Cleaner
Step 1: Prepare the Vacuum Cleaner
Before diving into the cleaning process, it’s important to prepare your vacuum cleaner to ensure a smooth and effective cleaning experience. Here’s what you need to do:
- Gather Cleaning Supplies: Start by gathering the necessary cleaning supplies, including a pair of scissors, a cleaning brush with soft bristles, mild dish soap, warm water, and a clean, dry cloth. These items will be essential for thoroughly cleaning the vacuum cleaner hose.
- Unplug the Vacuum Cleaner: For safety reasons, always unplug the vacuum cleaner from the power source before beginning any maintenance or cleaning procedures. This prevents the risk of electrical shock and ensures your safety throughout the cleaning process.
- Allow the Vacuum Cleaner to Cool: If you have recently used the vacuum cleaner, allow it to cool down before initiating the cleaning process. This will prevent any accidental burns and ensure that the vacuum cleaner is safe to handle.
- Clear the Surrounding Area: Clear the area around the vacuum cleaner to create a clean and unobstructed workspace. Removing any obstacles will allow you to maneuver the vacuum cleaner more easily while accessing the hose for cleaning.
By taking these preparatory steps, you can set the stage for a successful cleaning process and ensure that your vacuum cleaner is ready for thorough maintenance. With the necessary supplies at hand and safety precautions in place, you are now prepared to move on to the next steps of cleaning the vacuum cleaner hose.
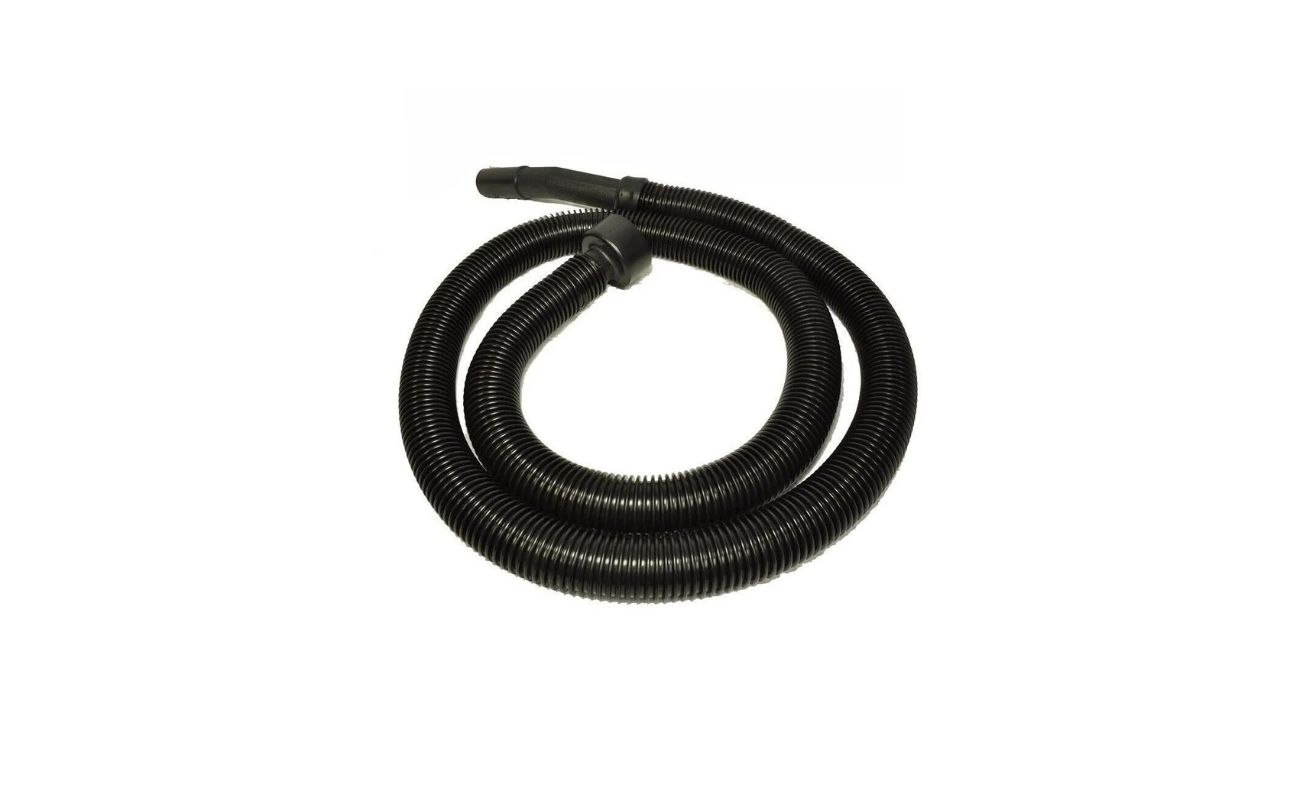
Step 2: Remove the Hose
Once you have prepared the vacuum cleaner and gathered the essential cleaning supplies, it’s time to remove the hose for thorough cleaning. Follow these steps to safely detach the hose from the vacuum cleaner:
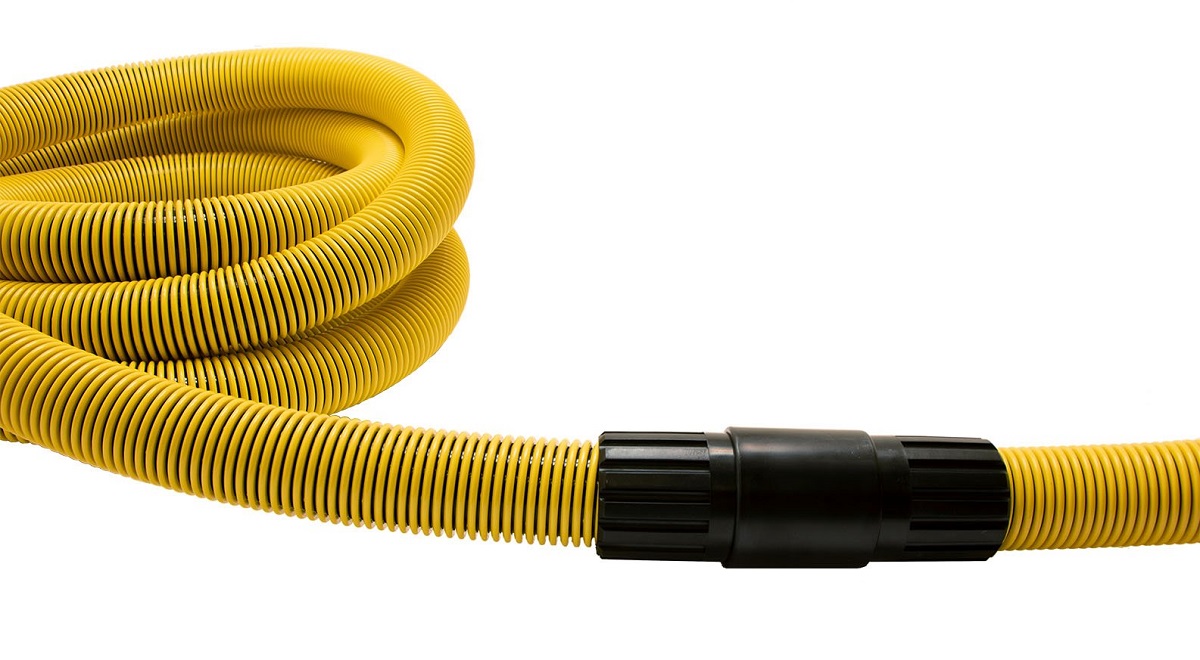
- Locate the Hose Attachment Point: Identify the point where the hose connects to the vacuum cleaner. This may be near the base of the vacuum cleaner or at the end of a detachable wand, depending on the model of your vacuum cleaner.
- Release the Hose Locking Mechanism: Most vacuum cleaners have a locking mechanism that secures the hose in place. Depending on the design, you may need to press a release button, twist the hose, or perform a similar action to unlock and detach the hose from the vacuum cleaner.
- Gently Pull the Hose: Once the locking mechanism is disengaged, gently pull the hose away from the vacuum cleaner. Take care to avoid applying excessive force, as this could damage the hose or the vacuum cleaner itself.
- Inspect the Hose for Damage: As you remove the hose, take a moment to inspect it for any signs of damage, such as cracks, tears, or blockages. Identifying and addressing any issues at this stage will contribute to a more effective cleaning process.
By following these steps, you can safely remove the hose from your vacuum cleaner, setting the stage for a thorough cleaning. With the hose detached, you can now proceed to the next crucial phase: cleaning the hose to restore its optimal performance and suction power.
Step 3: Clean the Hose
Now that the hose is removed from the vacuum cleaner, it’s time to embark on the essential task of cleaning it thoroughly. Here’s a detailed guide on how to effectively clean the vacuum cleaner hose:
- Shake Out Loose Debris: Begin by taking the hose outdoors or to a well-ventilated area. Holding one end of the hose, gently shake it to dislodge any loose debris, such as dirt, dust, or small particles that may be trapped inside. This initial step helps to remove the easily accessible debris before proceeding with more in-depth cleaning.
- Use a Cleaning Brush: Employ a cleaning brush with soft bristles to scrub the interior and exterior of the hose. Insert the brush into the hose and move it back and forth to dislodge stubborn dirt and debris. Pay particular attention to areas where the hose may have bends or curves, as these areas are more prone to trapping debris.
- Wash the Hose: Fill a basin or sink with warm water and add a small amount of mild dish soap. Submerge the hose in the soapy water, allowing it to soak for a few minutes. After soaking, use the cleaning brush to scrub the hose once more, ensuring that the warm, soapy water penetrates and cleans the interior thoroughly.
- Rinse the Hose: After scrubbing, rinse the hose with clean water to remove any soapy residue and dirt. Ensure that the water flows through the entire length of the hose, flushing out any remaining debris and soap suds.
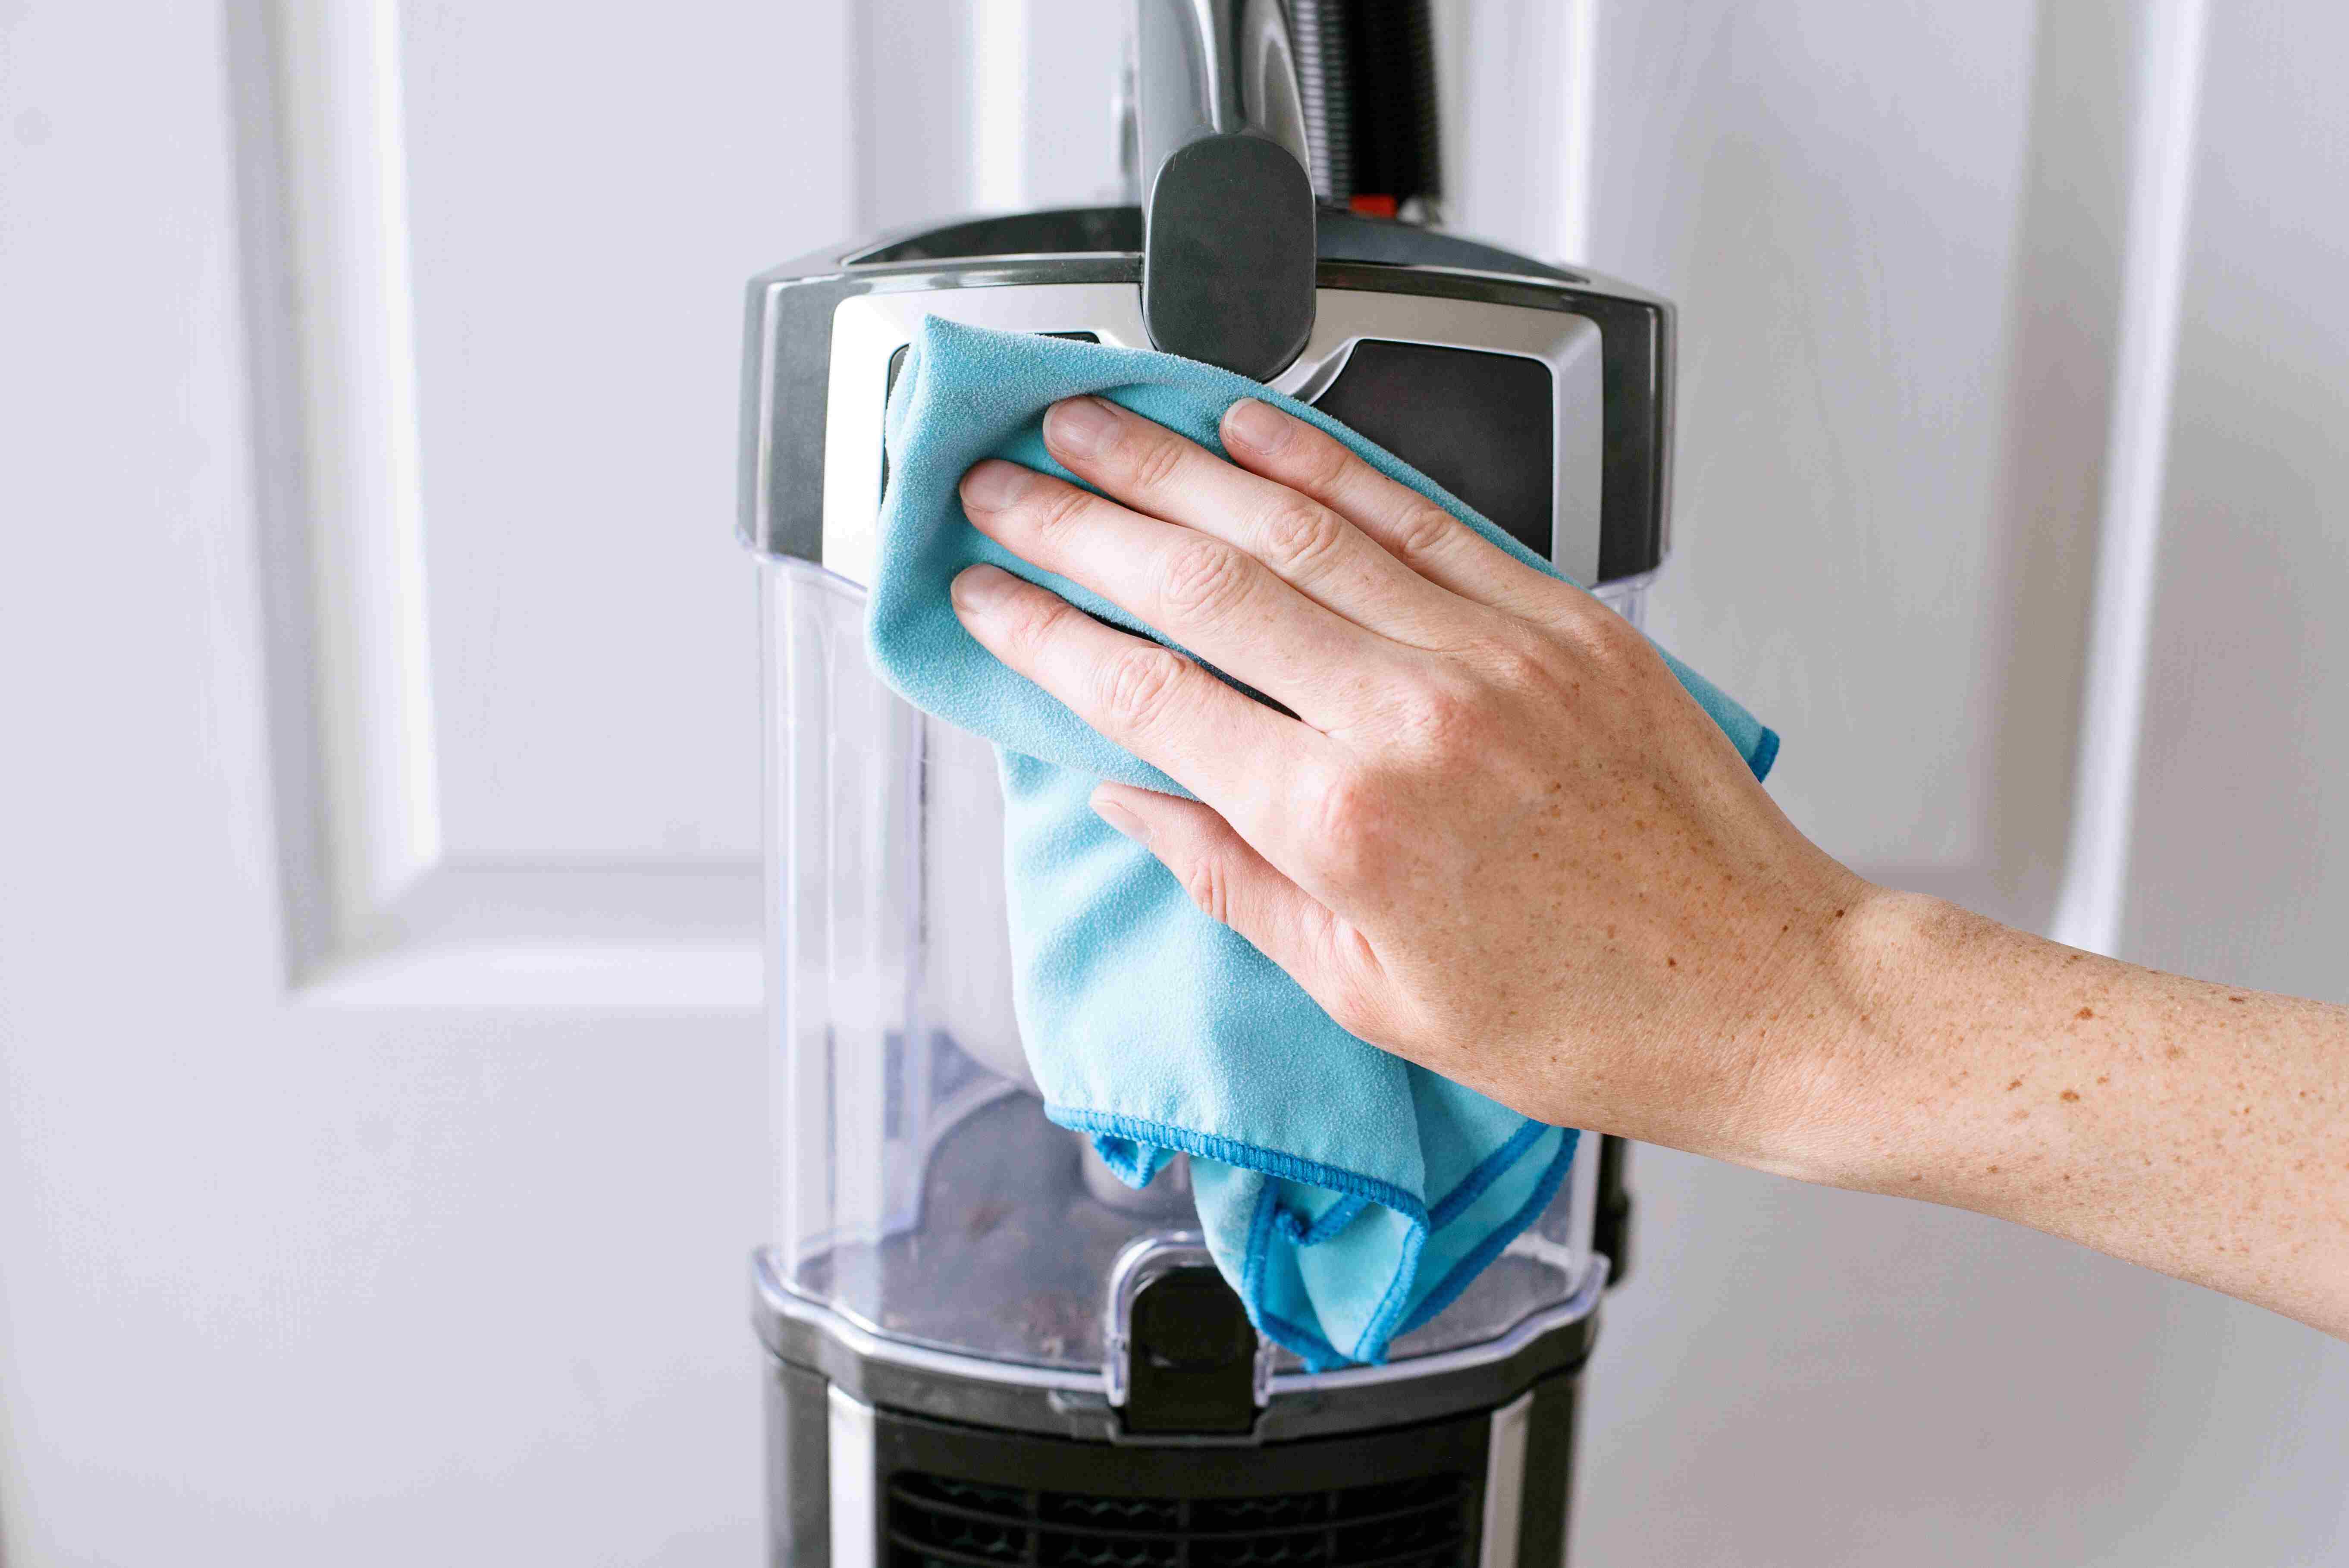
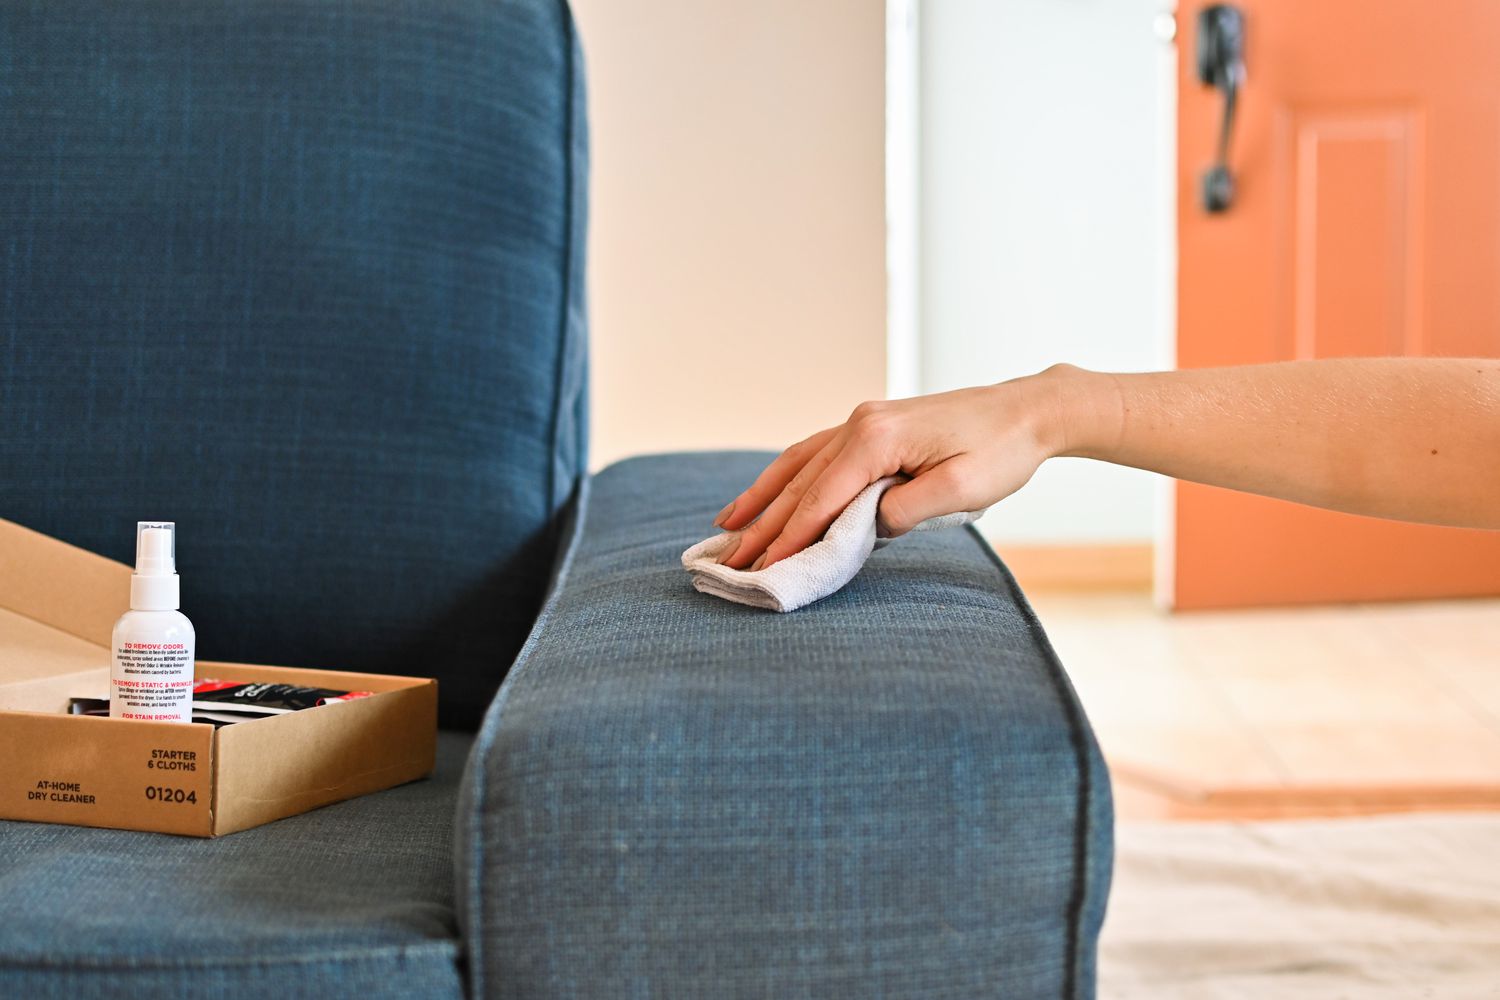
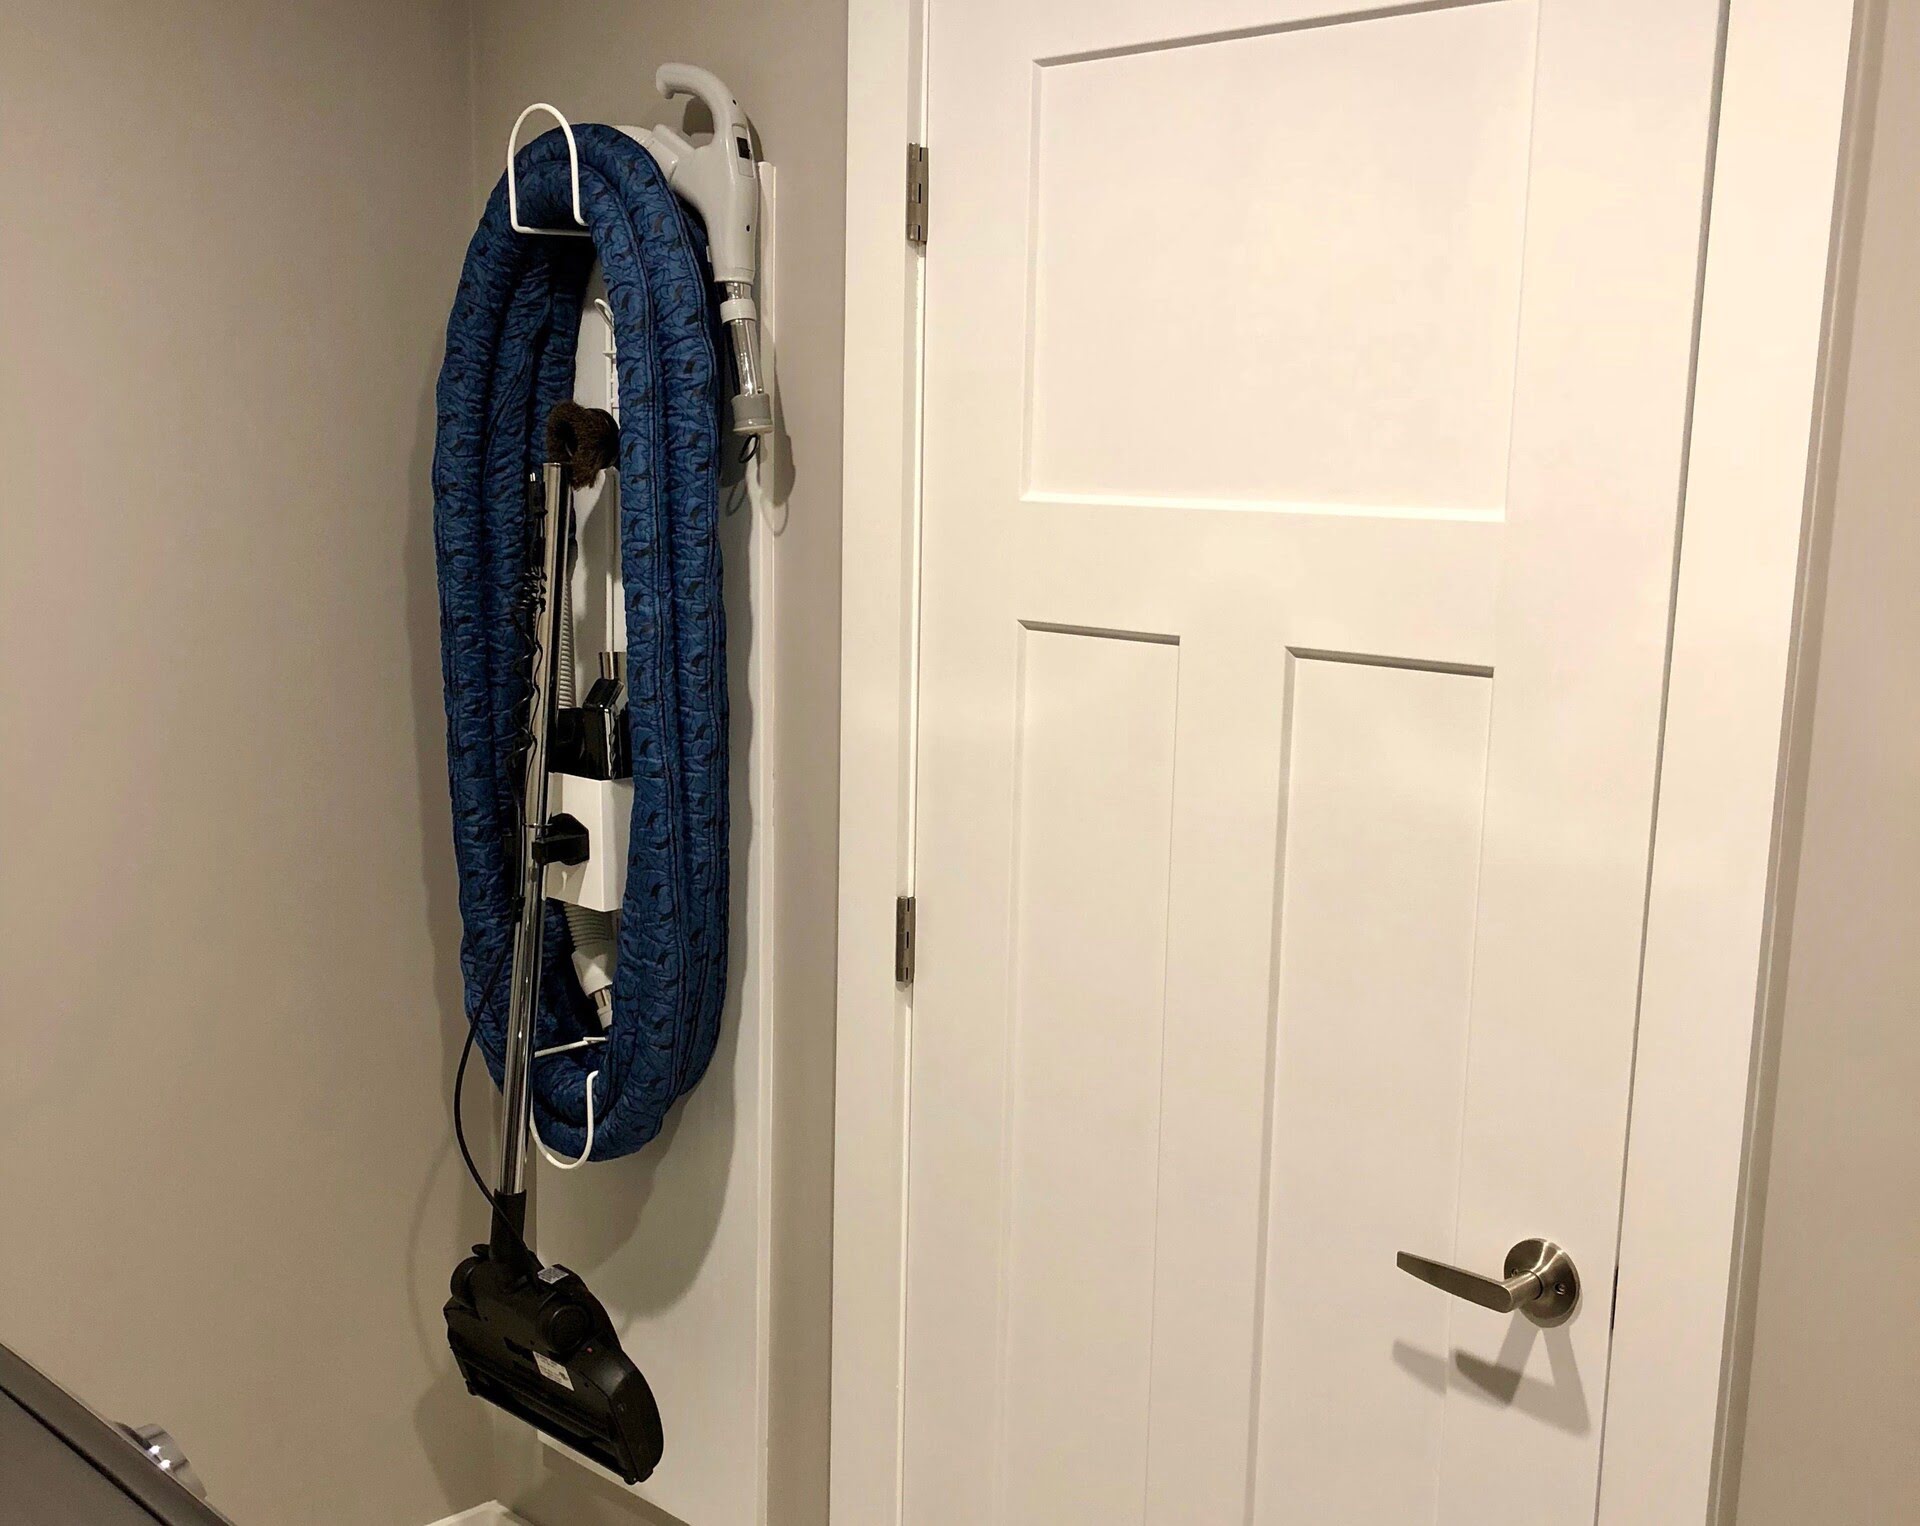
- Dry the Hose: Once the hose is clean and rinsed, use a clean, dry cloth to wipe the exterior and interior surfaces. Additionally, allow the hose to air dry completely before reattaching it to the vacuum cleaner. Hanging the hose in a well-ventilated area will expedite the drying process.
By following these meticulous cleaning steps, you can effectively remove dirt, dust, and debris from the vacuum cleaner hose, restoring its suction power and ensuring optimal performance. With the hose now thoroughly cleaned, you are ready to proceed to the next step: reattaching it to the vacuum cleaner and conducting a final test to ensure that it operates seamlessly.
To clean a vacuum cleaner hose, first detach it from the vacuum. Use a long, flexible brush or a combination of vinegar and hot water to scrub the inside of the hose. Rinse thoroughly and let it air dry before reattaching.
Step 4: Reattach the Hose
With the vacuum cleaner hose now thoroughly cleaned and dried, it’s time to reattach it to the vacuum cleaner. Follow these steps to securely reattach the hose, ensuring a seamless connection:
- Inspect the Hose Connection Point: Before reattaching the hose, inspect the connection point on the vacuum cleaner to ensure that it is clean and free of any debris or obstructions. This will facilitate a smooth and secure reattachment process.
- Align and Insert the Hose: Align the hose with the corresponding attachment point on the vacuum cleaner. Once aligned, gently insert the hose, taking care to engage any locking mechanisms or attachments as per the specific design of your vacuum cleaner.
- Secure the Hose: Once the hose is inserted, ensure that it is securely attached to the vacuum cleaner. Depending on the model, you may need to twist the hose, press a locking button, or employ a similar method to secure it in place.
- Test the Connection: After reattaching the hose, give it a gentle tug to confirm that it is firmly secured to the vacuum cleaner. A secure connection is essential to prevent air leaks and ensure optimal suction power during operation.
By following these steps, you can confidently reattach the hose to your vacuum cleaner, setting the stage for the final phase of the cleaning process: testing the vacuum cleaner to ensure that the hose is functioning seamlessly.
Read also: 14 Best Vacuum Cleaner With Hose For 2025
Step 5: Test the Vacuum Cleaner
After reattaching the hose, it’s crucial to perform a test to ensure that the vacuum cleaner operates seamlessly and that the hose is functioning optimally. Follow these steps to conduct a thorough test of the vacuum cleaner:
- Power On the Vacuum Cleaner: Plug the vacuum cleaner back into the power source and switch it on. Allow the vacuum cleaner to run for a few moments to ensure that it is functioning properly.
- Check Suction Power: Place your hand near the end of the hose and assess the suction power. You should feel a strong and consistent suction, indicating that the hose is clear of any obstructions and that the cleaning process has been successful.
- Test Hose Maneuverability: Maneuver the vacuum cleaner with the reattached hose to ensure that it moves smoothly and that the hose remains securely connected during operation. Test the flexibility and reach of the hose to confirm that it can effectively access various areas for cleaning.
- Observe for Abnormal Noises: While the vacuum cleaner is running, listen for any unusual noises that may indicate a potential issue with the hose or the vacuum cleaner. Unusual rattling, whistling, or grinding sounds should be investigated further to identify and address any underlying problems.
By conducting a comprehensive test of the vacuum cleaner, you can confirm that the reattached hose is functioning optimally and that the overall performance of the vacuum cleaner meets your expectations. If any issues are identified during the testing phase, revisit the cleaning process to ensure that the hose is free of any obstructions or blockages.
With the successful completion of the testing phase, your vacuum cleaner is now ready to resume its essential role in maintaining a clean and healthy living environment.
Conclusion
Congratulations! You have successfully learned how to clean a vacuum cleaner hose, ensuring that your vacuum cleaner maintains its optimal performance and suction power. By following the step-by-step guide outlined in this comprehensive tutorial, you have taken proactive measures to keep your vacuum cleaner in top condition and ready to tackle cleaning tasks with ease.
Regular maintenance and cleaning of the vacuum cleaner hose are essential to prevent clogs, maintain suction power, and extend the lifespan of your valuable cleaning appliance. By investing time in thorough cleaning and testing, you have contributed to the overall efficiency and effectiveness of your vacuum cleaner, ensuring that it continues to deliver exceptional cleaning results.
Remember to incorporate these cleaning techniques into your regular home maintenance routine, as proactive care for your vacuum cleaner will yield long-term benefits. Additionally, stay attentive to any signs of reduced suction power or unusual noises during vacuuming, as these may indicate the need for further cleaning or maintenance of the hose.
With your newly acquired knowledge and practical skills, you are well-equipped to maintain a clean and hygienic living environment while maximizing the performance of your vacuum cleaner. Embrace the satisfaction of knowing that your proactive approach to vacuum cleaner maintenance contributes to a healthier and more enjoyable home environment for you and your family.
Thank you for embarking on this cleaning journey with us. We hope this guide has empowered you to confidently clean and maintain your vacuum cleaner hose, ensuring that it continues to be a reliable ally in your quest for a clean, dust-free home.
Frequently Asked Questions about How To Clean A Vacuum Cleaner Hose
Was this page helpful?
At Storables.com, we guarantee accurate and reliable information. Our content, validated by Expert Board Contributors, is crafted following stringent Editorial Policies. We're committed to providing you with well-researched, expert-backed insights for all your informational needs.
0 thoughts on “How To Clean A Vacuum Cleaner Hose”