Articles
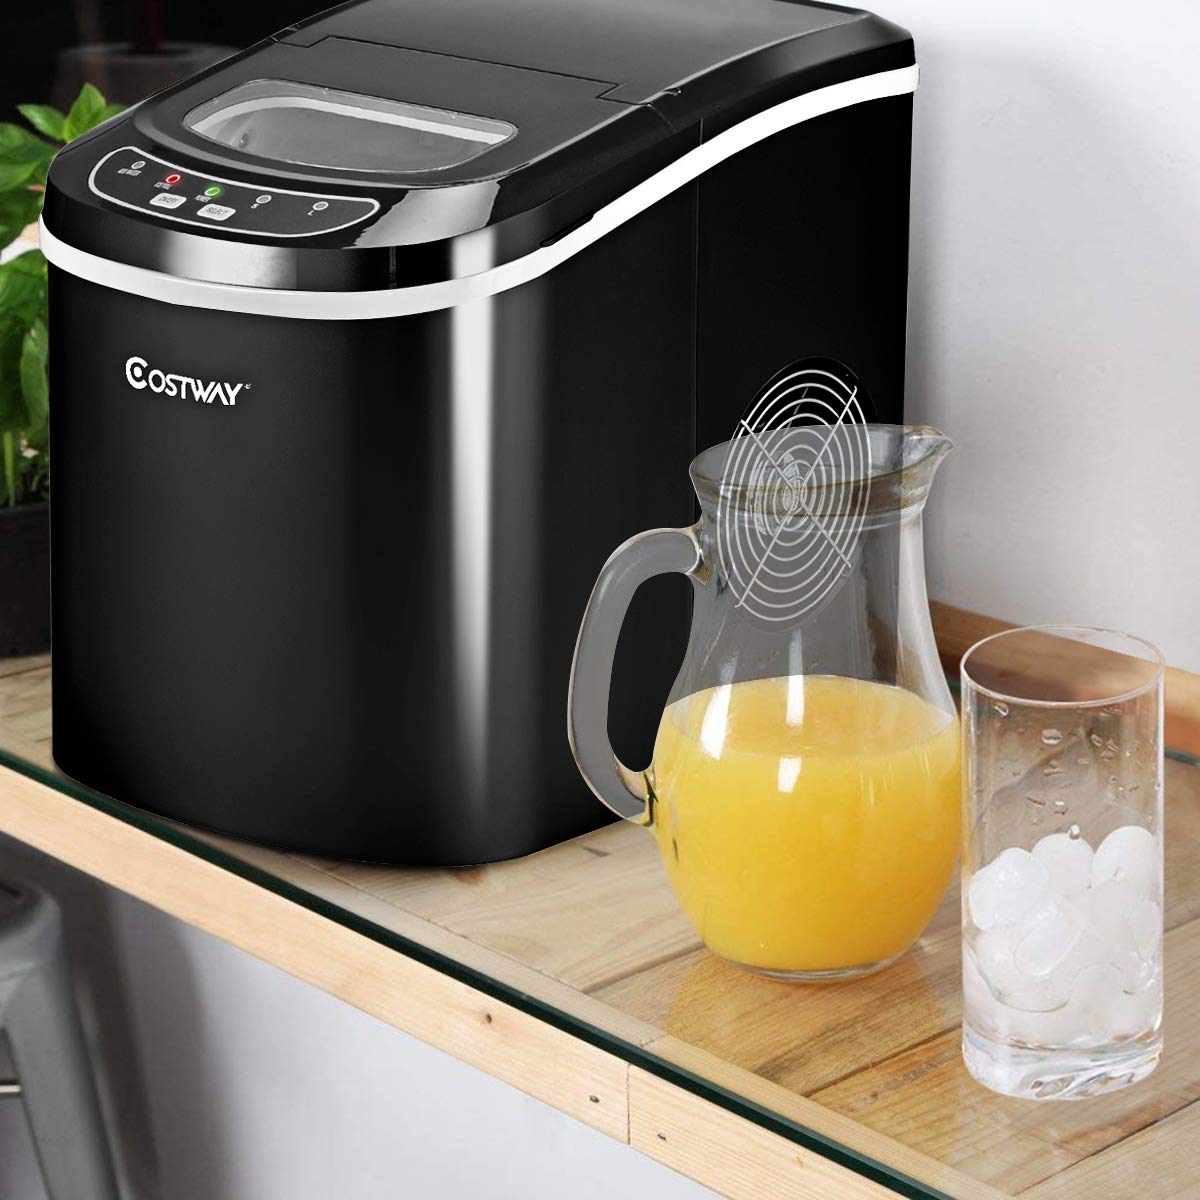
How To Clean An Opal Ice Maker
Modified: December 6, 2023
Learn how to clean an opal ice maker with our informative articles. Keep your ice maker running smoothly and efficiently.
(Many of the links in this article redirect to a specific reviewed product. Your purchase of these products through affiliate links helps to generate commission for Storables.com, at no extra cost. Learn more)
Introduction
Welcome to the comprehensive guide on how to clean an Opal ice maker. Having a clean and well-maintained ice maker is essential for producing high-quality ice cubes and ensuring the longevity of your appliance. Over time, mineral deposits, mold, and bacteria can accumulate inside the ice maker, affecting the taste and quality of the ice it produces.
Regular cleaning not only improves the appearance and functionality of your Opal ice maker but also helps prevent any potential health risks associated with dirty ice. In this article, we will take you through a step-by-step process to effectively clean your ice maker and keep it in optimal condition.
Before we get started, it’s important to note that the cleaning techniques outlined here are specifically for the Opal ice maker. Make sure to check your manufacturer’s manual for any specific instructions or recommendations for your particular model.
Now, let’s gather the equipment needed and dive into the cleaning process!
Key Takeaways:
- Regularly cleaning your Opal ice maker is crucial for producing high-quality, refreshing ice cubes and ensuring the longevity of your appliance. Follow the comprehensive guide for a hygienic and efficient ice-making experience.
- Prioritize safety by switching off and unplugging your ice maker before cleaning. Maintain the taste and quality of your ice by incorporating regular cleaning and maintenance into your routine.
Read more: How To Clean GE Opal Ice Maker With Vinegar
Equipment Needed
Before you begin the cleaning process, it’s important to gather the necessary equipment. Here’s a list of items you will need:
- Warm water
- Mild dish soap
- Soft, non-abrasive cloth
- Soft bristle brush or toothbrush
- Vinegar or citric acid (optional)
- Clean, lint-free towel
Ensure that you have these items readily available before starting the cleaning process. This will make the process smoother and more efficient.
Step 1: Switch Off and Unplug
Before you begin cleaning your Opal ice maker, it’s crucial to ensure that it is switched off and unplugged from the power source. This step is important for your safety and helps prevent any damage to the appliance.
To switch off the ice maker, locate the power switch, usually located on the side or back of the unit. Slide the switch to the “off” position to turn off the ice maker.
Next, unplug the ice maker from the power outlet. Simply pull out the plug from the socket to disconnect the ice maker from the electricity supply. Double-check that the ice maker is completely disconnected from the power source before proceeding to the next step.
By switching off and unplugging the ice maker, you ensure that there is no electricity running through the appliance during the cleaning process. This minimizes the risk of electric shock and allows you to clean the ice maker more safely and effectively.
Once you have switched off and unplugged the ice maker, you can proceed to the next step of removing the ice bin for cleaning.
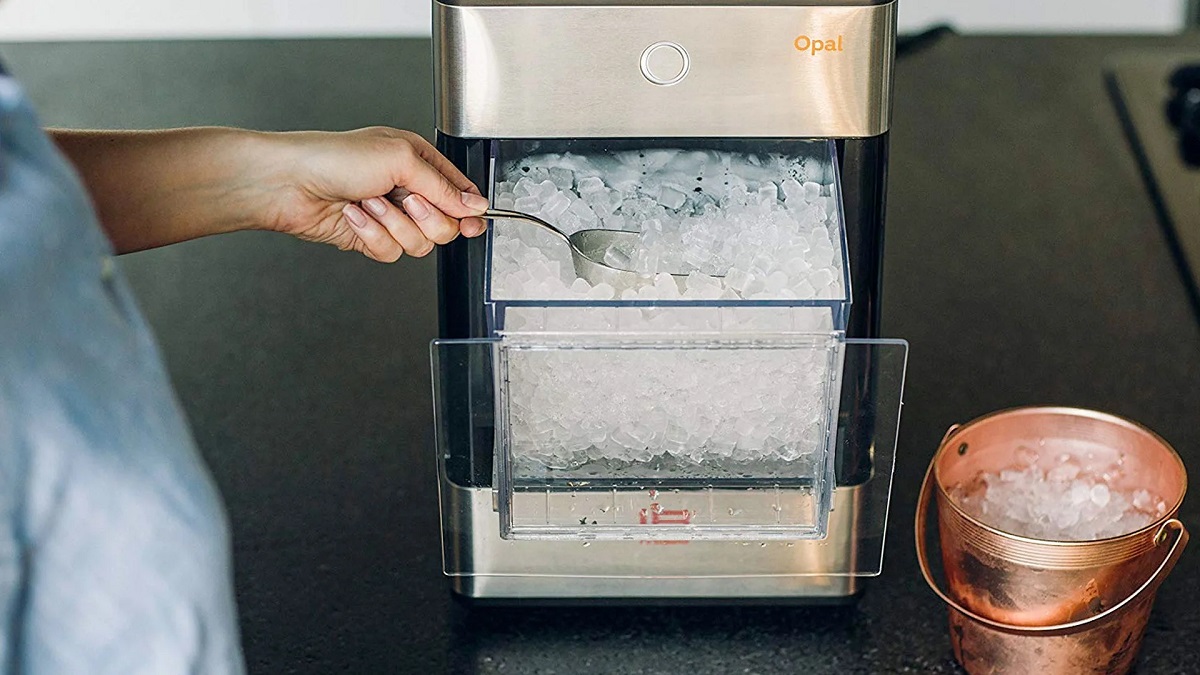
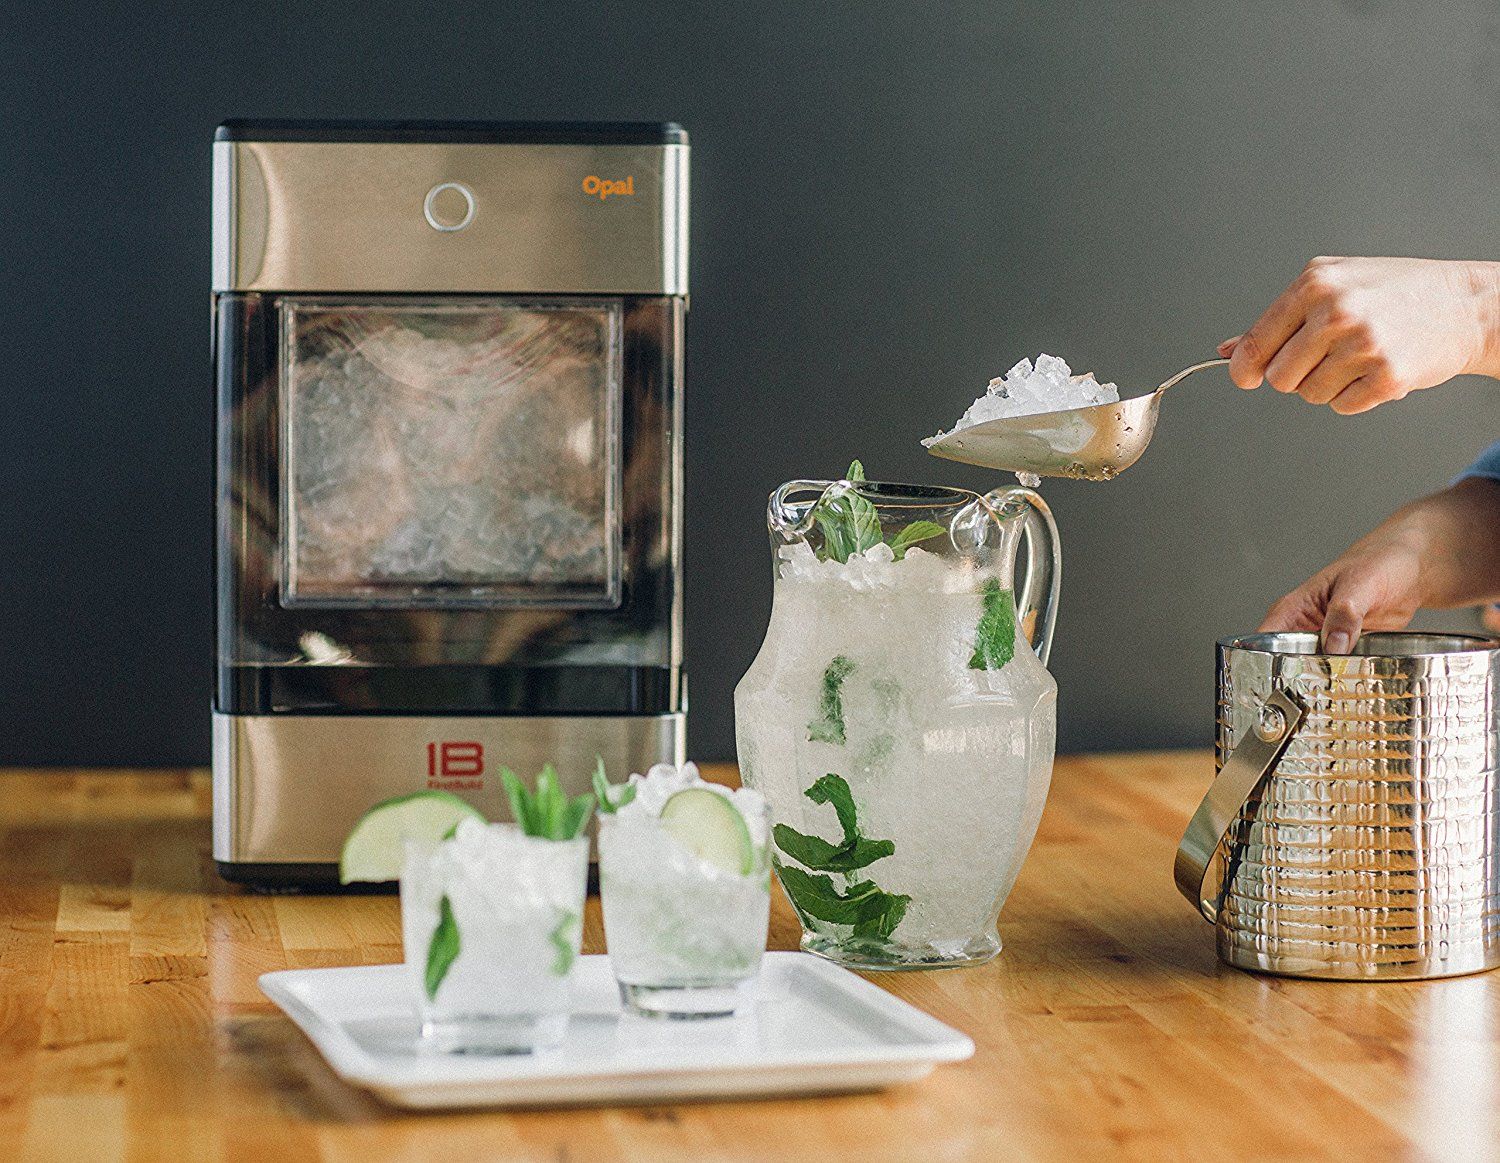
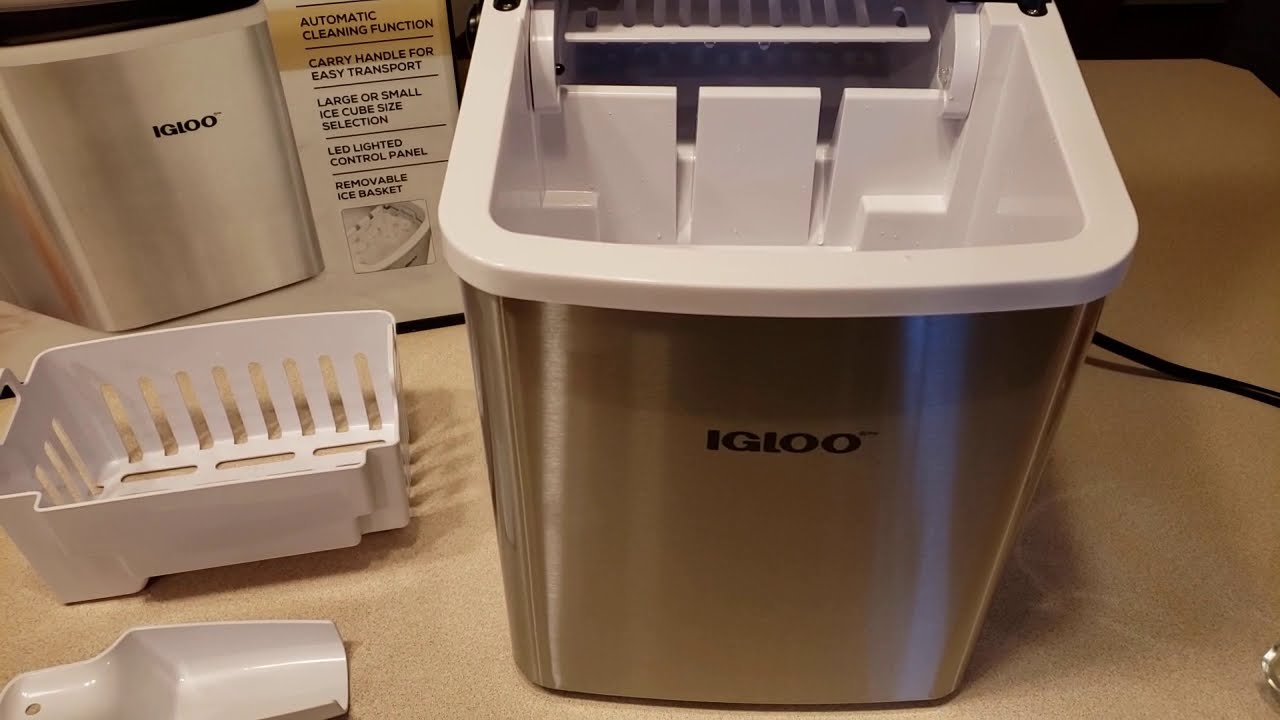
Step 2: Remove Ice Bin
After switching off and unplugging your Opal ice maker, the next step is to remove the ice bin. The ice bin is where the ice cubes are stored and can easily be removed for cleaning.
To remove the ice bin, locate the release button or lever on the front of the ice maker. Press or pull the release button/lever to unlock the ice bin from its position.
Once the ice bin is unlocked, gently pull it out from the ice maker. Be careful not to apply excessive force or tilt the bin to avoid spilling any remaining ice cubes.
With the ice bin removed, you now have better access to clean both the bin and the interior of the ice maker itself. Set the ice bin aside for now and proceed to the next step.
Note: If you notice any large ice clumps or blockage in the ice bin, it’s a good idea to remove them manually using a plastic utensil or scoop before proceeding with the cleaning process.
Now that you’ve successfully removed the ice bin, we can move on to the next step of cleaning it thoroughly.
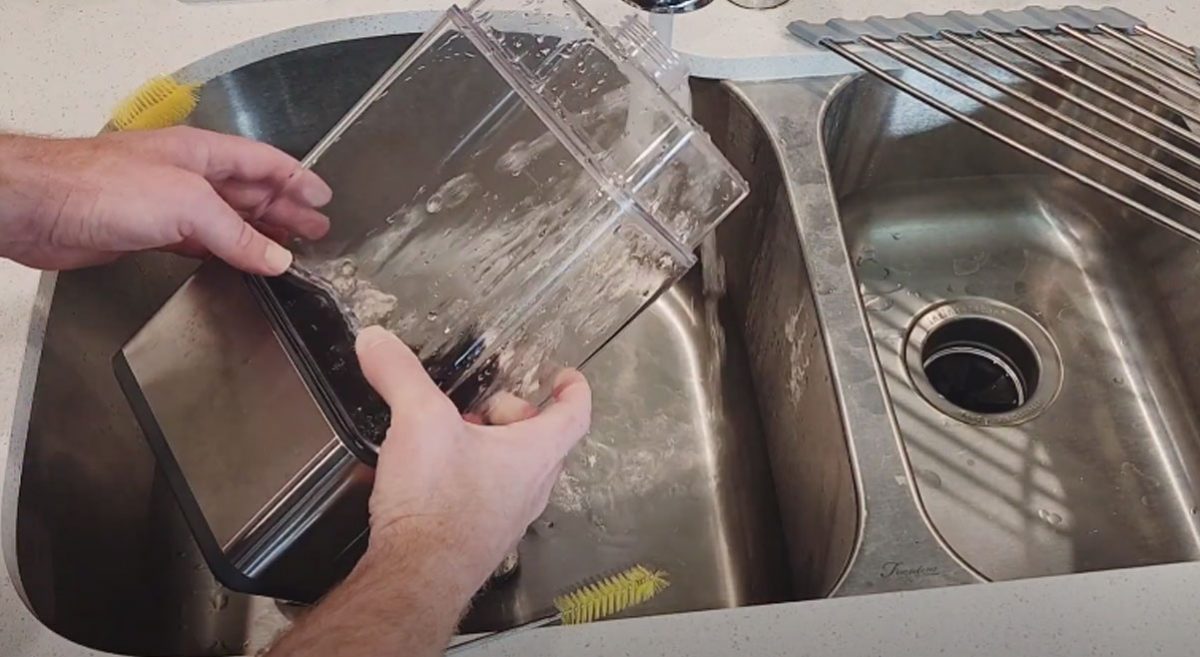
Step 3: Clean the Ice Bin
Now that you have removed the ice bin from your Opal ice maker, it’s time to give it a thorough cleaning. The ice bin is where the ice cubes are stored, so it’s important to keep it clean to maintain the quality and taste of your ice.
Here’s how to clean the ice bin:
- Empty the remaining ice: If there are any ice cubes left in the ice bin, empty them into the sink or a container to be used later.
- Wash with warm, soapy water: Fill your sink or a basin with warm water and add a mild dish soap. Submerge the ice bin in the soapy water and use a soft, non-abrasive cloth to scrub the interior and exterior of the bin. Pay special attention to removing any ice residue and stains.
- Rinse thoroughly: After scrubbing, rinse the ice bin thoroughly with warm water to remove any soap residue. Make sure to rinse off all the soap suds and ensure the bin is completely clean.
- Dry the ice bin: Once you have rinsed the ice bin, use a clean, lint-free towel to dry it completely. Wipe both the interior and exterior of the bin to remove any excess moisture.
It’s important to note that harsh chemicals, abrasive cleaners, or scouring pads should not be used to clean the ice bin. These can damage the surface of the bin and affect the taste of the ice cubes.
Once the ice bin is clean and dry, you can set it aside to be reinserted into the ice maker later. We’re halfway through the cleaning process! Let’s move on to the next step.
Read more: How To Connect Opal Ice Maker To Phone
Step 4: Clean the Exterior
Now that you have cleaned the ice bin, it’s time to focus on cleaning the exterior of your Opal ice maker. Over time, dust, dirt, and fingerprints can accumulate on the surface, making it look dull or dirty. Cleaning the exterior not only improves its appearance but also ensures efficient operation of the ice maker.
Follow these steps to clean the exterior of your Opal ice maker:
- Prepare a cleaning solution: In a basin or bucket, mix warm water with a small amount of mild dish soap. Stir the solution to create a soapy mixture.
- Dip a soft cloth: Take a soft, non-abrasive cloth and dip it into the soapy solution. Make sure the cloth is damp but not dripping wet.
- Gently wipe the exterior: Starting from the top, gently wipe the exterior surfaces of the ice maker with the damp cloth. Pay special attention to areas that are prone to collecting dust or dirt, such as the control panel, buttons, and corners.
- Remove tough stains: If there are any stubborn stains or marks on the exterior, dampen the cloth with a bit more soapy water and gently scrub the affected area. Avoid using excessive force or abrasive materials to prevent scratching or damaging the surface.
- Rinse and dry: Once you have thoroughly cleaned the exterior, rinse the cloth with clean water and wring out any excess moisture. Use the damp cloth to wipe away any soap residue from the ice maker. Finally, dry the exterior with a clean, lint-free towel. Ensure that there is no moisture remaining on the surface.
By regularly cleaning the exterior of your Opal ice maker, you can maintain its appearance and prevent any build-up of dirt or grime. This step is important not only for aesthetic purposes but also for the overall cleanliness and performance of the ice maker.
We’re nearly done with the cleaning process! Let’s move on to the next step, where we will clean the interior of the ice maker.
To clean an Opal ice maker, mix 2 cups of white vinegar with 2 cups of water and run it through the machine. Then, run two cycles of clean water to rinse.
Step 5: Clean the Interior
Now that you have cleaned the exterior of your Opal ice maker, it’s time to focus on cleaning the interior to remove any lingering dirt, mold, or bacteria. Cleaning the interior is crucial for maintaining the quality and safety of the ice produced by your ice maker.
Follow these steps to clean the interior of your Opal ice maker:
- Prepare a cleaning solution: In a basin or bucket, mix equal parts warm water and white vinegar. Vinegar is a natural disinfectant that helps remove odors, stains, and bacteria.
- Soak a soft cloth: Dip a soft cloth or sponge into the cleaning solution and squeeze out any excess liquid. The cloth should be damp but not dripping.
- Gently wipe the interior: Start wiping the interior surfaces of the ice maker with the damp cloth. Pay extra attention to areas that come into direct contact with water, such as the ice chute, water distribution tray, and ice-making mechanism.
- Remove stubborn stains or residue: If there are any stubborn stains or mineral deposits, you can use a soft bristle brush or toothbrush dipped in the cleaning solution to gently scrub the affected areas. Be careful not to scrub too hard to avoid damaging any sensitive components.
- Rinse with clean water: Once you have cleaned the interior, rinse the cloth or sponge with clean water and wipe away any residue or vinegar smell.
- Dry thoroughly: Use a clean, lint-free towel to dry the interior of the ice maker. Ensure that no moisture is left behind, as this can lead to mold growth or affect the ice production.
It’s important to note that if you prefer not to use vinegar, you can substitute it with a mixture of warm water and citric acid. Citric acid also acts as a natural cleaning agent and helps remove mineral deposits effectively.
By cleaning the interior of your Opal ice maker regularly, you can maintain a hygienic environment for ice production and ensure the longevity of your appliance. Now that the interior is clean, let’s move on to the next step of cleaning the water reservoir.
Step 6: Clean the Water Reservoir
One important component of your Opal ice maker that needs regular cleaning is the water reservoir. The water reservoir holds the water that is used to make ice cubes, and over time, it can accumulate mineral deposits, mold, or bacteria. Cleaning the water reservoir ensures that the water used for making ice is clean and of high quality.
Follow these steps to clean the water reservoir of your Opal ice maker:
- Empty the water reservoir: Start by emptying the water reservoir of any remaining water. Depending on your model, you may need to remove a cap or drain plug at the bottom of the reservoir to allow the water to drain out completely.
- Prepare a cleaning solution: In a basin or bucket, mix equal parts warm water and vinegar or citric acid. Both vinegar and citric acid are effective at removing mineral deposits and disinfecting.
- Soak a soft cloth or sponge: Dip a soft cloth or sponge into the cleaning solution and squeeze out any excess liquid. The cloth or sponge should be damp but not overly saturated.
- Wipe the interior of the reservoir: Using the damp cloth or sponge, wipe the interior surfaces of the water reservoir. Pay close attention to any areas where mineral deposits may have formed, such as around the water inlet or along the sides of the reservoir.
- Remove tough stains or deposits: If there are stubborn mineral deposits, you can use a soft bristle brush or toothbrush dipped in the cleaning solution to gently scrub the affected areas. Be careful not to scrub too hard to avoid damaging the reservoir.
- Rinse the reservoir: After cleaning, rinse the reservoir with clean water to remove any vinegar or citric acid residue. Ensure that the reservoir is thoroughly rinsed and free of any cleaning solution.
- Dry the reservoir: Use a clean, lint-free towel to dry the interior of the water reservoir. Make sure there is no moisture left behind, as this can lead to mold growth or affect the quality of the ice.
After cleaning the water reservoir, you can proceed to the next step of cleaning the water filter, if your Opal ice maker is equipped with one.
Note: It’s important to clean the water reservoir regularly, at least every three to six months, to prevent any build-up and ensure the cleanliness of the water used for making ice.
Now that the water reservoir is clean, we can move on to the next step of cleaning the water filter (if applicable).
Step 7: Clean the Water Filter
If your Opal ice maker is equipped with a water filter, it’s important to clean it regularly to ensure the quality of the water used to make ice. The water filter helps remove impurities and contaminants, ensuring that the ice is clean and free from any unwanted taste or odor.
Follow these steps to clean the water filter of your Opal ice maker:
- Identify the water filter: Locate the water filter in your Opal ice maker. It is usually located near the water inlet or inside the water reservoir.
- Remove the water filter: Depending on the design of your Opal ice maker, you may need to twist, unscrew, or unclip the water filter to remove it from its housing.
- Prepare a cleaning solution: In a basin or bucket, mix warm water with a small amount of mild dish soap.
- Soak the water filter: Place the water filter into the basin or bucket of the cleaning solution and let it soak for about 15 minutes. This will help loosen any debris or impurities stuck in the filter.
- Gently scrub the filter: After soaking, use a soft bristle brush or toothbrush to gently scrub the water filter. Pay attention to both sides of the filter and remove any remaining residue or debris. Be careful not to scrub too hard, as it may damage the filter.
- Rinse the filter: Rinse the water filter thoroughly with clean water to remove any soap residue or debris. Make sure the filter is completely clean before reinserting it into the ice maker.
- Let the filter dry: Set the water filter aside and allow it to air dry completely. Avoid using a towel or cloth to dry the filter, as it may leave behind lint or fibers.
- Reinstall the water filter: Once the water filter is dry, carefully install it back into its housing. Follow the manufacturer’s instructions for proper installation.
It’s important to clean the water filter regularly, ideally every three to six months, or as recommended by the manufacturer. This helps maintain the efficiency and effectiveness of the filter in providing clean and purified water for ice making.
Now that you have cleaned the water filter, we can move on to the final step of reassembling and plugging in your Opal ice maker.
Read more: How Often Does The Opal Ice Maker Defrost
Step 8: Reassemble and Plug In
Congratulations! You’re almost done with the cleaning process for your Opal ice maker. Now it’s time to reassemble the parts and plug in the appliance to get it up and running again.
Follow these steps to reassemble and plug in your Opal ice maker:
- Place the clean ice bin back into the ice maker: Take the ice bin that you cleaned earlier and carefully slide it back into its position in the ice maker. Ensure that it is properly aligned and securely inserted.
- Double-check all connections: Before plugging in the ice maker, double-check that all parts and connections are properly reassembled. Make sure the water reservoir and water filter (if applicable) are in their proper positions.
- Plug in the ice maker: Locate the power cord of your Opal ice maker and insert it into a grounded electrical outlet. Ensure that the ice maker is securely plugged in.
- Turn on the ice maker: Locate the power switch of your Opal ice maker and slide it to the “on” position. This will power up the ice maker, and it should start the ice-making process.
- Monitor for proper operation: Once the ice maker is turned on, monitor it to ensure that it’s functioning correctly. Check if ice cubes are being made and if the water is filling the reservoir properly.
By following these steps, you have successfully reassembled your Opal ice maker and plugged it back in. It’s important to regularly clean and maintain your ice maker to ensure optimal performance and hygienic ice production.
Remember to refer to your Opal ice maker’s manual for any specific instructions or recommendations on cleaning and maintenance. This will ensure that you are following the manufacturer’s guidelines for your particular model.
Congratulations once again on completing the cleaning process for your Opal ice maker. Enjoy the clean and refreshing ice it produces!
Disclaimer: This article provides general guidelines for cleaning an Opal ice maker. However, it’s always recommended to consult the manufacturer’s manual for specific instructions and guidelines for your particular model.
Conclusion
Congratulations on successfully completing the comprehensive cleaning process for your Opal ice maker! Regularly cleaning and maintaining your ice maker is essential for producing clean, high-quality ice cubes and ensuring the longevity of your appliance. By following the step-by-step guide outlined in this article, you have learned how to effectively clean the ice bin, exterior, interior, water reservoir, and water filter (if applicable).
Remember, keeping your Opal ice maker clean not only improves its functionality but also ensures that the ice it produces is free from impurities, odors, and potential health risks. Regular cleaning helps maintain the taste and quality of the ice, providing a refreshing and enjoyable experience.
Throughout the cleaning process, it’s important to prioritize safety by switching off and unplugging the ice maker before starting any cleaning tasks. Additionally, be mindful of using the appropriate cleaning solutions and tools to avoid damaging the appliance or affecting the ice production.
By incorporating regular cleaning and maintenance into your routine, you can extend the lifespan of your Opal ice maker and enjoy ice cubes that are clean, refreshing, and free from any unwanted particles or tastes.
Remember to refer to your Opal ice maker’s manual for any specific instructions or recommendations on cleaning and maintenance. Each model may have slightly different cleaning requirements, and it’s important to follow the manufacturer’s guidelines to ensure optimal performance.
Thank you for following this comprehensive guide on how to clean an Opal ice maker. We hope you found it informative and helpful. Enjoy the freshly cleaned ice cubes and continue to enjoy all the cool and refreshing drinks they enhance!
Frequently Asked Questions about How To Clean An Opal Ice Maker
Was this page helpful?
At Storables.com, we guarantee accurate and reliable information. Our content, validated by Expert Board Contributors, is crafted following stringent Editorial Policies. We're committed to providing you with well-researched, expert-backed insights for all your informational needs.

0 thoughts on “How To Clean An Opal Ice Maker”