Articles
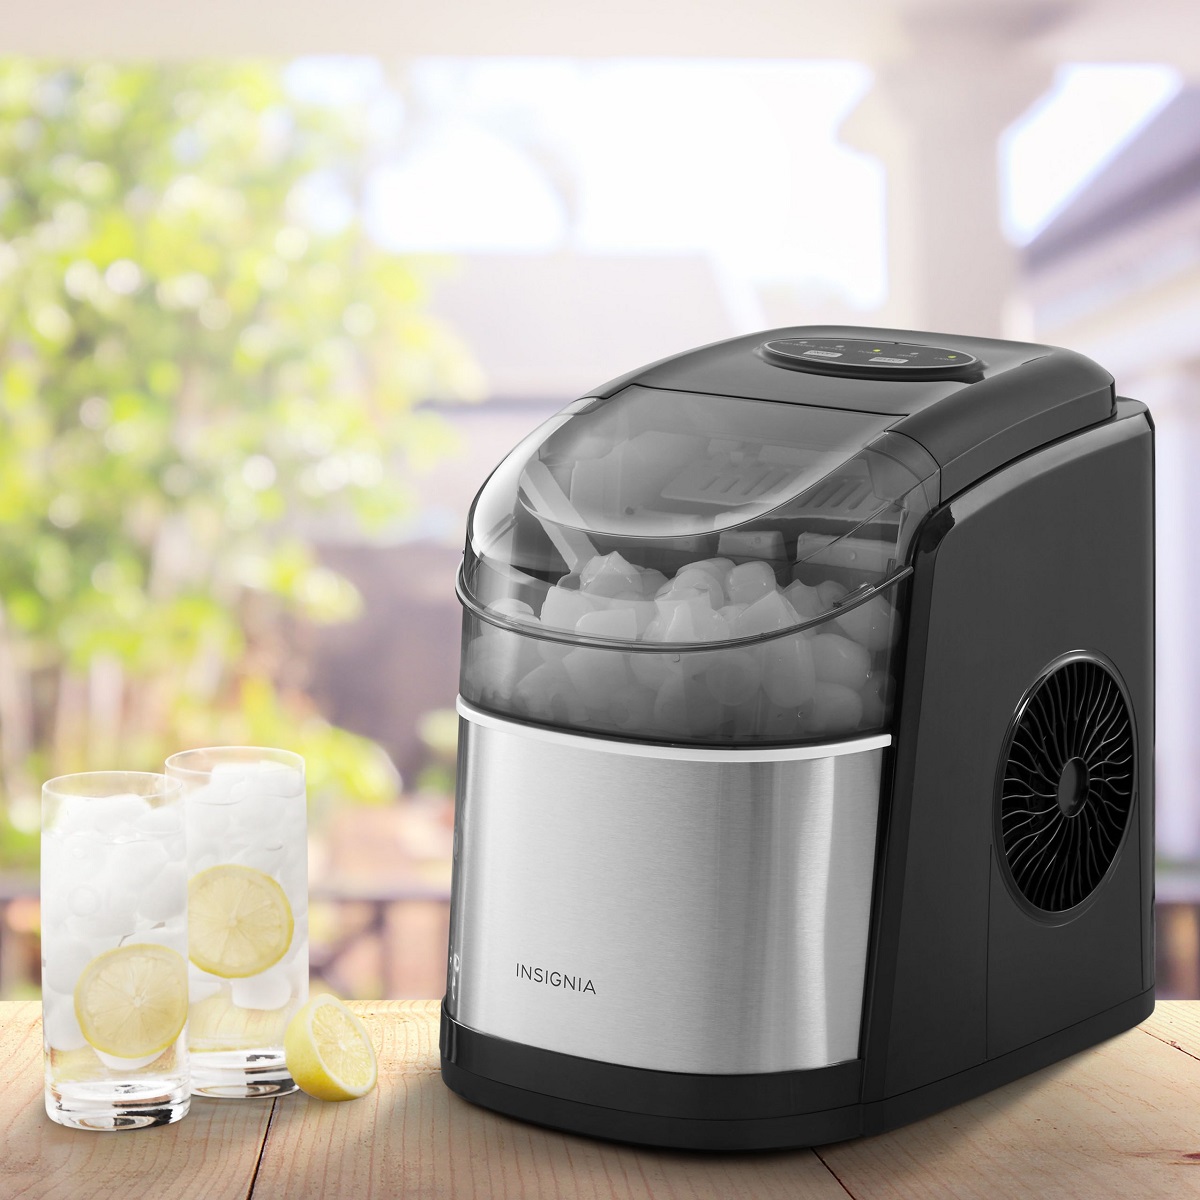
How To Clean Insignia Ice Maker?
Modified: May 6, 2024
Learn effective methods to clean your Insignia ice maker with helpful articles. Easily maintain your ice maker for optimal performance and longevity.
(Many of the links in this article redirect to a specific reviewed product. Your purchase of these products through affiliate links helps to generate commission for Storables.com, at no extra cost. Learn more)
Introduction
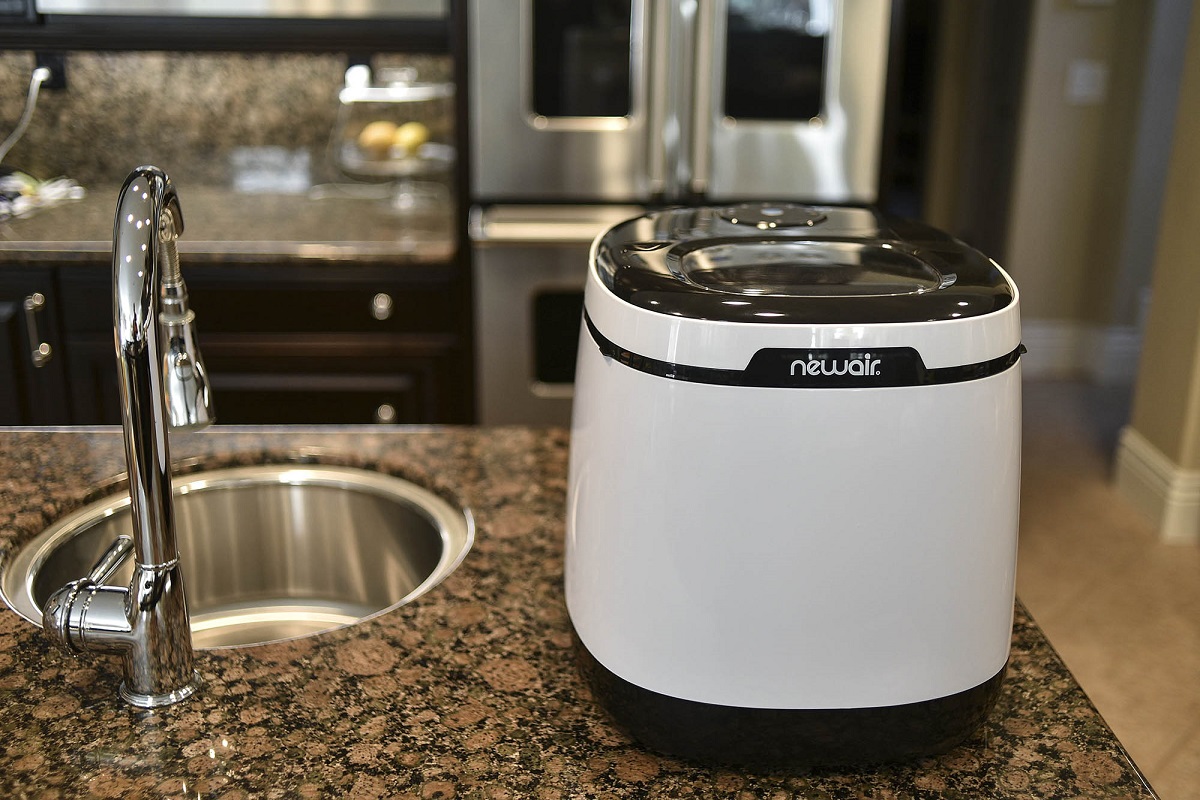
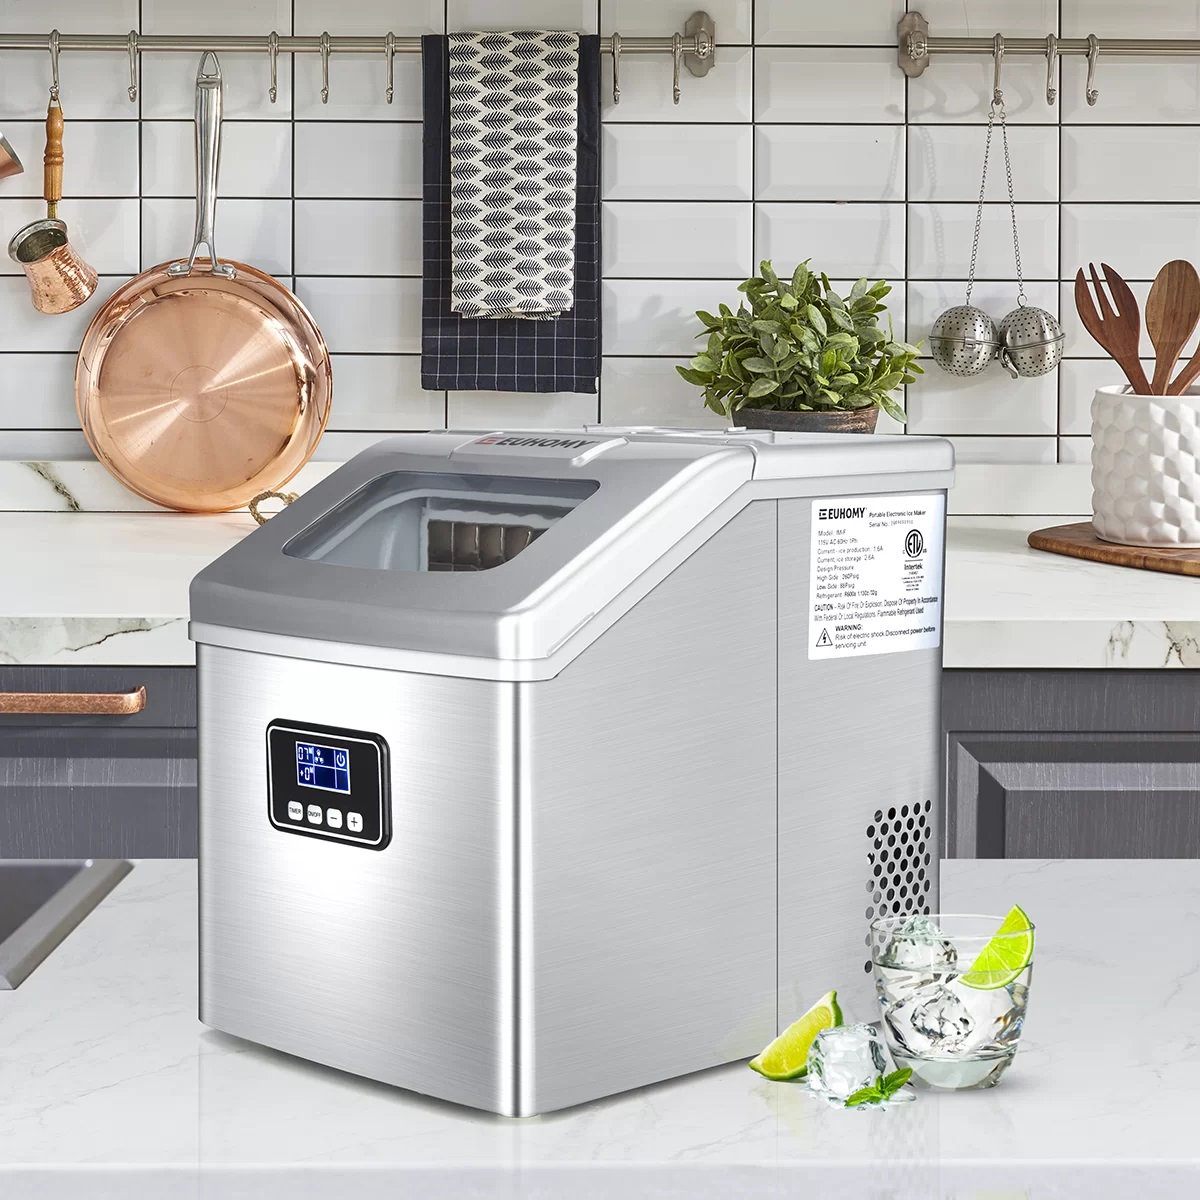
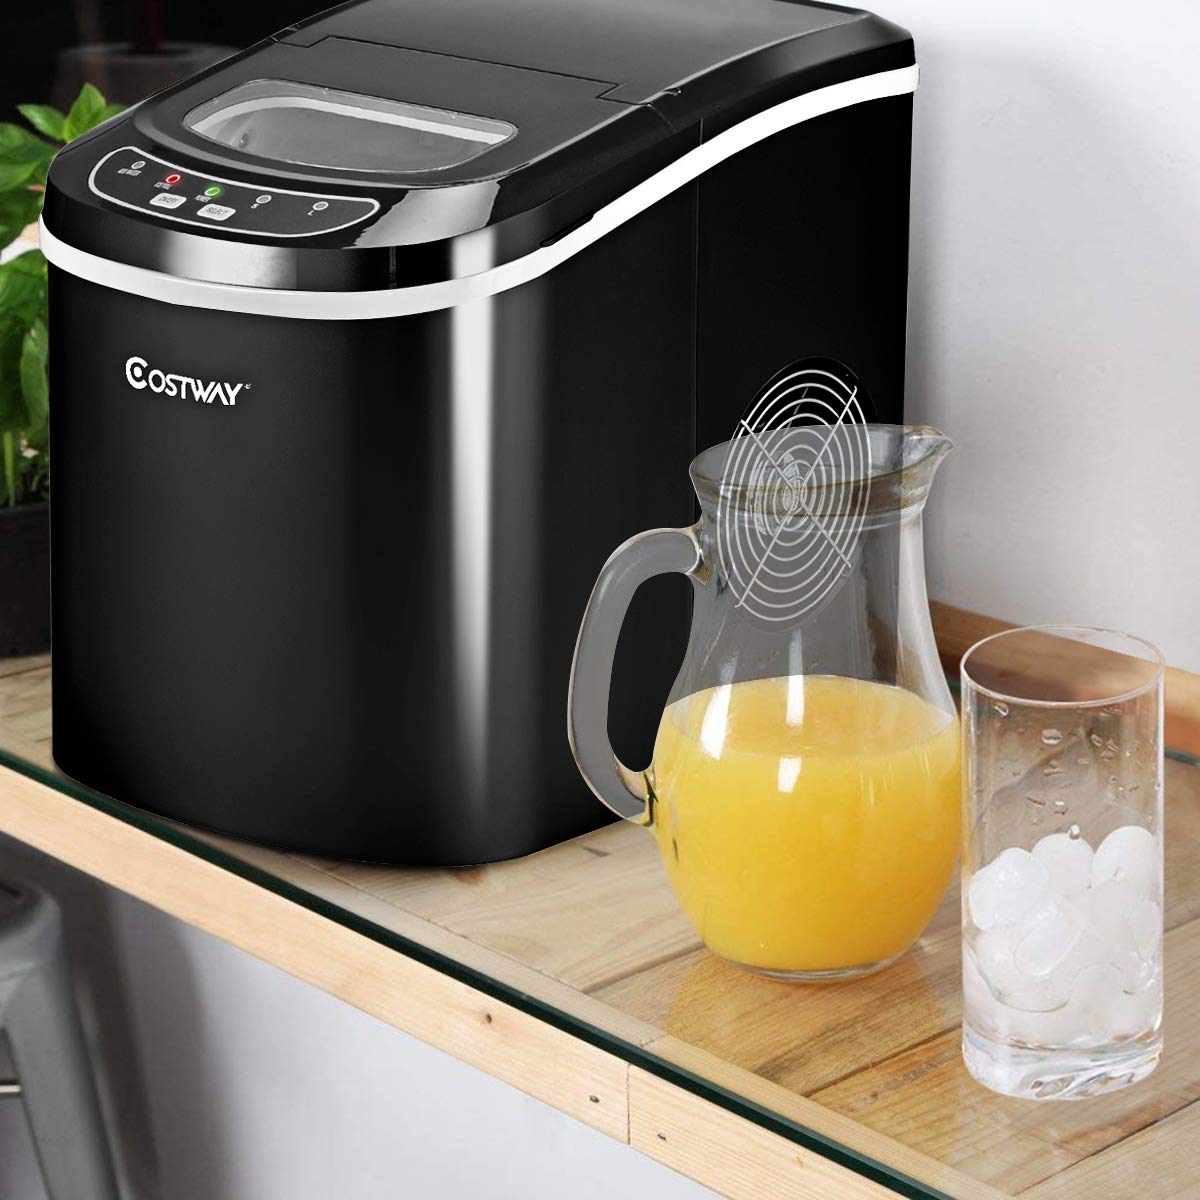
Having an Insignia ice maker can be a convenient addition to your home or office. It ensures that you always have a fresh supply of ice on hand, whether it’s for a refreshing beverage or for entertaining guests. However, like any appliance, regular maintenance is necessary to keep it running smoothly and producing clean ice. In this article, we will guide you through the steps on how to clean your Insignia ice maker efficiently and effectively.
Cleaning your Insignia ice maker not only ensures the quality and taste of the ice it produces but also helps to prolong its lifespan. Over time, mineral deposits, bacteria, and other impurities can accumulate, affecting both the performance and the cleanliness of the ice maker. By following these simple cleaning steps, you can keep your ice maker in optimal condition and continue enjoying clean and refreshing ice.
Before you begin the cleaning process, it is essential to ensure your safety. Always refer to the manufacturer’s instructions and follow the guidelines provided. Additionally, make sure to unplug the ice maker and remove any ice from the bin before starting the cleaning process. Taking these precautions will prevent any accidents or damage to the appliance.
Key Takeaways:
- Regularly cleaning your Insignia ice maker is crucial for maintaining its performance and ensuring the production of clean, refreshing ice. Follow the manufacturer’s guidelines and safety precautions for optimal results.
- Prioritize safety by unplugging the ice maker and wearing protective gear. Clean the ice-making unit, tray, scoop, and exterior regularly to eliminate impurities and maintain a hygienic ice-making experience.
Read more: How To Clean A Igloo Ice Maker
Safety Precautions
Prior to cleaning your Insignia ice maker, it is important to take certain safety precautions to protect yourself and the appliance. Follow these guidelines to ensure a safe and efficient cleaning process:
- Unplug the ice maker: Before you begin cleaning, make sure to disconnect the ice maker from the power source. This will prevent any electrical hazards and ensure your safety throughout the cleaning process.
- Wear protective gear: It is recommended to wear protective gloves while handling the ice maker and cleaning solutions. This will protect your hands from any potential irritants or chemicals present during the cleaning process.
- Keep the area well-ventilated: When using cleaning agents or solutions, ensure that the area is properly ventilated. Open windows or use fans to circulate fresh air, as some cleaning chemicals can release fumes that may be harmful if inhaled in a poorly ventilated space.
- Read the manufacturer’s instructions: Every ice maker has its own specifications and instructions for cleaning. Familiarize yourself with the manufacturer’s guidelines before starting the cleaning process to ensure you are following the correct steps and using approved cleaning agents.
- Use approved cleaning agents: Refer to the user manual or manufacturer’s instructions to determine the recommended cleaning agents for your Insignia ice maker. Using unapproved or harsh chemicals may damage the appliance or contaminate the ice.
- Ensure the ice maker is dry before plugging it back in: After completing the cleaning process, ensure that the ice maker is completely dry before plugging it back into the power source. This will prevent electrical damage and ensure the safe functioning of the appliance.
By following these safety precautions, you can clean your Insignia ice maker with peace of mind, knowing that you are protecting yourself and preserving the integrity of the appliance. Let’s move on to the step-by-step process of cleaning your Insignia ice maker.
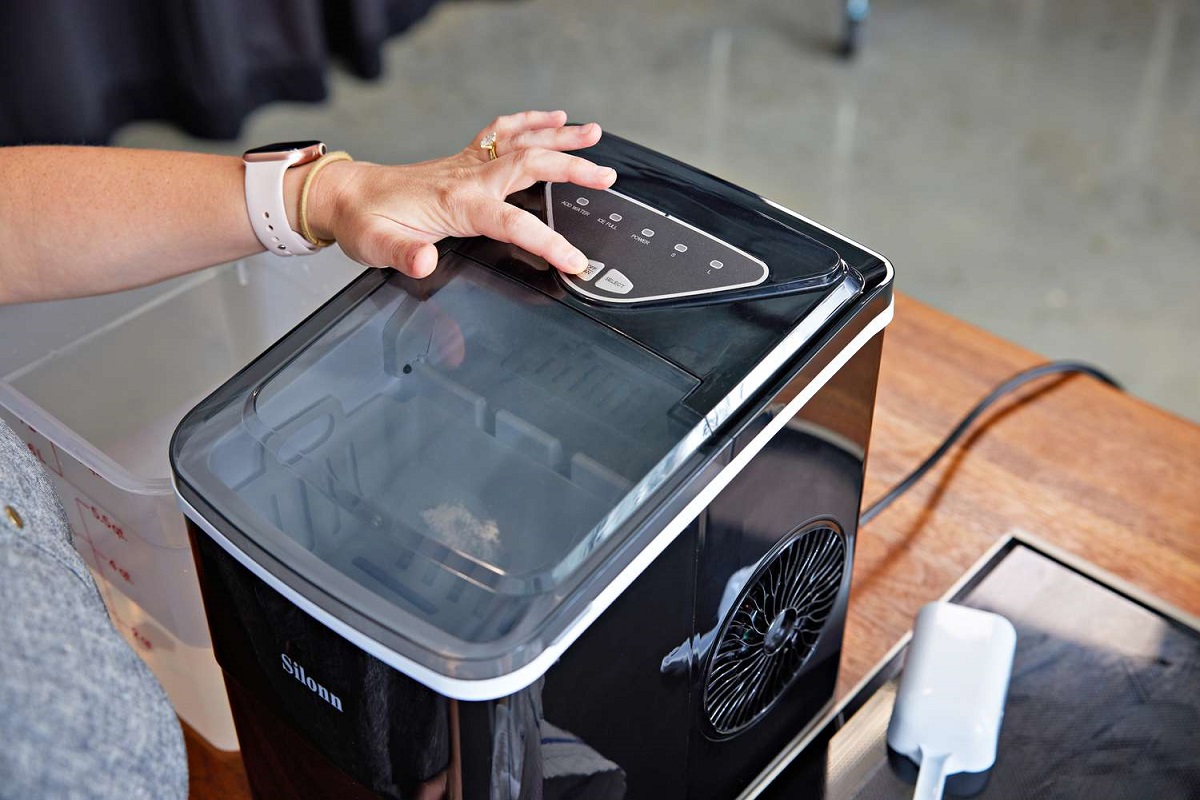
Step 1: Unplug the Ice Maker
The first step in cleaning your Insignia ice maker is to unplug it from the power source. This is crucial for your safety and to avoid any potential electrical accidents. Unplugging the ice maker will ensure that you can handle and clean the appliance without the risk of electric shock.
To unplug the ice maker, locate the power cord at the back or side of the appliance. Gently pull the plug out from the electrical outlet, ensuring a clean and smooth disconnection. Make sure to place the power cord in a safe and easily accessible area to avoid tripping hazards.
Once the ice maker is unplugged, it is also a good time to check if there are any visible signs of damage or wear on the power cord. Examine the cord for frays, cuts, or exposed wires. If you notice any damage, it is important to replace the cord before using the ice maker again.
By unplugging the ice maker, you are taking the necessary precaution to ensure your safety while cleaning the appliance. Let’s proceed to the next step—emptying the ice bin.
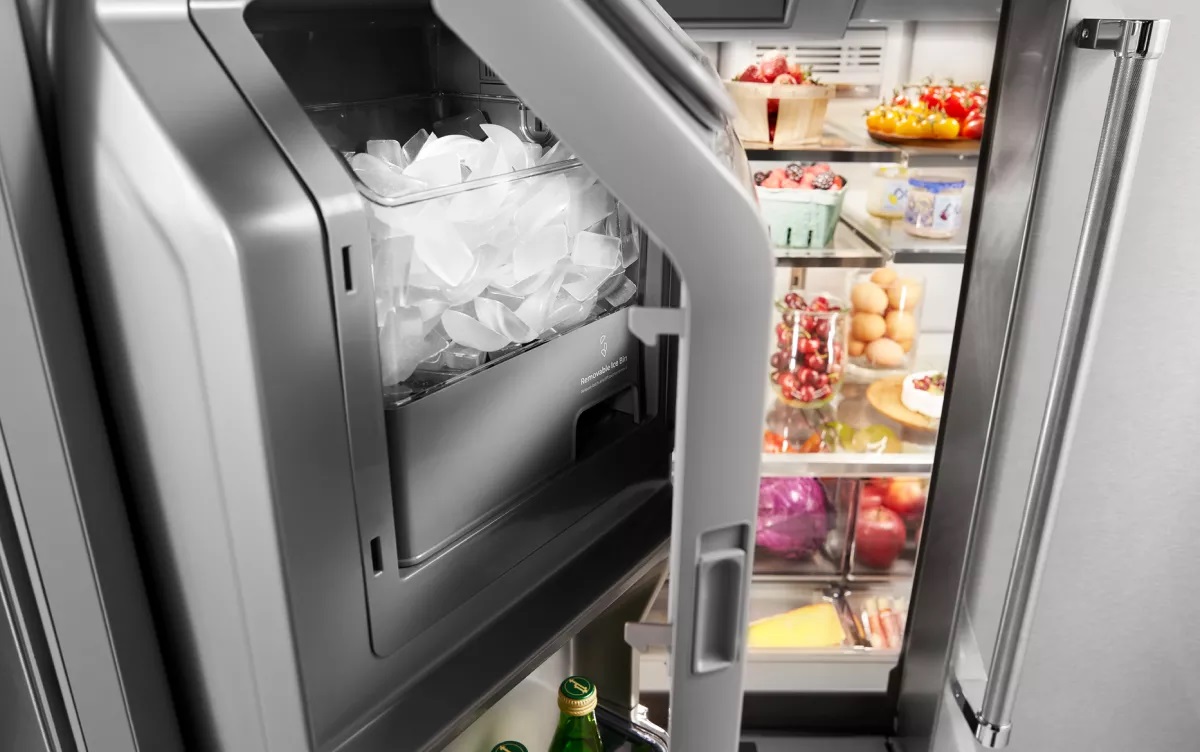
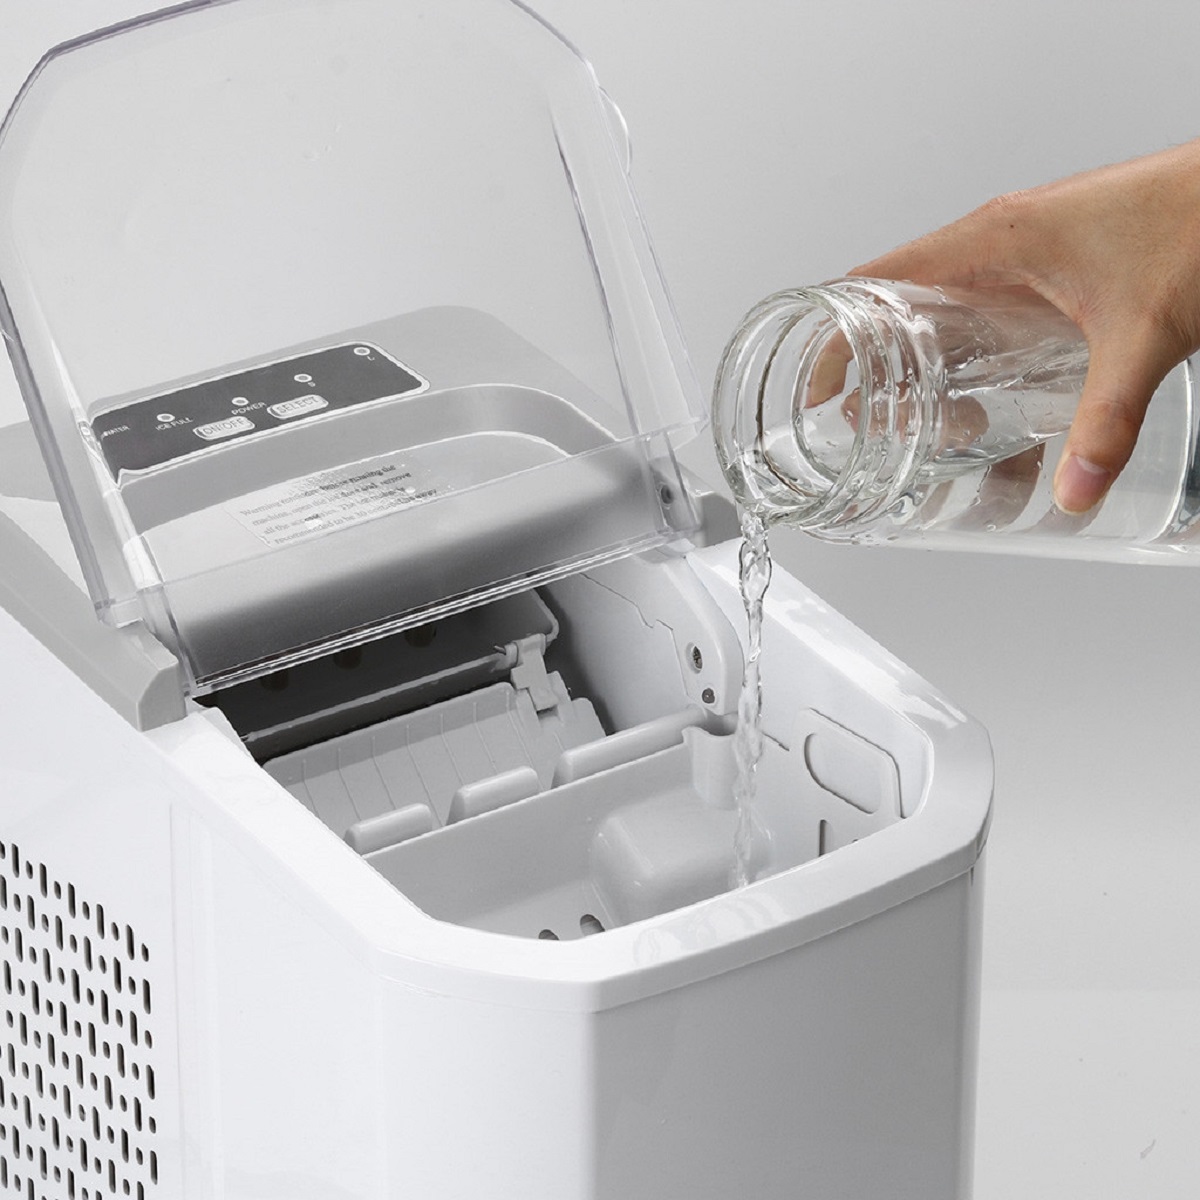
Step 2: Empty the Ice Bin
After you have unplugged the Insignia ice maker, the next step is to empty the ice bin. This will ensure that you have a clean and empty space to work with during the cleaning process.
Start by carefully removing the ice bin from the ice maker. Depending on the model, you may need to press a release button or lever to detach the bin from the appliance. Once it is free, hold the bin with both hands and gently pull it out, taking care not to spill any ice or water.
Transfer the ice from the bin into a suitable container or a sink. If the ice has melted partially, it is advisable to discard it and use fresh ice instead. This is important to maintain the cleanliness and quality of the ice produced by your Insignia ice maker.
Once the bin is empty, take a moment to examine its interior. If you notice any residue or debris, clean the bin using mild soap and warm water. Scrub the surfaces gently with a soft brush or sponge to remove any stuck-on particles, ensuring a thorough cleaning.
After cleaning, rinse the ice bin thoroughly to remove any soap residue. Make sure to dry it completely before reattaching it to the ice maker. This step will prevent any water from contaminating the fresh ice produced in the future.
With the ice bin emptied and cleaned, you are now ready to move on to the next step—removing and cleaning the ice-making unit of your Insignia ice maker.
Step 3: Remove and Clean the Ice Making Unit
Once you have emptied the ice bin, it’s time to remove and clean the ice-making unit of your Insignia ice maker. This is where the ice is formed, and it’s important to keep it clean to ensure optimal ice production.
Start by locating the ice-making unit within the ice maker. This may require removing any trays, covers, or panels that are covering the unit. Refer to the user manual or manufacturer’s instructions for specific guidance on accessing the ice-making unit in your particular model.
Once you have accessed the ice-making unit, use a soft cloth or sponge to wipe away any visible dirt or debris. Pay close attention to the nooks and crannies where impurities can accumulate. If there are any stubborn stains or mineral deposits, you can use a mixture of equal parts vinegar and water to gently scrub the affected areas.
It’s important to be gentle when cleaning the ice-making unit to avoid damaging any delicate parts. Avoid using abrasive cleaning tools or harsh chemicals, as they can harm the components of the ice maker. Stick to mild cleaning solutions and gentle scrubbing motions.
After cleaning, rinse the ice-making unit with clean water to remove any cleaning residue. Make sure to dry it thoroughly before reassembling it back into the ice maker. This will prevent any water from affecting the ice-making process and ensure the production of clean, fresh ice.
With the ice-making unit cleaned and ready, it’s time to move on to the next step—cleaning the ice tray and scoop.
To clean an Insignia ice maker, unplug the unit and remove any ice. Mix warm water and mild detergent, then use a soft cloth to wipe down the interior and exterior. Rinse with clean water and dry thoroughly before plugging it back in.
Read more: How To Clean Out An Ice Maker
Step 4: Clean the Ice Tray and Scoop
Now that you have cleaned the ice-making unit, it’s time to focus on cleaning the ice tray and scoop. These components come into direct contact with the ice, so it’s important to keep them clean to ensure the quality and hygiene of the ice produced.
Start by removing the ice tray from the ice maker. Depending on the model, you may need to twist or lift the tray to detach it from the ice maker. Once removed, empty any remaining ice into a sink or suitable container.
Next, wash the ice tray with warm, soapy water. Use a gentle dish soap and a soft brush or sponge to scrub away any residue or stains. Pay attention to the corners and crevices where particles can accumulate. Rinse the tray thoroughly with clean water to remove any soap residue.
After cleaning the ice tray, it’s time to clean the ice scoop. If your Insignia ice maker comes with a dedicated scoop, remove it from its storage compartment or holder. Wash the scoop with warm, soapy water, and scrub away any dirt or buildup. Rinse it thoroughly to ensure it is clean and free from any soap residue.
If your ice maker doesn’t come with a specific scoop or if you prefer using a different scoop, make sure to use a clean, food-safe scoop that is not contaminated with bacteria or chemicals.
Once both the ice tray and scoop are clean and dry, you can reinsert the ice tray back into the ice maker. Ensure it is properly aligned and securely placed to ensure smooth operation.
Cleaning the ice tray and scoop regularly will guarantee the production of clean and sanitary ice. Now, let’s move on to the next step—cleaning the exterior of the Insignia ice maker.
Step 5: Clean the Exterior of the Ice Maker
While it’s important to clean the internal components of your Insignia ice maker, it’s equally important to keep the exterior clean and presentable. Regularly wiping down the exterior of the ice maker will help maintain its appearance and prevent the buildup of dust and dirt.
Start by unplugging the ice maker from the power source to ensure your safety during the cleaning process. This step is crucial to avoid any accidental electric shocks or malfunctions.
Using a soft cloth or sponge, dampen it with a mild cleaning solution or a mixture of dish soap and warm water. Gently wipe down the exterior surfaces of the ice maker, paying attention to areas that are prone to accumulating dust and fingerprints.
If there are any stubborn stains or marks on the exterior, you can use a non-abrasive cleaner or a specialized stainless steel cleaner, depending on the material of your ice maker. Follow the manufacturer’s instructions regarding suitable cleaning products for your specific model.
Remember to be cautious when cleaning near the control panel or any electronic components. Avoid getting excessive moisture into these areas to prevent damage to the ice maker’s functionality.
Once you’ve cleaned the exterior surfaces, rinse the cloth or sponge with clean water and go over the ice maker again to remove any cleaning residue. Then, dry the exterior thoroughly with a clean, dry cloth.
After the exterior is dry, you can plug the ice maker back into the power source and prepare it for use.
By regularly cleaning the exterior of your Insignia ice maker, you can ensure that it looks its best and remains free from dust and dirt. Let’s move on to the final step—reassembling and plugging in the ice maker.
Step 6: Reassemble and Plug In the Ice Maker
Once you have thoroughly cleaned the internal and external components of your Insignia ice maker, it’s time to reassemble and plug in the appliance to prepare it for use.
If you had removed any trays, covers, or panels during the cleaning process, carefully reattach them according to the manufacturer’s instructions. Make sure they are secured in place and properly aligned to ensure smooth operation.
Before plugging in the ice maker, double-check that all components are dry to avoid any electrical hazards or damage to the appliance. Moisture can interfere with the electrical connections and potentially lead to malfunctions.
Now, locate the power cord at the back or side of the ice maker and gently plug it into a nearby electrical outlet. Ensure that the plug is inserted fully and properly seated in the outlet to establish a secure connection.
Once the ice maker is plugged in, you should see it power up. Allow the appliance to go through its startup cycle, which may involve the compressor running and the water supply filling the reservoir. Refer to the user manual for specific instructions on how to initiate and complete the startup process.
After the ice maker has gone through its startup cycle, you can begin using it to produce fresh ice. Depending on the model, it may take some time for the new batch of ice to be ready. Refer to the user manual for information on how long it typically takes for the ice maker to produce ice.
Congratulations! You have successfully cleaned, reassembled, and plugged in your Insignia ice maker. With proper maintenance and regular cleaning, your ice maker will continue to provide clean and refreshing ice for your enjoyment.
Remember to perform routine cleaning and maintenance of your ice maker as recommended by the manufacturer to ensure its continued performance and longevity.
Thank you for following this comprehensive guide on how to clean your Insignia ice maker. Enjoy the convenience of having fresh ice whenever you need it!
Conclusion
Cleaning your Insignia ice maker is an essential part of maintaining its performance, ensuring the production of clean and refreshing ice, and extending its lifespan. By following the step-by-step guide outlined in this article, you can easily and effectively clean your ice maker.
Remember to prioritize your safety during the cleaning process by unplugging the ice maker and wearing protective gear. Adhere to the manufacturer’s instructions and use approved cleaning agents to prevent any damage to the appliance or contamination of the ice.
Emptying the ice bin, cleaning the ice-making unit, ice tray, scoop, and the exterior of the ice maker will help eliminate dirt, debris, and impurities that can affect the quality and taste of the ice produced. Regular cleaning will also prevent the buildup of mineral deposits and bacteria, ensuring a hygienic ice-making experience.
After cleaning, reassembling the ice maker and plugging it back in will allow you to enjoy freshly made ice once again. Monitor the startup cycle and familiarize yourself with the usage instructions provided in the user manual to ensure a smooth and hassle-free operation.
By following the proper cleaning techniques and regular maintenance, your Insignia ice maker will continue to serve you well for years to come, providing you with a steady supply of clean and refreshing ice.
Thank you for taking the time to learn how to clean your Insignia ice maker. Enjoy the convenience and satisfaction of having a well-maintained appliance that consistently delivers ice for all your cold beverage needs!
Keeping your ice maker in tip-top shape doesn't stop here. If you're looking for more detailed guidance on maintaining crystal-clear ice and ensuring your machine runs smoothly, don't miss our comprehensive guide on ice maker cleaning. It covers everything from routine care to tackling those tricky areas that need a bit more attention. Dive into our easy-to-follow steps and keep your appliance in pristine condition for years to come!
Frequently Asked Questions about How To Clean Insignia Ice Maker?
Was this page helpful?
At Storables.com, we guarantee accurate and reliable information. Our content, validated by Expert Board Contributors, is crafted following stringent Editorial Policies. We're committed to providing you with well-researched, expert-backed insights for all your informational needs.
0 thoughts on “How To Clean Insignia Ice Maker?”