Articles
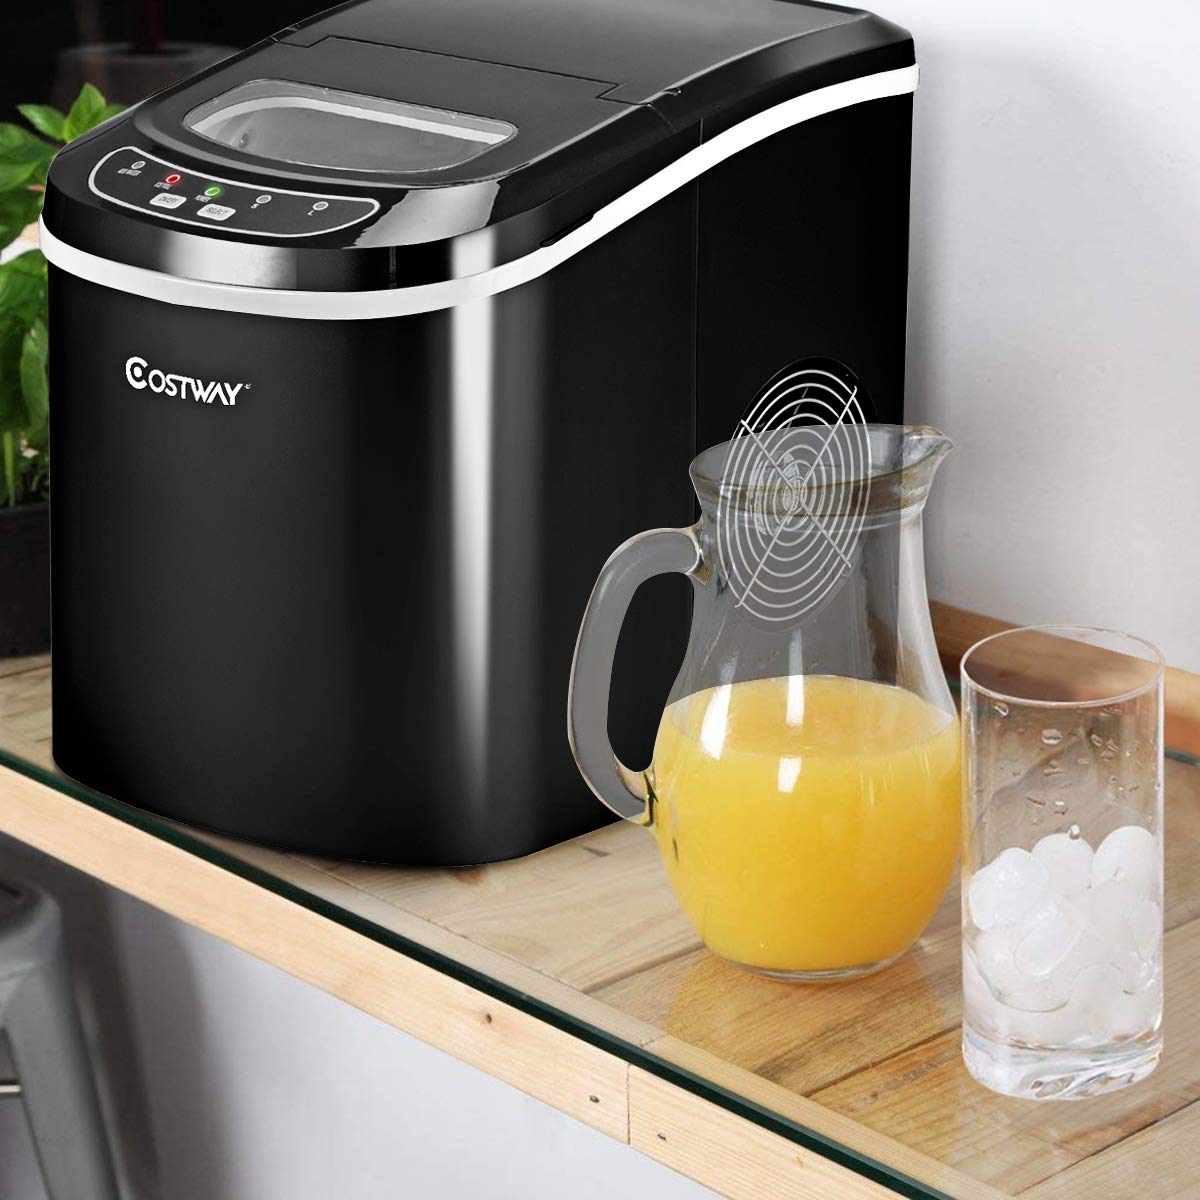
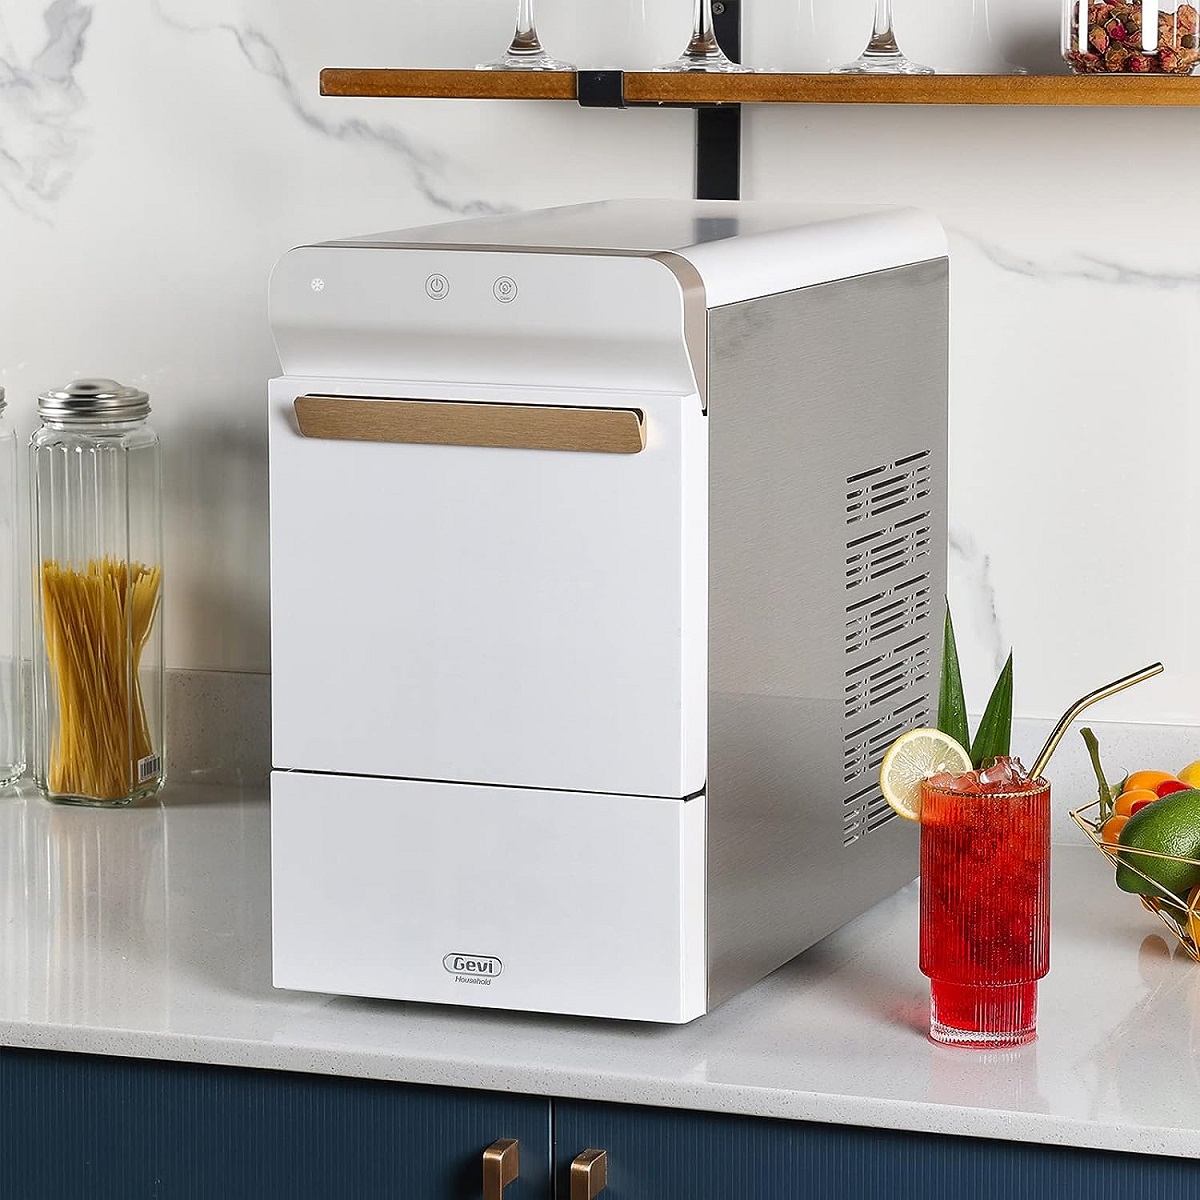
How To Clean A Costway Ice Maker
Modified: August 19, 2024
Learn how to clean your Costway ice maker with our helpful articles. Keep your ice maker performing at its best and avoid any issues.
(Many of the links in this article redirect to a specific reviewed product. Your purchase of these products through affiliate links helps to generate commission for Storables.com, at no extra cost. Learn more)
Introduction
Welcome to this comprehensive guide on how to clean a Costway ice maker. Owning an ice maker can be a convenient way to ensure you always have ice on hand for parties, gatherings, or everyday use. However, like any other appliance, regular cleaning is crucial to maintain the performance and longevity of your Costway ice maker.
Regular cleaning not only keeps your ice maker looking and smelling fresh but also ensures it produces clean and hygienic ice. Over time, mineral deposits, bacteria, and mold can accumulate, affecting the taste and quality of the ice cubes.
This guide will walk you through the step-by-step process of properly cleaning your Costway ice maker. It will also provide essential safety precautions to follow before and during the cleaning process. By following these instructions, you can keep your ice maker in optimal condition and enjoy high-quality ice cubes whenever you need them.
Before diving into the cleaning process, let’s go over some safety precautions to ensure a safe and effective cleaning experience.
Key Takeaways:
- Regular cleaning of your Costway ice maker is crucial to maintain its performance and ensure the production of clean, hygienic ice cubes for all your cooling needs.
- Following the step-by-step cleaning process and safety precautions outlined in this guide will help you keep your Costway ice maker in optimal condition, ensuring its longevity and efficient performance.
Read more: How To Use Costway Ice Maker
Safety Precautions
Before you begin cleaning your Costway ice maker, it is important to keep the following safety precautions in mind:
- Unplug the ice maker: Before starting any cleaning process, always ensure that your ice maker is unplugged from the power source to avoid the risk of electric shock. This step is crucial for your safety.
- Protect your hands: Wear protective gloves to prevent any injuries or skin irritation while handling cleaning agents or sharp objects during the cleaning process.
- Read the manufacturer’s instructions: Familiarize yourself with the user manual or any specific cleaning instructions provided by Costway. This will ensure that you follow the correct procedures and avoid any damage to your ice maker.
- Use mild cleaning agents: Avoid using harsh chemicals, such as bleach or abrasive cleaners, as they can damage the interior components of the ice maker. Instead, opt for mild and non-toxic cleaning solutions.
- Keep children and pets away: During the cleaning process, make sure to keep children and pets at a safe distance. This will prevent accidents and ensure their well-being.
- Allow the ice maker to thaw: If your ice maker has been recently in use, it is important to allow it to thaw completely before starting the cleaning process. This will prevent any damage caused by ice build-up.
- Read labels of cleaning agents: If you choose to use commercial cleaning agents, make sure to read the labels carefully and follow the instructions provided. This will prevent any adverse reactions or damage to your ice maker.
- Follow proper disposal guidelines: If you are disposing of any cleaning agents or water used during the cleaning process, follow the disposal guidelines provided by your local waste management authorities.
By following these safety precautions, you can ensure a safe and effective cleaning process for your Costway ice maker. Now that we have covered the safety aspects, let’s move on to gathering the necessary supplies for cleaning.
Gather the Necessary Supplies
Before you begin cleaning your Costway ice maker, it is important to gather all the necessary supplies. Having everything on hand will ensure a smooth cleaning process with minimal interruptions. Here are the supplies you will need:
- Mild cleaning solution: Prepare a mixture of mild dish soap and warm water. This will serve as the main cleaning solution for removing dirt and grime from the ice maker.
- Soft cloth or sponge: Use a soft cloth or sponge to clean the exterior surfaces of the ice maker. Avoid using abrasive materials that can scratch or damage the surface.
- Water: You will need clean water for rinsing off the cleaning solution. Make sure you have access to a water source nearby.
- Toothbrush or small brush: A toothbrush or small brush will come in handy for cleaning hard-to-reach areas or removing stubborn residue from the ice maker.
- Microfiber cloth: Use a microfiber cloth to dry the ice maker after cleaning. Microfiber cloths are absorbent and gentle on surfaces, leaving them streak-free.
- Ice scoop: Depending on your ice maker model, you may need to clean the ice scoop. Make sure to include it in your supply checklist if necessary.
- Optional: Vinegar: If your ice maker has stubborn mineral deposits, you can use vinegar as a natural cleaning agent. However, check the manufacturer’s instructions beforehand to ensure vinegar is safe to use on your specific model.
By having these supplies ready, you will be fully prepared to clean your Costway ice maker efficiently. Now that you have gathered all the necessary items, it’s time to unplug the ice maker and begin the cleaning process.
Unplug the Ice Maker
The first step in cleaning your Costway ice maker is to ensure it is completely unplugged from the power source. This step is essential for your safety and to prevent any electrical accidents during the cleaning process.
Locate the power cord of your ice maker and unplug it from the wall outlet. If the cord is difficult to reach, or if you are unsure which outlet powers the ice maker, it is recommended to turn off the main power switch or unplug the circuit breaker that supplies electricity to your ice maker to guarantee that it is not accidentally turned on while you clean it.
By unplugging the ice maker, you eliminate the risk of electric shock and ensure a safe working environment. Additionally, it prevents any damage to the electrical components of the appliance while cleaning.
After unplugging the ice maker, you can proceed with the next steps of the cleaning process without worrying about electrical hazards. Make sure to keep the plug disconnected until you have completed the entire cleaning process and are ready to reassemble and test the ice maker.
Now that you have safely unplugged your Costway ice maker, the next step is to remove the ice bin and any other removable accessories before cleaning. This will allow you to thoroughly clean each component without any obstructions. Let’s move on to the next step of the cleaning process.
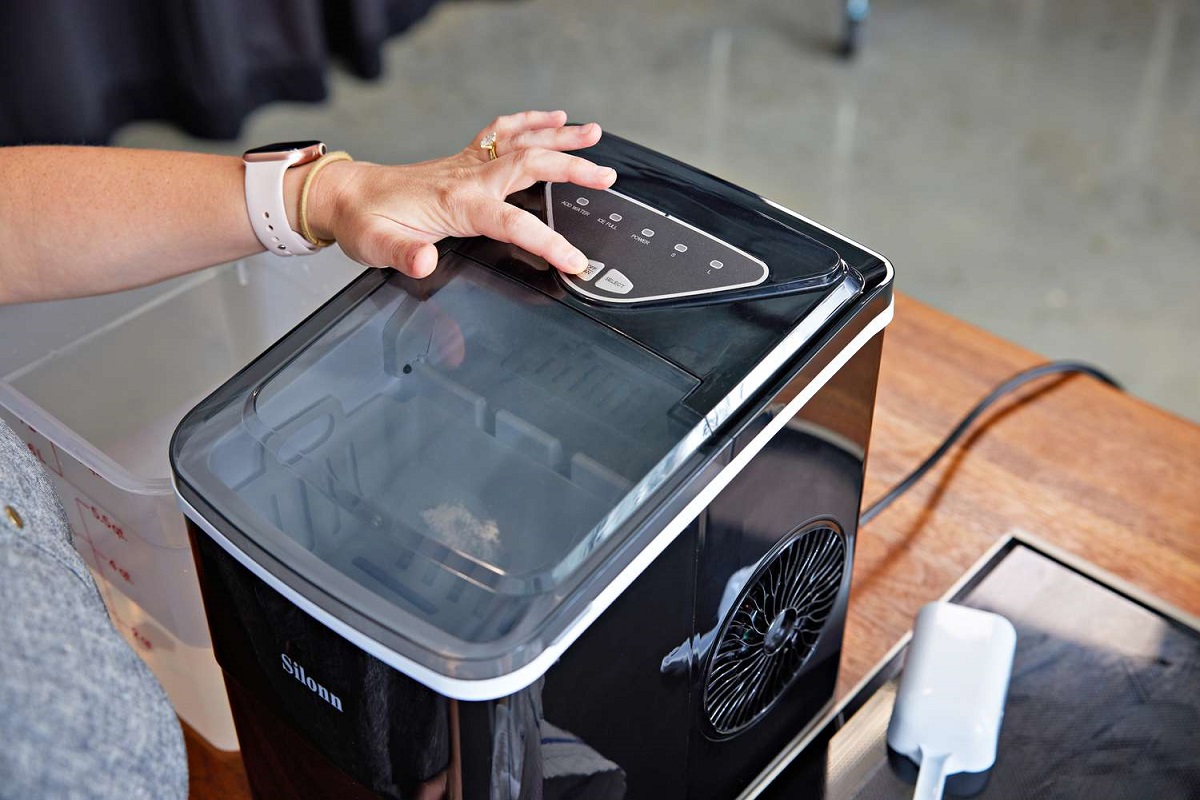
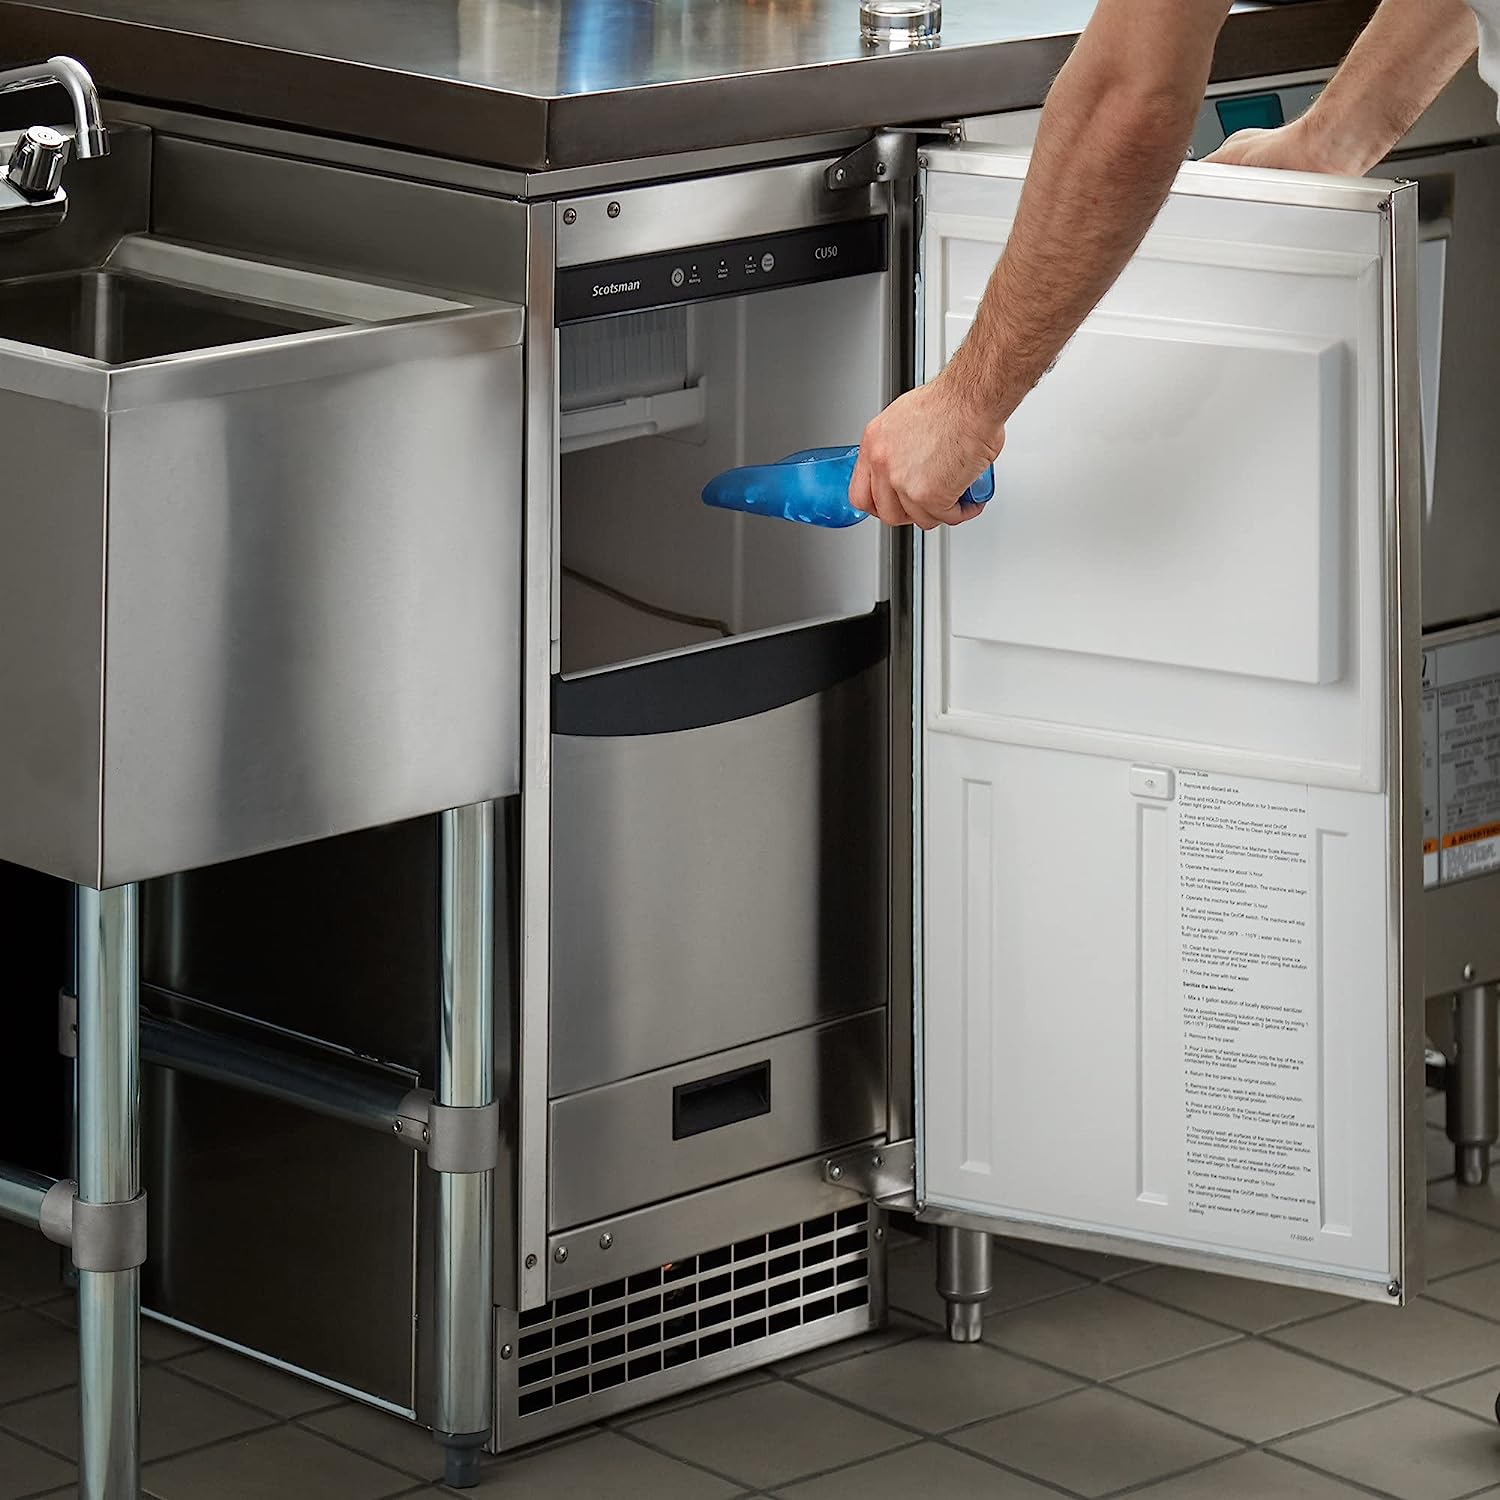
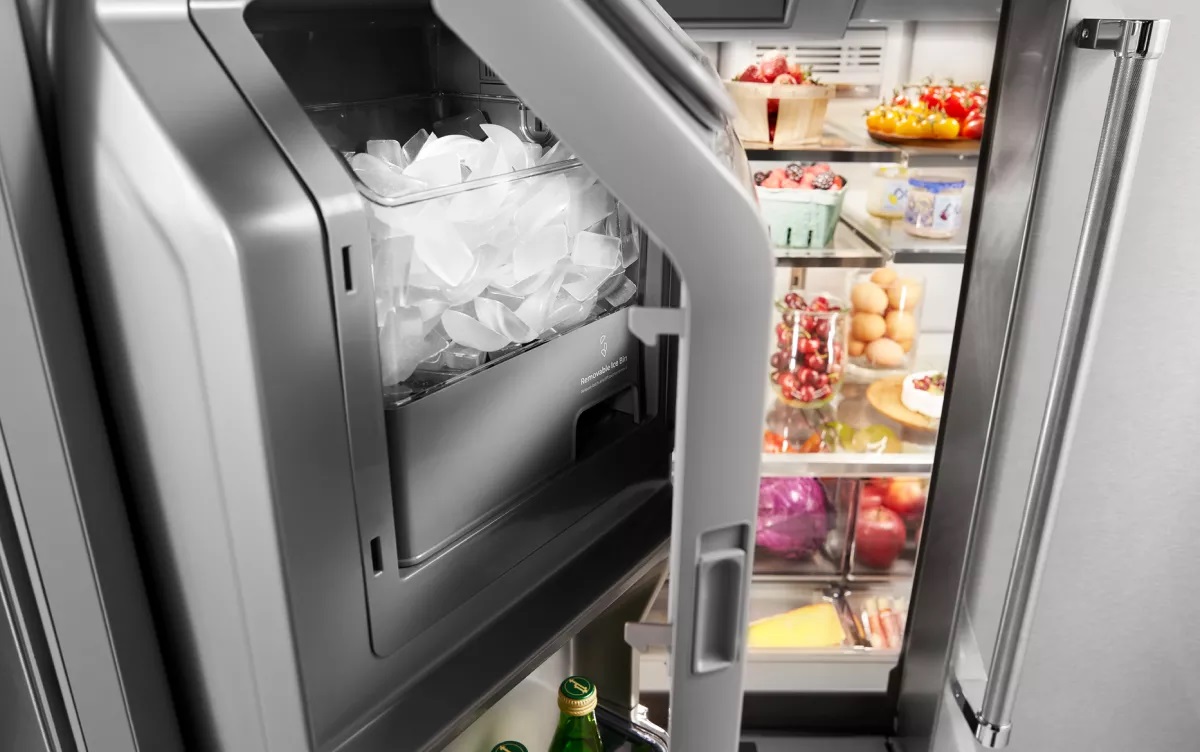
Remove Ice Bin and Accessories
Once you have safely unplugged your Costway ice maker, the next step in the cleaning process is to remove the ice bin and any other removable accessories. This will allow you to clean each component separately and thoroughly.
Start by locating the ice bin, which is the container that collects the ice cubes. Depending on the model of your Costway ice maker, the ice bin may be located at the front or top of the appliance. Consult your user manual if you are unsure about the exact location.
To remove the ice bin, simply lift it up and out of the ice maker. Be careful not to spill any ice cubes or water that may be inside the bin. If the ice bin is stuck or difficult to remove, refer to your user manual for specific instructions on how to detach it.
After removing the ice bin, check if there are any other removable accessories in your ice maker, such as an ice scoop or water filter. If present, carefully detach these accessories as well and set them aside for cleaning.
By removing the ice bin and any additional accessories, you create easier access to all the parts that need cleaning. This allows you to thoroughly clean each component without any obstructions.
In the next sections, we will guide you on how to clean the ice bin, the exterior of the ice maker, the interior of the ice maker, and other removable accessories. By following these steps, you will ensure that your Costway ice maker is clean, hygienic, and ready to produce fresh ice cubes. Let’s start by cleaning the ice bin.
Read also: 11 Best Costway Ice Maker for 2025
Clean the Ice Bin
The ice bin is an essential part of your Costway ice maker, as it collects and stores the ice cubes. Over time, the ice bin can accumulate residue, bacteria, and odors. Proper cleaning of the ice bin is important to maintain the quality and cleanliness of your ice cubes.
Here’s how to clean the ice bin:
- Remove the ice bin from the ice maker and empty any remaining ice cubes into the sink. If there is a lot of ice buildup, allow it to melt or use a plastic scoop to remove it.
- Rinse the ice bin with warm water to remove any loose debris or residue. Scrub the interior of the ice bin gently with a soft cloth or sponge.
- Mix a mild cleaning solution of warm water and a few drops of mild dish soap. Dip the cloth or sponge into the cleaning solution and wipe the interior surface of the ice bin. Pay extra attention to any areas with visible stains or build-up.
- Rinse the ice bin thoroughly with clean water to remove any soap residue.
- Sanitize the ice bin by using a solution of 1 tablespoon of bleach mixed with 1 gallon of water. Dip a clean cloth or sponge into the solution and wipe the interior surface of the ice bin. Let the solution sit for a few minutes to disinfect.
- Rinse the ice bin again with clean water to remove any remaining bleach solution.
- Allow the ice bin to air dry completely before reassembling it back into the ice maker.
It is important to note that harsh chemicals or abrasive materials should not be used to clean the ice bin, as they can damage the surface. Stick to mild cleaning solutions and gentle scrubbing to ensure the longevity and cleanliness of your ice bin.
Once the ice bin is clean and dry, you can proceed to clean the exterior of the ice maker. This will help to maintain its appearance and remove any dirt or smudges that may have accumulated over time. Let’s move on to the next step – cleaning the ice maker exterior.
Clean the Ice Maker Exterior
Keeping the exterior of your Costway ice maker clean is not only important for aesthetic purposes but also for maintaining its overall hygiene. Regular cleaning of the exterior helps to remove dust, fingerprints, and any other dirt that may have accumulated over time.
Here’s how to clean the ice maker exterior:
- Start by preparing a mild cleaning solution using warm water and a few drops of mild dish soap.
- Dip a cloth or sponge into the cleaning solution and wring out any excess liquid.
- Gently wipe the exterior surfaces of the ice maker, including the top, sides, and front. Pay close attention to areas that are frequently touched or prone to dirt and smudges.
- If there are any stubborn stains or grime, use a soft-bristled brush or toothbrush dipped in the cleaning solution to scrub the affected areas.
- Rinse the cloth or sponge with clean water and wipe off any soap residue from the exterior surfaces.
- For stainless steel surfaces, you can use a stainless steel cleaner or a mixture of vinegar and water to bring back the shine. Remember to follow the manufacturer’s instructions when using specific cleaning products.
- After cleaning, use a dry microfiber cloth to remove any excess moisture and prevent streaks or water spots.
It is important to avoid using abrasive materials, harsh chemicals, or excessive amounts of water when cleaning the ice maker exterior. These can cause damage to the surface and compromise the appearance of your ice maker.
Once the exterior is clean and dry, you can move on to the next step – cleaning the inside of the ice maker.
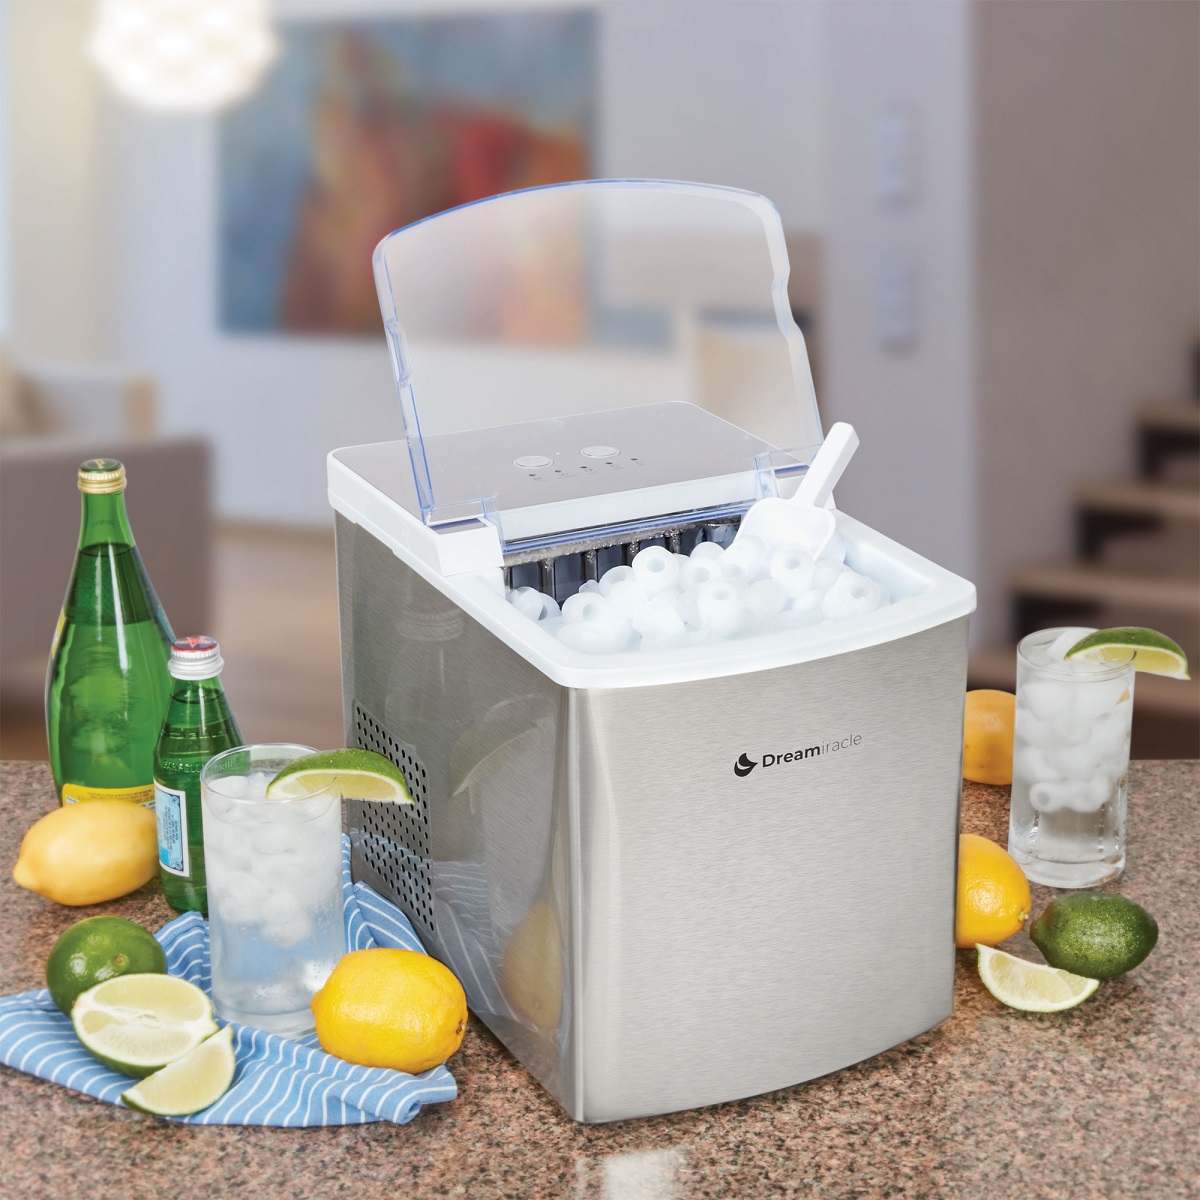
To clean a Costway ice maker, mix equal parts of water and white vinegar and run the solution through the machine. Then, run a few cycles of clean water to rinse out any remaining vinegar. Wipe down the exterior with a damp cloth.
Clean the Inside of the Ice Maker
When it comes to maintaining the cleanliness and functionality of your Costway ice maker, cleaning the inside of the appliance is crucial. Over time, mineral deposits, mold, and bacteria can accumulate in the interior components, affecting the quality of your ice cubes. Cleaning the inside of the ice maker is a straightforward process that will ensure you have clean and hygienic ice cubes.
Here’s how to clean the inside of the ice maker:
- Start by referring to your user manual to locate the drainage plug or valve of your ice maker. This plug or valve allows you to drain any excess water from the ice maker, making the cleaning process easier.
- Place a shallow container or bowl beneath the drainage plug or valve to catch the water.
- Carefully remove the plug or open the valve to drain the water from the ice maker.
- Once all the water has drained, mix a mild cleaning solution using warm water and a few drops of mild dish soap.
- Dip a soft cloth or sponge into the cleaning solution and wring out any excess liquid.
- Gently wipe the interior surfaces of the ice maker, including the walls, shelves, and any visible components. Pay extra attention to areas with visible stains or build-up.
- If there are any stubborn stains or residue, use a toothbrush or small brush dipped in the cleaning solution to scrub the affected areas.
- Rinse the cloth or sponge with clean water and wipe off any soap residue from the interior surfaces of the ice maker.
- Use a dry cloth or towel to remove any excess moisture from the interior surfaces.
It is important to note that you should avoid using abrasive materials or harsh cleaning agents on the interior surfaces of the ice maker. These can damage the components and affect the performance of the appliance.
Once the inside of the ice maker is clean and dry, you can move on to cleaning the water reservoir, which is responsible for storing the water used to make ice. Let’s proceed to the next step – cleaning the water reservoir.
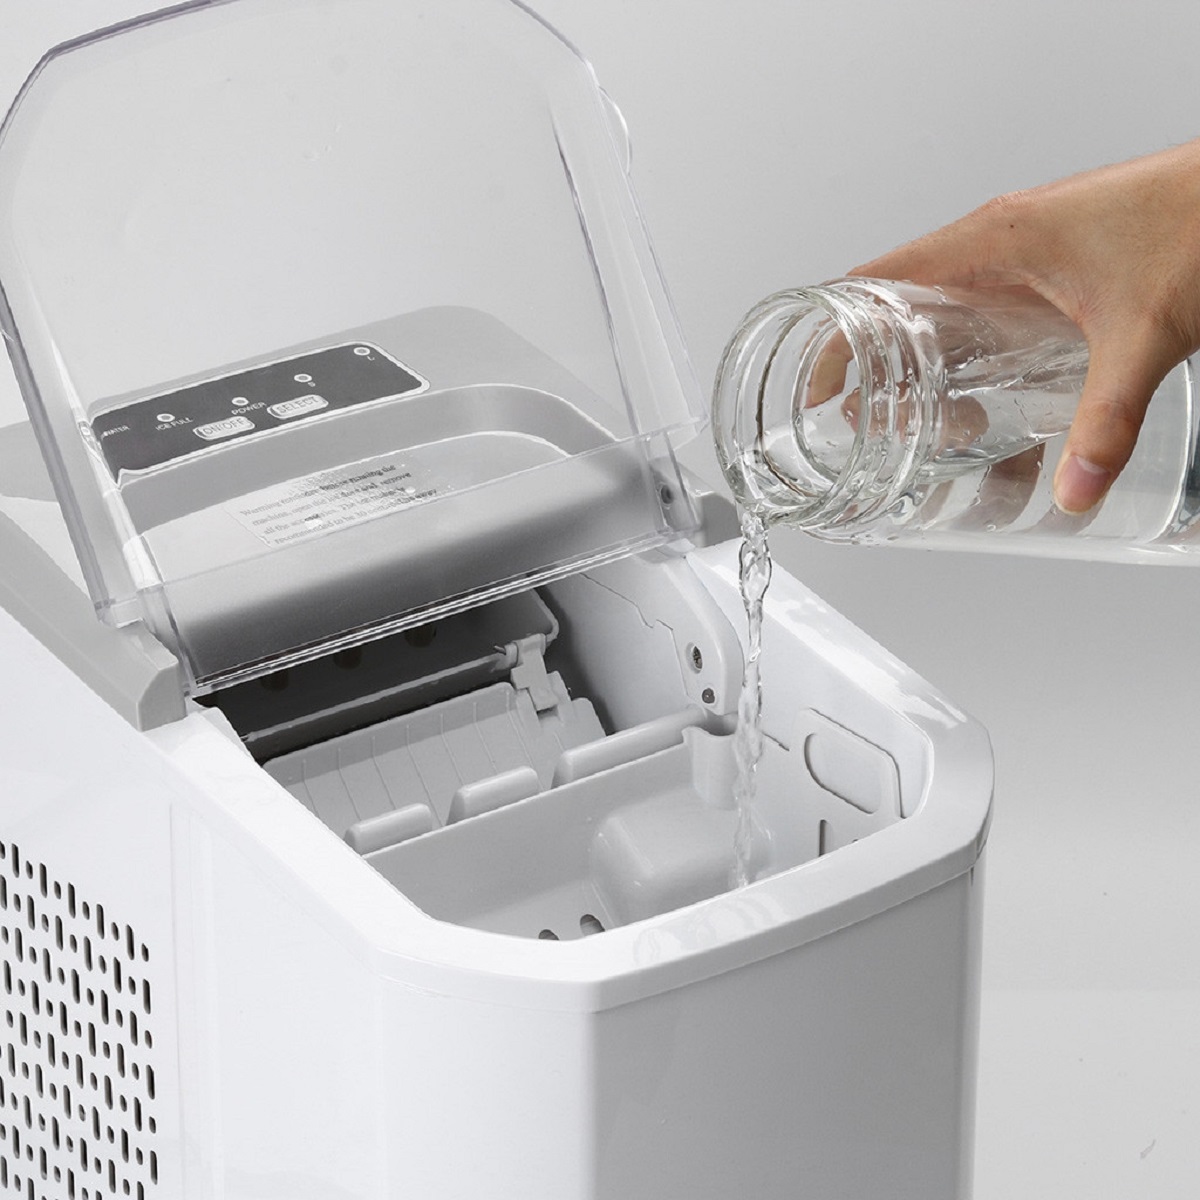
Clean the Water Reservoir
Cleaning the water reservoir of your Costway ice maker is an essential step to ensure the quality and cleanliness of the water used to make ice. Over time, mineral deposits, bacteria, and mold can accumulate in the water reservoir, affecting the taste and hygiene of the ice cubes. By regularly cleaning the water reservoir, you can maintain a clean and healthy ice-making process.
Here’s how to clean the water reservoir:
- Start by unplugging your ice maker from the power source and ensuring that it is completely turned off.
- Locate the water reservoir, which is typically located at the back or inside the ice maker behind a removable panel.
- Consult your user manual for specific instructions on accessing and removing the water reservoir.
- Once you have access to the water reservoir, pour out any remaining water into a sink or drain.
- Prepare a cleaning solution by combining equal parts of white vinegar and water. Vinegar is a natural cleaning agent that helps remove mineral deposits and eliminate bacteria.
- Fill the water reservoir with the vinegar and water solution. Make sure to completely cover the interior surfaces of the reservoir.
- Allow the solution to sit in the water reservoir for about 10-15 minutes. This will help break down any mineral deposits or residue.
- After the soaking period, use a soft brush or toothbrush to scrub the interior surfaces of the water reservoir. Pay particular attention to any areas with visible stains or build-up.
- Continue scrubbing until all the residue and stains are removed.
- Once the cleaning is complete, empty the solution from the water reservoir and thoroughly rinse it with clean water.
- Make sure to remove all traces of vinegar and cleaning solution to prevent any unwanted taste or odor in the ice cubes.
- Allow the water reservoir to air dry completely before reassembling it back into the ice maker.
By following these steps, you can effectively clean the water reservoir of your Costway ice maker and ensure clean and hygienic ice production.
Now that you have cleaned the water reservoir, let’s move on to cleaning the ice scoop, which is used to scoop out the ice cubes from the ice maker. This step will help maintain the cleanliness and quality of the ice you serve. Let’s proceed to the next section.
Read more: How To Clean A Igloo Ice Maker
Clean the Ice Scoop
Cleaning the ice scoop of your Costway ice maker is an important step to ensure the cleanliness and safety of the ice you serve. The ice scoop comes into direct contact with the ice cubes, so regular cleaning is necessary to prevent the accumulation of bacteria or contaminants.
Here’s how to clean the ice scoop:
- Start by removing the ice scoop from the ice maker, if it is detachable.
- Empty any remaining ice cubes from the scoop into the sink.
- Rinse the ice scoop with warm water to remove any loose debris or residue.
- Create a mild cleaning solution by mixing warm water with a few drops of mild dish soap.
- Submerge the ice scoop in the cleaning solution and let it soak for a few minutes.
- Gently scrub the ice scoop with a soft brush or sponge to remove any remaining dirt or stains. Pay special attention to the inside and the handle of the ice scoop.
- Rinse the ice scoop thoroughly with clean water to remove any soap residue.
- For extra sanitization, you can immerse the ice scoop in a solution of 1 tablespoon of bleach mixed with 1 gallon of water. Let it soak for a few minutes, then rinse thoroughly with clean water.
- Once clean, allow the ice scoop to air dry completely before using or storing it.
Remember to clean the ice scoop regularly, especially if it comes into contact with other commonly used surfaces or utensils. This will ensure that the ice you serve remains clean and safe for consumption.
Now that you have cleaned the ice scoop, it’s time to reassemble the ice maker and prepare it for use. Let’s proceed to the next section.
Reassemble the Ice Maker
After completing the cleaning process for your Costway ice maker, it’s time to reassemble the appliance and prepare it for use again. Reassembling the ice maker ensures that all components are properly in place and that the appliance is ready to produce fresh, clean ice cubes.
Here’s how to reassemble the ice maker:
- Start by ensuring that all the components, including the ice bin, water reservoir, and any other removable accessories, are completely dry.
- Take the ice bin and carefully slide it back into its designated slot in the ice maker. Make sure it fits securely and is properly aligned.
- If you had removed any additional accessories, such as an ice scoop or water filter, reattach them to their respective positions.
- Double-check that all components are securely in place and properly connected.
- Plug the ice maker back into the power source.
Once the ice maker is reassembled and plugged in, it is important to run a test cycle to ensure that everything is functioning correctly.
Here’s how to test your Costway ice maker:
- Fill the water reservoir with clean water up to the recommended level or as indicated by the manufacturer.
- Turn on the ice maker and allow it to go through a complete ice-making cycle.
- Observe the ice maker during the cycle to ensure that it is producing ice cubes properly and that there are no leaks or unusual noises.
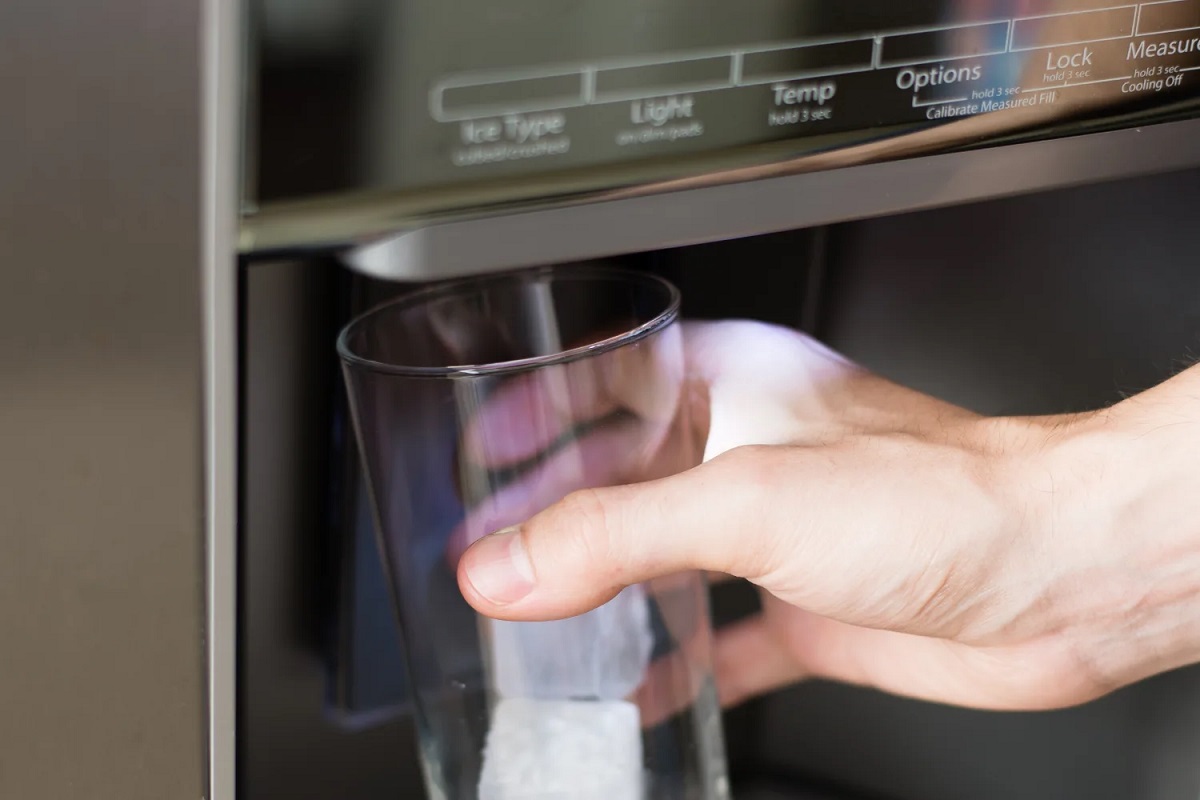
- Check the quality of the ice cubes produced to ensure that they are clear, odorless, and tasteless.
If any issues occur during the test cycle, refer to the manufacturer’s manual for troubleshooting steps or contact Costway customer support for assistance.
Congratulations! You have successfully cleaned and reassembled your Costway ice maker. By following these steps regularly, you can enjoy clean, hygienic ice cubes whenever you need them.
Remember, regular maintenance and cleaning are essential for the optimal performance and longevity of your ice maker. Enjoy your freshly cleaned ice maker and the refreshing ice cubes it produces!
Disclaimer: The information provided in this article is for educational purposes only. Always refer to the user manual or contact the manufacturer for specific cleaning instructions and precautions regarding your Costway ice maker.
Plug In and Test the Ice Maker
After completing the cleaning and reassembly process, the next step is to plug in your Costway ice maker and run a test to ensure that it is functioning properly. This final step is crucial for verifying that all components are working correctly and that the ice maker is ready to produce fresh ice cubes.
Here’s how to plug in and test your ice maker:
- Ensure that all the components of the ice maker are securely in place and that you have followed the reassembly instructions correctly.
- Locate the power cord of the ice maker and plug it into a grounded electrical outlet. Ensure that the outlet is suitable for the power requirements of your specific ice maker model.
- Switch on the power supply or turn on the main power switch.
- Allow the ice maker a few minutes to initialize and start its ice-making cycle. Refer to the user manual for your specific model for the estimated time required.
- Observe the ice maker during its operation. Pay attention to any unusual sounds, leaks, or error indicators that may appear on the control panel. If you notice any issues, consult the troubleshooting section of the user manual or reach out to Costway customer support for assistance.
- Check the quality of the ice cubes produced by the ice maker. They should be clear, odorless, and tasteless. If you notice any unusual taste or odor, consider running another cleaning cycle or contacting the manufacturer for further recommendations.
By plugging in and testing your Costway ice maker, you ensure that it is in proper working condition and ready to provide you with a continuous supply of fresh ice cubes. Regularly running these tests will help identify any potential issues early on and allow for timely maintenance or repairs.
Remember to periodically clean and maintain your ice maker as outlined in this guide to ensure consistent performance and hygienic ice production.
With your Costway ice maker now cleaned, reassembled, and tested, you can enjoy the convenience of having a fully operational ice maker in your home or office. Stay cool and refreshed with the ice cubes produced by your clean and well-maintained Costway ice maker!
Disclaimer: The information provided in this article is for educational purposes only. Always refer to the user manual or contact the manufacturer for specific cleaning instructions and precautions regarding your Costway ice maker.
Conclusion
Congratulations! You have reached the end of this comprehensive guide on how to clean a Costway ice maker. By following the step-by-step instructions provided in this article, you have learned how to properly clean and maintain your ice maker, ensuring that it remains in optimal condition and produces clean, hygienic ice cubes.
Regular cleaning of your ice maker is essential to remove mineral deposits, bacteria, and mold that can accumulate over time, affecting the taste and quality of the ice cubes it produces. Additionally, maintaining a clean ice maker promotes its longevity and efficient performance.
We started by emphasizing the importance of safety precautions, including unplugging the ice maker and wearing protective gloves. Gathering the necessary supplies, such as mild cleaning solutions and soft cloths, ensures a smooth and effective cleaning process.
We then walked you through each step, from removing the ice bin and accessories to cleaning the ice bin, the ice maker’s exterior, the interior, the water reservoir, and finally, the ice scoop. The detailed instructions provided for each step enable you to clean your Costway ice maker with confidence and thoroughness.
After completing the cleaning process, we guided you through reassembling the ice maker and plugging it back in. It is important to run a test cycle to ensure that the ice maker is functioning properly and producing clean ice cubes without any issues.
Remember, regular maintenance is key to keeping your ice maker in top condition. Be sure to clean it on a regular basis depending on your usage and follow any specific cleaning instructions provided by Costway for your particular model.
With a clean and well-maintained Costway ice maker, you can enjoy a continuous supply of fresh, hygienic ice cubes for all your cooling needs. By following the guidelines in this article, you can optimize the performance and longevity of your ice maker, ensuring that it serves you well for years to come.
Thank you for reading, and we hope this guide has been helpful in keeping your Costway ice maker clean and functioning at its best!
Frequently Asked Questions about How To Clean A Costway Ice Maker
Was this page helpful?
At Storables.com, we guarantee accurate and reliable information. Our content, validated by Expert Board Contributors, is crafted following stringent Editorial Policies. We're committed to providing you with well-researched, expert-backed insights for all your informational needs.
0 thoughts on “How To Clean A Costway Ice Maker”