Articles
How To Clean Out An Ice Maker
Modified: October 19, 2024
Learn the essential articles for cleaning out an ice maker and maintaining its efficiency. Discover step-by-step instructions and useful tips.
(Many of the links in this article redirect to a specific reviewed product. Your purchase of these products through affiliate links helps to generate commission for Storables.com, at no extra cost. Learn more)
Introduction
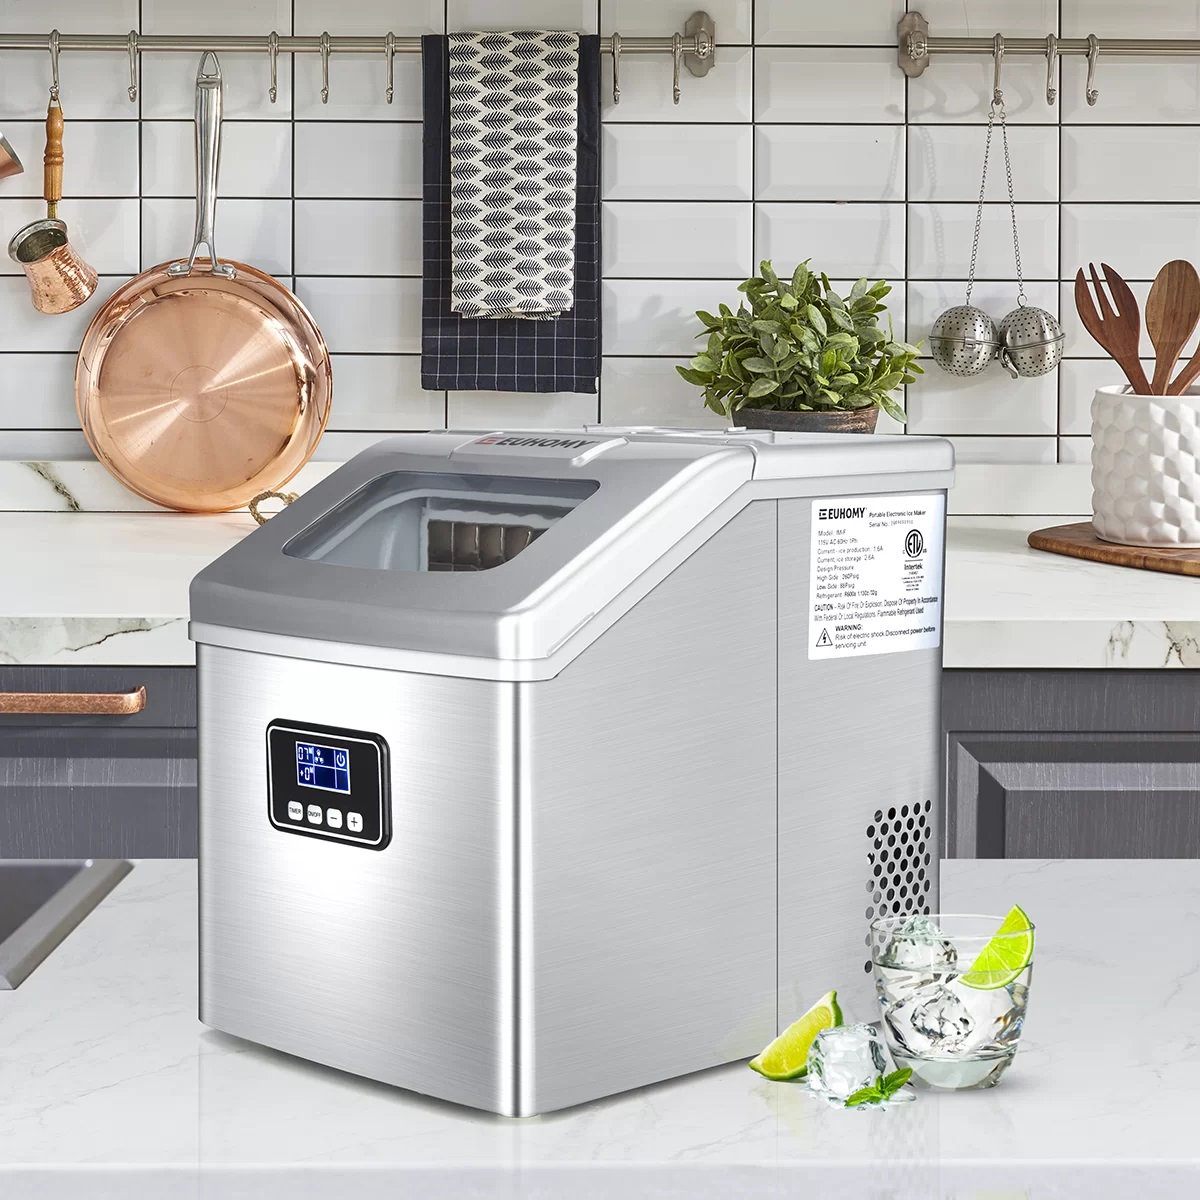
Having a clean and properly functioning ice maker is essential for keeping your drinks cool and refreshing. Over time, ice makers can accumulate mineral deposits, mold, and bacteria, which can affect the quality of the ice produced. Cleaning out your ice maker regularly not only ensures the production of fresh and clean ice, but also helps prolong the lifespan of your appliance.
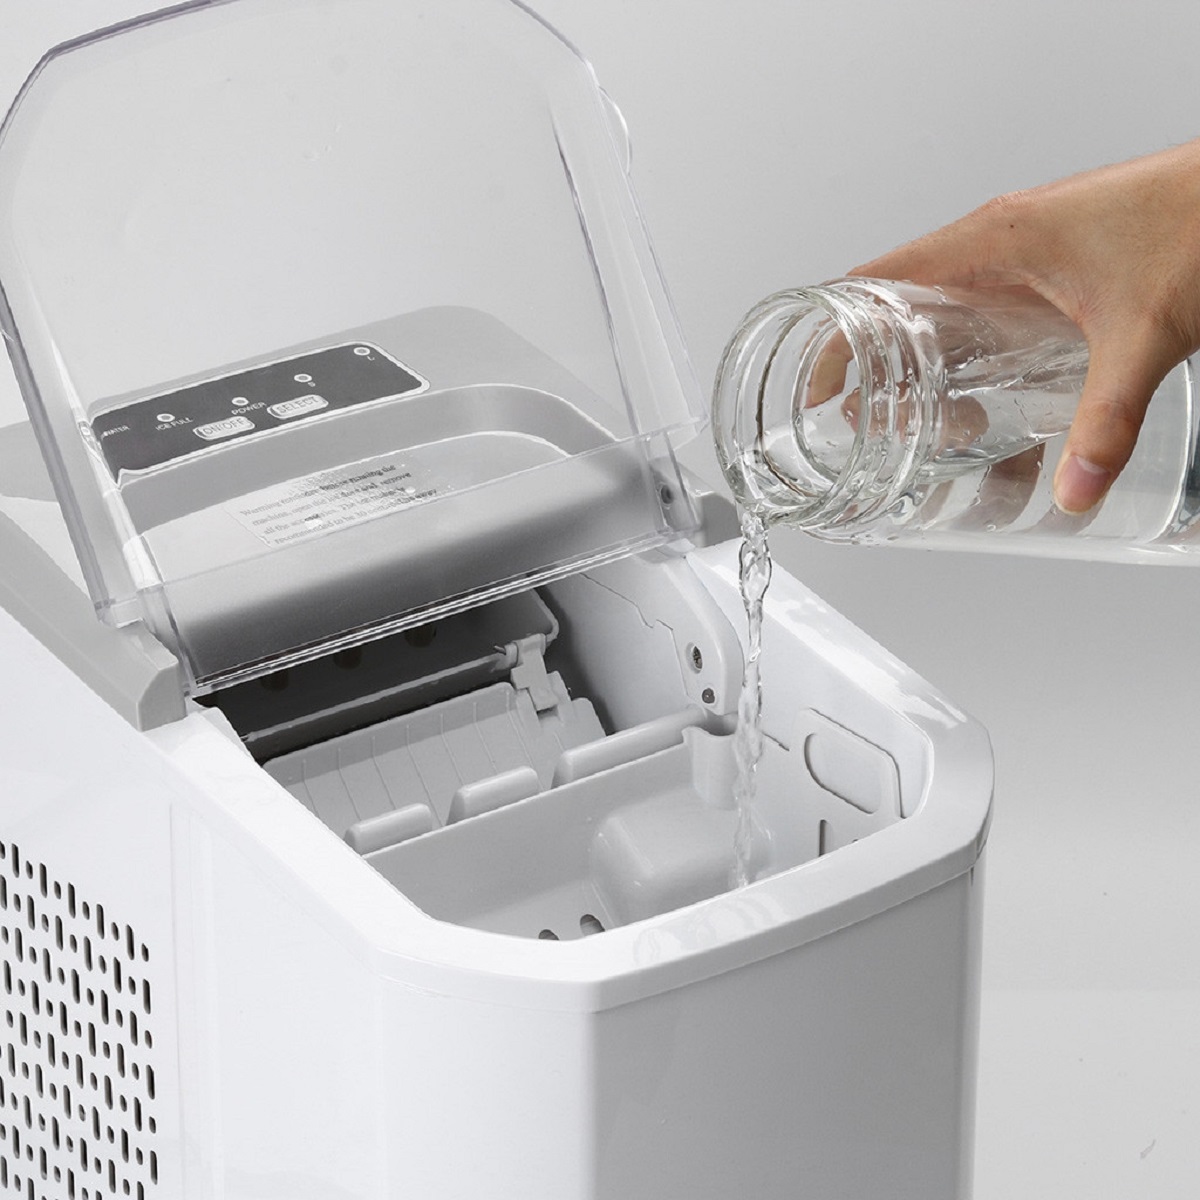
In this article, we will guide you through the step-by-step process of cleaning out an ice maker. Whether you have a portable ice maker or an integrated one in your refrigerator, these instructions will help you maintain optimal performance and hygiene. By following these simple steps, you’ll be able to enjoy crystal-clear ice cubes that are free from any contaminants.
Before we get started, let’s gather all the necessary tools and supplies for the job.
Key Takeaways:
- Regularly cleaning your ice maker with simple tools and solutions ensures a constant supply of clean and refreshing ice cubes, prolonging the appliance’s lifespan and maintaining optimal hygiene.
- Following the step-by-step process and manufacturer’s instructions, along with regular maintenance every 3-6 months, guarantees the production of crystal-clear, contaminant-free ice cubes for your favorite beverages.
Read more: How To Clean Mold Out Of Portable Ice Maker
What You Will Need
Cleaning an ice maker requires a few basic tools and supplies to ensure a thorough and effective cleaning process. Before you begin, make sure you have the following items on hand:
- A mild cleaning solution: You can use a mixture of warm water and mild dish soap or a solution of equal parts white vinegar and water. Both options work well to remove mineral deposits and bacteria.
- A soft cloth or sponge: This will be used to wipe down the components of the ice maker.
- A toothbrush or small brush: This will be helpful for scrubbing hard-to-reach areas and removing any stubborn debris.
- A clean towel or dishcloth: This will be used to dry off the components after cleaning.
- A clean, empty container: You will need a container to temporarily store the ice while cleaning the ice maker. Make sure it is clean and appropriate for holding ice.
- Gloves: Optional, but wearing gloves can help protect your hands from any harsh cleaning chemicals or bacteria.
Once you have gathered all of these items, you are ready to begin the cleaning process. It is important to note that different ice makers may have unique components or requirements, so always refer to the manufacturer’s instructions for your specific model.
Step 1: Turn off the Ice Maker
Before you start cleaning your ice maker, it is crucial to turn it off to prevent any accidents or malfunctions. Here’s how:
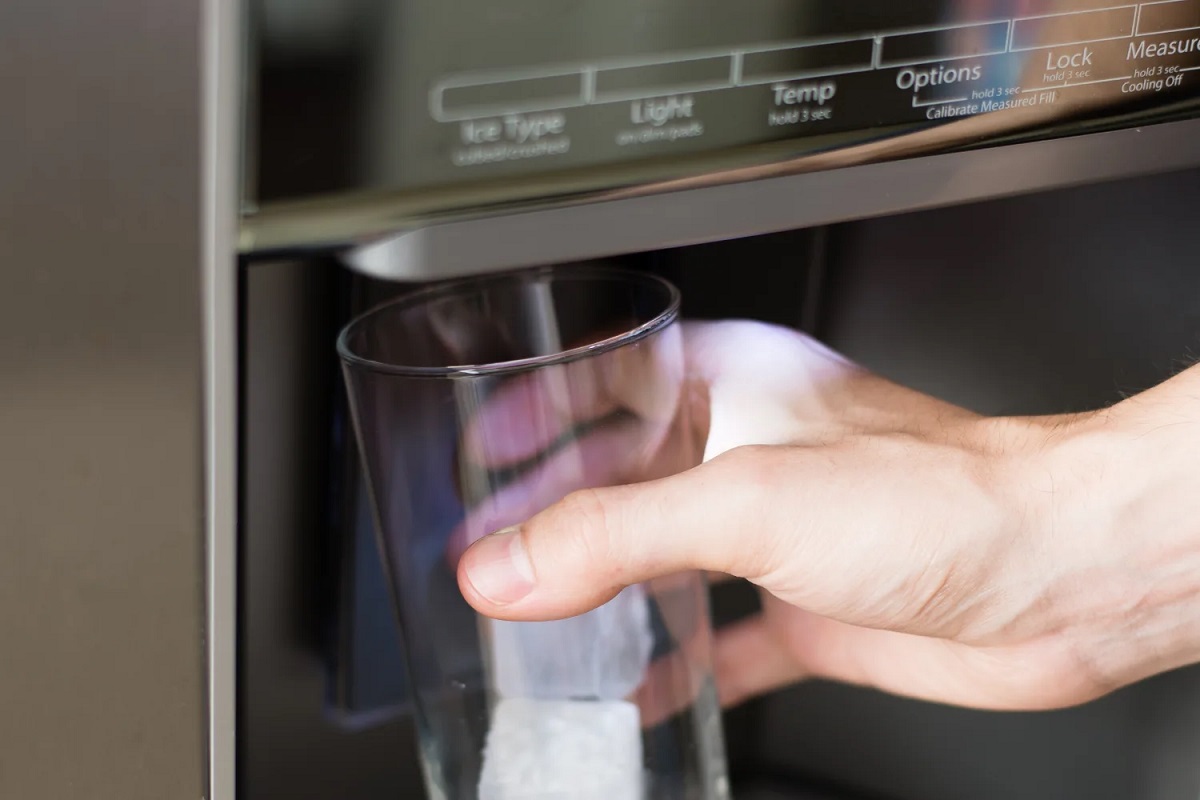
- Locate the power switch or control arm: Depending on the make and model of your ice maker, the power switch may be located on the front or side of the appliance. It may also have a control arm that you can lift or lower to turn the ice maker off.
- Turn off the ice maker: If your ice maker has a power switch, simply flip it to the “Off” position. If it has a control arm, lift it up or lower it, so it is in the “Off” position. This will prevent the ice maker from cycling and producing more ice during the cleaning process.
- Unplug the ice maker (optional): If your ice maker has a power cord that can be easily unplugged, you may choose to do so for additional safety. This step is optional but can provide extra peace of mind.
Once you have successfully turned off your ice maker, you can proceed to the next step of the cleaning process. Remember to wait a few minutes for any ice that may have been in the process of being made to fully freeze before removing the ice bin.
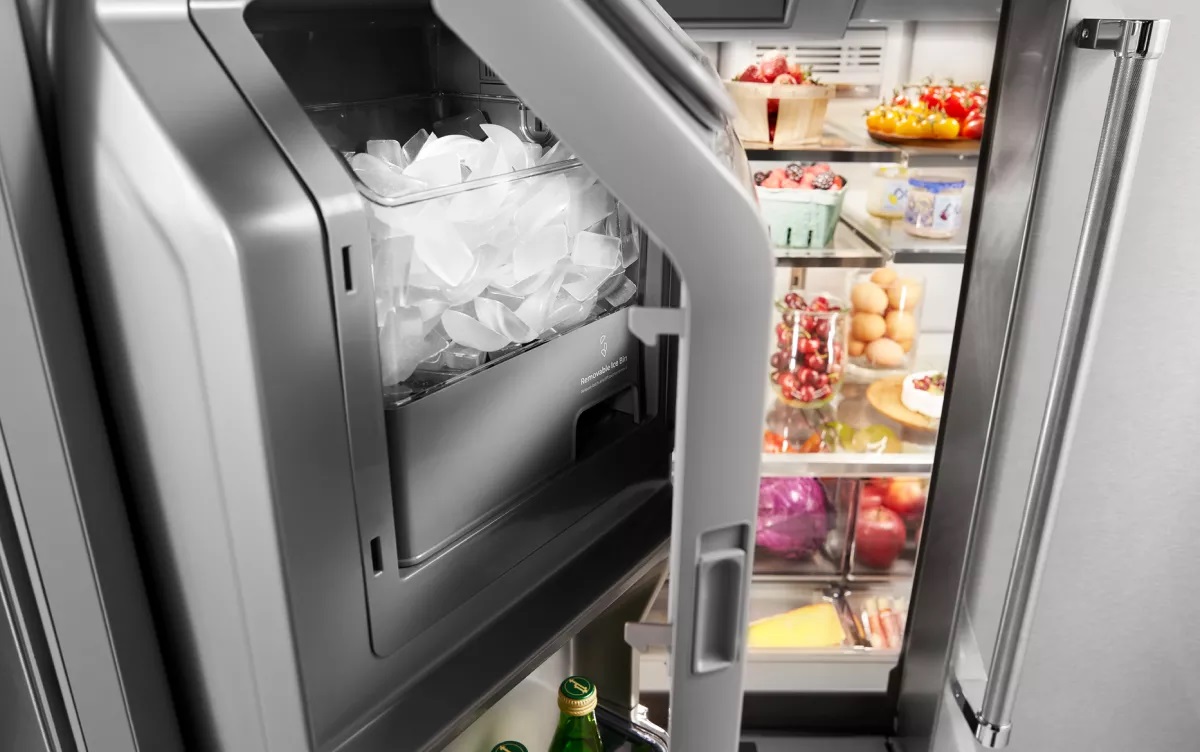
Step 2: Remove the Ice Bin
Now that the ice maker is turned off, it’s time to remove the ice bin. The ice bin is the container that holds the ice produced by the ice maker. Follow these steps to safely remove it:
- Open the freezer door: Locate the freezer section of your refrigerator where the ice maker is located and open the door.
- Locate the ice bin: The ice bin is usually located near or below the ice maker. It may be a removable drawer or a plastic container with a handle.
- Hold onto the bin: Place one hand on the handle or side of the ice bin to hold it steady.
- Remove the ice bin: Gently lift the ice bin up and out of its position. Be careful not to spill any ice or damage the bin while doing so.
- Transfer any remaining ice: If there is still ice in the bin, either transfer it to a clean container or discard it, depending on your preference.
By removing the ice bin, you have successfully cleared the way for a thorough cleaning of both the ice maker components and the bin itself. Set the ice bin aside in a safe place, ensuring it remains upright to avoid any spills or leaks.
Step 3: Empty the Ice Bin
Now that the ice bin has been removed from the ice maker, it’s time to empty any remaining ice and prepare it for cleaning. Follow these steps to empty the ice bin:
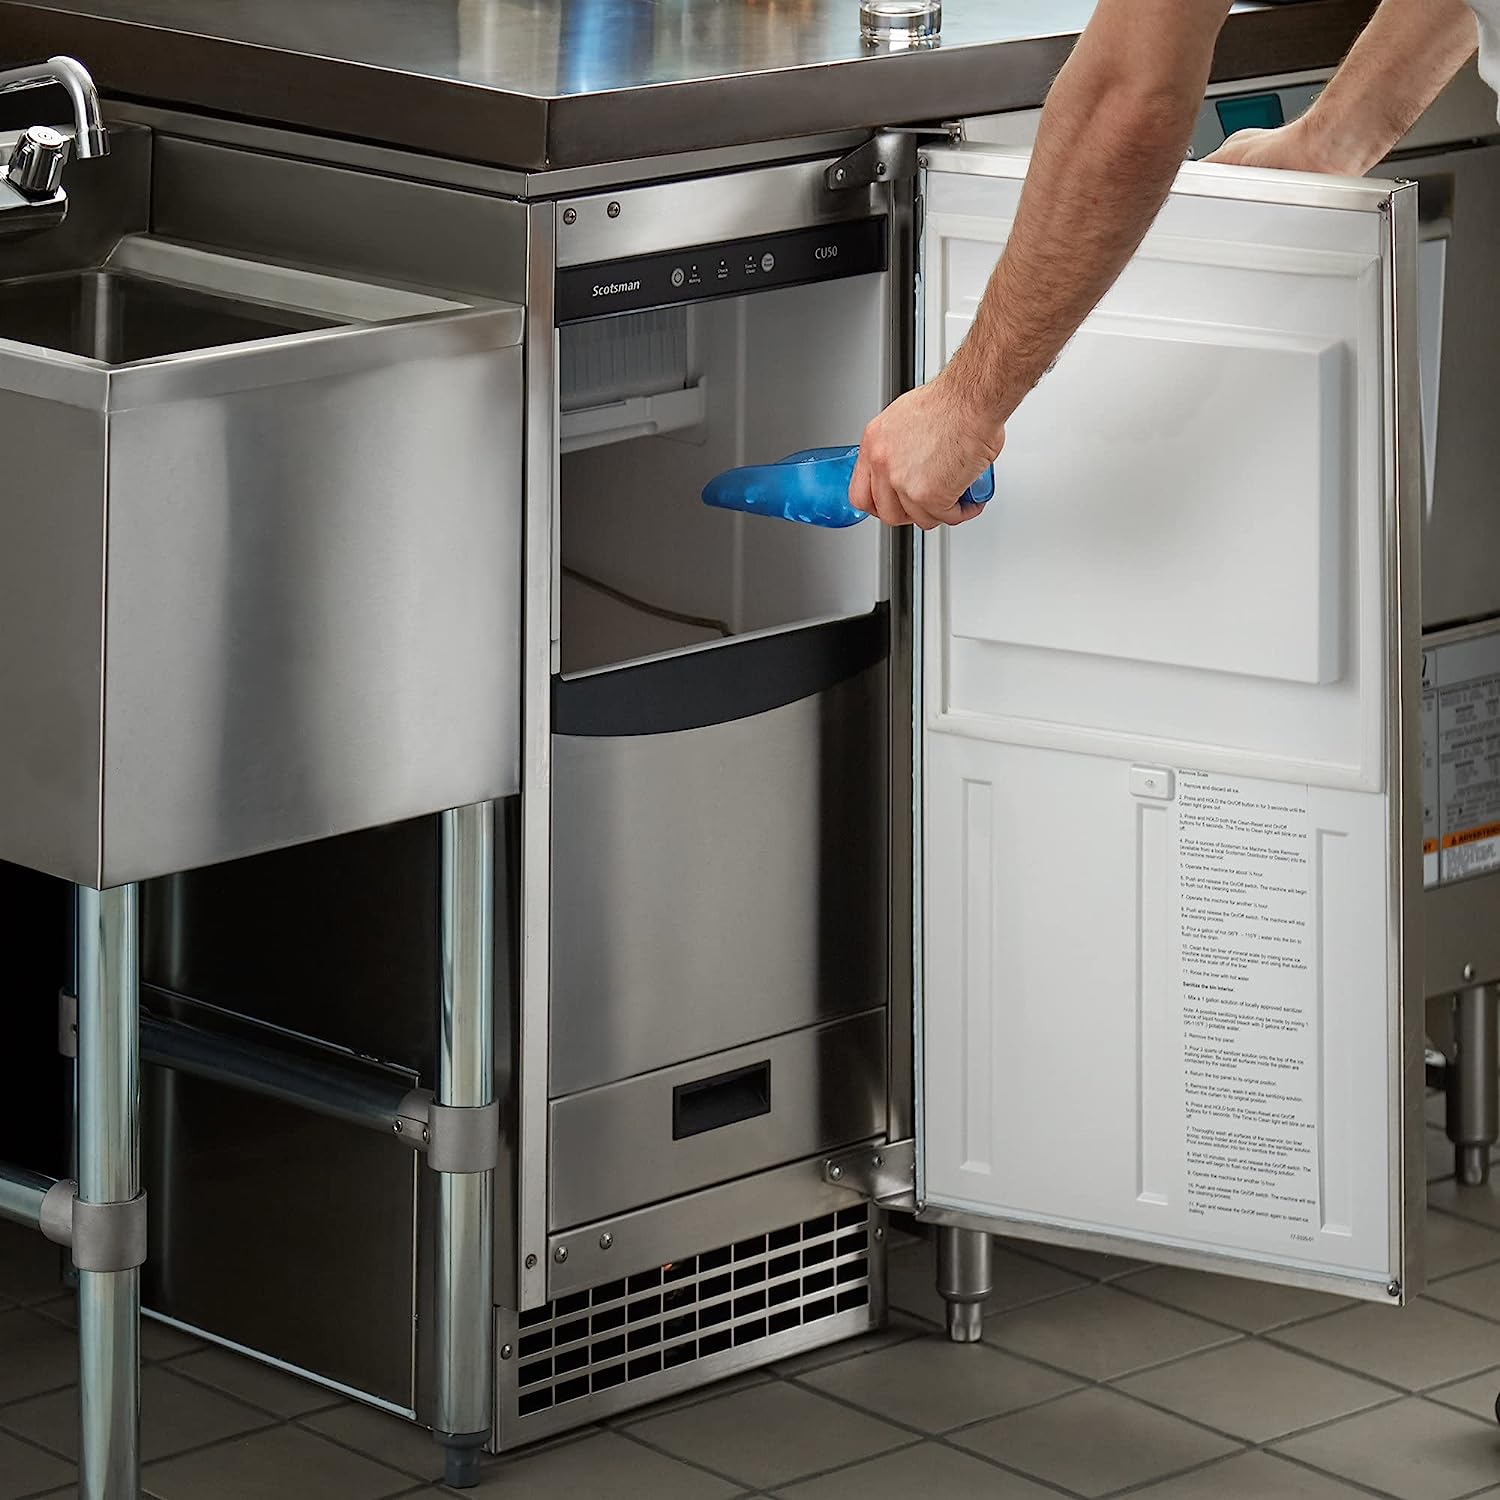
- Check for any obstructions: Before emptying the ice bin, inspect it for any large pieces of ice or debris that may have accumulated. If you find any, remove them carefully.
- Transfer the ice: If you wish to save the ice for later use, carefully transfer it to a clean container using a scoop or a plastic bag. Make sure the container is food-safe and clean.
- Dispose of the ice (optional): If you do not wish to save the ice, you can simply discard it in the sink, toilet, or any appropriate disposal method. Avoid dumping large quantities of ice all at once to prevent clogging.
- Clean the ice bin: Once the ice bin is empty, wash it with warm water and mild dish soap. Use a soft cloth or sponge to scrub away any residue or build-up. Pay special attention to the corners and crevices.
- Rinse and dry the ice bin: After cleaning, rinse the ice bin thoroughly with clean water to remove any soap residue. Dry it completely with a clean towel or dishcloth to prevent the growth of bacteria.
By emptying and cleaning the ice bin, you have now cleared out any remaining ice and prepared the bin for a deep clean. Set the ice bin aside and move on to the next step to continue the cleaning process of the ice maker components.
Read more: How To Clean A Igloo Ice Maker
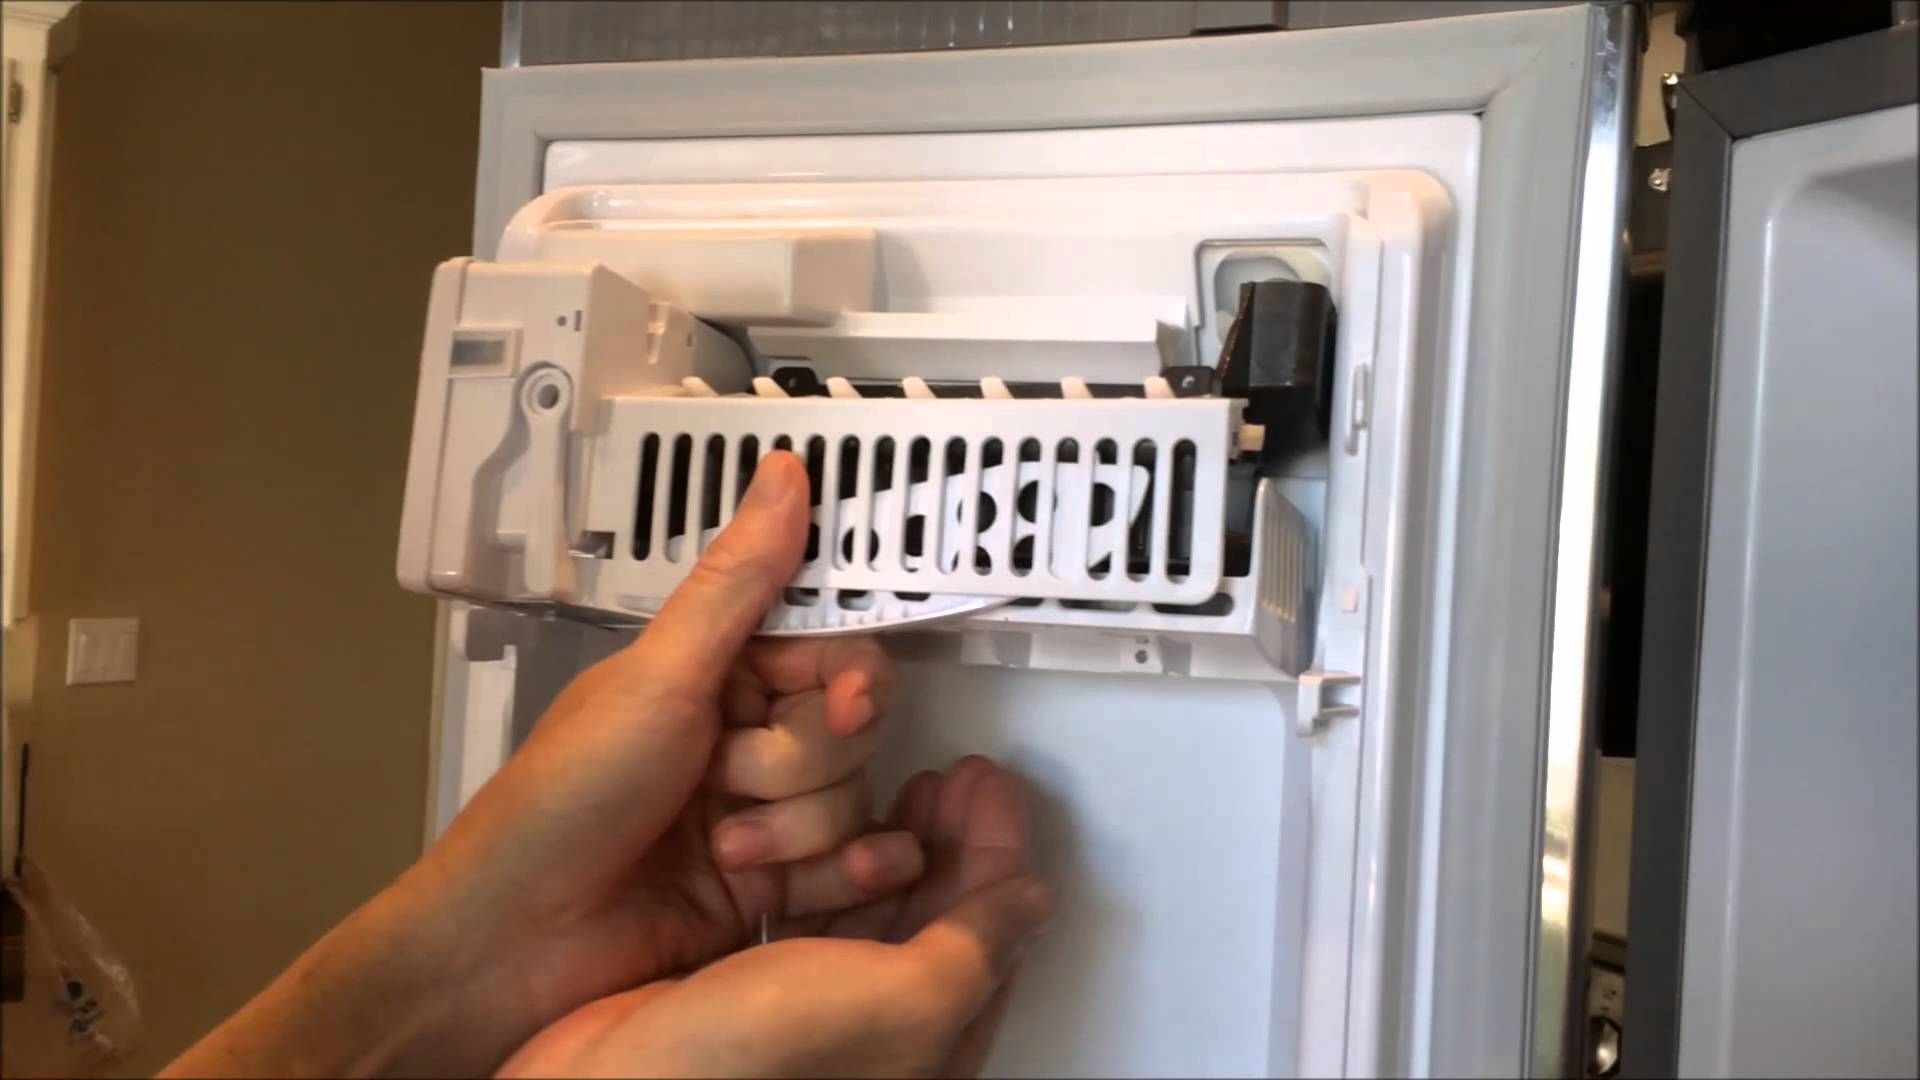
Step 4: Remove the Ice Maker Components
Now that the ice bin has been emptied and cleaned, it’s time to focus on the components of the ice maker itself. Follow these steps to safely remove the necessary components:
- Refer to the manufacturer’s instructions: Different ice makers may have unique designs and components. To ensure proper removal, always refer to the user manual or manufacturer’s instructions specific to your ice maker model.
- Identify the removable components: Typically, the removable components of an ice maker include the ice maker tray, ice mold/evaporator, water line, and any other removable parts specified in the manual.
- Detach the components: Start by disconnecting the water line from the ice maker. This may involve unscrewing or unclipping the water line from the back of the ice maker or refrigerator. Next, carefully remove the ice maker tray and any other removable components as instructed in the manual.
- Handle with care: When handling the components, be gentle to avoid causing any damage. If needed, use a screwdriver or other tools recommended in the manual to safely remove the parts.
By removing the necessary components of the ice maker, you have now prepared them for a thorough cleaning. Proceed to the next step to learn how to clean these components effectively.
Regularly clean the ice maker by emptying the ice bin, wiping down the interior with a mild cleaner, and running a cleaning cycle with a mixture of water and vinegar to remove any mineral deposits.
Step 5: Clean the Components
Now that you have removed the necessary components of the ice maker, it’s time to clean them to remove any built-up residue, mineral deposits, or bacteria. Follow these steps to effectively clean the ice maker components:
- Prepare a cleaning solution: Depending on the instructions provided by the manufacturer, prepare a cleaning solution using warm water and mild dish soap or a mixture of equal parts white vinegar and water. This solution will help break down any dirt or deposits.
- Submerge the components: Place the ice maker tray, ice mold/evaporator, and any other removable components in a sink or container filled with the cleaning solution. Make sure they are fully submerged and let them soak for about 15-30 minutes.
- Scrub and remove debris: After the components have soaked, use a soft brush, such as a toothbrush, to gently scrub away any residue or debris. Pay attention to hard-to-reach areas and corners. If there are stubborn deposits, you can use a toothpick or a small brush to dislodge them.
- Rinse the components: Once you have scrubbed the components thoroughly, rinse them under clean running water to remove any remaining cleaning solution and loosened debris. Ensure that all traces of soap or vinegar are fully rinsed off.
- Dry the components: After rinsing, use a clean towel or allow the components to air dry completely. Make sure there is no moisture left before reassembling the ice maker.
Cleaning the components of the ice maker helps remove any built-up grime and ensures the production of clean ice. With the components squeaky clean, you can now move on to the next step to clean the ice bin.
Step 6: Clean the Ice Bin
With the ice maker components clean, it’s time to focus on cleaning the ice bin itself. Follow these steps to effectively clean the ice bin:
- Prepare a cleaning solution: Fill the sink or a large basin with warm water and add a small amount of mild dish soap. Mix the solution well to create a soapy mixture.
- Submerge the ice bin: Place the ice bin in the sink or basin, ensuring that it is fully submerged in the soapy water. Allow it to soak for about 15-30 minutes, depending on the level of grime.
- Scrub the ice bin: Using a soft cloth or sponge, scrub the inside of the ice bin thoroughly, paying attention to any areas with visible stains or residue. Use circular motions to remove any build-up and ensure a thorough cleaning.
- Clean the exterior: Wipe down the exterior of the ice bin with the soapy cloth or sponge to remove any dirt or fingerprints. Rinse and wring out the cloth or sponge as necessary.
- Rinse the ice bin: Once you have thoroughly scrubbed the ice bin, rinse it under clean running water to remove any soap residue. Ensure that all traces of soap are completely rinsed off.
- Dry the ice bin: Use a clean towel or allow the ice bin to air dry completely. Make sure there is no moisture left before reassembling it with the ice maker components.
Cleaning the ice bin ensures the removal of any residual dirt or bacteria, leaving you with a clean and hygienic container for your ice. With the ice bin now cleaned and dried, you are ready to move on to the next step and reassemble the ice maker.
Step 7: Reassemble the Ice Maker
After cleaning the ice maker components and the ice bin, it’s time to reassemble the ice maker. Follow these steps to successfully put everything back together:
- Refer to the manufacturer’s instructions: Consult the user manual or any provided instructions specific to your ice maker model for the proper reassembly process.
- Place the components back: Begin by carefully placing the cleaned ice maker tray, ice mold/evaporator, and any other removable components back into their respective positions. Ensure they fit securely and align correctly.
- Reconnect the water line: If you disconnected the water line during the cleaning process, reconnect it according to the manufacturer’s instructions. Make sure it is securely fastened and does not leak.
- Replace the ice bin: Take the cleaned and dried ice bin and position it back in place. Make sure it is properly aligned with the ice maker and slides in smoothly.
- Double-check everything: Before moving on to the next step, double-check that all components are securely in place and properly aligned. This will ensure the ice maker functions smoothly.
By successfully reassembling the various components of the ice maker, you are now ready to move on to the final step: turning on the ice maker and allowing it to start producing fresh ice once again.
Read more: How To Clean A Silonn Ice Maker
Step 8: Turn on the Ice Maker
Now that you have completed the cleaning and reassembly process, it’s time to turn on the ice maker and let it resume its ice-producing function. Follow these steps to safely turn on the ice maker:
- Locate the power switch or control arm: Refer to the user manual or the manufacturer’s instructions to find the power switch or control arm for your specific ice maker model.
- Turn on the ice maker: If your ice maker has a power switch, flip it to the “On” position. If it has a control arm, lower it to the “On” position. This will initiate the ice-making cycle and start the production of fresh ice cubes.
- Wait for the ice maker to start producing ice: It may take some time for the ice maker to begin producing ice again, as it needs to cool down and start the freezing process. Be patient and allow the ice maker to do its job.
- Dispose of the first batch of ice (optional): To ensure the cleanest ice, you may choose to discard the first batch of ice produced after cleaning. This helps eliminate any lingering residue from the cleaning process.
After turning on the ice maker, you should start to see fresh ice cubes being produced in due time. Enjoy the clean and refreshing ice for your drinks!
Remember, regular maintenance and cleaning of the ice maker will help maintain its efficiency and ensure the production of clean ice. It is recommended to clean the ice maker every 3-6 months or as specified by the manufacturer.
With these steps completed, you have successfully cleaned out your ice maker and are ready to enjoy fresh and hygienic ice cubes for a long time to come. Cheers!
Conclusion
Cleaning out your ice maker on a regular basis is vital for maintaining its performance and ensuring that you have a constant supply of clean and refreshing ice cubes. By following the step-by-step process outlined in this article, you can easily clean and maintain your ice maker, prolonging its lifespan and ensuring optimal hygiene.
Throughout the cleaning process, it is important to refer to the manufacturer’s instructions for your specific ice maker model, as different models may have unique components and requirements. By doing so, you can ensure that you are properly disassembling, cleaning, and reassembling your ice maker.
Remember to gather the necessary tools and supplies before you begin the cleaning process. A mild cleaning solution, a soft cloth or sponge, a toothbrush or small brush, and a clean towel or dishcloth are essential for effectively cleaning the ice maker and its components.
By systematically turning off the ice maker, removing and emptying the ice bin, cleaning and removing the components, and thoroughly cleaning the ice bin, you can rid your ice maker of mineral deposits, mold, and bacteria. Reassembling the components correctly and turning the ice maker back on will ensure it resumes its ice-making function.
Regular maintenance and cleaning of your ice maker every 3-6 months, or as recommended by the manufacturer, will help prevent any performance issues and ensure the production of fresh and clean ice cubes.
With a clean ice maker, you can enjoy crystal-clear ice cubes, free from any contaminants, in your favorite beverages. So, take the time to clean out your ice maker and savor the satisfaction of having a well-maintained and hygienic appliance.
Cheers to ice-cold refreshments and a clean ice maker!
Frequently Asked Questions about How To Clean Out An Ice Maker
Was this page helpful?
At Storables.com, we guarantee accurate and reliable information. Our content, validated by Expert Board Contributors, is crafted following stringent Editorial Policies. We're committed to providing you with well-researched, expert-backed insights for all your informational needs.
0 thoughts on “How To Clean Out An Ice Maker”