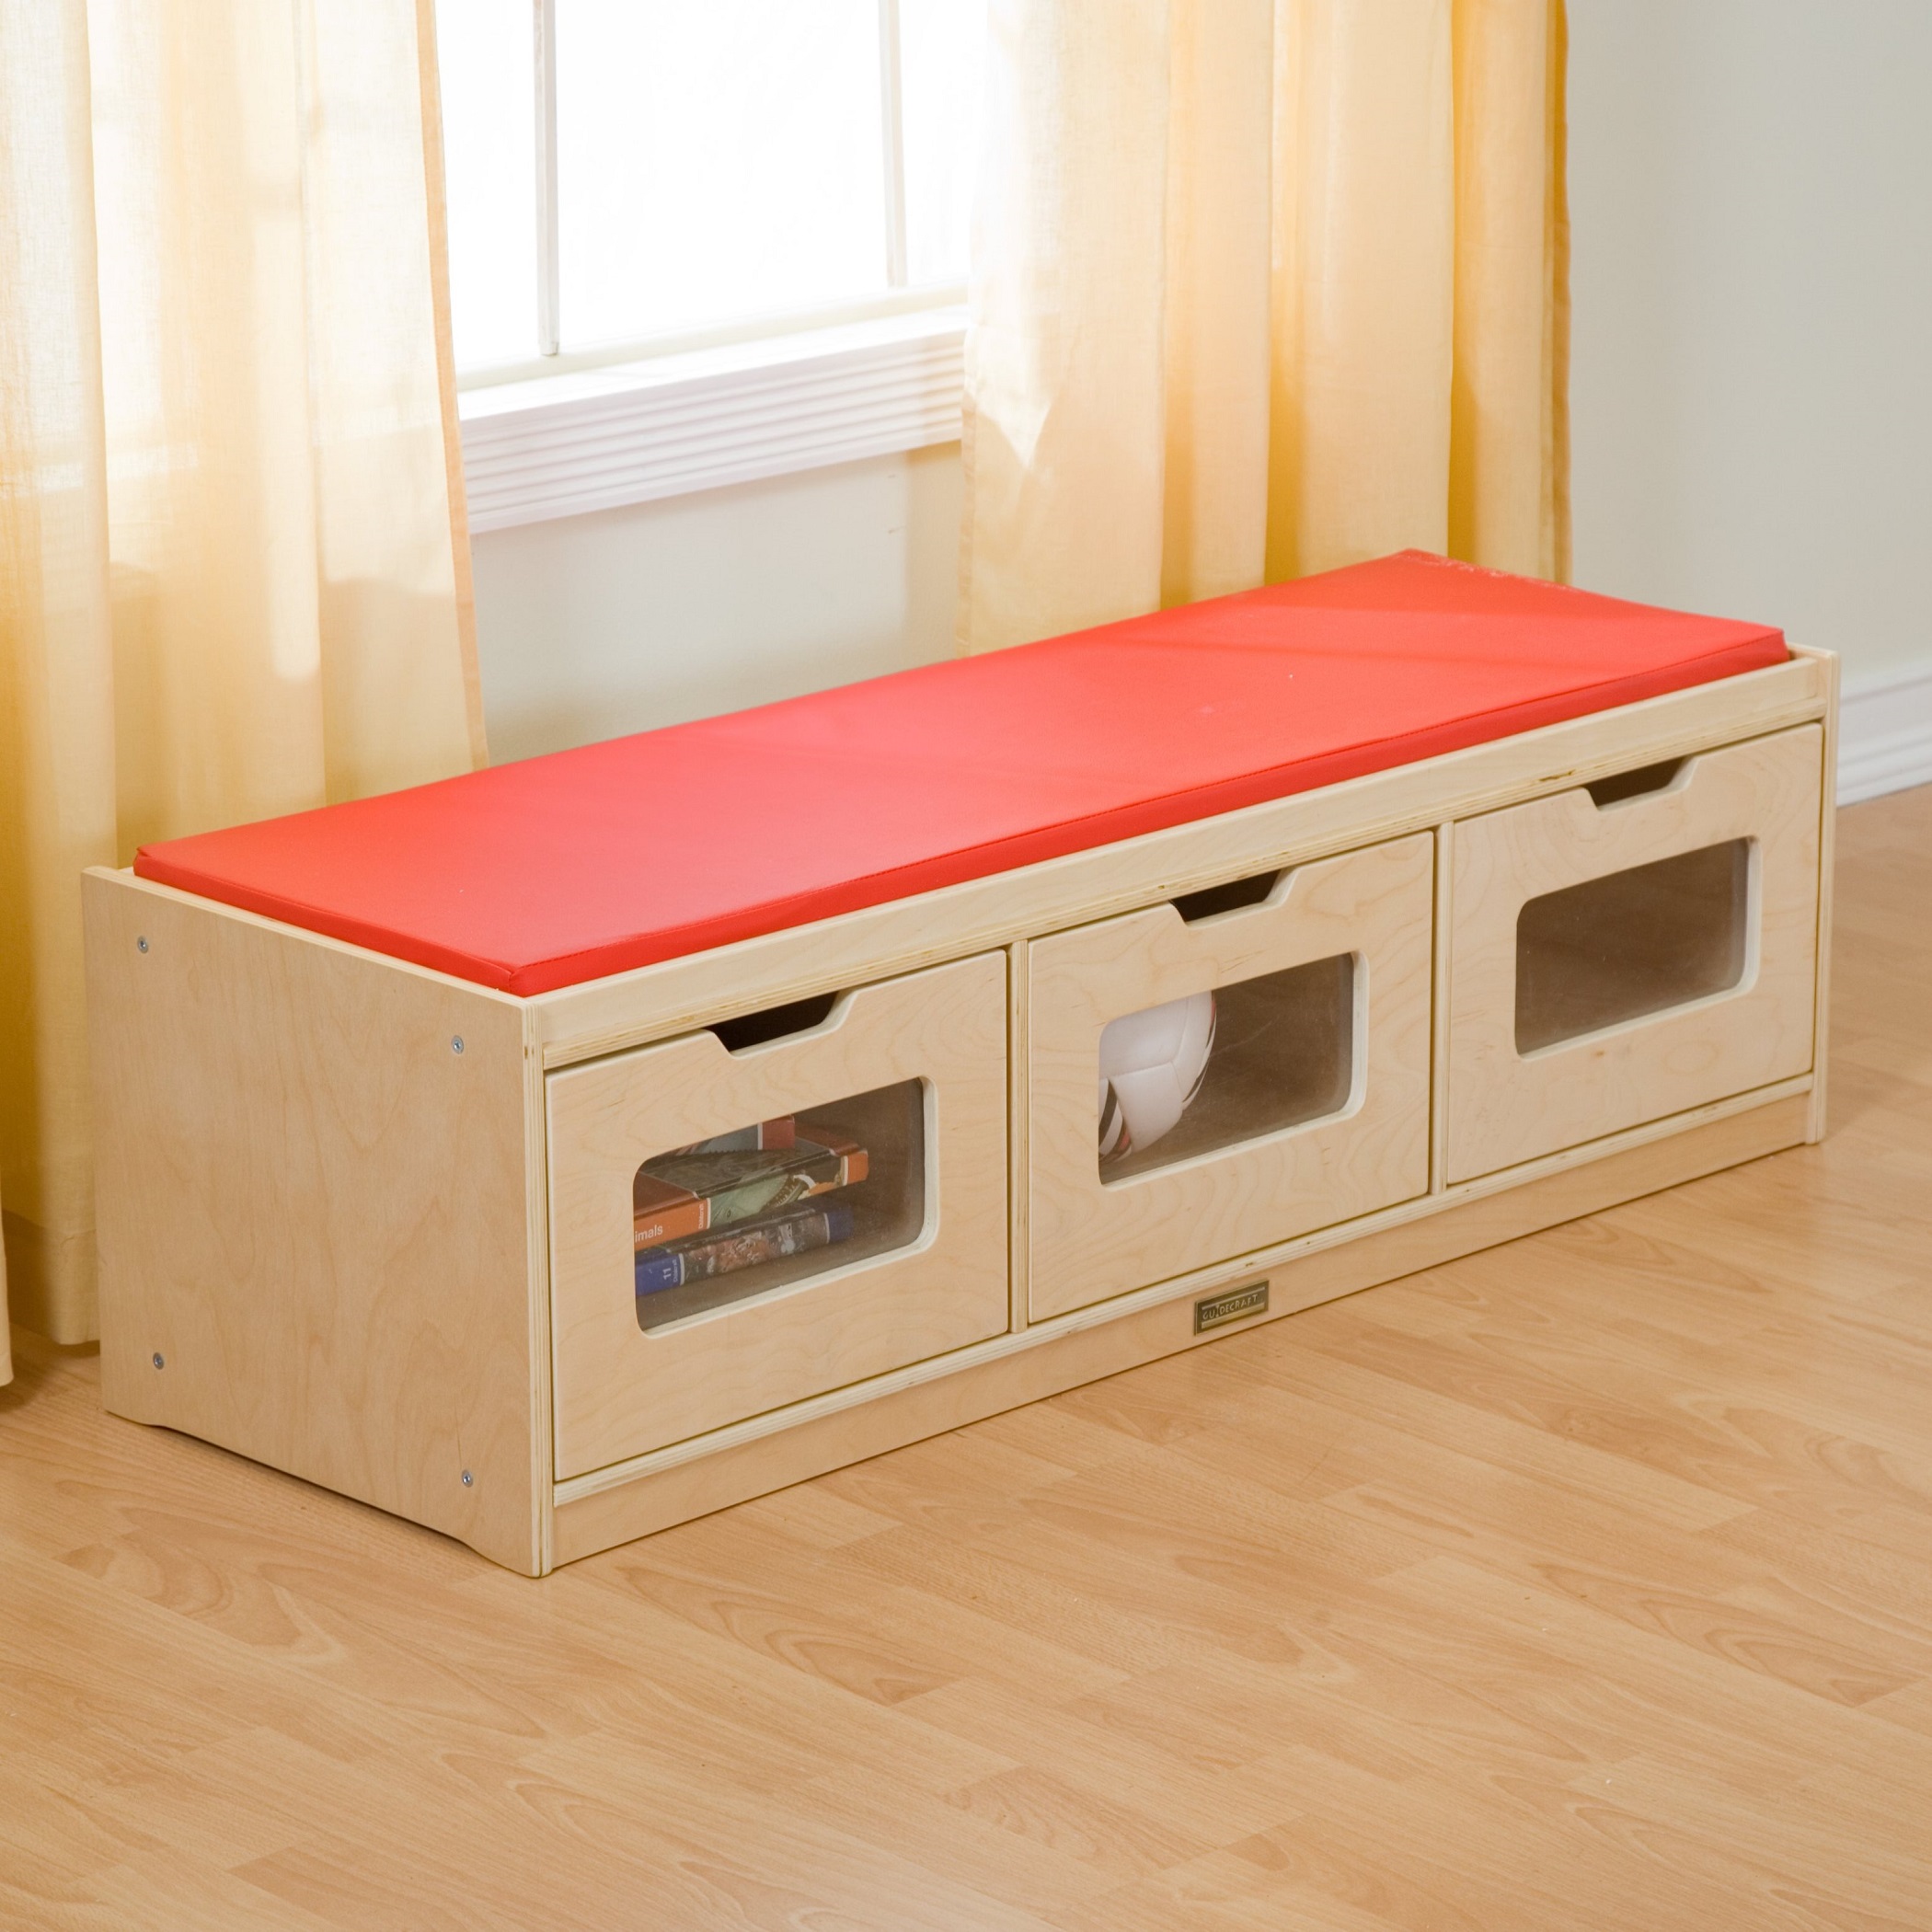
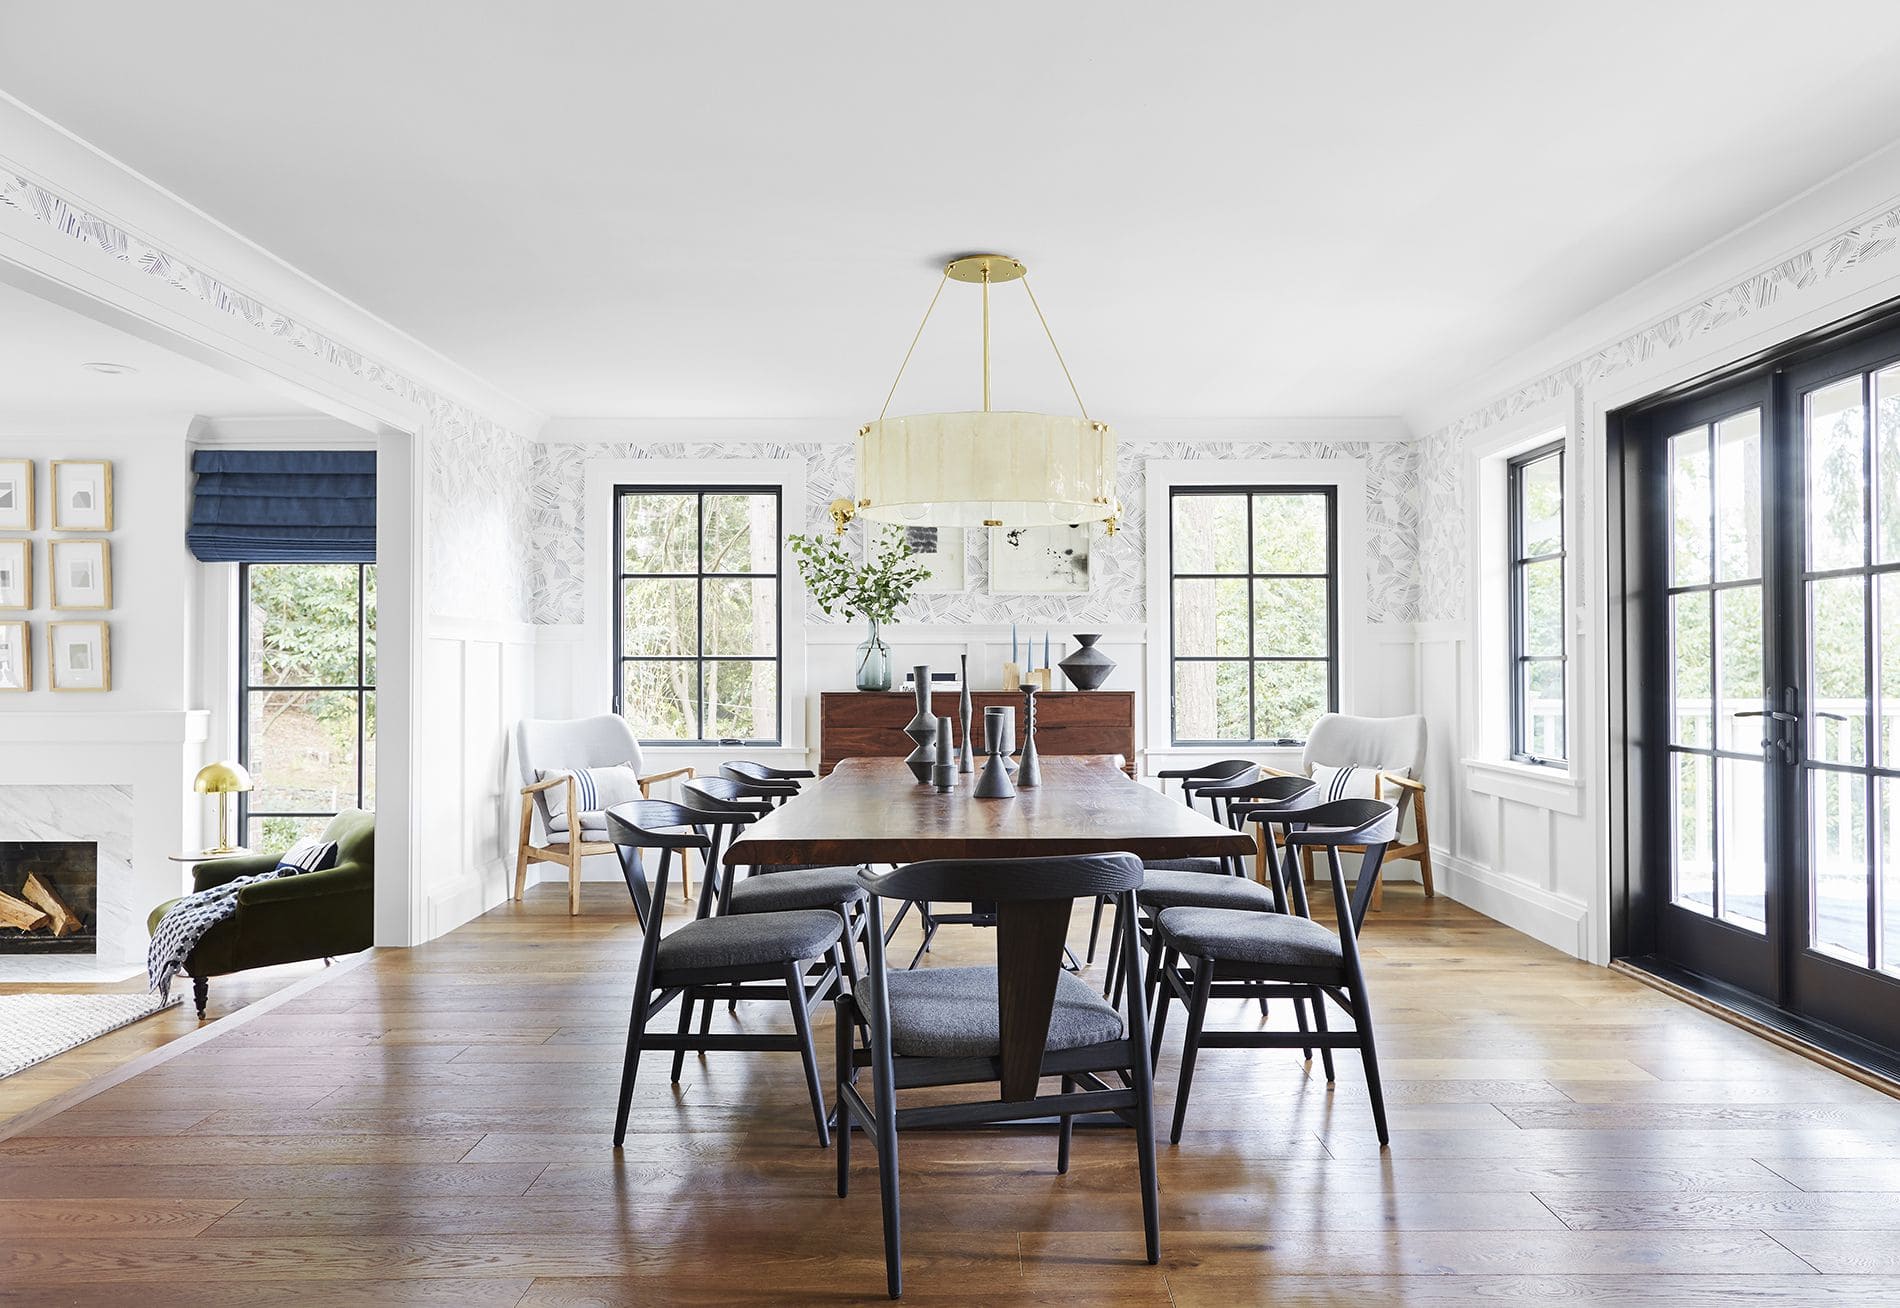
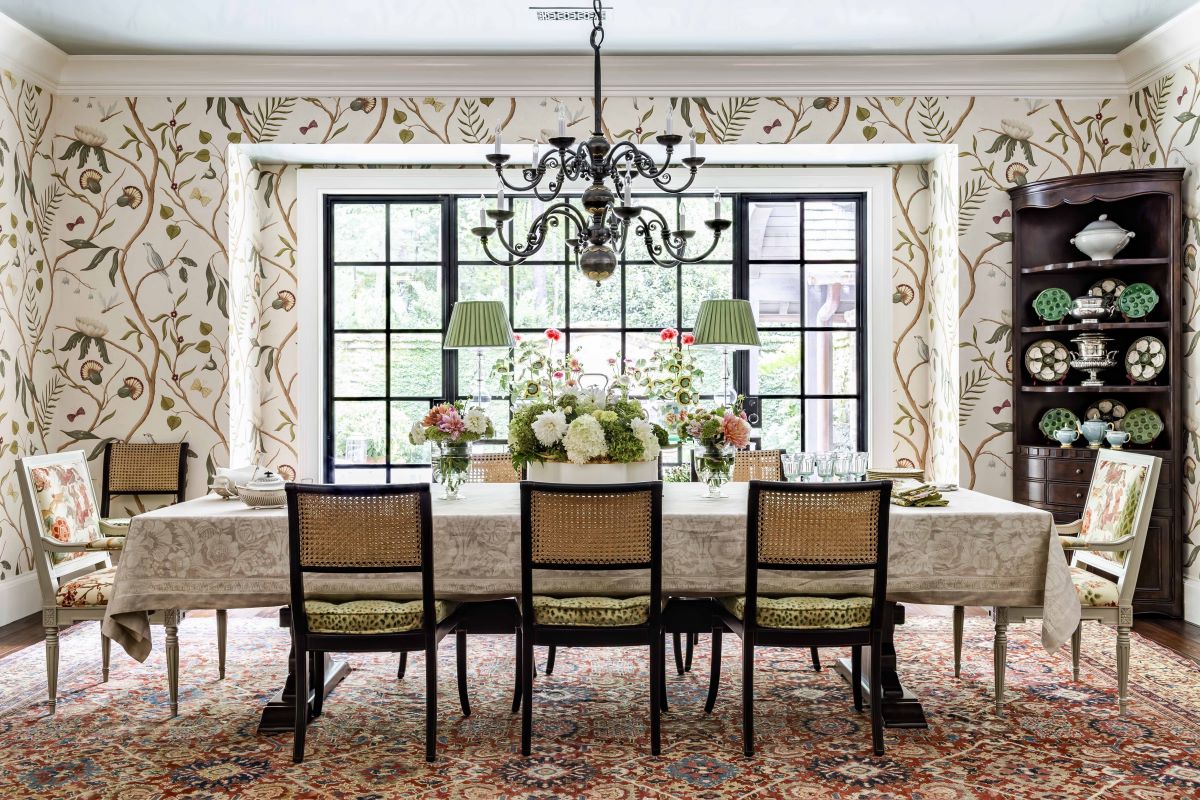
Tableware
How To Build Dining Room Bench
Modified: February 23, 2024
Discover how to build a beautiful dining room bench that complements your tableware. Step-by-step instructions and DIY tips for creating a stylish and functional seating solution.
(Many of the links in this article redirect to a specific reviewed product. Your purchase of these products through affiliate links helps to generate commission for Storables.com, at no extra cost. Learn more)
Introduction
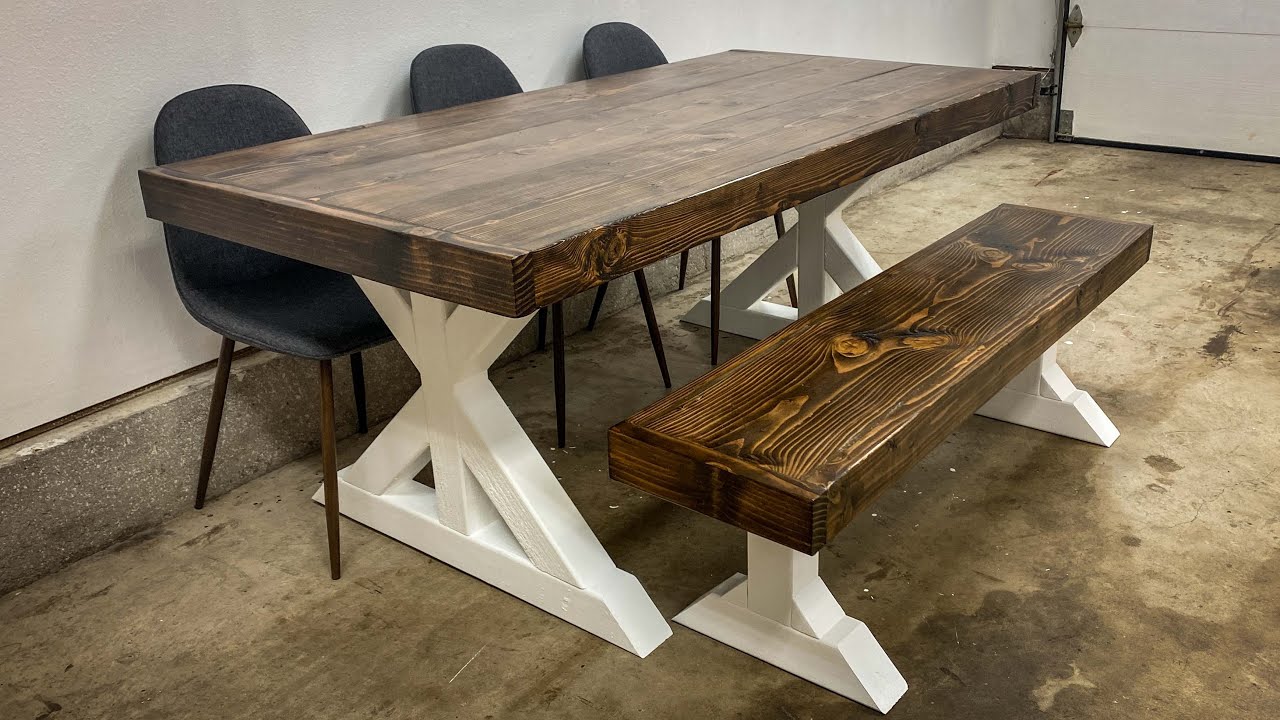
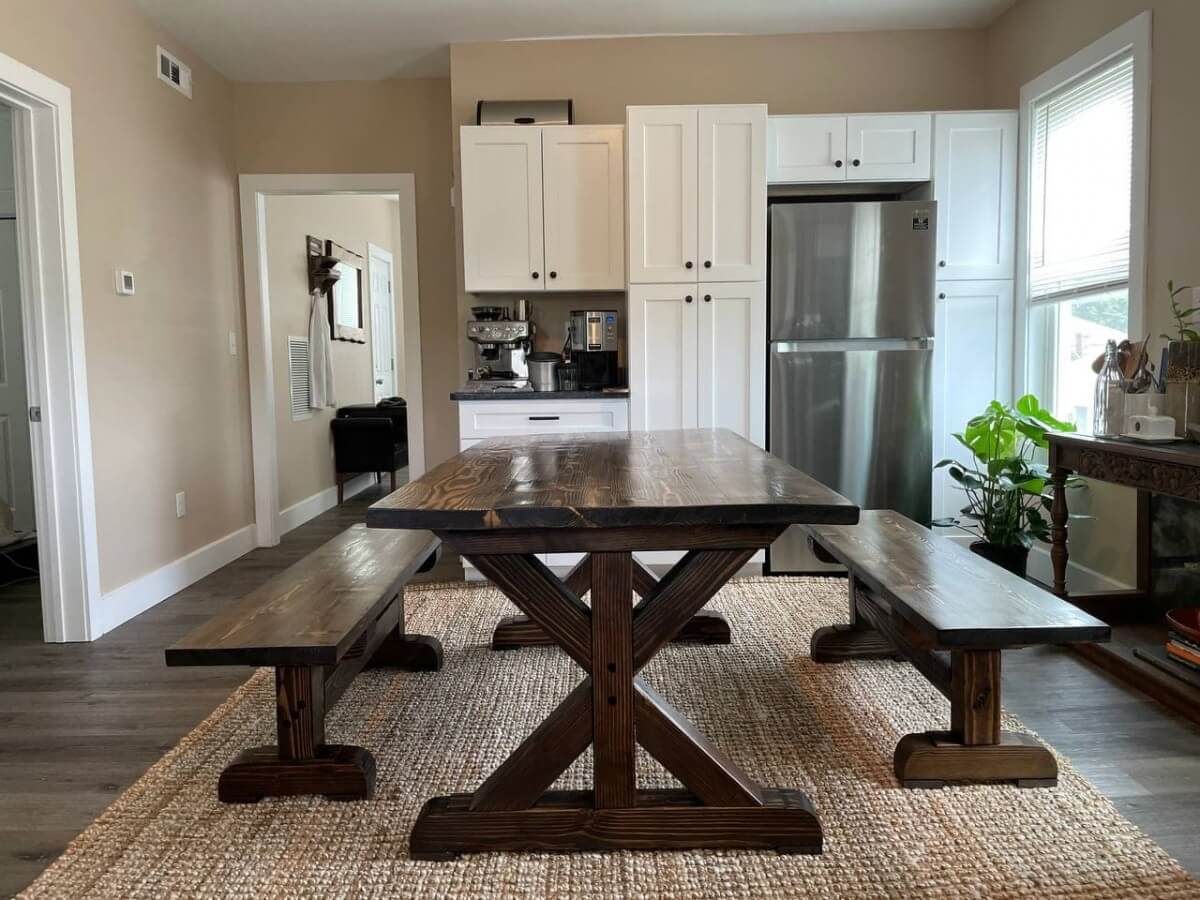
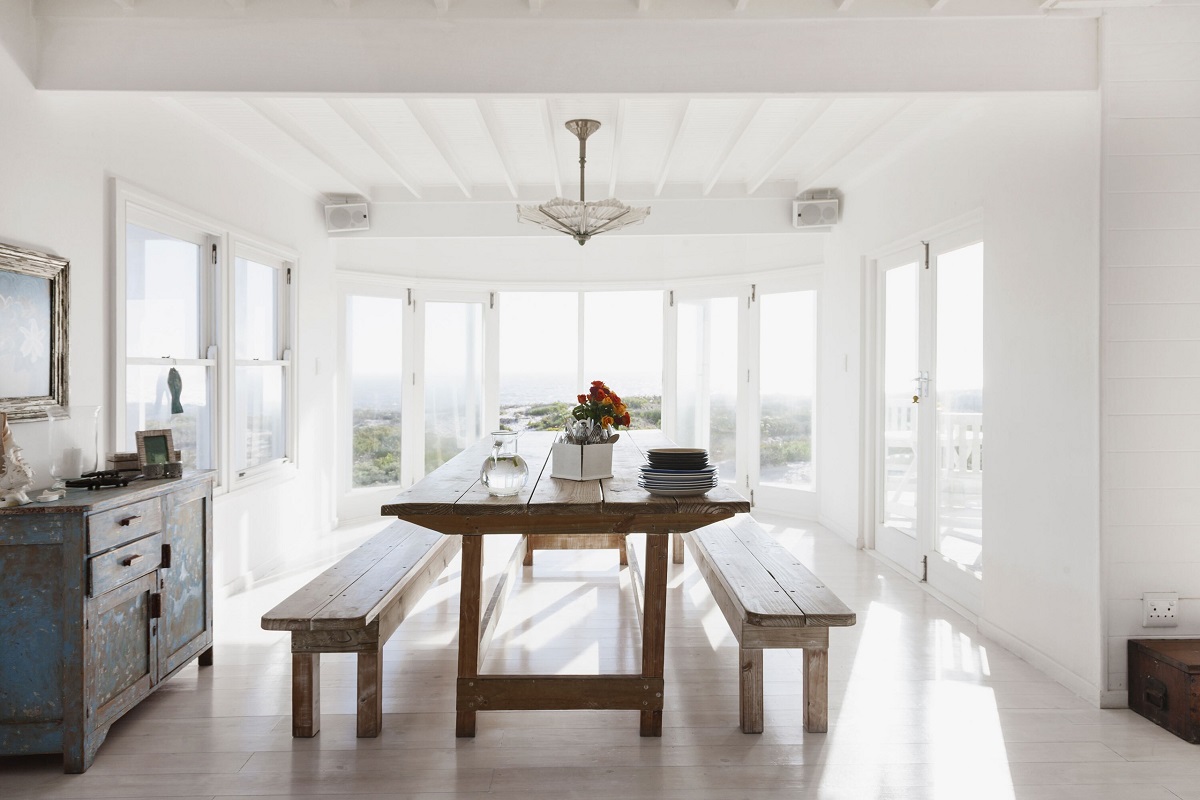
Welcome to our guide on how to build a dining room bench—a versatile seating solution that combines style and functionality. A dining room bench is an excellent addition to any home, offering extra seating space and a unique aesthetic appeal.
Whether you’re a seasoned DIY enthusiast or a beginner looking to embark on your first furniture project, building a dining room bench is a rewarding and relatively simple endeavor. In this article, we will take you through the step-by-step process of creating your own bench, from measuring and cutting the wood to upholstering the seat and adding the final touches.
Not only will building your own dining room bench allow you to customize it to match your personal taste and style preferences, but it can also be a cost-effective alternative to purchasing a pre-made bench from a store. Plus, the sense of accomplishment that comes with creating something with your own hands is truly satisfying.
Before we dive into the construction process, let’s go over the tools and materials you will need for this project. Having everything ready beforehand will ensure a smooth and efficient building experience.
Key Takeaways:
- Building a dining room bench is a rewarding DIY project that allows for customization, cost savings, and the satisfaction of creating a functional and stylish piece of furniture with your own hands.
- From measuring and planning to adding final touches, constructing a dining room bench requires precision, safety, and creativity. Personalize the bench with decor and enjoy the pride of your DIY creation.
Read more: How To Build Dining Room Bench
Tools and Materials Needed
Before you start building your dining room bench, make sure you have the following tools and materials:
Tools:
- Measuring tape
- Pencil
- Square or straightedge
- Circular saw or miter saw
- Drill
- Driver bits
- Sanding block or electric sander
- Staple gun
- Scissors
- Paintbrushes
Materials:
- 2×4 boards (quantity depends on the desired length and height of the bench)
- 1×4 boards for the seat (quantity depends on the desired width of the bench)
- Plywood or MDF board for the base
- Wood glue
- Wood screws
- Upholstery foam
- Batting
- Fabric or leather for the seat cover
- Staples for the staple gun
- Paint or stain (optional)
These tools and materials are readily available at most hardware stores, and you may even have some of them already in your toolkit. Double-check your supplies before starting to ensure you have everything in order to avoid any delays in the construction process.
Now that you have all the necessary tools and materials, it’s time to move on to the first step: measuring and planning.
Step 1: Measuring and Planning
Before diving into the construction process, it’s essential to measure and plan your dining room bench to ensure a precise and professional-looking result. Here’s how to do it:
- Measure the Space: Start by measuring the area where you plan to place the bench. Consider the length, width, and height of the bench to ensure it fits comfortably in your dining room or any other desired location. Take note of these measurements as they will guide you throughout the construction process.
- Decide on Bench Dimensions: Based on the available space and your personal preference, determine the dimensions of your bench. Consider the number of people you want the bench to accommodate. A typical dining room bench is around 18 inches tall, 18-24 inches deep, and the length varies depending on the number of people to be seated. Generally, allow 24-30 inches per person.
- Create a Plan: Sketch a simple diagram of your bench, indicating the dimensions and measurements. This will serve as your blueprint and guide you throughout the construction process.
- Choose the Wood: Decide on the type of wood you want to use for your bench. Common options include pine, oak, or maple, depending on your preference and budget. Take note of the wood thickness needed for the frame and the seat.
Once you have completed these steps, you’ll have a clear plan of what your dining room bench will look like and the dimensions you need to work with. These measurements and planning steps will be crucial as you move forward to the next steps of the construction process.
Next up, we’ll guide you through cutting the wood and preparing it for assembly.
Read more: How To Build A Dining Table Bench
Step 2: Cutting the Wood
Now that you have your measurements and plan in hand, it’s time to move on to cutting the wood for your dining room bench. Follow these steps to ensure accurate cuts:
- Mark the Wood: Use a pencil to mark the measurements on the wood according to your plan. Double-check the markings to ensure accuracy.
- Cut the Frame Pieces: Start by cutting the 2×4 boards for the frame of the bench. Use a circular saw or miter saw to make straight cuts based on your marked lines.
- Cut the Seat Boards: Next, cut the 1×4 boards for the seat of the bench. These boards should be cut to match the length and width of your desired bench dimensions.
- Cut the Base: If you plan on adding a solid base for your bench, use plywood or MDF board to cut a piece that matches the length and width of the seat boards.
As you cut the wood, be sure to follow proper safety precautions, such as wearing protective eyewear and using clamps to secure the wood before cutting. Take your time to ensure clean and precise cuts that align with your measurements and plan.
Once you have finished cutting the wood, you are ready to move on to the next step, which is assembling the frame of the dining room bench.
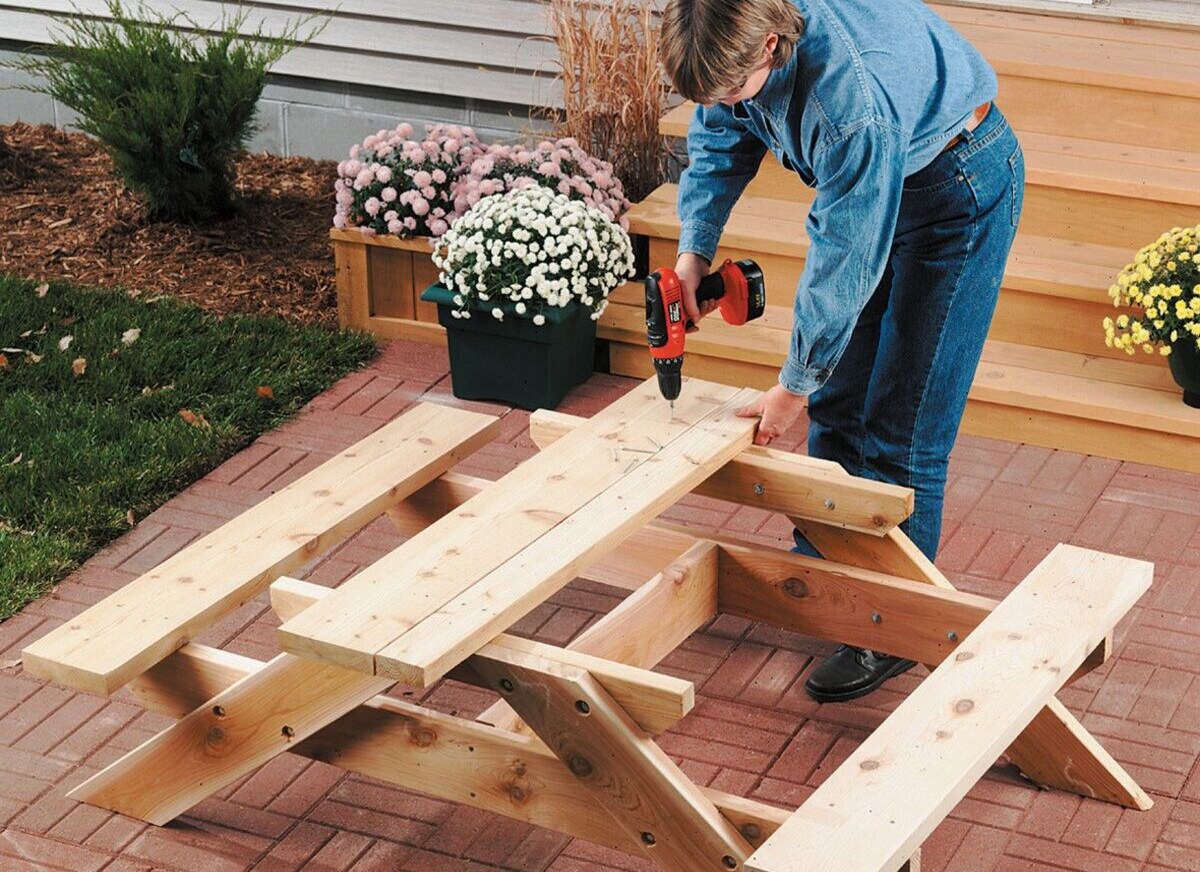
Step 3: Assembling the Frame
With the wood pieces cut, it’s time to assemble the frame of your dining room bench. Follow these steps to ensure a sturdy and stable structure:
- Lay Out the Frame: Begin by laying out the 2×4 boards according to your bench dimensions. Place them on a flat surface, following the outline of your bench.
- Pre-Drill Holes: To prevent splitting, pre-drill holes on the boards where you will be driving screws. Ensure the holes are slightly smaller in diameter than the screws you will be using.
- Apply Wood Glue: Apply a thin layer of wood glue to the ends of each board that will be joined together. This will provide additional strength to the joints.
- Secure the Joints: Using wood screws, securely fasten the boards together at each joint. Make sure the frame is square by using a square or straightedge to check the corners. Adjust as needed.
- Add Reinforcement: To strengthen the frame, consider adding additional support in the form of diagonal braces or extra boards on the underside of the bench. This will provide added stability.
As you assemble the frame, take your time to ensure all joints are tightly secured and the frame is sturdy. Double-check the squareness of the frame to ensure straight and even lines.
Once the frame is assembled and secure, you are ready to move on to the next step, which is sanding and finishing the wood. This will help create a smooth and polished look for your dining room bench.
Step 4: Sanding and Finishing
After assembling the frame of your dining room bench, it’s time to focus on sanding and finishing the wood. This step will help enhance the overall appearance and smoothness of the bench. Follow these steps for a professional-looking result:
- Sand the Wood: Start by using a sanding block or an electric sander to sand all the wood surfaces, including the frame and seat boards. Begin with a coarse-grit sandpaper to remove any rough edges or splinters, then switch to a finer-grit sandpaper for a smoother finish. Sand in the direction of the wood grain to achieve the best results.
- Remove Dust: After sanding, use a soft cloth or tack cloth to remove any dust or debris from the wood surface. This will ensure a clean and smooth surface for the finishing process.
- Apply Stain or Paint: Depending on the desired look for your bench, you can choose to apply a wood stain or paint. Stains enhance the natural beauty of the wood, while paint allows for more color options. Apply the stain or paint evenly, following the manufacturer’s instructions, and allow it to dry completely.
- Seal the Wood: To protect the wood and give it a finished look, consider applying a clear sealant or polyurethane. This will help prevent damage from spills and wear, as well as add a glossy or satin finish to the wood surface. Apply the sealant according to the instructions and allow it to dry thoroughly.
Remember to work in a well-ventilated area and wear appropriate safety gear, such as a dust mask and goggles, when sanding and applying finishes. This will help keep you safe throughout the process.
Once you have completed the sanding and finishing steps, you can move on to the next step: attaching the legs of the dining room bench.
Step 5: Attaching the Legs
With the frame of your dining room bench sanded and finished, it’s time to attach the legs. The legs will provide stability and support for the bench. Follow these steps to properly attach them:
- Choose Leg Style: Decide on the style of legs you want for your bench. You can opt for pre-made legs available at hardware stores or create your own using wood. Make sure the legs are proportionate to the size and height of the bench.
- Measure and Mark Placement: Measure and mark the location where the legs will be attached to the frame. Ensure that they are evenly spaced and aligned with the corners of the bench.
- Pre-Drill Holes: Using a drill with an appropriate bit, pre-drill holes in the frame where the legs will be attached. This will prevent the wood from splitting while attaching the legs.
- Attach the Legs: Depending on the leg style and your chosen method, use screws or mounting hardware to secure the legs to the frame. Make sure they are securely fastened and stable.
Double-check the alignment and stability of the legs before moving on to the next step. This will ensure that your finished dining room bench stands securely and strong.
After attaching the legs, you are ready to reinforce the frame and add additional support to ensure the bench can withstand daily use. This will be covered in the next step.
When building a dining room bench, make sure to use sturdy and durable materials such as hardwood or plywood to ensure it can withstand daily use. Additionally, consider adding a cushion for added comfort.
Read also: 12 Unbelievable Dining Room Bench For 2024
Step 6: Adding Support and Reinforcement
To ensure the durability and longevity of your dining room bench, it’s important to add support and reinforcement to the frame. This step will provide additional stability and prevent any potential sagging or loosening of the components. Follow these steps to reinforce your bench:
- Add Corner Braces: Install corner braces at each corner of the bench frame to provide extra support. Use a drill and screws to attach the braces securely, ensuring they are flush with the frame.
- Add Cross Braces: To further reinforce the frame, consider adding cross braces between the bench legs. Measure and cut the braces to fit between the legs, then use screws to attach them to the frame. This will help distribute the weight evenly and prevent any wobbling or instability.
- Check for Stability: Once the reinforcing support is in place, check the stability of the bench by applying pressure and sitting on it. Make any necessary adjustments or tighten any loose screws to ensure the frame is solid and sturdy.
By adding support and reinforcement, you are strengthening the structure of your dining room bench, allowing it to withstand the weight and movement that comes with regular use.
Now that the frame is reinforced, it’s time to move on to the next step: upholstering the seat of the bench to add comfort and style.
Step 7: Upholstering the Seat
Upholstering the seat of your dining room bench will not only add comfort but also enhance its visual appeal. Follow these steps to achieve a professional-looking upholstered seat:
- Measure and Cut Foam: Begin by measuring the dimensions of the seat area. Using those measurements, cut a piece of upholstery foam to fit the seat. The foam should be thick enough to provide cushioning without being too bulky.
- Attach Foam to the Seat: Apply a layer of adhesive spray or upholstery glue to the top of the seat. Carefully place the foam onto the adhesive, ensuring it aligns with the edges of the seat. Press down firmly to secure the foam in place.
- Add Batting: Cut a piece of batting slightly larger than the seat. Place it on top of the foam, ensuring it covers the entire seat area. Tuck the edges of the batting under the seat and staple it to the underside of the bench frame. This will create a smooth and padded surface.
- Attach Fabric: Choose a fabric that complements your dining room décor and cut it to fit the seat, allowing for a few extra inches on each side. Center the fabric over the batting-covered seat and smooth it out, ensuring there are no wrinkles or creases.
- Secure the Fabric: Starting from the center of one side, pull the fabric tightly over the seat and staple it to the underside of the bench frame. Continue stapling along each side, pulling the fabric taut as you go. Trim any excess fabric if necessary.
- Trim and Finish: Double-check the fabric to ensure it is smooth and evenly stretched over the seat. Trim any excess fabric and secure any loose staples. If desired, add decorative trim or piping around the edges of the seat for a polished look.
Upholstering the seat of your dining room bench will add a touch of comfort and personal style to your furniture piece. Take your time during this step to achieve a neat and professional finish.
With the seat upholstered, your dining room bench is almost complete. The final step is to add the finishing touches and decorate the bench to complement your space.
Step 8: Final Touches and Decorating
Congratulations! You’re in the final step of building your dining room bench. This step involves adding the final touches and decorating the bench to enhance its aesthetic appeal and ensure it fits seamlessly into your space. Follow these suggestions and get creative:
- Paint or Stain: If you haven’t already, consider applying a final coat of paint or stain to the frame of the bench. This step will give it a polished look and protect the wood.
- Accessorize: Personalize your dining room bench by adding accent pillows or seat cushions that coordinate with your décor. This will not only add comfort but also make the bench more inviting and visually appealing.
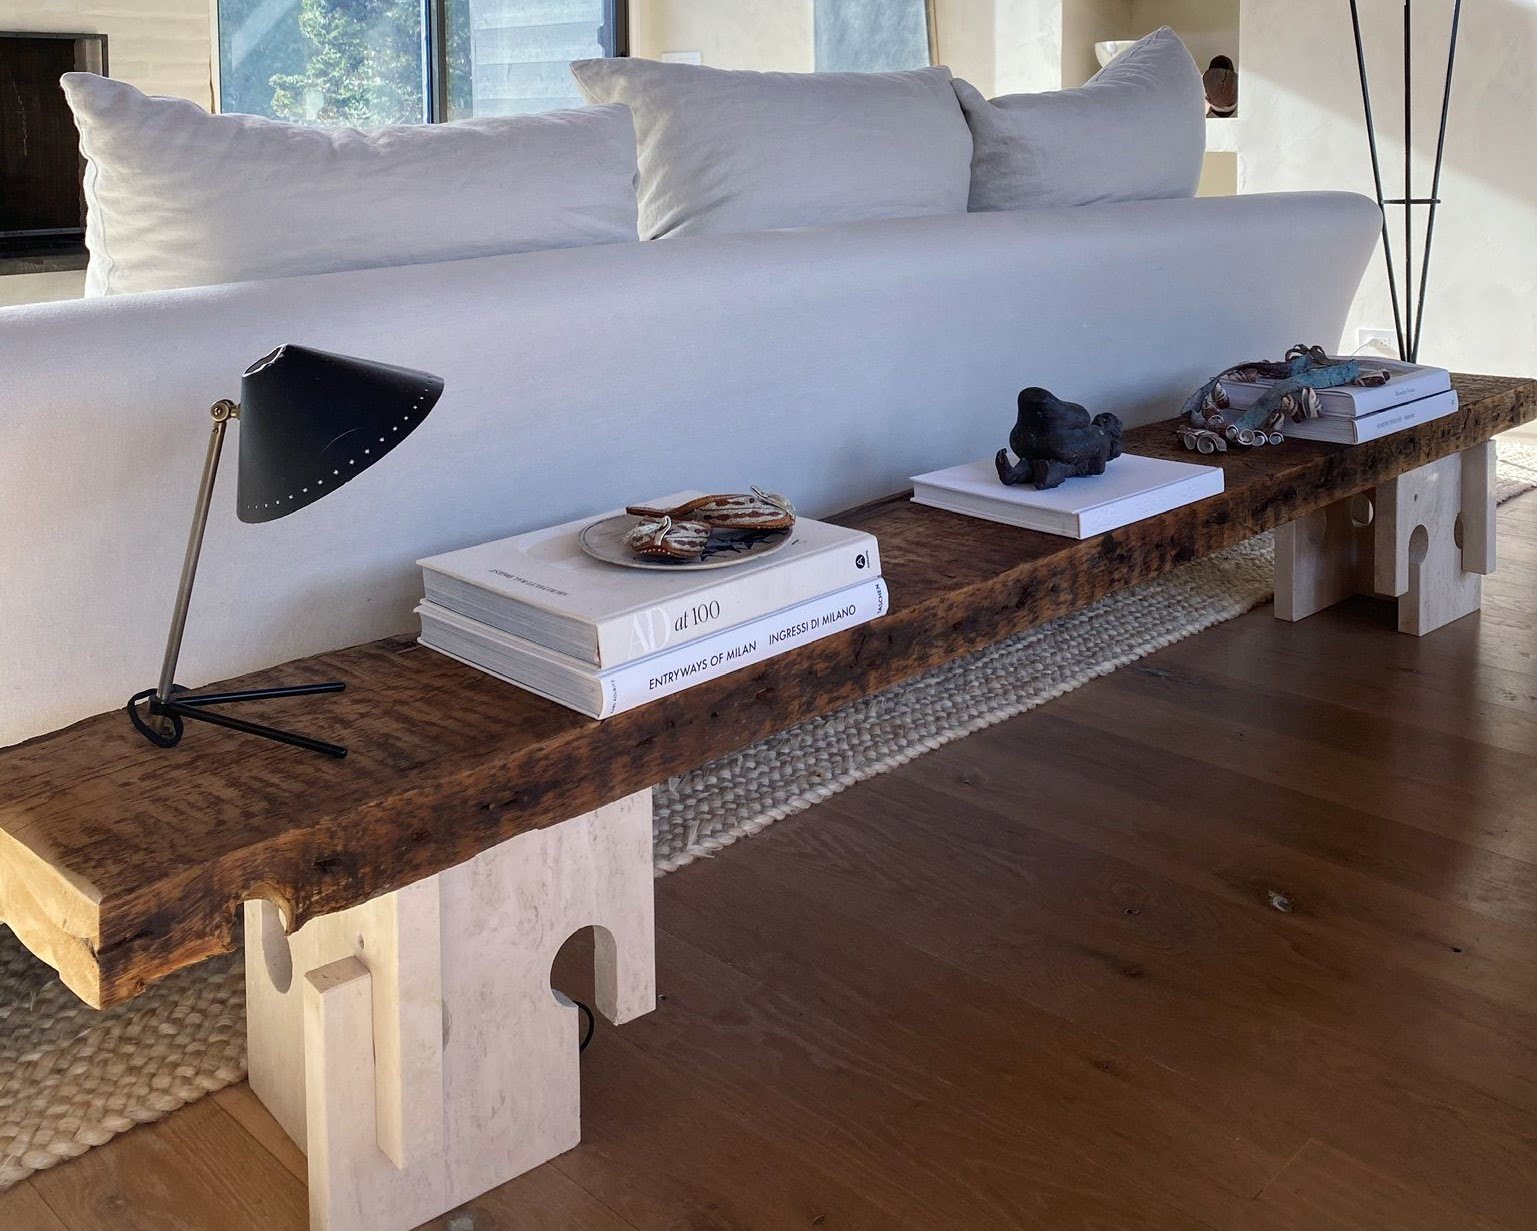
- Tableware Display: Use the bench as an opportunity to showcase your favorite tableware. Display decorative dishes, vases, or even a curated collection of dinnerware to add a personalized touch.
- Lighting: Consider adding decorative lighting above or beside the bench to create a cozy and intimate ambiance in your dining area. Pendant lights or sconces can add a warm and inviting glow.
- Accessorize with Plants: Bring a touch of nature into your dining space by placing small potted plants or a vase of fresh flowers on the bench. This will add a vibrant and refreshing element to your seating area.
- Textiles: Use textiles such as table runners, placemats, or a tablecloth that complement the fabric on the bench seat. This will tie together the overall look of your dining area and create a cohesive aesthetic.
Let your creativity shine as you add the final touches and decor elements to your dining room bench. This step is all about making the bench feel like a cohesive part of your dining space and reflecting your personal style.
Once you’re satisfied with the final touches and decorations, it’s time to enjoy your newly built dining room bench. Gather around it with your loved ones, and create lasting memories as you share meals and conversations.
Congratulations again on completing your dining room bench project!
Conclusion
Building your own dining room bench is a fulfilling and rewarding project that allows you to showcase your creativity while adding a functional piece of furniture to your home. Throughout this guide, we’ve walked you through the step-by-step process of constructing a dining room bench – from measuring and planning to adding the final touches and decorations. By following these steps and using the necessary tools and materials, you can create a custom bench that perfectly suits your style and needs.
Not only does building your own bench give you the opportunity to exercise your DIY skills, but it also offers the benefits of cost savings and customization. You have the freedom to choose the wood, the dimensions, and the finish that align with your personal taste and décor. Plus, the satisfaction that comes with completing a furniture project with your own hands is truly unmatched.
Remember to take your time during each step, ensuring accuracy and precision in your measurements and cuts. Safety should always be a priority, so don’t forget to wear appropriate protective equipment and use caution when working with tools.
Once your bench is complete, take pride in your creation and make it the centerpiece of your dining area. Personalize it with cushions, tableware, lighting, and other decorative elements to truly make it your own.
Now that you have the knowledge and guidance to build your own dining room bench, it’s time to put it into action. Clear your workspace, gather your tools and materials, and embark on this exciting DIY project. Enjoy the process, and revel in the satisfaction of creating a beautiful and functional piece of furniture that will be enjoyed by you and your loved ones for years to come.
Frequently Asked Questions about How To Build Dining Room Bench
Was this page helpful?
At Storables.com, we guarantee accurate and reliable information. Our content, validated by Expert Board Contributors, is crafted following stringent Editorial Policies. We're committed to providing you with well-researched, expert-backed insights for all your informational needs.


0 thoughts on “How To Build Dining Room Bench”