Home>Furniture & Design>Living Room Furniture>How To Redo A Dining Room Table
Living Room Furniture
How To Redo A Dining Room Table
Modified: February 23, 2024
Learn how to transform your dining room table with our expert tips and ideas for living room furniture and design. Revamp your space today!
(Many of the links in this article redirect to a specific reviewed product. Your purchase of these products through affiliate links helps to generate commission for Storables.com, at no extra cost. Learn more)
Introduction
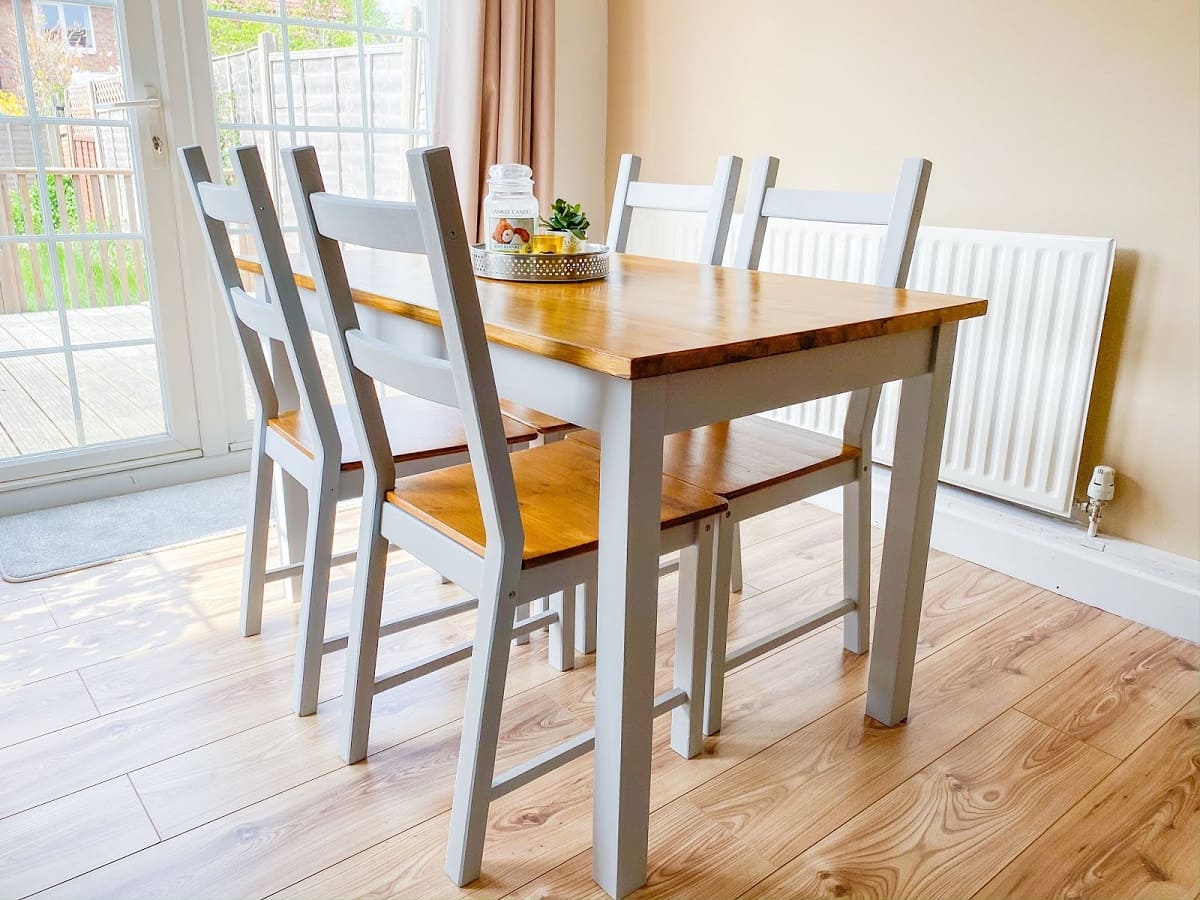
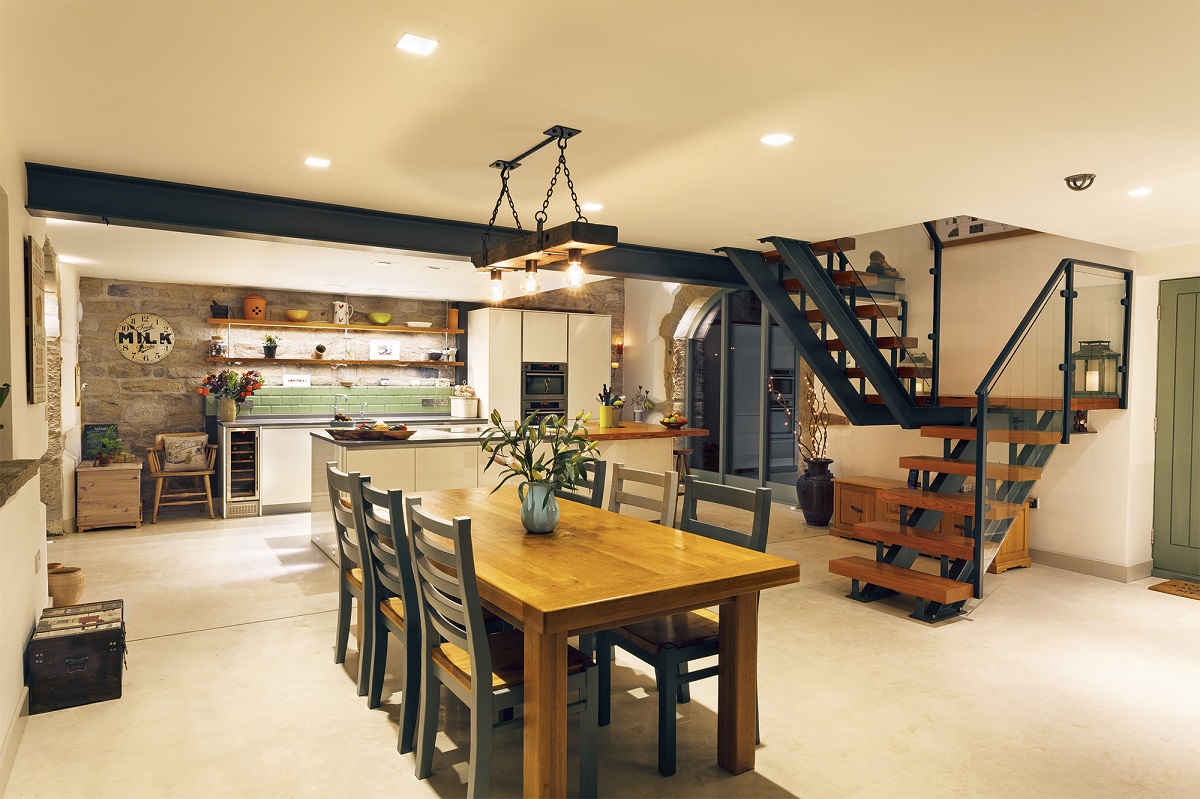
So, you've decided it's time to breathe new life into your dining room table. Whether it's a cherished family heirloom or a recent acquisition, giving your dining table a fresh finish can revitalize the entire room. This process can be a rewarding endeavor, allowing you to unleash your creativity and restore the table to its former glory.
Refinishing a dining room table involves several key steps, from assessing the current condition to selecting the perfect finish and executing the refinishing process. By following these steps, you can transform a worn-out table into a stunning centerpiece that complements your living space.
As we embark on this journey, we'll explore the intricacies of each step, providing insights and tips to help you achieve a professional-grade finish. Whether you're a seasoned DIY enthusiast or a first-time refinisher, this guide will equip you with the knowledge and confidence to tackle this project with finesse.
So, roll up your sleeves, gather your materials, and let's embark on this transformative journey to breathe new life into your dining room table.
Key Takeaways:
- Assess the current condition of your dining table to understand the type of finish, any damage, and the table’s structure before starting the refinishing process.
- Choose the right finish based on your desired look, maintenance needs, and environmental considerations to rejuvenate your dining room table with a perfect new finish.
Read more: How To Redo The Upholstery On Dining Chairs
Assessing the Current Table
Before diving into the refinishing process, it's essential to thoroughly assess the current state of your dining room table. This step will provide valuable insights into the type of finish already present, any existing damage or imperfections, and the overall condition of the table.
Start by examining the surface of the table. Look for scratches, dents, watermarks, or any other signs of wear and tear. Take note of areas where the finish has worn off or where the wood may have become discolored over time. Understanding the extent of the damage will guide your approach to the refinishing process.
Next, determine the existing finish on the table. Is it a clear varnish, a stained finish, or a combination of both? This information is crucial when selecting the appropriate products for stripping and refinishing. You can perform a simple test by applying a small amount of denatured alcohol or lacquer thinner to a discreet area. If the finish softens or dissolves, it is likely a lacquer or shellac. If it remains unaffected, it may be a polyurethane or varnish finish.
Inspect the table's structural integrity. Check for loose joints, wobbly legs, or any other issues that may require repair before proceeding with the refinishing process. Addressing these structural concerns at this stage will ensure that your efforts in refinishing yield long-lasting results.
Lastly, consider the style and design of the table. Is it a solid wood construction, veneer, or a combination of materials? Understanding the composition of the table will influence the refinishing techniques and products you choose.
By thoroughly assessing the current condition of your dining room table, you'll gain a comprehensive understanding of the work that lies ahead. Armed with this knowledge, you can proceed to the next phase of selecting the ideal finish to breathe new life into your table.
Choosing the Right Finish
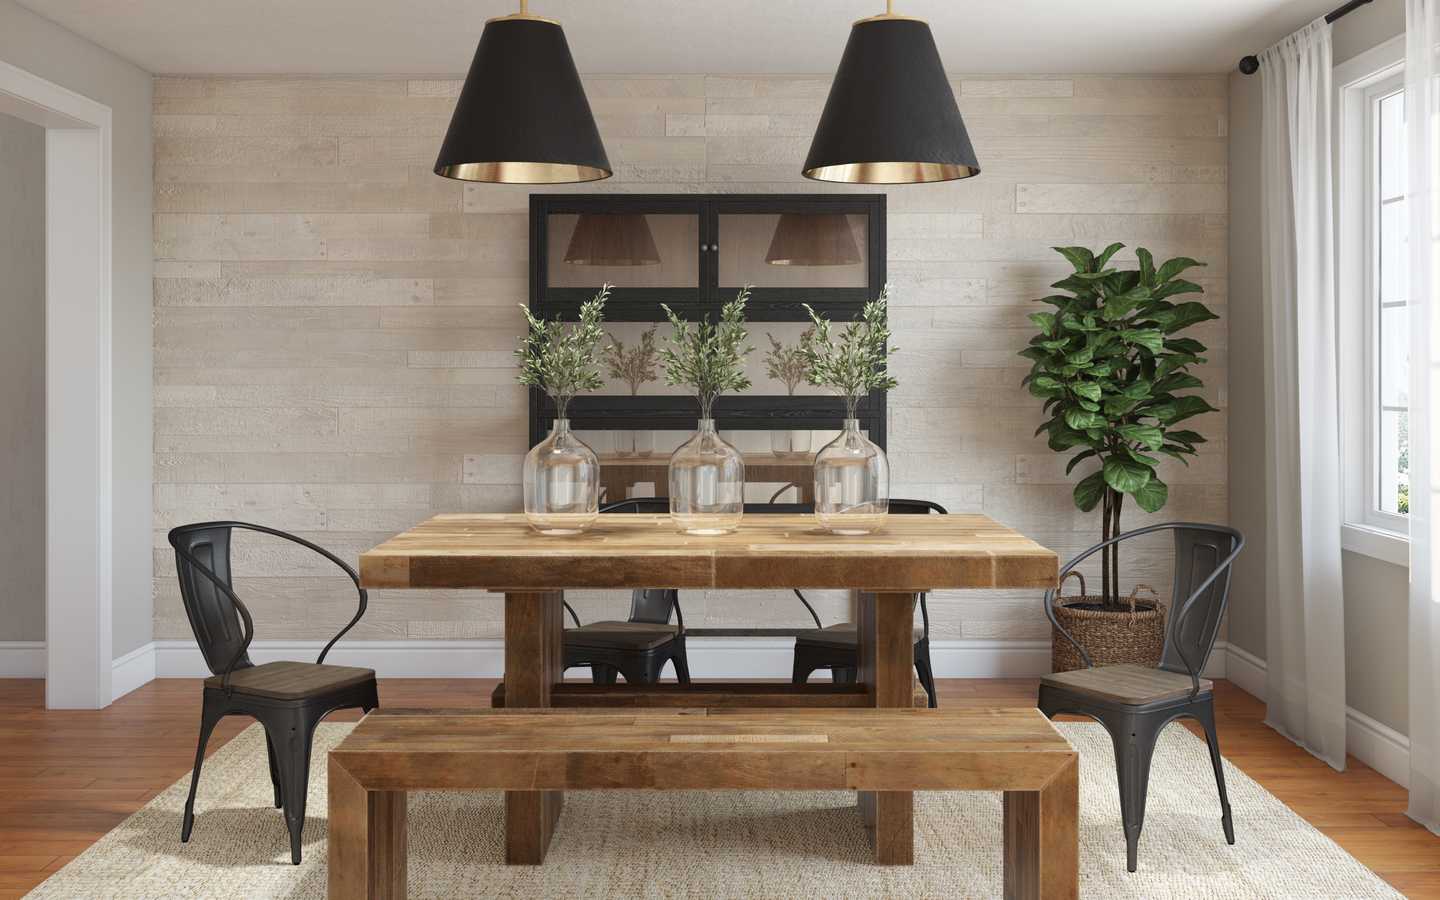
When it comes to refinishing a dining room table, selecting the right finish is a pivotal decision that will define the table’s aesthetic appeal and durability. With a myriad of options available, ranging from traditional stains to modern polyurethane finishes, it’s essential to consider factors such as the desired look, maintenance requirements, and the table’s everyday use.
First, consider the aesthetic you wish to achieve. If you desire a natural, timeless appearance that accentuates the wood’s grain, a clear varnish or oil-based finish may be ideal. On the other hand, if you prefer a rich, darker hue or want to alter the wood’s natural color, a pigmented stain can provide a striking transformation. Additionally, exploring different finishing techniques, such as distressing or antiquing, can add character and depth to the table’s appearance.
Next, contemplate the table’s utility and the level of protection the finish needs to provide. If the table is subjected to frequent meals, spills, and heavy use, a durable, water-resistant finish, such as polyurethane, may be the most practical choice. Alternatively, if the table is primarily decorative and sees minimal use, a lighter, less protective finish may suffice.
Consider the maintenance requirements of each finish. Some finishes, such as lacquer or shellac, may necessitate periodic reapplication to maintain their luster, while others, like polyurethane, offer long-term protection with minimal upkeep. Understanding the maintenance demands of each finish will help you make an informed decision based on your lifestyle and preferences.
It’s also crucial to factor in environmental considerations and health concerns when choosing a finish. Water-based finishes are typically more eco-friendly and emit fewer fumes than their oil-based counterparts, making them a popular choice for indoor use, especially in households with children or pets.
By weighing these considerations and envisioning the desired outcome, you can narrow down the myriad of finish options to select the perfect one that will rejuvenate your dining room table and align with your style and practical needs.
Before starting to redo a dining room table, make sure to thoroughly sand the surface to remove any existing finish or imperfections. This will help the new finish adhere better and give a smoother final result.
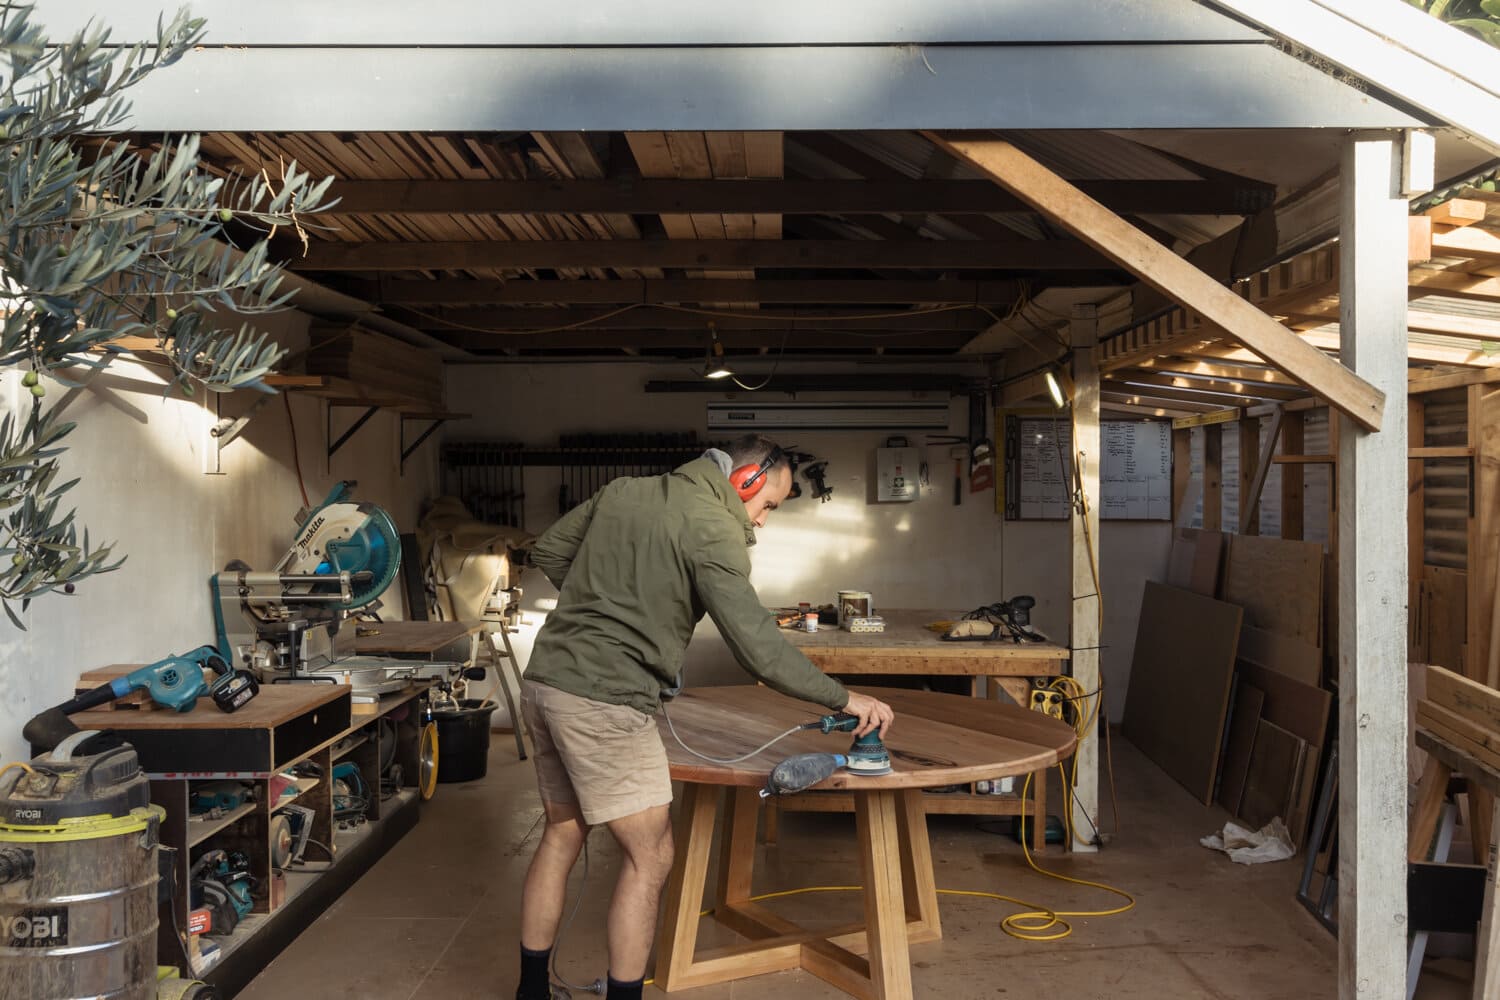
Preparing the Table for Refinishing
Before diving into the refinishing process, thorough preparation is essential to ensure the best possible outcome. Preparing the table involves a series of meticulous steps aimed at removing the existing finish, addressing any surface imperfections, and creating an ideal canvas for the new finish.
Begin by clearing the table and creating a well-ventilated workspace. Ideally, this should be done outdoors or in a well-ventilated area to minimize exposure to fumes and ensure proper airflow during the refinishing process. Protect the surrounding area with drop cloths or plastic sheeting to prevent any accidental spills or splatters.
The next step involves removing the existing finish. This can be achieved through chemical stripping or sanding, depending on the type of finish present. Chemical strippers are effective for removing multiple layers of finish and are particularly useful for intricate details and carvings. Sanding, on the other hand, involves using progressively finer grit sandpaper to gently abrade the existing finish until the bare wood is exposed. Carefully follow the manufacturer’s instructions when using chemical strippers and wear appropriate protective gear, including gloves and goggles.
Once the existing finish has been removed, thoroughly sand the entire surface of the table to smooth out any imperfections and create a uniform texture. Begin with a coarse grit sandpaper and gradually progress to finer grits to achieve a silky-smooth finish. Take care to sand along the wood grain to avoid creating visible scratches or blemishes.
After sanding, it’s crucial to remove all dust and debris from the table. A tack cloth or a damp microfiber cloth can be used to wipe down the surface and ensure that it is entirely free of any residual particles. Any lingering dust can compromise the adhesion of the new finish, so this step is paramount to achieving a flawless result.
Inspect the table for any remaining imperfections or blemishes. Address these issues by filling in gouges, cracks, or gaps with wood filler and sanding them smooth once the filler has dried. This meticulous attention to detail will ensure that the table’s surface is pristine and ready for the application of the new finish.
By meticulously preparing the table for refinishing, you’ll establish a solid foundation for the subsequent steps, setting the stage for a stunning transformation that will breathe new life into your dining room table.
Applying the New Finish
With the table meticulously prepared, it’s time to embark on the exhilarating phase of applying the new finish. This step is where your vision for the table’s transformation comes to life, as you carefully impart the chosen finish to the wood, enhancing its natural beauty and ensuring its longevity.
Before commencing the application, ensure that the workspace is clean, dust-free, and well-ventilated. It’s advisable to wear a respirator mask and work in an area with minimal airborne particles to achieve a flawless finish.
If you’ve opted for a stain, carefully stir the product to evenly distribute the pigments. Test the stain on a discreet area of the table to gauge the color intensity and absorption. Once satisfied, apply the stain with a brush or clean cloth, working in the direction of the wood grain to ensure even coverage. Allow the stain to penetrate the wood for the recommended duration before wiping off any excess with a clean cloth.
For clear finishes such as varnish or polyurethane, it’s essential to stir the product gently to prevent air bubbles. Apply a thin, even coat using a high-quality brush, foam applicator, or sprayer. Work methodically, following the wood grain to minimize brush marks and ensure a uniform finish. Allow the first coat to dry completely before lightly sanding the surface with fine-grit sandpaper to promote adhesion for subsequent coats.
When applying subsequent coats, strive for consistency and precision. Each layer should be thin and evenly distributed to prevent drips, runs, or uneven drying. Depending on the product, multiple coats may be necessary to achieve the desired level of protection and luster. Take care to follow the manufacturer’s recommended drying times between coats to ensure optimal results.
After the final coat has been applied and has dried to perfection, consider adding a protective topcoat to safeguard the finish from everyday wear and tear. This additional layer can enhance the durability of the finish, providing added resilience against scratches, spills, and UV damage.
Throughout the application process, maintain a keen eye for detail and strive for a flawless, blemish-free finish. Patience and precision during this phase will yield a dining room table that exudes elegance and charm, becoming the focal point of your living space for years to come.
Read more: What Is In A Dining Room?
Final Touches and Maintenance
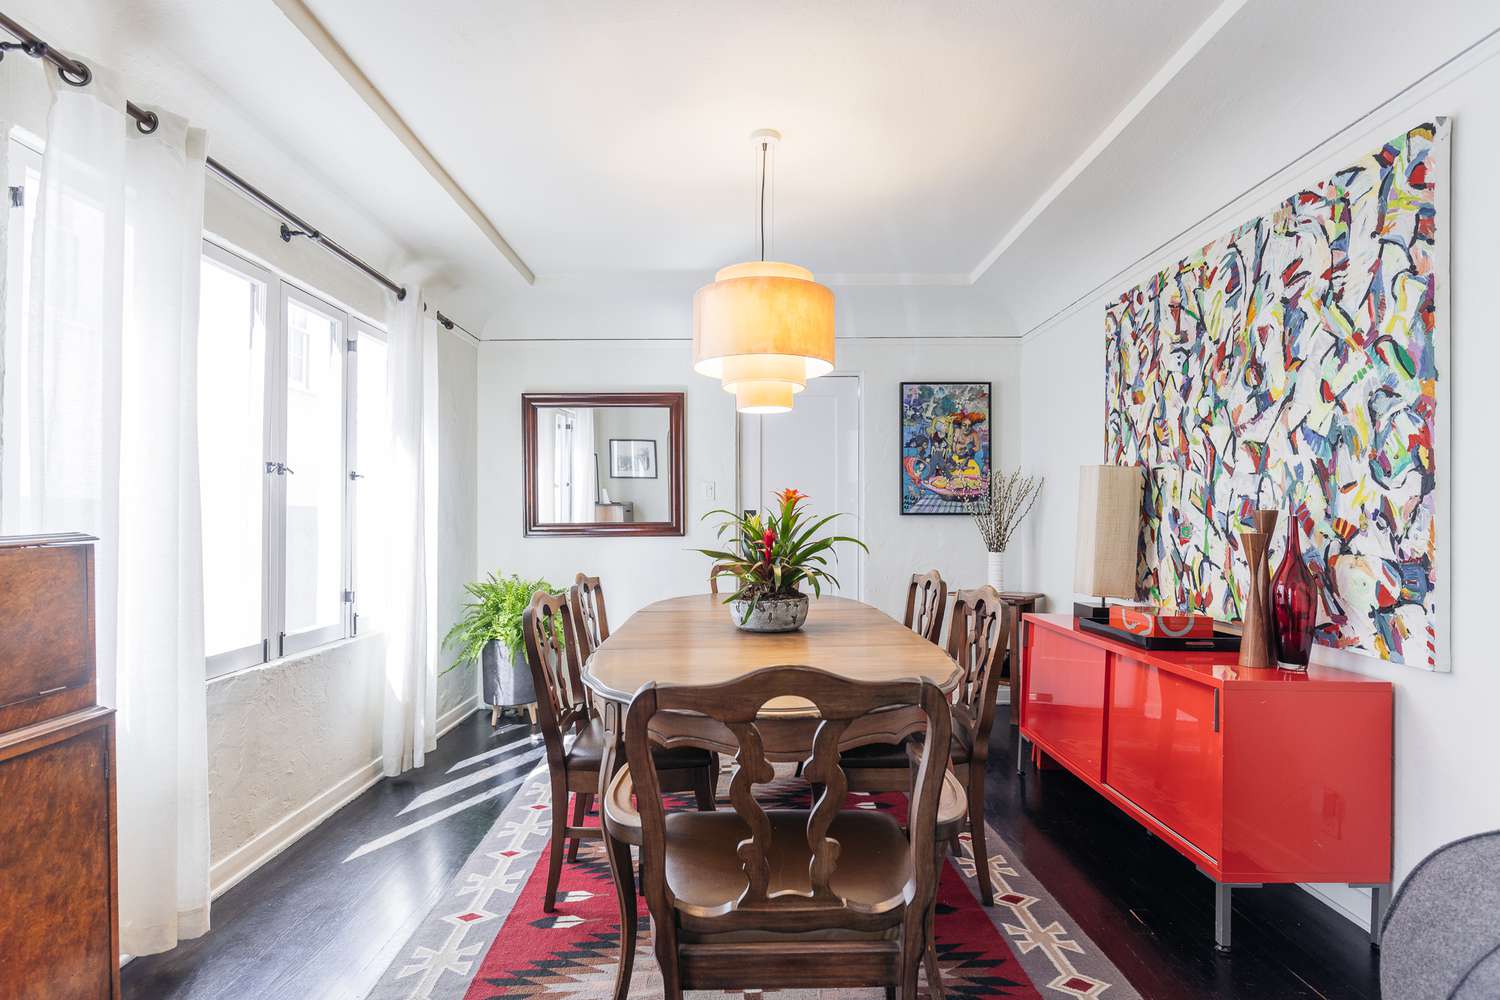
As the refinishing process nears completion, attention to final touches and maintenance considerations will ensure that your dining room table continues to exude its renewed splendor for years to come. These concluding steps encompass adding embellishments, safeguarding the finish, and establishing a maintenance routine to preserve the table’s beauty.
If you desire additional decorative elements, consider incorporating unique touches such as distressing, antiquing, or decorative stenciling to infuse character and individuality into the table’s appearance. These artistic flourishes can impart a sense of history and craftsmanship, elevating the table from a mere piece of furniture to a cherished work of art.
To safeguard the newly finished table, invest in high-quality table pads or coasters to protect it from heat, moisture, and scratches. Encourage the use of placemats and coasters to minimize the risk of damage during meals and gatherings, preserving the integrity of the finish for years to come.
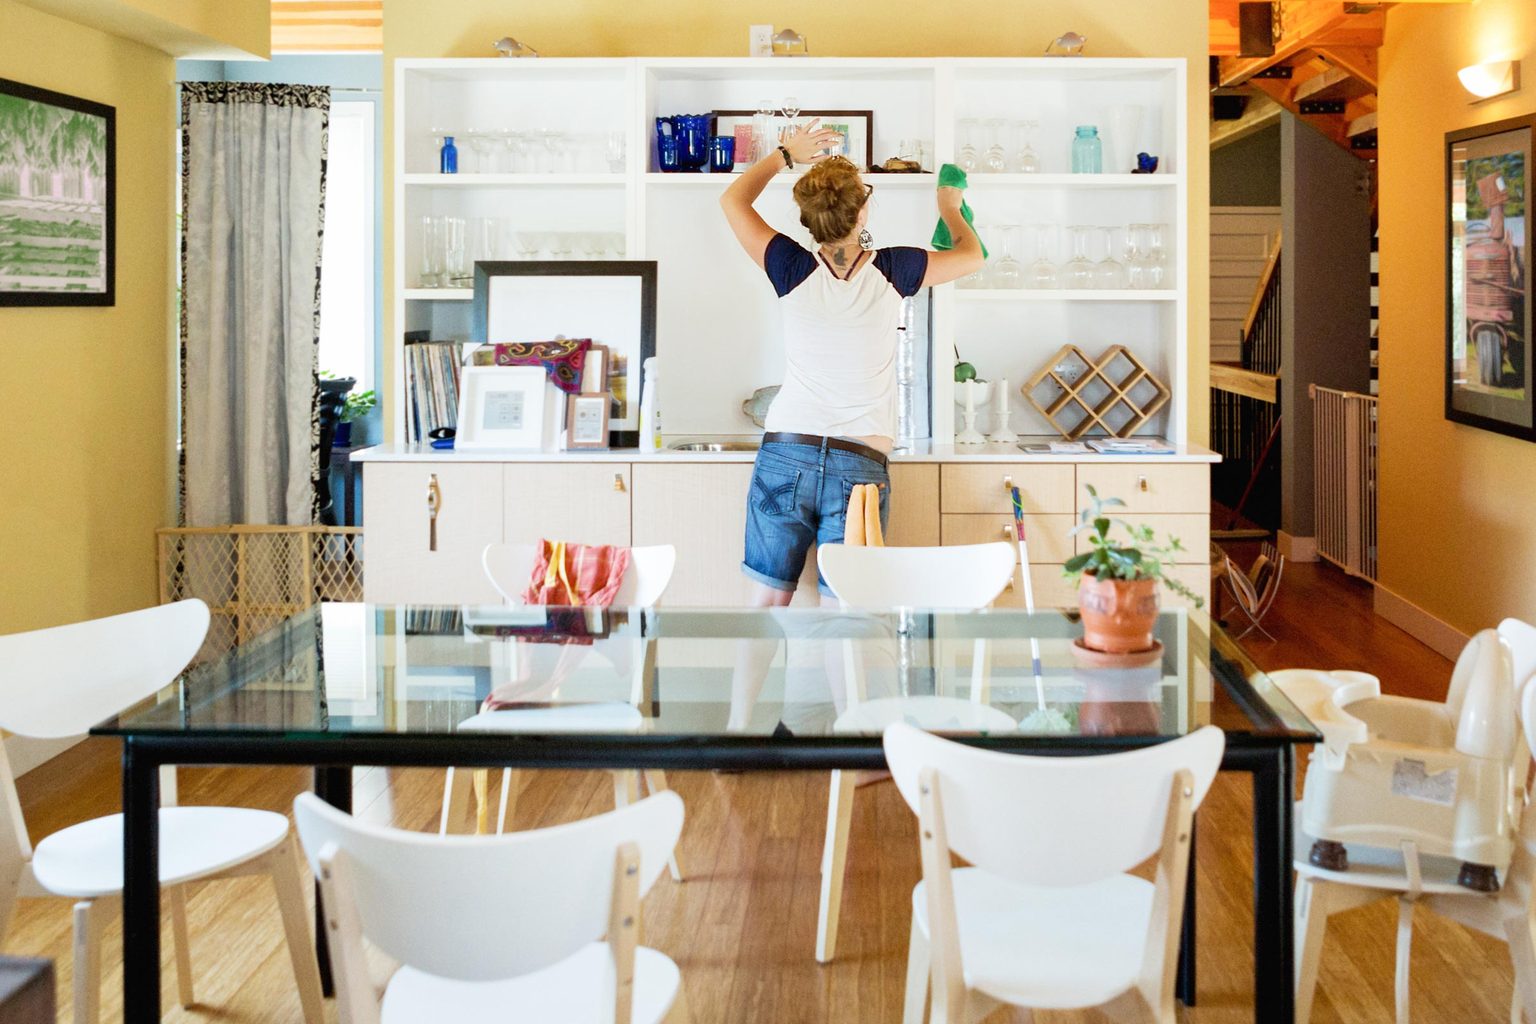
Establish a regular maintenance routine to uphold the table’s allure. Periodically dust the surface with a soft, lint-free cloth to remove any accumulated particles and maintain its luster. Avoid using harsh cleaning agents or abrasive materials that could compromise the finish, opting instead for mild soaps or specialized wood cleaners when necessary.
Keep an eye out for any signs of wear and tear, such as minor scratches or dull patches, and promptly address them with touch-up products specifically designed for the table’s finish. This proactive approach will prevent minor imperfections from escalating and preserve the table’s impeccable appearance.
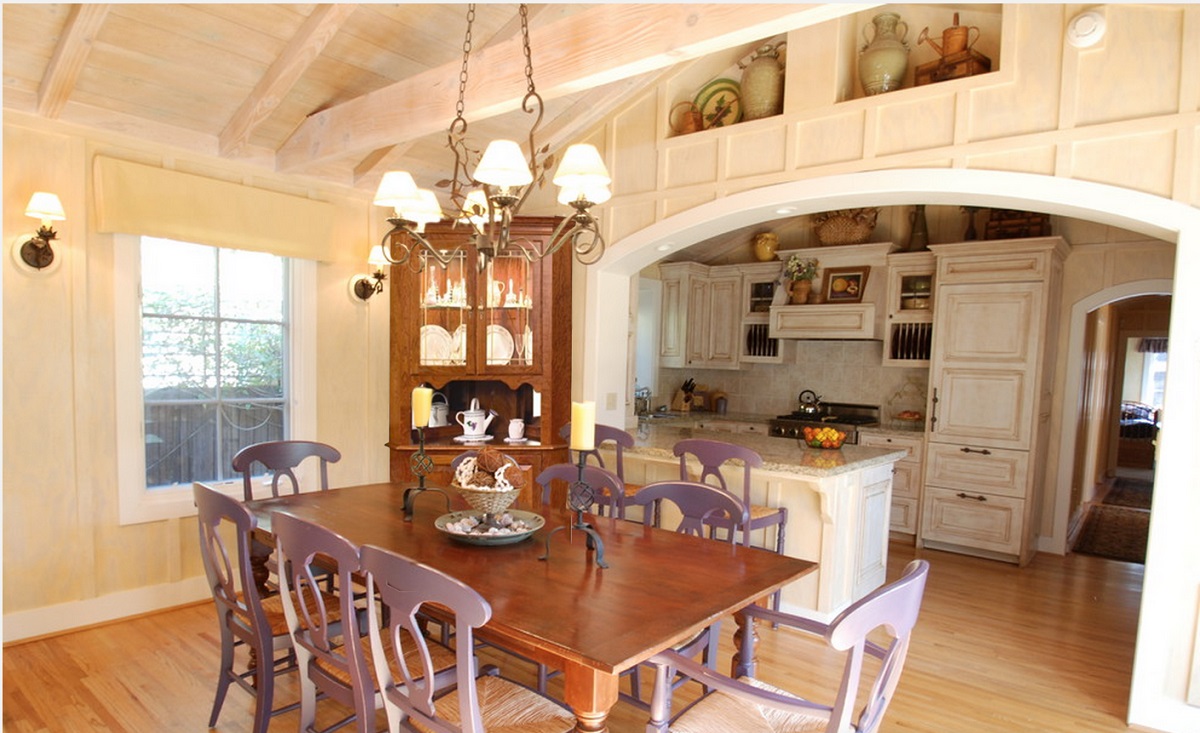
Finally, embrace the joy of showcasing your newly revitalized dining room table. Whether it’s hosting memorable gatherings, enjoying daily meals, or simply admiring its beauty, your meticulously refinished table will serve as a captivating centerpiece, enriching your living space with its timeless allure.
By attending to these final touches and embracing a thoughtful maintenance regimen, you’ll ensure that your dining room table remains a source of pride and admiration, embodying the enduring craftsmanship and artistry of its rejuvenation.
Frequently Asked Questions about How To Redo A Dining Room Table
Was this page helpful?
At Storables.com, we guarantee accurate and reliable information. Our content, validated by Expert Board Contributors, is crafted following stringent Editorial Policies. We're committed to providing you with well-researched, expert-backed insights for all your informational needs.


0 thoughts on “How To Redo A Dining Room Table”