Articles
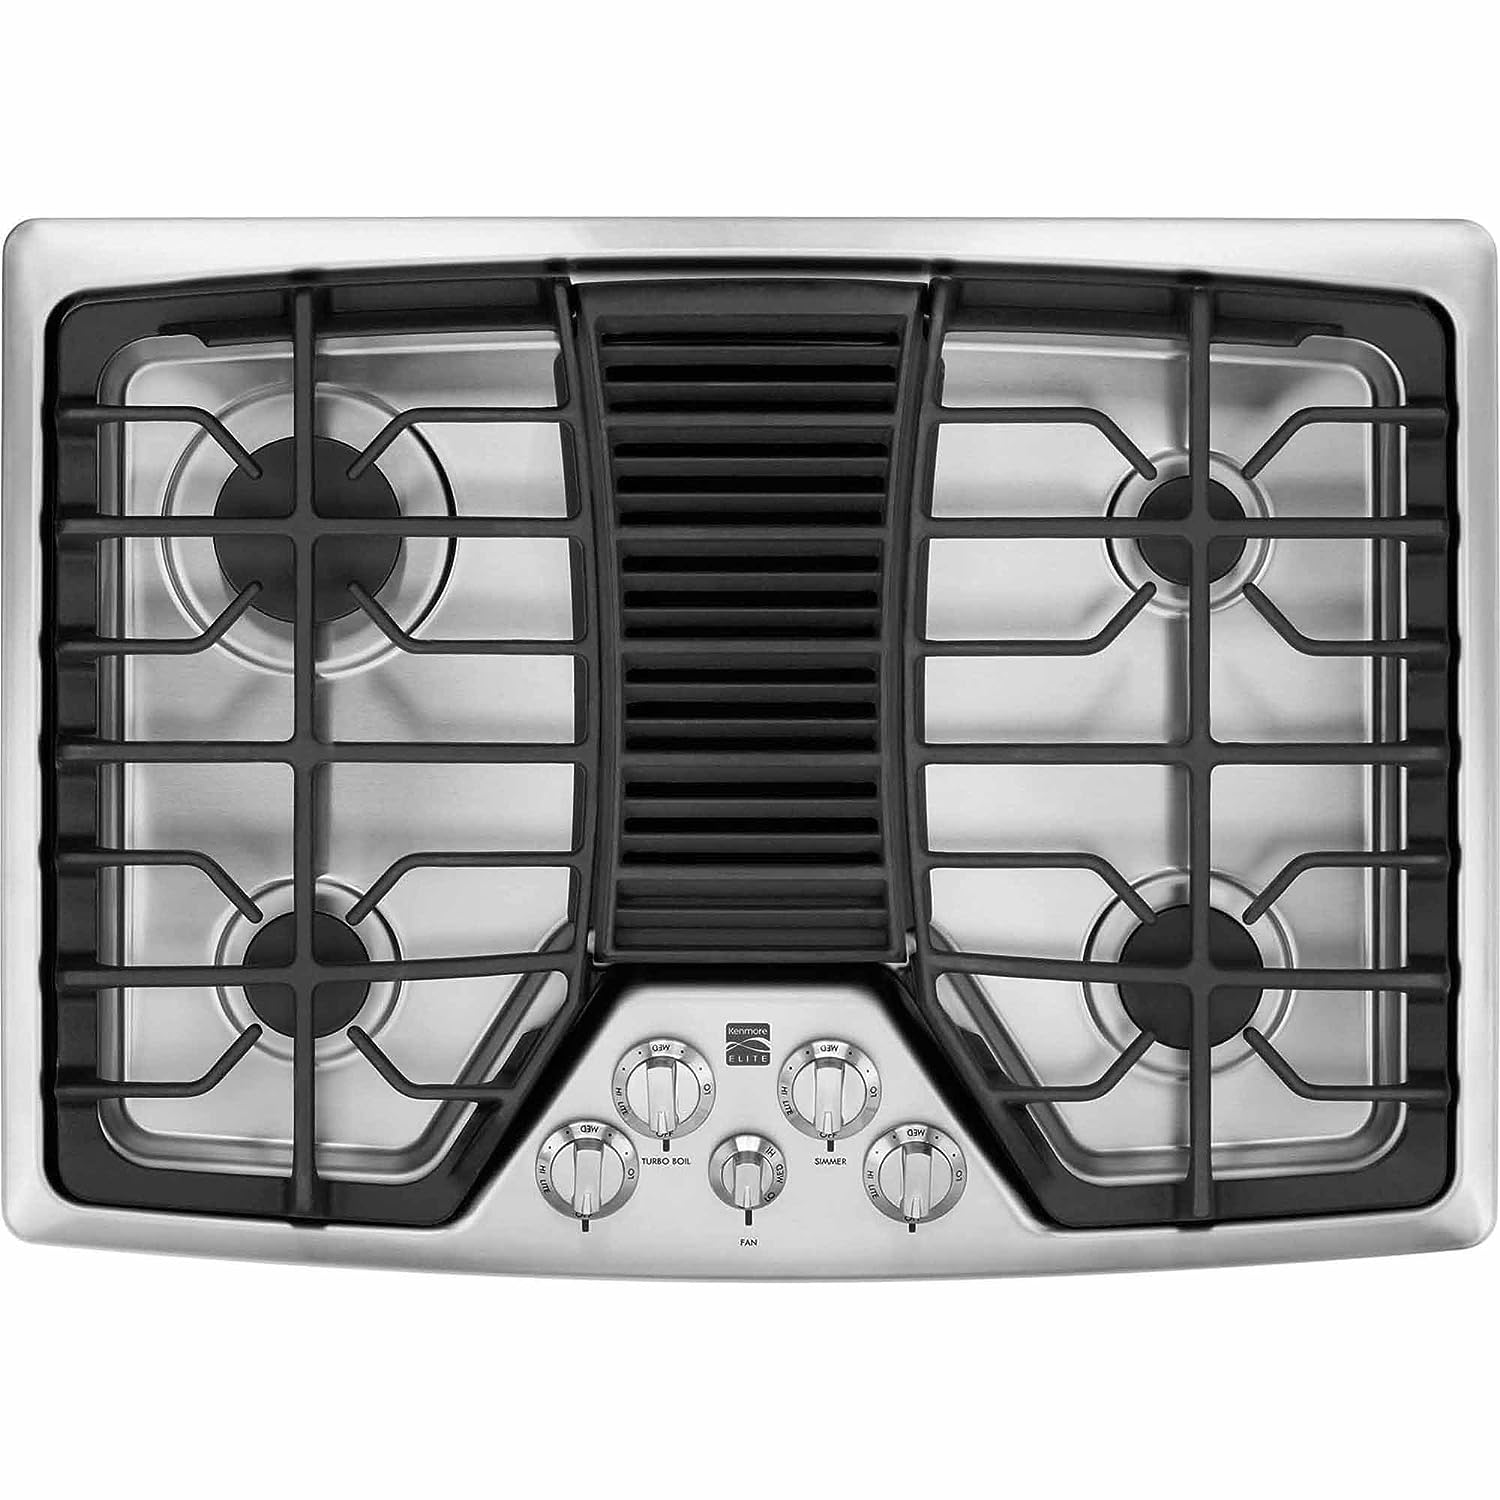
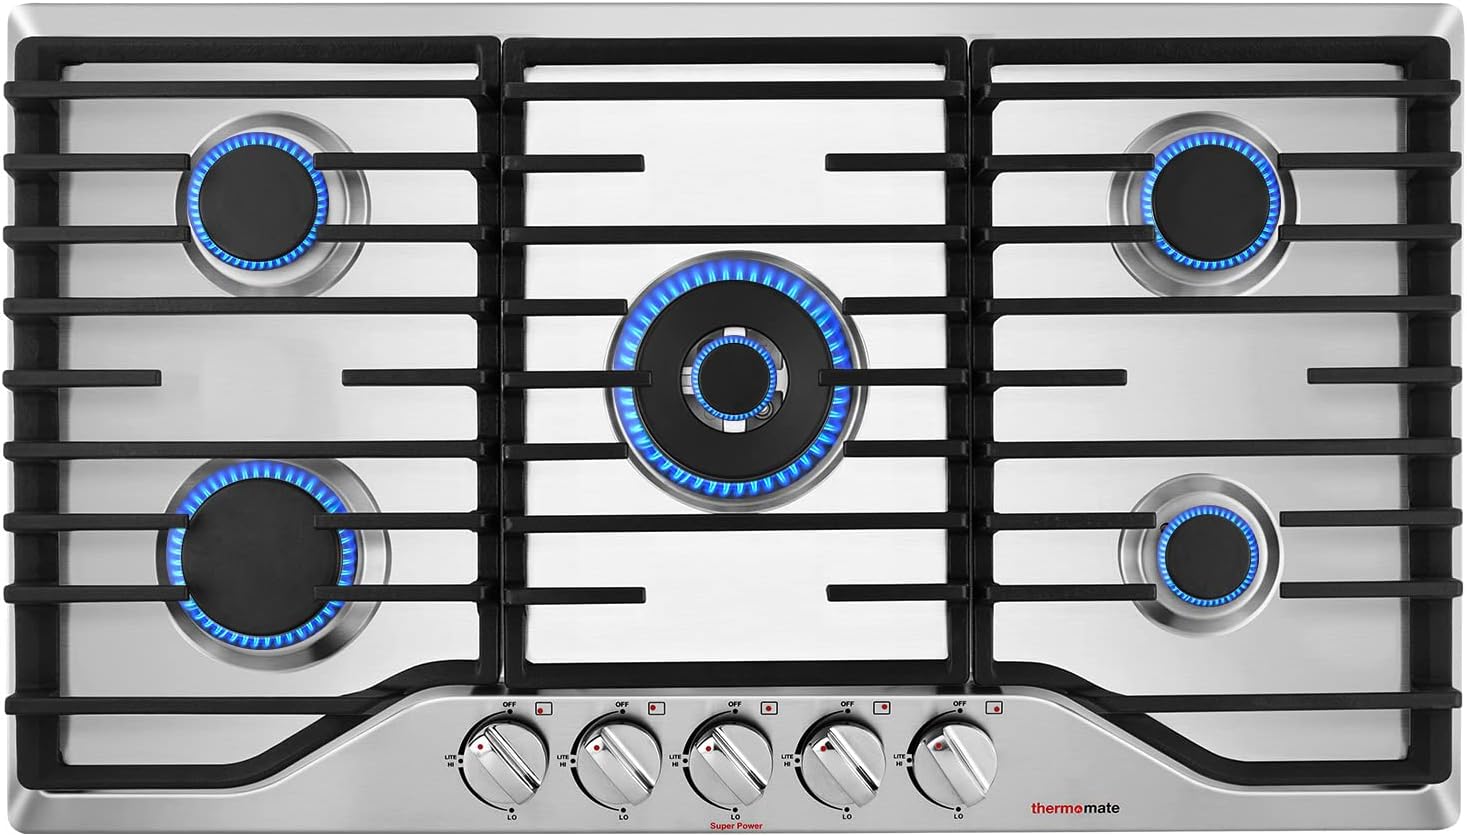
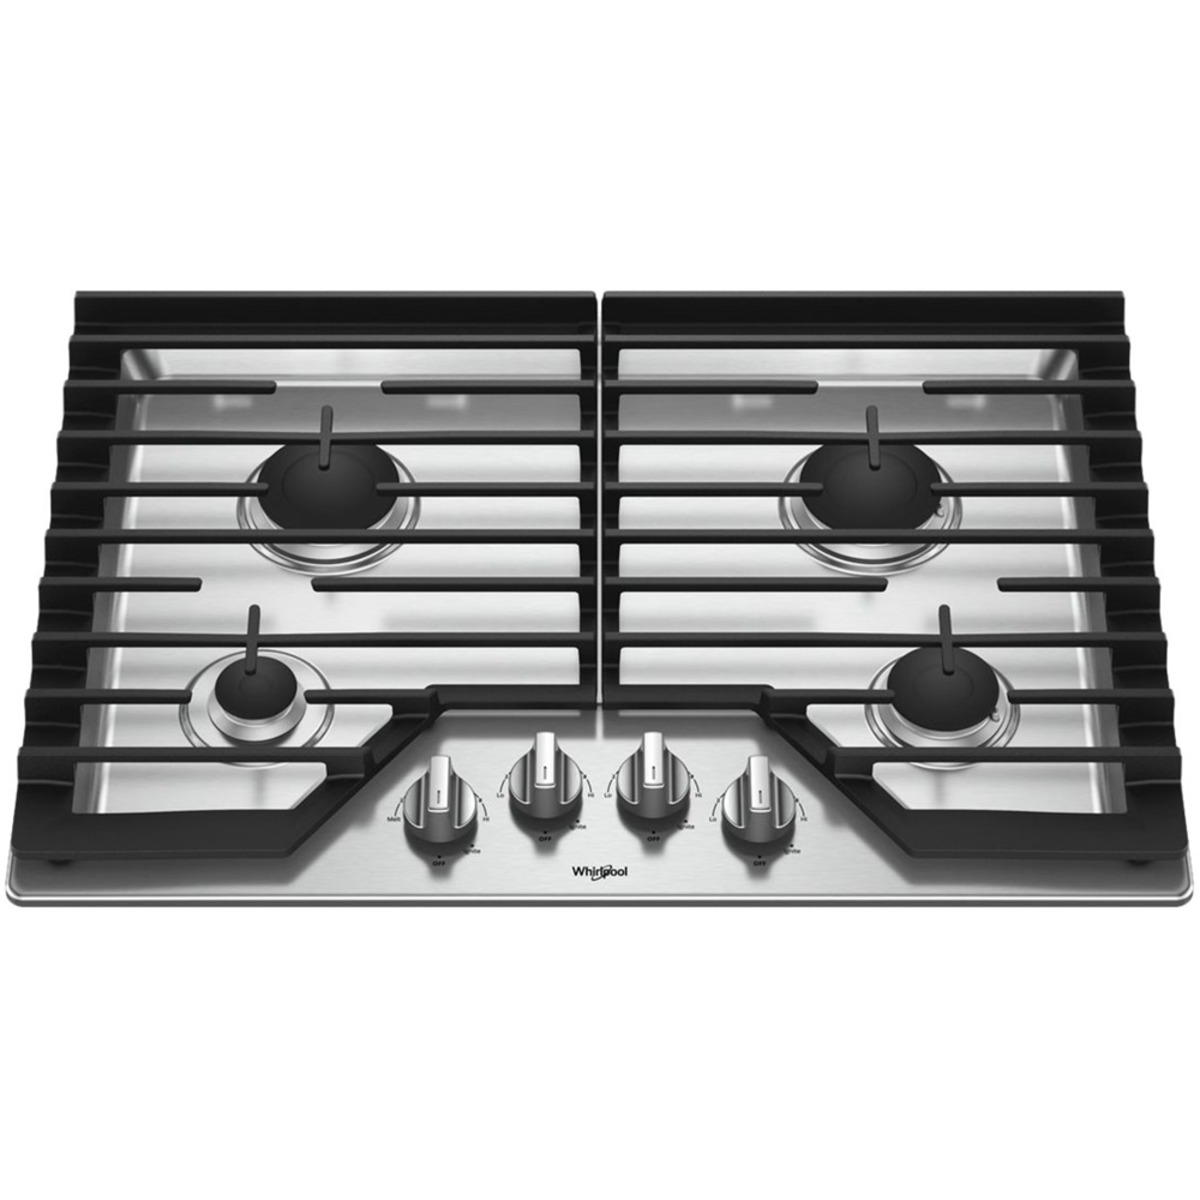
How To Disconnect A Gas Cooktop
Modified: February 29, 2024
Learn how to safely disconnect a gas cooktop with our informative articles. Get step-by-step instructions and expert tips for a hassle-free disconnection process.
(Many of the links in this article redirect to a specific reviewed product. Your purchase of these products through affiliate links helps to generate commission for Storables.com, at no extra cost. Learn more)
Introduction
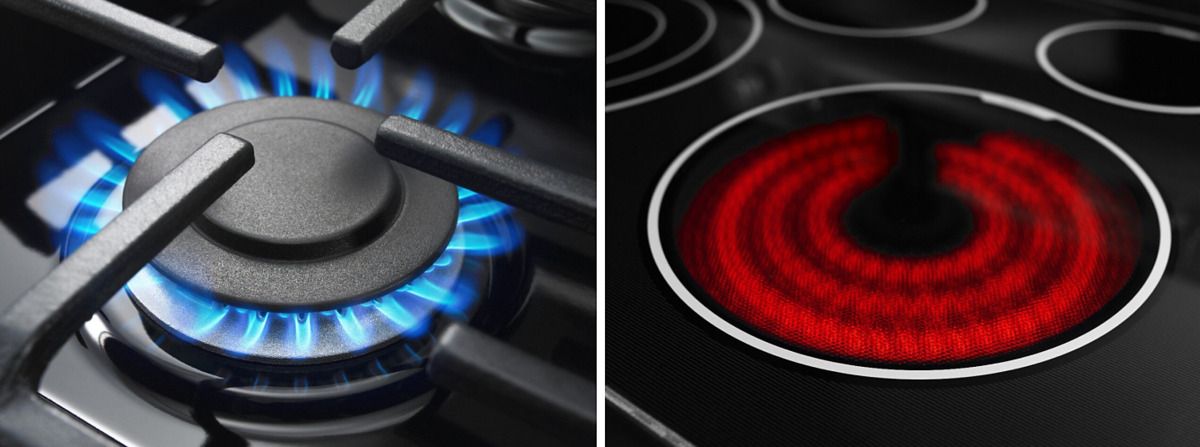
Disconnecting a gas cooktop is a task that may seem daunting at first, but with proper instructions and precautions, it can be done safely and efficiently. Whether you’re replacing your old cooktop, renovating your kitchen, or simply need to disconnect the gas supply temporarily, this step-by-step guide will walk you through the process.
Before you begin, it’s important to emphasize that working with gas connections can be hazardous. If you are not confident in your abilities or have any doubts about your safety, it’s best to consult a professional. Safety should always be the top priority when dealing with gas appliances.
In this article, we’ll cover the steps involved in disconnecting a gas cooktop, including turning off the gas supply, disconnecting the gas line, removing the cooktop from the countertop, disconnecting the electrical wiring, and properly disposing of the old cooktop.
By following these steps and taking the necessary precautions, you’ll be well-prepared to safely disconnect your gas cooktop and proceed with your kitchen project.
Key Takeaways:
- Safely disconnecting a gas cooktop involves turning off the gas supply, disconnecting the gas line, removing the cooktop, disconnecting electrical wiring, and properly disposing of the old appliance. Prioritize safety and consider professional assistance if unsure.
- Proper disposal of the old gas cooktop is crucial for environmental responsibility. Check local regulations, consider recycling or donation, arrange for curbside pickup, or contact a scrap metal recycling center. Ensure safe transportation and removal of packaging materials.
Read more: How To Clean Gas Cooktop
Step 1: Turn off the gas supply
The first and most crucial step in disconnecting a gas cooktop is to turn off the gas supply. This ensures that there is no more gas flowing to the cooktop, minimizing the risk of leaks or accidents.
Here’s how you can turn off the gas supply:
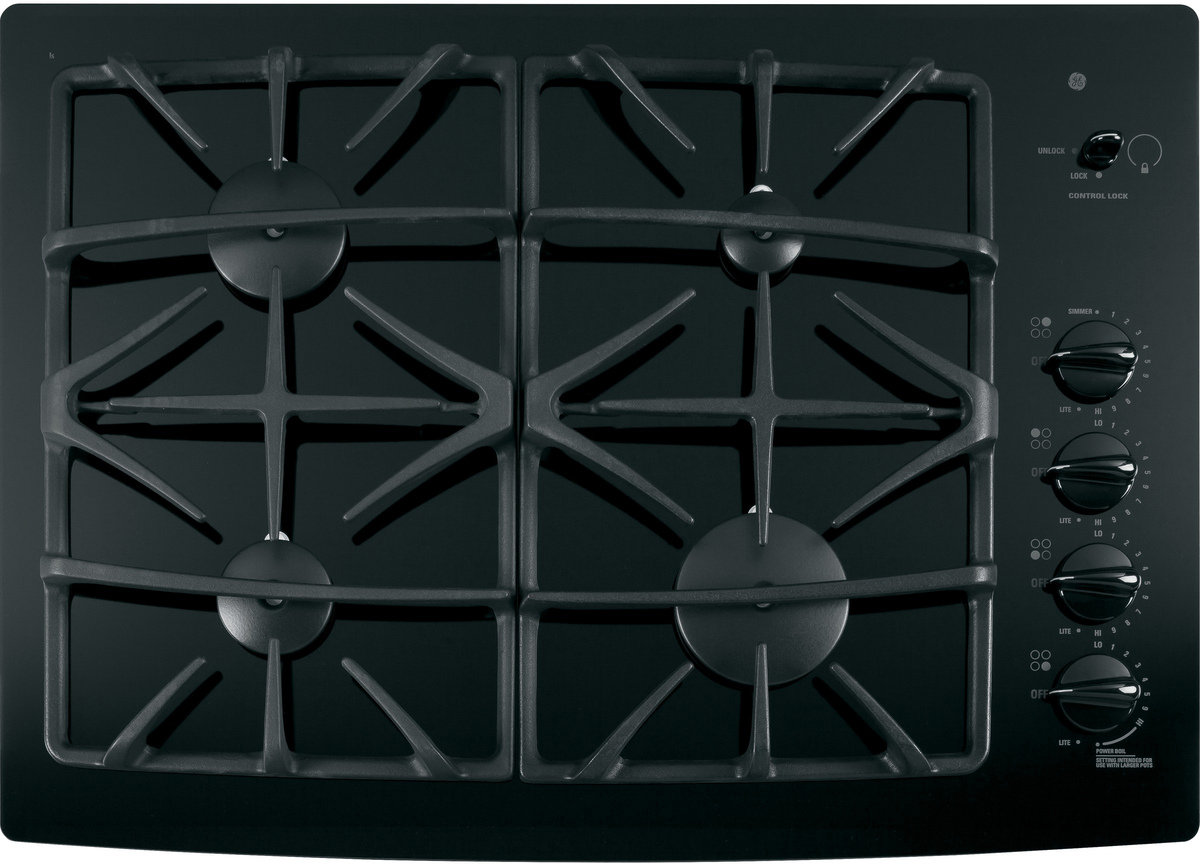
- Locate the gas shut-off valve: The gas shut-off valve is usually located near the cooktop, often behind it or in a nearby cabinet. It is a small metal valve with a lever or a knob.
- Turn off the valve: Rotate the lever or knob clockwise to shut off the gas supply. You may need to use a wrench or pliers if the valve is difficult to turn. Make sure that the valve is completely closed.
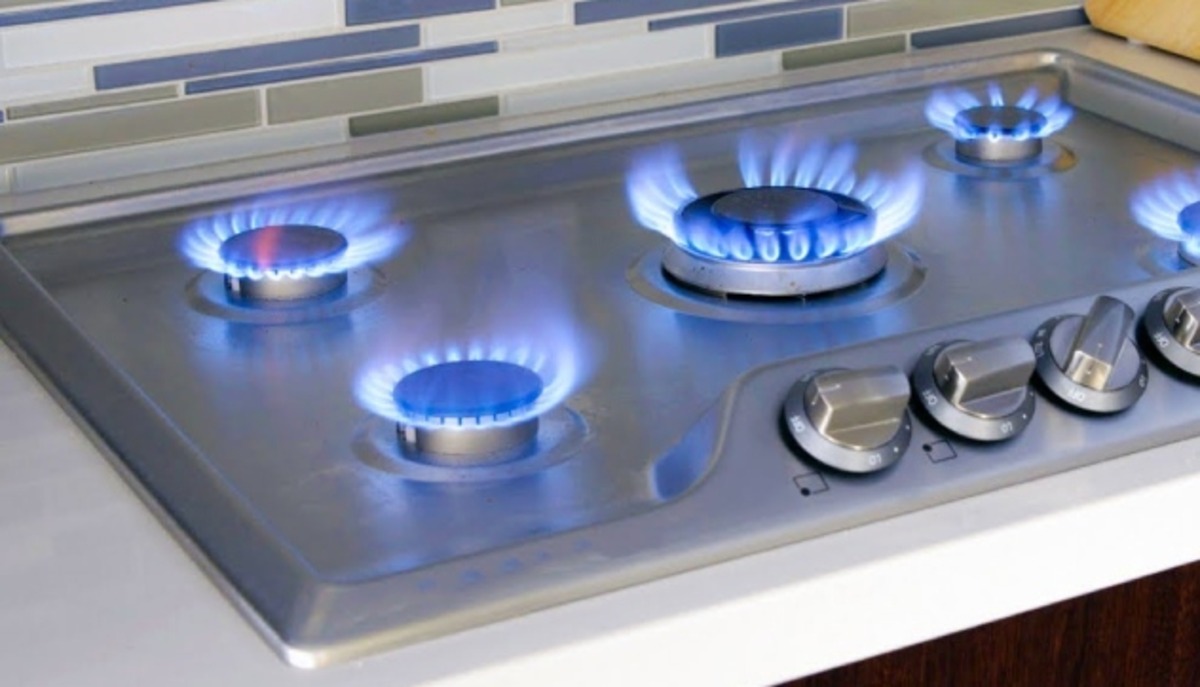
- Verify the gas is off: Once you’ve closed the valve, it’s important to verify that the gas supply is indeed turned off. To do this, try turning on any gas burner on the cooktop. If there is no ignition or flame, it means the gas supply has been successfully shut off.
While turning off the gas supply, it’s crucial to be cautious and handle the valve with care. Always remember to prioritize safety and, if unsure, seek professional assistance.
Turning off the gas supply is an essential first step that ensures a safe disconnection process. By following these instructions, you can proceed to the next steps confidently.
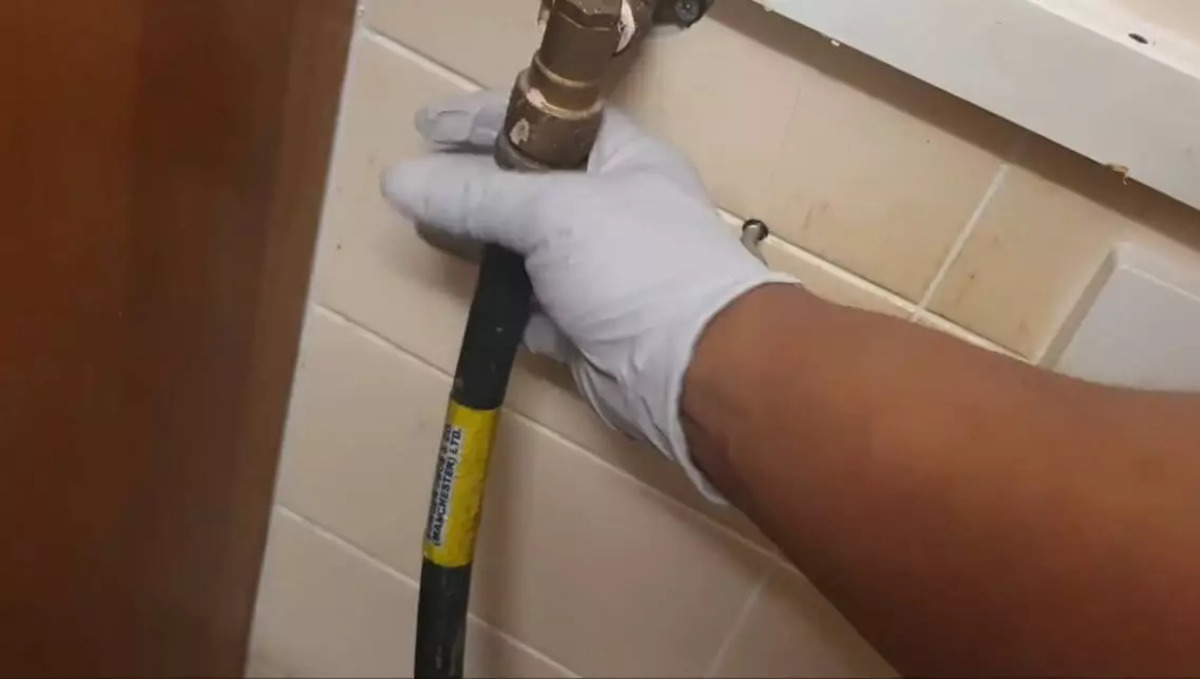
Step 2: Disconnect the gas line from the cooktop
Now that the gas supply is turned off, it’s time to disconnect the gas line from the cooktop. This step requires careful handling to avoid any damage to the gas line or fittings. Follow these instructions to disconnect the gas line safely:
- Prepare the workspace: Clear the area around the cooktop and make sure there is sufficient lighting. You may also want to wear protective gloves.
- Locate the gas line connection: The gas line connection is typically located at the back of the cooktop, near the bottom. It consists of a flexible gas hose or a rigid pipe connected to a fitting on the cooktop.
- Use an adjustable wrench: Depending on the type of connection, you may need an adjustable wrench to loosen the fitting. Carefully position the wrench over the fitting and turn counterclockwise to loosen it.
- Disconnect the gas line: Once the fitting is loosened, gently pull the gas line away from the cooktop. Be cautious not to twist or damage the gas line during the disconnection process.
- Cap the gas line: After disconnecting the gas line, it’s crucial to cap it to prevent any gas leaks. Use a cap specifically designed for gas lines and securely attach it to the opened end of the gas line. This will ensure that no gas can escape.
Remember to handle the gas line and fittings with care, and if you encounter any difficulties or resistance during the disconnection process, stop and seek professional assistance. Safety should always be your top priority when working with gas appliances.
By following these steps, you can safely disconnect the gas line from your cooktop and move on to the next stage of disconnecting the electrical wiring.
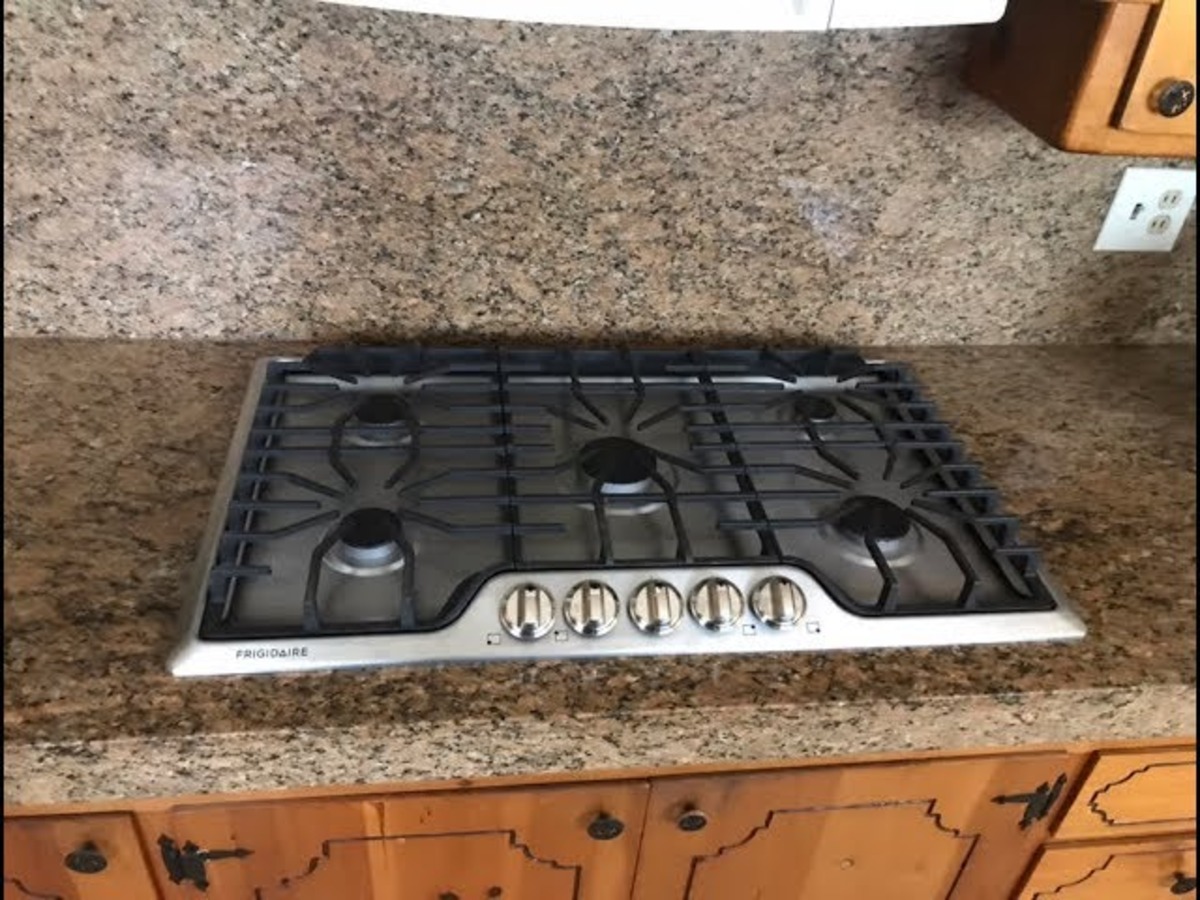
Step 3: Remove the cooktop from the countertop
Once the gas line has been disconnected, the next step is to remove the cooktop from the countertop. Removing the cooktop allows for easier access to the electrical connections and enables you to safely disconnect the wiring. Follow these steps to remove the cooktop:
- Ensure a stable work surface: Before attempting to remove the cooktop, it’s important to create a stable and safe work surface. Clear any objects from the countertop and place a protective covering such as a towel or cardboard to prevent any damage.
- Locate the mounting brackets or clips: Depending on the cooktop model, it may be secured to the countertop using mounting brackets or clips. These are typically located underneath the cooktop near the edges.
- Detach the mounting brackets or clips: Use a screwdriver or a suitable tool to loosen and remove the mounting brackets or clips. Carefully unscrew or unclip them, ensuring that you have a firm grip on the cooktop to prevent accidental drops.
- Lift and remove the cooktop: Once the mounting brackets or clips are detached, lift the cooktop gently from the countertop. Do this with caution to avoid scratching or damaging the countertop surface. It may be helpful to have an extra pair of hands to assist you with lifting and maneuvering the cooktop.
Once you have successfully removed the cooktop from the countertop, it is time to proceed to the next step: disconnecting the electrical wiring. Remember to handle the cooktop with care and ensure that it is placed in a safe and secure location during the disconnection process.
By following these steps, you can safely remove the cooktop from the countertop, making it easier to access the electrical connections for disconnection.
Before disconnecting a gas cooktop, always turn off the gas supply at the shut-off valve. Use a wrench to disconnect the gas line, and cap it to prevent gas leaks. If you’re unsure, consult a professional.
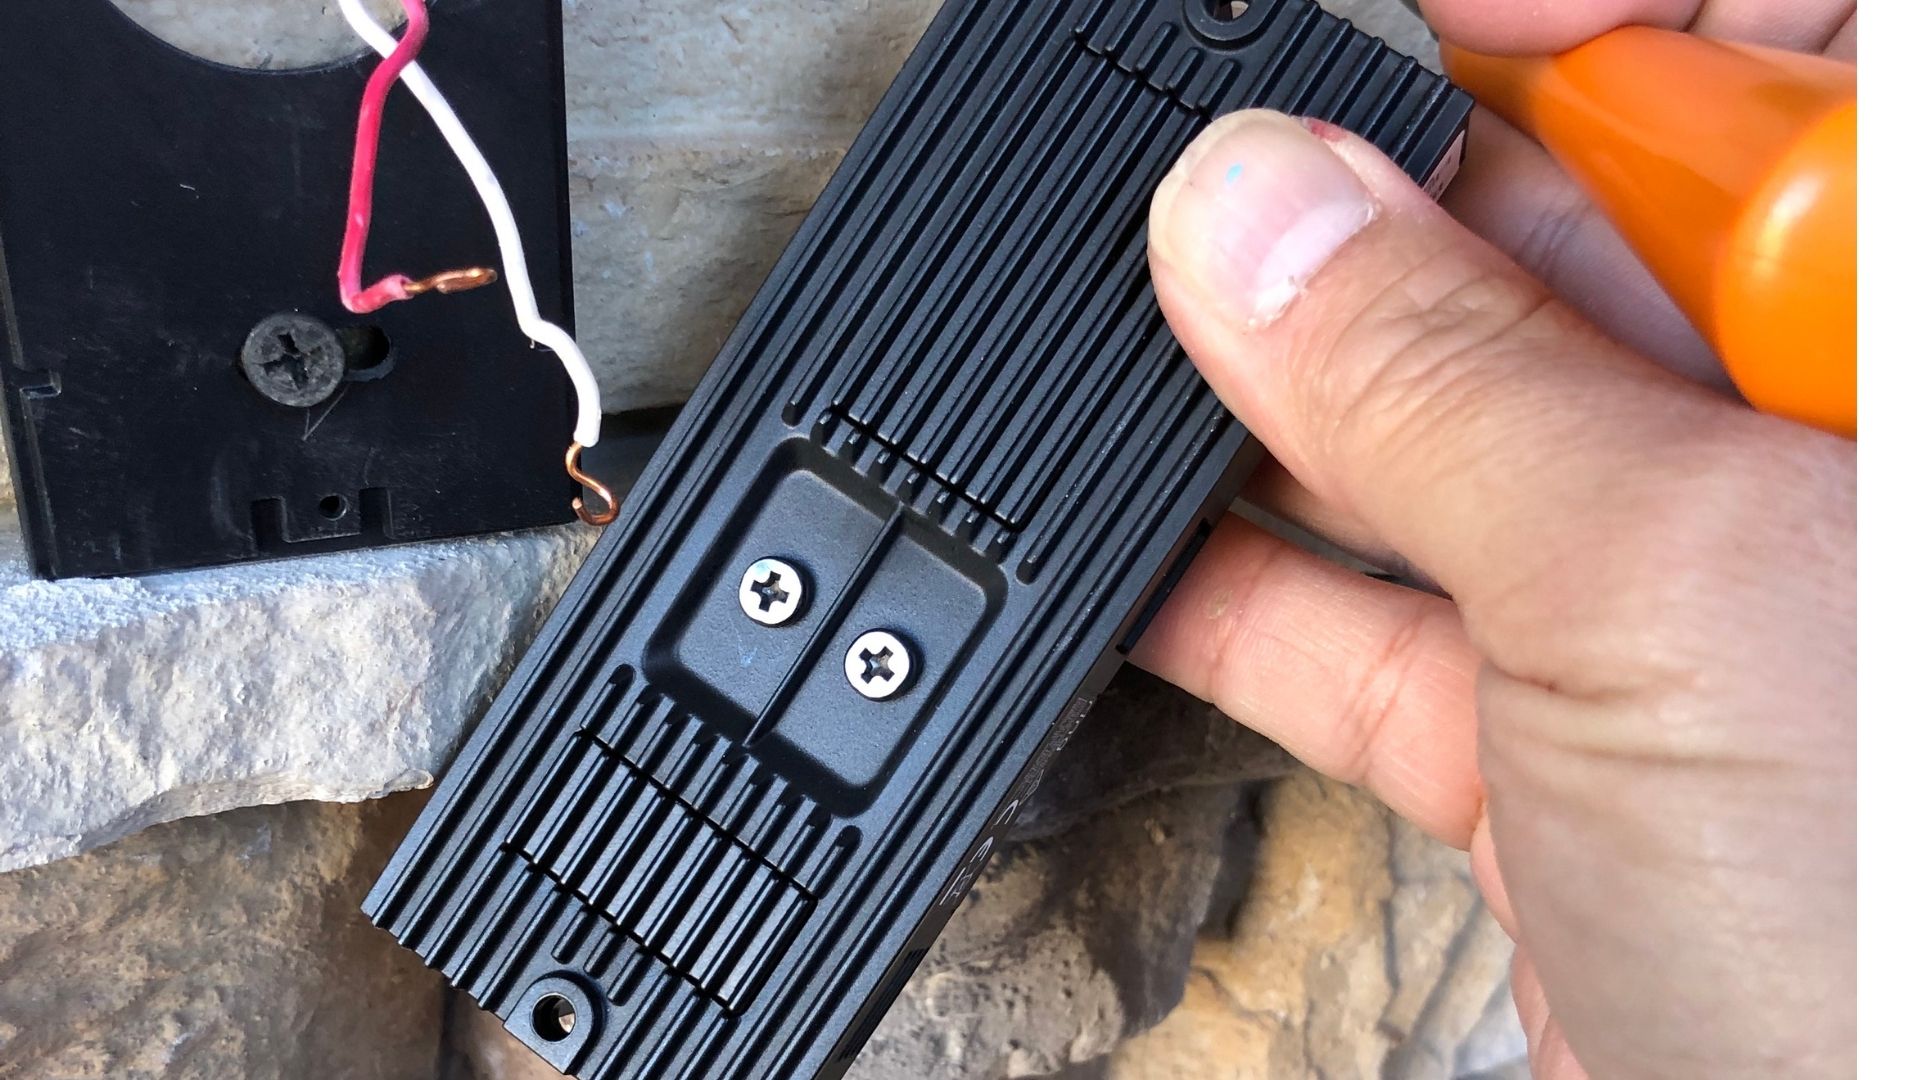
Step 4: Disconnect the electrical wiring
With the cooktop removed from the countertop, it’s now time to disconnect the electrical wiring. Before proceeding, make sure to turn off the power supply to the cooktop by switching off the circuit breaker in your electrical panel. Here’s how to disconnect the electrical wiring:
- Remove the access panel: Locate the access panel on the underside of the cooktop. This panel provides access to the electrical connections. Use a screwdriver to remove the screws holding the access panel in place and carefully lift it off.
- Identify the electrical connections: Once the access panel is removed, you’ll see the electrical connections. The specific connections may vary depending on the cooktop model, but typically include wires for the power supply and any additional features such as lighting or fans.
- Disconnect the electrical connections: Depending on the type of connection, you may encounter different types of connectors, such as wire nuts or terminal blocks. Use the appropriate tools to disconnect the wires, ensuring to keep track of which wire corresponds to each connection.
- Secure the disconnected wires: To prevent any accidental contact or confusion, it’s essential to properly secure the disconnected wires. You can use electrical tape or wire connectors to cover the exposed ends of the wires.
Remember, electrical connections can be hazardous, and it’s crucial to exercise caution during this step. If you’re unsure about any aspect of disconnecting the electrical wiring, it’s best to consult a qualified electrician.
By following these steps, you can safely disconnect the electrical wiring from your cooktop, allowing for a smooth and trouble-free removal of the old appliance.
Read more: How To Replace A Gas Cooktop
Step 5: Properly dispose of the old gas cooktop
After disconnecting the gas line and electrical wiring, the final step is to properly dispose of the old gas cooktop. Proper disposal not only ensures environmental responsibility but also promotes safety and cleanliness. Follow these guidelines to dispose of your old gas cooktop:
- Check local regulations: Before disposing of the cooktop, familiarize yourself with your local regulations regarding the proper disposal of appliances. This may involve specific instructions or designated drop-off locations in your community.
- Consider recycling or donation options: If your old gas cooktop is still in working condition, consider donating it to a charitable organization or listing it for free on online marketplaces. Recycling programs may also accept appliances for proper dismantling and recycling of materials.
- Arrange for curbside pickup: In some areas, municipal waste management services offer curbside pickup for large appliances. Contact your local waste management department to inquire about the availability of this service and schedule a pickup date.
- Contact a scrap metal recycling center: If donation or curbside pickup options are not available, you can contact a scrap metal recycling center in your area. They may accept the cooktop and properly recycle the metal components.
- Ensure safe transportation: When transporting the old cooktop, take necessary precautions to prevent damage and ensure safety. Secure it properly in a vehicle to avoid shifting or falling during transportation.
Remember to remove and safely dispose of any packaging materials, including plastic wraps or foam. These materials can often be recycled or disposed of separately.
By following these guidelines, you can ensure that your old gas cooktop is properly disposed of in an environmentally-friendly and responsible manner. If you’re uncertain about the best approach for disposal, it’s always advisable to seek guidance from local authorities or waste management professionals.
Conclusion
Disconnecting a gas cooktop requires careful attention to detail and adherence to safety guidelines. By following the step-by-step instructions outlined in this guide, you can safely and efficiently disconnect your gas cooktop without any issues.
Remember to always prioritize safety. If you are uncertain or uncomfortable with any step of the process, it’s best to consult a professional. Working with gas appliances can be hazardous, and it’s important to take all necessary precautions to avoid accidents or gas leaks.
When disconnecting a gas cooktop, remember the key steps:
- Turn off the gas supply: Locate the shut-off valve and ensure the gas supply is completely turned off.
- Disconnect the gas line: Carefully disconnect the gas line from the cooktop, ensuring no twisting or damage to the line.
- Remove the cooktop from the countertop: Take necessary precautions and safely remove the cooktop from the countertop, being mindful of the mounting brackets or clips.
- Disconnect the electrical wiring: With the cooktop removed, disconnect the electrical connections, ensuring proper system shutdown and securing of loose wires.
- Properly dispose of the old cooktop: Follow local regulations for the disposal of the old cooktop, considering recycling, donation, or organizing curbside pickup.
By following these steps and taking appropriate safety measures, you can successfully disconnect your gas cooktop and proceed with your kitchen project or maintenance needs.
Remember, if you’re unsure about any aspect of disconnecting a gas cooktop or feel uncomfortable doing it yourself, it’s always wise to seek professional assistance. Safety is paramount when working with gas appliances, and professional expertise ensures a smooth and risk-free process.
With proper knowledge and precautions, you can confidently tackle the task of disconnecting a gas cooktop and embark on your next kitchen endeavor.
Frequently Asked Questions about How To Disconnect A Gas Cooktop
Was this page helpful?
At Storables.com, we guarantee accurate and reliable information. Our content, validated by Expert Board Contributors, is crafted following stringent Editorial Policies. We're committed to providing you with well-researched, expert-backed insights for all your informational needs.

0 thoughts on “How To Disconnect A Gas Cooktop”