
Articles
How To Clean Granite Countertops In Bathroom
Modified: October 19, 2024
Discover effective methods for cleaning granite countertops in your bathroom with these informative articles.
(Many of the links in this article redirect to a specific reviewed product. Your purchase of these products through affiliate links helps to generate commission for Storables.com, at no extra cost. Learn more)
Introduction
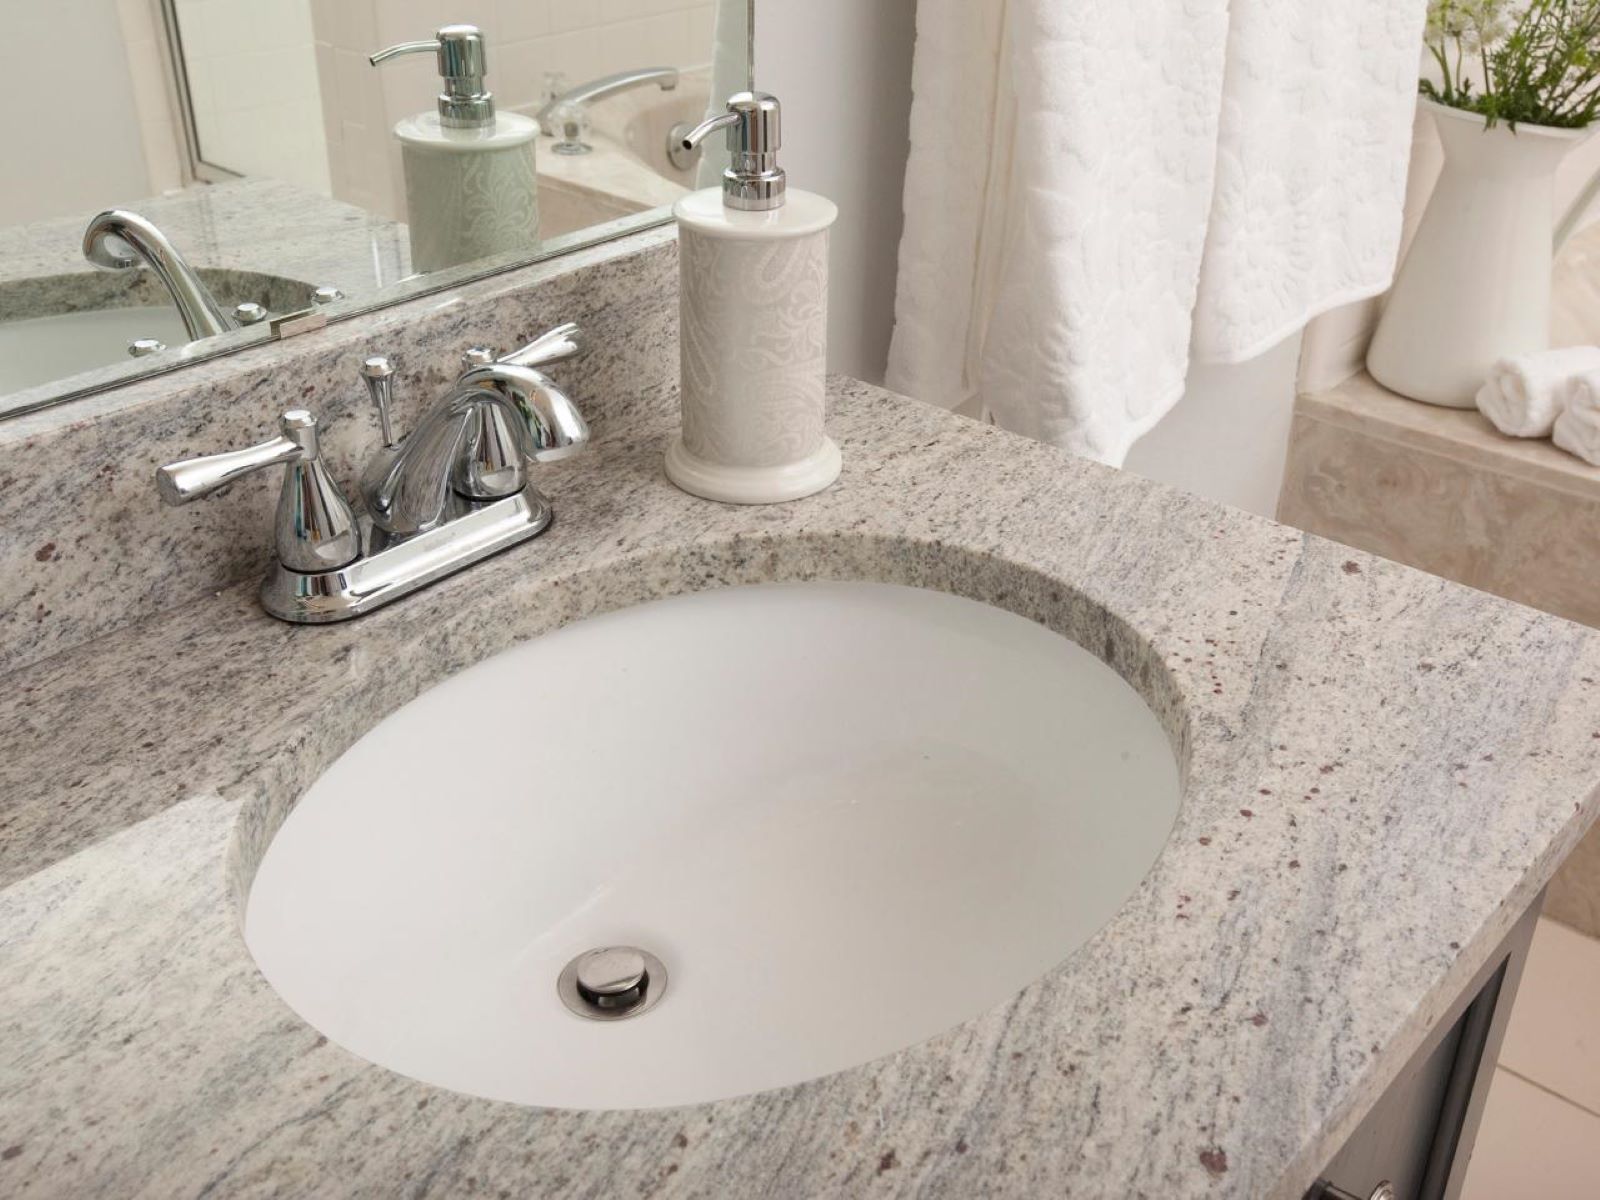
Granite countertops are a popular choice for bathrooms due to their durability, beauty, and resistance to scratches and heat. However, to keep them looking their best, regular cleaning and maintenance are essential. Proper cleaning not only helps to remove dirt and grime but also prevents the buildup of bacteria and mold. In this article, we will provide a step-by-step guide on how to clean granite countertops in the bathroom, ensuring that they remain in pristine condition for years to come.
Before we dive into the cleaning process, it’s important to note that granite is a natural stone, and it requires some special care to maintain its integrity and shine. Using the wrong cleaning products or techniques can damage the surface and affect its appearance. Therefore, it is crucial to follow the recommended cleaning methods discussed in this article.
When cleaning granite countertops in the bathroom, it’s important to gather the necessary supplies. This will ensure that you have everything you need at hand, preventing any interruptions during the cleaning process. The supplies needed for cleaning granite countertops include:
- Gentle dish soap or granite cleaner
- Warm water
- Microfiber cloth or soft sponge
- Neutral pH cleaner (optional)
- Granite sealer
Now that we have covered the supplies needed, let’s move on to the step-by-step process of cleaning granite countertops in the bathroom.
Key Takeaways:
- Keep your granite countertops in the bathroom looking pristine by following a step-by-step cleaning process using gentle cleaners, poultices for stains, and proper sealing to maintain their beauty and durability.
- Take extra precautions such as using coasters, promptly wiping up spills, and avoiding abrasive cleaners to ensure your granite countertops remain stunning and resilient for years to come.
Read more: How To Attach Granite Countertop To Vanity
Supplies Needed
Before you begin cleaning your granite countertops in the bathroom, it’s important to gather all the necessary supplies. Having everything at hand will make the cleaning process smoother and more efficient. Here are the supplies you’ll need:
- Gentle dish soap or granite cleaner: Look for a pH-neutral, non-abrasive cleaner specifically designed for use on granite surfaces. Avoid using harsh chemicals or abrasive cleaners, as they can damage the granite.
- Warm water: You’ll need warm water to dilute the cleaning solution and rinse off the countertop.
- Microfiber cloth or soft sponge: These are gentle enough to use on granite without scratching or damaging the surface.
- Neutral pH cleaner (optional): If your granite countertop has stubborn stains or markings, you can use a neutral pH cleaner specifically formulated for stone surfaces. However, always test it in a small, inconspicuous area before applying it to the entire countertop.
- Granite sealer: A granite sealer helps protect the surface of your countertop from stains and spills. Depending on the type of granite and usage, it’s recommended to reseal the countertop every 6-12 months. Check the manufacturer’s instructions for the proper application process.
Once you have these supplies ready, you’re all set to start cleaning your granite countertops in the bathroom. It’s important to note that using the right cleaning products and tools will ensure the longevity and beauty of your granite surface.
Step 1: Clear the Countertop
Before you begin the cleaning process, it’s important to remove any items, such as toiletries, containers, or decorations, from the countertop. Clearing the countertop will give you unobstructed access to the entire surface and make the cleaning process easier.
Take a few moments to gather all the items on the countertop and relocate them to a safe and designated area. This will prevent any unwanted spills or damage to your belongings during the cleaning process.
Once the countertop is clear, use a dry microfiber cloth or soft sponge to wipe away any loose debris or dust. This step helps to ensure that no particles or dirt will be spread around during the cleaning process.
Remember to also remove any items that may be stored near the countertop, such as soap dispensers or toothbrush holders, as these can obstruct the cleaning process. Clearing the countertop and its surrounding area will make the cleaning process more efficient and effective.
With a clear and accessible countertop, you’re now ready to move on to the next step: removing stains from the granite surface.
Step 2: Remove Stains
Granite countertops can sometimes develop stains due to spills or long-standing substances. To keep your bathroom countertops looking fresh and clean, it’s important to address these stains. Here’s how to remove stains from granite countertops:
- Identify the stain: Determine the type of stain you’re dealing with. Common stains on granite include oil-based stains, water stains, rust stains, or organic stains like coffee or red wine.
- Prepare a poultice: Depending on the type of stain, you can create a poultice to help remove it. A poultice is a paste-like mixture that draws out the stain from the stone surface. Different stains require different ingredients for the poultice. For oil-based stains, you can mix baking soda or flour with a small amount of dish soap. For water-based stains, you can use a mixture of hydrogen peroxide and flour. Rust stains may require a poultice made from a commercial rust remover. Consult a professional or research specific poultice recipes for the type of stain you’re dealing with.
- Apply the poultice: Scoop a small amount of the prepared poultice onto the stained area of the countertop. Cover the stain completely with a layer about 1/4 inch thick. Smooth the poultice with a plastic scraper or the back of a spoon, ensuring it fills the entire area of the stain.
- Cover and let it sit: Place plastic wrap over the poultice to keep it in contact with the stain. Let the poultice sit on the stain for 24 to 48 hours, allowing it to draw out the stain from the granite.
- Remove the poultice: After the designated time has passed, carefully remove the plastic wrap and scrape off the dried poultice using a plastic scraper. Rinse the area with warm water and gently wipe it dry with a soft cloth.
- Repeat if necessary: Depending on the severity of the stain, you may need to repeat the poultice application process to completely remove it. Be patient and persistent, as some stains may require multiple treatments.
By following these steps, you can effectively remove stains from your granite countertops in the bathroom. It’s important to note that prevention is key to avoiding stains on your granite surfaces. Wiping up spills immediately and using coasters or trays for toiletries can help prevent stains from occurring in the first place.
Now that you’ve successfully removed any stains, it’s time to move on to the next step: preparing the cleaning solution.
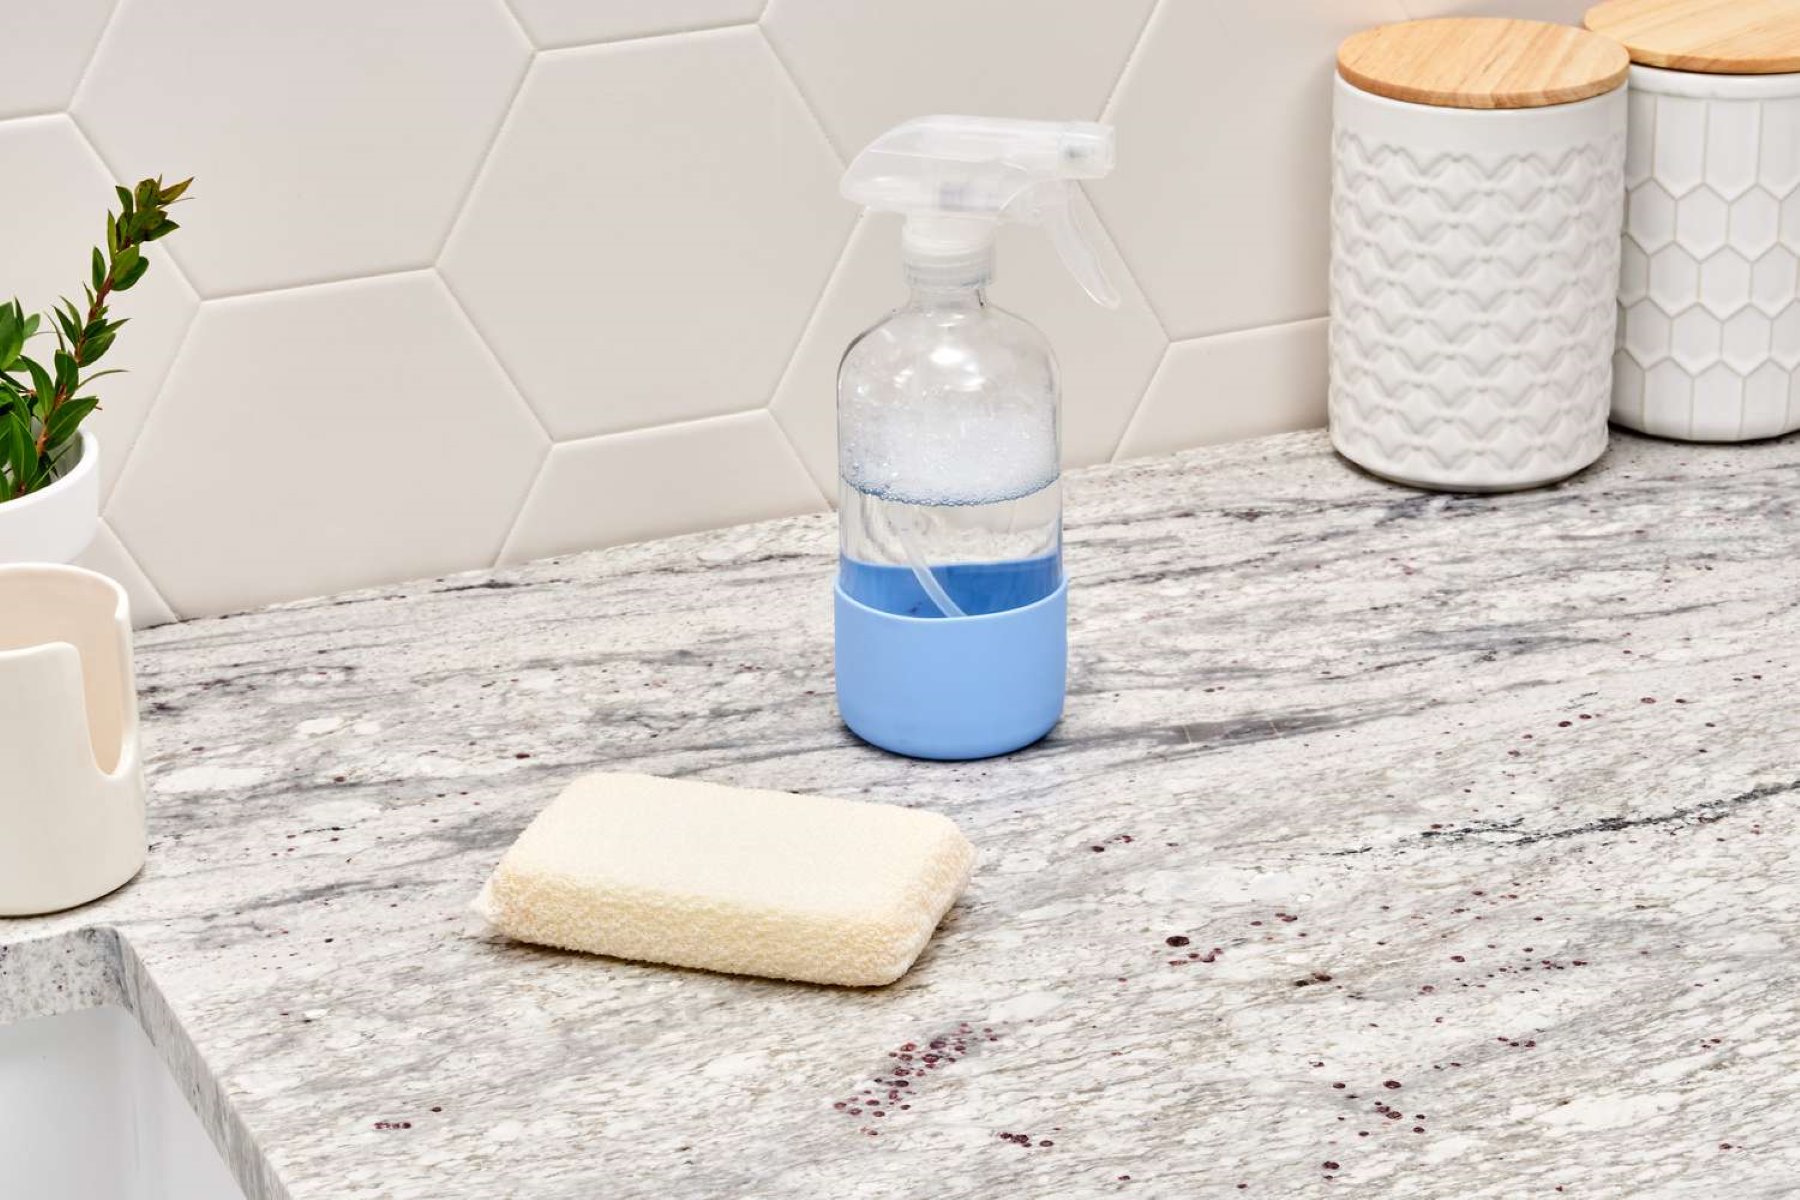
Step 3: Prepare the Cleaning Solution
Once stains have been addressed, it’s time to prepare a suitable cleaning solution for your granite countertops in the bathroom. Using the right cleaning solution will help remove dirt, grime, and bacteria without causing any damage to the surface. Here’s how to prepare an effective cleaning solution:
- Choose a gentle dish soap or granite cleaner: Select a pH-neutral, non-abrasive dish soap or a cleaner specifically designed for use on granite surfaces. Avoid using harsh chemicals, acidic or abrasive cleaners, as they can etch or dull the granite.
- Dilute the cleaning solution: Fill a small bowl or bucket with warm water. Add a few drops of the gentle dish soap or granite cleaner and mix it well with the water. Be sure not to use excessive soap, as it can leave a residue on the countertop.
Alternatively, if you prefer a natural cleaning solution, you can use a mixture of warm water and vinegar. However, it’s important to note that vinegar is acidic and can potentially damage the granite surface if used in high concentrations or for prolonged periods. It is always recommended to consult your granite manufacturer or a professional before using vinegar on granite.
Remember, always test the cleaning solution in an inconspicuous area or a small sample of the granite to ensure it doesn’t cause any adverse reactions or damage to the surface.
With the cleaning solution prepared, you’re now ready to move on to the next step: wiping the countertops.
Use a mild dish soap and warm water to clean granite countertops in the bathroom. Avoid using harsh chemicals or abrasive sponges to prevent damage to the surface. Dry the countertops thoroughly to prevent water spots.
Read more: How To Clean Black Granite Countertops
Step 4: Wipe the Countertop
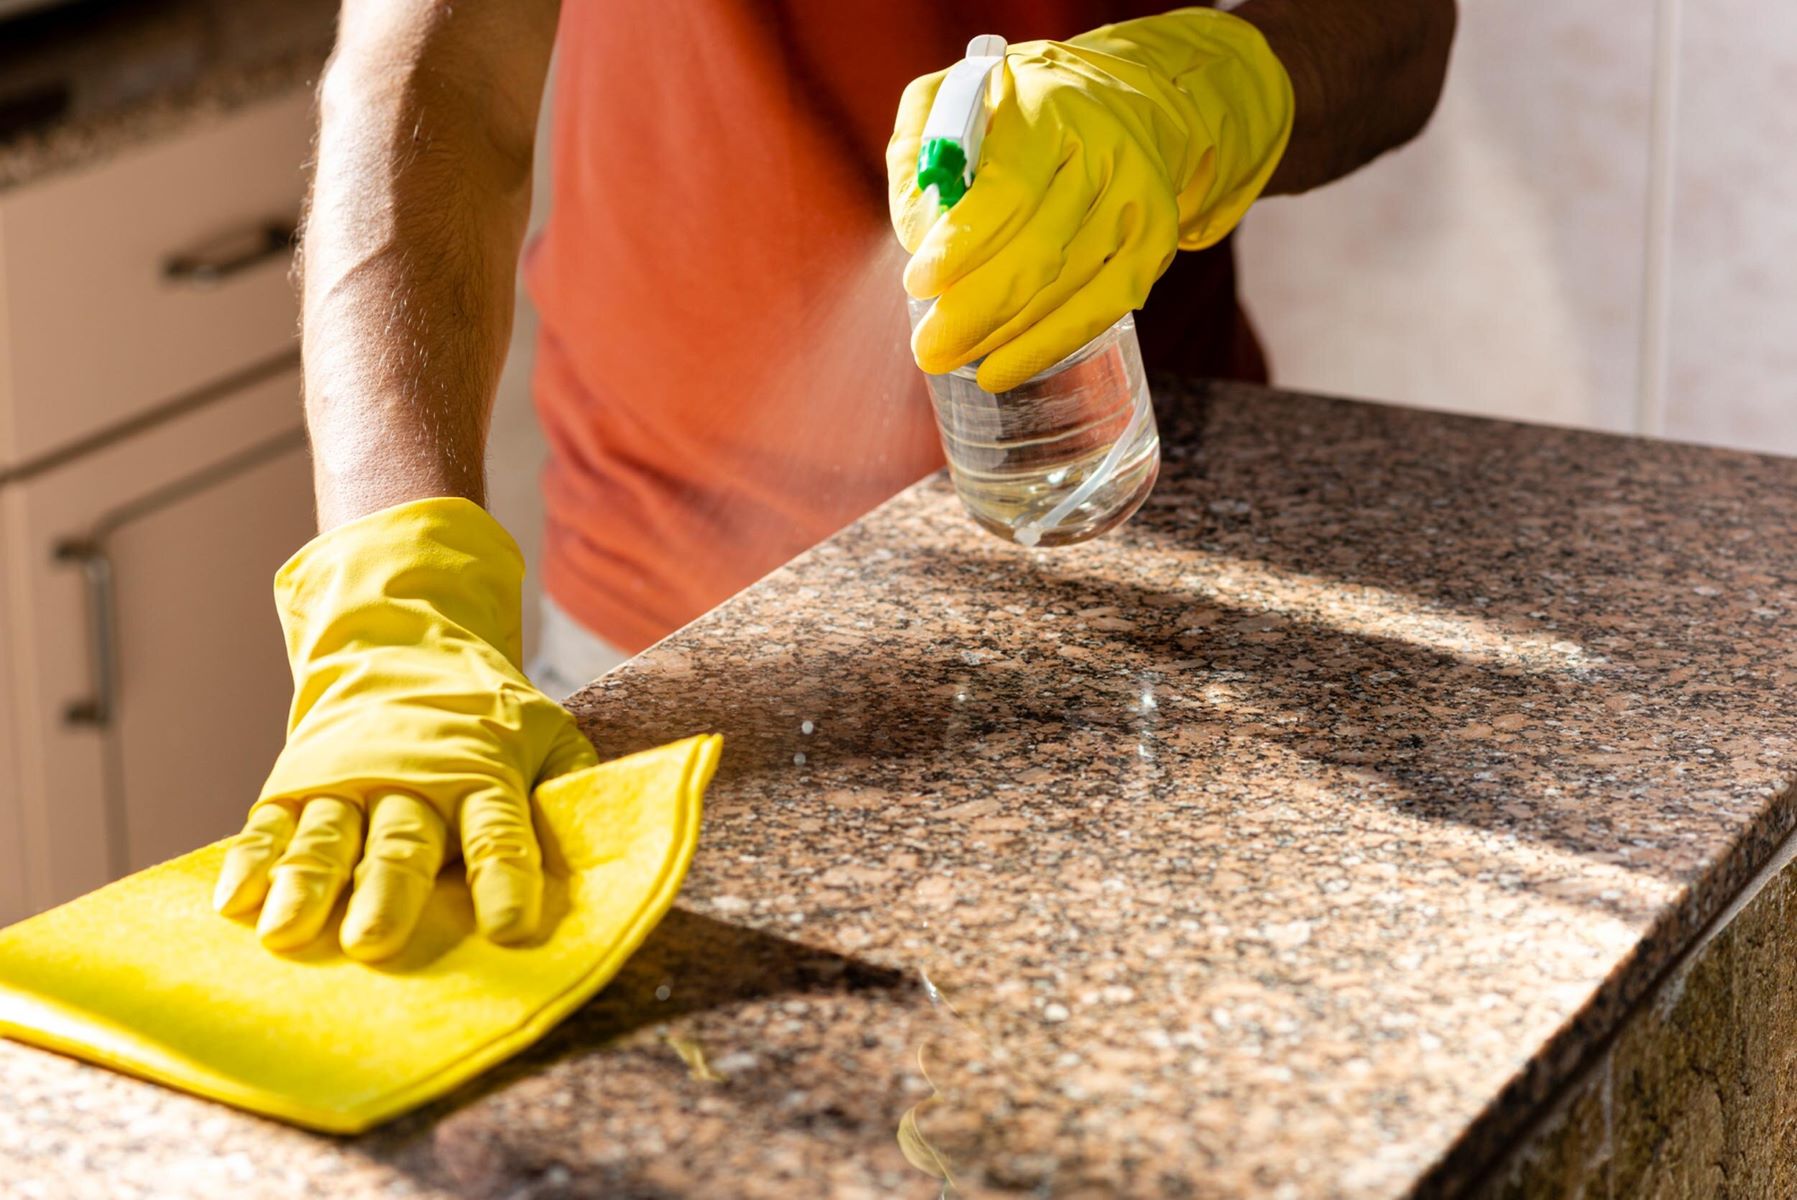
With the cleaning solution ready, it’s time to wipe down the granite countertop in your bathroom. This step will help remove any surface dirt, residue, or remaining stains. Follow these steps to properly wipe the countertop:
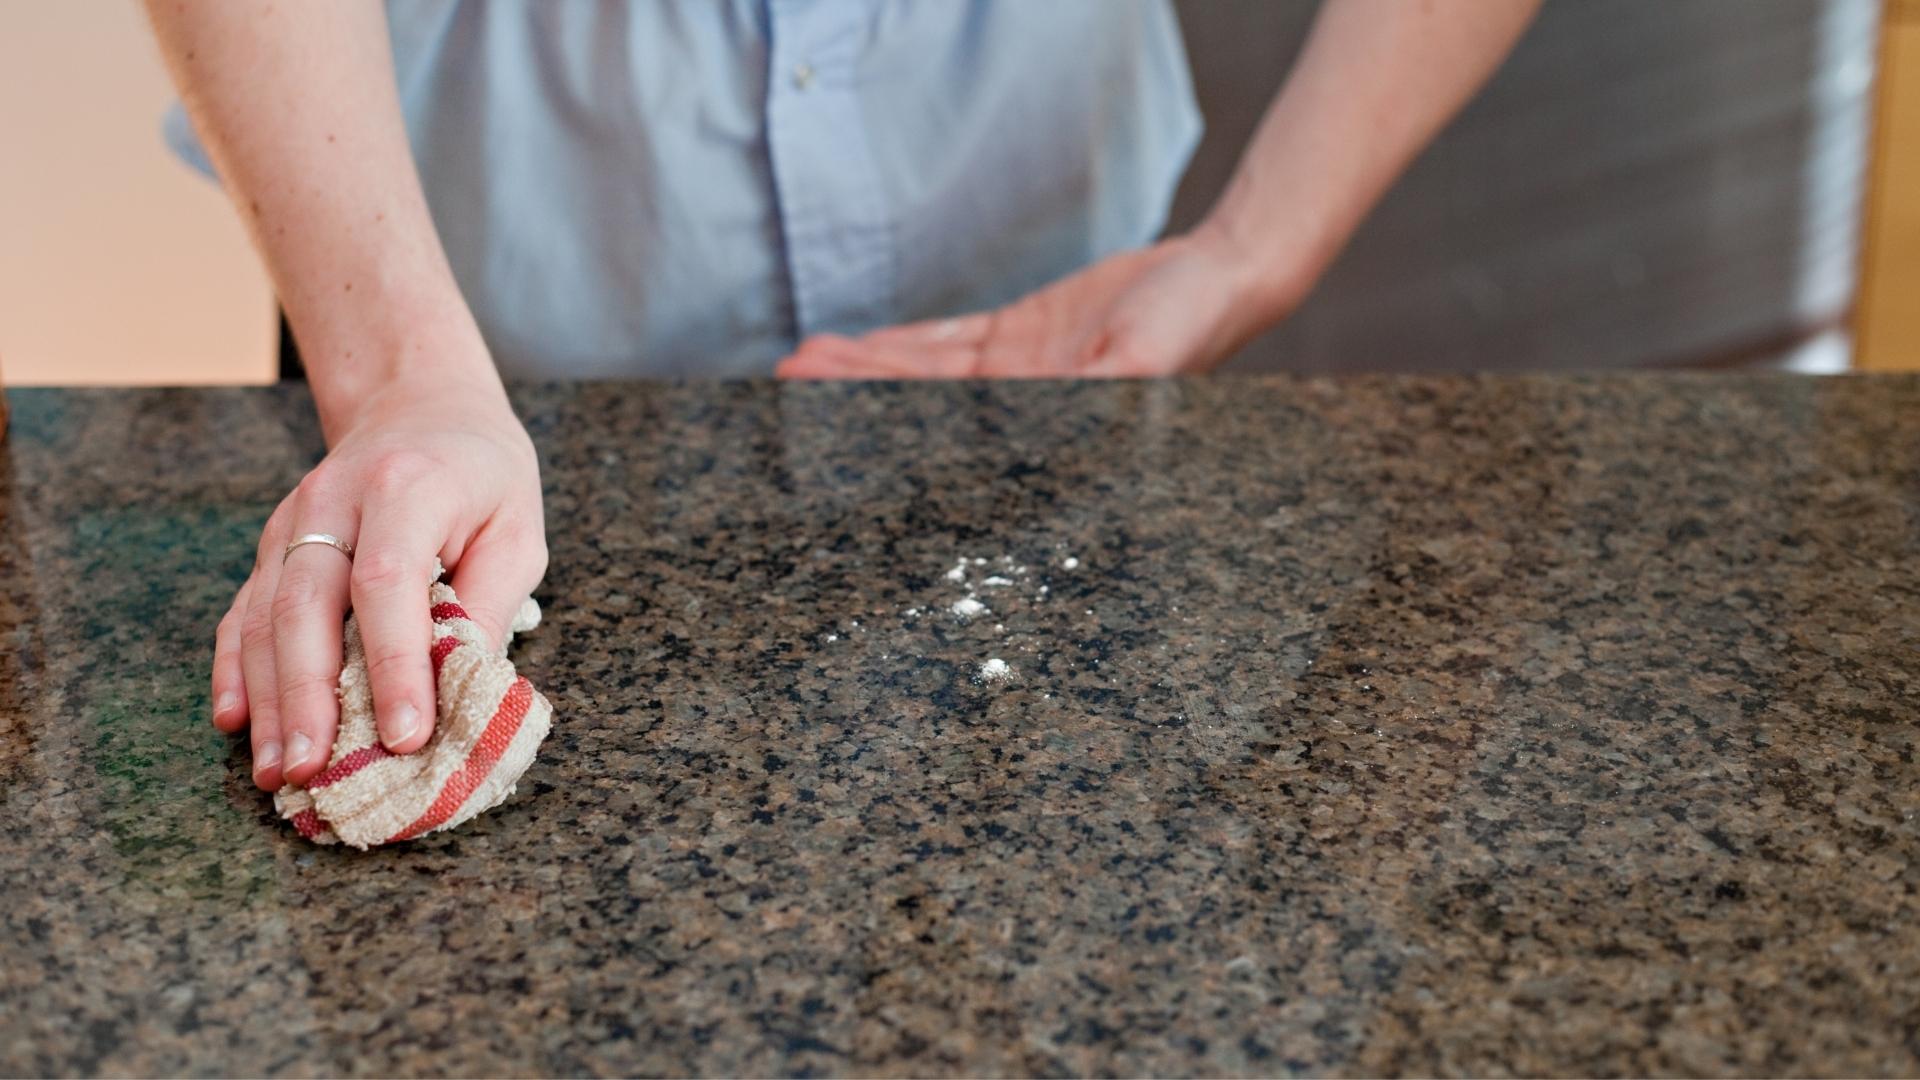
- Dip a soft cloth or sponge into the cleaning solution: Take a clean microfiber cloth or a soft sponge and dip it into the prepared cleaning solution. Make sure the cloth or sponge is damp, but not dripping wet.
- Gently wipe the countertop: Starting from one end of the countertop, gently wipe the surface in circular motions, working your way across the entire countertop. Pay extra attention to areas that may be more prone to dirt or spills, such as around the sink or faucet.
- Apply light pressure for stubborn spots: For any stubborn spots or stains that were not completely removed during the previous steps, you can apply a bit more pressure and scrub lightly with the cloth or sponge. Avoid using excessive force, as it can potentially cause scratches.
- Rinse the cloth or sponge as needed: As you continue to clean, rinse the cloth or sponge in clean water and wring out any excess liquid. This will ensure that you’re not spreading dirt or residue back onto the countertop.
- Continue wiping until the entire countertop is clean: Repeat the wiping process until the entire countertop has been cleaned, ensuring that you cover all areas and edges.
Remember to be gentle and avoid using abrasive materials or scrub brushes, as they can scratch or damage the surface of your granite countertop. Microfiber cloths are ideal due to their non-abrasive texture.
After you’ve thoroughly wiped the countertop, take a step back and assess if any areas require further attention. If there are still stubborn stains or residue, you may need to repeat the cleaning process or move on to the next step to ensure a thorough cleaning.
Now that the countertop is clean, let’s move on to the next step: rinsing and drying.
Step 5: Rinse and Dry
After wiping the countertop with the cleaning solution, it is important to rinse off any residue and ensure that the surface is left completely clean. Follow these steps to properly rinse and dry your granite countertop:
- Rinse the countertop: To remove any remaining cleaning solution or residue, dampen a clean microfiber cloth or sponge with clean water. Gently wipe down the entire countertop, rinsing off any remnants of the cleaning solution. Be thorough in your rinsing to ensure no residue is left behind.
- Dry the countertop: After rinsing, use a clean microfiber cloth to dry the countertop. Gently wipe the surface in a circular motion, absorbing any excess moisture. Pay attention to any corners or crevices where water may accumulate.
- Prevent water spots: To prevent water spots from forming on the granite countertop, make sure to dry the surface thoroughly. Leaving water to air dry can cause mineral deposits to form, resulting in unsightly spots. Buff the countertop with a dry cloth if necessary to ensure a streak-free and spotless finish.
It’s important to note that proper drying is crucial to maintain the shine and beauty of the granite surface. Leaving water to air dry can lead to water spots or streaks, which can diminish the appearance of the countertop.
By following these steps, you can ensure that your granite countertop is thoroughly rinsed and dried, leaving it clean, shiny, and free of any residue or watermarks.
With the countertop now rinsed and dried, it’s time to move on to the next step: polishing the countertop.
Step 6: Polish the Countertop
Polishing your granite countertop is the final step in the cleaning process and helps to restore its natural shine and luster. Follow these steps to effectively polish your granite countertop:
- Choose a granite polisher: Select a granite-specific polish or a polishing compound that is suitable for use on granite surfaces. Avoid using generic household polishes or products that contain harsh chemicals, as they can damage the granite.
- Apply the polish: Use a soft cloth or sponge to apply a small amount of the granite polish to the countertop. Work in small sections, spreading the polish evenly across the surface. Follow the instructions provided with the polish for the best application technique.
- Buff the surface: Once the polish is applied, use a clean and dry microfiber cloth to buff the countertop in circular motions. Apply light pressure and continue buffing until the surface becomes smooth and glossy.
- Focus on high-traffic areas: Pay special attention to high-traffic areas or spots that may have lost their shine over time. Spend a bit more time buffing these areas to restore their natural beauty.
- Repeat if necessary: Depending on the condition of your countertop or the desired level of shine, you may need to repeat the polishing process until you achieve your desired results. Always follow the instructions provided with the specific polish you’re using.
Remember to avoid using excessive amounts of polish, as it can lead to a sticky or greasy residue on the countertop. It’s also important to note that frequent polishing is not necessary and can cause a buildup of product on the surface. Polish your granite countertop as needed or every few months to maintain its shine.
By following these steps, you can effectively polish your granite countertop, enhancing its natural beauty and bringing out its stunning characteristics.
With the countertop now polished, it’s time to move on to the additional tips and precautions to keep your granite countertops looking their best.
Additional Tips and Precautions
Keeping your granite countertops in the bathroom looking their best requires regular maintenance and some additional precautions. Here are some tips to help you maintain the beauty and longevity of your granite surfaces:
- Use coasters and trays: To protect your granite countertop from water rings, stains, or scratches, use coasters or trays for toiletries, cosmetics, and other items. This helps to prevent direct contact between the granite and potentially damaging substances.
- Wipe up spills immediately: Accidental spills can happen in the bathroom. It’s crucial to wipe up any spills immediately to prevent them from seeping into the granite and causing stains or damage. Use a soft cloth or sponge to blot the spill and avoid rubbing it, as it can spread the liquid.
- Avoid using abrasive cleaners or tools: Harsh chemicals, abrasive cleaners, and scrub brushes can scratch or dull the surface of your granite countertop. Stick to gentle cleaners and soft materials, such as microfiber cloths or soft sponges, to clean and maintain your countertop.
- Reapply the sealer: Granite countertops should be sealed regularly to maintain their stain resistance. Follow the manufacturer’s instructions for the frequency of reapplication, as it can vary depending on the type of granite and usage. Apply a granite sealer to the cleaned and dried countertop according to the instructions provided.
- Avoid using vinegar or acidic cleaners: While vinegar is a natural cleaning agent, it is acidic and can potentially damage the granite surface if used in high concentrations or for prolonged periods. It’s always best to consult your granite manufacturer or a professional before using vinegar or any acidic cleaners on your granite countertop.
- Regularly dust and wipe down: In addition to regular cleaning, it’s a good practice to dust and wipe down your granite countertop with a dry microfiber cloth on a daily basis. This helps to remove surface dust and prevent the buildup of dirt or debris.
By following these additional tips and taking the necessary precautions, you can ensure that your granite countertops in the bathroom remain beautiful and resilient for many years to come.
Now that you’re equipped with all the necessary knowledge, you can confidently clean and maintain your granite countertops in the bathroom, keeping them in pristine condition and enjoying their aesthetic appeal.
Remember, proper cleaning and maintenance are key to preserving the natural beauty and longevity of your granite countertops.
Happy cleaning!
Read more: How To Restore Granite Countertops
Conclusion
Cleaning and maintaining your granite countertops in the bathroom is essential to preserve their beauty and ensure their longevity. By following the step-by-step guide provided in this article, you can effectively clean your granite countertops while taking proper precautions to avoid any damage or stains. Here’s a quick recap of the cleaning process:
- Clear the countertop and remove any items that may obstruct the cleaning process.
- Address and remove any stains using suitable poultices or cleaners.
- Prepare a gentle cleaning solution using a pH-neutral dish soap or granite cleaner.
- Wipe the countertop using a soft cloth or sponge in circular motions, paying special attention to stubborn spots if necessary.
- Rinse the countertop with clean water and dry it thoroughly to prevent water spots.
- Polish the countertop using a granite-specific polish, following the instructions provided.
Additionally, remember to take extra precautions such as using coasters, promptly wiping up spills, and avoiding the use of abrasive cleaners on your granite countertop. Regularly resealing the surface and practicing daily dusting and wiping will also contribute to maintaining its beautiful appearance.
By keeping these tips and precautions in mind, you can enjoy the durability and elegance of your granite countertops for years to come.
Now that you’re armed with the knowledge and tools to clean and maintain your granite countertops, go ahead and give them a refreshing clean. Your bathroom will sparkle, and your countertops will shine, adding to the overall appeal of your space.
Remember, a well-maintained granite countertop not only enhances the aesthetics of your bathroom but also reflects your commitment to cleanliness and upkeep.
Happy cleaning!
Frequently Asked Questions about How To Clean Granite Countertops In Bathroom
Was this page helpful?
At Storables.com, we guarantee accurate and reliable information. Our content, validated by Expert Board Contributors, is crafted following stringent Editorial Policies. We're committed to providing you with well-researched, expert-backed insights for all your informational needs.






0 thoughts on “How To Clean Granite Countertops In Bathroom”