Articles
How Do You Remove Countertops
Modified: August 24, 2024
Looking to remove countertops? Read our informative articles for step-by-step guides and expert tips on how to efficiently remove different types of countertops
(Many of the links in this article redirect to a specific reviewed product. Your purchase of these products through affiliate links helps to generate commission for Storables.com, at no extra cost. Learn more)
Introduction
When it comes to remodeling your kitchen or bathroom, one of the tasks that may need to be tackled is removing the old countertops. Whether you are replacing them with new countertops or making other changes to your space, knowing how to properly remove countertops is essential.
Removing countertops may seem like a daunting task, but with the right tools and materials, it can be done efficiently and safely. In this article, we will guide you through the step-by-step process of removing countertops, ensuring that you can complete the task with ease.
Before you get started, it’s important to note that the specific steps may vary depending on the type of countertop you have and the materials it’s made from. Additionally, if you are unsure about any part of the process or if you are dealing with a complex countertop setup, it’s always a good idea to consult with a professional to ensure the job is done properly.
Now that we’ve got that covered, let’s jump into the first step of removing countertops.
Key Takeaways:
- Properly removing countertops requires gathering the right tools, turning off power, disconnecting appliances, removing the backsplash, and detaching the countertop with care to ensure a smooth and safe removal process.
- After removing the countertops, cleaning and preparing the area for a new countertop or further remodeling is crucial for a successful and seamless transition. Attention to detail and proper preparation are key.
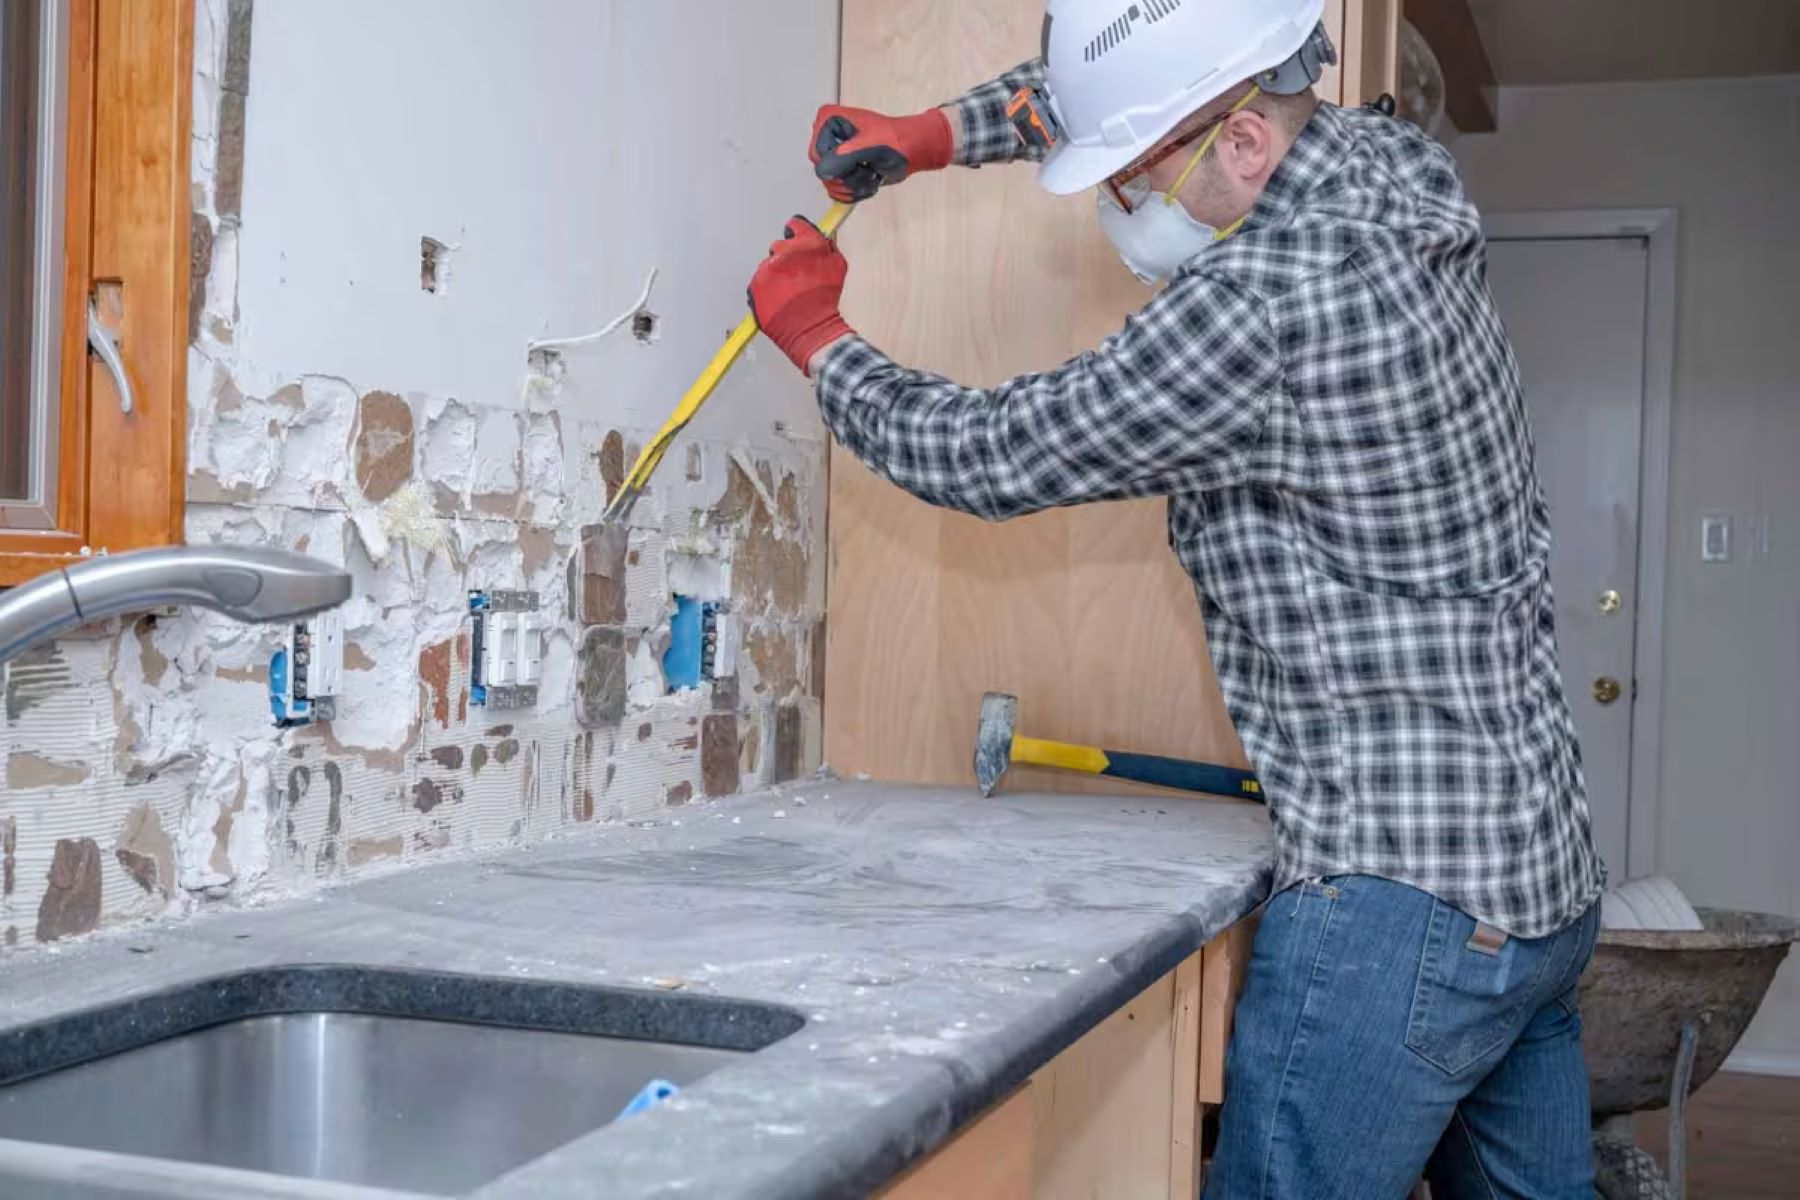
Step 1: Gather the necessary tools and materials
Before you begin the process of removing countertops, it’s important to gather all the necessary tools and materials. Having everything ready beforehand will save you time and prevent any unnecessary interruptions during the process. Here are the tools and materials you will need:
- Protective gear: Start by wearing gloves, safety goggles, and a dust mask to protect yourself from any potential hazards.
- Screwdriver: You’ll need a screwdriver to remove any screws or fasteners holding the countertop in place.
- Utility knife: A utility knife will come in handy for cutting through caulking or adhesive.
- Pry bar: A pry bar will help you in gently separating the countertop from the base cabinets.
- Putty knife: A putty knife can be used for scraping away any excess adhesive or caulking.
- Bucket: Have a bucket nearby to collect any debris or small pieces that may fall during the removal process.
- Drop cloth or plastic sheeting: To protect the surrounding area from any damage or debris, lay down a drop cloth or plastic sheeting.
- Caulk remover or adhesive solvent: If your countertop is sealed with caulk or adhesive, you may need a specialized product to help dissolve and remove it.
Make sure that you have all these tools and materials readily available before you start removing the countertops. This will ensure a smoother and more efficient removal process.
Step 2: Turn off the power supply
Prior to removing the countertops, it’s important to turn off the power supply to any electrical appliances or fixtures that may be connected to the countertop. This step is crucial for your safety and to avoid any potential damage.
Start by locating the circuit breaker panel in your home. Depending on the setup, you may need to turn off multiple circuits to ensure that all connected appliances and fixtures are powered off. Consult the circuit breaker panel diagram or label the specific circuits associated with your countertop.
Once you’ve identified the appropriate circuit(s), switch off the corresponding circuit breaker(s). This will cut off the power supply to the outlets and appliances connected to your countertop. To be extra cautious, you can also unplug any appliances directly connected to the countertop.
Double-check that the power supply is truly switched off by attempting to turn on any appliances or fixtures connected to the countertop. If they do not turn on, it’s a clear indication that the power supply has been successfully turned off.
We cannot stress enough the importance of safety when working with electricity. If you are unsure or uncomfortable working with circuit breakers, it is highly recommended to seek the assistance of a licensed electrician.
Now that you have turned off the power supply, you can confidently proceed to the next step of removing the countertops.
Step 3: Disconnect any appliances or fixtures
Before you can fully remove the countertops, it’s necessary to disconnect any appliances or fixtures that are attached to the countertop. This step is important to ensure a smooth and safe removal process. Here’s how you can disconnect them:
- Start by unplugging any appliances, such as microwaves, toasters, or coffee makers, that are directly connected to outlets on the countertop. This will prevent any damage or accidents during the removal process.
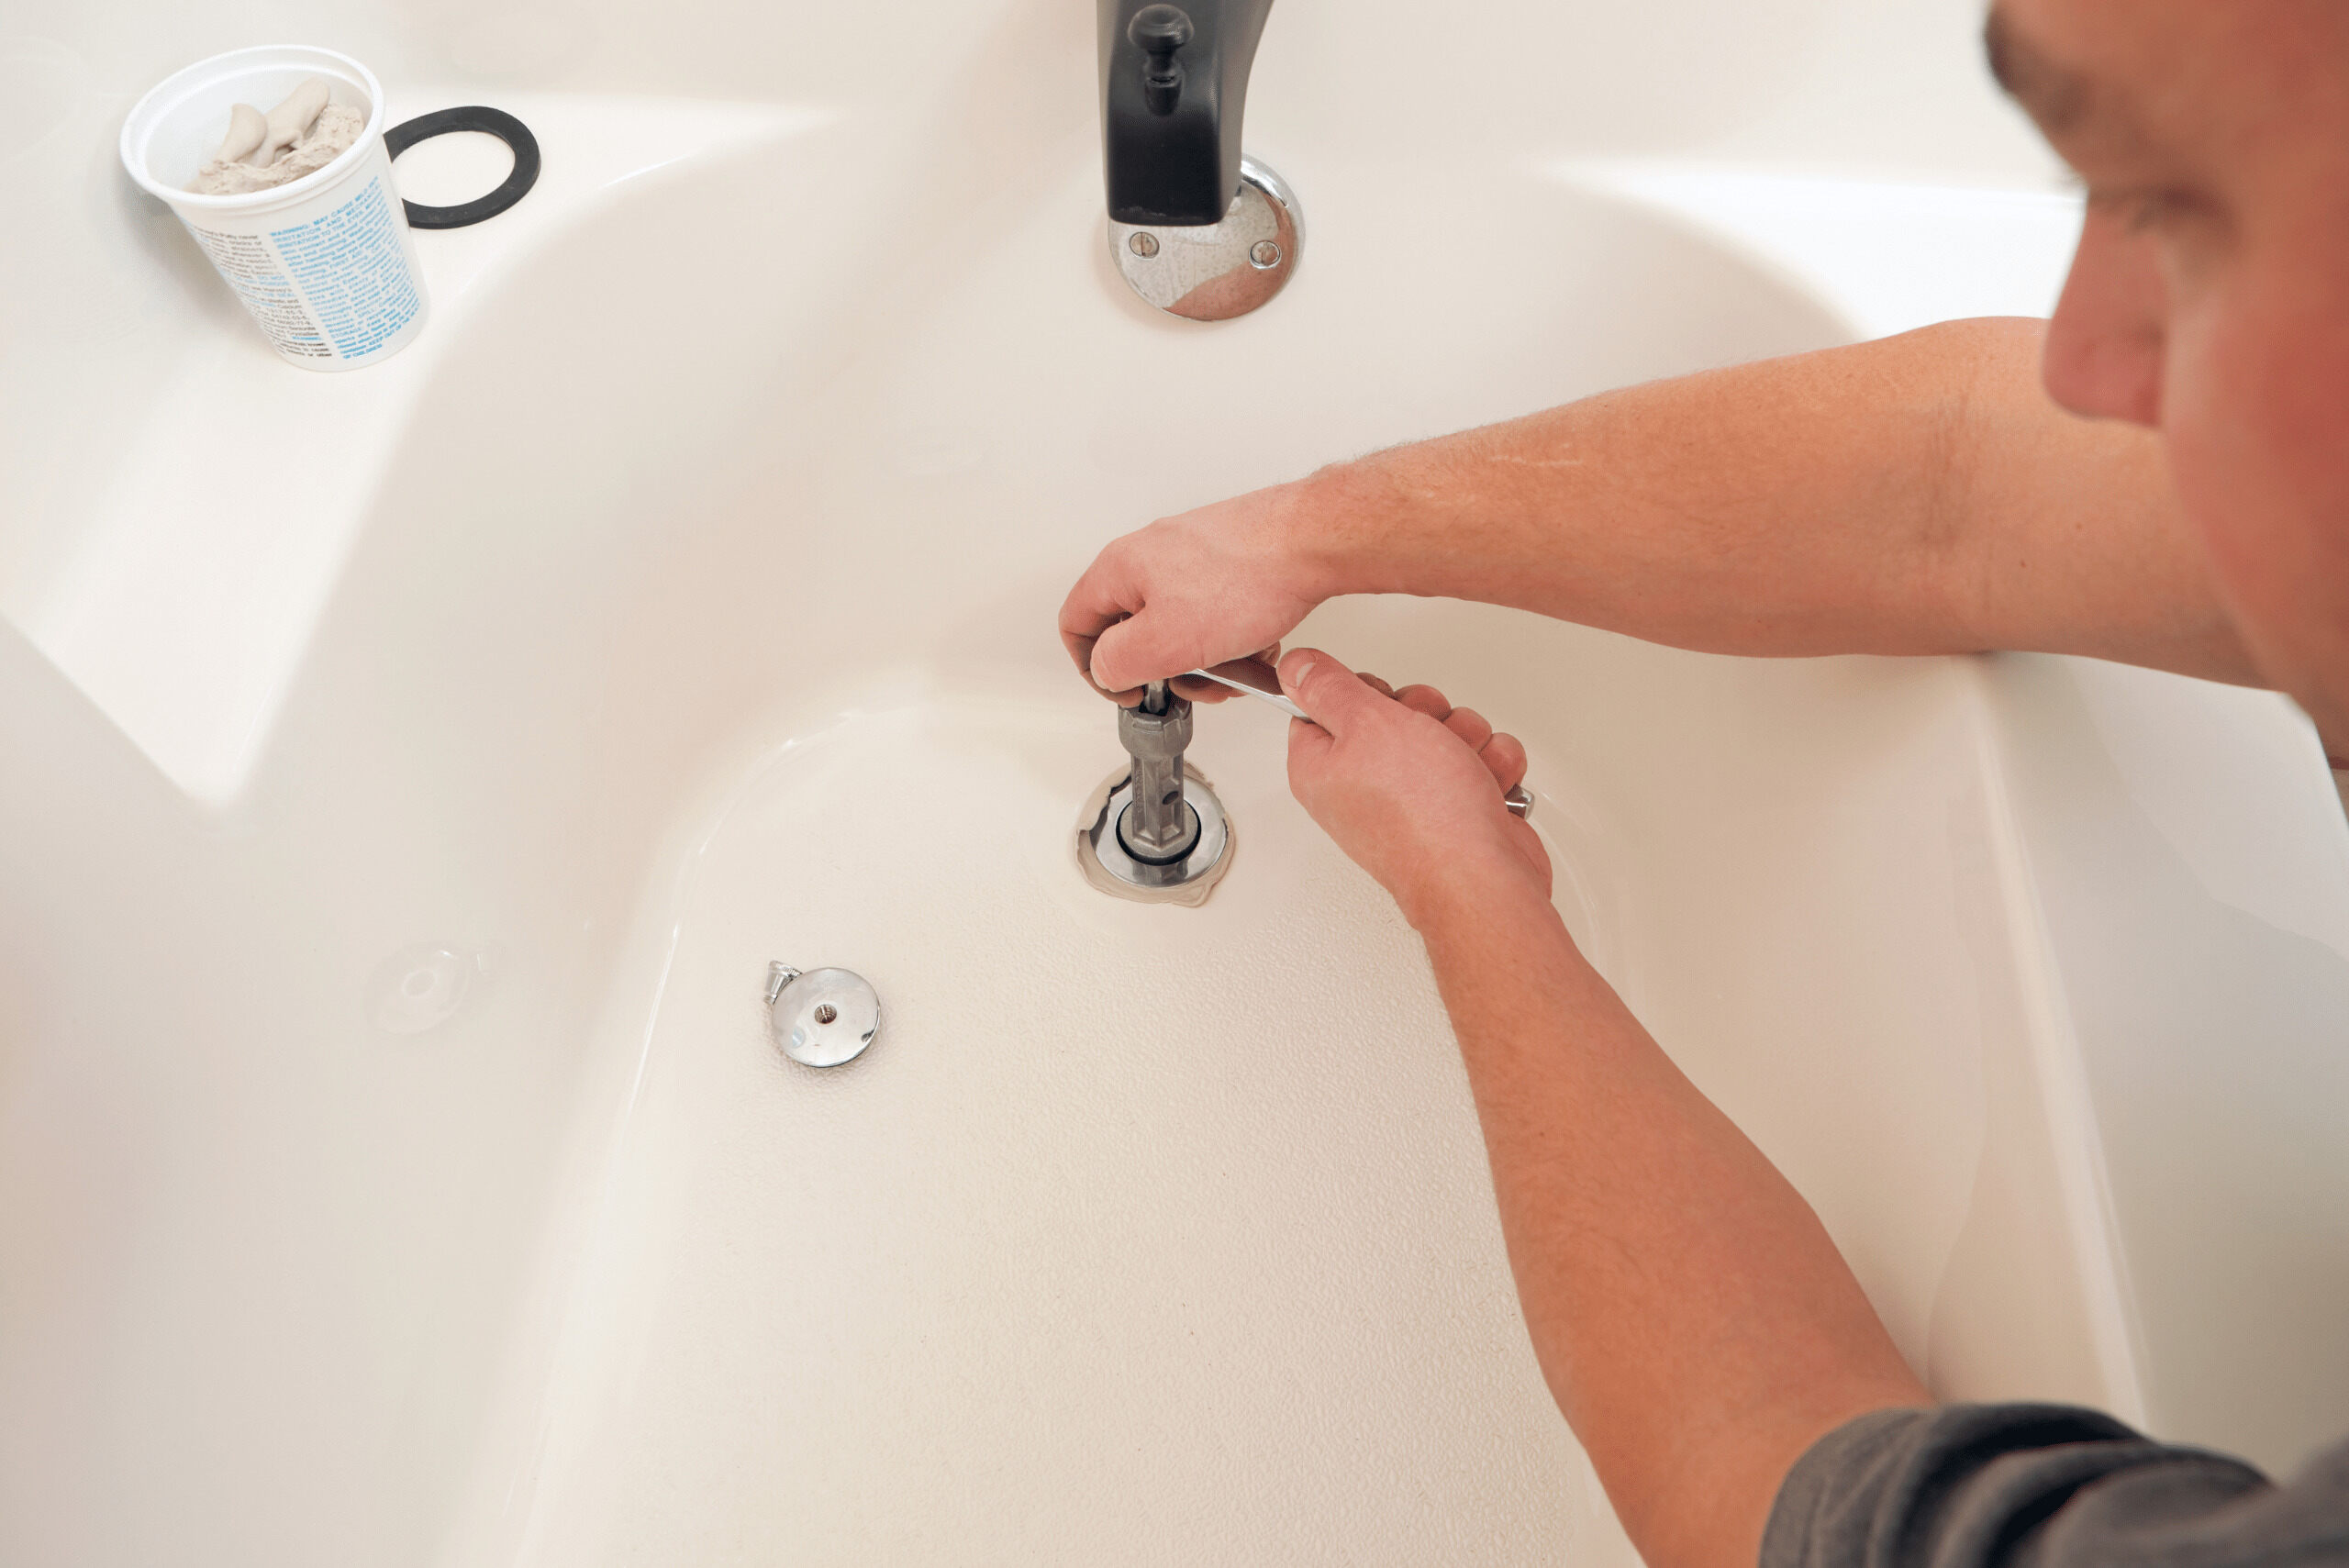
- If you have a sink mounted on the countertop, you’ll need to disconnect the plumbing connections. Locate the shut-off valves underneath the sink and turn them clockwise to shut off the water supply. Next, use a wrench to disconnect the water supply lines from the faucet and the drainpipe from the bottom of the sink. Place a bucket or towel underneath the plumbing connections to catch any excess water.
- For gas stoves or cooktops that are built into the countertop, it’s important to turn off the gas supply before disconnecting them. Locate the gas shut-off valve, which is typically located behind the stove or in a nearby cabinet. Turn the valve clockwise to shut off the gas supply. Depending on the setup, you may need to use a wrench to disconnect the gas line from the stove.
- If you have any under-cabinet lighting fixtures or electrical outlets mounted on the countertop, make sure to disconnect them as well. Turn off the power supply to these fixtures by switching off the circuit breaker associated with them. Use a screwdriver to remove any screws or fasteners securing the fixtures or outlets to the countertop.
Once you have successfully disconnected all appliances and fixtures, double-check that all water and gas supply valves are turned off. This will prevent any leaks or accidents during the countertop removal process.
With the appliances and fixtures disconnected, you are now ready to move on to the next step – removing the backsplash (if applicable).
Step 4: Remove the backsplash (if applicable)
If your countertop has a backsplash, it’s important to remove it before proceeding with the removal of the main countertop. Removing the backsplash will not only make the countertop removal process easier but also allow for a cleaner and more seamless transition when installing the new countertops. Here’s how you can remove the backsplash:
- Inspect the backsplash to determine how it is attached to the wall. Common methods include adhesive, caulk, or screws.
- If the backsplash is held in place with screws, use a screwdriver to carefully remove them. Make sure to keep the screws in a safe place for reinstallation later if needed.
- If the backsplash is secured with adhesive or caulk, use a utility knife to cut through the adhesive or caulk along the edges of the backsplash to loosen it. Be cautious not to damage the wall behind the backsplash.
- Once the adhesive or caulk is cut, gently pry the backsplash away from the wall using a pry bar. Start at one corner and work your way along the entire length of the backsplash.
- If you encounter any resistance, use a putty knife to carefully separate the backsplash from the wall, applying a moderate amount of pressure.
- Continue prying and separating the backsplash until it is completely detached from the wall.
- Once the backsplash is removed, check if any adhesive or caulk residue remains on the wall. Use a putty knife to scrape away any leftover residue.
Removing the backsplash can be a bit time-consuming, but it is an important step in achieving a clean and professional-looking result. Take your time and be careful not to damage the wall or the countertop during the process.
With the backsplash removed, you are now ready to move on to the next step – loosening and removing the countertop brackets.
When removing countertops, start by turning off the water and disconnecting any plumbing. Then, use a utility knife to cut through any caulk or adhesive holding the countertop in place before carefully lifting it off.
Read more: How Do You Cut Granite Countertops
Step 5: Loosen and remove the countertop brackets
Countertops are often secured to the base cabinets using brackets. These brackets provide stability and support to the countertops. In this step, we will guide you through the process of loosening and removing the countertop brackets:
- Start by locating the brackets underneath the countertop. They are typically attached to the underside of the countertop and secured to the base cabinets.
- Using a screwdriver or a drill with the appropriate bit, carefully loosen the screws or bolts that hold the brackets in place. Depending on the setup, you may need to remove multiple screws per bracket.
- If the brackets are attached to the base cabinets with adhesive or caulk, use a utility knife to cut through the adhesive or caulk to loosen them.
- Once the screws or adhesive are loosened, gently pull the brackets away from the base cabinets. Be cautious not to put too much force on the brackets or the countertop to avoid any damage.
- If you encounter stubborn brackets that are difficult to remove, use a pry bar or a rubber mallet to carefully separate them from the base cabinets.
- Continue loosening and removing all the brackets holding the countertop in place. Make sure to keep the brackets organized and in a safe place if you plan to reuse them.
Removing the countertop brackets may require some patience and effort, particularly if they have been securely installed. Take your time and ensure that all screws or adhesive are fully loosened before attempting to remove the brackets.
Once all the brackets are removed, you are ready to move on to the next step – detaching the countertop from the base cabinets.
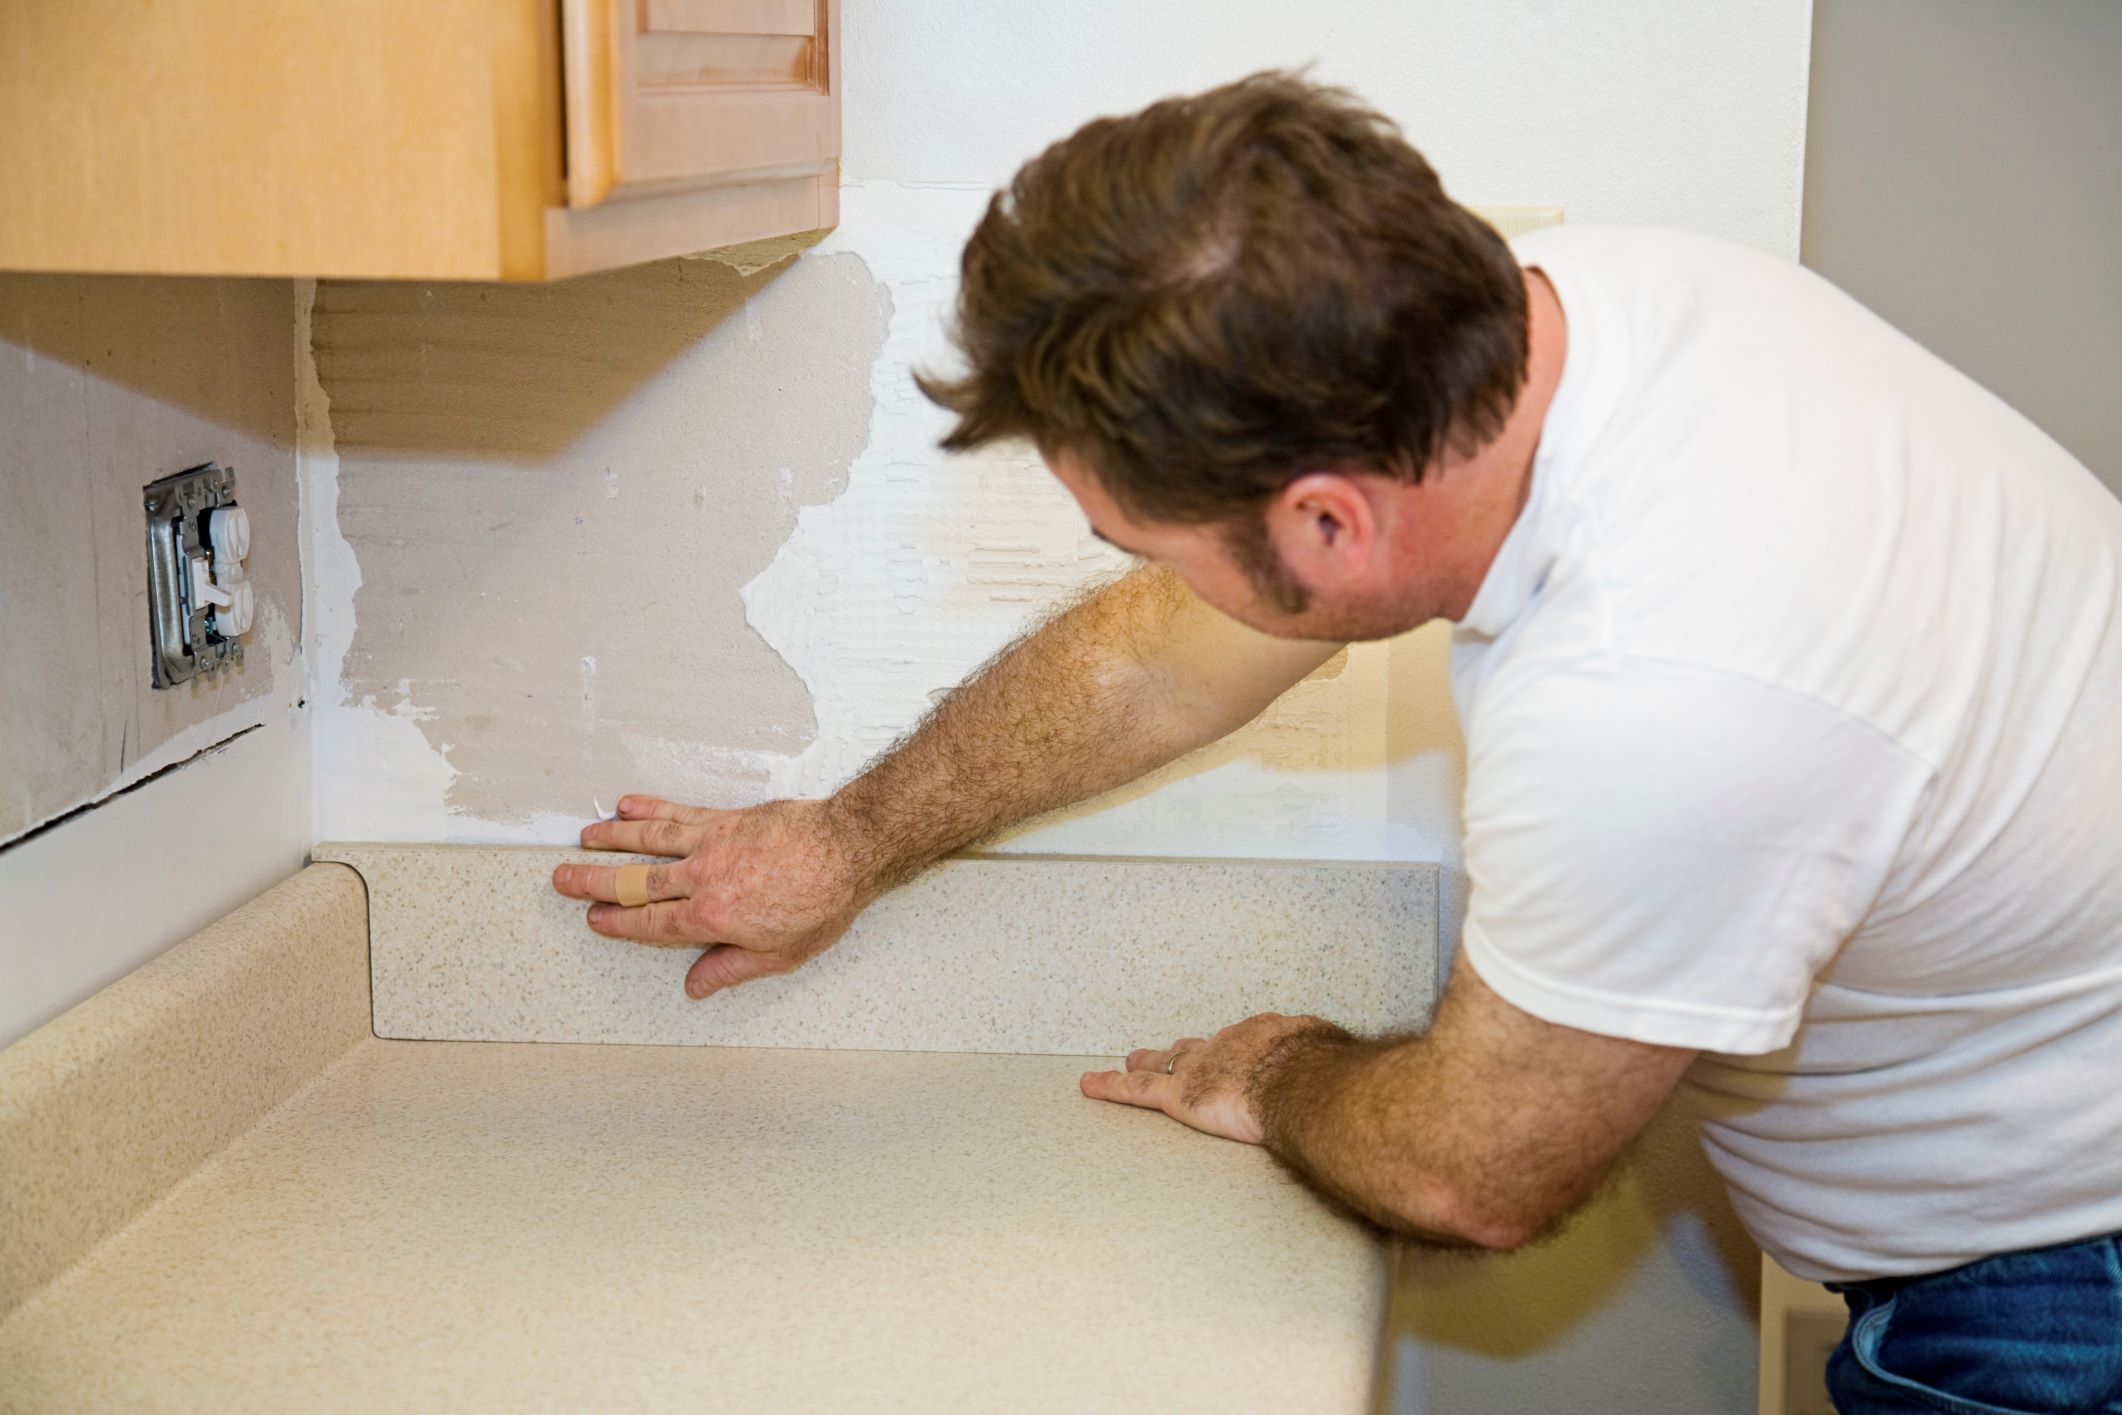
Step 6: Detach the countertop from the base cabinets
Now that the brackets have been removed, it’s time to detach the countertop from the base cabinets. This step requires careful handling to avoid any damage to the countertop or the cabinets. Follow these steps to safely detach the countertop:
- Start by ensuring that you have enough space around the countertop to work comfortably. Clear any clutter or items from the countertop and nearby areas.
- Gently lift the countertop to verify how it is attached to the base cabinets. Typically, countertops are secured with screws or adhesive.
- If the countertop is secured with screws, use a screwdriver or drill to carefully remove them. Be cautious not to strip the screws or damage the countertop surface.
- If the countertop is attached with adhesive, use a putty knife or a pry bar to carefully separate the countertop from the base cabinets. Apply gentle pressure and work your way along the edges to loosen the adhesive.
- Once the countertop is loosened, carefully lift it away from the base cabinets. Enlist the help of an assistant if the countertop is heavy or unwieldy.
- Take your time to ensure that the countertop is fully detached from the base cabinets. Check for any remaining screws or adhesive that may still be holding it in place.
When detaching the countertop, be mindful of any plumbing or electrical connections that may be present underneath. Ensure that these connections are properly disconnected and safely secured before lifting the countertop.
With the countertop successfully detached from the base cabinets, you are one step closer to completing the removal process. Next, we will discuss how to properly lift and remove the countertop.
Step 7: Lift and remove the countertop
Now that the countertop is detached from the base cabinets, it’s time to lift and remove it from the workspace. This step requires caution and proper lifting techniques to avoid any injuries or damage to the countertop. Follow these steps to safely lift and remove the countertop:
- Make sure you have a clear path from the workspace to the outside or a designated area where you plan to dispose of the countertop. Remove any obstacles or furniture that may impede your movement.
- Enlist the help of an assistant to ensure a smooth and safe lifting process. Countertops can be heavy and challenging to lift alone.
- Position yourself on one side of the countertop, ensuring you have a secure grip on the edges or corners.
- Coordinate with your assistant to lift the countertop simultaneously, using your leg muscles and taking care to avoid straining your back.
- Carry the countertop out of the workspace and place it in the designated area. Be mindful of any doorways or tight spaces that may require careful maneuvering.
- If the countertop is too large or heavy to lift manually, consider using a dolly or other lifting equipment to safely transport it.
Remember to communicate effectively with your assistant during the lifting and removal process. Use clear signals and coordinate your movements to ensure a smooth and accident-free operation.
Once the countertop has been lifted and removed from the workspace, you can now prepare the area for a new countertop or proceed with any other remodeling plans you have. But before you do, let’s discuss the final step – cleaning and preparing the area for the next phase.
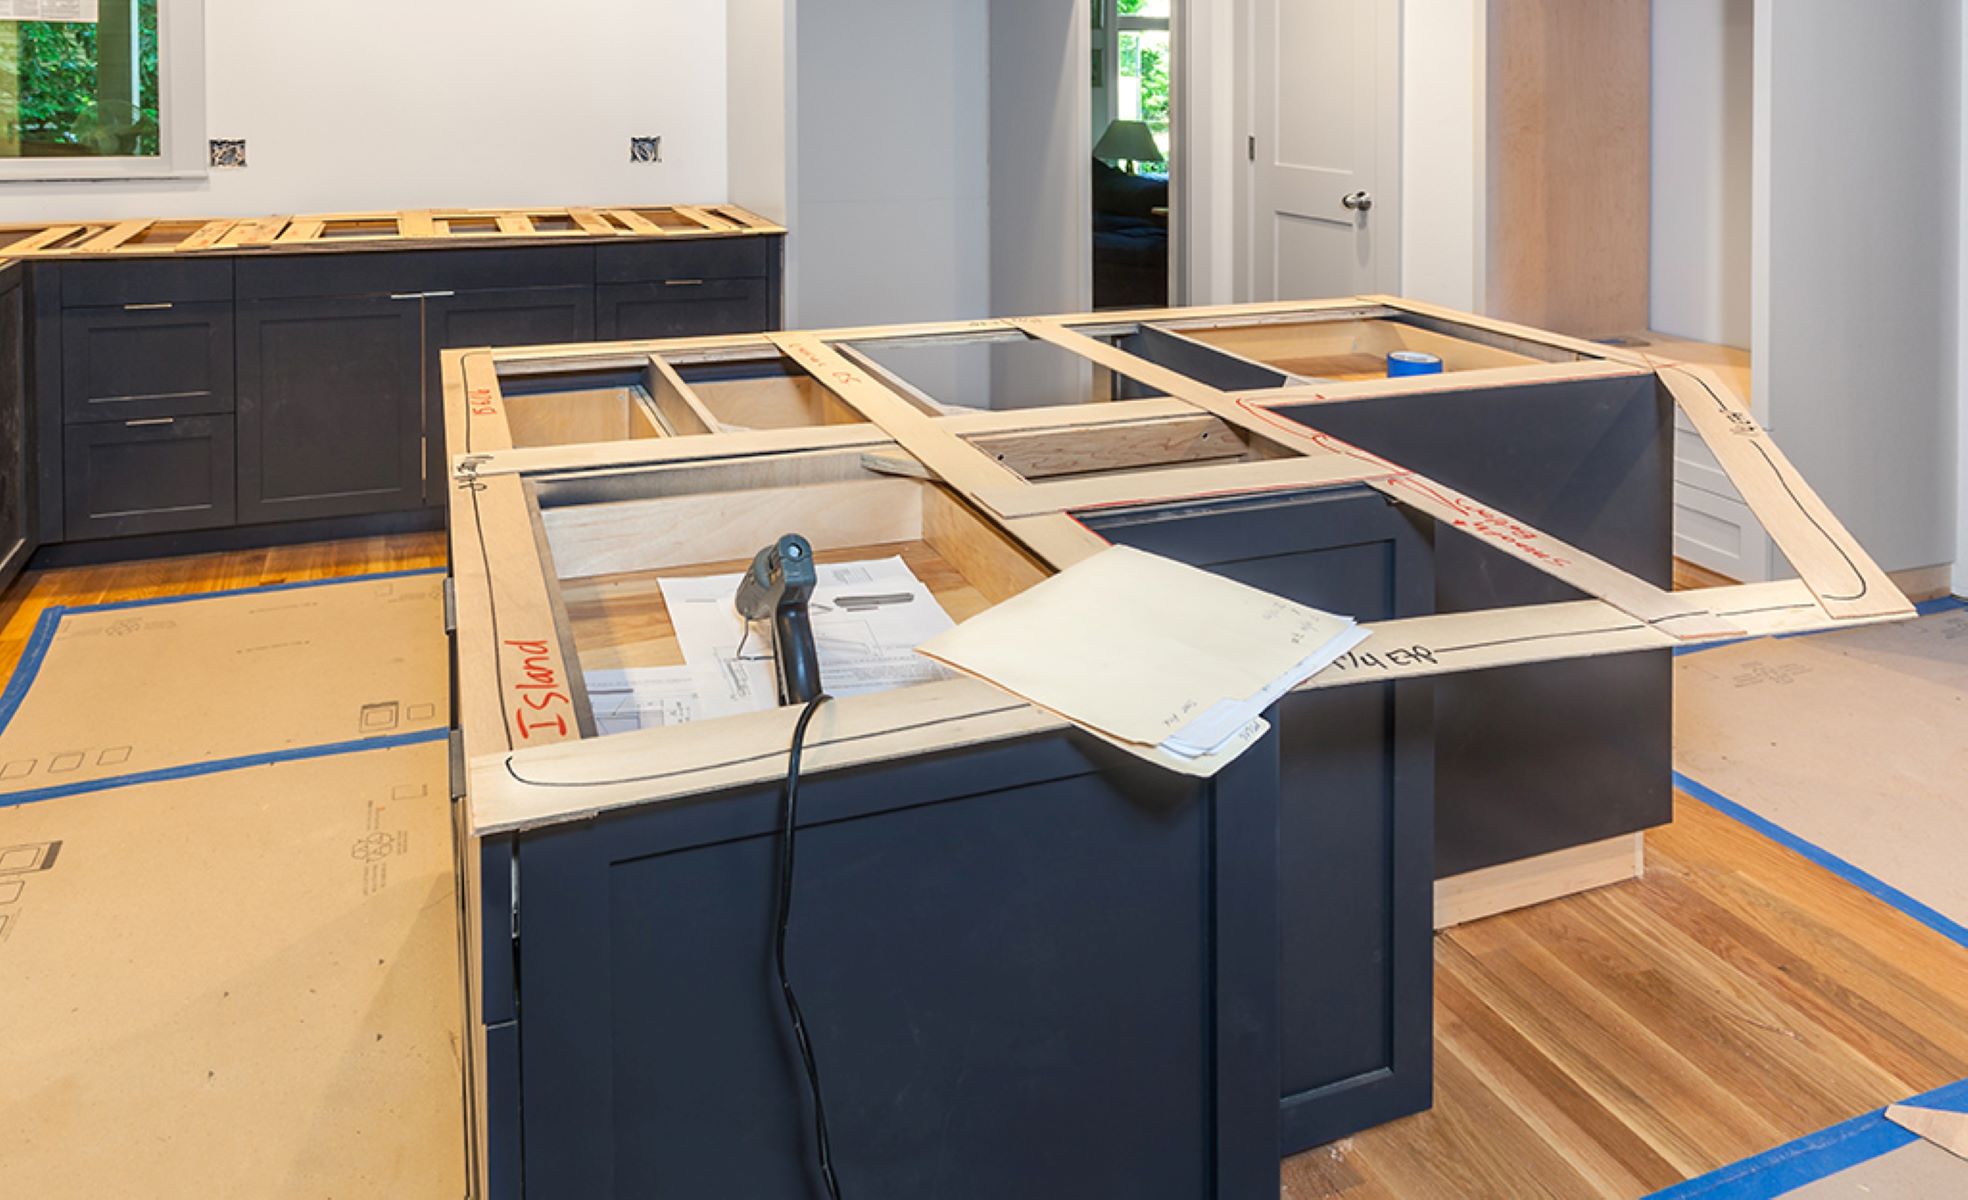
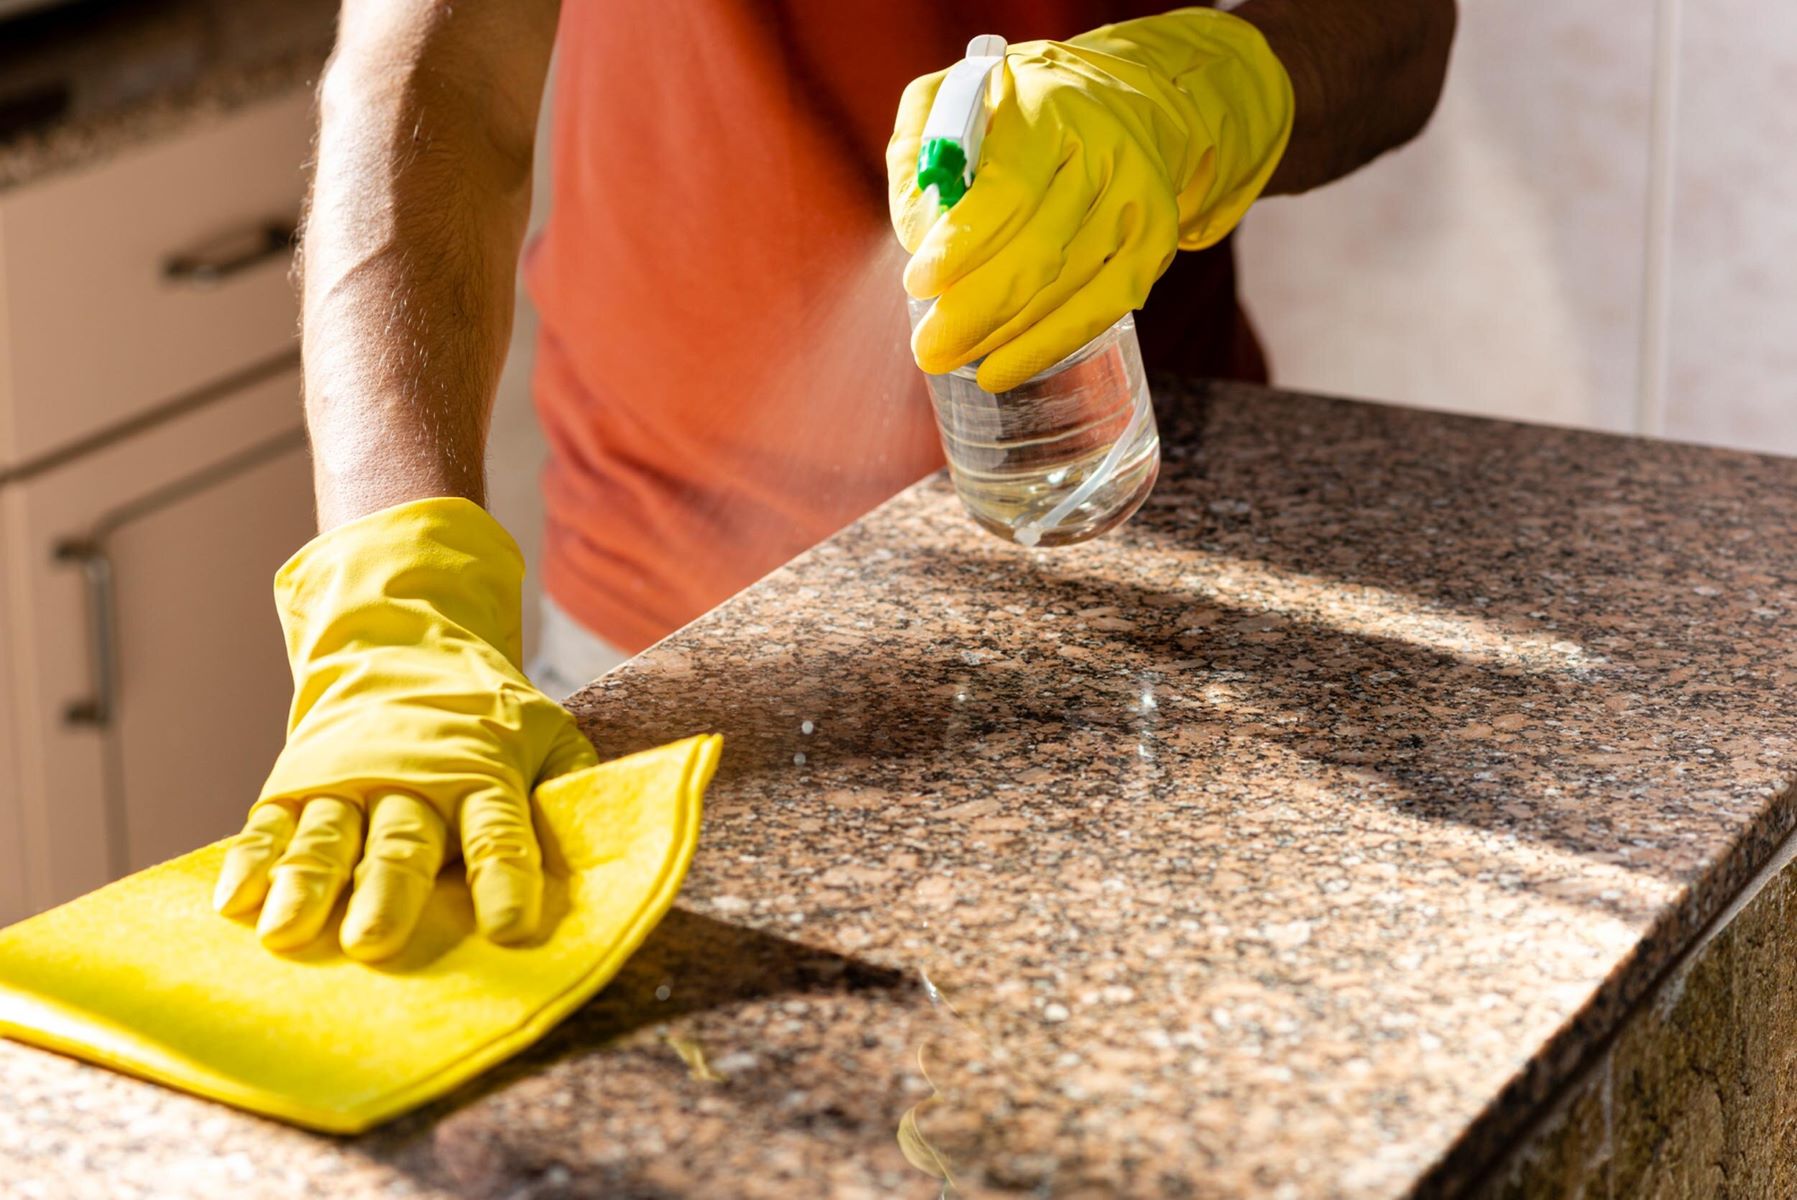
Step 8: Clean and prepare the area for a new countertop
With the old countertop successfully removed, it’s time to clean and prepare the area for the installation of a new countertop or any other remodeling plans you have in mind. This step is crucial to ensure a smooth and seamless transition between the old and new surfaces. Follow these steps to properly clean and prepare the area:
- Begin by thoroughly cleaning the base cabinets and the surrounding area. Use a mild cleaning solution and a sponge or cloth to remove any dirt, debris, or leftover adhesive from the previous countertop.
- Inspect the base cabinets for any damage or wear. If necessary, repair or replace any damaged parts to ensure a solid foundation for the new countertop.
- Examine the wall condition behind the old countertop. If you plan to install a new backsplash, remove any old adhesive, caulk, or remnants from the previous backsplash. Prepare the wall surface by sanding, patching, and priming it if needed.
- If you are installing a new countertop, measure and plan for any modifications that may be required, such as cutting out holes for sinks or appliances.
- If you are reusing the existing base cabinets, take the opportunity to inspect and tighten any loose screws or hinges. Ensure that the cabinets are level and stable.
- Consider applying a fresh coat of paint or stain to the base cabinets if you want to refresh their appearance.
- Finally, lay down a protective layer on the base cabinets and surrounding areas to prevent any damage or scratches during the installation process.
Once you have cleaned and prepared the area, you are ready to proceed with the installation of your new countertop or move forward with your remodeling plans. By taking the time to properly clean and prepare the space, you will create a solid foundation for a beautiful and functional countertop.
Remember to carefully follow the instructions provided with your new countertop or consult with professionals if you are unsure about any specific installation steps. With proper preparation and attention to detail, you can achieve a successful countertop installation or remodeling project.
Congratulations on completing the process of removing countertops and best of luck with your future renovation endeavors!
Read more: How Do You Cut Quartz Countertops
Conclusion
Removing countertops may seem like a challenging task, but with the right tools, materials, and guidance, it can be accomplished smoothly and safely. In this comprehensive guide, we have walked you through the step-by-step process of removing countertops, from gathering the necessary tools and materials to properly cleaning and preparing the area for a new countertop or further remodeling.
It is important to remember that each countertop removal process may vary depending on the specific materials and setup you are working with. If you are uncertain about any steps or if you have a complex countertop configuration, it is always advisable to seek the assistance of professionals to ensure a successful removal.
Throughout this guide, we have emphasized the importance of safety, caution, and attention to detail. Protecting yourself with the appropriate safety gear, turning off the power supply, and following proper lifting techniques are crucial to prevent any injuries or damage during the removal process.
By properly removing countertops, you create the opportunity to transform your space and embark on exciting remodeling projects. Whether you are replacing your countertops, installing new ones, or pursuing other home improvement plans, the knowledge and skills gained from this guide will undoubtedly prove helpful.
Remember to take your time, stay organized, and follow the specific instructions for your countertop removal and installation. If you ever feel unsure or overwhelmed, seeking professional assistance is always a wise choice.
We hope that this guide has provided you with valuable insights and a clearer understanding of the process involved in removing countertops. Armed with this knowledge, you can confidently tackle your next remodeling project with ease and achieve the beautiful and functional space you desire.
Frequently Asked Questions about How Do You Remove Countertops
Was this page helpful?
At Storables.com, we guarantee accurate and reliable information. Our content, validated by Expert Board Contributors, is crafted following stringent Editorial Policies. We're committed to providing you with well-researched, expert-backed insights for all your informational needs.

0 thoughts on “How Do You Remove Countertops”