Articles
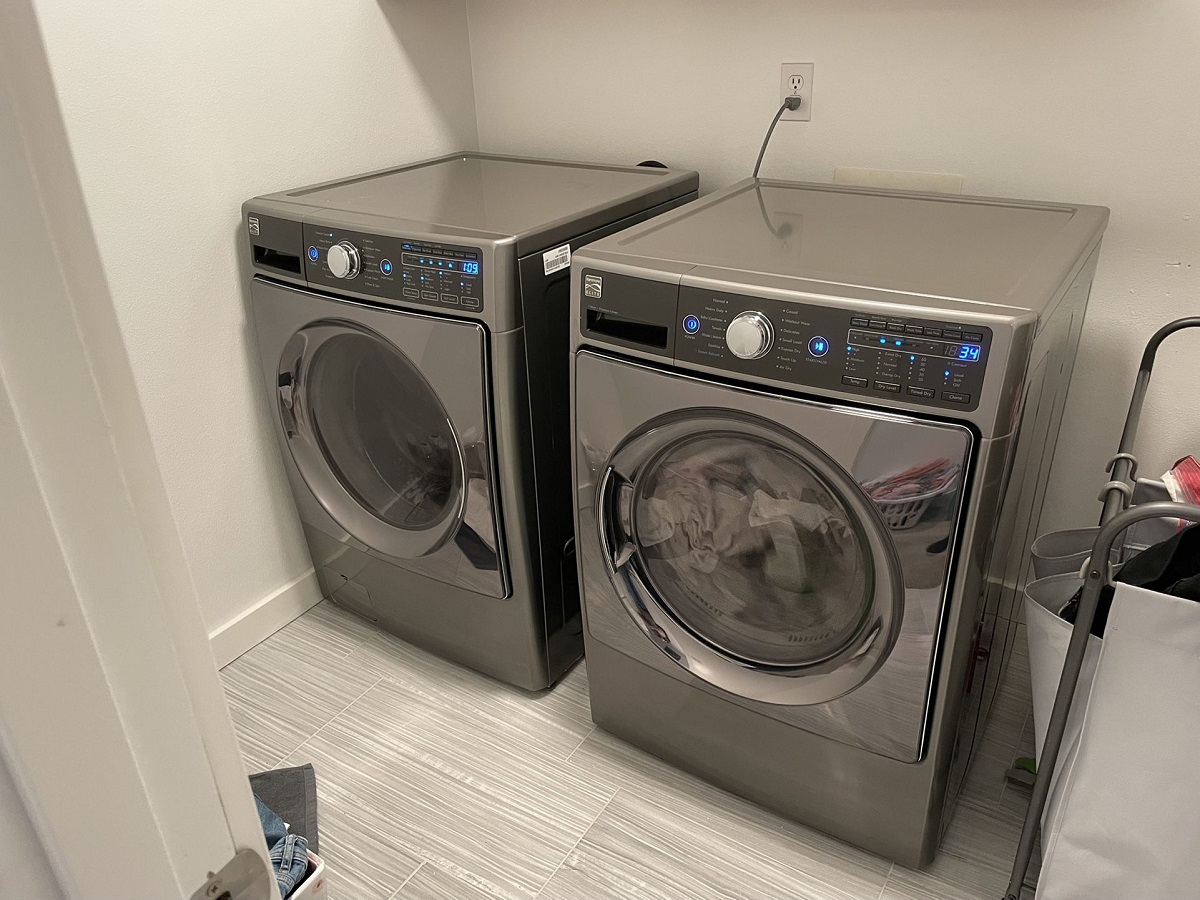
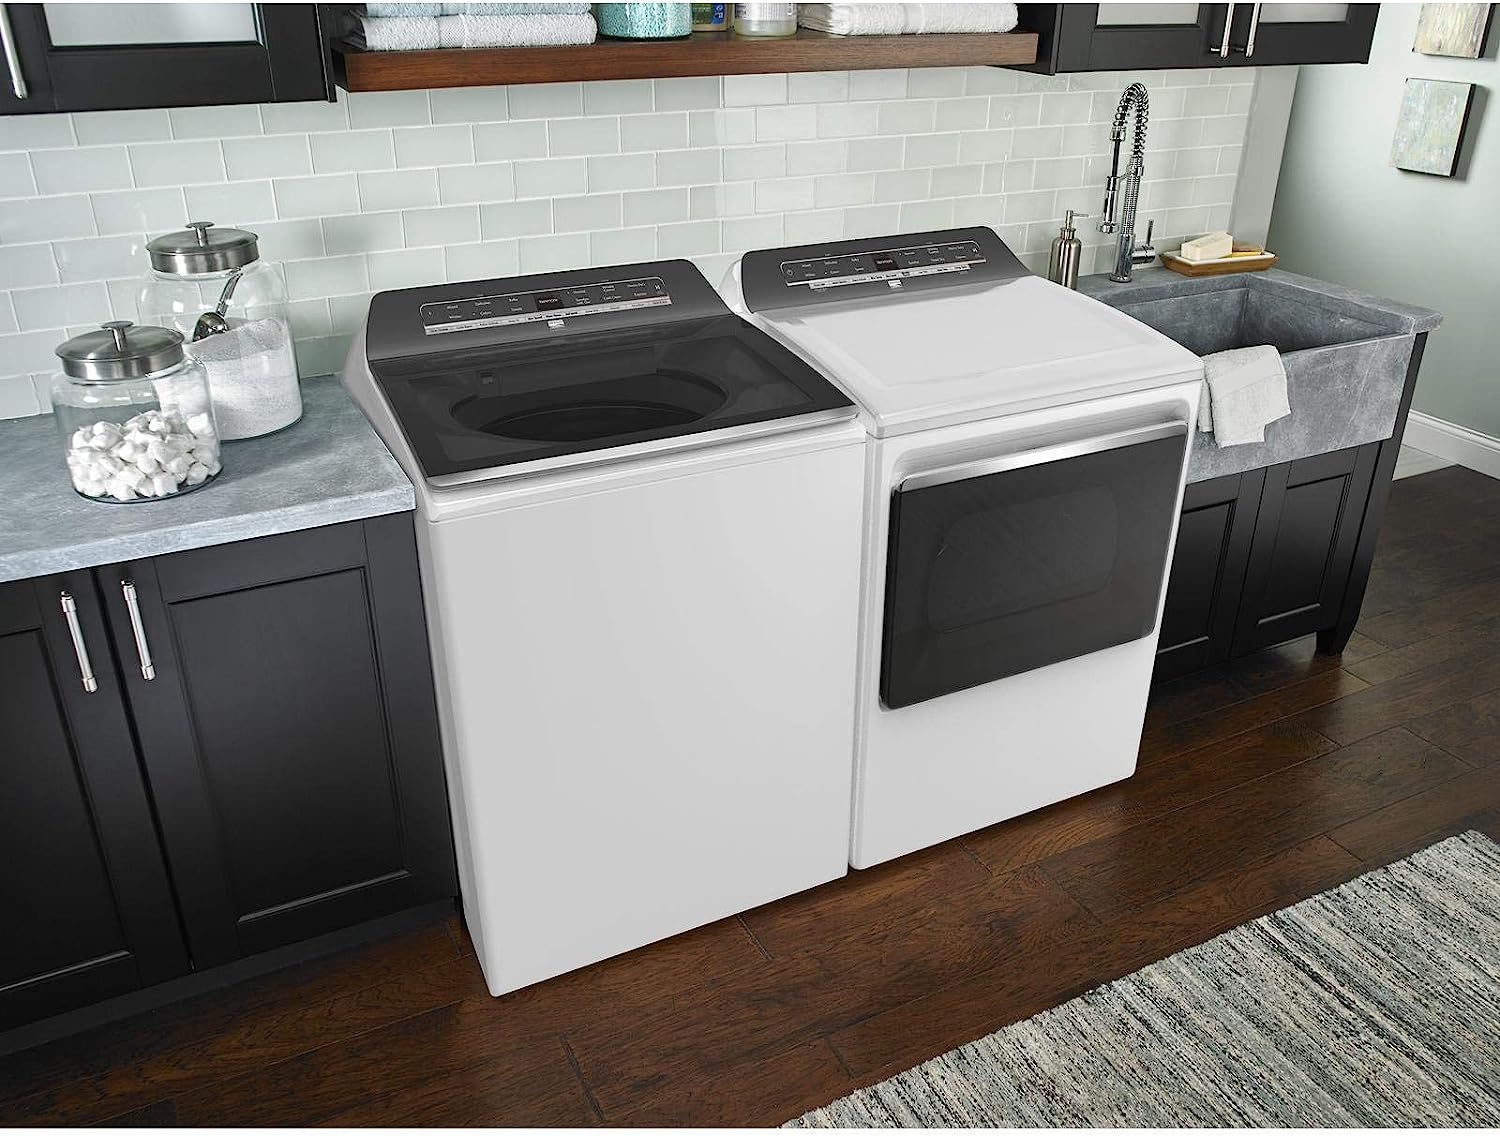
How To Clean Kenmore Elite Washer
Modified: October 18, 2024
Learn effective cleaning techniques for your Kenmore Elite washer and keep it running smoothly. Explore our collection of informative articles to maintain your appliance's performance.
(Many of the links in this article redirect to a specific reviewed product. Your purchase of these products through affiliate links helps to generate commission for Storables.com, at no extra cost. Learn more)
Introduction
Keeping your Kenmore Elite Washer clean is essential for maintaining its performance and longevity. Over time, dirt, grime, and detergent residue can accumulate both on the exterior and interior of the washer, which can affect its efficiency and hygiene. Regularly cleaning your washer not only ensures optimal performance but also eliminates unpleasant odors and prevents mold and mildew growth.
In this article, we will provide you with step-by-step instructions on how to clean your Kenmore Elite Washer. We will cover everything from gathering the necessary tools and materials to maintaining a clean washer. By following these simple steps, you can ensure that your washer continues to work efficiently and effectively.
Key Takeaways:
- Regularly cleaning your Kenmore Elite Washer is crucial for maintaining its performance, efficiency, and longevity. Follow the step-by-step instructions to ensure a clean and hygienic washer for fresh laundry every time.
- Incorporate maintenance practices into your laundry routine to prolong the life of your Kenmore Elite Washer. From wiping down the washer after each use to running a monthly cleaning cycle, these steps will keep your washer in excellent condition.
Read also: 12 Amazing Kenmore Elite Washer For 2025
Step 1: Gathering necessary tools and materials
Before you begin cleaning your Kenmore Elite Washer, it’s important to gather the necessary tools and materials. Having everything you need at hand will make the cleaning process more efficient and ensure that you don’t have to pause midway to search for something. Here are the tools and materials you will need:
- A soft microfiber cloth
- Warm water
- Mild detergent or cleaning solution
- A toothbrush or small scrub brush
- A toothpick or small brush for cleaning the filter
- Vinegar (optional)
- Rubber gloves (optional)
- A bucket or basin (optional)
The soft microfiber cloth will be used to wipe down the exterior of the washer and remove any dust or dirt. Warm water will be the main cleaning agent, as it is effective in breaking down stains and residue. If you prefer a stronger cleaning solution, you can use a mild detergent specifically designed for washing machines or a mixture of warm water and mild household cleaning solution. Avoid using abrasive cleaners or bleach, as they can damage the surface of the washer.
A toothbrush or small scrub brush will come in handy when cleaning hard-to-reach areas or removing stubborn stains. The toothpick or small brush will be used to clean the filter, which is important for maintaining optimal performance. Vinegar can be used as a natural disinfectant and odor remover, but it is optional.
If you prefer, you can wear rubber gloves to protect your hands from any cleaning agents or chemicals. Additionally, having a bucket or basin nearby can be useful for collecting any water that may spill during the cleaning process.
Once you have gathered all the necessary tools and materials, you are ready to move on to the next step: preparing the washer for cleaning.
Step 2: Preparing the washer for cleaning
Before you start cleaning the Kenmore Elite Washer, it’s important to take a few simple steps to prepare the washer and ensure your safety. Here’s what you need to do:
- Turn off the power: Start by unplugging the washer from the power outlet to avoid any accidents while cleaning.
- Unplug and remove accessories: If your washer has any detachable accessories, such as removable detergent dispensers or removable agitators, unplug them from the machine and remove them for easier cleaning.
- Empty the washer: Make sure the washer is empty of any laundry items. This includes removing any clothes, towels, or other items that may be inside the drum or the detergent dispenser.
- Check the owner’s manual: Refer to the owner’s manual of your Kenmore Elite Washer to see if there are any specific instructions or precautions for cleaning. This will ensure that you follow the manufacturer’s guidelines and avoid any damage to the machine.
By taking these preparatory steps, you can ensure that the cleaning process goes smoothly and safely. Once you have completed these steps, you are now ready to move on to the actual cleaning of the washer in the following steps.
Remember, safety should always be a priority when cleaning any appliance, so make sure to unplug the washer and follow the manufacturer’s instructions. Now that you have prepared the washer, it’s time to start cleaning the exterior of the machine.
Step 3: Cleaning the exterior of the washer
Now that you have prepared your Kenmore Elite Washer, it’s time to start cleaning the exterior of the machine. The exterior of the washer can accumulate dust, dirt, and smudges over time, so it’s important to give it a thorough cleaning. Follow these steps to clean the exterior of your washer:
- Dampen a soft microfiber cloth: Start by dampening a soft microfiber cloth with warm water. Avoid using excessive water, as it can damage the machine’s electrical components.
- Wipe down the exterior: Gently wipe down the entire exterior surface of the washer, including the top, sides, and front. Pay special attention to areas that are prone to dirt or handprints, such as the control panel, buttons, and door handle.
- Use mild detergent if necessary: If there are any stubborn stains or sticky residue, you can use a mild detergent or a mixture of warm water and mild household cleaning solution. Apply a small amount to the cloth and gently scrub the affected areas, then rinse with a clean, damp cloth.
- Dry the exterior: After cleaning, use a dry microfiber cloth to thoroughly dry the exterior surface of the washer. This will help prevent water spots and ensure a streak-free finish.
Remember to avoid using abrasive cleaners, bleach, or harsh chemicals when cleaning the exterior of your Kenmore Elite Washer, as they can damage the surface. Stick to gentle cleaning agents and avoid excessive water use to protect the machine’s electrical components.
Once you have cleaned the exterior, move on to the next step to tackle the interior drum of your washer.
Step 4: Cleaning the interior drum of the washer
Now that you have cleaned the exterior of your Kenmore Elite Washer, it’s time to focus on cleaning the interior drum. Over time, dirt, grime, and detergent residue can build up inside the drum, affecting the cleanliness of your laundry. Follow these steps to clean the interior drum of your washer:
- Prepare a cleaning solution: In a bucket or basin, mix warm water with a mild detergent or a designated washing machine cleaner. Follow the manufacturer’s instructions for the recommended amount of detergent or cleaner to use.
- Select the appropriate cycle: Start by selecting a cleaning cycle or a normal cycle with the hottest water setting. This will help remove any stubborn stains or residue.
- Pour the cleaning solution: Pour the prepared cleaning solution into the detergent dispenser or directly into the drum of the washer. Make sure to use the appropriate amount of solution based on the capacity of your washer.
- Run the cleaning cycle: Close the washer lid or door and start the cleaning cycle. Allow the machine to complete the entire cycle, including the wash, rinse, and spin cycles. This will ensure that the cleaning solution reaches every part of the drum.
- Wipe down the drum: After the cleaning cycle is complete, open the washer lid or door and use a soft microfiber cloth to wipe down the interior drum. Pay attention to any visible stains or residue and gently scrub them away.
- Rinse the drum: Fill the detergent dispenser or a bucket with clean water and pour it into the drum. Run a rinse cycle to remove any remaining soap or cleaning solution.
- Dry the drum: After the rinse cycle, leave the washer lid or door open and let the drum air dry. This will help prevent any moisture buildup and potential mold or mildew growth.
Cleaning the interior drum of your washer regularly helps maintain its performance and ensures that your laundry comes out fresh and clean. By following these steps, you can keep your Kenmore Elite Washer in excellent condition.
Next, we will move on to cleaning the detergent dispenser of your washer.
Step 5: Cleaning the detergent dispenser
As you continue to clean your Kenmore Elite Washer, it’s important to pay attention to the detergent dispenser. Over time, residue from detergent and fabric softener can build up in the dispenser, leading to clogs or ineffective cleaning. Follow these steps to clean the detergent dispenser:
- Remove the dispenser: Start by carefully removing the detergent dispenser from the washer. Refer to the owner’s manual for instructions specific to your model, as the removal method may vary.
- Disassemble the dispenser: Once removed, disassemble the detergent dispenser. Most dispensers have separate compartments for detergent, fabric softener, and bleach. Remove any removable trays or compartments and set them aside.
- Soak in warm water: Fill a basin or sink with warm water and mix in a small amount of mild detergent. Place the disassembled detergent dispenser components in the warm soapy water and let them soak for a few minutes.
- Clean the dispenser and compartments: Use a toothbrush or small scrub brush to gently scrub the detergent dispenser and its compartments. Pay close attention to any caked-on residue or buildup. Rinse each component thoroughly with clean water to remove any soap residue.
- Dry and reassemble: Once clean, dry each component of the detergent dispenser with a clean cloth or let them air dry. Once dry, reassemble the dispenser following the reverse order of disassembly.
- Reinstall the dispenser: Carefully reinstall the clean detergent dispenser back into your Kenmore Elite Washer. Make sure it is properly aligned and securely in place.
By regularly cleaning the detergent dispenser, you can prevent clogs and ensure that your laundry products are dispensed properly during each wash cycle. This will help to maintain the cleanliness and efficiency of your washer.
Next, we will move on to cleaning the filter of your Kenmore Elite Washer.
To clean a Kenmore Elite washer, run a cleaning cycle with hot water and a cup of vinegar to remove any build-up and odors. Wipe down the exterior and door seal with a damp cloth.
Step 6: Cleaning the filter
The filter in your Kenmore Elite Washer plays an important role in preventing debris and lint from clogging the drainage system. Cleaning the filter regularly ensures optimal performance and prolongs the lifespan of your washer. Here’s how to clean the filter:
- Locate the filter: The filter is typically located at the bottom front of the washer. Check your owner’s manual for the exact location, as it may vary depending on the model of your washer.
- Prepare a bucket: Place a bucket or basin underneath the filter to catch any water that may spill out during the cleaning process.
- Remove the filter: Use a screwdriver or your fingers to loosen and remove the filter cover. Be cautious when removing the cover, as water may be trapped inside.
- Drain the water: Allow any excess water from the filter to drain into the bucket. You may need to tilt the washer or gently squeeze the filter to remove trapped water.
- Clean the filter: Rinse the filter under running water to remove any debris or lint. Use a toothbrush or a small brush to gently scrub away any stubborn residue. Ensure that all parts of the filter are thoroughly cleaned.
- Inspect the filter housing: While the filter is removed, inspect the filter housing for any signs of buildup or clogs. If necessary, use a brush or cloth to remove any debris from the housing.
- Reinstall the filter: Once the filter and filter housing are clean, reinsert the filter back into its original position. Ensure that the filter cover is securely fastened.
Regularly cleaning the filter of your Kenmore Elite Washer helps maintain the efficiency of the drainage system and prevents potential clogs. By following these steps, you can ensure that your washer continues to perform optimally.
Next, we will move on to cleaning the control panel and buttons of your washer.
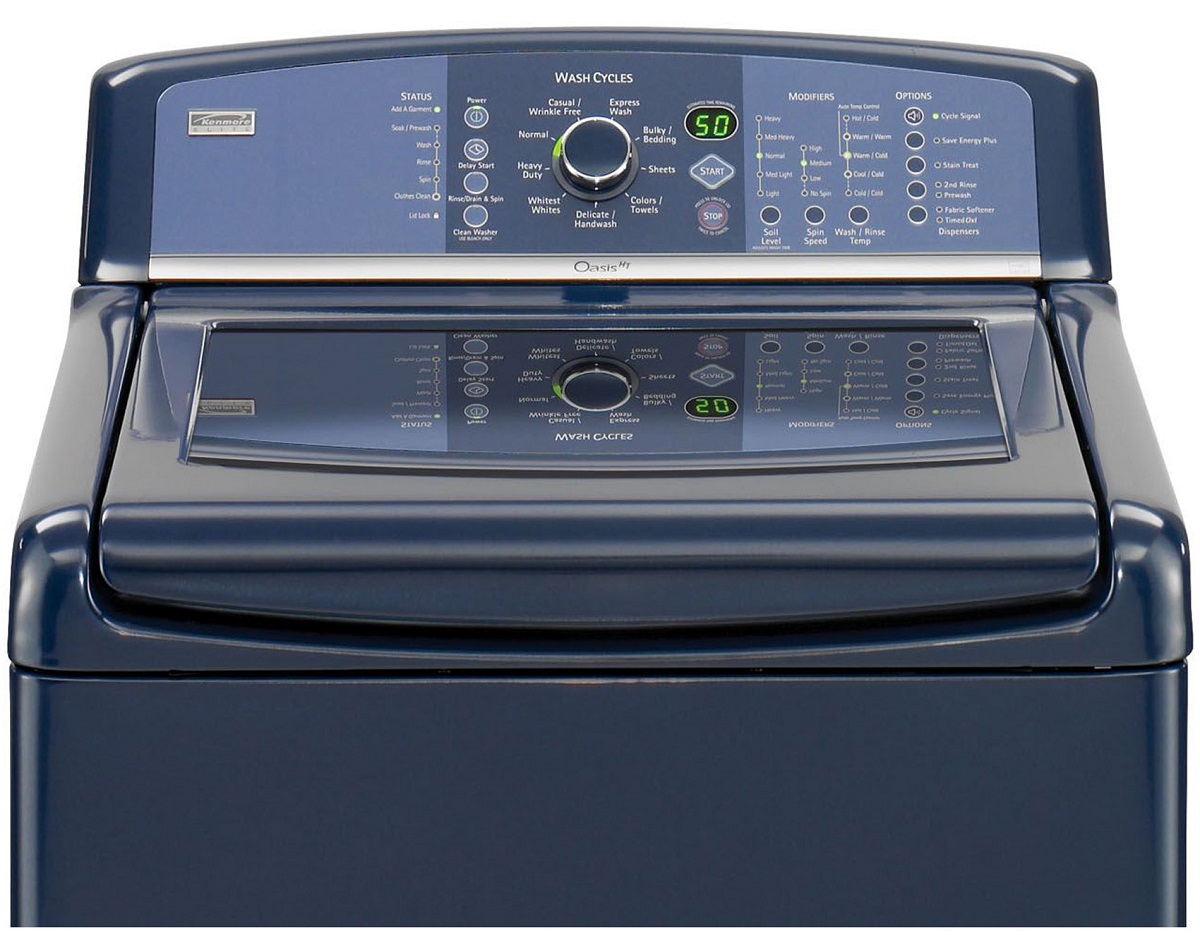
Step 7: Wiping down the control panel and buttons
As you continue to clean your Kenmore Elite Washer, don’t forget to pay attention to the control panel and buttons. Over time, dust, dirt, and fingerprints can accumulate on these surfaces, affecting both the appearance and functionality of your washer. Follow these steps to wipe down the control panel and buttons:
- Turn off the power: Start by ensuring that the washer is unplugged and the power is turned off. This will prevent any accidental button presses during the cleaning process.
- Dampen a soft microfiber cloth: Dampen a soft microfiber cloth with warm water. Avoid using excessive water to prevent any moisture from seeping into the control panel area.
- Wipe down the control panel: Gently wipe down the control panel surface, making sure to clean all buttons, knobs, and indicators. Pay extra attention to areas that are prone to fingerprints or smudges.
- Use mild detergent if necessary: If there are any stubborn stains or residue, you can apply a small amount of mild detergent or a mixture of warm water and mild household cleaning solution to the cloth. Gently scrub the affected areas, then wipe clean with a damp cloth.
- Dry the control panel: After wiping down the control panel and buttons, use a dry microfiber cloth to thoroughly dry the surface. This will prevent water spots and ensure a streak-free finish.
When cleaning the control panel, avoid using abrasive cleaners, bleach, or harsh chemicals that can damage the surface. Stick to gentle cleaning agents and avoid excessive water use to protect the electrical components.
By regularly maintaining the cleanliness of the control panel and buttons, you can ensure easy functionality and keep your Kenmore Elite Washer looking its best.
Next, we will move on to cleaning the rubber door seal of your washer.
Step 8: Cleaning the rubber door seal
The rubber door seal of your Kenmore Elite Washer is prone to collecting dirt, grime, and residue, which can lead to unpleasant odors and even mold growth over time. Cleaning the rubber door seal regularly is essential to maintain a hygienic and odor-free washing machine. Follow these steps to clean the rubber door seal:
- Inspect the seal: Start by inspecting the rubber door seal for any visible dirt, mold, or mildew. Pay close attention to the folds and crevices, as these areas tend to trap moisture and debris.
- Prepare a cleaning solution: In a bucket or basin, mix equal parts warm water and vinegar. Alternatively, you can use a mild detergent or a designated washing machine cleaner. Both vinegar and detergent are effective in removing stains, odors, and mold.
- Dampen a cloth or sponge: Dip a cloth or sponge into the cleaning solution, making sure it’s not overly saturated. Squeeze out any excess liquid to avoid dripping.
- Wipe down the rubber seal: Gently wipe down the entire rubber door seal, paying close attention to the folds and crevices. Use a circular motion to thoroughly clean the surface, removing any dirt, grime, or mold buildup.
- Scrub stubborn stains: If there are any stubborn stains or mold spots, use a soft-bristled toothbrush or an old toothbrush to scrub the affected areas. Be gentle to avoid damaging the rubber seal.
- Rinse with clean water: After cleaning, rinse the rubber door seal with clean water to remove any remaining cleaning solution or residue.
- Dry the seal: Use a dry cloth or towel to thoroughly dry the rubber door seal. It’s important to remove any moisture to prevent future mold or mildew growth.
- Leave the door open: To promote airflow and prevent moisture buildup, leave the washer door open for a few hours after cleaning. This will help the rubber seal dry completely and prevent any potential odors.
By regularly cleaning and maintaining the rubber door seal of your Kenmore Elite Washer, you can prevent odors and ensure a hygienic washing experience.
Next, we will move on to inspecting and cleaning the water inlet hoses of your washer.
Read more: How To Unlock A Kenmore Elite Dishwasher
Step 9: Inspecting and cleaning the water inlet hoses
The water inlet hoses of your Kenmore Elite Washer are responsible for bringing water into the machine for each cycle. Over time, debris and mineral deposits can accumulate in the hoses, leading to reduced water flow and potential leaks. Follow these steps to inspect and clean the water inlet hoses:
- Turn off the water supply: Start by turning off the water supply valves connected to the washer. This will ensure that no water flows into the machine during the cleaning process.
- Inspect the hoses: Carefully inspect the water inlet hoses for any signs of wear, damage, or leaks. Look for cracks, bulges, or mineral deposits that may be blocking the hoses.
- Clean the hoses: If the hoses appear dirty or have mineral deposits, you can clean them to improve water flow. Fill a bucket with equal parts warm water and vinegar. Detach the hoses from the washer and place one end in the bucket. Allow the hoses to soak for a few minutes to dissolve any mineral buildup.
- Scrub the hoses: After soaking, use a soft-bristled brush or cloth to gently scrub the inside and outside of the hoses. Pay attention to any stubborn mineral deposits or residues.
- Rinse the hoses: Rinse the hoses thoroughly with clean water to remove any vinegar or cleaning solution. Check for any remaining debris and continue scrubbing if necessary.
- Inspect and reattach: After cleaning and rinsing the hoses, inspect them again for any signs of damage or blockage. Once you are satisfied, reattach the hoses securely to the water supply valves and the back of the washer.
- Turn on the water supply: Finally, turn on the water supply valves and check for any leaks or drips. If you notice any leaks, tighten the connections or consider replacing the hoses if necessary.
By inspecting and cleaning the water inlet hoses of your Kenmore Elite Washer, you can ensure proper water flow, reduce the risk of leaks, and maintain the longevity of your machine.
Next, we will move on to the final step – maintaining a clean washer for long-term usage.
Step 10: Maintaining a clean washer
After going through the previous steps to clean your Kenmore Elite Washer, it’s important to establish a routine for maintaining a clean and efficient washer in the long term. By incorporating these practices into your laundry routine, you can keep your washer in optimal condition. Here’s how to maintain a clean washer:
- Wipe down the washer after each use: After each laundry cycle, take a moment to wipe down the interior drum, rubber door seal, and detergent dispenser with a clean, dry cloth. This helps remove any residual moisture and prevents the growth of mold or mildew.
- Leave the door open: To allow airflow and facilitate drying, leave the washer door open between loads. This helps prevent moisture buildup and discourages the growth of bacteria or mold inside the drum.
- Empty and clean the detergent dispenser: Remove any leftover detergent, fabric softener, or bleach from the dispenser after each use. Give it a quick rinse and wipe to ensure it is free from residue or clogs.
- Check and clean the filter regularly: Make it a habit to check and clean the filter on a monthly basis. This helps prevent clogs and maintains optimal water drainage.
- Inspect and clean the water inlet hoses: Regularly inspect the water inlet hoses for any signs of wear, damage, or leaks. Clean them periodically to remove any mineral deposits or debris that may affect water flow.
- Run a monthly cleaning cycle: Fill the washer with hot water and add either a cup of vinegar or a washing machine cleaner. Run a full wash cycle without any laundry. This helps remove any buildup, odors, or bacteria inside the machine.
- Avoid overloading: To prevent strain on the washer and ensure proper cleaning, avoid overloading the machine with excessive laundry. Follow the manufacturer’s guidelines for load capacity.
- Use high-quality detergents: Opt for high-quality detergents and follow the recommended dosage to avoid detergent buildup or residue.
- Keep the laundry area clean: Regularly clean the space around the washer, including the floor and nearby surfaces. This helps prevent dust and dirt from entering the machine.
By incorporating these maintenance practices into your laundry routine, you can prolong the life of your Kenmore Elite Washer and enjoy clean and fresh laundry consistently.
With these steps, you now have a comprehensive guide on how to clean and maintain your Kenmore Elite Washer. By following these instructions, you can ensure that your washer remains in optimal condition, providing you with clean and fresh laundry every time.
Conclusion
Cleaning your Kenmore Elite Washer is crucial for maintaining its performance, efficiency, and longevity. By following the step-by-step instructions provided in this article, you can ensure that your washer remains clean and in optimal condition.
Starting with gathering the necessary tools and materials, you’ll be prepared to tackle each aspect of cleaning, from the exterior to the interior drum, detergent dispenser, filter, control panel, rubber door seal, and water inlet hoses. By regularly cleaning and maintaining your washer, you can prevent odors, mold, and mildew while improving the overall efficiency of the machine.
Remember to always follow the manufacturer’s instructions and guidelines specific to your model of the Kenmore Elite Washer. This will ensure that you clean your washer properly without causing any damage or voiding the warranty.
In addition to the cleaning steps, incorporating maintenance practices into your laundry routine, such as wiping down the washer after each use, leaving the door open for airflow, and regularly inspecting and cleaning the filter and water inlet hoses, will help keep your washer in excellent condition for years to come.
By following these cleaning and maintenance steps, you can enjoy fresh and clean laundry while prolonging the life of your Kenmore Elite Washer. So, invest some time and effort into cleaning your washer, and reap the benefits of a well-maintained and efficient machine.
Now it’s time to put these steps into action and get your Kenmore Elite Washer sparkling clean!
Frequently Asked Questions about How To Clean Kenmore Elite Washer
Was this page helpful?
At Storables.com, we guarantee accurate and reliable information. Our content, validated by Expert Board Contributors, is crafted following stringent Editorial Policies. We're committed to providing you with well-researched, expert-backed insights for all your informational needs.


0 thoughts on “How To Clean Kenmore Elite Washer”