Articles
How To Open Kenmore Washer
Modified: December 6, 2023
Learn how to open your Kenmore washer with our helpful articles. Find step-by-step instructions and troubleshooting tips to get your washer up and running again.
(Many of the links in this article redirect to a specific reviewed product. Your purchase of these products through affiliate links helps to generate commission for Storables.com, at no extra cost. Learn more)
Introduction
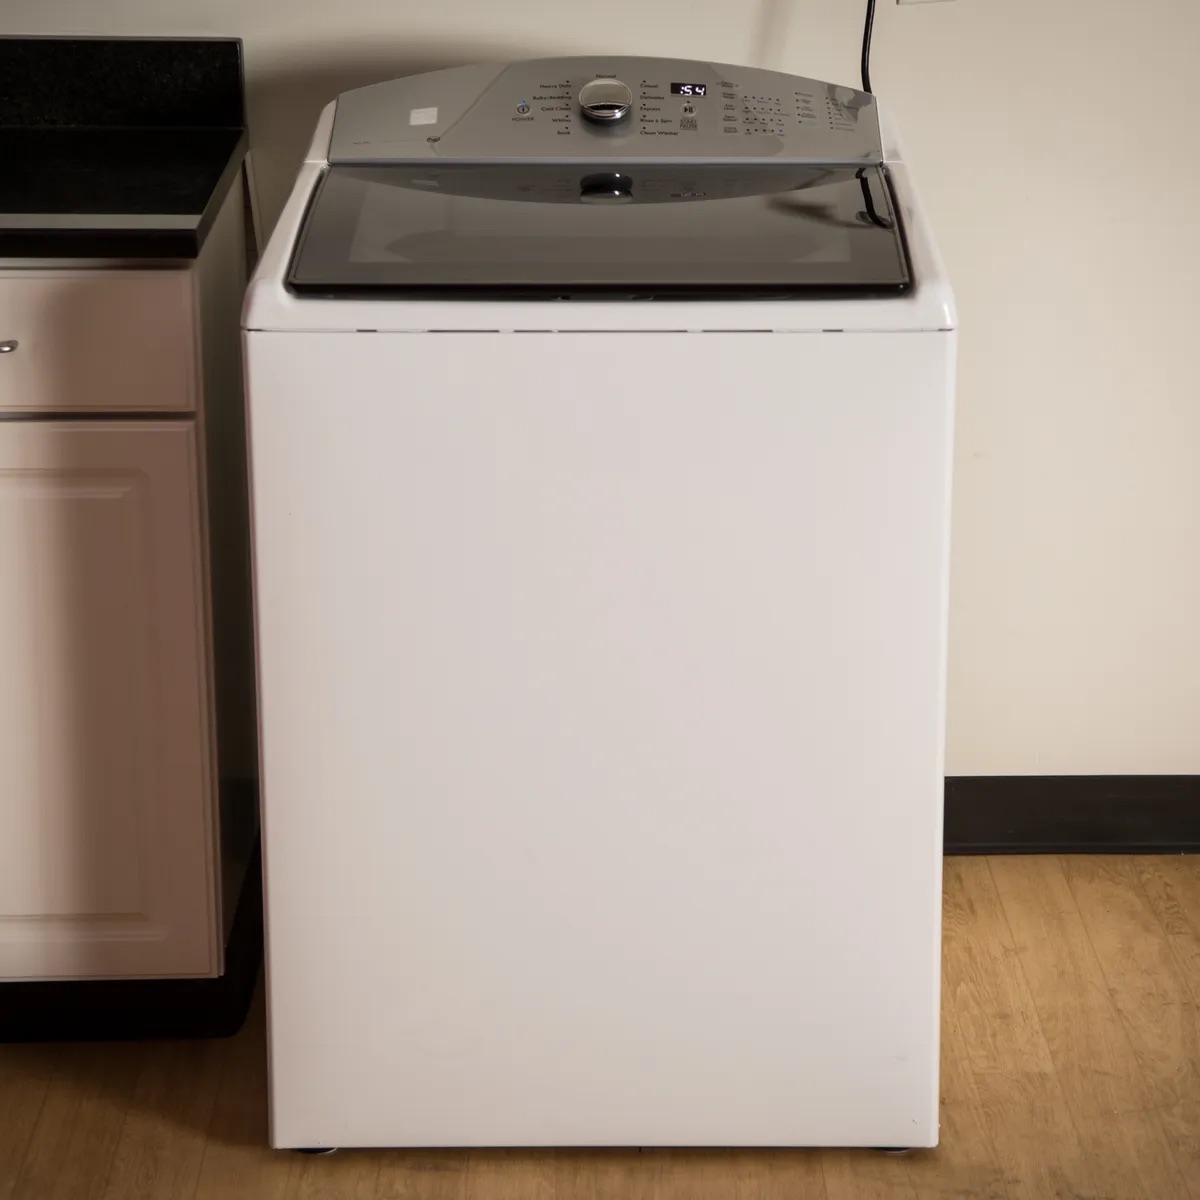
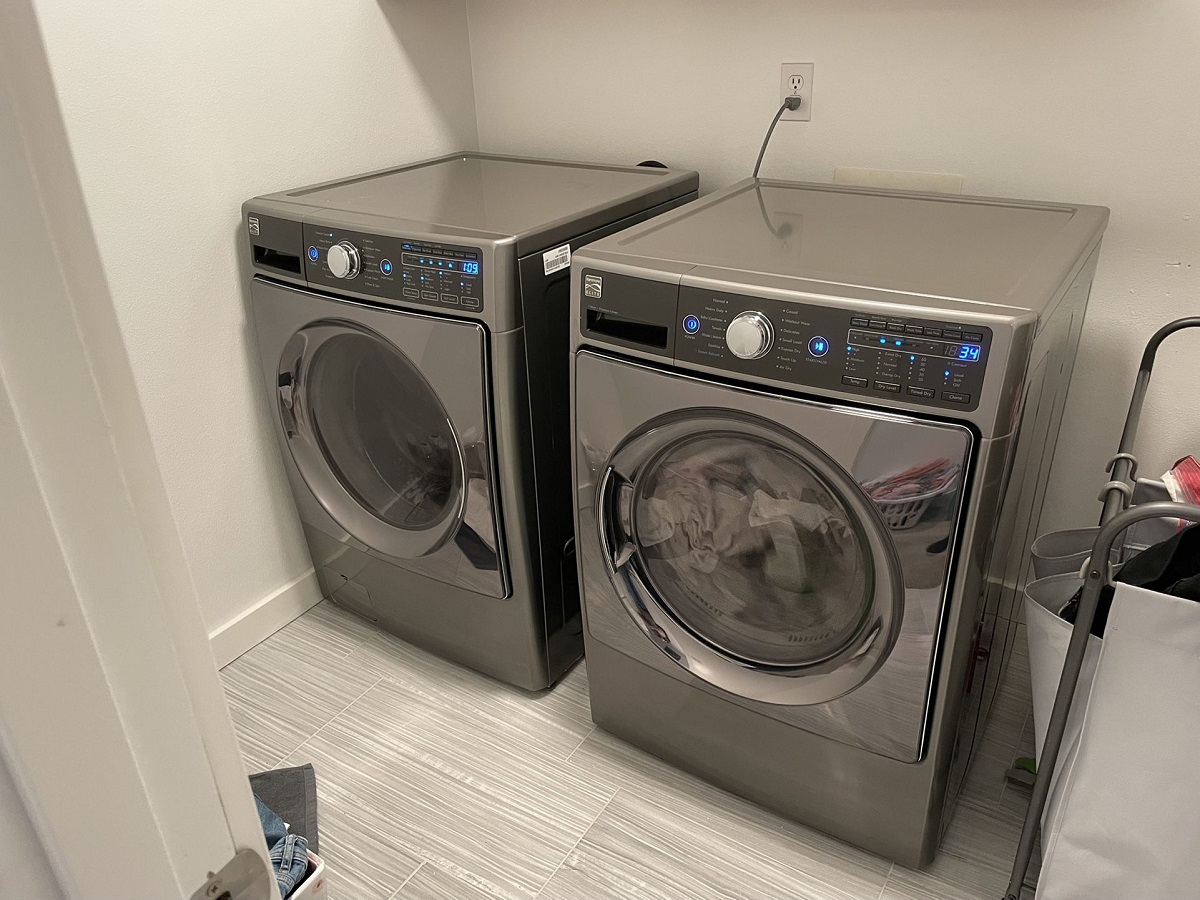
Welcome to our step-by-step guide on how to open a Kenmore washer. Whether you need to perform a repair or simply want to access the inner components for maintenance, knowing how to open your washer is essential. Kenmore washers are designed with durability and performance in mind, but occasionally, issues may arise that require you to gain access to the interior of the machine. With our detailed instructions and helpful tips, you’ll be able to successfully open your Kenmore washer and carry out any necessary tasks with confidence.
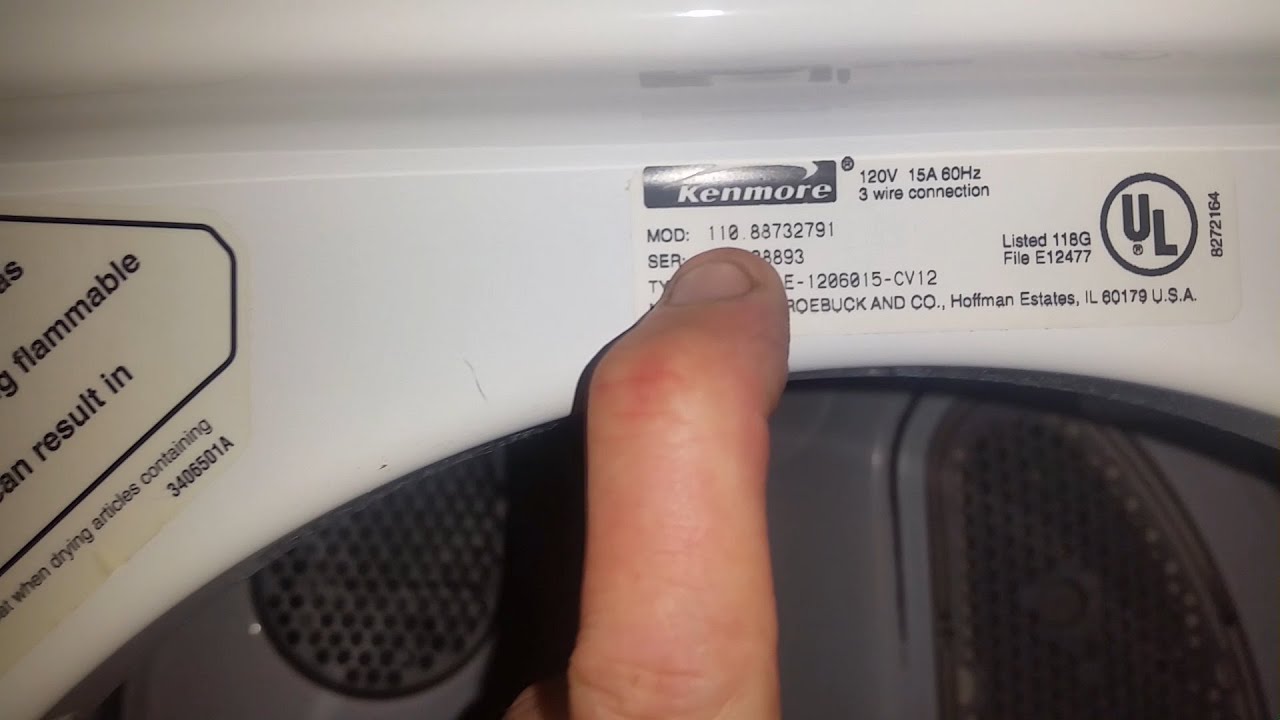
Before we dive into the process, it’s important to note that your Kenmore washer may differ slightly in terms of the access points and components from the model we’ll be using for demonstration purposes. However, the general steps outlined here should still apply to most Kenmore washers. Additionally, make sure to consult your washer’s manual for specific instructions and safety precautions tailored to your model.
Now, let’s gather the necessary tools and materials before we start opening the Kenmore washer.
Key Takeaways:
- Opening a Kenmore washer requires preparation, the right tools, and a methodical approach. By following the step-by-step process, you can access and maintain the inner components with confidence, ensuring optimal performance and longevity.
- Safety is paramount when opening a Kenmore washer. From disconnecting power and water supply to wearing protective gloves, taking these precautions can help prevent accidents and ensure a successful repair or maintenance process.
Read more: How To Open Kenmore Stacked Washer Dryer
Tools and Materials Needed
Before beginning the process of opening your Kenmore washer, it’s important to gather the following tools and materials:
- Screwdriver (usually Phillips head)
- Nut driver or socket set
- Pliers
- Protective gloves
- Flashlight (optional)
- Replacement parts (if necessary)
Having these tools and materials ready will ensure that you are prepared to tackle any repairs or maintenance tasks that may arise during the process of opening your Kenmore washer. Once you have everything in place, you can proceed to the next step, which involves preparing the washer for disassembly.
Step 1: Preparation
Before you begin opening your Kenmore washer, it’s important to take some preliminary steps to ensure your safety and the safety of the machine. Follow these preparation guidelines:
- Unplug the washer: Make sure to disconnect the power cord from the electrical outlet to avoid any risk of electric shock.
- Turn off the water supply: Locate the water valves behind the washer and turn them off to prevent any leaks or spills.
- Remove any clothing: Make sure the washer is empty and remove any clothing or items that may be inside.
- Clear the area: Create a clear and spacious working area around the washer so that you have enough space to maneuver and access the machine.
- Put on protective gloves: It’s a good idea to wear protective gloves to prevent any injuries while working with the washer’s components.
Once you have completed these preparation steps, you can move on to the next phase, which is accessing the control panel.
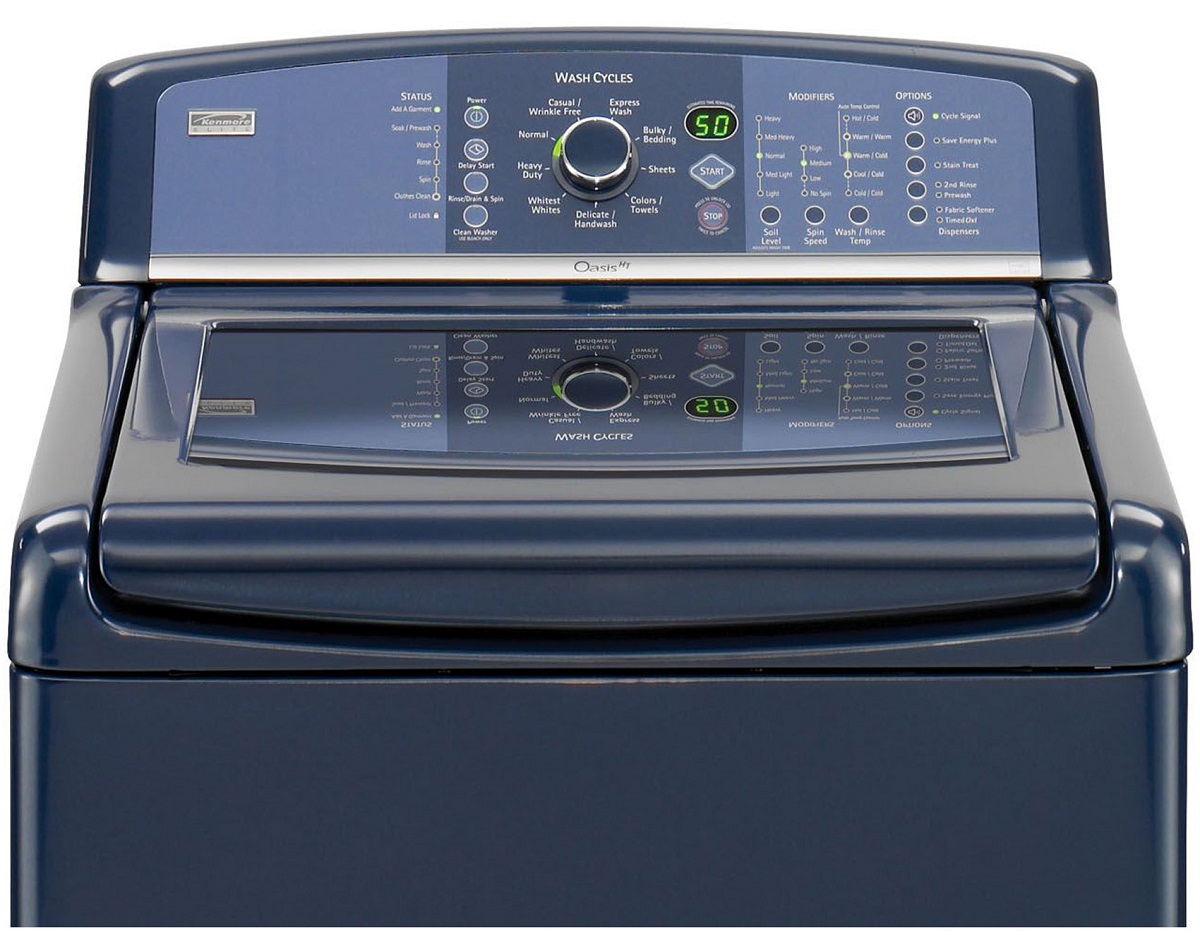
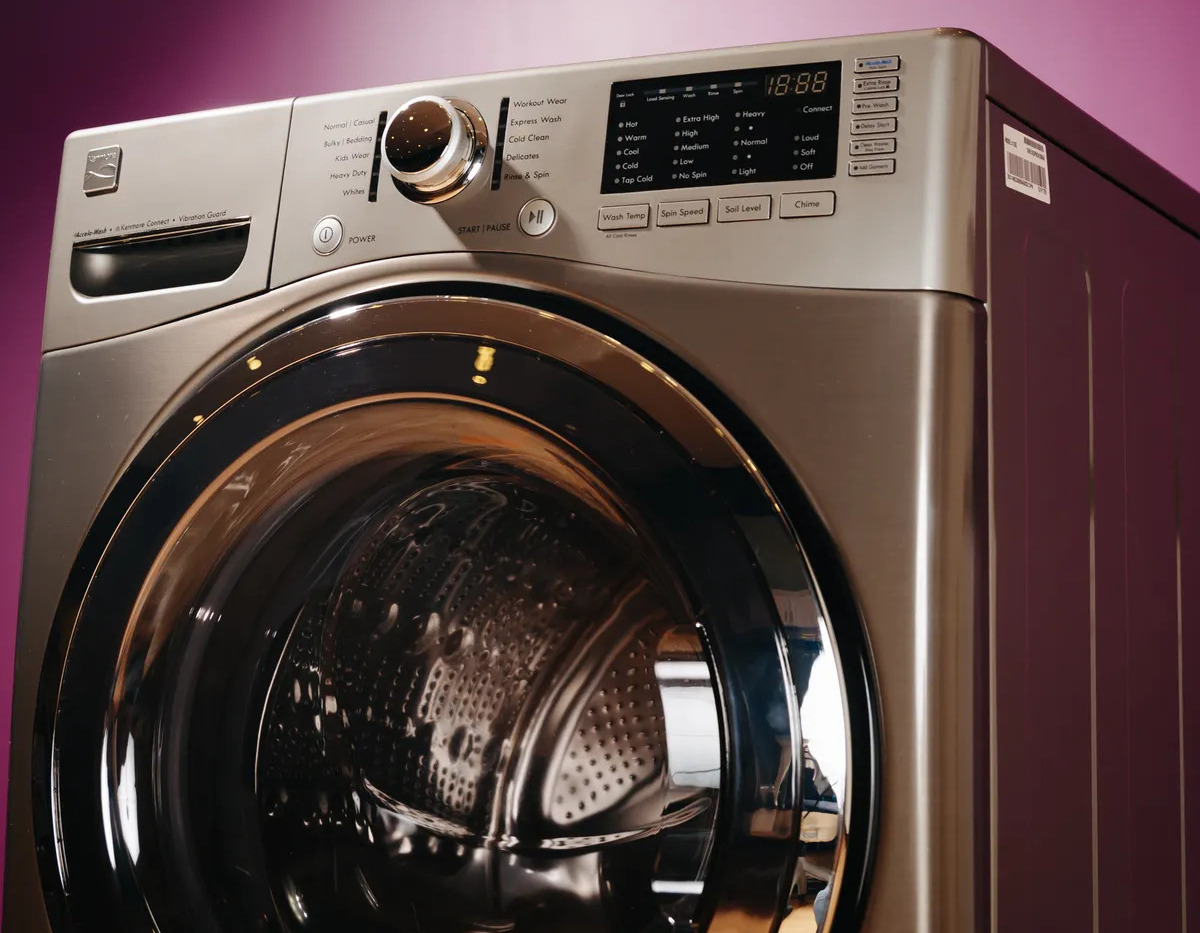
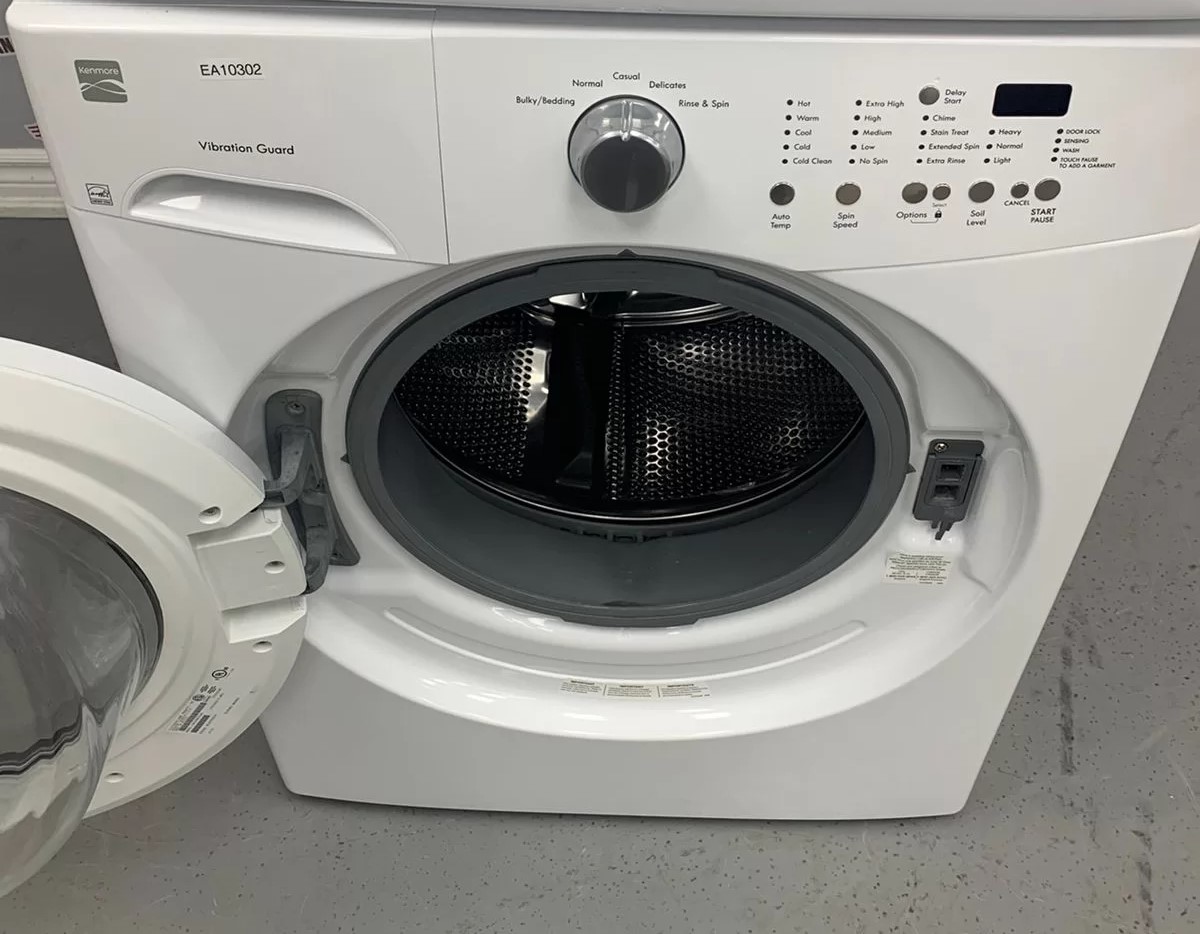
Step 2: Accessing the Control Panel
To open a Kenmore washer, you’ll first need to access the control panel. Follow these steps:
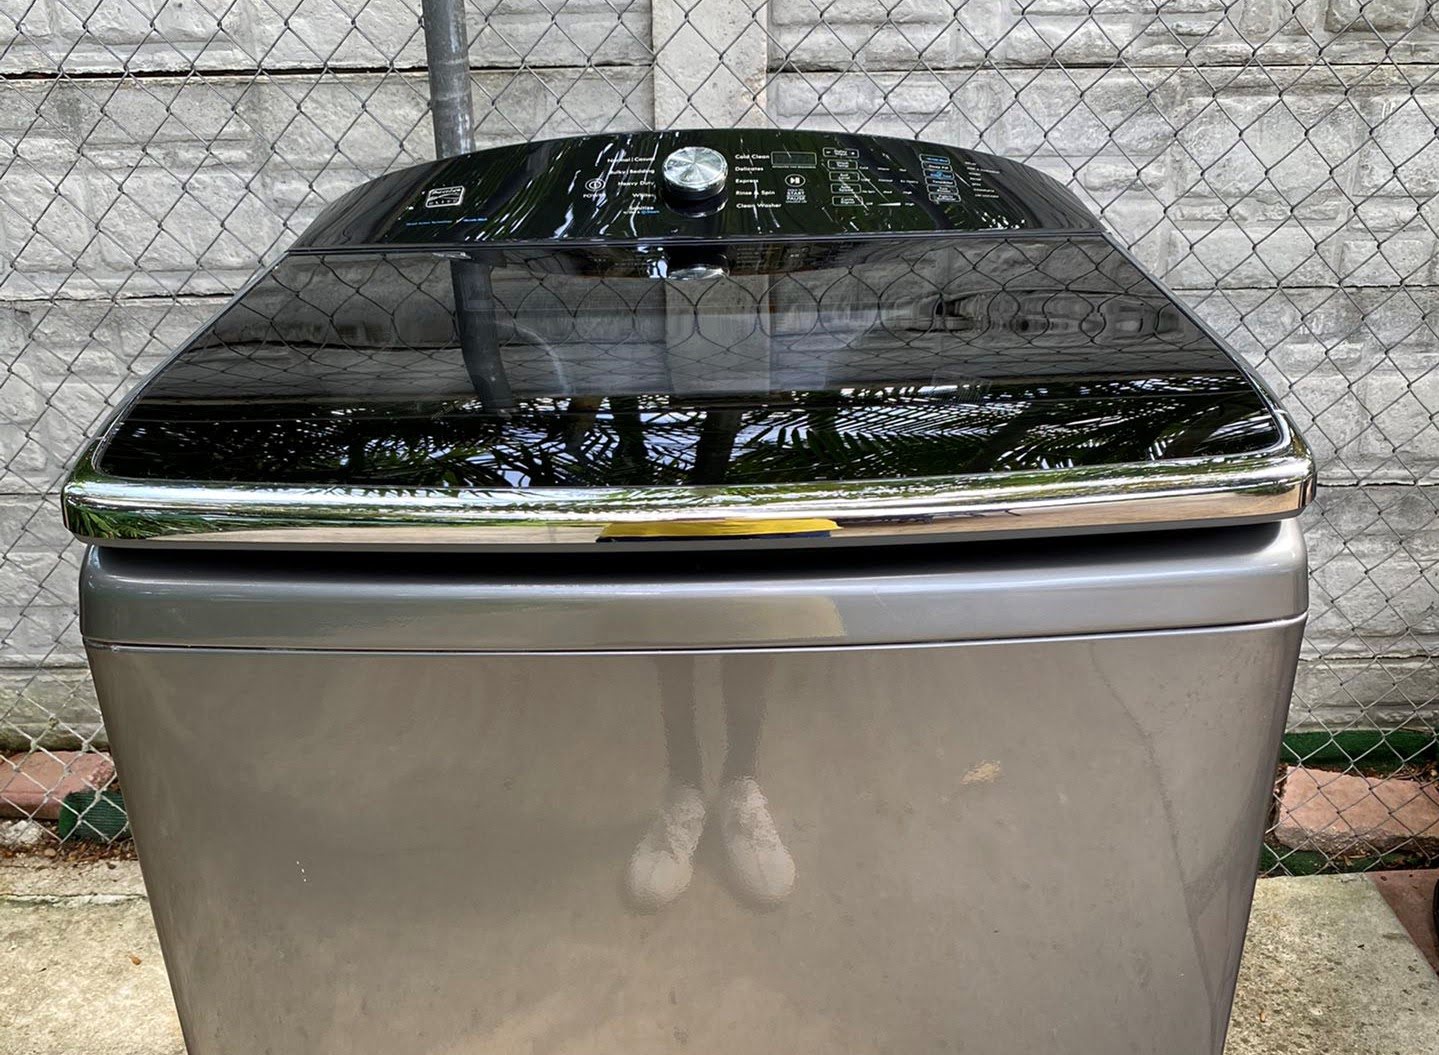
- Locate the control panel: The control panel is typically located at the top of the washer, either on the back or front of the machine. Consult your washer’s manual to find the exact placement.
- Remove any screws or fasteners: Depending on your specific model, there may be screws or fasteners securing the control panel in place. Use your screwdriver or nut driver to remove them.
- Gently pry open the control panel: Once the screws or fasteners are removed, carefully pry open the control panel using your fingers or a flathead screwdriver. Be cautious and apply gentle pressure to avoid damaging any components.
- Take note of the wiring: Inside the control panel, you’ll find a series of wires connecting various components. Take a moment to familiarize yourself with the wiring configuration, or take a photo for reference before disconnecting anything.
- Disconnect the wiring: Using pliers or your fingers, disconnect the wires from their respective connectors. If necessary, label the connectors or take note of their positions for effortless reconnection later.
With the control panel now accessible and the wiring disconnected, you are ready to move on to the next step – removing the top panel of the washer.
Step 3: Removing the Top Panel
Once you have accessed the control panel, the next step in opening your Kenmore washer is to remove the top panel. Follow these steps:
- Locate the top panel clips: On the back of the washer, you will find metal or plastic clips holding the top panel in place. These clips may be near the corners or along the sides, depending on your specific model.
- Release the clips: Use a flathead screwdriver or your fingers to push or release the clips, allowing the top panel to become loose.
- Lift and remove the top panel: Carefully lift the top panel of the washer, ensuring that it is completely detached from the clips. Set it aside in a safe place where it will not get damaged.
By removing the top panel, you gain better access to the inner components of the washer. This will allow you to carry out any repairs or maintenance tasks more effectively in the next steps.
Next, let’s move on to removing the cabinet of the Kenmore washer.
Before opening a Kenmore washer, make sure to unplug the machine to avoid any electrical hazards. Then, refer to the user manual for specific instructions on how to access the interior of the washer.
Read more: How To Fix A Kenmore Washer
Step 4: Removing the Cabinet
Now that the top panel is removed, the next step in opening your Kenmore washer involves removing the cabinet. Follow these steps:
- Locate the cabinet retaining clips or screws: Look for the metal clips or screws securing the cabinet to the base of the washer. These may be located at the front or back of the machine.
- Release the clips or unscrew the screws: Use your fingers or a screwdriver to release the clips or unscrew the screws, allowing the cabinet to become loose.
- Disconnect the grounding wire (if applicable): Some models may have a grounding wire attached to the cabinet. If present, disconnect the grounding wire using pliers or a screwdriver.
- Slide or lift the cabinet: Once the clips or screws are released and the grounding wire is disconnected, carefully slide or lift the cabinet upwards to remove it from the base of the washer.
With the cabinet removed, you now have full access to the inner components of the Kenmore washer, including the motor, pump, and other parts. This will allow you to carry out any necessary repairs or maintenance tasks more efficiently.
Now, let’s proceed to the next step, which involves accessing the inner components of the washer.
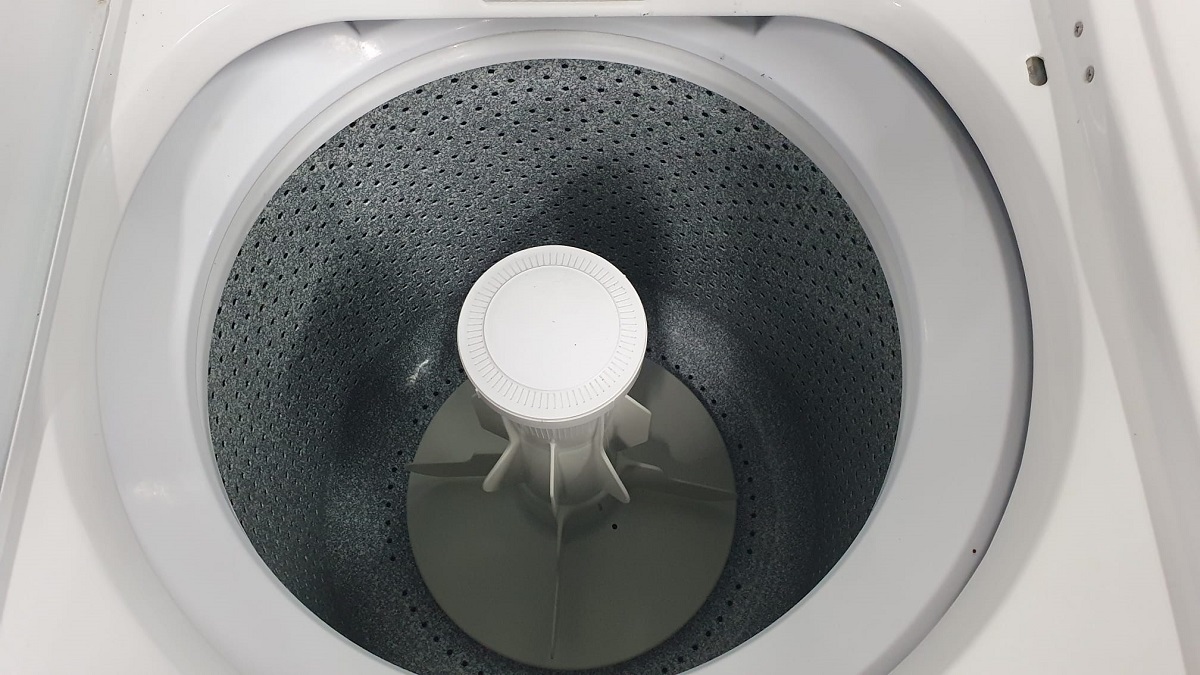
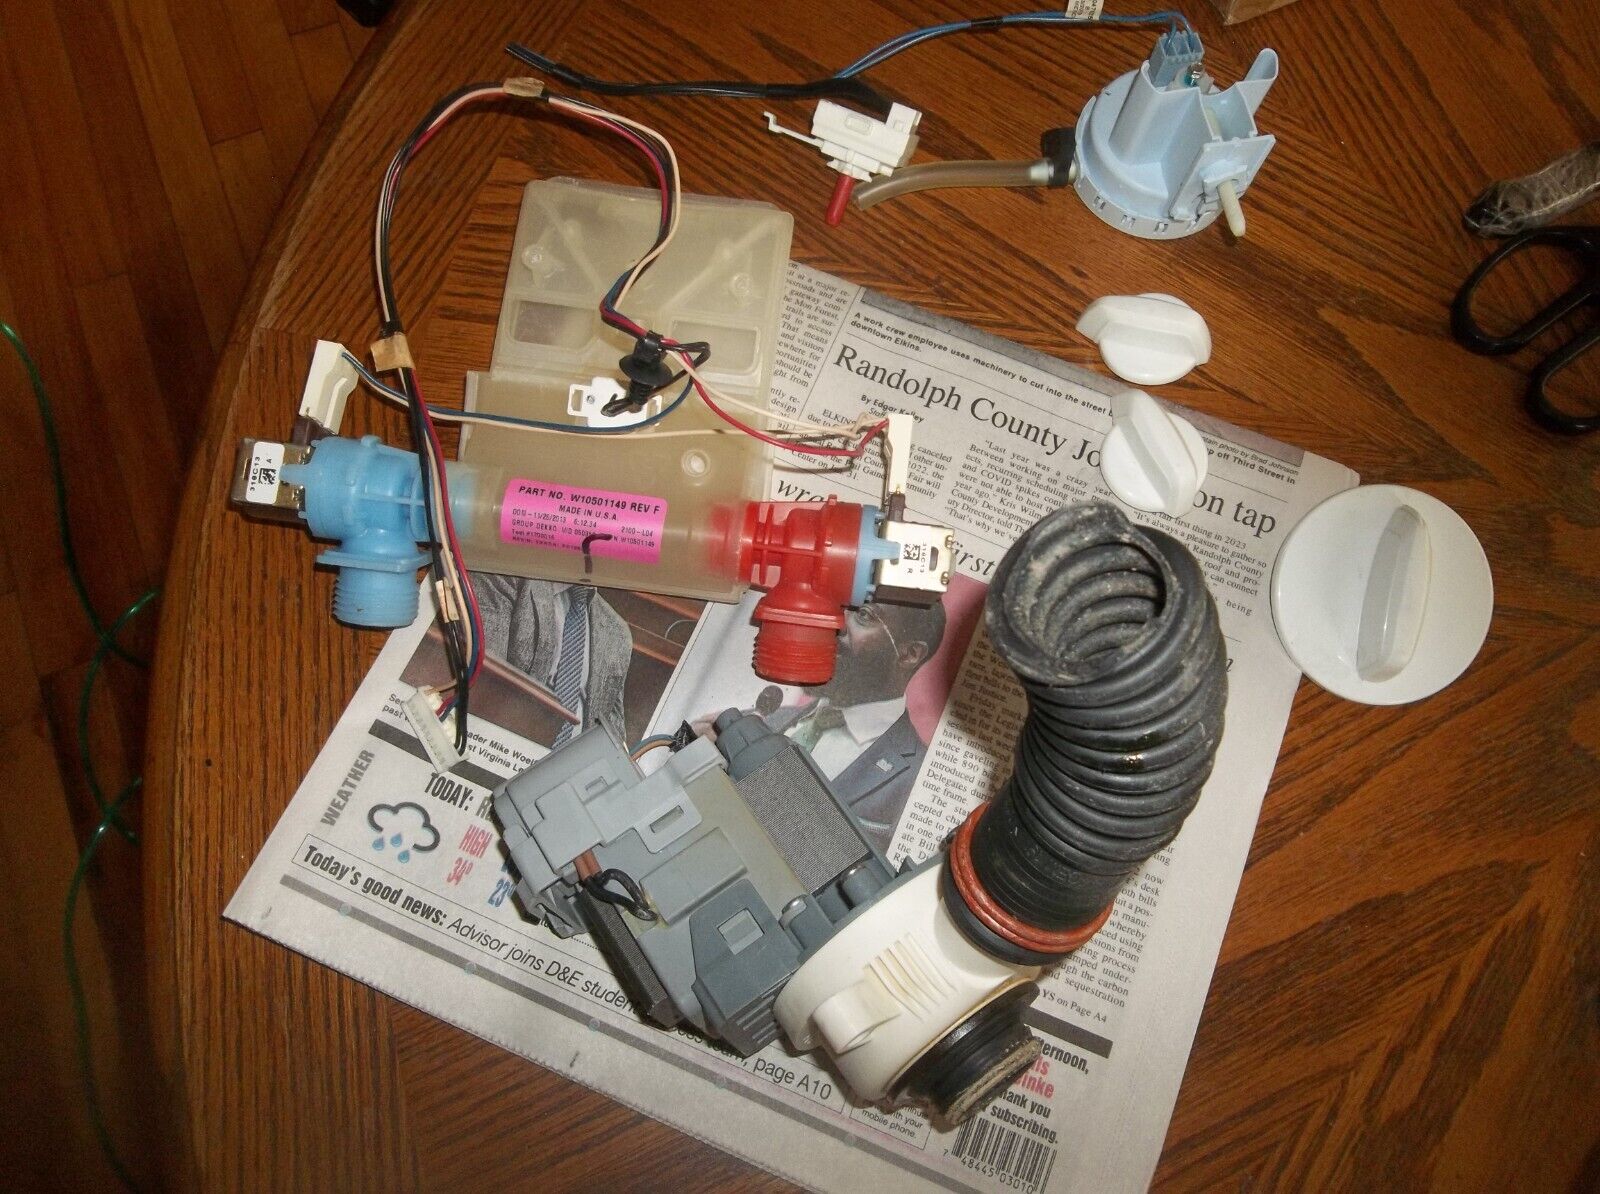
Step 5: Accessing the Inner Components
With the cabinet removed, you can now access the inner components of your Kenmore washer. Follow these steps:
- Identify the component you need to access: Determine which specific part or area of the washer you need to work on. This might include the motor, pump, hoses, or other relevant components.
- Disconnect any hoses or wires: If necessary, disconnect any hoses or wires connected to the component you’re accessing. Use pliers or your fingers to carefully detach them.
- Remove any additional screws or fasteners: Check for any screws or fasteners securing the component in place. Use a screwdriver or nut driver to remove them.
- Gently lift or remove the component: Once any screws or fasteners are removed, carefully lift or remove the component, taking note of its position and orientation for reassembly.
By accessing the inner components of your Kenmore washer, you can clean, inspect, replace, or repair specific parts as needed. This will help ensure the optimal performance and longevity of your washer.
Now that you have gained access to the inner workings of the washer, let’s move on to the final step – reassembling the washer.
Step 6: Reassembling the Washer
After completing any necessary repairs or maintenance tasks on your Kenmore washer, it’s time to reassemble the machine. Follow these steps to put everything back together:
- Place the component back in position: Carefully position the component you removed during the previous step back into its original location. Ensure that it aligns properly with any screw holes or connectors.
- Secure any screws or fasteners: Use a screwdriver or nut driver to reattach any screws or fasteners that hold the component in place. Make sure they are tightened securely but not over-tightened.
- Reconnect any hoses or wires: If you disconnected hoses or wires, reattach them to the appropriate connectors, ensuring a secure and snug fit. Refer to the labels or photographs you took earlier for guidance.
- Replace the cabinet: Slide or lift the cabinet back onto the base of the washer. Make sure it fits properly and aligns with the retaining clips or screws.
- Secure the cabinet: Reattach the cabinet retaining clips or screws, ensuring that they are fastened tightly. If applicable, reconnect the grounding wire using pliers or a screwdriver.
- Reattach the top panel: Carefully place the top panel back in position. Ensure that it aligns with the clips or fasteners on the washer’s frame. Push down firmly to secure it in place.
Once you have successfully reassembled the washer, plug it back into the electrical outlet and turn on the water supply. Test the washer to ensure that everything is working correctly. If there are no issues, you can now resume using your Kenmore washer.
Remember to consult your washer’s manual for any specific reassembly instructions or guidelines that may apply to your particular model. By following these steps, you can confidently open and reassemble your Kenmore washer, keeping it in excellent working condition for years to come.
If you encounter any difficulties or are unsure about any step, it is recommended to seek professional assistance or consult a qualified appliance technician.
With this, we conclude our guide on how to open a Kenmore washer and carry out repairs or maintenance. We hope that the information provided has been helpful to you. Happy repairing!
Conclusion
Opening a Kenmore washer may seem like a daunting task, but with the right tools, knowledge, and guidance, it can be a straightforward process. In this comprehensive guide, we have walked you through the step-by-step instructions to open your Kenmore washer and access its inner components. By following these steps, you can perform necessary repairs, maintenance, or inspections with confidence.
Remember, safety should always be a priority. Before starting, ensure that the power is disconnected, the water supply is turned off, and the washer is clear of any clothing or items. Wearing protective gloves can also help prevent any accidents or injuries during the process.
By accessing the control panel, removing the top panel, and then the cabinet, you gain access to the inner workings of the washer. This allows you to clean, inspect, repair, or replace components as needed. Just be sure to take note of the wiring and the position of each component for easy reassembly later.
Reassembling the washer follows a logical order: placing components back in position, securing screws or fasteners, reconnecting hoses or wires, and carefully putting everything back together. Double-check for proper alignment and tighten all fasteners securely, but avoid over-tightening to prevent damage.
Once you have successfully reassembled your Kenmore washer, it’s time to plug it back in, turn on the water supply, and test its functionality. If everything is working well, you can confidently resume using your washer, knowing that you have successfully opened it and performed any necessary repairs or maintenance.
If you encounter any challenges or feel unsure about any step, it’s always a good idea to consult the washer’s manual or seek professional assistance from a qualified appliance technician. They can provide expert advice and guidance to ensure safe and effective repairs or maintenance on your Kenmore washer.
We hope this guide has empowered you to open your Kenmore washer and tackle any repairs or maintenance tasks that may be required. By taking care of your washer, you can extend its lifespan and keep it running smoothly for years to come. Happy repairing!
Frequently Asked Questions about How To Open Kenmore Washer
Was this page helpful?
At Storables.com, we guarantee accurate and reliable information. Our content, validated by Expert Board Contributors, is crafted following stringent Editorial Policies. We're committed to providing you with well-researched, expert-backed insights for all your informational needs.


0 thoughts on “How To Open Kenmore Washer”