Articles
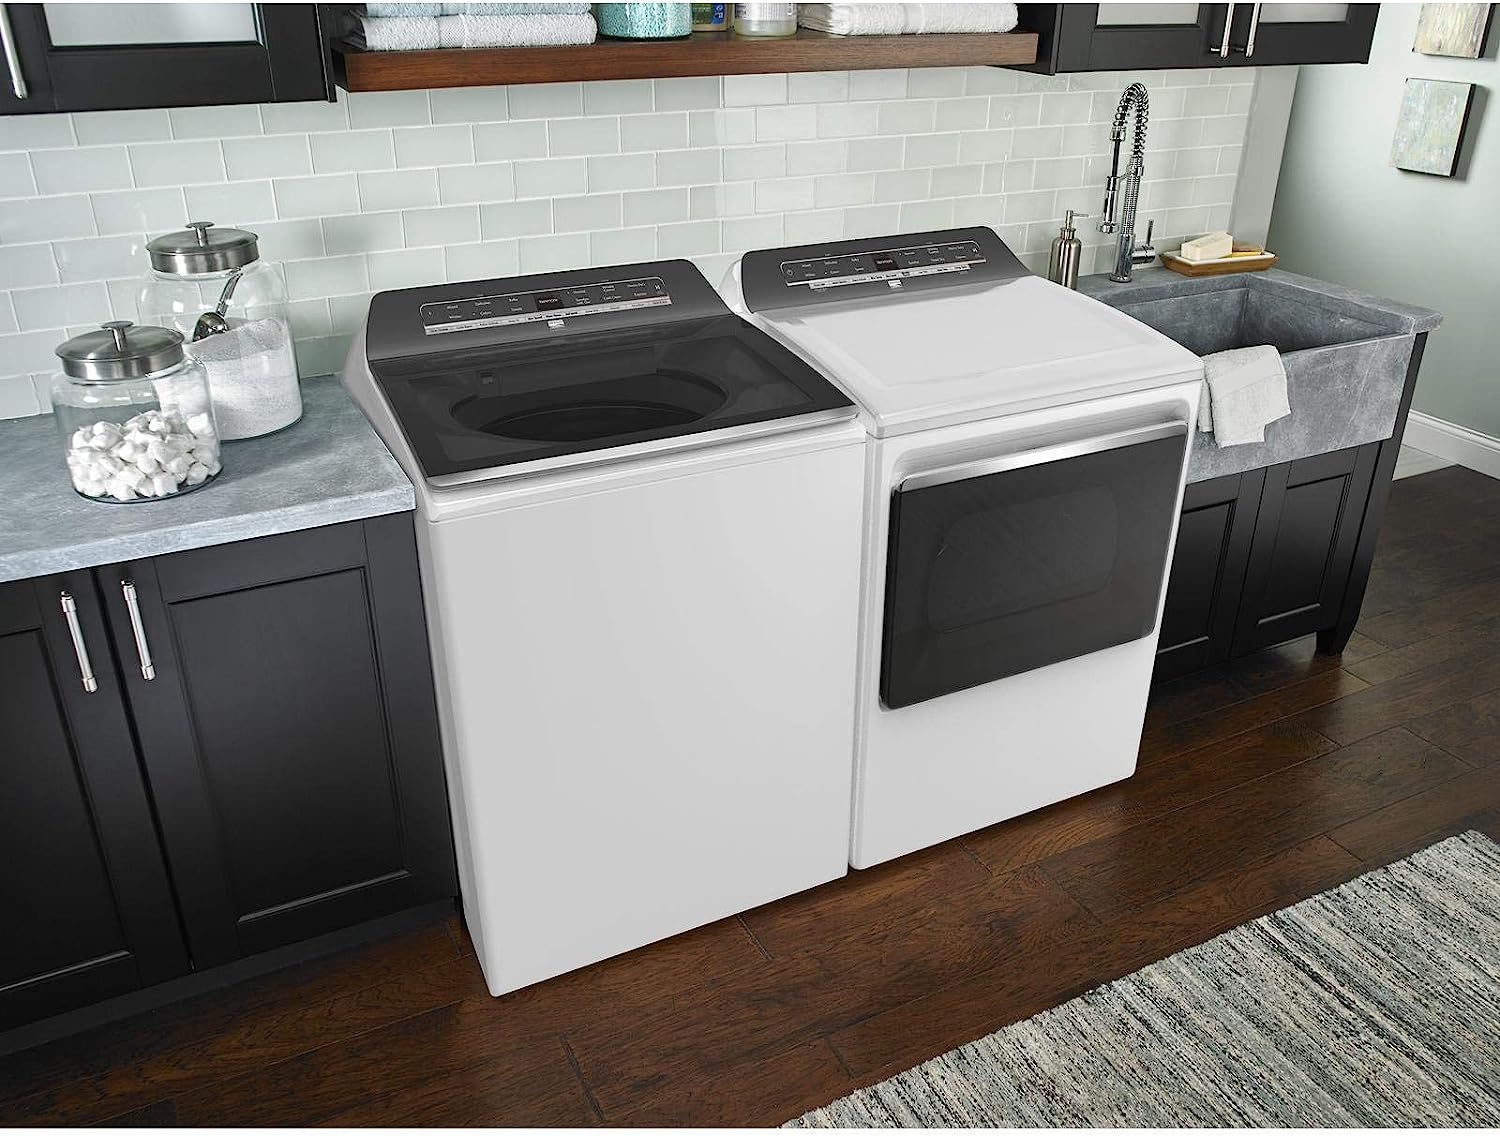
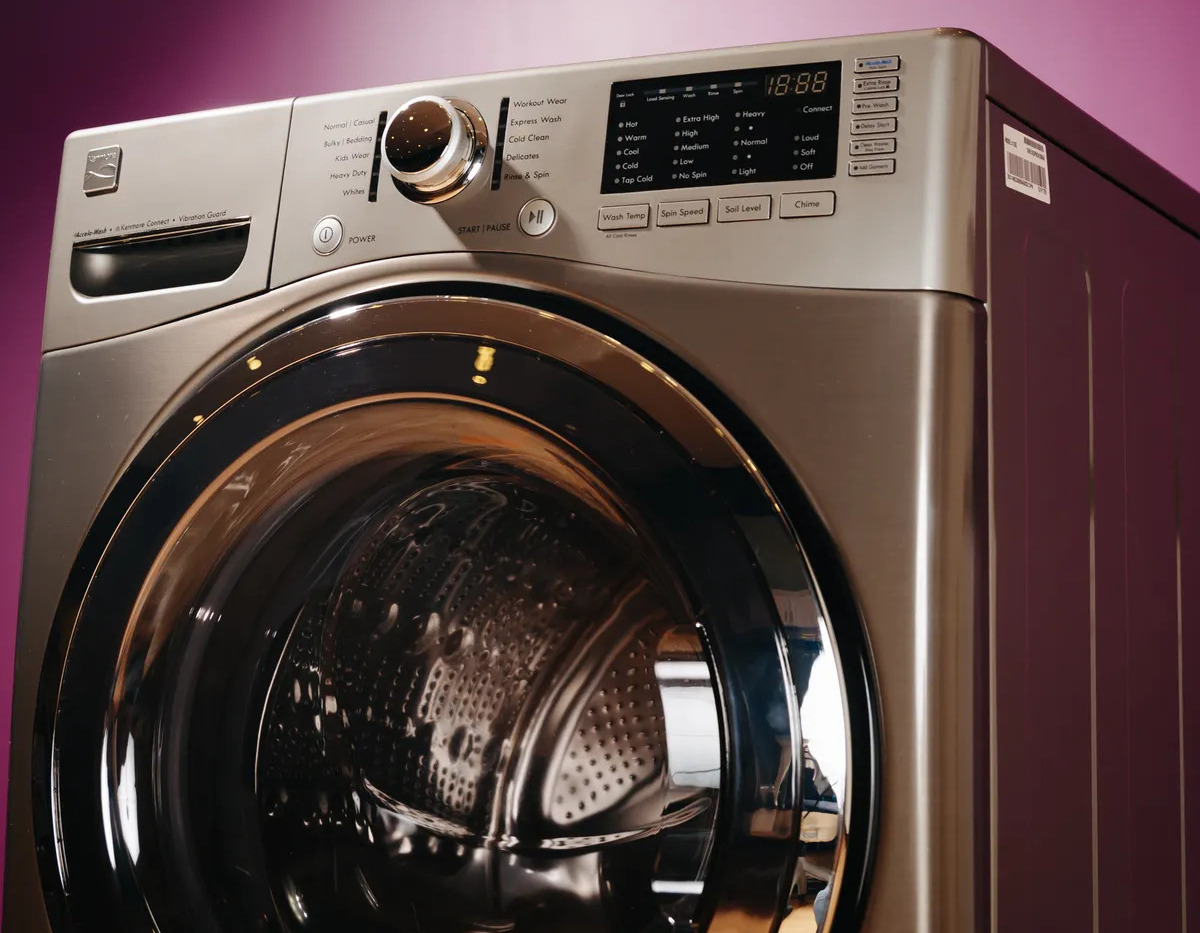
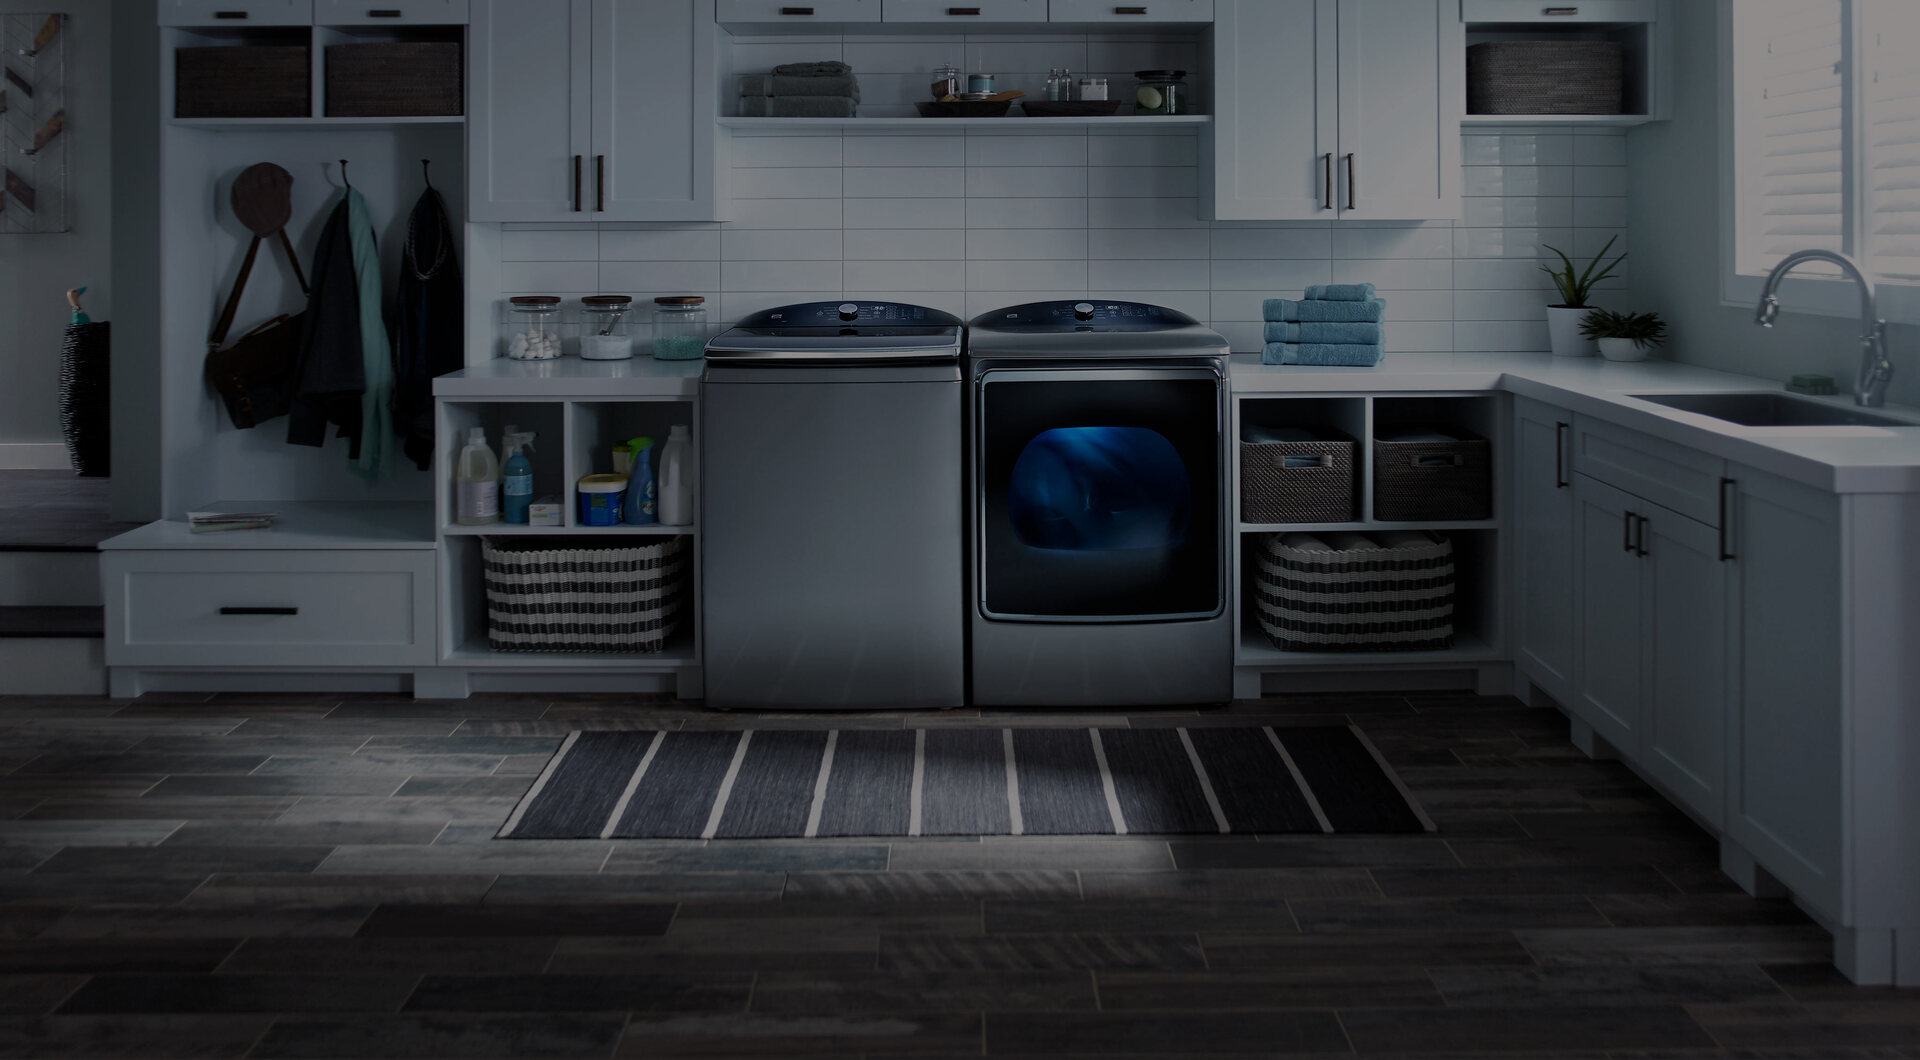
How To Fix A Kenmore Washer
Modified: September 2, 2024
Discover expert tips and articles on how to fix a Kenmore washer. Get step-by-step instructions and troubleshooting advice to resolve common washer issues.
(Many of the links in this article redirect to a specific reviewed product. Your purchase of these products through affiliate links helps to generate commission for Storables.com, at no extra cost. Learn more)
Introduction
Kenmore washers are a popular choice for many homeowners due to their reliability and durability. However, like any appliance, they are prone to occasional malfunctions and breakdowns. If you find yourself in a situation where your Kenmore washer is not functioning properly, there are steps you can take to troubleshoot and fix the issue yourself.
In this article, we will discuss common problems that you may encounter with your Kenmore washer and provide step-by-step instructions on how to fix them. From the washer not turning on to issues with water fill, drainage, noise, spinning, and agitation, we will cover various troubleshooting techniques and repair solutions.
Before we dive into the troubleshooting and repair process, it’s important to gather the necessary tools and materials that you will need. This will help ensure a smoother and more efficient repair experience. Some basic tools you may require include a screwdriver, pliers, a multimeter, and a socket set. Additionally, it’s a good idea to have replacement parts on hand in case you need to replace any components.
Once you have your tools and materials ready, we can move on to troubleshooting the specific problems you may encounter with your Kenmore washer. It’s important to note that safety is paramount when working with electrical appliances. Always ensure that the washer is unplugged before attempting any repairs or inspections.
Throughout the troubleshooting and repair process, keep in mind that keywords and phrases that are frequently associated with this specific problem can be incorporated into the article. This will help optimize the article for search engine visibility. However, it’s crucial to maintain a natural flow and readability, so be mindful of not overstuffing the article with keywords.
Now that we have covered the basics, let’s move on to the specific problems you may encounter with your Kenmore washer and how to resolve them. With the right knowledge and tools, you can get your Kenmore washer back up and running efficiently in no time.
Key Takeaways:
- Troubleshooting and repairing your Kenmore washer can save you money and extend its lifespan, ensuring a smooth laundry routine and reducing the need for replacements.
- Prioritizing safety and following model-specific instructions are crucial when troubleshooting and repairing your Kenmore washer, ensuring optimal functionality and a rewarding experience.
Read more: How To Reset Kenmore Washer
Tools and Materials Needed
Before starting any troubleshooting or repair work on your Kenmore washer, it’s essential to have the necessary tools and materials at hand. Having the right equipment will make the process more convenient and efficient. Here are the tools and materials you may need:
1. Screwdriver Set: A set of screwdrivers with different types and sizes (Phillips, flathead) will be required to remove screws and access various parts of the washer.
2. Pliers: Pliers are handy for gripping and manipulating certain components during repairs and replacements.
3. Multimeter: A multimeter is a useful tool for testing electrical connections, checking for continuity, and measuring voltage and resistance. It can help identify faulty parts and wiring issues.
4. Socket Set: A socket set is necessary for removing and tightening bolts and nuts. It will be useful for disassembling and reassembling different parts of the washer.
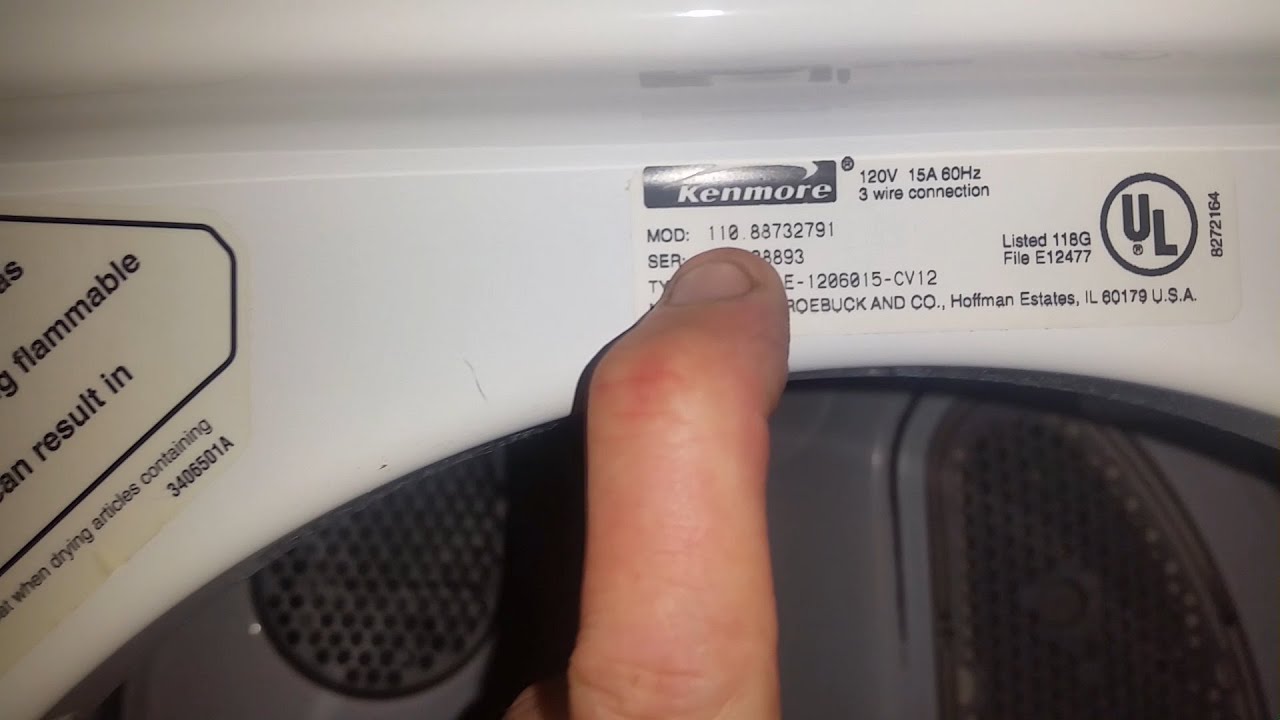
5. Replacement Parts: Depending on the specific issue you are facing with your Kenmore washer, you may need to have replacement parts on hand. Common parts that may need to be replaced include belts, drain pumps, motor couplings, and motor control boards. It’s a good idea to check the model number of your washer and obtain the appropriate replacement parts ahead of time.
6. Cleaning Supplies: In some cases, your Kenmore washer may require cleaning to resolve specific issues. Having cleaning supplies like vinegar, baking soda, and a scrub brush can come in handy for removing debris, buildup, and odors.
7. Safety Gear: It’s important to prioritize safety during any repair work. Make sure to have safety goggles, gloves, and possibly a face mask to protect yourself from any potential hazards.
Having these tools and materials readily available will save you time and allow you to efficiently troubleshoot and repair your Kenmore washer. It’s always a good idea to double-check the specific requirements for your model and consult the user manual for any additional tools or instructions. Now that you’re prepared, let’s move on to troubleshooting the common issues you may encounter with your Kenmore washer.
Troubleshooting
Facing issues with your Kenmore washer can be frustrating, but before calling a professional or considering a replacement, it’s worth troubleshooting the problem yourself. Here are some common problems you may encounter with your Kenmore washer and the steps you can take to diagnose and resolve them:
1. Washer Not Turning On: If your Kenmore washer is not powering on, check if it’s properly plugged in and if the outlet is functioning. Ensure that the circuit breaker or fuse for the washer is not tripped. If the power supply is not the issue, check the control panel for any error codes or indicators of a malfunction.
2. Washer Failing to Fill with Water: If your washer is not filling with water, check the water supply valves connected to the machine. Ensure that they are fully open and that there are no kinks or blocks in the water hoses. Additionally, check the water inlet valve and clean or replace it if necessary.
3. Washer Not Draining: If your Kenmore washer is not draining water properly, check for any clogs or obstructions in the drain hose or pump filter. Clean out any debris and ensure that the drain hose is not bent or kinked. If the pump is faulty, you may need to replace it.
4. Washer Making Excessive Noise: If your washer is making loud noises during operation, it could be due to loose or worn-out parts. Inspect the belt, motor couplings, and bearings for any signs of damage or wear. Tighten or replace these components as needed.
5. Washer Not Spinning or Agitating: If your Kenmore washer is not spinning or agitating, it could be due to a faulty lid switch, motor coupling, or belt. Check these components for any damage or misalignment and replace them if necessary.
By following these troubleshooting steps, you may be able to identify and fix the issue with your Kenmore washer. However, if the problem persists or if you’re unsure about performing the repairs yourself, it’s advisable to consult a professional technician to avoid further damage to the appliance.
In the next section, we will delve into the process of repairing the specific components of your Kenmore washer. From checking the power supply and water supply to inspecting and replacing various parts, we will guide you through the repair process step by step. Stay tuned for detailed instructions on fixing your Kenmore washer and bringing it back to its optimal working condition.
Washer Not Turning On
If your Kenmore washer is not turning on, it can be quite frustrating. However, there are a few troubleshooting steps you can take to identify and resolve the issue:
1. Check the Power Supply: Start by ensuring that the washer is properly plugged into a functioning power outlet. Make sure the outlet is not controlled by a switch, as it may accidentally be turned off. Additionally, check if there is power in your home by testing another appliance or device in the same outlet.
2. Verify the Circuit Breaker/Fuse: If the washer is plugged in and there doesn’t seem to be any power, check the circuit breaker or fuse box for any tripped breakers or blown fuses. Reset the breaker or replace the fuse if necessary.
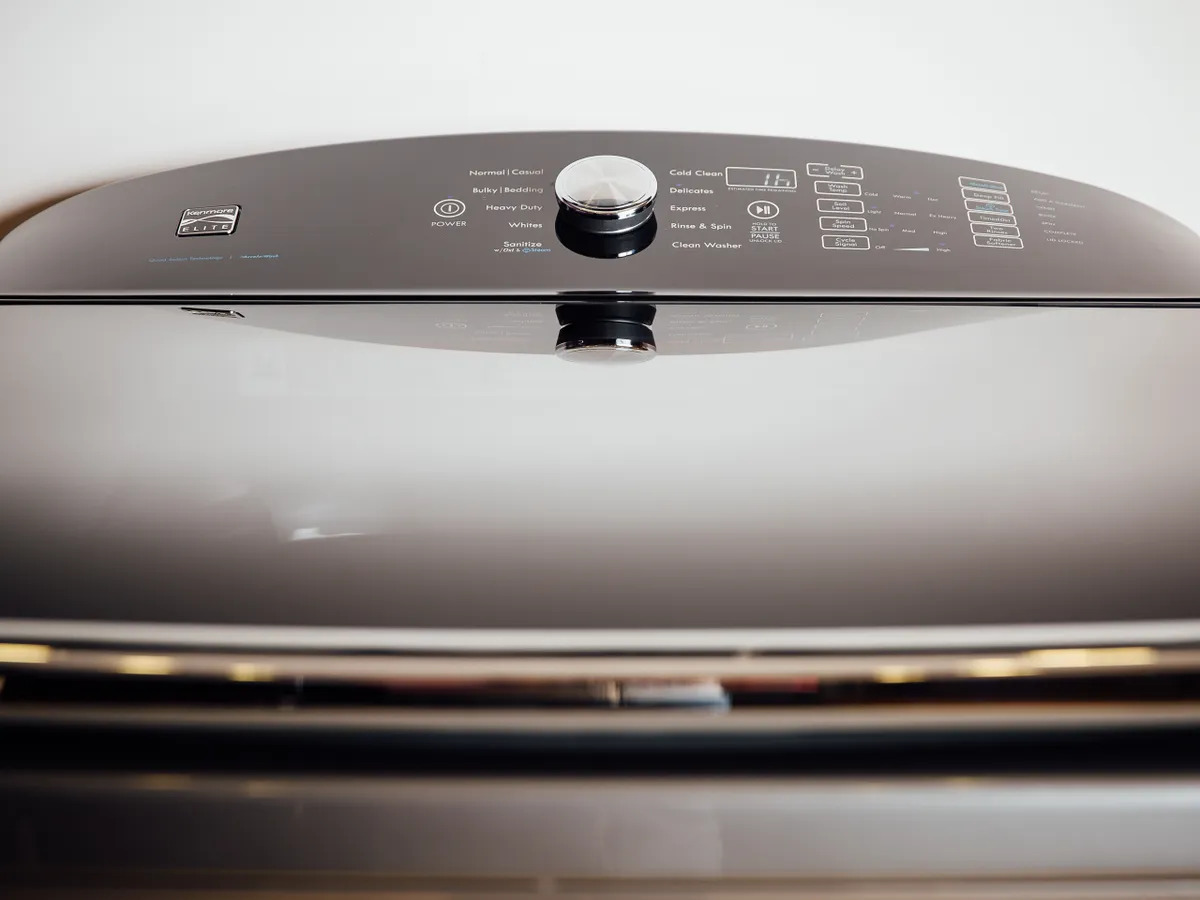
3. Look for Error Codes: Many Kenmore washers have built-in diagnostic systems that display error codes when a problem occurs. Consult your washer’s manual to understand the meaning of the specific error code displayed on the control panel. This can help pinpoint the issue and guide you towards the appropriate solution.
4. Inspect the Control Panel: Examine the control panel for any loose connections or buttons that may be stuck or not responding. Clean the control panel surface and buttons to ensure they are free from any dirt or debris that could impede their functionality.
5. Check the Door/Lid Switch: The door/lid switch is a safety mechanism that prevents the washer from starting when the door or lid is open. If the switch is faulty, the washer may not turn on. Test the switch using a multimeter to check for continuity. If the switch is defective, it will need to be replaced.
6. Test the Timer/Control Board: The timer or control board is responsible for initiating and controlling the various cycles and functions of the washer. If it is malfunctioning, it could prevent the washer from turning on. Consult your washer’s manual for instructions on how to test the timer or control board using a multimeter. If found faulty, the component may require replacement.
Remember to unplug the washer before performing any inspections or repairs on electrical components for your safety. If you are unsure about the troubleshooting process or lack experience working with electrical components, it is recommended to seek professional assistance.
In the next section, we will discuss how to address the issue of your Kenmore washer failing to fill with water. Stay tuned for more troubleshooting tips to get your washer back up and running efficiently.
Washer Failing to Fill with Water
If your Kenmore washer is failing to fill with water, it can disrupt the entire laundry process. Here are some troubleshooting steps to help you resolve this issue:
1. Check the Water Supply: Ensure that the water supply valves connected to the washer are fully open. Sometimes, valves can accidentally get turned off, preventing water from entering the machine. Also, check the inlet hose for any kinks or obstructions that may restrict water flow. Straighten the hose if necessary.
2. Inspect the Water Inlet Valve: The water inlet valve controls the flow of water into the washer. If it becomes clogged or faulty, the washer may not fill with water properly. Locate the valve behind the washer and inspect it for any signs of corrosion or debris. Clean the valve with a soft brush and vinegar to remove any blockages or buildup. If cleaning doesn’t solve the issue, the valve may need to be replaced.
3. Verify the Water Pressure: Low water pressure can affect the filling process of the washer. Check the water pressure in your home by turning on another faucet or shower to see if the water flow is strong. If the water pressure is low, contact a professional plumber to address the issue.
4. Check the Water Level Sensor: The water level sensor, also known as the pressure switch, detects the water level in the washer and signals the water to stop flowing once the desired level is reached. If the sensor is defective, it may prevent the washer from filling with water. Test the sensor using a multimeter to check for continuity and replace it if necessary.
5. Inspect the Electronic Control Board: The electronic control board is responsible for regulating the washer’s functions, including the water filling process. If the control board is malfunctioning, it may not send the proper signals to fill the washer with water. Consult your washer’s manual to perform diagnostic tests on the control board using a multimeter. If the board is faulty, it may need to be replaced.
By following these troubleshooting steps, you should be able to identify and fix the issue of your Kenmore washer failing to fill with water. Remember to always unplug the washer before performing any inspections or repairs.
In the next section, we will discuss how to address the problem of your Kenmore washer not draining properly. Stay tuned for more troubleshooting tips to get your washer back in working order.
Read more: Kenmore Washer How To Use
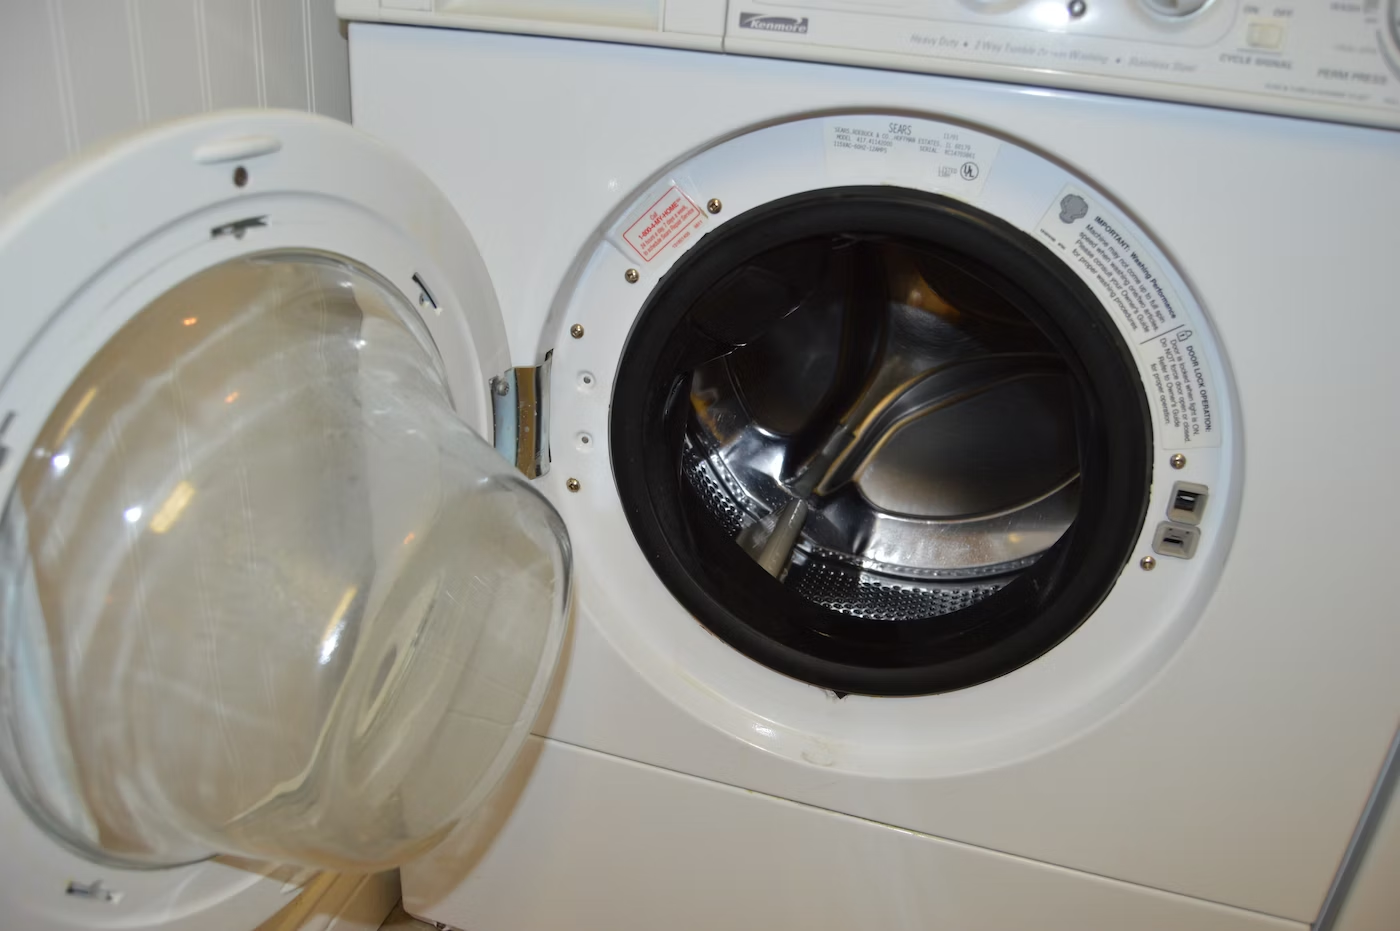
Washer Not Draining
If your Kenmore washer is not draining properly, it can lead to standing water in the drum and potential issues with your laundry. Here are some steps to troubleshoot and resolve this problem:
1. Check for Clogs: The first thing to check is for any clogs or obstructions in the drain hose or pump filter. Disconnect the drain hose from the washer and inspect it for any blockages. Clear out any debris or buildup using a long brush or by flushing water through the hose. Additionally, locate the pump filter, which is usually located at the bottom front of the washer. Remove the filter and clean it thoroughly.
2. Ensure Proper Drain Hose Placement: Verify that the drain hose is positioned correctly and not kinked or clogged where it connects to the drain pipe or laundry sink. Straighten out any kinks or loops in the hose to ensure a smooth flow of water.
3. Check the Drain Pump: The drain pump is responsible for removing water from the washer during the draining cycle. Inspect the pump for any signs of damage or obstruction. Gently rotate the pump impeller to ensure it is not jammed. If the pump is faulty, you may need to replace it.
4. Test the Drain Pump Motor: Use a multimeter to test the continuity of the drain pump motor. If there is no continuity, it indicates a faulty motor that needs to be replaced.
5. Examine the Lid Switch: Some Kenmore washers have a lid switch that prevents the washer from draining if the lid is open. Check if the lid switch is functioning properly. You may need to use a multimeter to test for continuity. If the switch is faulty, it should be replaced.
6. Consider Drain Hose Height: In some cases, improper drain hose height can affect the draining process. Ensure that the drain hose is not pushed too far down into the drain pipe or laundry sink, as this can create a siphoning effect and prevent proper drainage.
By following these troubleshooting steps, you should be able to identify and resolve the issue of your Kenmore washer not draining properly. However, if the problem persists or you are not comfortable performing the repairs yourself, it is recommended to seek assistance from a professional technician.
In the next section, we will discuss how to address the problem of your Kenmore washer making excessive noise. Stay tuned for more troubleshooting tips to bring back the tranquility to your laundry routine.
Washer Making Excessive Noise
If your Kenmore washer is making excessive noise during operation, it can be both annoying and concerning. Here are some troubleshooting steps to help identify and resolve the problem:
1. Check for Leveling Issues: Start by ensuring that the washer is properly leveled. A washer that is not level can cause it to vibrate excessively and create noise. Use a leveling tool to check if the washer is even on all sides. Adjust the leveling feet at the bottom of the washer to achieve proper balance.
2. Inspect the Belt: If your Kenmore washer has a belt-driven system, the noise could be due to a worn or loose belt. Remove the back or front panel of the washer to access the belt. Inspect it for any signs of damage, such as fraying or cracks. If the belt is worn or loose, it should be replaced.
3. Check the Motor Coupling: The motor coupling connects the washer’s motor to the transmission. If it is worn or broken, it can cause excessive noise during operation. Inspect the motor coupling for any signs of damage or wear. If it appears faulty, it should be replaced.
4. Inspect the Bearings: Worn bearings can cause a loud grinding noise in the washer. To check the bearings, spin the drum manually. If you hear a loud noise or feel resistance, it is likely that the bearings need to be replaced. This repair may require some technical expertise, so it is recommended to consult a professional technician.
5. Tighten Loose Components: Over time, various components of the washer can become loose, leading to noise during operation. Inspect the interior of the washer and tighten any loose screws, bolts, or brackets. Pay attention to the motor mount and the suspension springs, as they can contribute to noise if they are loose or damaged.
6. Consider Load Balance: When loading the washer, ensure that the laundry is evenly distributed within the drum. An unbalanced load can cause the washer to shake and produce excessive noise. Rearrange the garments to achieve proper load balance.
By following these troubleshooting steps, you should be able to identify and address the issue of your Kenmore washer making excessive noise. However, if the problem persists or if you are unsure about performing the repairs yourself, it is best to seek professional assistance.
In the next section, we will discuss how to resolve the issue of your Kenmore washer not spinning or agitating. Stay tuned for more troubleshooting tips to get your washer back to its optimal function.
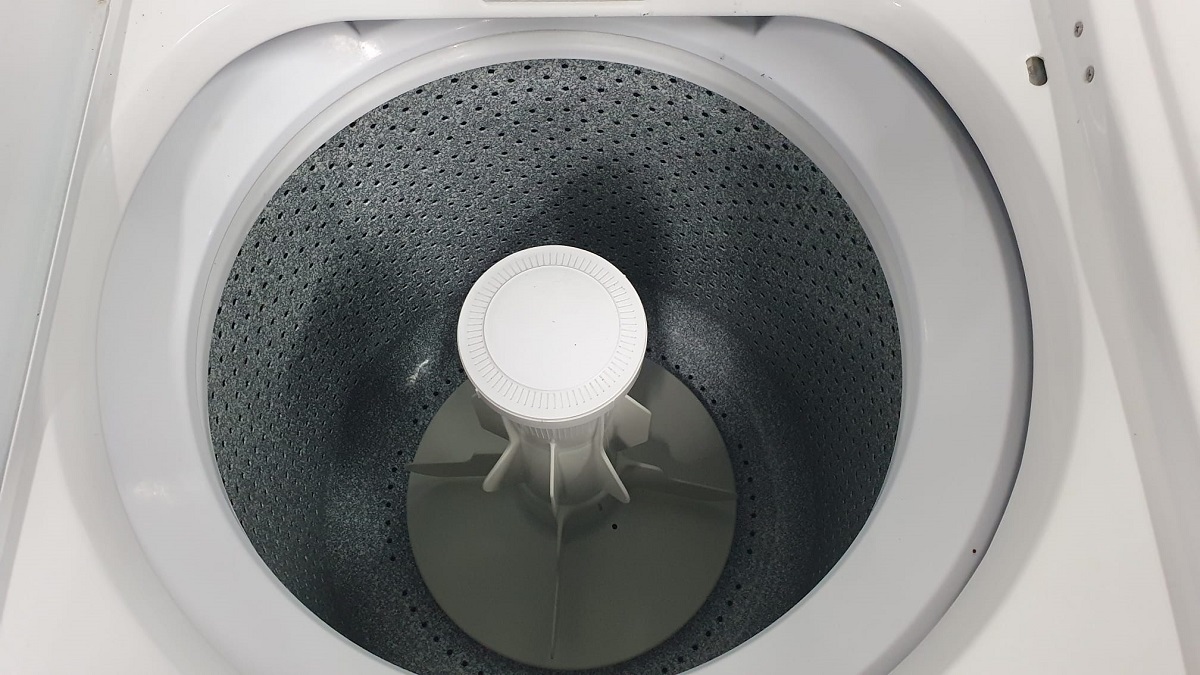
Washer Not Spinning or Agitating
If your Kenmore washer is not spinning or agitating, it can prevent your laundry from being effectively cleaned. Here are some troubleshooting steps to help you resolve this issue:
1. Check the Belt: If your Kenmore washer has a belt-driven system, a worn or loose belt could be the cause of the problem. Remove the back or front panel of the washer to access the belt. Inspect the belt for any signs of damage, such as cracks or fraying. If the belt is worn or loose, it should be replaced.
2. Inspect the Motor Coupling: The motor coupling connects the washer’s motor to the transmission. If it is worn or broken, it can prevent the washer from spinning or agitating. Inspect the motor coupling for any signs of damage or wear. If it appears faulty, it should be replaced.
3. Verify the Lid Switch: A faulty lid switch can prevent your Kenmore washer from spinning or agitating. The lid switch is a safety feature that ensures the washer does not operate with the lid open. Check the lid switch to determine if it is functioning properly. Use a multimeter to test for continuity. If the switch is defective, it should be replaced.
4. Examine the Motor Control Board: The motor control board regulates the functions of the washer’s motor. If it is malfunctioning, it can affect the spinning and agitating cycles. Consult your washer’s manual for instructions on how to test the motor control board using a multimeter. If the board is faulty, it may need to be replaced.
5. Check the Drive Block/Coupler: Some Kenmore washers use a drive block or coupler to transfer power between the motor and the transmission. Inspect these components for any signs of damage or wear. If they are worn or broken, they will need to be replaced.
6. Inspect the Transmission: The transmission is responsible for controlling the spinning and agitating motions. If the transmission is faulty, it may need to be repaired or replaced. This is a complex repair that may require professional assistance.
By following these troubleshooting steps, you should be able to identify and address the issue of your Kenmore washer not spinning or agitating. However, if the problem persists or if you are unsure about performing the repairs yourself, it is recommended to seek assistance from a professional technician.
In the next section, we will discuss the repair process for your Kenmore washer. Stay tuned for step-by-step instructions on how to fix common issues and get your washer back in working order.
Repairing the Kenmore Washer
Repairing your Kenmore washer can save you time and money compared to replacing it. Here are some common repairs you may need to perform and the steps to fix them:
1. Checking Power Supply: If your washer is not turning on, start by checking the power supply. Ensure that it is properly plugged in and that the outlet is functioning. Check the circuit breaker or fuse box for tripped breakers or blown fuses. Reset the breaker or replace the fuse if necessary.
2. Checking Water Supply: If your washer fails to fill with water, verify that the water supply valves are fully open. Ensure there are no kinks or obstructions in the water hoses. Clean or replace the water inlet valve if it is clogged or faulty.
3. Cleaning or Replacing the Drain Pump: To address draining issues, check the drain pump for clogs or debris. Clean it out and ensure the drain hose is clear. If the pump is damaged or malfunctioning, it will need to be replaced.
4. Inspecting and Replacing the Belt: For washers making excessive noise or not spinning properly, inspect the belt for wear or damage. If the belt is loose or worn out, replace it with a new one.
5. Checking and Replacing the Motor Coupling: If your washer is not spinning or agitating, examine the motor coupling. If it appears cracked or worn, it should be replaced.
6. Examining and Replacing the Motor Control Board: If your washer is experiencing issues with motor functions, inspect the motor control board. Test it using a multimeter and replace it if it is faulty.
7. Troubleshooting the Lid Switch: If the washer doesn’t spin or agitate, check the lid switch. Test it with a multimeter for continuity and replace it if it is defective.
Remember to unplug the washer before performing any repairs or inspections. It is also important to consult your washer’s manual for specific instructions and refer to online resources or professional assistance when needed.
While these repairs may seem complex, performing them yourself can be a rewarding and cost-effective solution. However, if you’re uncomfortable or unsure about any aspect of the repair process, don’t hesitate to seek help from a qualified technician.
By following these steps and properly repairing your Kenmore washer, you can extend its lifespan and ensure its optimal functionality. Don’t let common issues hinder your laundry routine – take action and get your Kenmore washer back in working order.
As a final reminder, always prioritize safety by wearing protective gear and practicing caution when working with electrical appliances.
Check the power supply and make sure the washer is plugged in. Also, check for any clogs in the drain hose or filter. If the problem persists, consult the user manual or call a professional for help.
Read more: How To Drain A Kenmore Washer
Checking Power Supply
If your Kenmore washer is not turning on, the first step in troubleshooting is to check the power supply. Here’s how you can do it:
1. Verify the Power Connection: Start by checking if the washer is properly plugged into a functioning power outlet. Ensure that the plug is securely inserted into the outlet and that there are no loose connections. If the plug feels loose, try plugging it into a different outlet to rule out any issues with the power source.
2. Check Circuit Breaker or Fuse: If the washer is plugged in but still not turning on, check the circuit breaker or fuse associated with the outlet. Locate the breaker panel or fuse box and look for any tripped breakers or blown fuses. If you find any, reset the breaker or replace the fuse with the appropriate rating for your washer.
3. Test Outlet with Another Device: To confirm if the outlet is functioning correctly, disconnect the washer and try plugging in another device that you know works. This could be a lamp, phone charger, or any other electrical appliance. If the device works in the outlet, it indicates that the issue lies with the washer itself.
4. Look for Error Codes: Some Kenmore washers have built-in error code displays or indicators that can help identify specific problems. Refer to your washer’s user manual to understand what the codes mean. If there are any error codes displayed on the control panel, note them down for further reference or troubleshooting steps.
5. Inspect Control Panel Connections: Check the control panel of the washer for any loose connections or wires. Ensure that all wires are securely attached to their respective connectors. If any wires are loose or disconnected, reconnect them properly and try turning on the washer again.
6. Consult a Professional: If you have gone through all the steps and the washer still doesn’t turn on, it may be best to consult a professional technician. They have the expertise and specialized tools to diagnose and fix complex electrical issues.
Always prioritize safety by unplugging the washer before performing any inspections or repairs. If you’re uncertain or uncomfortable working with electrical components, it is highly recommended to seek professional assistance.
Checking the power supply is often the first step in troubleshooting a non-functioning Kenmore washer. By following these steps, you can determine if the power supply is the root cause of the problem, allowing you to take the necessary steps to resolve it and get your washer back up and running.
Checking Water Supply
If your Kenmore washer is failing to fill with water, it is important to check the water supply to identify and resolve the issue. Here’s how you can do it:
1. Verify Water Supply Valves: Start by checking the water supply valves connected to the washer. Make sure that the valves are fully open to allow water to flow into the washer. Sometimes, valves can accidentally get turned off, inhibiting water from entering the machine. Turn the valves clockwise to ensure they are fully open.
2. Inspect Water Inlet Hoses: Next, inspect the water inlet hoses connected to the back of the washer. Ensure that the hoses are not kinked or bent, as this can restrict water flow. Straighten any kinks or bends in the hoses to ensure a smooth water supply.
3. Clean Inlet Filters: Many Kenmore washers have filters located at the water inlet valve. These filters can become clogged with debris, affecting water flow. Disconnect the hoses from the washer and inspect the filters for any blockages. If the filters are dirty or clogged, clean them with a soft brush and running water.
4. Test Water Pressure: Low water pressure can also contribute to a washer failing to fill properly. Test the water pressure in your home by turning on another faucet or shower. If the water flow is weak, contact a professional plumber to address the issue and improve water pressure.
5. Check for Frozen Lines: If you live in a colder climate, frozen water lines can prevent water from entering the washer. Inspect the water lines for any signs of freezing or ice blockages. If frozen, use a hairdryer or warm towel to thaw the lines gently.
6. Consider Water Inlet Valve Issues: If the above steps do not resolve the problem, the issue may lie with the water inlet valve. The valve controls the flow of water into the washer and can become clogged or faulty over time. Consult your washer’s manual for specific instructions on cleaning or replacing the water inlet valve.
By following these steps to check the water supply, you can identify common issues that may be causing your Kenmore washer to fail in filling with water. Remember to always unplug the washer before performing any inspections or repairs to ensure your safety.
If the problem persists or you are unsure about performing the repairs yourself, it is advisable to consult a professional technician or contact the Kenmore customer support helpline for further assistance.
Cleaning or Replacing the Drain Pump
If your Kenmore washer is not draining properly, a clogged or malfunctioning drain pump may be the culprit. Follow these steps to clean or replace the drain pump:
1. Gather Necessary Tools: Before starting the process, gather the tools you will need, which may include a screwdriver, pliers, and a container to collect any water that may spill.
2. Unplug the Washer: Ensure that the washer is unplugged from the power source to avoid any electrical hazards during the procedure.
3. Locate the Drain Pump: The drain pump is typically located at the bottom front or back of the washer. Refer to your washer’s manual or consult online resources to identify its exact location.
4. Remove the Access Panel: Using a screwdriver, remove the screws securing the access panel to the washer. Set aside the screws in a safe place for reassembly later.
5. Access the Pump: Depending on the model, you may need to remove additional components to access the drain pump. Follow the instructions in your washer’s manual to disassemble the necessary parts.
6. Check for Debris: Once you have access to the drain pump, visually inspect it for any debris, such as lint, coins, or small objects. Use pliers or a pair of tweezers to carefully remove any obstructions. Collect any water that may spill in a container.
7. Clean the Pump: If you notice any buildup or residue on the drain pump, clean it using a soft brush or cloth and a mild detergent. Avoid using harsh chemicals or abrasive cleaners, as they may damage the components.
8. Test the Pump: After cleaning, manually rotate the pump impeller to ensure it moves freely without any obstructions. If the impeller feels stiff or does not rotate smoothly, it may indicate a faulty pump that needs replacement.
9. Replace the Pump (if necessary): If the drain pump is worn out, damaged, or fails to work properly after cleaning, it will need to be replaced. Consult your washer’s manual or reach out to the manufacturer for the appropriate replacement part and instructions specific to your model.
10. Reassemble and Test: Once the cleaning or replacement is complete, reassemble any disassembled components, ensuring they are securely fastened. Reattach the access panel and tighten the screws. Plug the washer back into the power source and test the draining functionality.
By following these steps, you can effectively clean or replace the drain pump in your Kenmore washer, restoring its proper draining function. If you are not comfortable performing the procedure yourself, it is recommended to seek assistance from a professional technician.
Inspecting and Replacing the Belt
If your Kenmore washer is making loud noises or not spinning properly, a worn or loose belt may be the cause. Follow these steps to inspect and replace the belt:
1. Unplug the Washer: Ensure that the washer is unplugged from the power source to avoid any accidents during the process.
2. Locate the Belt: The belt is typically found at the back or underneath the washer’s drum. Refer to your washer’s manual or consult online resources for the specific location of the belt in your model.
3. Remove the Access Panel: Using a screwdriver, remove the screws securing the access panel at the back or bottom of the washer. Set aside the screws in a safe place for reassembly later.
4. Inspect the Belt: Once you have access to the belt, visually inspect it for any signs of wear, such as cracks, fraying, or stretching. If the belt appears loose or damaged, it should be replaced.
5. Release Tension on the Belt: Depending on the model, there may be a tensioning mechanism that needs to be loosened to remove the belt. Refer to your washer’s manual or online resources for instructions specific to your model.
6. Remove the Old Belt: Carefully release tension on the belt and slip it off the pulleys. Take note of its routing and how it connects to the motor and drum.
7. Determine the Correct Replacement Belt: Consult your washer’s manual or contact the manufacturer to obtain the proper replacement belt for your model. Make sure to provide the model number and any other necessary information to ensure compatibility.
8. Install the New Belt: Begin by placing the new belt over the motor pulley, ensuring it aligns with the grooves on the pulley. Then, carefully route the belt around the drum pulley, following the same path as the old belt. Ensure the tension is properly adjusted, but not overly tight or loose.
9. Test the Belt: Manually rotate the drum to check if the belt is properly aligned and tensioned. The belt should move smoothly without any obstructions or excessive slack.
10. Reassemble and Test: Once you are satisfied with the belt installation, reattach the access panel and tighten the screws. Plug the washer back into the power source and run a test cycle to ensure that the belt is functioning correctly.
By following these steps, you can inspect and replace the belt in your Kenmore washer, restoring its proper operation and eliminating any noise or spinning issues. If you are uncertain or uncomfortable performing this procedure yourself, it is recommended to seek assistance from a professional technician.
Read more: How To Clean Kenmore Elite Washer
Checking and Replacing the Motor Coupling
If your Kenmore washer is not spinning or agitating properly, a faulty motor coupling may be to blame. Follow these steps to check and replace the motor coupling:
1. Unplug the Washer: Before performing any inspection or repair, ensure that the washer is unplugged from the power source to prevent electrical hazards.
2. Locate the Motor Coupling: The motor coupling is typically located between the washer’s motor and the transmission. Consult your washer’s manual or online resources to identify the exact location of the motor coupling in your model.
3. Access the Motor Coupling: Depending on the model, you may need to remove the cabinet or other components to access the motor coupling. Refer to your washer’s manual for specific instructions on how to gain access.
4. Inspect the Motor Coupling: Once you have access to the motor coupling, visually inspect it for any signs of damage or wear. Look out for cracks, rounded edges, or missing pieces. If any of these issues are present, the motor coupling is likely faulty and should be replaced.
5. Remove the Old Motor Coupling: To remove the old motor coupling, you may need to disconnect the wires and remove any bolts or clips holding it in place. Keep track of the location and orientation of the coupling for the replacement process.
6. Determine the Correct Replacement: Consult your washer’s manual or contact the manufacturer to obtain the proper replacement motor coupling. Ensure that the replacement part is compatible with your specific washer model.
7. Install the New Motor Coupling: Align the new motor coupling with the motor shaft and the transmission shaft. Ensure that the coupling is fitted securely on both sides. Reattach any bolts, clips, or wires that were removed during the removal process.
8. Reassemble the Washer: Follow the steps in reverse order to reassemble any components that were removed to access the motor coupling. Make sure all connections are secure and properly tightened.
9. Test the Motor Coupling: Once the reassembly is complete, plug the washer back into the power source and run a test cycle to ensure that the motor coupling is functioning correctly. Observe the washer’s spinning and agitating functions to verify that they are working as expected.
By following these steps, you can check and replace the motor coupling in your Kenmore washer, resolving issues with spinning and agitating functionality. If you are unsure or uncomfortable performing this repair yourself, it is recommended to seek assistance from a professional technician to ensure proper installation and avoid potential damage to other components.
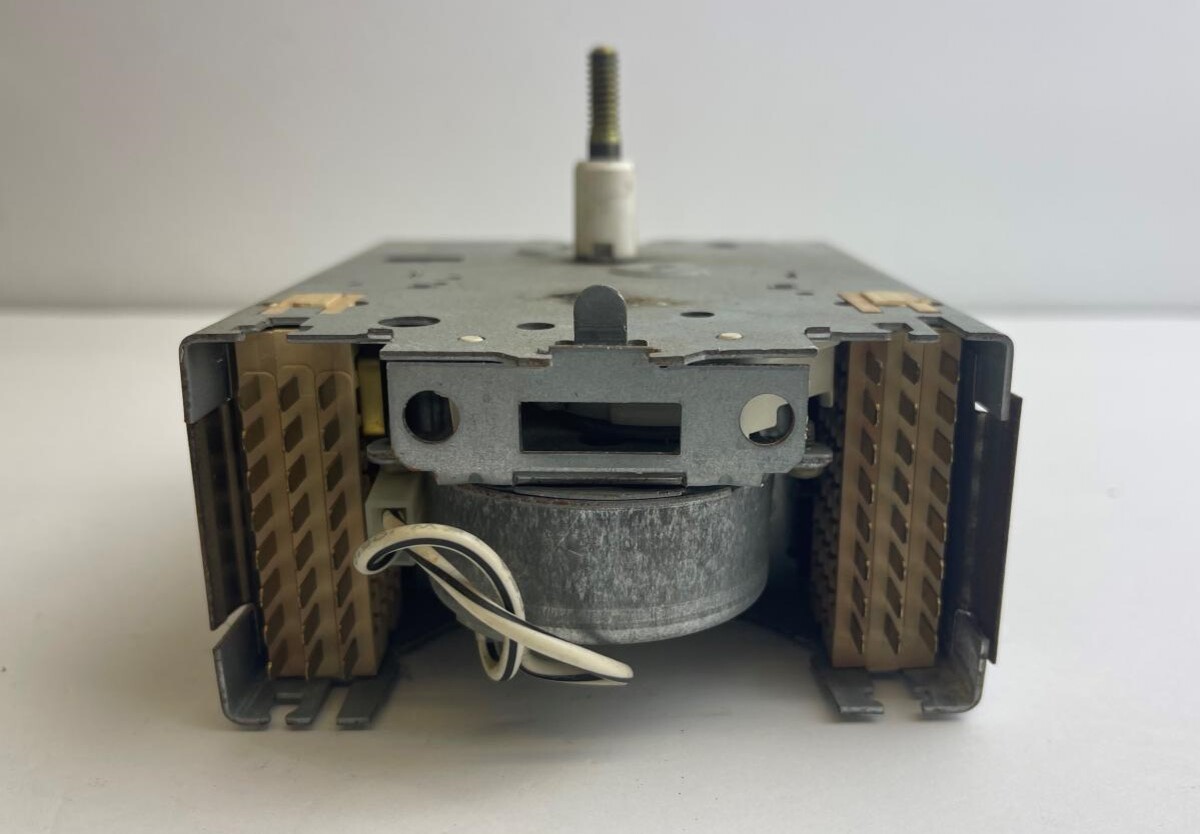
Examining and Replacing the Motor Control Board
If your Kenmore washer is experiencing issues with motor functions or experiencing electrical problems, a faulty motor control board may be the cause. Follow these steps to examine and replace the motor control board:
1. Unplug the Washer: Before starting any inspection or repair work, ensure that the washer is unplugged from the power source to prevent any electrical accidents.
2. Locate the Motor Control Board: The motor control board is typically found inside the control panel of the washer. Consult your washer’s manual or online resources for the specific location in your model.
3. Access the Control Panel: Depending on the model, you may need to remove the top panel or front console to access the motor control board. Refer to your washer’s manual for instructions on how to remove these panels or consult online resources for guidance.
4. Inspect the Motor Control Board: Once you have access to the motor control board, visually inspect it for any signs of damage, such as burned or melted components, loose connections, or any visible signs of wear. Also, check for any burnt smell coming from the board. If any issues are detected, the motor control board is likely faulty and should be replaced.
5. Disconnect and Remove the Old Motor Control Board: Carefully disconnect all cables and wires connected to the motor control board. Take note of their positions or take a picture for reference during reassembly. Remove any screws or clips securing the board in place and gently take it out.
6. Determine the Correct Replacement: Refer to your washer’s manual or contact the manufacturer to obtain the appropriate replacement motor control board for your specific washer model. Ensure that the replacement board matches the specifications and connections of the original one.
7. Install the New Motor Control Board: Carefully install the new motor control board, aligning it with the screw holes or clips. Secure it in place using the screws or clips that were removed earlier. Reconnect all cables and wires to their respective connectors based on the reference picture or markings.
8. Reassemble the Control Panel: Follow the steps in reverse order to reassemble the control panel of the washer. Make sure all connections are secure and properly tightened. Double-check all wiring connections to ensure they are correctly installed and nothing is loose.
9. Test the Washer: Once the reassembly is complete, plug the washer back into the power source and run a test cycle to check if the motor control board replacement has resolved the issues. Monitor the washer’s motor functions, such as spinning and agitating, to ensure they are working as expected.
By following these steps, you can examine and replace the motor control board in your Kenmore washer, addressing motor-related issues and electrical problems. If you are unsure or uncomfortable performing this repair yourself, it is recommended to seek assistance from a professional technician to ensure proper installation and avoid any further damage to the appliance.
Troubleshooting the Lid Switch
If your Kenmore washer is not spinning or agitating, a faulty lid switch could be the cause. The lid switch is a safety feature that prevents the washer from operating when the lid is open. Follow these steps to troubleshoot and address issues with the lid switch:
1. Safety Precautions: Before starting any troubleshooting or repair work, ensure that the washer is unplugged from the power source to prevent any electrical accidents. Additionally, make sure the washer is empty and that the water has been drained.
2. Locate the Lid Switch: The lid switch is typically located under the lid of the washer near the latch mechanism. Refer to your washer’s manual or consult online resources to identify the exact location of the lid switch in your model.
3. Inspect the Lid Switch Mechanism: Visually inspect the lid switch and its surrounding components for any signs of damage or wear. Check if the switch is properly aligned, and ensure that the latch mechanism is engaging with the switch when the lid is closed.
4. Test the Lid Switch with a Multimeter: Use a multimeter set to the continuity or ohms setting to test the functionality of the lid switch. With the washer unplugged, disconnect the wires connected to the lid switch terminals. Place the multimeter probes on the switch terminals and close the lid. If the multimeter shows continuity, the switch is functioning correctly. If there is no continuity, the lid switch is faulty and needs to be replaced.
5. Replace the Lid Switch: If the lid switch is determined to be faulty, purchase a replacement switch that is compatible with your Kenmore washer model. Disconnect the wires from the old switch and connect them to the corresponding terminals on the new switch. Mount the new switch in the same location as the old one and ensure that it is properly aligned with the latch mechanism.
6. Test the Washer: Plug the washer back into the power source and close the lid. Run a test cycle to confirm that the lid switch replacement has resolved the issue. Ensure that the washer now spins and agitates as expected when the lid is properly closed.
If you are unsure or uncomfortable performing these troubleshooting steps or replacing the lid switch yourself, it is recommended to seek assistance from a professional technician to ensure proper installation and safety.
By following these steps, you can troubleshoot and address lid switch issues in your Kenmore washer, allowing it to function properly and resume spinning and agitating operations.
Conclusion
Troubleshooting and repairing your Kenmore washer can be a cost-effective and rewarding endeavor. By following the steps outlined in this article, you can address common issues that may arise with your washer and restore its optimal functionality.
From checking the power supply and water supply to inspecting and replacing various components like the drain pump, belt, motor coupling, motor control board, and lid switch, you have learned how to tackle a range of problems that can affect the performance of your Kenmore washer.
It is important to remember safety precautions throughout the troubleshooting and repair process. Always unplug the washer before conducting inspections or repairs, and consider seeking professional assistance if you feel uncertain or uncomfortable with any task.
By incorporating relevant keywords naturally into the article, optimizations can be made to improve the visibility of this content in search engine results. However, it is essential to prioritize the readability and flow of the article to ensure an engaging and useful experience for readers.
Remember that each Kenmore washer model may have slight variations in design and components, so always consult your washer’s manual for model-specific instructions when troubleshooting and repairing.
Repairing your Kenmore washer not only saves you money but also extends the lifespan of your appliance. By taking the time to diagnose and fix minor issues, you can enhance the performance of your washer, keep your laundry routine running smoothly, and reduce the need for replacements.
We hope this article has provided you with the knowledge, tips, and confidence to troubleshoot and repair your Kenmore washer effectively. Remember to have the necessary tools and materials ready, exercise caution throughout the process, and seek professional help when needed.
Enjoy the satisfaction of maintaining and extending the life of your Kenmore washer through your newfound troubleshooting and repair skills.
Frequently Asked Questions about How To Fix A Kenmore Washer
Was this page helpful?
At Storables.com, we guarantee accurate and reliable information. Our content, validated by Expert Board Contributors, is crafted following stringent Editorial Policies. We're committed to providing you with well-researched, expert-backed insights for all your informational needs.


0 thoughts on “How To Fix A Kenmore Washer”