Articles
How To Clean Garden Tools
Modified: August 28, 2024
Learn how to clean your gardening tools and keep them in top shape. Follow these simple steps to maintain your garden tools for optimal performance and longevity.
(Many of the links in this article redirect to a specific reviewed product. Your purchase of these products through affiliate links helps to generate commission for Storables.com, at no extra cost. Learn more)
How To Clean Garden Tools
Keeping your garden tools clean is an essential part of their maintenance. Not only does it help extend their lifespan, but it also ensures their optimal performance. Over time, garden tools can accumulate dirt, rust, and other debris, which can hinder their functionality. By following these simple steps, you can effectively clean your garden tools and keep them in top shape.
Why Cleaning Garden Tools is Important
Cleaning your garden tools regularly offers several benefits. First and foremost, it helps prevent the spread of disease and pests. Garden tools can come into contact with diseased plants, insects, and pathogens, which can be easily transferred from one plant to another, causing widespread damage. By cleaning your tools, you reduce the risk of transmission, promoting a healthier garden environment.
Additionally, regular cleaning helps prevent the build-up of dirt, sap, and moisture, which can cause corrosion. Rust and corrosion can weaken the tools, leading to breakage or reduced effectiveness. Cleaning your garden tools also allows you to inspect them for any signs of damage, such as loose or worn parts, ensuring they are in proper working condition.
Supplies You Need
Before you begin cleaning your garden tools, gather the necessary supplies:
1. Water source
2. Bucket or basin
3. Soap or detergent
4. Scrub brush or sponge
5. Wire brush or steel wool
6. Towel or rag
7. Lubricant (such as oil or silicone spray)
8. Sandpaper or file (for sharpening)
Step-by-step Guide to Clean Garden Tools
1. Start by removing any dirt or debris from your garden tools using a brush or sponge. Remove clumps of soil, grass, or leaves to facilitate a thorough cleaning.
2. Fill a bucket or basin with warm water and add a small amount of soap or detergent. Mix to create a soapy solution.
3. Dip your tools into the soapy water and scrub them gently using a scrub brush or sponge. Pay attention to all surfaces, including the blades, handles, and hinges.
4. For stubborn dirt or residue, use a wire brush or steel wool to scrub away the grime. Be careful not to apply too much pressure, as it can scratch the surface of your tools.
5. Rinse the tools with clean water to remove any soap or detergent residue. Ensure that all the cleaning solution has been washed off completely.
6. Dry the tools thoroughly using a towel or rag to prevent moisture from causing rust. Pay special attention to any crevices or hard-to-reach areas.
7. If your garden tools have wooden handles, consider applying a thin layer of linseed oil to protect and condition the wood. This will help prevent cracking or splitting.
8. Inspect your tools for any signs of damage or wear. Tighten any loose screws or nuts, and replace any worn or broken parts.
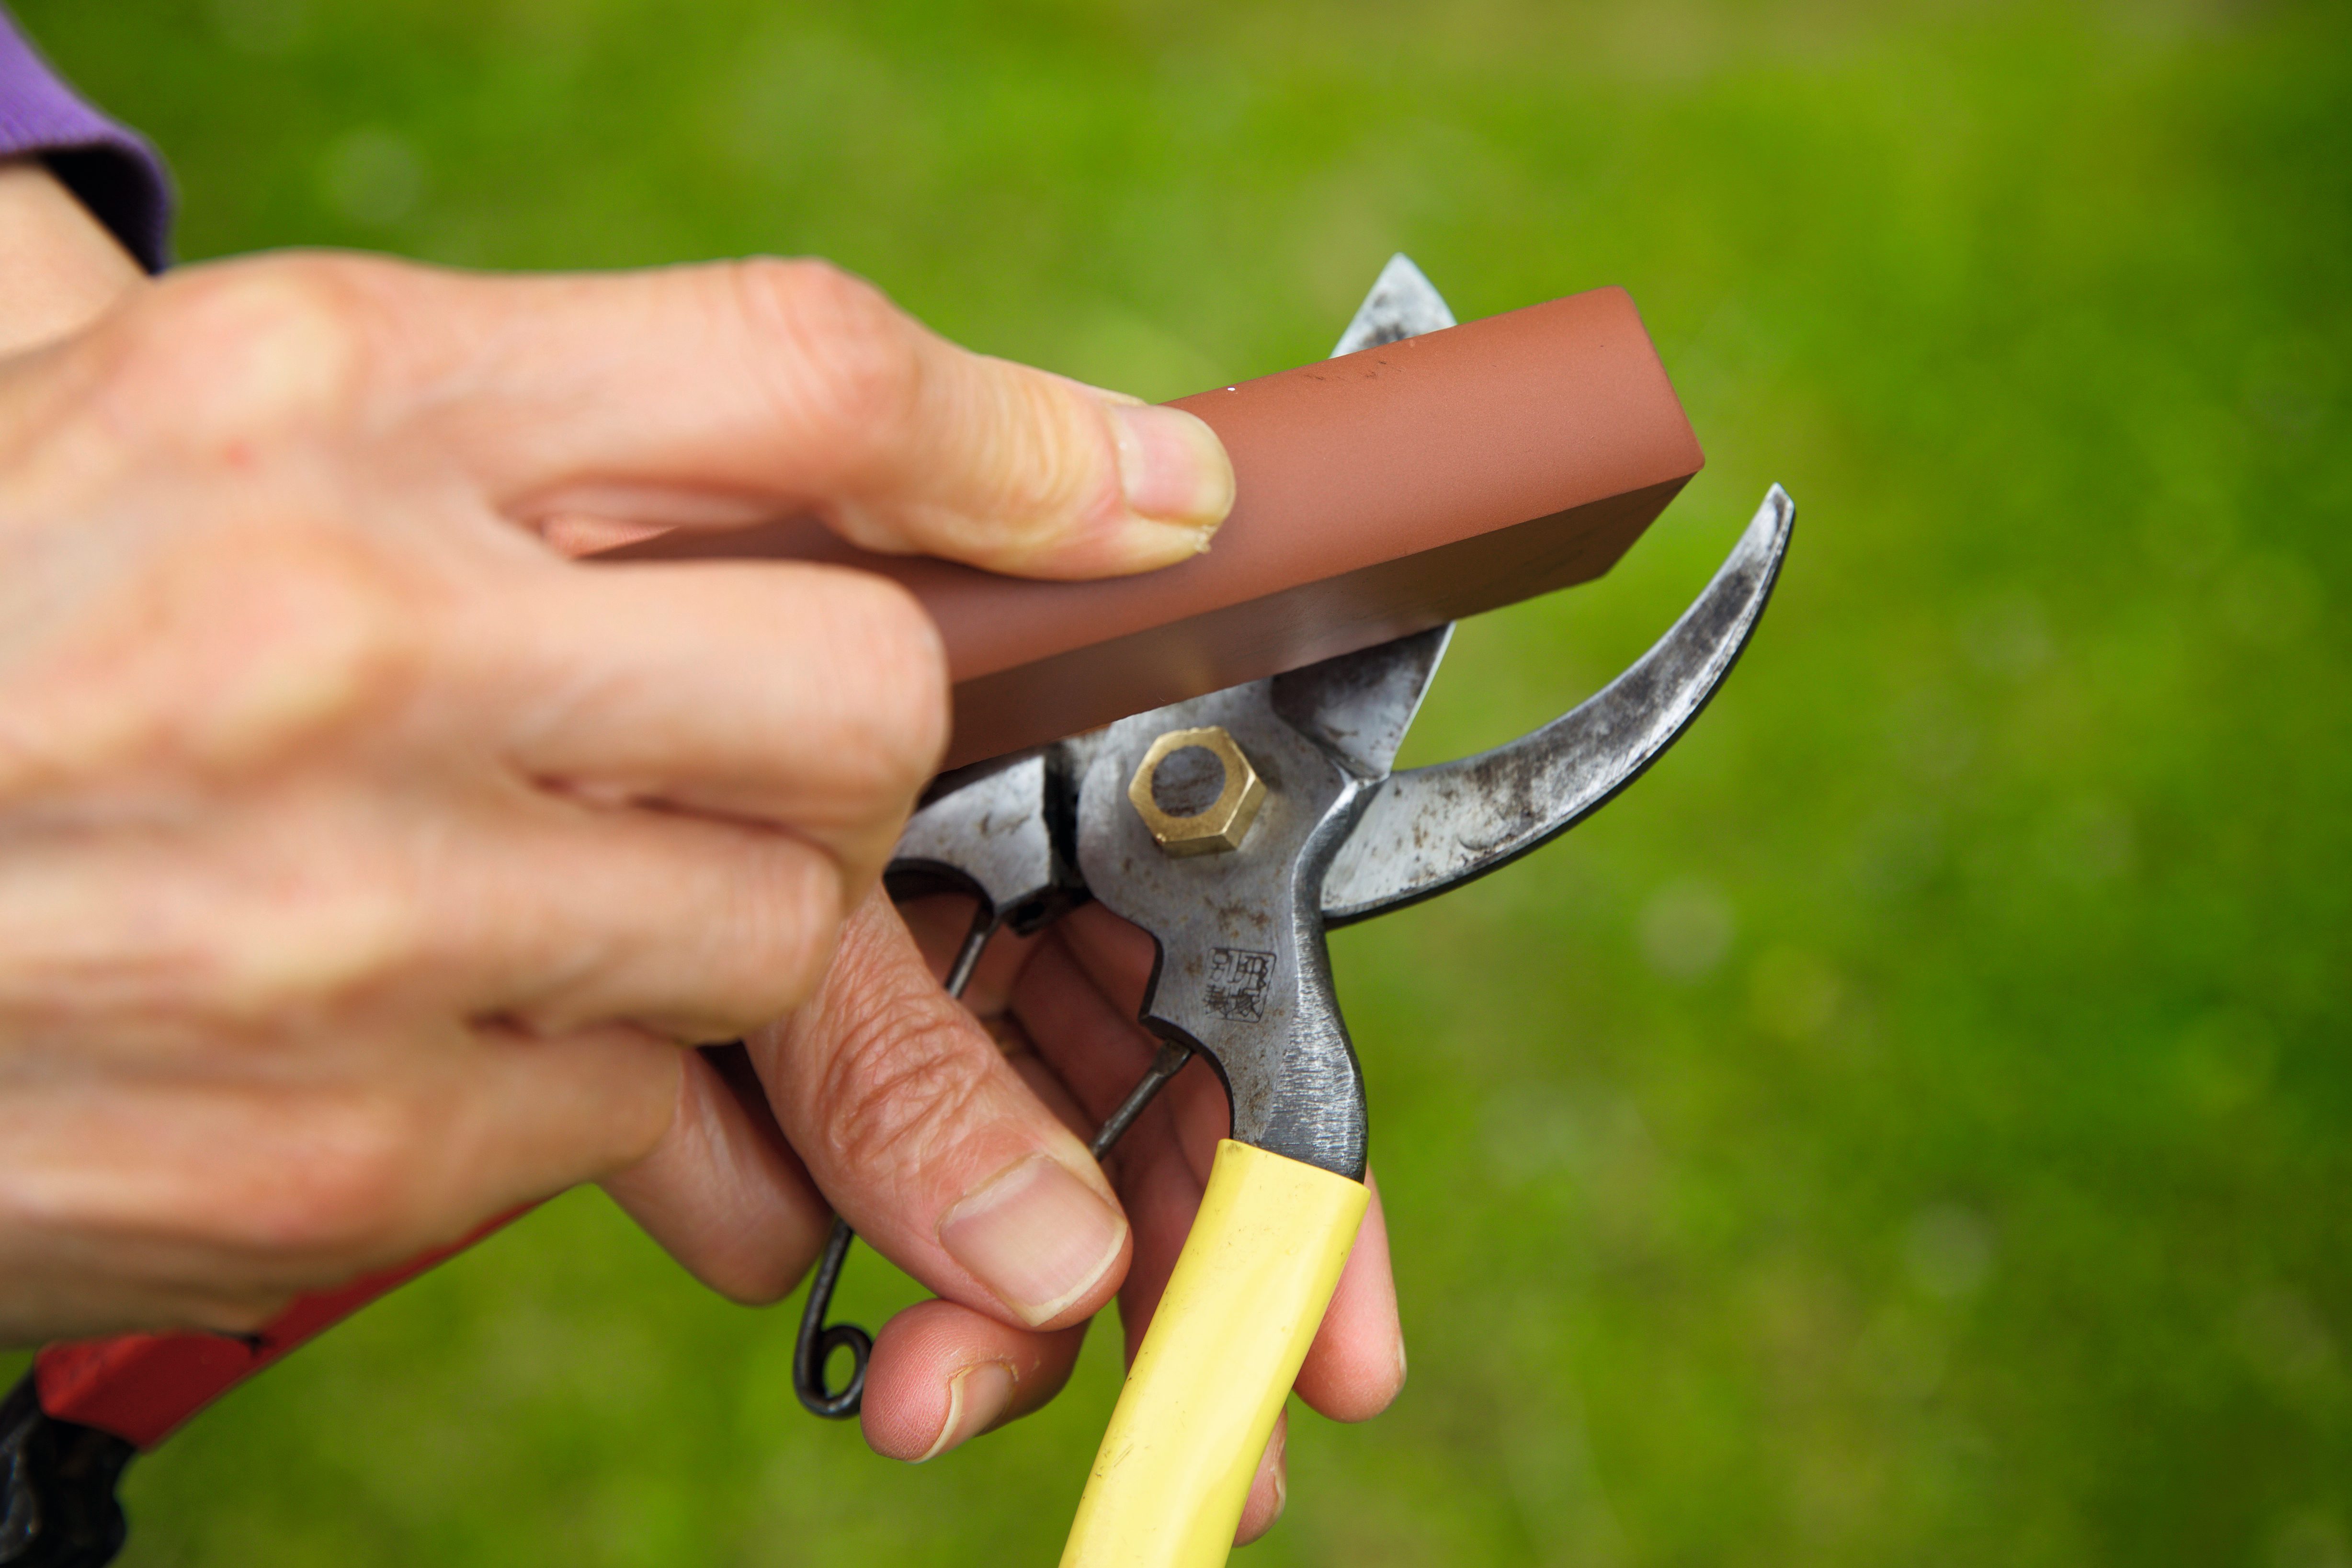
9. If necessary, use sandpaper or a file to sharpen the blades of your cutting tools, such as pruners or shears. This will ensure clean and precise cuts.
10. Finally, apply a light coating of lubricant, such as oil or silicone spray, to metal parts to prevent corrosion and keep them moving smoothly.
Additional Tips for Maintaining Garden Tools
– Store your clean garden tools in a dry and secure place, ideally hanging them up to prevent moisture buildup.
– Regularly inspect your tools for any signs of damage, and address them promptly to prevent further deterioration.
– Clean and sanitize your tools after each use, especially if they have come into contact with diseased plants.
– Keep your cutting tools sharp by sharpening them at regular intervals. This will improve their cutting efficiency and minimize strain on plants.
– Avoid using harsh chemicals or bleach to clean your tools, as they can damage the surfaces.
By investing a little time in cleaning and maintaining your garden tools, you can extend their lifespan and ensure better gardening results. Regular cleaning not only keeps your tools in optimal condition but also promotes a healthier and more productive garden environment.
Remember, a clean garden tool is a happy tool!
How To Clean Garden Tools
Introduction:
Keeping your garden tools clean is an important aspect of gardening maintenance that often gets overlooked. Many gardeners focus on planting, watering, and pruning, but neglecting to clean their tools can lead to decreased effectiveness and even damage to plants. In this guide, we will walk you through the process of cleaning your garden tools, step by step.
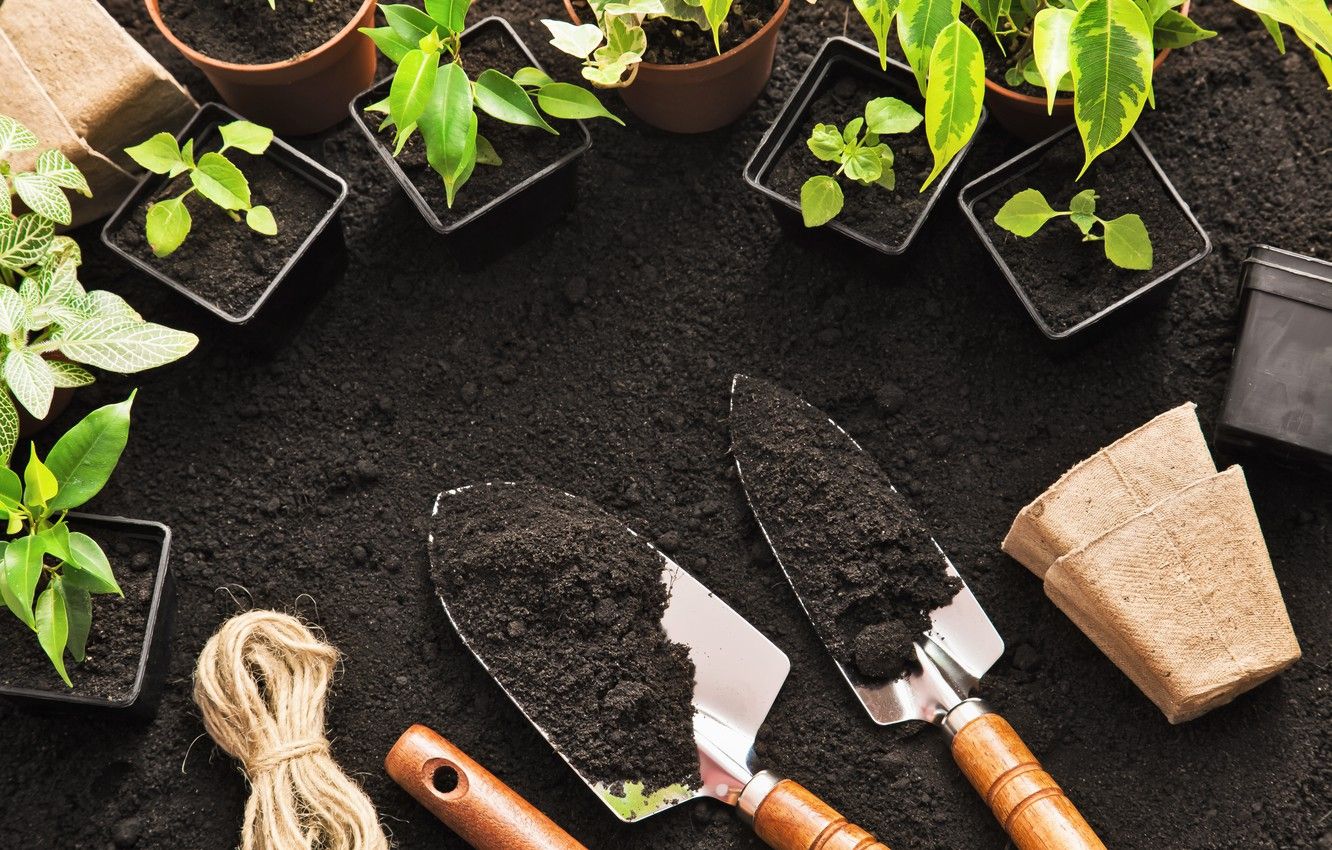
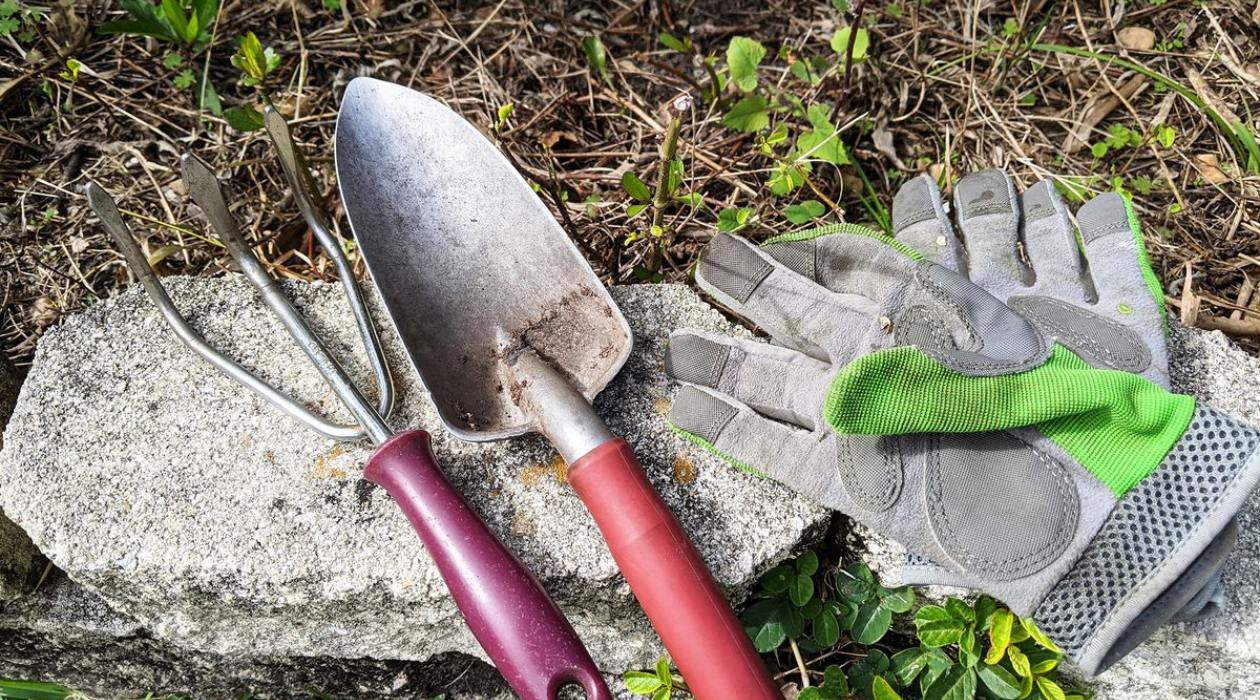
Garden tools, such as shovels, rakes, pruners, and trowels, are essential for maintaining a healthy and thriving garden. They help us dig, cultivate, trim, and shape our plants. However, as we use these tools outdoors, they inevitably accumulate dirt, grime, sap, and even rust over time. This build-up not only hampers their performance but can also transfer diseases and pests between plants, leading to further damage.
Cleaning your garden tools regularly not only ensures their longevity but also helps prevent the spread of diseases and keeps them in optimal working condition. Imagine trying to dig a hole with a caked-on shovel or prune a branch with sticky blades! By following a simple cleaning routine, you can avoid these issues and maximize the lifespan of your tools.
In addition to cleaning, proper maintenance can involve sharpening blades, oiling metal parts, and replacing worn or broken pieces. By taking good care of our tools, we can enjoy gardening with ease and efficiency, leading to more bountiful harvests and thriving plants.
Moreover, cleaning your garden tools can be a cathartic and satisfying task. It allows you to connect with your tools, reflecting on the hard work they have done and appreciating their role in helping you create and maintain your garden oasis.
Throughout this guide, we will provide you with valuable tips and techniques to efficiently clean your garden tools. We will also share additional maintenance strategies to ensure your tools are always in their best condition. So, let’s get started on this journey of cleaning and caring for our trusty garden companions!
Remember, a clean tool is not just an efficient tool; it is a tool that respects and honors the work you put into your garden. So, let’s roll up our sleeves and breathe new life into our garden tools, preparing them for seasons filled with beautiful blossoms, abundant vegetables, and the joy of gardening!
How To Clean Garden Tools
Why Cleaning Garden Tools is Important
Cleaning your garden tools may seem like a tedious chore, but it is an essential step in maintaining a healthy and productive garden. Here are a few reasons why cleaning garden tools is important:
1. Preventing the Spread of Diseases and Pests: Garden tools can come into contact with diseased plants, insects, and pathogens while working in the garden. If these contaminated tools are not properly cleaned, they can easily transmit diseases and pests to healthy plants. By regularly cleaning your tools, you reduce the risk of spreading harmful organisms, protecting the overall health of your garden.
2. Maintaining Tool Performance: Over time, dirt, moisture, and debris can accumulate on your garden tools, especially on cutting surfaces. This build-up can hinder their functionality and make them less effective. By cleaning and removing the debris, your tools will be able to work efficiently and provide clean cuts, resulting in healthier plants.
3. Preventing Corrosion and Rust: Exposure to moisture, especially if tools are not properly dried after use, can lead to rust and corrosion. Rust not only weakens the tools but can also transfer onto plants, causing further damage. By cleaning and drying your garden tools thoroughly, you can prevent corrosion and ensure their durability.
4. Extending Tool Lifespan: Garden tools can be a significant investment, and proper maintenance can help extend their lifespan. Regular cleaning removes dirt, sap, and other residues that can deteriorate the tools over time. By keeping your tools clean, you can avoid the need for premature replacements and save money in the long run.
5. Enhancing Gardening Experience: Working with clean and well-maintained tools can make your gardening experience more enjoyable. Clean tools are easier to handle, provide better control, and reduce the risk of accidents. Additionally, a well-cared-for set of garden tools gives you a sense of pride and confidence in your gardening endeavors.
Now that you understand the importance of cleaning your garden tools let’s move on to the supplies you will need to get started with the cleaning process. Remember, by regularly cleaning and maintaining your garden tools, you are taking proactive steps to ensure the success and longevity of your garden. Investing a little time and effort into cleaning your tools will yield great rewards in terms of healthier plants, increased productivity, and a more enjoyable gardening experience. So, grab your tools and let’s get cleaning!
How To Clean Garden Tools
Supplies You Need
Before you embark on cleaning your garden tools, it’s important to gather the necessary supplies to ensure an effective and efficient cleaning process. Here are the supplies you will need:
1. Water Source: Access to a water source is essential for cleaning your garden tools. Whether it’s a hose, a bucket, or a sink, make sure you have enough water to thoroughly rinse off the tools.
2. Bucket or Basin: Having a bucket or basin will help contain the water and provide a convenient space to hold your tools during the cleaning process. It should be large enough to accommodate the size of your tools.
3. Soap or Detergent: Using a mild soap or detergent will help break down dirt, grease, and grime from your garden tools. Choose a soap that is safe for the environment and won’t leave residue on the tools.
4. Scrub Brush or Sponge: A scrub brush or sponge will help you scrub away stubborn dirt and residues from the surfaces of your tools. Look for brushes with durable bristles or sponges with a rough texture for effective cleaning.
5. Wire Brush or Steel Wool: For tougher build-up or rust, a wire brush or steel wool can be used to scrub away the debris. These tools are especially useful for cleaning metal surfaces or removing rust spots.
6. Towel or Rag: Having a towel or rag on hand is important for drying your tools after cleaning. It’s essential to ensure your tools are completely dry to prevent rust or corrosion.
7. Lubricant: After cleaning your tools, you may want to consider applying a lubricant to any moving parts to keep them functioning smoothly. Options such as oil or silicone spray work well to prevent rust and corrosion.
8. Sandpaper or File: If your cutting tools, such as pruners or shears, have dull blades, you may need sandpaper or a file to sharpen them. This will ensure clean and precise cuts when working in the garden.
By gathering these supplies before starting the cleaning process, you’ll have everything you need to effectively clean and maintain your garden tools. So, let’s move on to the step-by-step guide on how to clean your tools and keep them in optimal condition.
How To Clean Garden Tools
Step-by-step Guide to Clean Garden Tools
Cleaning your garden tools is a simple process that can help extend their lifespan and keep them in optimal condition. Follow this step-by-step guide to effectively clean your garden tools:
1. Start by removing any dirt or debris from your tools. Use a brush or sponge to wipe away loose soil, grass, or leaves. This step will make the cleaning process easier and more effective.
2. Fill a bucket or basin with warm water. Add a small amount of soap or detergent and mix it well to create a soapy solution. Ensure that the water is deep enough to fully immerse the tools.
3. Dip your garden tools into the soapy water and scrub them gently using a scrub brush or sponge. Pay attention to all surfaces, including the blades, handles, and hinges. This will help remove dirt, grease, and other residues.
4. For stubborn dirt or residue, use a wire brush or steel wool to scrub away the grime. Be cautious while using these tools to avoid scratching or damaging the surfaces of your tools.
5. Rinse the tools with clean water to remove any soap or detergent residue. Ensure that all the cleaning solution has been washed off completely.
6. Dry the tools thoroughly using a towel or rag. Wipe each tool, making sure to remove all moisture, especially from hard-to-reach areas. Drying the tools promptly will prevent the formation of rust or corrosion.
7. Inspect your tools for any signs of damage or wear. Check for loose screws or nuts and tighten them if needed. Replace any worn or broken parts to maintain the integrity of your tools.
8. If your garden tools have wooden handles, consider applying a thin layer of linseed oil to protect and condition the wood. This will help prevent the handles from drying out, cracking, or splitting.
9. If necessary, sharpen the blades of cutting tools, such as pruners or shears, using sandpaper or a file. This will ensure clean and precise cuts for your plants.
10. Finally, apply a light coating of lubricant, such as oil or silicone spray, to metal parts and hinges. This will help prevent corrosion and keep the tools moving smoothly.
By following these simple steps, you can effectively clean your garden tools and maintain their optimal performance. Regular cleaning and maintenance will not only extend the lifespan of your tools but also contribute to a healthier and more productive garden. Remember to clean your tools after each use, and store them properly to prevent dirt and moisture build-up. With well-maintained tools, you’ll be ready to tackle any gardening task with ease and efficiency!
How To Clean Garden Tools
Additional Tips for Maintaining Garden Tools
Cleaning your garden tools is an important step in maintaining their functionality and longevity. However, there are a few additional tips you can follow to ensure your tools stay in great shape. Consider implementing these practices into your regular tool maintenance routine:
1. Store Tools Properly: When not in use, store your clean garden tools in a dry and secure place. Hang them on a tool rack or store them in a shed or garage. This will help prevent moisture build-up and protect them from the elements, prolonging their lifespan.
2. Regularly Inspect for Damage: Make it a habit to check your tools for any signs of damage or wear. Keep an eye out for loose screws, worn-out handles, or bent prongs. Fix or replace any damaged parts promptly to prevent further deterioration.
3. Clean and Sanitize After Each Use: It’s good practice to clean and sanitize your garden tools after each use, especially if they have come into contact with diseased plants. Wipe them down with a mild disinfectant or a mixture of water and bleach to reduce the risk of spreading pathogens.
4. Keep Cutting Tools Sharp: Sharp cutting tools, such as pruners and shears, are essential for clean and precise cuts. Regularly sharpen the blades using a sharpening stone, file, or a professional sharpening service. Dull blades not only make the job more challenging but can also damage plants.
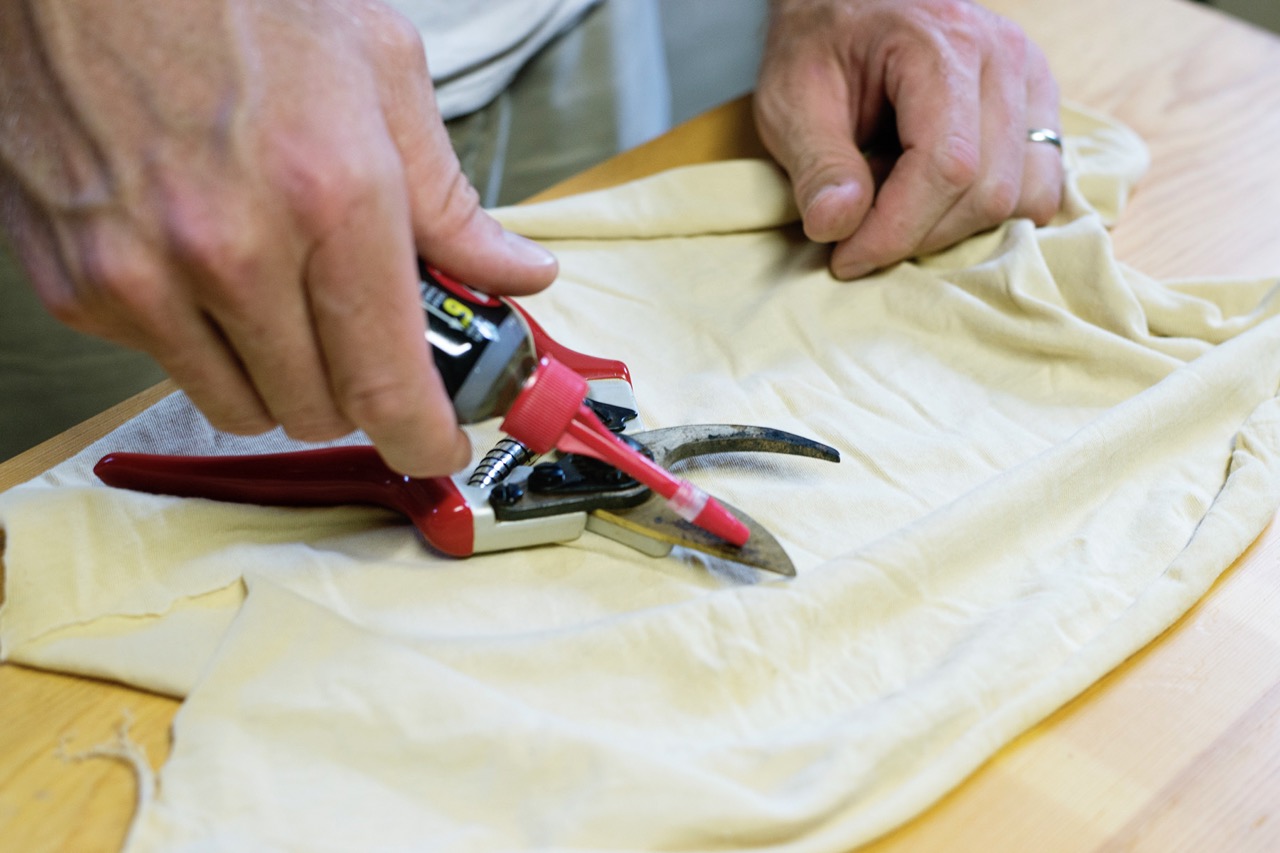
5. Lubricate Moving Parts: Pay attention to the moving parts of your tools, such as hinges and ratchets. Apply a light coat of lubricant, such as oil or silicone spray, to keep them functioning smoothly. This will prevent friction, wear, and corrosion.
6. Avoid Harsh Chemicals: When cleaning your tools, avoid using harsh chemicals or bleach, as they can damage the surfaces and compromise the integrity of the tools. Stick to mild soaps or detergents that are safe for your tools and the environment.
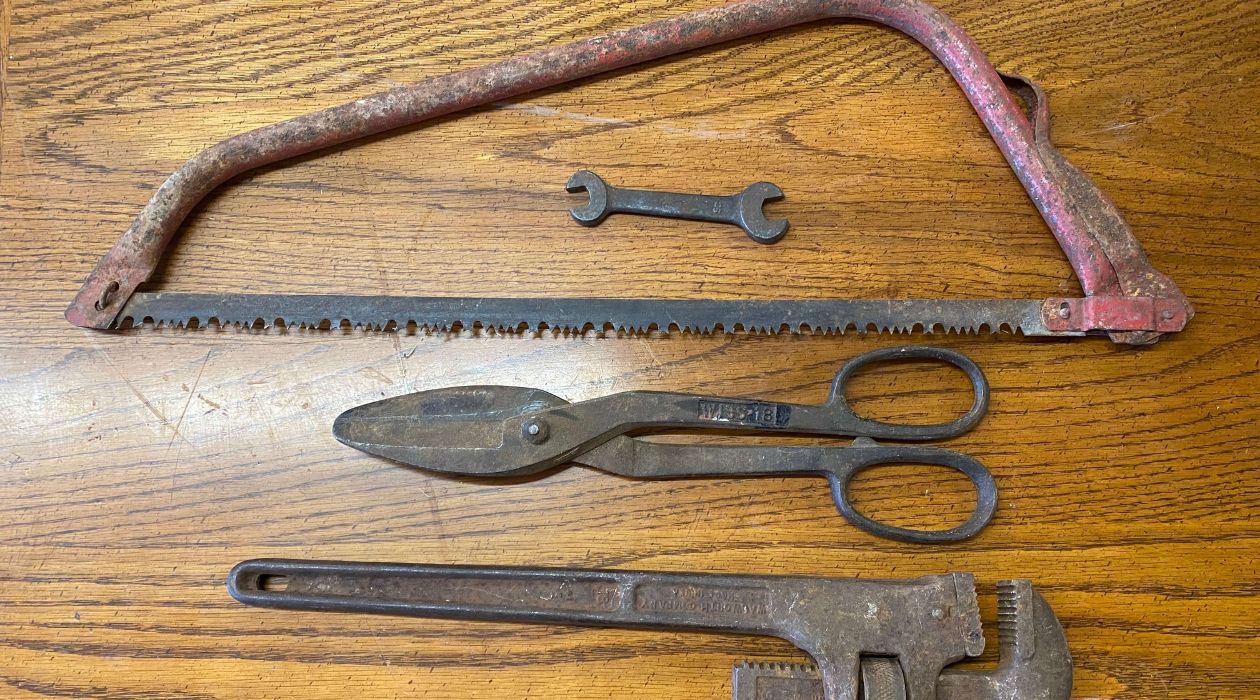
7. Remove Rust: If you notice any rust spots on your tools, remove them promptly to prevent further corrosion. Use sandpaper or a wire brush to gently scrub away the rust. Once removed, clean and dry the tools thoroughly to prevent future rusting.
8. Take Care of Wooden Handles: If your garden tools have wooden handles, maintain them by periodically applying a protective coating of linseed oil. This will help prevent the wood from drying out, cracking, or splintering.
9. Keep Handles Clean: It’s easy to overlook cleaning the handles of your tools, but they can gather dirt, sweat, and oils over time. Regularly wipe down the handles with a damp cloth to keep them clean and free from grime.
10. Be Mindful of Electrical Tools: If you have electrical garden tools, such as hedge trimmers or lawn mowers, be sure to follow the manufacturer’s instructions for cleaning and maintenance. Always unplug them before cleaning and avoid submerging them in water.
By implementing these additional tips into your garden tool maintenance routine, you’ll keep your tools in excellent condition and ensure their optimal performance. Remember, well-maintained tools not only make gardening easier but also contribute to a more enjoyable and successful gardening experience. Happy gardening!
How To Clean Garden Tools
Conclusion
Congratulations! You have now learned how to clean and maintain your garden tools effectively. Cleaning your tools may not be the most glamorous aspect of gardening, but it is an essential task that should not be overlooked. By following the steps outlined in this guide and implementing the additional tips, you can ensure that your garden tools remain in optimal condition, ready to assist you in your gardening endeavors.
Regularly cleaning your garden tools offers numerous benefits. It helps prevent the spread of diseases and pests, maintaining a healthier garden environment. By removing dirt, debris, and sap, you enhance the performance and efficiency of your tools, ensuring cleaner cuts and better results. Additionally, preventing rust and corrosion through proper cleaning and drying techniques prolongs the lifespan of your tools, saving you money in the long run.
Remember to store your clean tools in a dry and secure place, properly inspect them for any signs of damage, and sanitize them after each use, especially when dealing with diseased plants. Keeping your cutting tools sharp and lubricating the moving parts will further enhance their functionality. Taking care of wooden handles and avoiding harsh chemicals when cleaning are important practices to maintain the integrity of your tools.
Maintaining clean and well-maintained garden tools not only ensures their longevity but also contributes to a more enjoyable gardening experience. When your tools are in good condition, they work efficiently, making gardening tasks easier and more satisfying. By investing a little time and effort into cleaning and maintaining your tools, you can enjoy the benefits of a healthy and thriving garden.
So, the next time you finish a gardening session, take a moment to clean your tools, expressing gratitude for their assistance. Remember that a clean tool is not just a tool – it is a symbol of your dedication and respect for the art of gardening.
Now that you have the knowledge and tools to keep your gardening companions clean and well-cared for, go out there and let your green thumb shine! Happy gardening!
Frequently Asked Questions about How To Clean Garden Tools
Was this page helpful?
At Storables.com, we guarantee accurate and reliable information. Our content, validated by Expert Board Contributors, is crafted following stringent Editorial Policies. We're committed to providing you with well-researched, expert-backed insights for all your informational needs.


0 thoughts on “How To Clean Garden Tools”