Articles
How To Sharpen Garden Shears
Modified: October 19, 2024
Learn how to sharpen your garden shears with our easy-to-follow gardening guide. Keep your tools in top shape for a more efficient and enjoyable gardening experience.
(Many of the links in this article redirect to a specific reviewed product. Your purchase of these products through affiliate links helps to generate commission for Storables.com, at no extra cost. Learn more)
Introduction
Welcome to the world of gardening! Whether you’re an experienced gardener or just starting out, you know that having the right tools is essential. And one of the most important tools in your arsenal is your garden shears. These handy tools help you trim, shape, and prune your plants, ensuring they grow healthy and beautiful.
However, using dull garden shears can be frustrating and ineffective. Rather than effortlessly cutting through branches, you may find yourself struggling and damaging the plant. That’s why it’s crucial to regularly sharpen your garden shears to maintain their cutting effectiveness.
Sharpening your garden shears may seem like a daunting task, but with the right knowledge and tools, it can be a straightforward and rewarding process. In this article, we will guide you through the steps of sharpening your garden shears, ensuring that they are always ready for the task at hand.
But before we dive into the sharpening process, let’s take a moment to understand the different types of garden shears available on the market and why sharpening them is essential for their functionality and longevity.
Key Takeaways:
- Regularly sharpening and maintaining your garden shears is essential for efficient and precise cutting, promoting plant health, and prolonging the lifespan of your tools. Enjoy the rewards of a well-maintained garden arsenal!
- Understanding the different types of garden shears, proper cleaning, disassembly, sharpening, and reassembly processes are crucial for keeping your garden shears in optimal condition. Stay sharp, stay safe, and enjoy the fruits of your gardening labor!
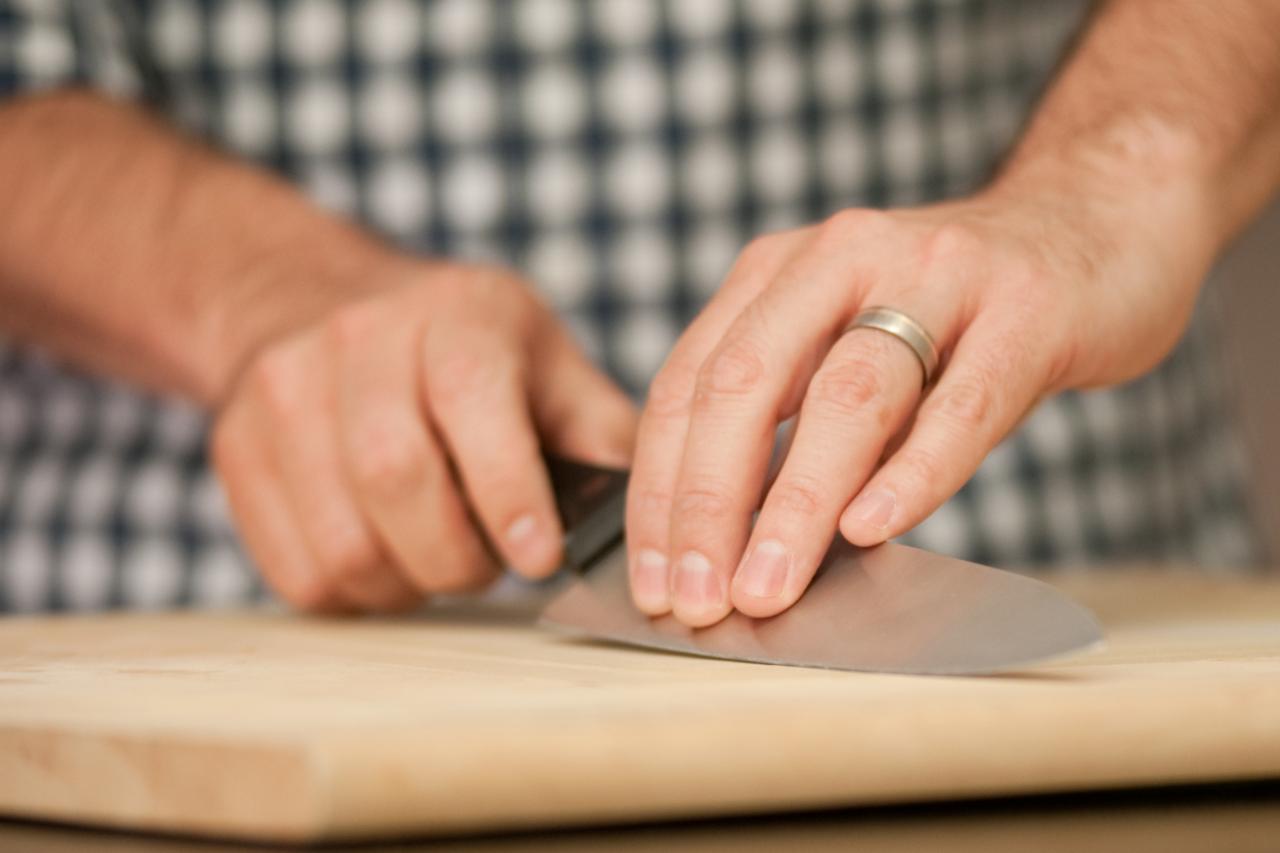
Read more: How To Sharpen Scissors With Sandpaper
Understanding Garden Shears
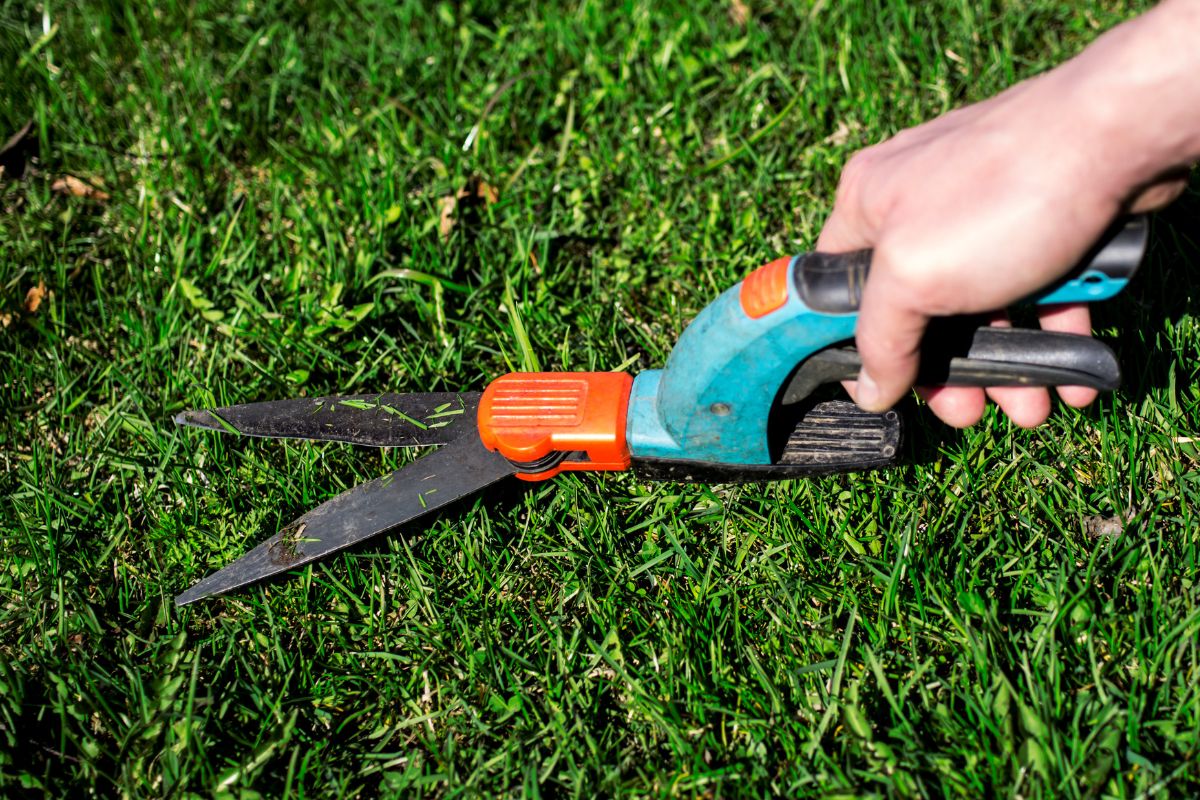
Garden shears, also known as pruning shears or secateurs, are a must-have tool for any gardener. They come in different shapes and sizes, designed for specific gardening tasks. Understanding the different types of garden shears will help you choose the right one for your needs and know how to properly maintain and sharpen them.
The two main types of garden shears are bypass shears and anvil shears. Bypass shears have two blades that slide past each other, providing a clean and precise cut. These are ideal for cutting live stems and branches up to around ¾ inch in diameter. Anvil shears, on the other hand, have one straight blade that cuts against a flat, anvil-like surface. They are better suited for cutting dead wood and tougher branches.
Now that you know the basic types of garden shears, let’s discuss why sharpening them is crucial. Over time, the blades of garden shears become dull due to regular use and exposure to dirt, sap, and moisture. Dull blades not only make it harder to cut through branches but also increase the risk of crushing or damaging the plant tissue instead of making a clean cut. Sharpening the blades helps restore their sharpness, allowing for easy and precise cutting, and ultimately promoting the health and growth of your plants.
By regularly maintaining and sharpening your garden shears, you not only ensure their optimal performance but also increase their lifespan. Rather than replacing your shears frequently, proper maintenance can keep them functioning effectively for many years to come.
Now that you have a better understanding of garden shears and the importance of keeping them sharp, let’s move on to the tools and materials you’ll need to get started with sharpening.
Tools and Materials Needed
Before you begin sharpening your garden shears, it’s important to gather the necessary tools and materials. Having everything ready beforehand will save you time and ensure a smooth sharpening process. Here are the tools and materials you’ll need:
- A pair of garden shears to sharpen
- Safety gloves to protect your hands
- A stiff bristle brush or old toothbrush for cleaning
- Warm, soapy water for cleaning
- A towel or cloth for drying the shears
- A sharpening stone or file
- A lubricating oil or tool sharpening solution
- A small brush or cloth for applying oil or solution
- A vice or clamp to secure the shears during sharpening (optional)
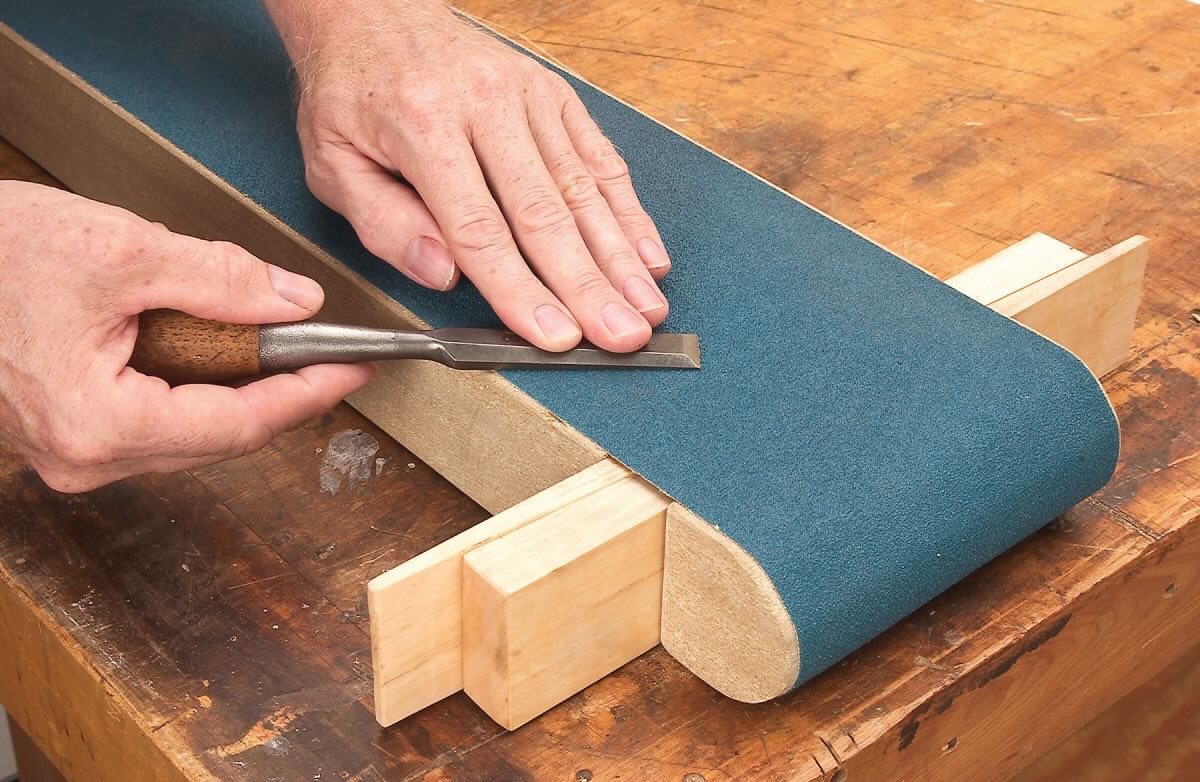
It’s important to choose a sharpening stone or file that suits the type of garden shears you have and is appropriate for the level of sharpening required. Different sharpening stones have different grits, which determine the coarseness of the stone and, consequently, the level of sharpening. Coarse-grit stones are often used for repairing damaged or very dull blades, while fine-grit stones are used for regular maintenance and touch-ups.
Make sure the lubricating oil or tool sharpening solution is specifically designed for garden shears or similar tools. This will help reduce friction and prevent rusting, ensuring smooth sharpening and increased longevity of the shears.
With the tools and materials ready, you’re now prepared to dive into the sharpening process. In the next section, we’ll guide you through the step-by-step instructions on how to sharpen your garden shears effectively.
Step 1: Cleaning the Shears
Before you begin sharpening your garden shears, it’s important to clean them thoroughly. Over time, dirt, debris, sap, and rust can accumulate on the blades, affecting their performance and making it difficult to achieve a sharp edge. Follow these steps to properly clean your garden shears:
- Start by wearing safety gloves to protect your hands during the cleaning process.
- Use a stiff bristle brush or an old toothbrush to remove any loose dirt and debris from the blades.
- For stubborn dirt or sap, dip the bristles of the brush in warm, soapy water and scrub the blades gently. Ensure that the soapy water reaches all the nooks and crannies of the shears.
- Rinse the blades with clean water to remove any soap residue.
- Use a towel or cloth to dry the shears thoroughly, making sure to remove any moisture.
Cleaning the shears not only helps prepare them for sharpening but also prevents the spread of plant diseases between plants. Additionally, removing rust increases the lifespan of the shears and ensures smooth cutting.
Once your shears are clean and dry, you’re ready to move on to the next step: disassembling the shears for sharpening. This step allows you to access the blades fully and sharpen them effectively. Continue reading to learn how to disassemble the shears properly.
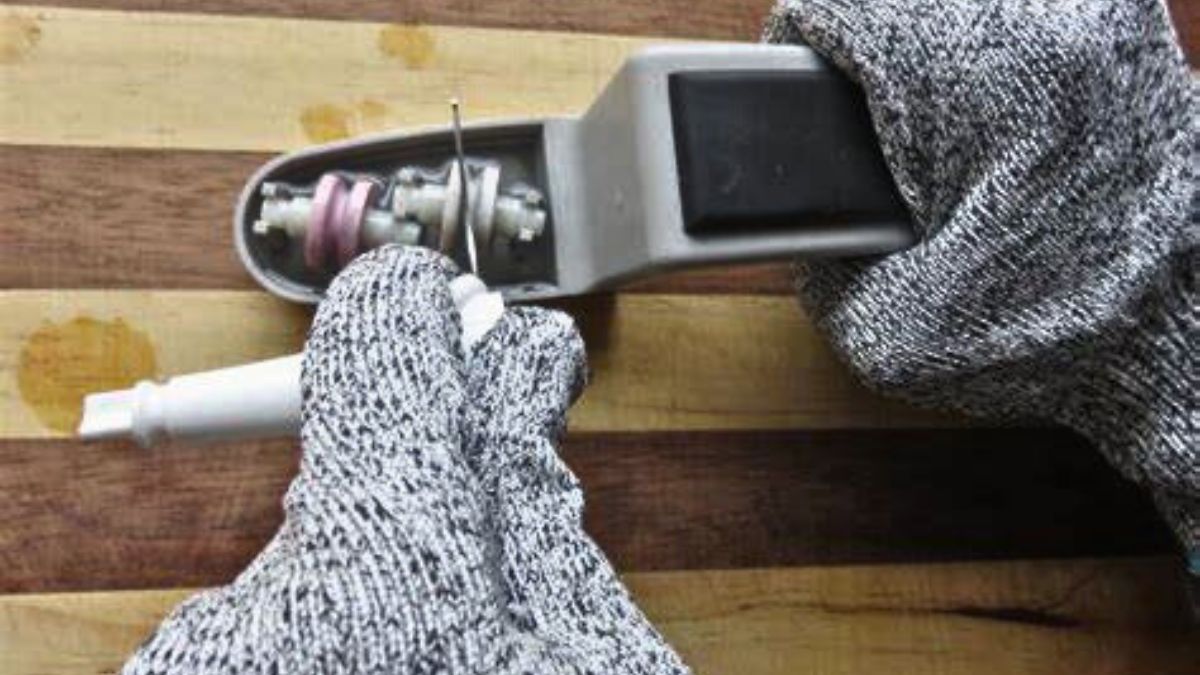
Step 2: Disassembling the Shears
Disassembling your garden shears is an essential step in the sharpening process as it allows you to access the blades more easily. Follow these steps to disassemble your shears:
- Ensure that the shears are in the closed position.
- Locate the pivot point where the two blades are connected. This is usually a screw or a bolt.
- Using a suitable screwdriver or wrench, loosen the screw or bolt to separate the two blades. Be careful not to force it or strip the threads.
- Once the pivot point is loose, carefully separate the blades by pulling them apart.
It’s important to pay attention to the position and orientation of the blades as you disassemble them so that you can easily reassemble them later. You may also want to take note of any washers or spacers between the blades for reference.
If you’re not comfortable or experienced with disassembling the shears, you can skip this step and proceed with sharpening the blades while keeping them intact. However, disassembling the shears provides better access to the blades, ensuring a more thorough sharpening.
With the shears disassembled, you’re ready to move on to the next step: sharpening the blades. In the following section, we’ll guide you through the process of sharpening your garden shears effectively.
To sharpen garden shears, use a sharpening stone or file to remove any nicks or burrs. Hold the shears at a 20-degree angle and make smooth, even strokes along the blade. Test the sharpness by cutting a piece of paper.
Read more: What Is A Grass Shear
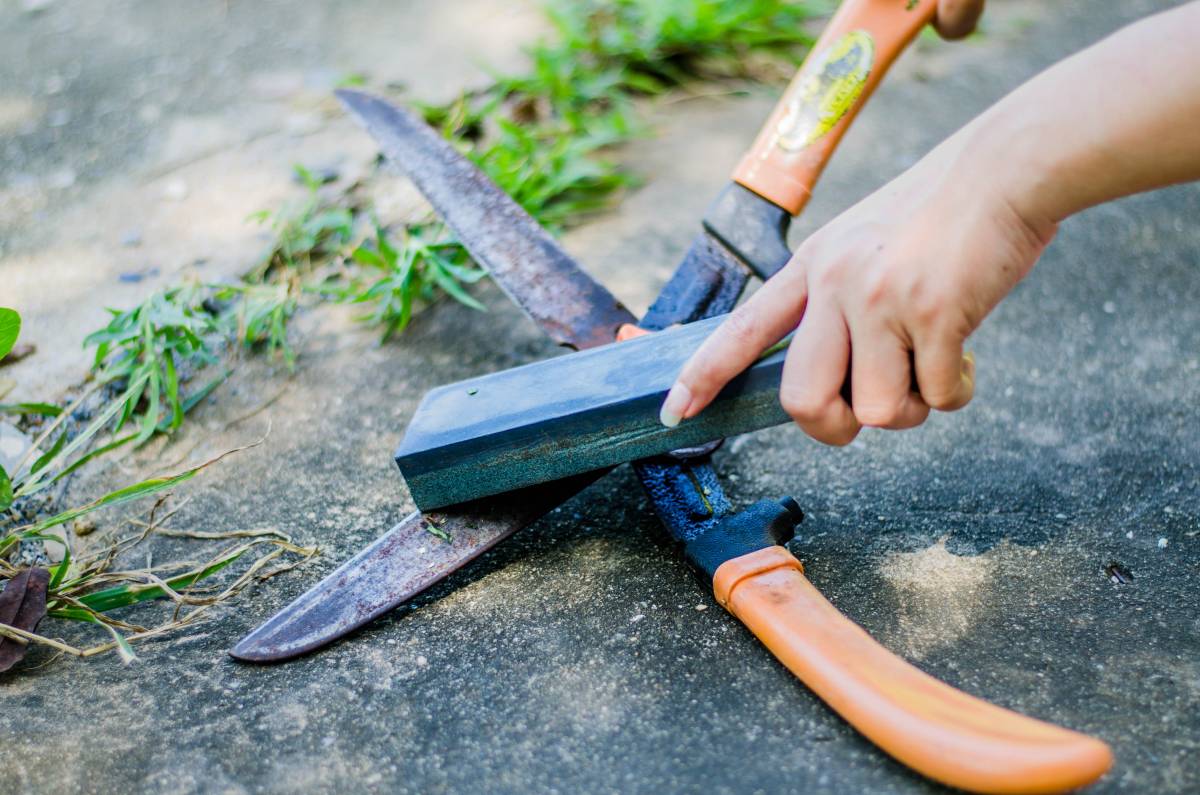
Step 3: Sharpening the Blades
Now that your garden shears are clean and disassembled, it’s time to sharpen the blades. Sharpening your shears effectively requires patience and precision. Follow these steps to sharpen the blades:
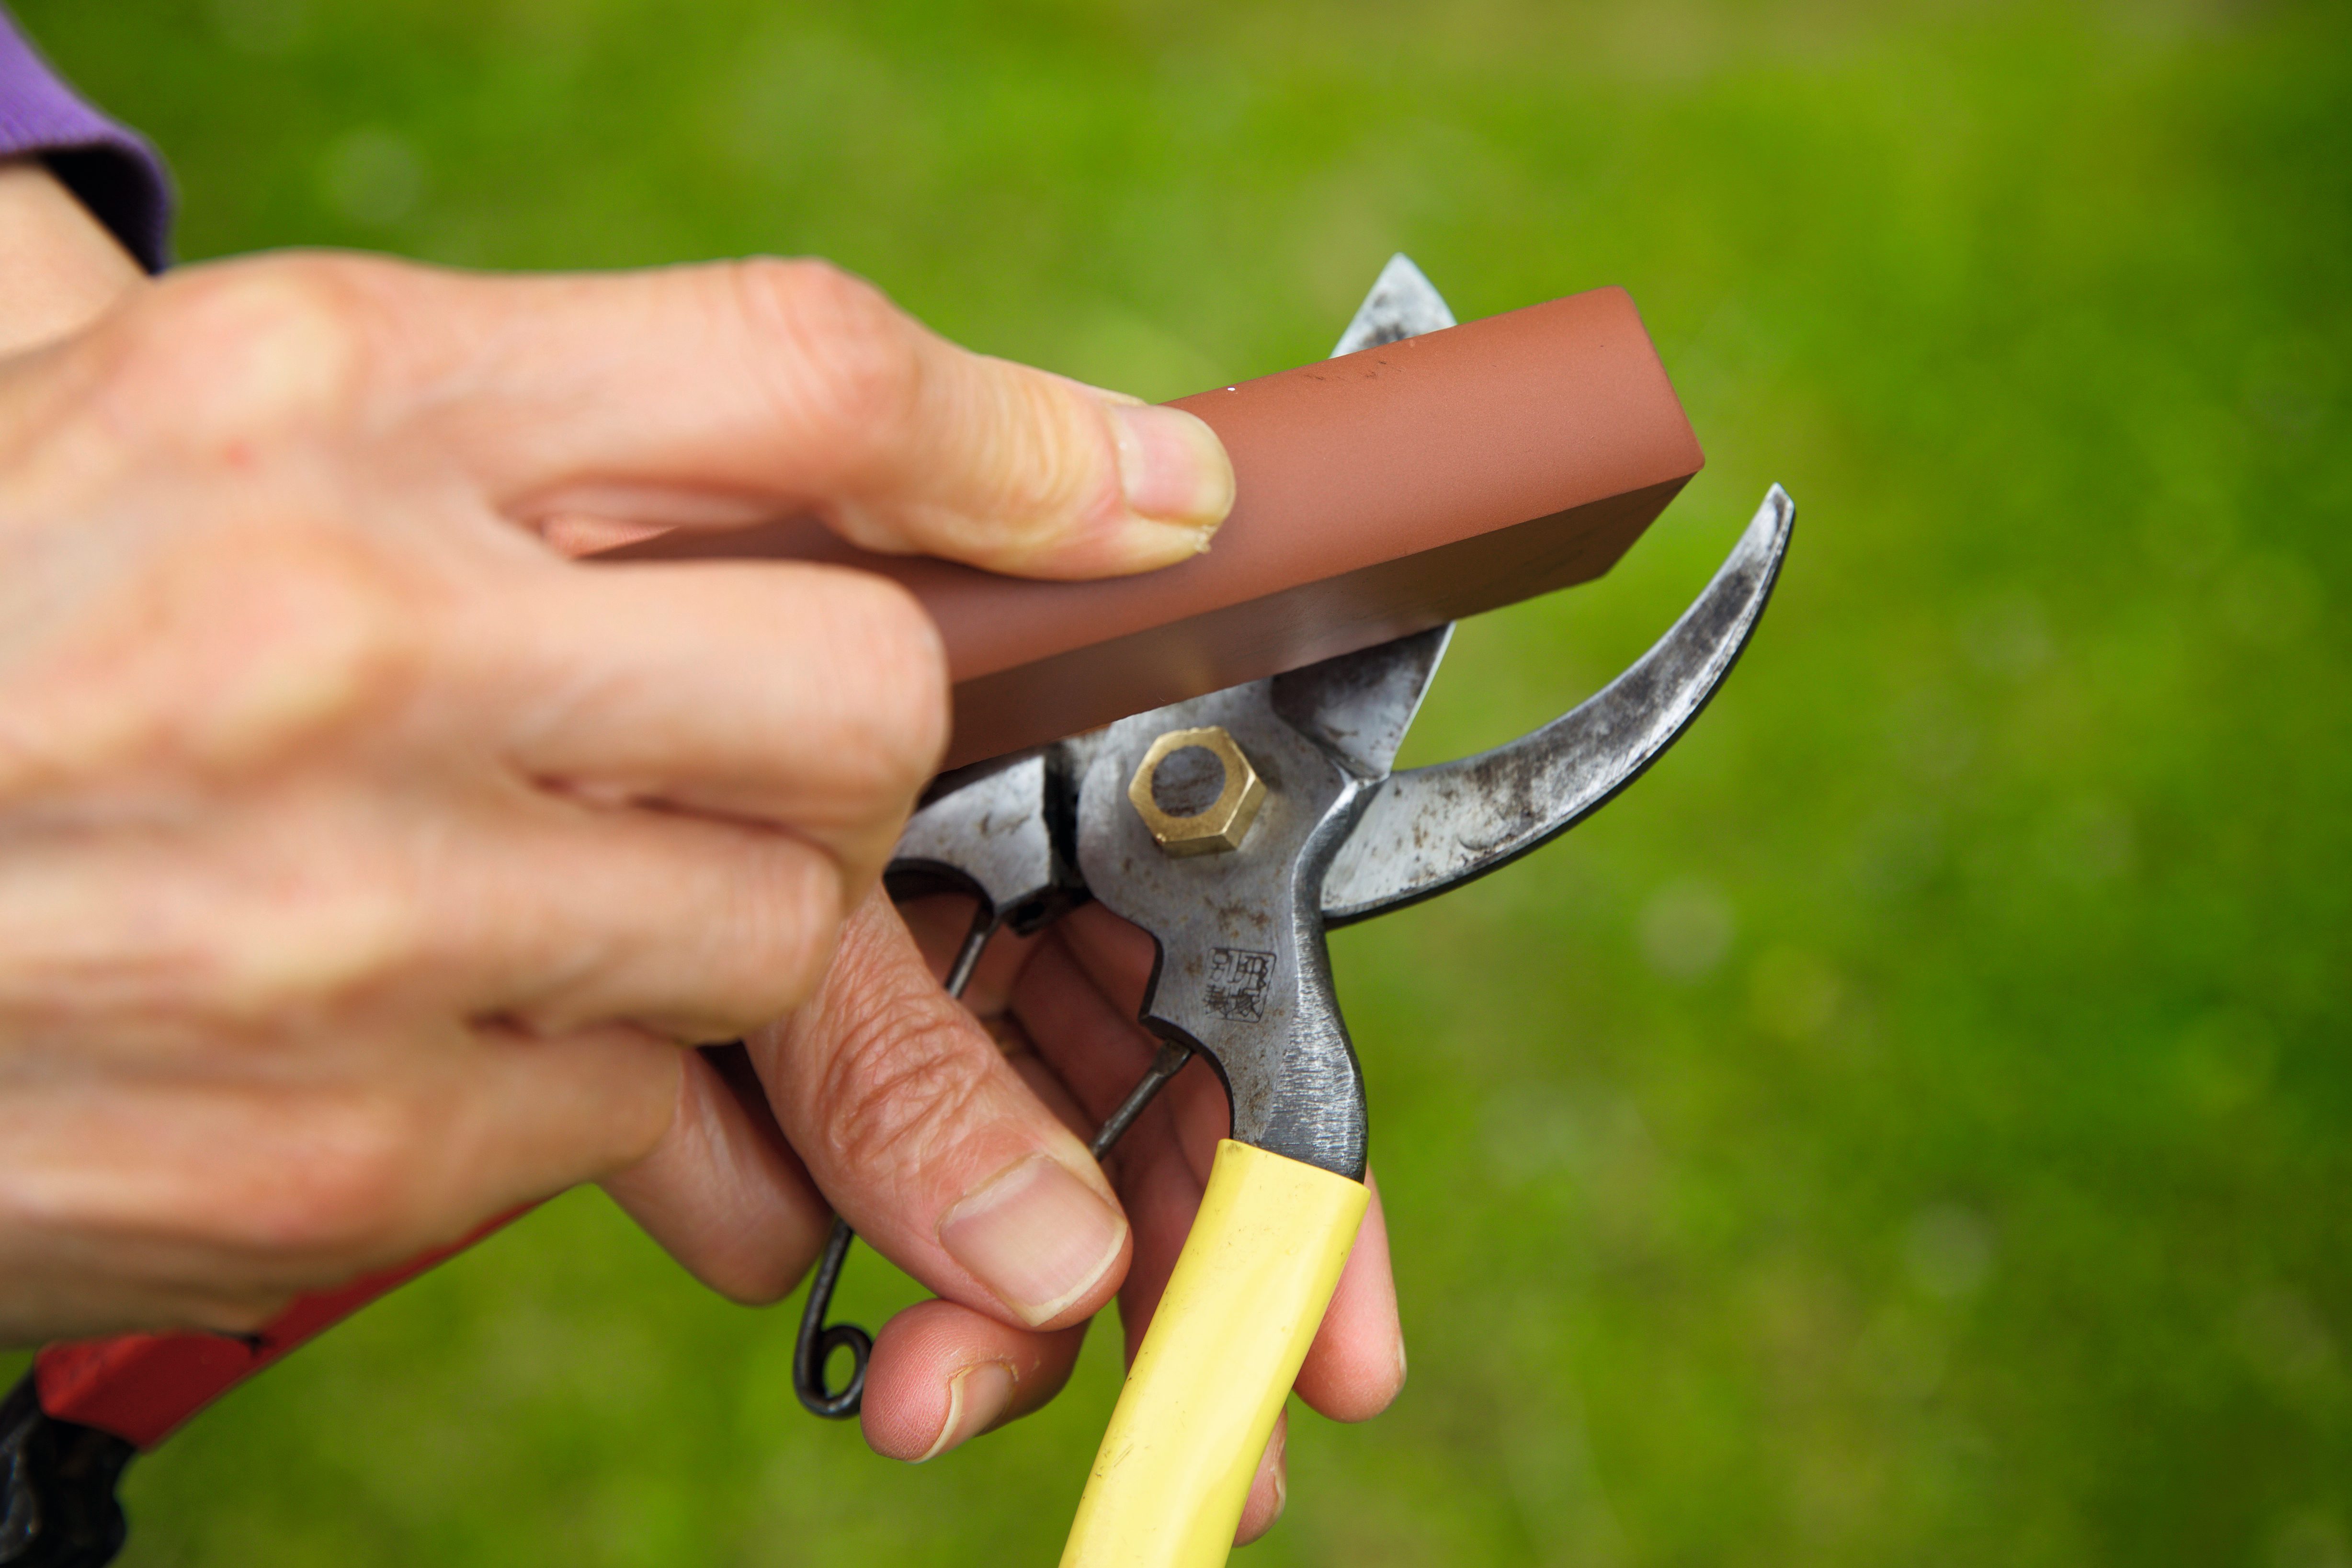
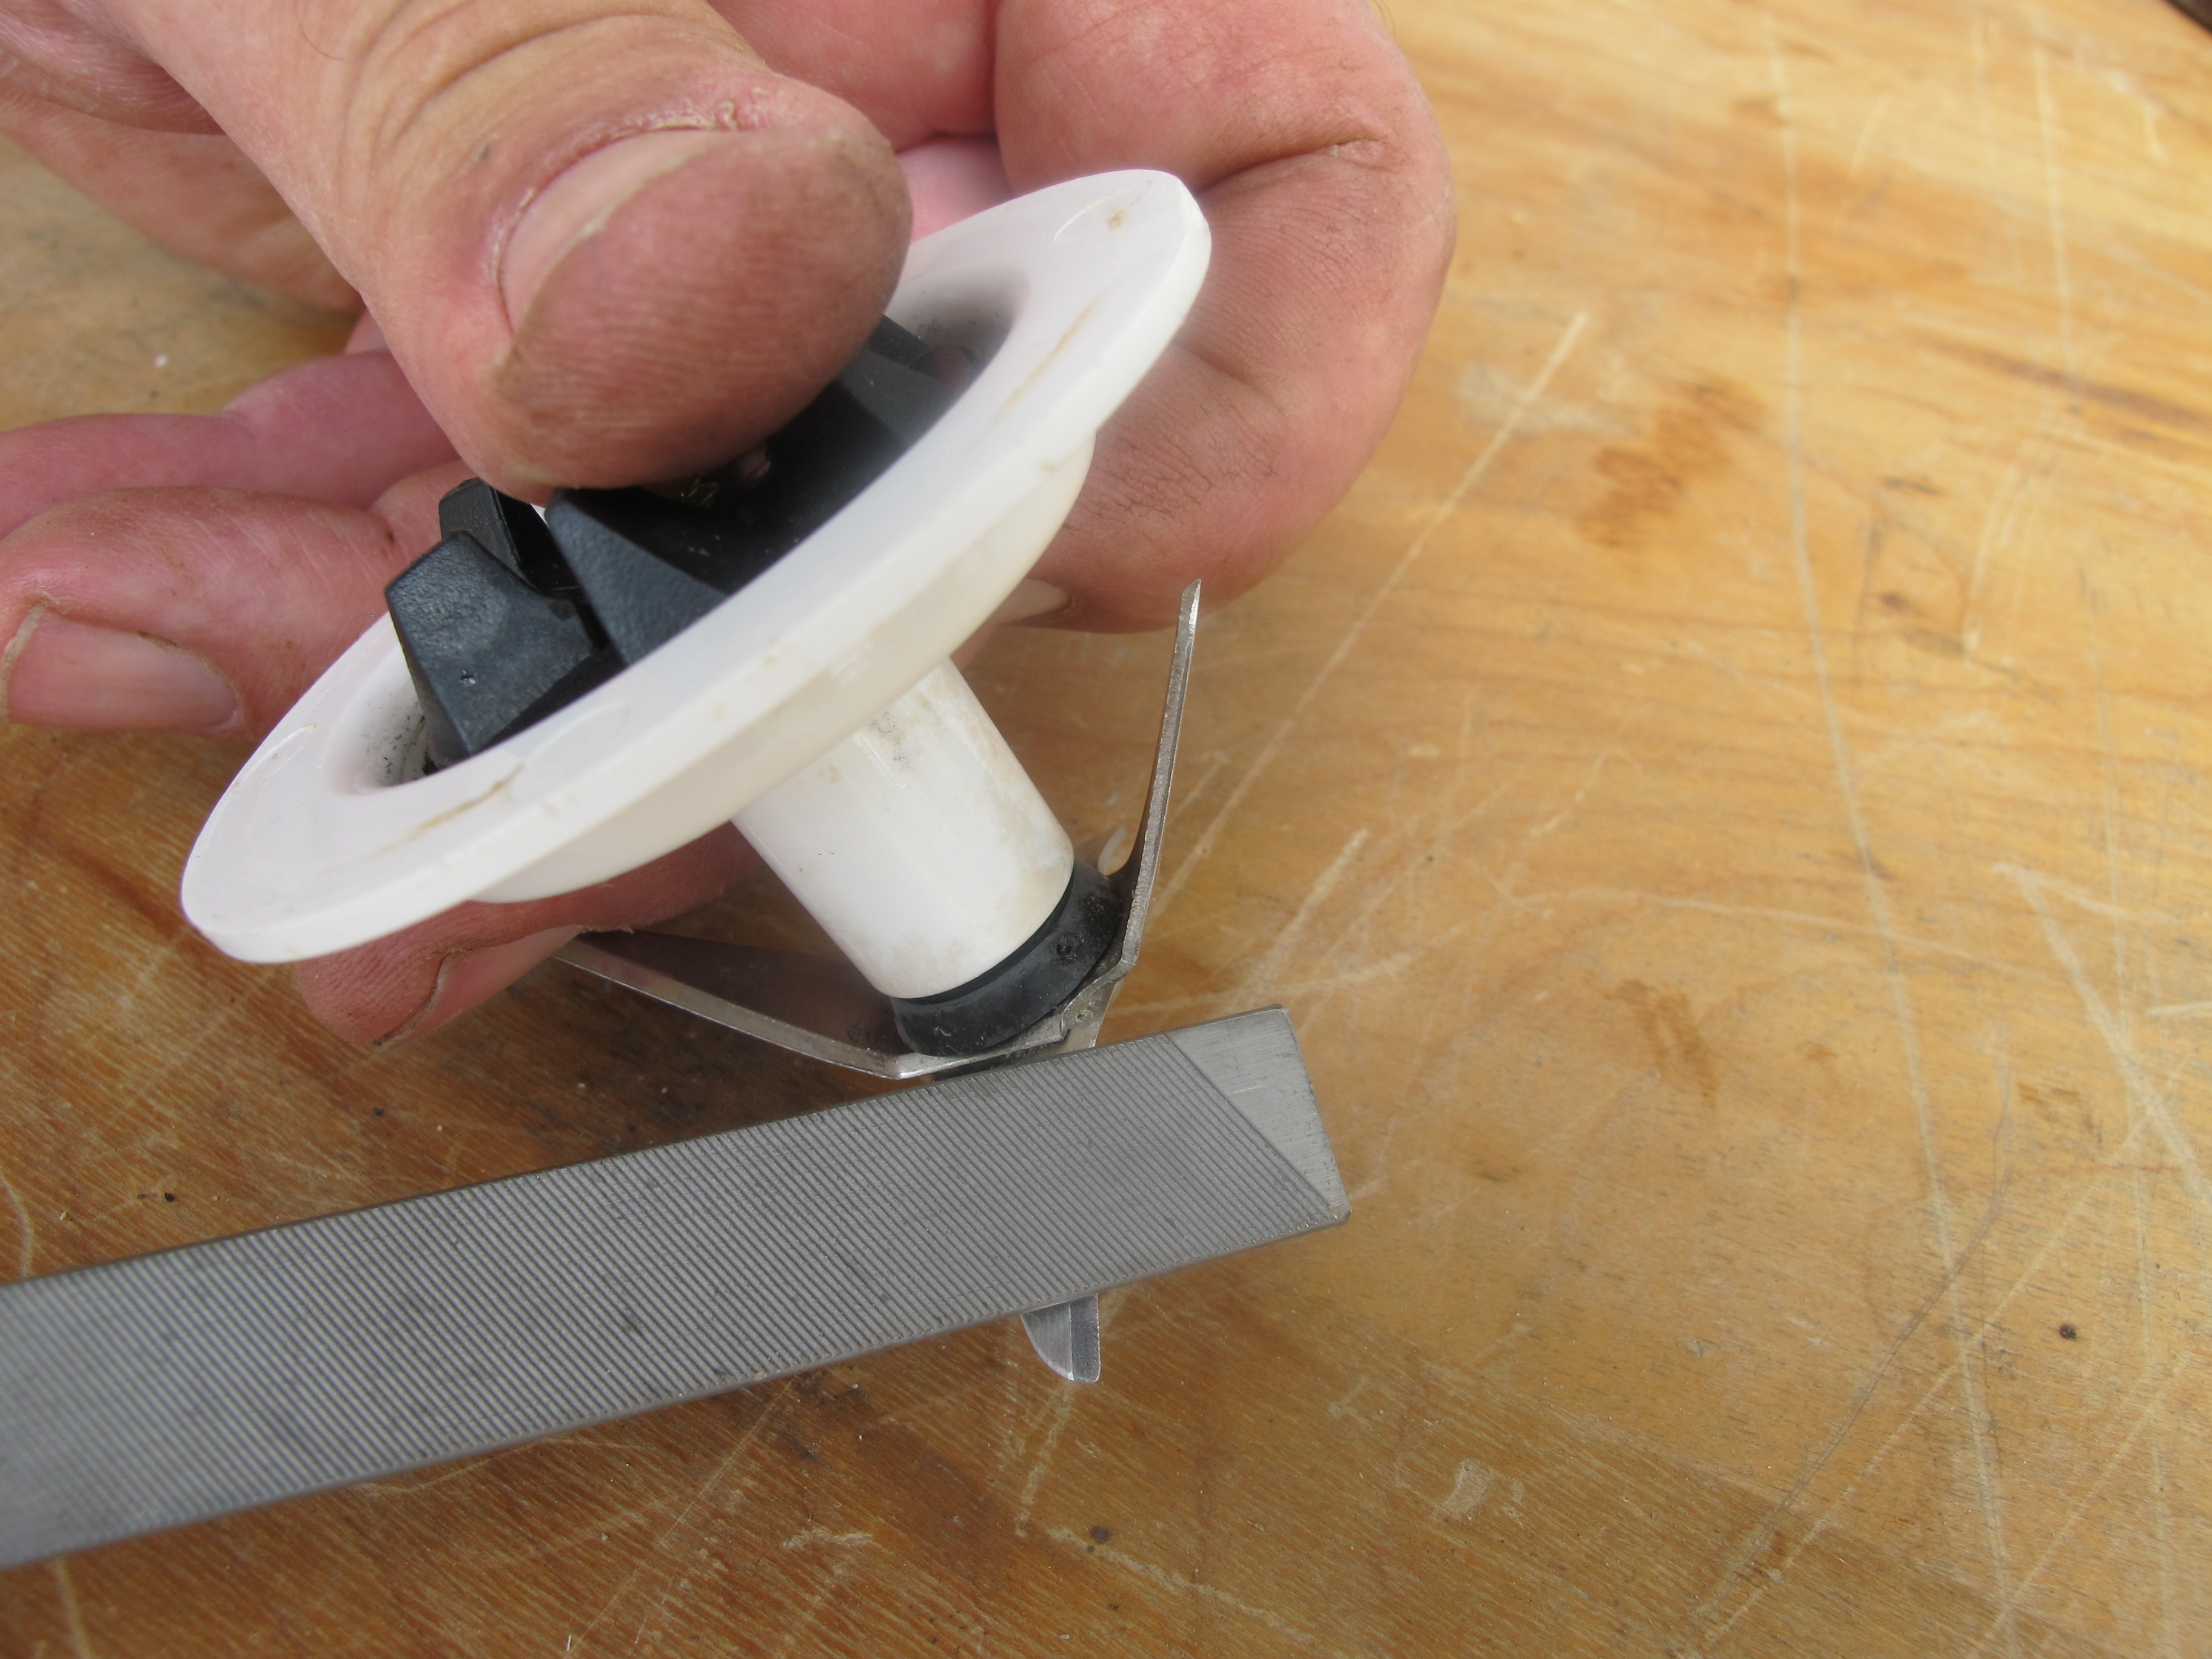
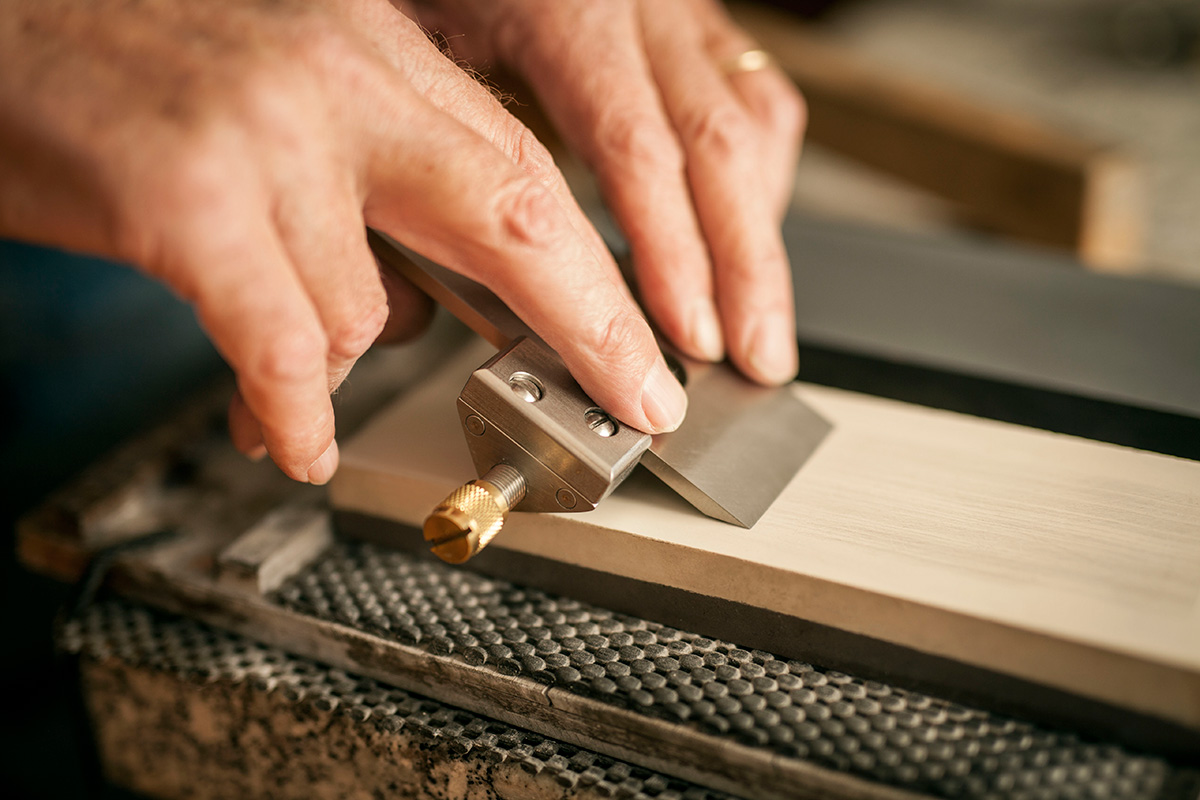
- Hold the sharpening stone or file firmly in one hand. Make sure you’re using the appropriate grit for the level of sharpening required.
- With the blade flat against the stone or file, move it in a smooth, sweeping motion across the entire length of the blade. The angle between the blade and the stone should be around 20-30 degrees.
- Start from the base of the blade and work towards the tip, applying steady and even pressure. Be careful not to apply too much pressure, as it can damage the blade.
- Repeat the motion several times, focusing on the edge of the blade. Keep the motion consistent and ensure the entire edge is sharpened evenly.
- Check the sharpness of the blade by running your finger lightly along the edge. Be cautious and avoid applying too much pressure to prevent accidental cuts.
- If necessary, continue sharpening until you achieve the desired level of sharpness. Remember to sharpen both blades, as each one needs to be equally sharp for optimal cutting performance.
Remember, the goal is to create a clean, sharp edge on the blades. Take your time and maintain a consistent angle and pressure throughout the sharpening process.
Once you’re satisfied with the sharpness of the blades, you can proceed to the next step: reassembling the shears. We’ll guide you through the process in the following section.
Step 4: Reassembling the Shears
After sharpening the blades of your garden shears, it’s time to reassemble them. Follow these steps to properly reassemble your shears:
- Take one of the blades and align it with the corresponding blade slot on the other half of the shears.
- Ensure that the blades are properly aligned and sit flush against each other.
- Insert any washers or spacers that were previously between the blades during disassembly.
- Tighten the screw or bolt at the pivot point to secure the blades together. Be careful not to overtighten, as it can affect the smooth opening and closing of the shears.
- Gently open and close the shears to test their movement. They should open and close smoothly without any friction or rubbing between the blades.
It’s important to note that when reassembling the shears, the cutting edges of the blades should be perfectly aligned. This ensures a clean and precise cut when using the shears.
With the shears successfully reassembled, you’re almost done! The next step is to test the sharpness of the blades and ensure they are ready for use. Continue reading to learn how to do this in the next section.
Step 5: Testing the Sharpness
Now that you have reassembled your garden shears, it’s important to test the sharpness of the blades before putting them to use. This final step ensures that the sharpening process was successful and that your shears are ready to deliver clean and precise cuts. Follow these steps to test the sharpness of the blades:
- Select a small branch or stem to test the shears on. Ideally, choose one that is similar in size to the branches or stems you typically prune or trim.
- Position the branch between the blades of the shears, making sure it is aligned with the cutting edges.
- Gently squeeze the handles of the shears to close the blades and cut through the branch. Pay attention to the ease of cutting and the cleanliness of the cut. It should be smooth, with minimal resistance.
- Inspect the cut surface. If the cut is clean and without crushing or tearing the branch, your shears are properly sharpened and ready for use. However, if the cut is jagged or leaves frayed edges, you may need to re-sharpen the blades.
It’s normal for garden shears to require periodic touch-ups and sharpening as they are regularly used. By regularly testing and sharpening the blades, you ensure that your shears will consistently deliver clean and precise cuts.
Congratulations! You have successfully sharpened and tested the blades of your garden shears. With sharp shears at your disposal, you can now enjoy more efficient and effective gardening. However, it’s important to maintain the sharpness of your shears to prolong their lifespan and keep them in optimal condition. In the next section, we’ll discuss tips for maintaining your sharpened garden shears.
Maintaining Sharp Garden Shears
Now that you have successfully sharpened your garden shears, it’s essential to maintain their sharpness for long-lasting performance. Regular maintenance will not only keep the blades sharp but also prevent them from rusting and ensure smooth cutting. Here are some tips for maintaining your sharpened garden shears:
- After each use, clean the blades with a cloth or brush to remove any dirt, debris, or sap. This prevents build-up and maintains the sharpness of the blades.
- Apply a thin layer of lubricating oil or tool sharpening solution to the blades after cleaning. This helps reduce friction and prevents rusting.
- Store your shears in a dry place to prevent moisture from affecting the blades. Consider hanging them up or keeping them in a sheath or protective cover to avoid damage.
- Inspect the blades regularly for any signs of damage or wear. If you notice any chips, nicks, or excessive wear, consider sharpening them again or replacing the blades if necessary.
- Avoid cutting hard materials such as wire or metal with your garden shears. This can cause the blades to become dull or damaged.
- Consider sharpening your shears at least once or twice a year, depending on the frequency and intensity of your gardening activities. Regular maintenance will help maintain the sharpness of the blades over time.
By following these maintenance tips, you can ensure that your garden shears remain sharp, reliable, and effective for all your gardening needs.
As a final note, always remember to prioritize safety when using and maintaining your garden shears. Wear protective gloves when handling the shears, and be mindful of your fingers and surroundings to prevent accidents or injuries.
Congratulations on successfully sharpening and maintaining your garden shears! With sharp and well-maintained shears, you’ll be able to tackle your gardening tasks with ease and precision. Happy gardening!
Read more: How To Sharpen A Screwdriver
Conclusion
Garden shears are essential tools for any gardener, and keeping them sharp is crucial for efficient and effective pruning, trimming, and shaping of plants. By following the step-by-step process outlined in this guide, you can confidently sharpen your garden shears and ensure they are always ready for the task at hand.
We began by understanding the different types of garden shears and why sharpening them is important for their functionality and longevity. We then went over the tools and materials needed for the sharpening process, ensuring you have everything at your disposal.
Throughout the steps, we learned how to clean the shears, disassemble them (if desired), sharpen the blades, and reassemble them properly. We also covered how to test the sharpness of the blades and provided tips for maintaining them to prolong their lifespan.
With your newly sharpened garden shears, you’ll experience smoother cutting, cleaner cuts, and improved plant health. Regular maintenance and periodic sharpening will keep your shears in top condition, ensuring they last for years of fruitful gardening.
Remember, safety should always be a priority when handling garden shears. Use protective gloves, be mindful of your fingers and surroundings, and follow proper techniques to prevent accidents and injuries.
Now that you’re equipped with the knowledge and skills to sharpen and maintain your garden shears, it’s time to get out into the garden and put them to use. Enjoy the satisfaction of precise cuts and beautifully manicured plants, all thanks to your sharp garden shears!
Frequently Asked Questions about How To Sharpen Garden Shears
Was this page helpful?
At Storables.com, we guarantee accurate and reliable information. Our content, validated by Expert Board Contributors, is crafted following stringent Editorial Policies. We're committed to providing you with well-researched, expert-backed insights for all your informational needs.
0 thoughts on “How To Sharpen Garden Shears”