Home>Furniture & Design>Bathroom Accessories>How To Close Off Jets In A Bathtub
Bathroom Accessories
How To Close Off Jets In A Bathtub
Modified: October 19, 2024
Learn how to close off jets in your bathtub with the right bathroom accessories. Find out the best methods for a relaxing and enjoyable bathing experience.
(Many of the links in this article redirect to a specific reviewed product. Your purchase of these products through affiliate links helps to generate commission for Storables.com, at no extra cost. Learn more)
Introduction
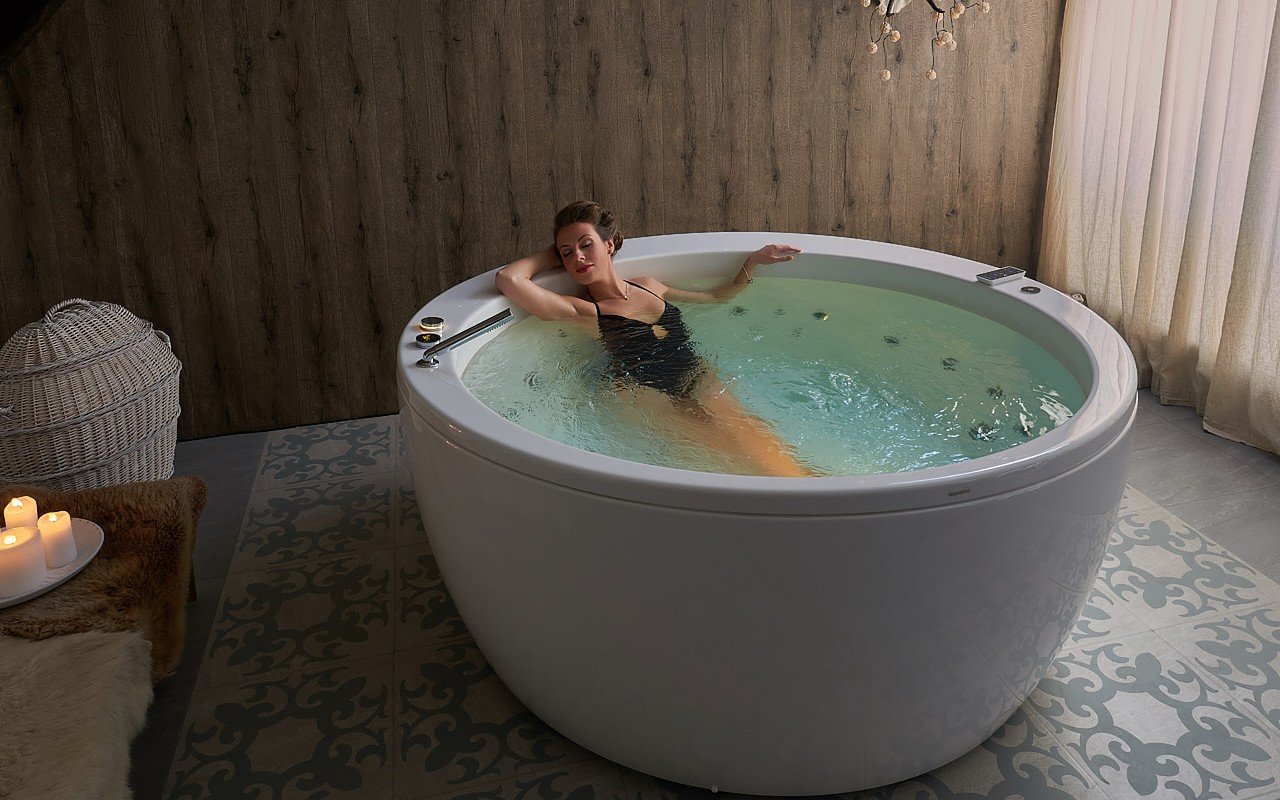
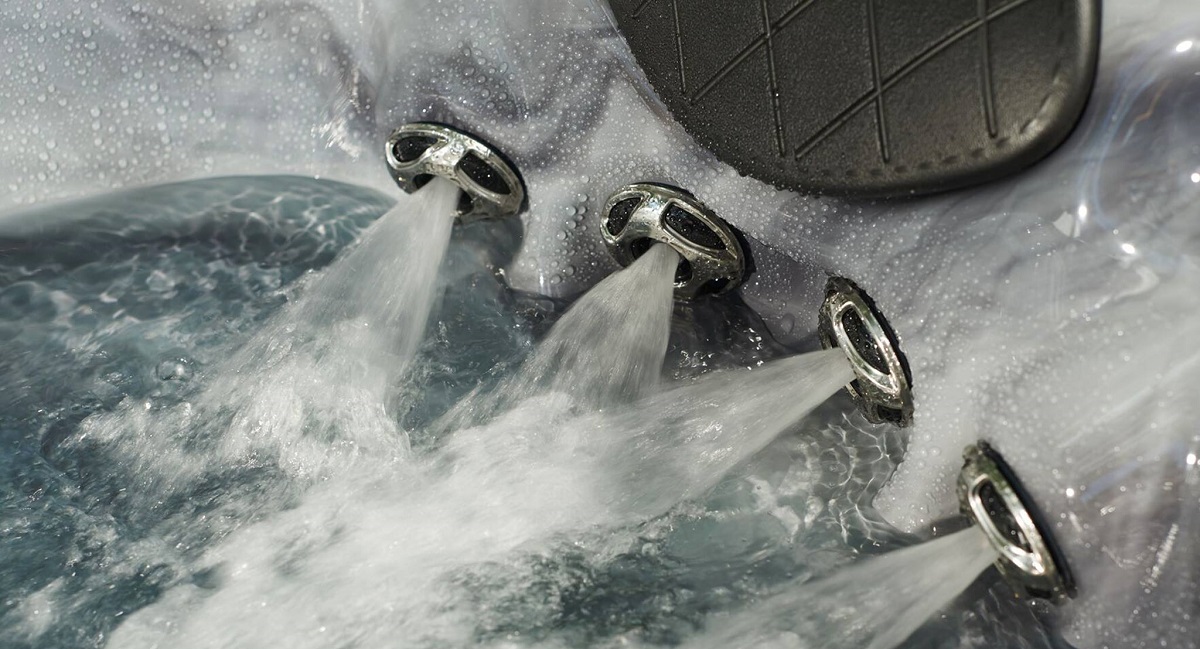
When it comes to creating a relaxing and rejuvenating bathing experience, many homeowners opt for a luxurious bathtub equipped with soothing jets. These jets, often found in whirlpool or jacuzzi-style tubs, are designed to provide a therapeutic massage by circulating water and air. While these features can enhance the overall bathing experience, there are times when you may prefer to enjoy a traditional soak without the jet action. Whether you're looking to conserve water, clean the jets, or simply unwind in a calm, jet-free environment, knowing how to close off the jets in your bathtub is essential.
In this comprehensive guide, we will walk you through the step-by-step process of closing off the jets in your bathtub. By following these instructions, you can effectively disable the jet functionality, allowing you to enjoy a tranquil bath without the invigorating sensation of the jets. From locating the jets to properly closing them off using the jet valves, we will cover everything you need to know to accomplish this task with ease.
So, if you're ready to transform your bathing experience and temporarily bid farewell to the invigorating jets, let's dive into the process of closing off the jets in your bathtub. Whether you're a seasoned homeowner or a first-time bathtub owner, this guide will equip you with the knowledge and confidence to successfully manage your bathtub's jet functionality. Let's get started!
Key Takeaways:
- Transform your bathtub experience by learning how to close off the jets. From locating the jets to using jet valves, you can customize your bath for relaxation or maintenance with confidence.
- Master the art of closing off bathtub jets to create a tranquil soak. Safely turn off the water, remove and replace jet covers, and control the jet valves for a personalized bathing experience.
Read more: How To Turn Off Bathtub Jets
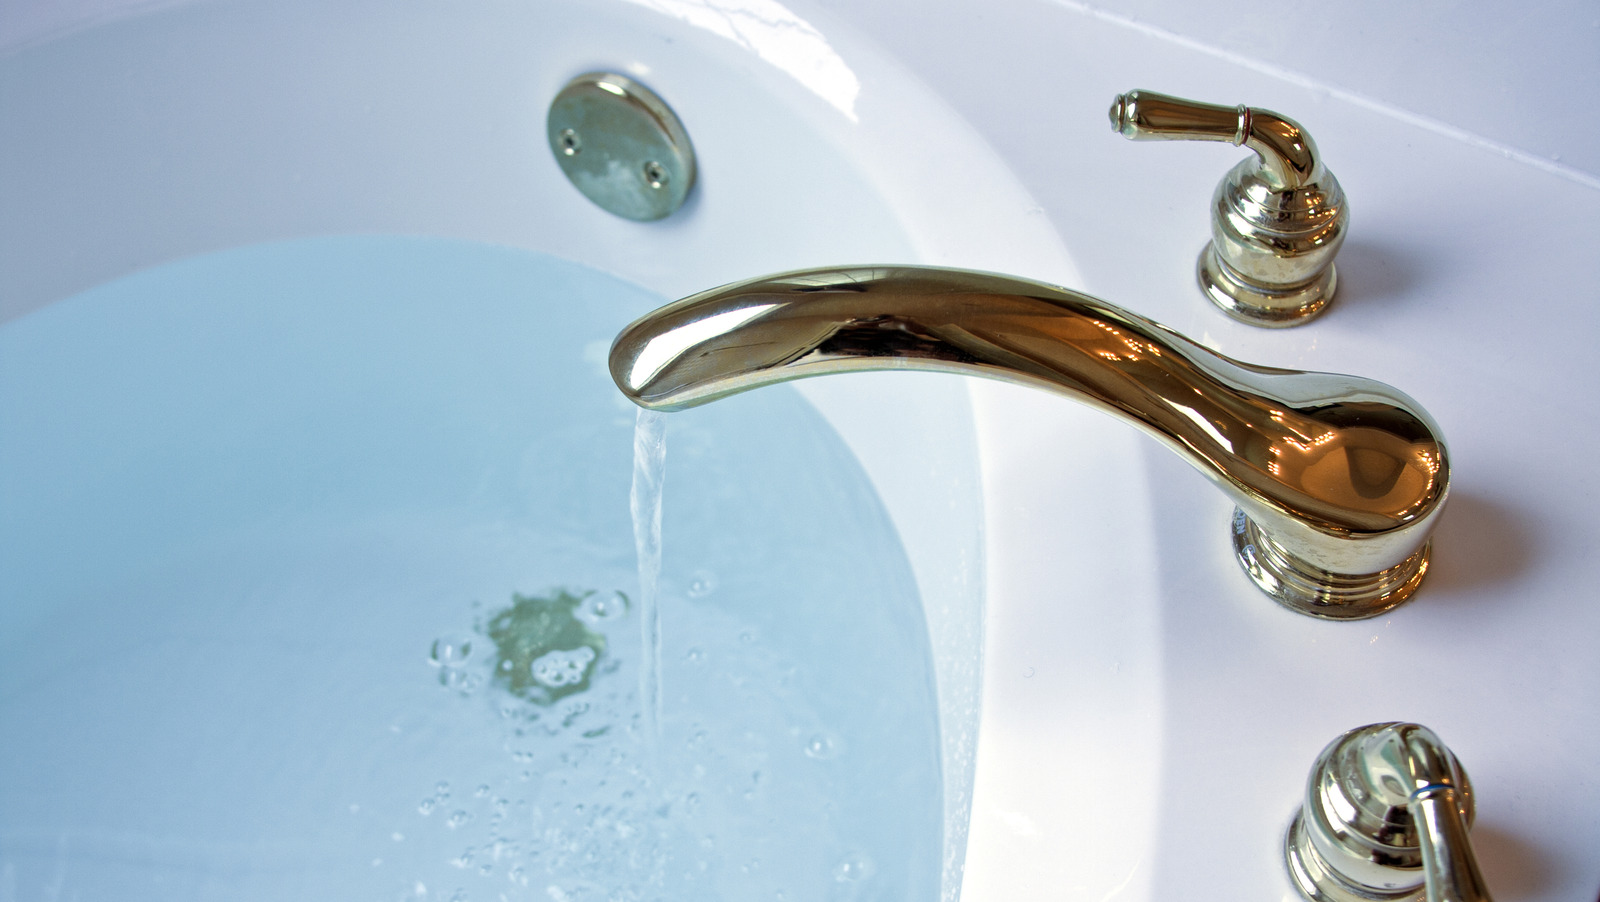
Step 1: Locate the jets in your bathtub
Before you can proceed with closing off the jets in your bathtub, it's crucial to identify their exact location. While this may seem straightforward, the placement of jets can vary depending on the type and design of your bathtub. Here's how you can effectively locate the jets:
-
Visual Inspection: Begin by visually inspecting the interior of your bathtub. Look for small openings or nozzles along the sides or bottom of the tub. These openings are typically the jet outlets through which water and air are propelled to create the massaging effect.
-
Operational Testing: If you're unsure about the location of the jets, you can perform a quick operational test. Fill the bathtub with water and activate the jet function. Observe the areas from which the water and bubbles emanate. This will help you pinpoint the precise locations of the jets.
-
Reference the User Manual: If you have access to the user manual or specifications for your bathtub, refer to the documentation for detailed information about the jet placement. The manual may include diagrams or descriptions that clearly indicate the position of the jets.
-
Seek Professional Assistance: In some cases, especially with complex or customized bathtub installations, it may be beneficial to seek the assistance of a professional plumber or technician. They can provide expert guidance in locating and understanding the configuration of the jets.
By taking these steps, you can confidently identify the specific locations of the jets in your bathtub. This knowledge will serve as the foundation for the subsequent steps in the process of closing off the jets, ensuring that you can proceed with precision and efficiency.
Step 2: Turn off the water supply to the bathtub
Before you proceed with the process of closing off the jets in your bathtub, it's essential to ensure that the water supply to the bathtub is completely shut off. This step is crucial for safety and to prevent any water flow or pressure while you work on the jet valves and covers. Here's a detailed guide on how to turn off the water supply to your bathtub:
Shutting off the Main Water Valve
-
Locate the Main Water Valve: The main water valve, also known as the shut-off valve, is typically situated near the bathtub or within the vicinity of the bathroom. It may be positioned on the wall, floor, or within a utility area.
-
Turn the Valve Clockwise: Once you've located the main water valve, use your hand or an appropriate tool to turn the valve handle in a clockwise direction. This action will effectively stop the flow of water to the bathtub, ensuring that no water enters the system during the jet closure process.
-
Verify Water Flow: After turning off the main water valve, it's advisable to verify that the water supply to the bathtub has been successfully shut off. You can do this by attempting to turn on the bathtub faucet or activating the jet function. If no water flows, you have successfully completed this crucial step.
Additional Considerations
-
Safety Precautions: When working with any plumbing-related components, it's important to exercise caution. Be mindful of any electrical connections or components near the water supply area, and ensure that you have a clear understanding of the shut-off valve's operation.
-
Consult a Professional: If you encounter challenges or uncertainties while attempting to turn off the water supply, it's advisable to seek the assistance of a licensed plumber or a qualified professional. They can provide expert guidance and ensure that the water shut-off process is carried out effectively and safely.
By following these steps and taking the necessary precautions, you can confidently turn off the water supply to your bathtub, setting the stage for the subsequent actions involved in closing off the jets. This proactive approach not only ensures a safe working environment but also contributes to a smooth and efficient jet closure process.
Read more: What Is A Jetted Bathtub?
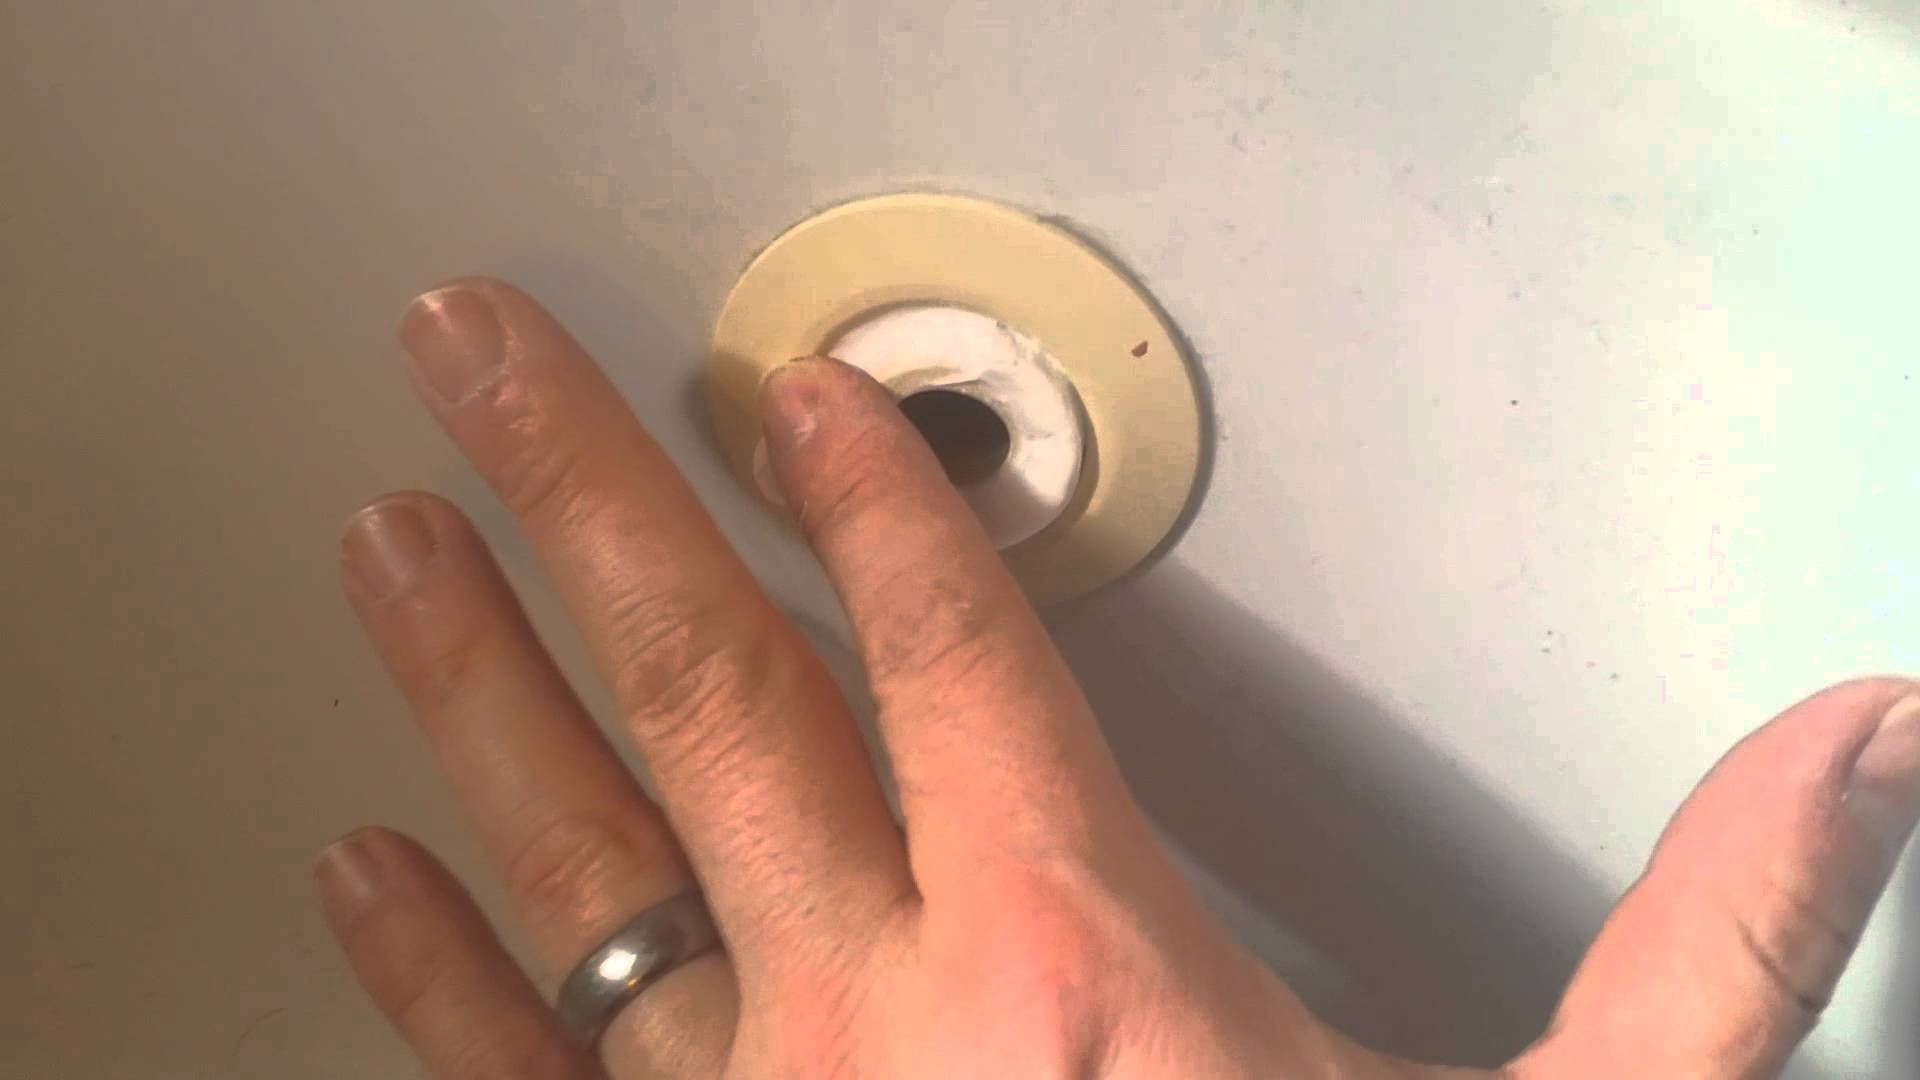
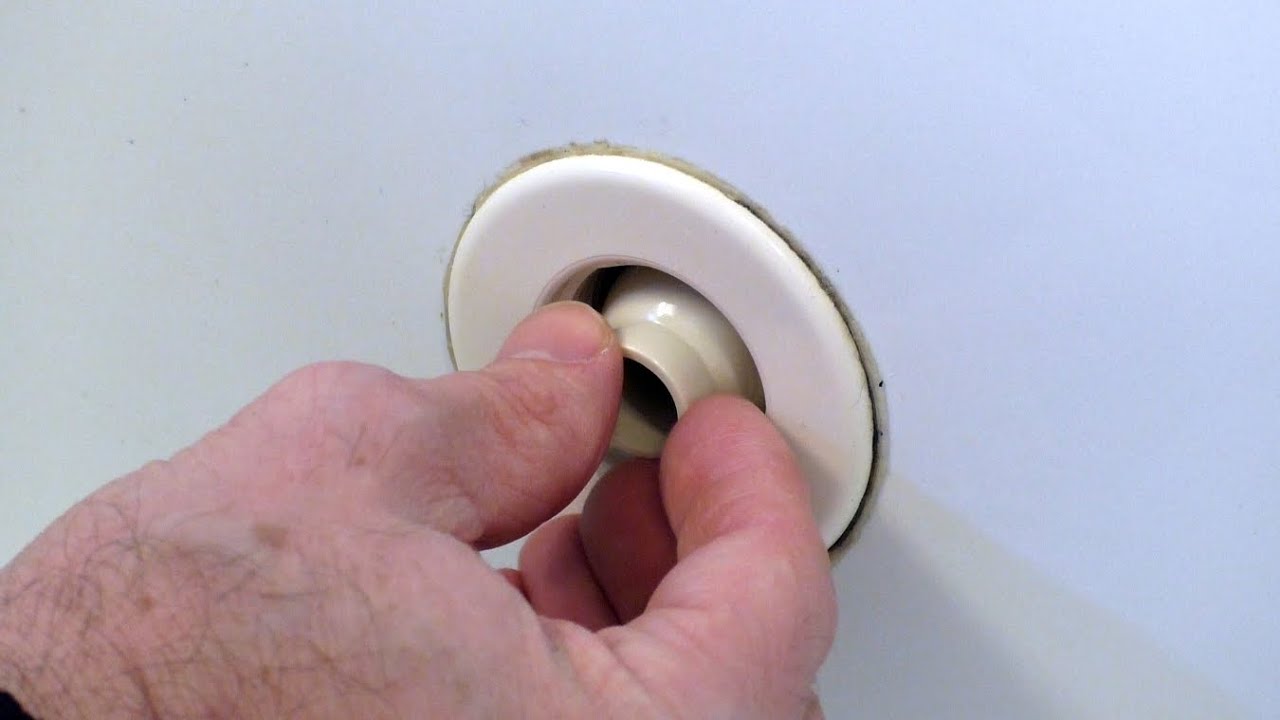
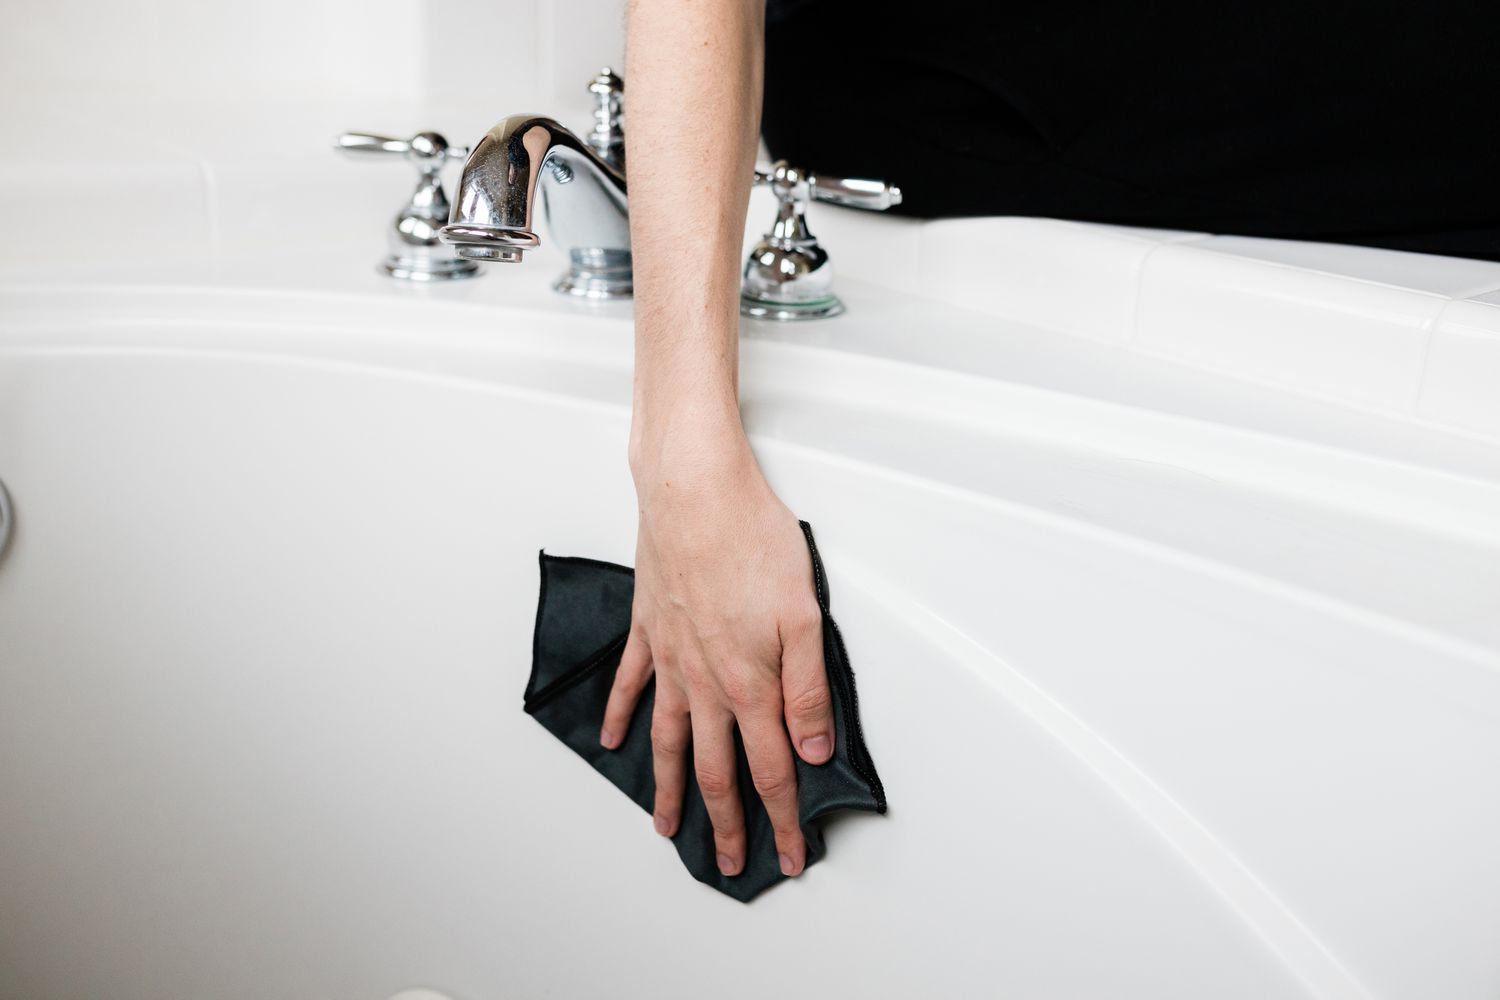
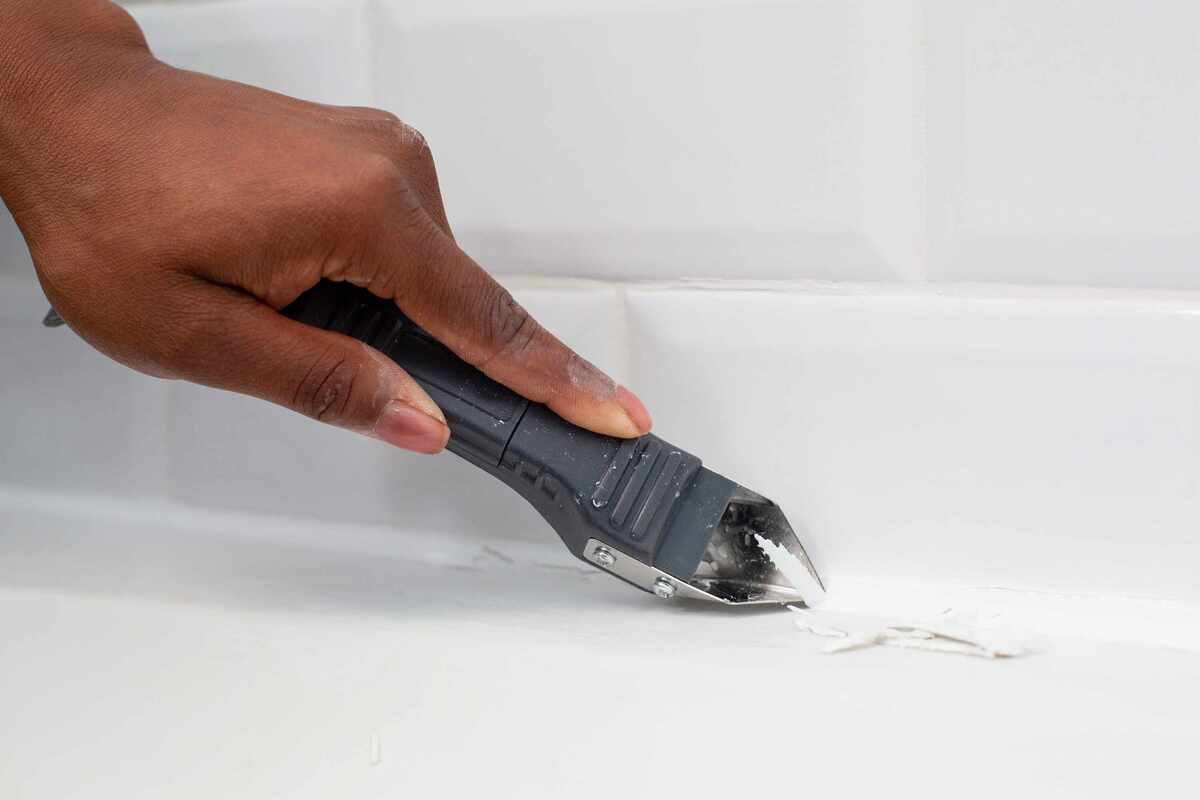
Step 3: Remove the jet covers
Removing the jet covers is a crucial step in the process of closing off the jets in your bathtub. The jet covers, also known as jet trim or jet bezels, serve as protective and decorative elements that conceal the inner workings of the jets. By carefully removing these covers, you gain access to the jet valves and related components, allowing you to proceed with the subsequent steps effectively. Here's a detailed guide on how to remove the jet covers from your bathtub:
-
Gather the Necessary Tools: Before you begin, gather the tools required for this task. Depending on the type of jet covers and their fastening mechanism, you may need a screwdriver, wrench, or specialized tool provided by the bathtub manufacturer.
-
Identify the Fastening Method: Inspect the jet covers to determine the method used to secure them in place. Common fastening methods include screws, clips, or twist-lock mechanisms. Refer to the user manual or manufacturer's guidelines for specific instructions related to your bathtub model.
-
Unfasten the Covers: Using the appropriate tool, carefully unfasten the screws, release the clips, or disengage the twist-lock mechanism to detach the jet covers from the bathtub. Exercise caution to avoid damaging the covers or surrounding surfaces during this process.
-
Handle with Care: Once the fasteners are loosened, gently remove the jet covers from their positions. Be mindful of any gaskets, seals, or additional components that may be attached to the covers. Set the covers aside in a safe and easily accessible location.
-
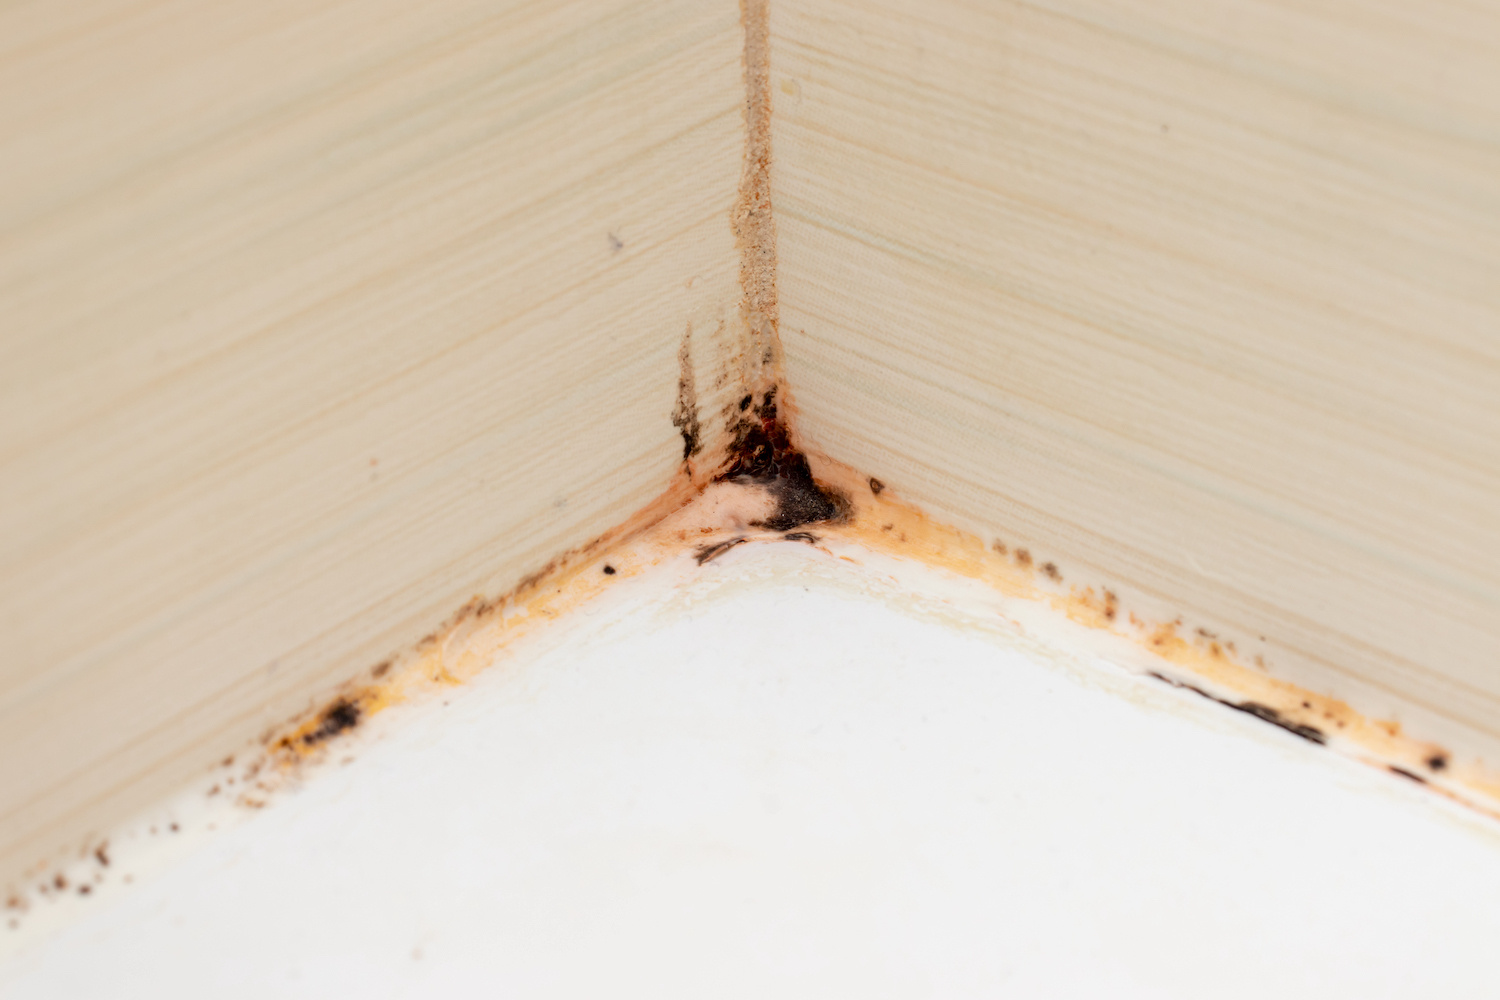
Inspect for Debris or Buildup: With the jet covers removed, take a moment to inspect the interior of the jet openings. Look for any accumulated debris, mineral deposits, or mold that may have formed around the jet nozzles. This inspection will provide valuable insights into the condition of the jet system and may prompt you to perform additional cleaning or maintenance tasks.
-
Organize and Store the Covers: To prevent misplacement or damage, organize the removed jet covers and associated components in a secure manner. Consider labeling or categorizing the covers if you have multiple sets in your bathtub. Storing them in a designated container or area will ensure that they remain intact until it's time to reassemble the jets.
By following these detailed steps, you can effectively remove the jet covers from your bathtub, paving the way for the subsequent actions involved in closing off the jets. This process sets the stage for accessing the jet valves and implementing the necessary measures to temporarily disable the jet functionality. With the covers removed, you are one step closer to achieving your desired bathing experience, whether it involves a serene soak or targeted maintenance of the jet system.
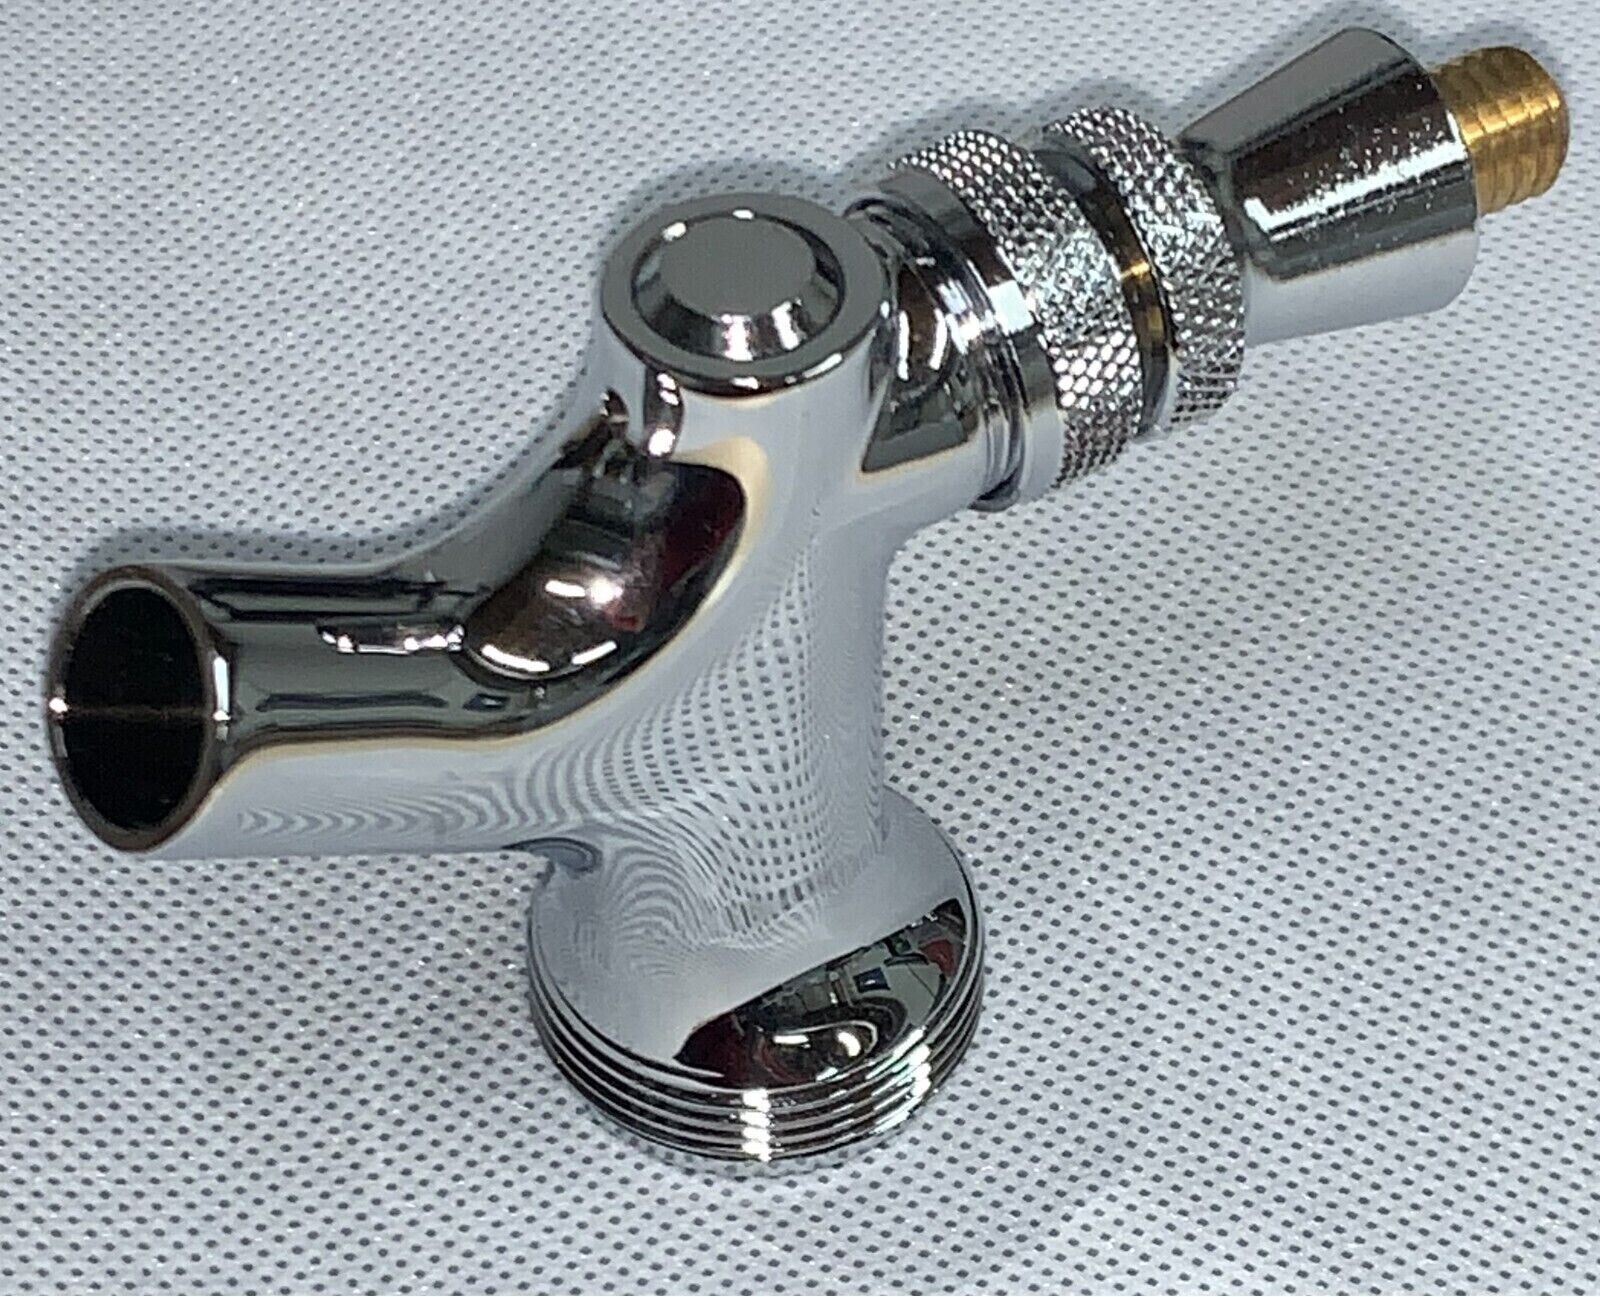
Step 4: Close off the jets using the jet valves
With the jet covers successfully removed, you now have access to the essential components that control the flow of water and air to the bathtub jets. The next step involves closing off the jets using the jet valves, effectively preventing the circulation of water and air through the jet system. This process allows you to temporarily disable the jet functionality, creating an environment conducive to a traditional, non-jetted bath. Here's a detailed guide on how to close off the jets using the jet valves:
-
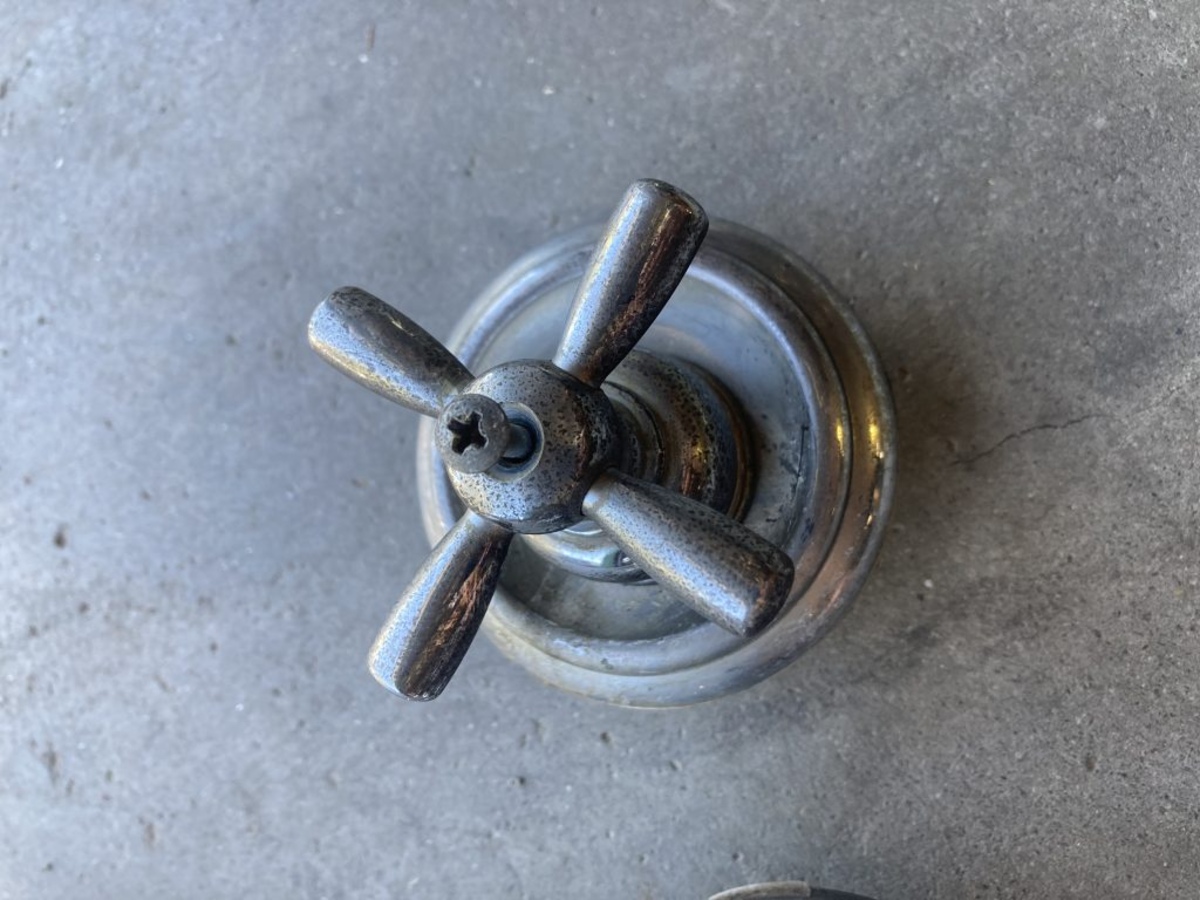
Identify the Jet Valves: Within the exposed area of the bathtub's interior, locate the jet valves associated with each jet. These valves are typically small levers or knobs that can be manipulated to control the flow of water and air to the jets. Depending on the bathtub's design, the valves may be situated directly on the jet assemblies or within close proximity.
-
Close the Jet Valves: Once you've identified the jet valves, proceed to close them by adjusting their position or orientation. This action effectively restricts the flow of water and air, preventing these elements from reaching the jets. Depending on the type of jet valves in your bathtub, you may need to rotate them, slide them into a closed position, or engage a locking mechanism to halt the flow.
-
Verify the Closure: After closing the jet valves, it's advisable to verify that the jets are effectively disabled. You can do this by filling the bathtub with water and attempting to activate the jet function. If the jets remain inactive and no water or bubbles emerge from the jet openings, it indicates that the jet valves have been successfully closed off.
-
Consider Individual Jets: In some cases, bathtubs may feature individual jet valves for each jet, allowing you to selectively close off specific jets while leaving others operational. If this option is available in your bathtub, take the opportunity to customize the jet closure based on your preferences and requirements.
-
Document the Closure Process: As a proactive measure, consider documenting the closure of the jet valves for future reference. This documentation can include photographs, written notes, or a digital record of the valve positions. Having this information readily available can be beneficial when it's time to re-enable the jet functionality.
By following these steps, you can effectively close off the jets in your bathtub using the jet valves, transforming the bathing environment to align with your preferences. Whether you seek a serene soak, plan to perform maintenance on the jet system, or simply wish to conserve water, this process empowers you to temporarily disable the jets with confidence and precision.
To close off jets in a bathtub, locate the access panel and shut off the water supply to the jets. Then, use a screwdriver to close the individual jet valves. This will prevent water from flowing through the jets.
Step 5: Replace the jet covers
After successfully closing off the jets using the jet valves, the final step in the process involves replacing the jet covers to restore the aesthetic and functional integrity of your bathtub. The jet covers, also known as jet trim or jet bezels, serve as protective and decorative elements that conceal the inner workings of the jets. By securely reinstalling these covers, you not only enhance the visual appeal of your bathtub but also ensure that the jet components are adequately protected. Here's a detailed guide on how to replace the jet covers in your bathtub:
-
Retrieve the Jet Covers: Begin by retrieving the jet covers from the designated storage area where you placed them after removal. Ensure that all associated components, such as gaskets or seals, are readily available for the reinstallation process.
-
Inspect the Covers and Surroundings: Before proceeding, take a moment to inspect the jet covers and the surrounding areas of the jet openings. Look for any debris, damage, or signs of wear that may require attention. Additionally, verify that the fastening mechanisms on the covers are in optimal condition.
-
Align and Position the Covers: Carefully align each jet cover with its respective opening in the bathtub. Ensure that the covers are positioned correctly and that any gaskets or seals are in place to provide a secure and watertight fit.
-
Secure the Covers in Place: Depending on the type of fastening mechanism used, proceed to secure the jet covers in place. This may involve tightening screws, engaging clips, or utilizing a twist-lock mechanism to ensure that the covers are firmly attached to the bathtub.
-
Perform a Functional Check: After securing the jet covers, perform a brief functional check to verify that they are properly installed. Gently press on each cover to confirm that it is securely fastened and that there are no gaps or misalignments that could compromise the integrity of the jet system.
-
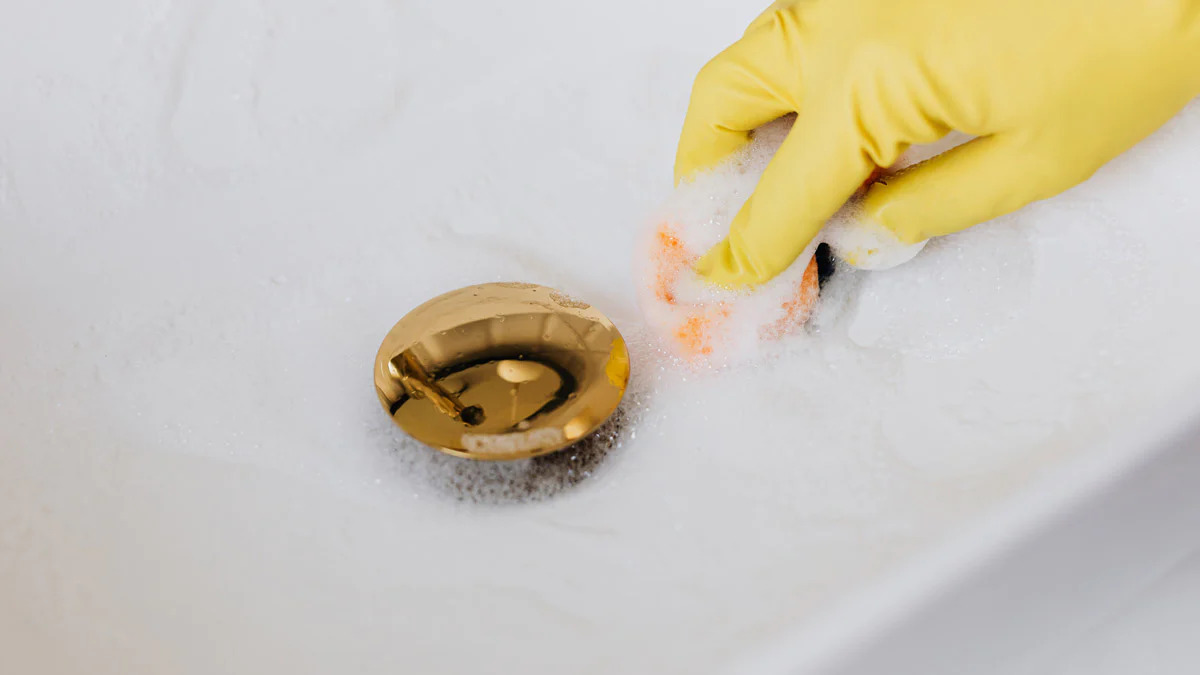
Clean and Polish: As a finishing touch, consider cleaning and polishing the jet covers to restore their luster and ensure that they complement the overall appearance of your bathtub. Use a mild cleaning solution and a soft cloth to remove any smudges or residues that may have accumulated during the handling and installation process.
By meticulously following these steps, you can effectively replace the jet covers in your bathtub, completing the process of closing off the jets with a meticulous attention to detail. This final step not only enhances the visual appeal of your bathtub but also signifies the successful completion of the jet closure process, allowing you to enjoy a serene and rejuvenating bathing experience tailored to your preferences.
Conclusion
In conclusion, mastering the art of closing off the jets in your bathtub empowers you to curate your bathing experience according to your preferences and needs. By following the step-by-step process outlined in this guide, you have gained the knowledge and confidence to effectively disable the jet functionality, whether for the purpose of conserving water, performing maintenance, or simply indulging in a tranquil soak.
The journey begins with the crucial task of locating the jets in your bathtub, a foundational step that sets the stage for the subsequent actions. By visually inspecting the tub, performing operational tests, referencing the user manual, or seeking professional assistance, you can confidently pinpoint the precise locations of the jets, ensuring a comprehensive understanding of your bathtub's configuration.
Turning off the water supply to the bathtub emerges as a pivotal safety measure, safeguarding against unexpected water flow or pressure during the jet closure process. By locating and shutting off the main water valve with precision and care, you create a secure working environment, laying the groundwork for the seamless execution of the subsequent steps.
The meticulous removal of the jet covers not only grants access to the inner workings of the jets but also presents an opportunity to inspect and maintain the jet openings. By employing the appropriate tools and techniques, you can safely detach the covers, organize and store them, and assess the condition of the jet system, setting the stage for the subsequent closure of the jets.
Closing off the jets using the jet valves represents the pivotal moment in the process, where you exercise control over the flow of water and air to the jets. By identifying and manipulating the jet valves with precision, you effectively disable the jet functionality, customizing your bathing environment to align with your desired experience.
Finally, the process culminates with the meticulous replacement of the jet covers, restoring the visual and functional integrity of your bathtub. By aligning, securing, and inspecting the covers, you complete the journey of closing off the jets with a sense of accomplishment and attention to detail.
In essence, the ability to close off the jets in your bathtub represents a valuable skill that empowers you to personalize your bathing experience. Whether you seek tranquility, maintenance, or conservation, this knowledge equips you to navigate the dynamics of your bathtub with confidence and precision, ensuring that every bath aligns with your unique preferences and priorities.
Frequently Asked Questions about How To Close Off Jets In A Bathtub
Was this page helpful?
At Storables.com, we guarantee accurate and reliable information. Our content, validated by Expert Board Contributors, is crafted following stringent Editorial Policies. We're committed to providing you with well-researched, expert-backed insights for all your informational needs.
0 thoughts on “How To Close Off Jets In A Bathtub”