Articles
How To Clean Your Driveway
Modified: August 28, 2024
Discover effective techniques and tips in our articles to clean your driveway like a pro. Improve your home's curb appeal with our expert advice.
(Many of the links in this article redirect to a specific reviewed product. Your purchase of these products through affiliate links helps to generate commission for Storables.com, at no extra cost. Learn more)
Introduction
Welcome to our comprehensive guide on how to clean your driveway. Over time, driveways can accumulate dirt, grime, oil stains, and other unsightly marks that can diminish the appearance of your property. Regular cleaning not only helps restore the beauty of your driveway but also enhances its longevity. In this article, we will walk you through the step-by-step process of cleaning your driveway effectively.
Before we get started, it’s important to note that different types of driveways require different cleaning methods. Whether you have a concrete, asphalt, or paver driveway, we will provide tailored tips and techniques for each surface. So, let’s gather our supplies and dive into the cleaning process!
Key Takeaways:
- Tailored Tips for Every Surface
Different driveways require different cleaning methods. Whether it’s concrete, asphalt, or paver, this guide provides tailored tips and techniques for each surface, ensuring effective and safe cleaning. - Preventative Measures for Longevity
Incorporating preventative measures such as regular sweeping, immediate spill cleanup, and proper snow removal can minimize dirt accumulation and prolong the cleanliness of your driveway.
Read more: How To Widen Your Driveway
Gathering Supplies
Before starting the cleaning process, it’s essential to gather all the necessary supplies. Having the right tools and products will make the job easier and more efficient. Here are the supplies you will need:
- Safety Equipment: Always prioritize safety when working with cleaning solutions. Wear gloves, safety goggles, and protective clothing to protect your skin and eyes.
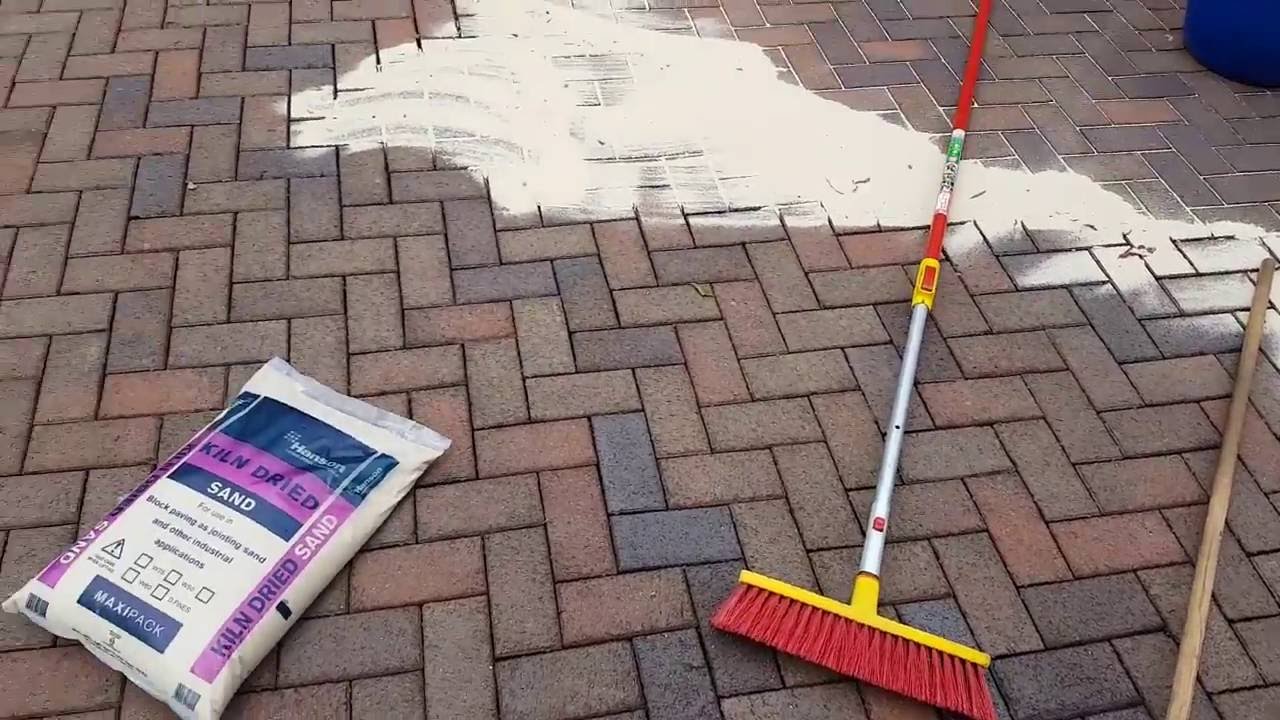
- Broom or Stiff Brush: A broom or stiff brush will help loosen and remove loose dirt and debris from the surface of your driveway.
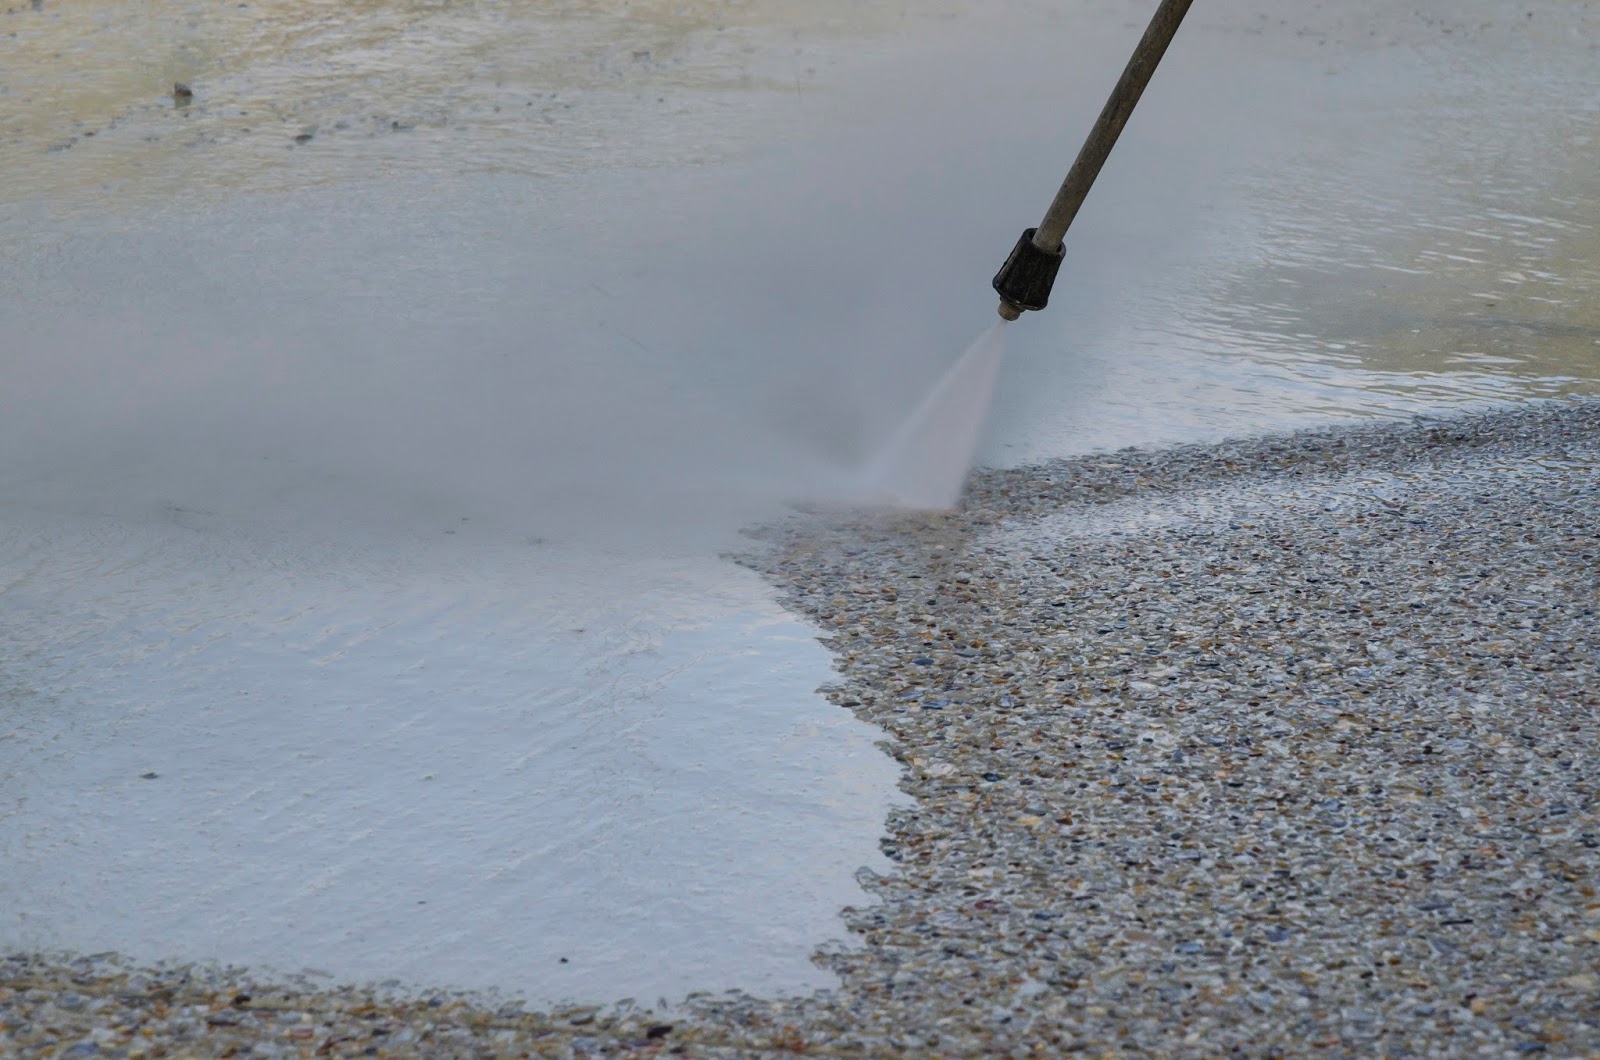
- Pressure Washer: If you have access to a pressure washer, it can be a powerful tool for deep cleaning your driveway. Look for a pressure washer with adjustable settings to avoid damaging delicate surfaces.
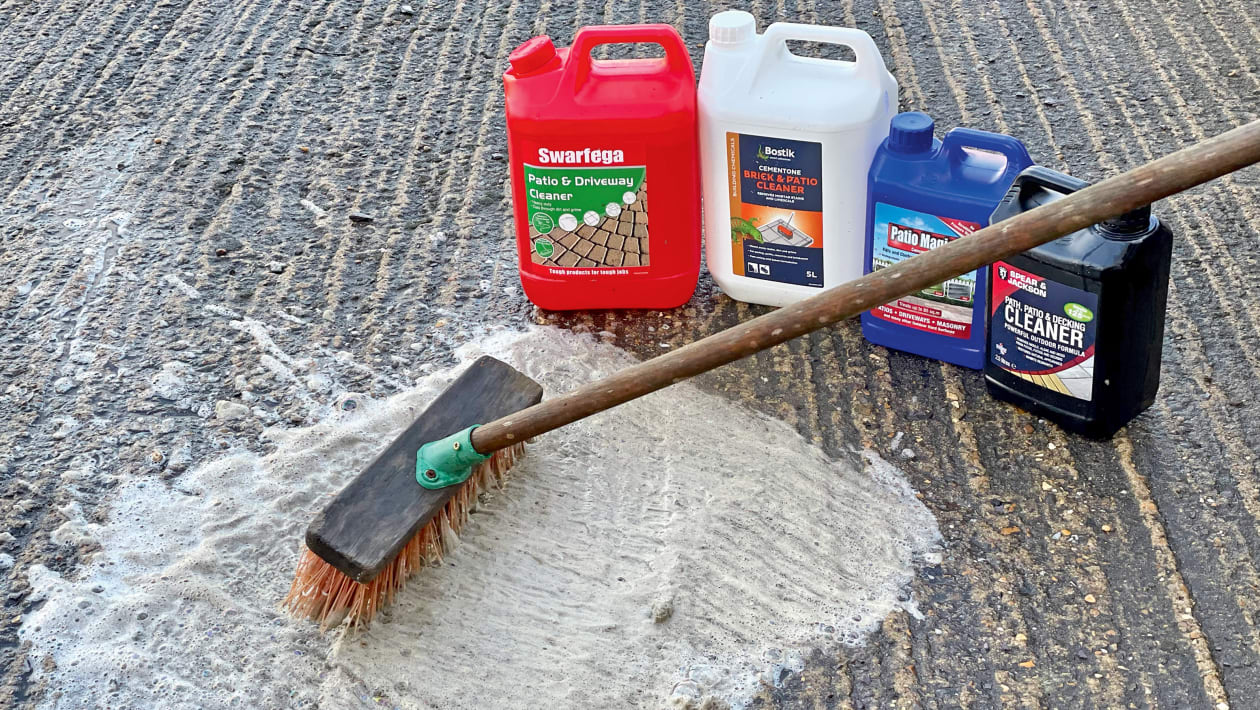
- Cleaning Solution: Choose a cleaning solution appropriate for your specific driveway material. For concrete driveways, a mixture of water and mild detergent or a specialized concrete cleaner is often effective. For asphalt driveways, look for a cleaner specifically formulated for asphalt surfaces.
- Stain Remover: In case you have stubborn stains like oil, grease, or rust, you may need a specialized stain remover. There are various stain removal products available on the market, so be sure to choose one that is suitable for your driveway surface.
- Bucket: A bucket will be handy for mixing cleaning solutions or carrying water during the rinsing process.
- Garden Hose: A garden hose with a spray nozzle attachment is essential for rinsing off the cleaning solution and debris.
- Optional: Sealant or Finish: If desired, you may choose to apply a sealant or finish to your driveway after cleaning. This can help protect the surface and give it a polished look.
Now that you have all the necessary supplies, it’s time to clear the surface of your driveway before applying the cleaning solution.
Clearing the Surface
Before you start the actual cleaning process, it’s important to clear the surface of your driveway from any loose debris or obstacles. Follow these steps to ensure a clean and clear working area:
- Remove any obstructions: Check for any objects, such as trash cans, vehicles, or outdoor furniture, that may be blocking your driveway. Move them to a safe location to prevent any potential damage during the cleaning process.
- Sweep or brush away loose debris: Use a broom or stiff brush to sweep away any loose dirt, leaves, or gravel on the surface of the driveway. Pay attention to corners, cracks, and edges where debris tends to accumulate.
- Inspect for weeds or vegetation: Look for any weeds or vegetation growing in cracks or crevices on your driveway. Use a weed remover tool or a small gardening trowel to remove any unwanted growth.
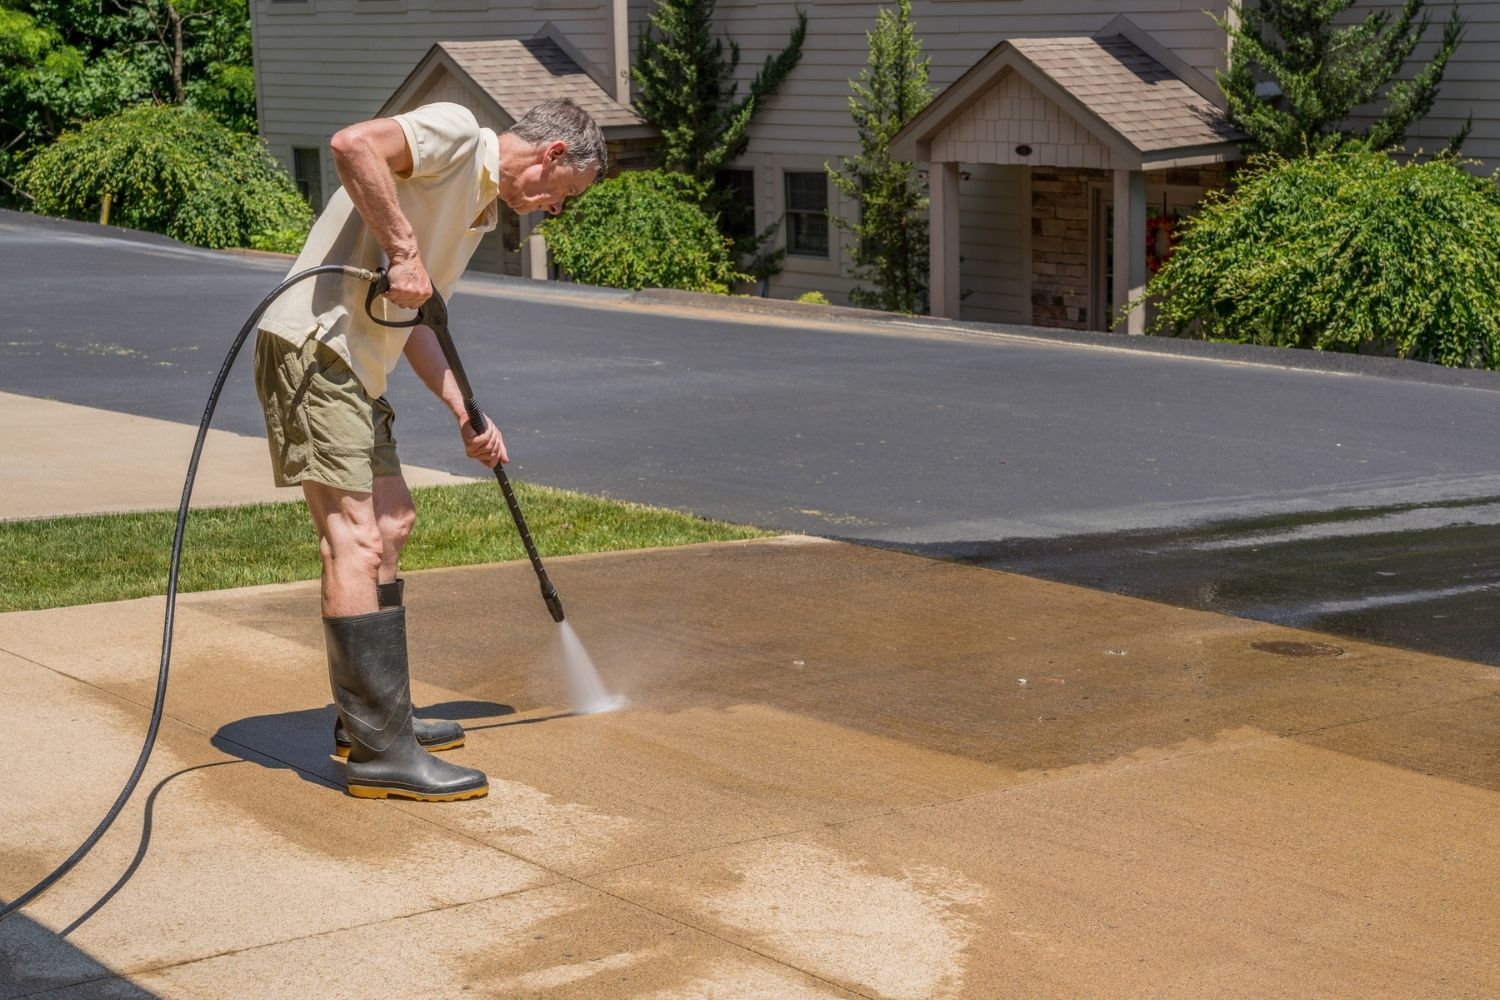
- Consider power washing: If your driveway has stubborn stains or heavy buildup, consider using a pressure washer to blast away the dirt and grime. Adjust the pressure setting on the machine to avoid damaging the surface. Note that this step is optional and may not be suitable for all driveway surfaces.
Once you have cleared the surface of your driveway, you are ready to move on to the next step: applying the cleaning solution. Remember to take safety precautions and protect nearby plants or delicate surfaces before proceeding.
Applying the Cleaning Solution
Now that the surface of your driveway is clear, it’s time to apply the cleaning solution to tackle the dirt and stains. The cleaning solution will help break down grime and lift away stubborn marks, giving your driveway a fresh and clean appearance. Follow these steps to apply the cleaning solution:
- Read the instructions: Before using any cleaning product, carefully read the instructions and precautions provided by the manufacturer. Different solutions may have specific dilution ratios or application methods.
- Prepare the cleaning solution: Mix the cleaning solution according to the instructions. Typically, a mixture of water and mild detergent is suitable for most concrete driveways. For asphalt driveways, use a cleaner specifically designed for asphalt surfaces.
- Test a small area: Before applying the solution to the entire driveway, it’s wise to test it on a small, inconspicuous area. This will ensure that the solution does not damage or discolor your driveway.
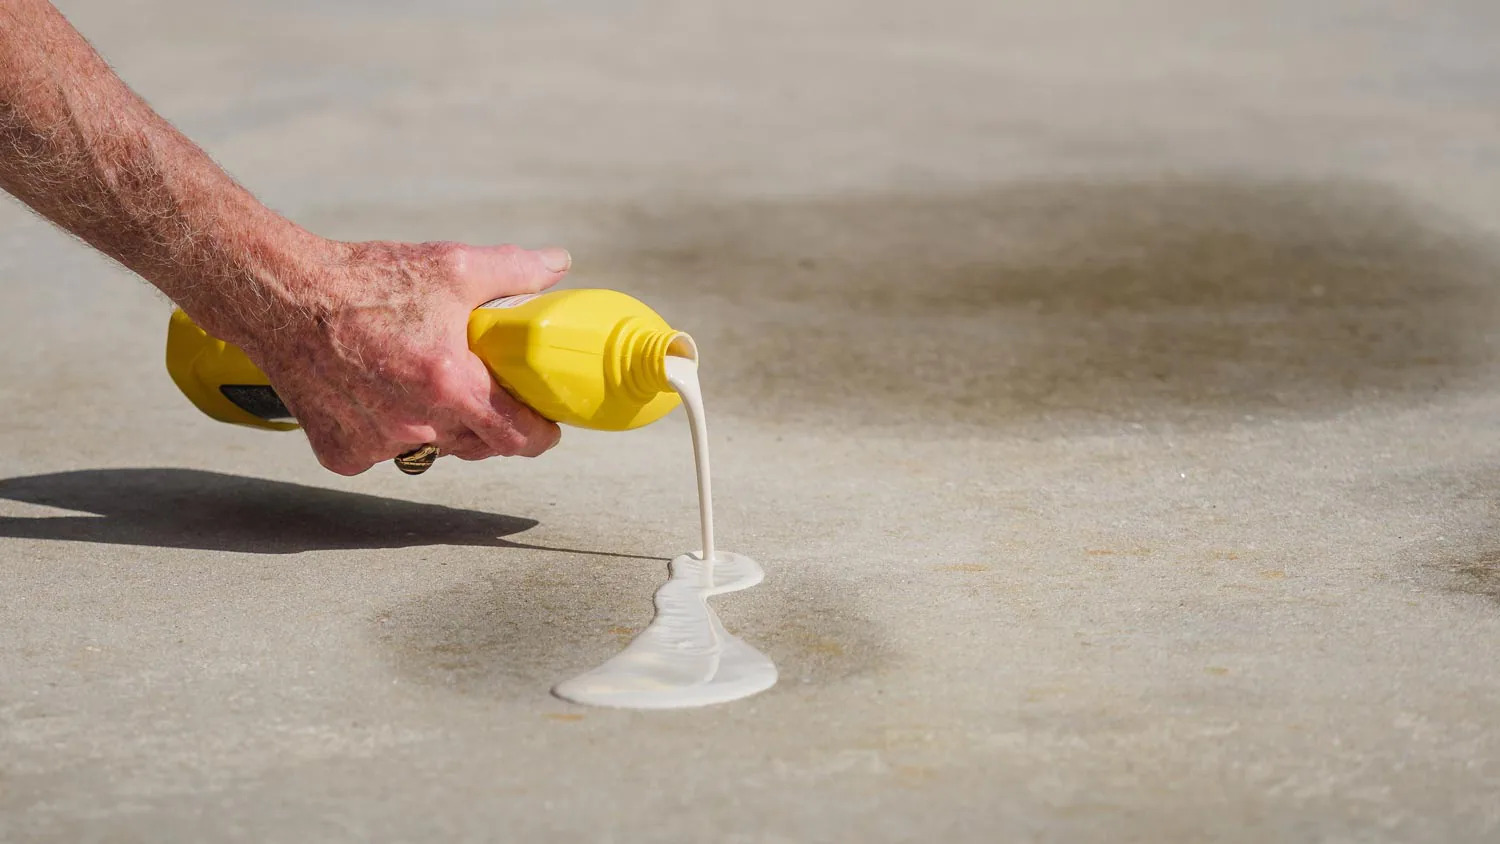
- Apply the solution: Using a sprayer, watering can, or a mop, evenly apply the cleaning solution to the surface of your driveway. Start from one end and work your way to the other, ensuring complete coverage.
- Let it sit: Allow the cleaning solution to sit on the driveway for the recommended amount of time. This will give the solution enough time to penetrate and loosen the dirt and stains.
It’s important to note that the duration of the cleaning solution’s dwell time may vary depending on the severity of the stains and the specific product being used. Refer to the instructions provided with the cleaner for the best results.
Once the cleaning solution has had sufficient time to work its magic, it’s time to scrub and clean the surface of your driveway. This step will help remove the loosened dirt and stains, revealing a refreshed and revitalized driveway.
Scrubbing and Cleaning
Now that the cleaning solution has had time to penetrate and loosen the dirt and stains on your driveway, it’s time to roll up your sleeves and get scrubbing. This step will help remove the loosened dirt and grime, leaving your driveway looking clean and refreshed. Follow these steps to effectively scrub and clean your driveway:
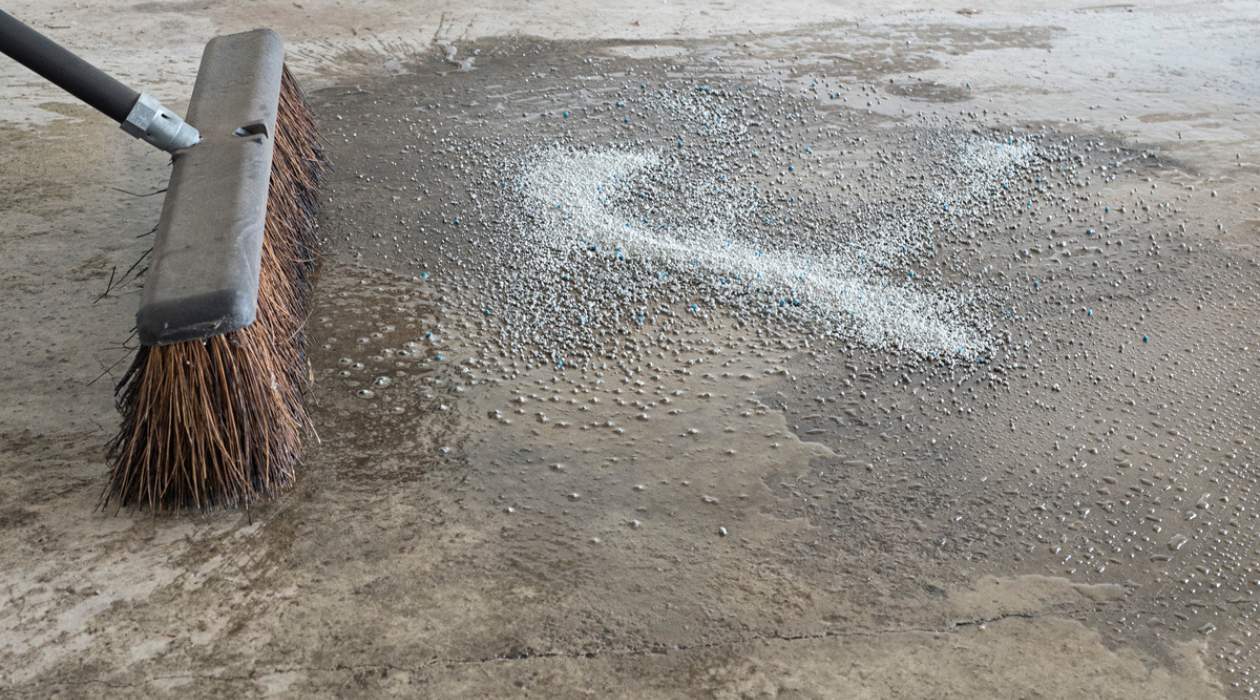
- Use a scrub brush or broom: Choose a scrub brush with stiff bristles or a broom with firm bristles. These tools will help agitate the surface of the driveway and remove the dirt and residue. Start scrubbing from one end and work your way to the other, focusing on smaller sections at a time.
- Apply pressure: Use moderate pressure while scrubbing to ensure effective cleaning. Concentrate on areas with stubborn stains or heavy buildup, giving them a little extra attention.
- Pay attention to corners and edges: Use a smaller brush or an old toothbrush to clean hard-to-reach areas, cracks, and edges. These areas are prone to accumulate dirt and grime and may require more effort to clean.
- Rinse off the dirt: Periodically rinse off the dirt and debris from the brush or broom. This will prevent the accumulation of dirt and make the cleaning process more efficient.
- Scrub in circular motions: To ensure thorough cleaning, scrub in circular motions rather than just back and forth. This will help dislodge stubborn stains and ensure even coverage.
- Work systematically: Divide your driveway into smaller sections and clean them one at a time. This will help you maintain control and ensure that no area is overlooked.
- Periodically wet the surface: If the cleaning solution starts to dry out on the surface, lightly mist it with water to keep it moist. This will allow the solution to continue working effectively.
Continue scrubbing and cleaning your driveway until you have covered the entire surface. Once you’re satisfied with the cleanliness, it’s time to move on to the next step: rinsing off the cleaning solution and debris.
Regularly sweep your driveway to remove debris and prevent buildup. Use a pressure washer or a mixture of water and detergent to remove tough stains and dirt.
Read more: How To Clean A Paver Driveway
Rinsing the Driveway
After scrubbing and cleaning your driveway, it’s important to thoroughly rinse off the cleaning solution and any remaining dirt and debris. Rinsing will not only remove the loosened grime but also help reveal the true cleanliness of your driveway. Follow these steps to effectively rinse your driveway:
- Prepare your garden hose: Attach a spray nozzle attachment to your garden hose for more control and even distribution of water.
- Start from top to bottom: Begin rinsing your driveway from the top, allowing the water to flow down and carry away any remaining dirt and cleaning solution. This will help prevent streaks and ensure thorough rinsing.
- Work in sections: Divide your driveway into manageable sections and focus on one section at a time. This will help you maintain control and ensure that each area receives proper rinsing.
- Use high-pressure or wide-angle spray: Adjust the spray nozzle on your garden hose to a high-pressure or wide-angle setting for a more effective rinse. This will help dislodge any stubborn residue and ensure thorough cleaning.
- Pay attention to corners and edges: Use the spray nozzle or a handheld sprayer to thoroughly rinse corners, edges, and cracks. These areas are prone to accumulation of dirt and cleaning solution residue.
- Repeat if necessary: If you notice any remaining dirt or residue, repeat the rinsing process until your driveway is completely clean.
Once you have finished rinsing your driveway, take a step back and admire the clean and refreshed surface. However, if you still notice stubborn stains or marks, there are additional measures you can take to remove them. Let’s explore how to handle stubborn stains in the next section.
Removing Stubborn Stains
While the majority of dirt and stains can be removed with the cleaning solution and scrubbing process, some stubborn stains may require extra attention. Here are some tips and techniques to help you tackle those stubborn stains on your driveway:
- Oil and Grease Stains: For oil and grease stains, try applying a degreaser or a mixture of dish soap and warm water directly to the stain. Allow it to sit for a few minutes, then scrub the area with a stiff brush. Rinse thoroughly to remove the residue. For older or more stubborn oil and grease stains, you may need to use a commercial oil stain remover.
- Rust Stains: Rust stains can be challenging to remove. Commercial rust removers are available that specifically target rust stains on driveways. Follow the instructions on the product and scrub the area with a brush. Some alternative methods include using a mixture of lemon juice and salt or vinegar and baking soda. Apply the solution to the rust stain, scrub, and rinse thoroughly.
- Organic Stains: To remove organic stains such as algae, moss, or mildew, you can try using a mixture of bleach and water. Be cautious when using bleach, as it can discolor certain surfaces. Test a small area first to ensure compatibility and follow the instructions carefully. Scrub the stained area with a brush, rinse thoroughly, and repeat if necessary.
- Tire Marks: Tire marks can often be stubborn and require some extra effort to remove. Scrubbing with a brush and a mixture of warm water and mild detergent can help. Additionally, using a pressure washer with high-pressure settings or a specialized tire mark remover can effectively eliminate these marks.
Remember to always follow the manufacturer’s instructions when using commercial stain removers, and conduct a test on a small, inconspicuous area of your driveway before applying the product to the entire stain.
If you have tried various methods to remove stubborn stains and they persist, it may be worth considering professional help. A professional cleaning service or a contractor with specialized equipment and expertise can assist in removing deep-set stains and restoring the beauty of your driveway.
Now that you have successfully removed stubborn stains, let’s explore some preventative measures you can take to keep your driveway cleaner for longer.
Preventative Measures
Cleaning your driveway can be a time-consuming task, but there are preventative measures you can take to minimize the accumulation of dirt, grime, and stains. By incorporating these measures into your routine maintenance, you can keep your driveway looking cleaner for longer. Here are some preventative measures to consider:
- Regular sweeping: Make it a habit to sweep your driveway regularly to remove loose debris and prevent it from settling. This simple step can go a long way in maintaining a cleaner surface.
- Immediate spill cleanup: If you notice any spills or leaks on your driveway, address them promptly. Promptly cleaning up oil, grease, or other spills can prevent them from seeping into the surface and causing stains.
- Use mats or rugs: Placing mats or rugs in areas where vehicles often park can help trap dirt and prevent it from spreading onto the driveway surface. Be sure to clean or shake out the mats regularly to remove accumulated dirt.
- Avoid using harsh chemicals: While it may be tempting to use strong chemicals for cleaning, they can damage the surface of your driveway. Stick to mild detergents or specialized cleaners that are suitable for your specific driveway material.
- Seal your driveway: Applying a sealant or surface finish can provide an extra layer of protection for your driveway. The sealant helps reduce the absorption of stains and makes it easier to clean spills and dirt.
- Keep vehicles well-maintained: Regularly maintain your vehicles to prevent leaks and spills. Monitor your vehicle’s fluids and repair any leaks promptly to avoid stains on your driveway.
- Practice proper snow removal: During snowy conditions, avoid using deicing agents that can damage your driveway. Use a shovel or snow blower to remove snow and ice without harming the surface.
- Consider professional sealing: Periodically seal-coating your driveway can provide extra protection against stains, UV rays, and weathering. Consult with a professional to determine the appropriate sealing schedule for your driveway.
By implementing these preventative measures, you can prolong the cleanliness and appearance of your driveway, reducing the need for frequent and intensive cleaning.
With these preventative measures and cleaning techniques in your arsenal, you can keep your driveway looking fresh and well-maintained for years to come. Now, take pride in your clean driveway and enjoy the improved curb appeal it brings to your property!
Remember, regular maintenance and cleaning are key to preserving the beauty and longevity of your driveway. So, make it a part of your routine and enjoy a clean and inviting entrance to your home.
Conclusion
Cleaning your driveway not only enhances its appearance but also helps to maintain its longevity. By following the step-by-step process outlined in this guide, you can effectively clean your driveway and keep it looking fresh and well-maintained for years to come.
Remember to start by gathering all the necessary supplies, including safety equipment, broom or brush, pressure washer (if available), cleaning solution, stain remover, bucket, garden hose, and optional sealant or finish. Clearing the surface of your driveway from any loose debris or obstacles is the first step in the cleaning process. Use a broom or brush to sweep away dirt and inspect for any weed growth or obstructions.
Next, apply the appropriate cleaning solution for your specific driveway material and let it sit for the recommended amount of time. Scrubbing and cleaning the surface will help remove dirt and stains effectively. Use a scrub brush or broom to scrub in circular motions, paying extra attention to stubborn stains. Rinse off the cleaning solution thoroughly, starting from the top and working your way down.
If you encounter stubborn stains such as oil, grease, rust, or tire marks, employ specific stain removal techniques or consider seeking professional assistance. Taking preventative measures, such as regular sweeping, immediate spill cleanup, using mats, avoiding harsh chemicals, and sealing the driveway, can help keep it cleaner for longer.
By incorporating these cleaning and preventative measures into your routine maintenance, you can enjoy a clean and inviting driveway that enhances the overall curb appeal of your property.
Remember, cleaning your driveway is not just about aesthetics; it is also about preserving the integrity and longevity of the surface. So, make it a part of your regular maintenance routine and take pride in maintaining a clean and well-cared-for driveway.
Thank you for reading our comprehensive guide on how to clean your driveway. We hope these tips and techniques will help you achieve a cleaner and more beautiful driveway. Happy cleaning!
Frequently Asked Questions about How To Clean Your Driveway
Was this page helpful?
At Storables.com, we guarantee accurate and reliable information. Our content, validated by Expert Board Contributors, is crafted following stringent Editorial Policies. We're committed to providing you with well-researched, expert-backed insights for all your informational needs.


0 thoughts on “How To Clean Your Driveway”