Articles
How To Clean A Paver Driveway
Modified: August 28, 2024
Learn effective techniques and tips for cleaning your paver driveway. Discover expert articles on maintaining a spotless and beautiful driveway.
(Many of the links in this article redirect to a specific reviewed product. Your purchase of these products through affiliate links helps to generate commission for Storables.com, at no extra cost. Learn more)
Introduction
Welcome to this comprehensive guide on how to clean a paver driveway. Over time, paver driveways can accumulate dirt, grime, and stains, which can detract from their appearance and overall curb appeal. Regular maintenance and cleaning are essential to keep your pavers looking their best and ensure their longevity.
Before we dive into the cleaning process, let’s first understand what pavers are. Pavers are individual units made from various materials such as concrete, clay, or natural stone. They are popular for driveways due to their durability, versatility, and aesthetic appeal. However, like any outdoor surface, paver driveways can become dirty and stained due to exposure to the elements, vehicle traffic, and other external factors.
Cleaning your paver driveway not only improves its appearance but also helps prevent the growth of weeds and moss and reduces the risk of slip hazards. By following the steps outlined in this guide, you can restore the beauty and functionality of your paver driveway without the need for costly professional services.
Before we get started, please note that the specific cleaning techniques may vary depending on the type of pavers you have and the severity of the stains. Always refer to the manufacturer’s guidelines and test any cleaning solutions in a small, inconspicuous area before applying them to the entire driveway.
Now, let’s gather the supplies needed to clean your paver driveway.
Key Takeaways:
- Regular maintenance and cleaning of your paver driveway are essential to preserve its appearance and prevent weed growth. Follow the step-by-step guide to effectively remove stains and restore the beauty of your outdoor space.
- Choosing the right cleaning solutions, scrubbing techniques, and targeted stain removal methods can help you achieve impressive results in restoring your paver driveway. Sealing the pavers provides added protection and enhances their longevity.
Read more: How Thick Are Driveway Pavers
Supplies Needed
Before you begin cleaning your paver driveway, gather the following supplies:
- Protective gear: Wear gloves, safety goggles, and a mask to protect yourself from any potential hazards.
- Broom or leaf blower: Use a broom or leaf blower to remove loose debris such as leaves, dirt, and small stones from the surface of the pavers.
- Water source: You’ll need access to a garden hose or a bucket of water for rinsing.
- Cleaning solution: Depending on the stains and dirt on your paver driveway, you may need a mild detergent, such as dish soap, or a specialized paver cleaner. Check the manufacturer’s instructions to ensure compatibility with your pavers.
- Scrub brush or deck brush: Choose a brush with stiff bristles that can effectively scrub the paver surface without causing damage.
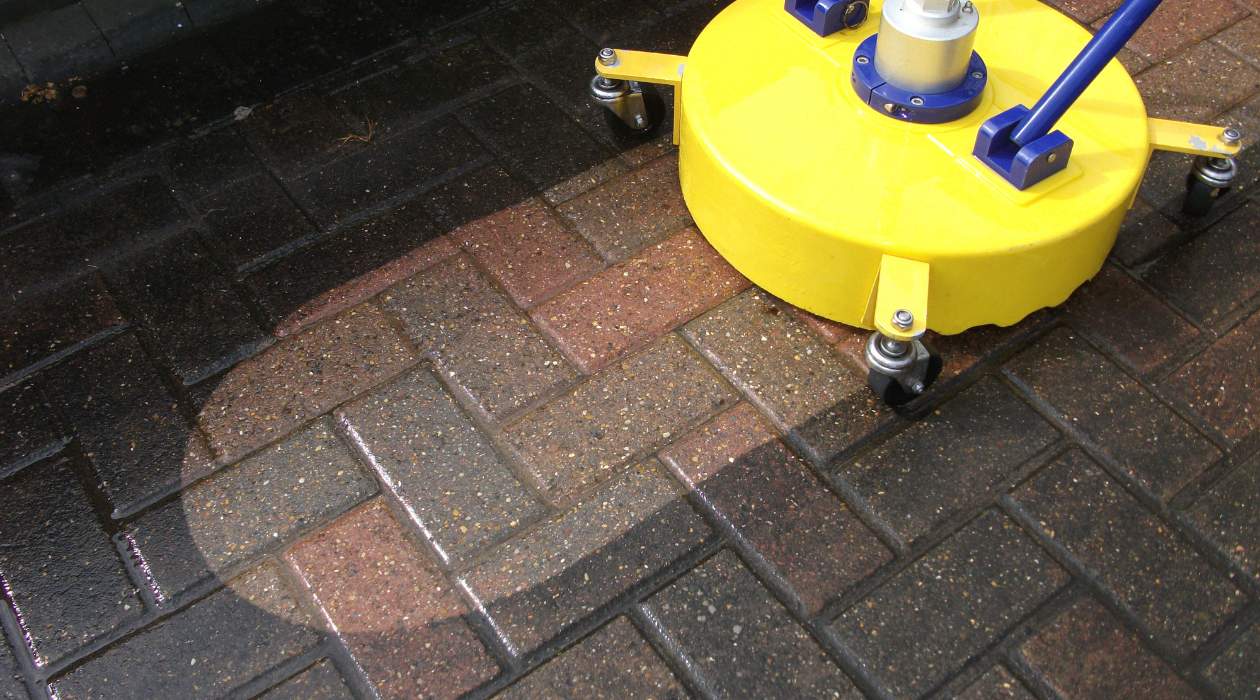
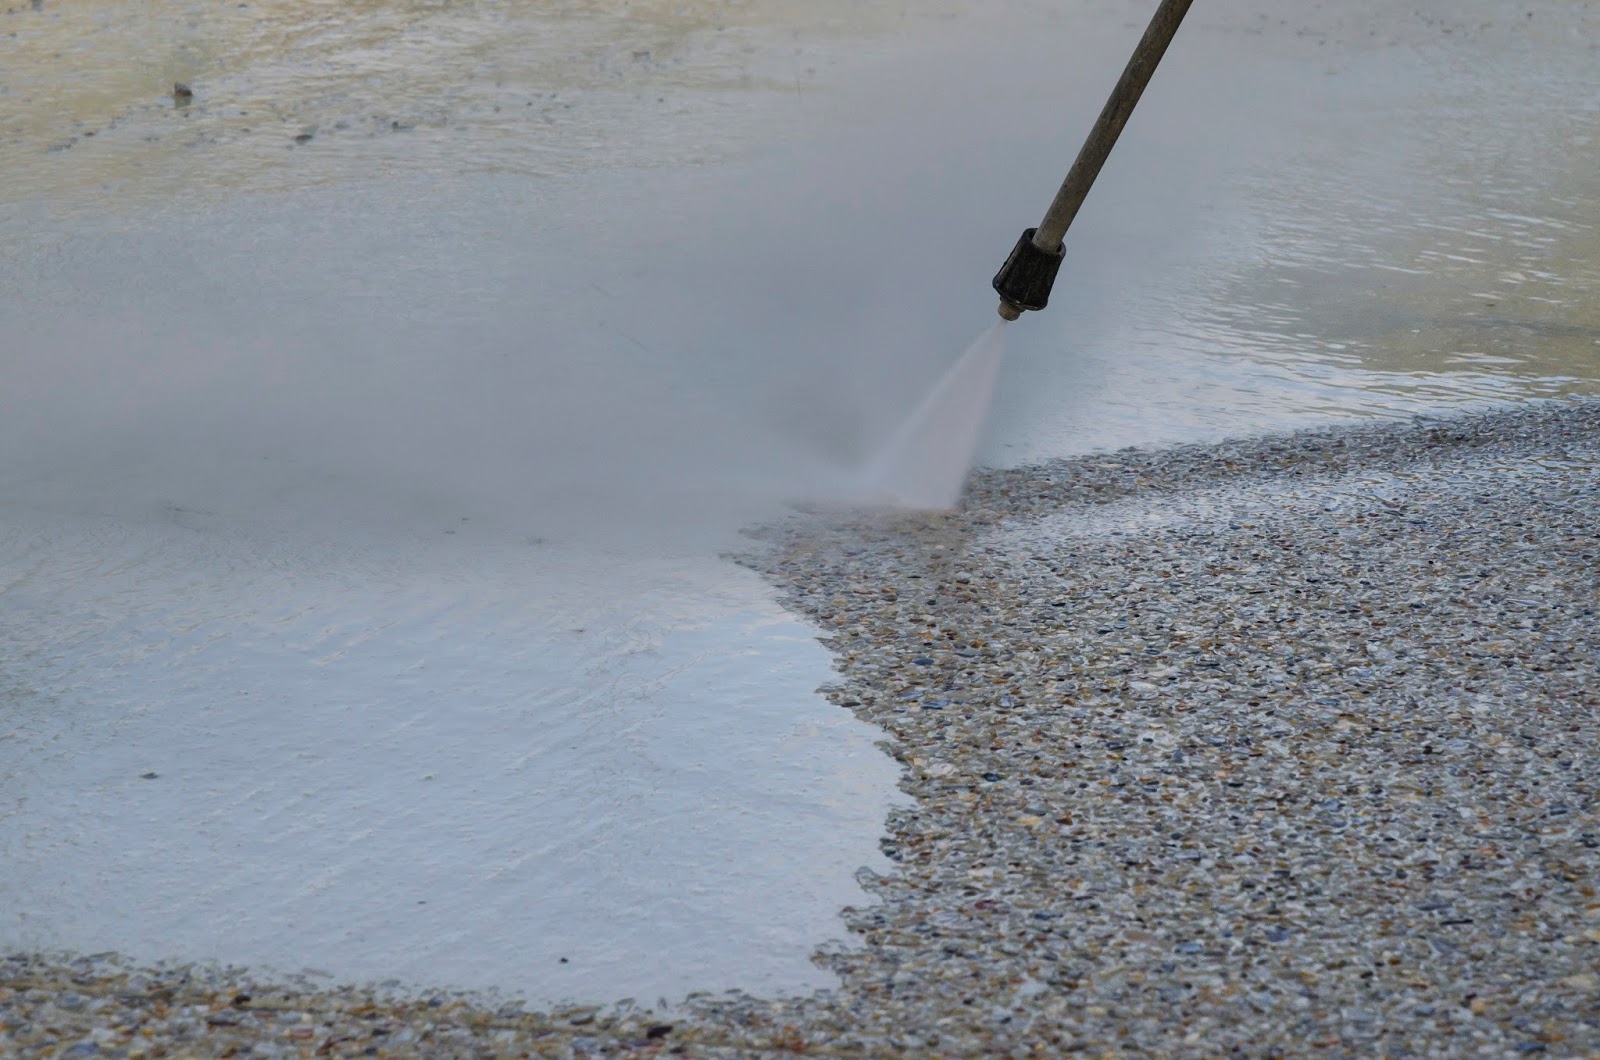
- Pressure washer (optional): If you have a stubborn or deeply embedded stain, a pressure washer can be helpful. However, be cautious as excessive pressure can damage the pavers.
- Stain remover (optional): If you have specific stains, such as oil or rust, you may need a specialized stain remover. Look for products designed specifically for pavers.
- Sealer (optional): After cleaning your paver driveway, you may choose to apply a paver sealer to protect the surface and enhance its longevity. Consult the manufacturer’s instructions for the appropriate sealer for your pavers.
Now that you have gathered all the necessary supplies, let’s move on to the step-by-step cleaning process.
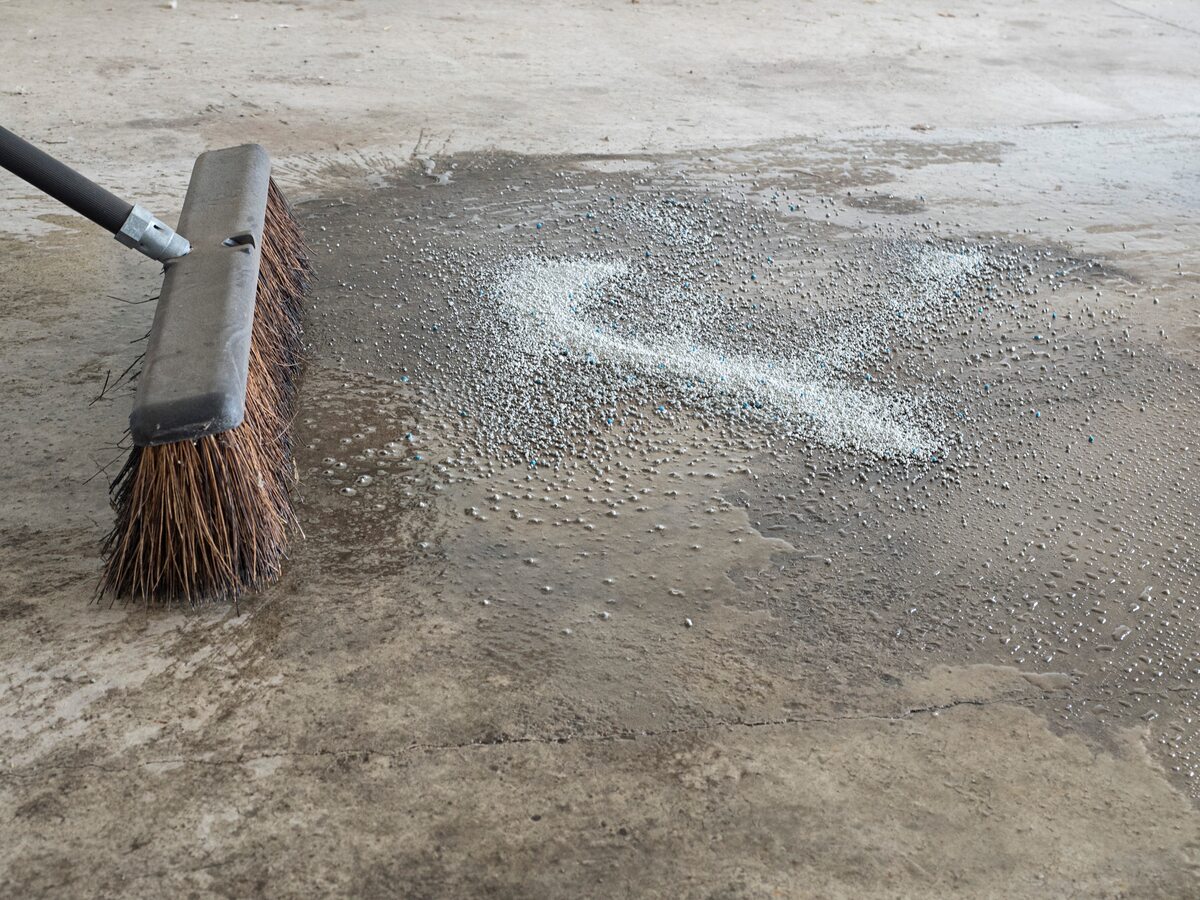
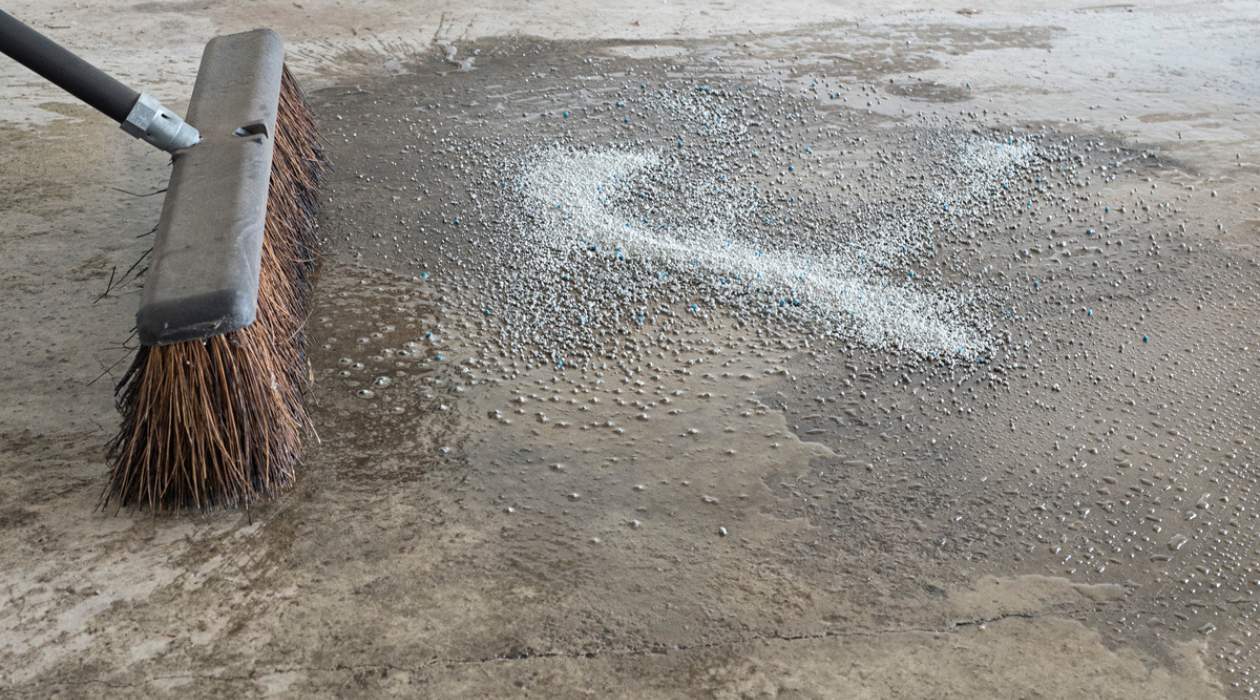
Step 1: Remove Debris
The first step in cleaning your paver driveway is to remove any loose debris that has accumulated on the surface. This includes leaves, twigs, dirt, and small stones. Removing this debris will make the cleaning process more effective and prevent any scratching or damage to the pavers during subsequent steps.
Start by using a broom or a leaf blower to sweep the entire driveway surface. Work in one direction to gather the debris into a pile and then scoop it up with a dustpan or a garden rake. Dispose of the debris in a compost bin or trash bag.
If you have particularly stubborn debris stuck between the pavers, you can use a narrow brush or a putty knife to gently dislodge it. Be careful not to apply too much pressure to avoid damaging the pavers or dislodging them from their position.
Once you have removed the larger debris, take a closer look at the surface of the pavers. If you notice any weeds growing between the joints, you can use a weed removal tool or pour boiling water over them to kill the weeds. Pull out any remaining roots to prevent future growth.
By thoroughly removing debris and weeds, you are setting the stage for a deeper and more effective cleaning process. You are now ready to move on to the next step: rinsing the surface.
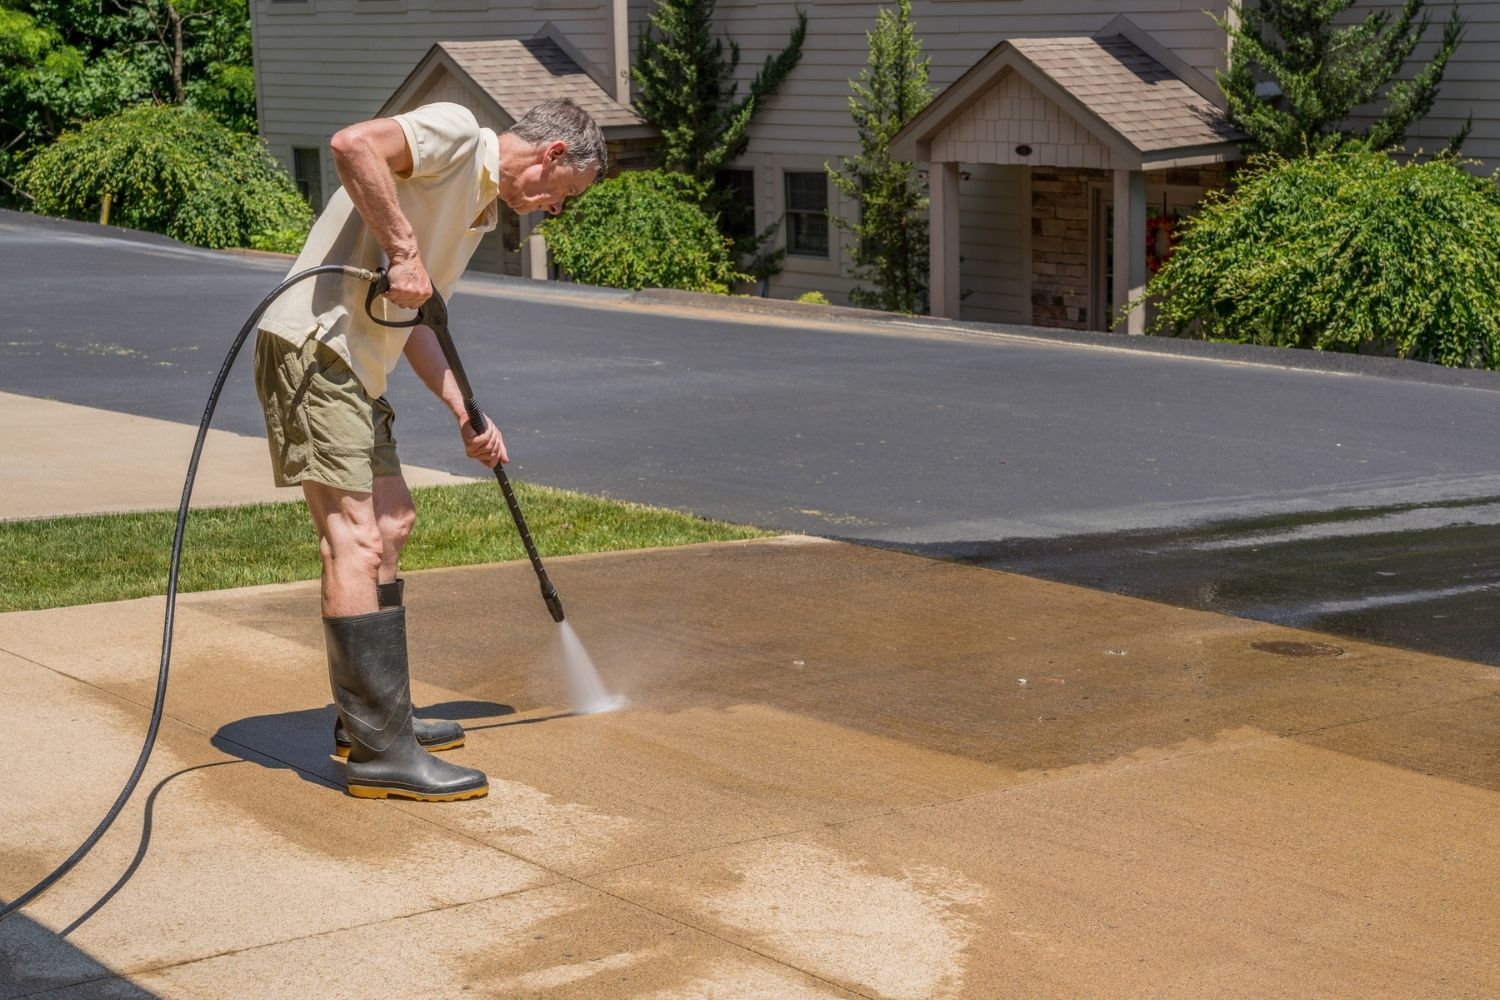
Step 2: Rinse the Surface
After removing the debris from your paver driveway, it’s time to give the surface a good rinse. Rinsing will help remove any loose dirt, dust, and grime, making it easier to tackle stubborn stains later on.
Start by connecting a garden hose to a water source or filling a bucket with water. If using a hose, make sure it has a spray nozzle attachment with a gentle setting to avoid damaging the pavers.
Begin at one end of the driveway and work your way across the entire surface, directing the flow of water in a sweeping motion. This will help dislodge any remaining loose particles and flush them away.
Pay special attention to any areas that appear heavily soiled or stained. Use the gentle spray nozzle or a bucket of water to apply a more concentrated stream to these areas, aiming to dislodge the dirt and rinse it away.
As you rinse, periodically inspect the surface for any remaining debris or stains. If necessary, use a scrub brush or deck brush to gently agitate the area while rinsing to help loosen stubborn dirt.
Ensure that you rinse off all the cleaning solution or detergent from previous washes, as any residue left on the surface can interfere with the effectiveness of the next cleaning steps.
Once you have thoroughly rinsed the entire surface, visually assess the cleanliness of the paver driveway. If you’re satisfied with the results, you can move on to the next step. However, if you still notice stubborn stains or dirt, it’s time to apply a cleaning solution. We’ll cover that in the next step.
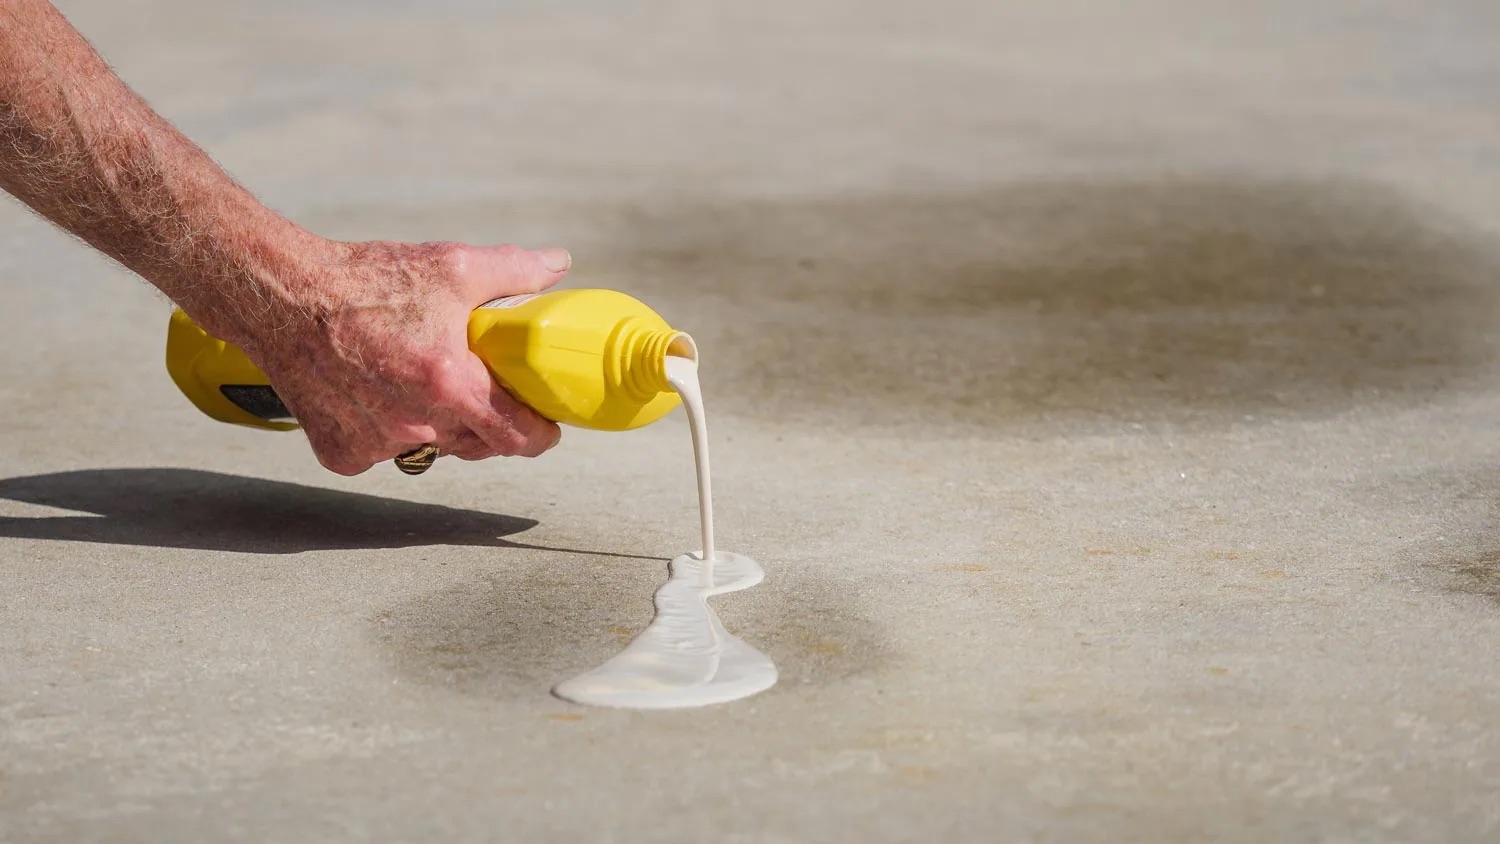
Step 3: Apply Cleaning Solution
Now that you have rinsed the surface of your paver driveway, it’s time to apply a cleaning solution to tackle any remaining stains and grime. The cleaning solution will help break down tough deposits and lift them away from the surface of the pavers.
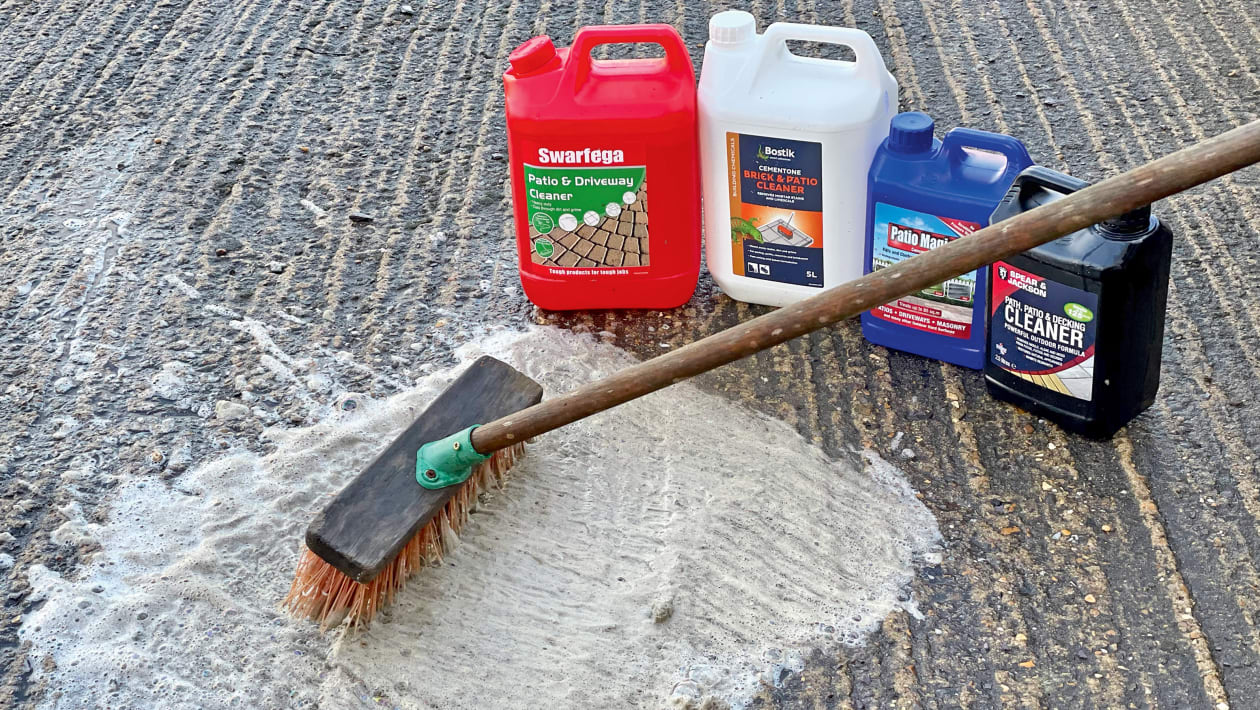
Before you begin, make sure to choose a cleaning solution that is suitable for your specific type of pavers. Many paver manufacturers provide recommendations for cleaning solutions, so refer to their guidelines or contact them for advice. Generally, a mild detergent such as dish soap or a specialized paver cleaner will suffice.
Here’s how to apply the cleaning solution:
- Dilute the cleaning solution according to the manufacturer’s instructions. Typically, a mixture of water and detergent is used.
- Pour the cleaning solution onto the paver driveway, focusing on areas with stains or heavy dirt buildup.
- Allow the cleaning solution to sit on the surface for a few minutes to penetrate and dissolve the dirt.
- If the weather is hot and dry, periodically mist the surface with water to prevent the cleaning solution from drying out.
- Use a scrub brush or deck brush to agitate the cleaning solution and work it into the stains. Scrub in a circular motion or in the direction of the paver joints to ensure thorough coverage.
Keep in mind that some stains may require additional treatment with specific stain removers. For example, oil stains may need an oil stain remover, while rust stains may require a rust removal product. Follow the instructions provided with the stain remover and apply it before using the cleaning solution.
Once you have thoroughly scrubbed the paver driveway with the cleaning solution, proceed to the next step: scrubbing the pavers.
Regularly sweep your paver driveway to remove debris and prevent weeds from taking root. Use a pressure washer to remove tough stains and dirt buildup. Apply a paver sealer to protect the surface and enhance its appearance.
Read more: How To Install Driveway Pavers
Step 4: Scrub the Pavers
After applying the cleaning solution, it’s time to scrub the pavers to further loosen stubborn stains and deep-seated dirt. Scrubbing is an important step in the cleaning process as it helps agitate the surface and remove grime that the cleaning solution has dissolved.
Here’s how you can effectively scrub the pavers:
- Dampen your scrub brush or deck brush with water.
- Starting from one end of the driveway, begin scrubbing the pavers in small, circular motions or along the direction of the joints.
- Apply gentle pressure while scrubbing to avoid damaging the pavers. If necessary, increase the pressure for stubborn stains, but be cautious not to use excessive force.
- Focus on areas with visible stains or heavy dirt buildup, working your way across the entire surface. Pay extra attention to corners, edges, and hard-to-reach areas.
- If the cleaning solution starts to dry out during the scrubbing process, mist the area with water to keep it moist.
- Periodically rinse your brush in clean water to remove any accumulated dirt or debris.
Continue scrubbing the paver driveway until you are satisfied with the results. If you still notice stubborn stains or dirt after scrubbing, you may need to repeat the cleaning solution application and scrubbing process again.
Remember, the goal is to restore the pavers to their original cleanliness and appearance. Take your time and be thorough in your scrubbing to achieve the best results.
Once you have finished scrubbing the pavers, it’s time to move on to the next step: rinsing and repeating the process as needed.
Step 5: Rinse and Repeat
After scrubbing the pavers, it’s crucial to rinse off any remaining cleaning solution and loosened dirt. Rinsing is important not only to remove the cleaning solution but also to evaluate the effectiveness of the cleaning process and determine if any areas require additional attention.
Here’s how to rinse your paver driveway effectively:
- Attach a gentle spray nozzle to your garden hose or use a bucket of clean water.
- Starting from one end of the driveway, carefully rinse the surface, ensuring that all the cleaning solution and loosened dirt are flushed away.
- Pay extra attention to areas where you applied the cleaning solution and scrubbed, as these areas may have accumulated dirt and residue.
- Feel free to use a scrub brush or deck brush during rinsing to agitate any remaining stubborn stains or dirt that you notice.
- Periodically inspect the paver driveway while rinsing to assess the level of cleanliness. If you still notice stains or areas that require further cleaning, repeat the cleaning solution application and scrubbing process.
- Continue rinsing until the water runs clear and all the cleaning solution and dirt have been effectively removed.
If you’re satisfied with the results and the paver driveway looks clean and pristine, you can proceed to the next step. However, if you still notice stubborn stains or areas that require additional attention, take the time to repeat the cleaning process. This may involve applying the cleaning solution, scrubbing, and rinsing multiple times until the desired cleanliness is achieved.
Remember, thoroughness and patience are key to successfully cleaning your paver driveway. Now, let’s move on to step 6: removing stubborn stains.
Step 6: Remove Stubborn Stains
Even after thorough cleaning and scrubbing, you may still encounter stubborn stains on your paver driveway. These could be oil stains, grease marks, rust spots, or other blemishes that are more challenging to remove. In this step, we will focus on targeted stain removal techniques to tackle these stubborn marks.
Here are some methods you can try to remove stubborn stains from your paver driveway:
- Oil and grease stains: For fresh oil or grease stains, quickly blot the area with an absorbent material such as kitty litter or baking soda. Let it sit for a while to absorb the grease, then sweep or vacuum it up. For older stains, try using a commercial degreaser or a poultice made with absorbent materials and a cleaning agent. Follow the instructions provided and apply the solution to the stain, letting it sit for the recommended time before rinsing it off.
- Rust stains: Rust stains can be challenging to remove. One method is to use a specialized rust stain remover made for pavers. Apply the product to the stained area, ensuring it is evenly distributed. Let it sit for the recommended time, then scrub the stain with a brush. Rinse thoroughly. Another natural approach is to create a paste by mixing lemon juice and salt. Apply the paste to the stain, let it sit for a while, then scrub and rinse off.
- Organic stains: If you have stains from leaves, berries, or vegetation, a mixture of water and oxygen bleach can be effective. Apply the solution to the stains, let it sit for a while, then scrub and rinse off. Be cautious when using bleach, as it can discolor certain types of pavers, so always test it in an inconspicuous area first.
- Other stains: For stains like paint, ink, or hard water deposits, consult with the stain manufacturer or a professional paver cleaner for specialized instructions and products. They can provide recommendations and guidelines tailored to your specific situation.
Remember, different stains may require different approaches, so always follow the instructions provided with the stain removal products. Avoid using harsh chemicals or abrasive materials that can damage the pavers. If you’re uncertain about a particular stain or how to remove it, it’s best to seek professional advice.
Once you’ve successfully treated the stubborn stains, move on to the next step: sealing the pavers for long-lasting protection.
Step 7: Seal the Pavers
The final step in cleaning and maintaining your paver driveway is to apply a sealer. Sealing the pavers provides an additional layer of protection, enhancing their durability, preventing stains, and extending their lifespan. It also adds a beautiful sheen to the surface and makes future cleaning easier.
Follow these steps to seal your paver driveway:
- Clean and dry: Before applying the sealer, ensure that the paver driveway is clean and completely dry. Allow sufficient time for it to dry after the cleaning process.
- Choose the right sealer: Select a sealer that is specifically formulated for paver driveways. There are different types of sealers available, including solvent-based sealers, water-based sealers, and penetrating sealers. Consider factors such as the type of pavers, desired finish, and specific requirements of your driveway before making a decision.
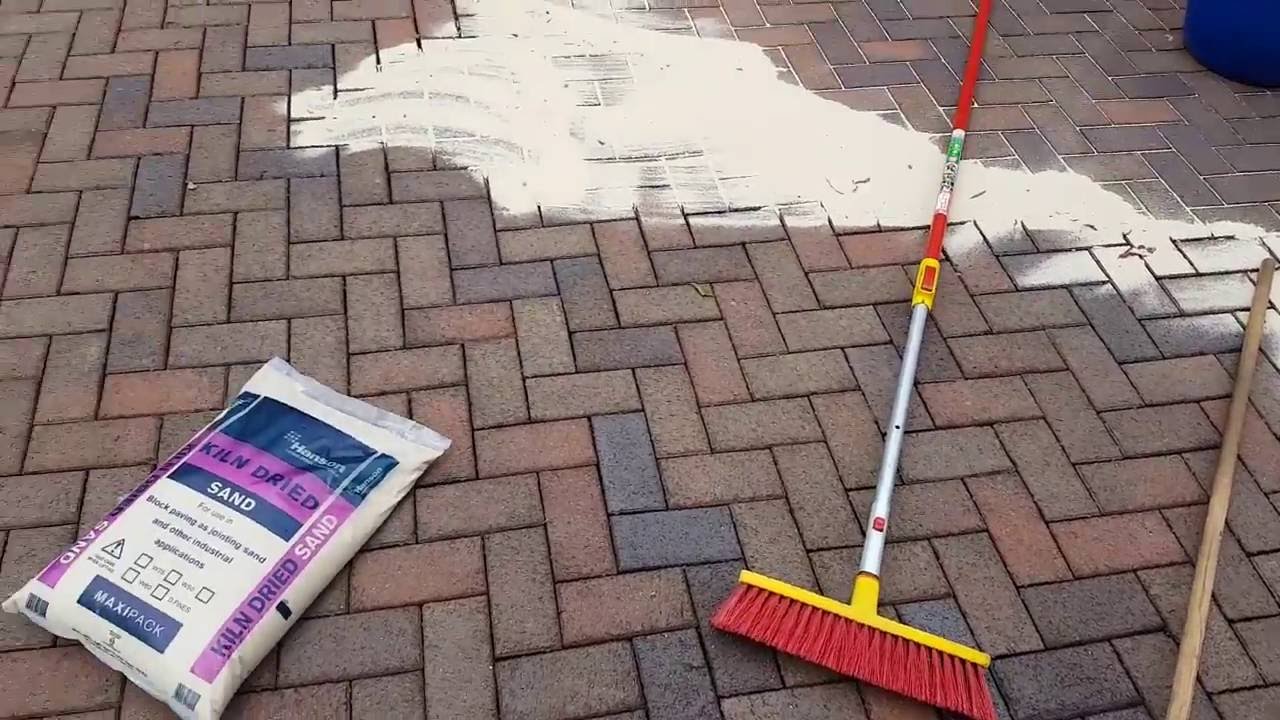
- Apply the sealer: Follow the manufacturer’s instructions for the specific sealer you have chosen. Apply the sealer using a roller or sprayer, ensuring even coverage. Pay special attention to the joints between the pavers, as these areas are prone to water penetration and weed growth.
- Allow drying and curing: Let the sealer dry and cure according to the manufacturer’s instructions. This typically takes a few hours or days, depending on the type of sealer. Avoid foot or vehicle traffic on the driveway until the sealer has fully cured.
- Maintain and reseal: Regularly maintain your paver driveway by sweeping away debris and cleaning spills as soon as possible. Depending on the type of sealer and the level of usage, you may need to reseal your pavers every few years. Follow the manufacturer’s guidelines for resealing intervals.
Sealing your paver driveway not only protects it from stains and weather damage but also enhances its overall appearance. It’s worth the investment to maintain the beauty and longevity of your pavers.
Congratulations! You have successfully cleaned and sealed your paver driveway. With regular maintenance and periodic cleaning, your paver driveway will continue to impress visitors and provide you with a beautiful and functional outdoor space for years to come.
By following these steps and giving your paver driveway the attention it deserves, you can enjoy a clean and vibrant outdoor space that adds value to your home.
Read more: What Is A Paver Driveway
Conclusion
Cleaning a paver driveway may seem like a daunting task, but with the right approach and techniques, you can achieve impressive results. By following the step-by-step guide outlined in this article, you can effectively remove dirt, grime, and stubborn stains from your paver driveway, restoring its beauty and ensuring its longevity.
Remember to start by removing debris and rinsing the surface before applying a suitable cleaning solution. Scrub the pavers to agitate any stubborn stains, then thoroughly rinse the surface. If needed, repeat these steps until the desired cleanliness is achieved.
If you encounter stubborn stains, such as oil, grease, rust, or organic marks, employ specialized stain removal techniques to target and eliminate them. Be sure to follow the instructions provided with stain removal products and always test them in an inconspicuous area before applying them to the entire driveway.
Lastly, consider sealing your paver driveway to provide an extra layer of protection against stains, weather damage, and wear. Choose a high-quality sealer that is suitable for your specific type of pavers and follow the manufacturer’s instructions for application and maintenance.
Regular maintenance and periodic cleaning will help prolong the lifespan of your paver driveway and keep it looking its best. Remember to sweep away debris and promptly address spills or stains to prevent them from setting in. With proper care, your paver driveway will continue to enhance the curb appeal of your home and provide a beautiful outdoor space for years to come.
So, roll up your sleeves, gather your supplies, and get ready to give your paver driveway the care it deserves. Enjoy the satisfying process of transforming a dull and dirty surface into a clean and inviting space that you can be proud of.
Happy cleaning!
Frequently Asked Questions about How To Clean A Paver Driveway
Was this page helpful?
At Storables.com, we guarantee accurate and reliable information. Our content, validated by Expert Board Contributors, is crafted following stringent Editorial Policies. We're committed to providing you with well-researched, expert-backed insights for all your informational needs.


0 thoughts on “How To Clean A Paver Driveway”