Articles
How To Clean Your Kegerator Lines
Modified: October 19, 2024
Learn how to effectively clean your kegerator lines with our informative articles. Keep your beer tasting fresh and prevent any contamination issues.
(Many of the links in this article redirect to a specific reviewed product. Your purchase of these products through affiliate links helps to generate commission for Storables.com, at no extra cost. Learn more)
Introduction
Welcome to the ultimate guide on how to clean your kegerator lines. If you’re a beer enthusiast, you know how important it is to keep your kegerator in top-notch condition to ensure the best taste and quality of your brews. Over time, beer lines can accumulate residue, bacteria, and yeast build-up, which can affect the flavor and freshness of your beer. Thankfully, regular cleaning can help maintain the hygiene and performance of your kegerator.
In this article, we will walk you through a step-by-step process to effectively clean your kegerator lines. By following these simple yet essential steps, you can ensure that your beer tastes as fresh and delicious as the day it was brewed. So, let’s dive right in and get your kegerator lines sparkling clean!
Key Takeaways:
- Regularly cleaning your kegerator lines is crucial to maintain the taste, quality, and hygiene of your beer. Neglecting this can lead to clogs, foam problems, and compromised beer quality.
- By following the step-by-step guide in this article, you can ensure that your kegerator lines are sparkling clean and free from any residue, bacteria, or yeast build-up. Regular maintenance is key to enjoying the perfect pint!
Read more: How To Clean Edgestar Kegerator Lines
Step 1: Gather the necessary supplies
Before you begin cleaning your kegerator lines, it’s essential to gather all the necessary supplies. Having everything ready beforehand will make the cleaning process more efficient and less time-consuming. Here’s a list of the supplies you’ll need:
- Kegerator cleaning kit: This typically includes a cleaning solution, brush, and various attachments to clean different parts of the kegerator.
- Hot water: You’ll need hot water to mix with the cleaning solution for effective cleaning.
- Bucket or basin: This will be used to hold the cleaning solution and rinse water.
- Empty container or bottles: You’ll need an empty container or bottles to collect and store the cleaning solution for future use.
- Cleaning gloves: To protect your hands from the cleaning solution and potential bacteria in the lines.
- Clean towels or paper towels: These will come in handy for wiping and drying the kegerator and its components.
Once you have gathered all the necessary supplies, you’re ready to move on to the next step of the cleaning process.
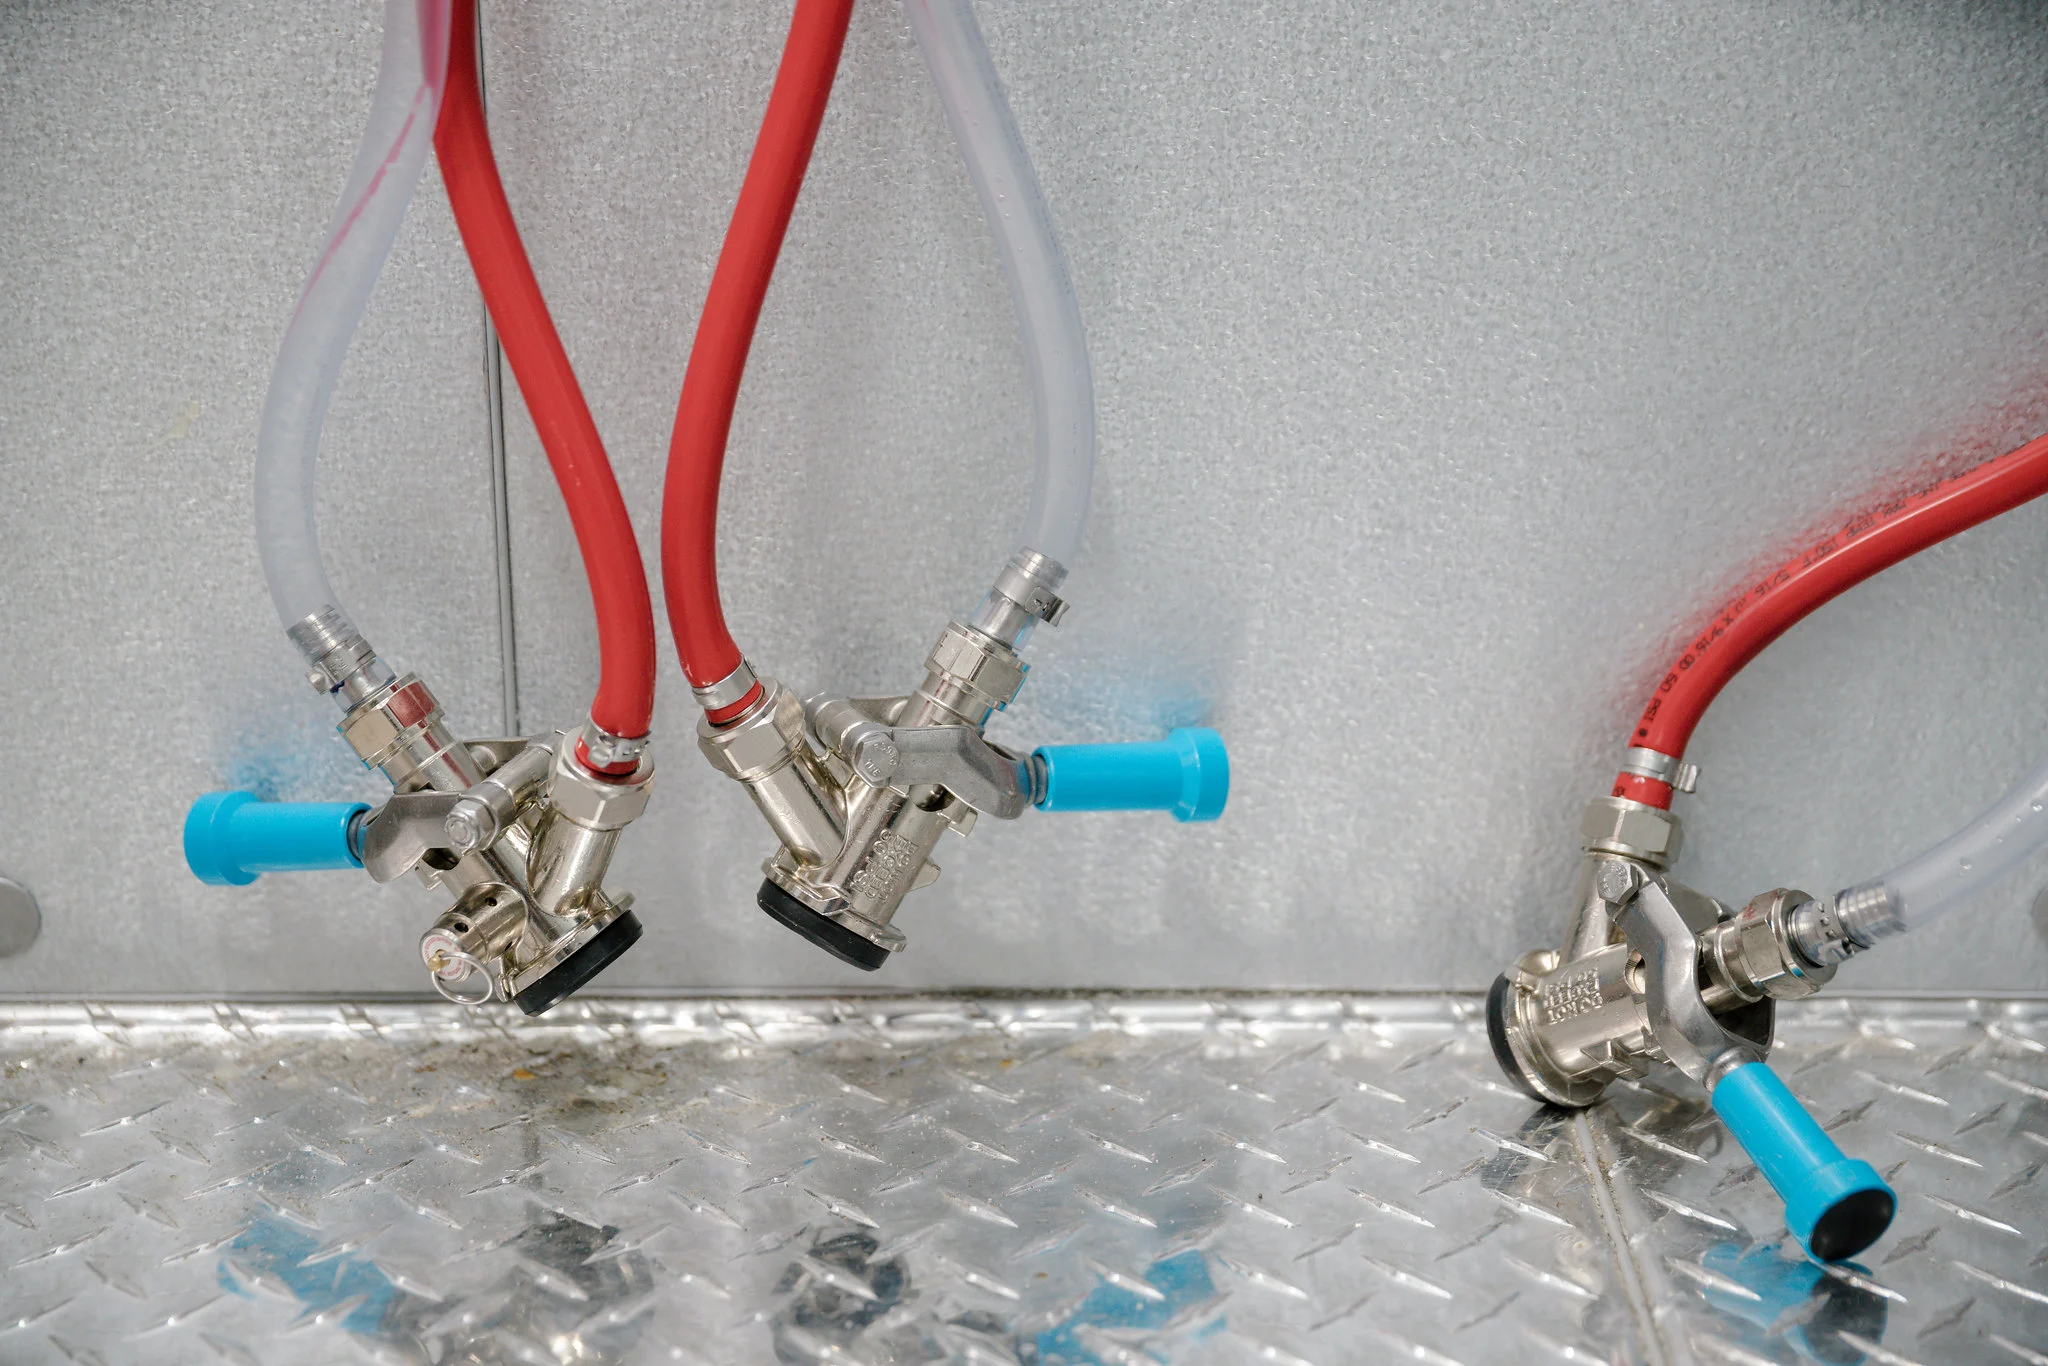
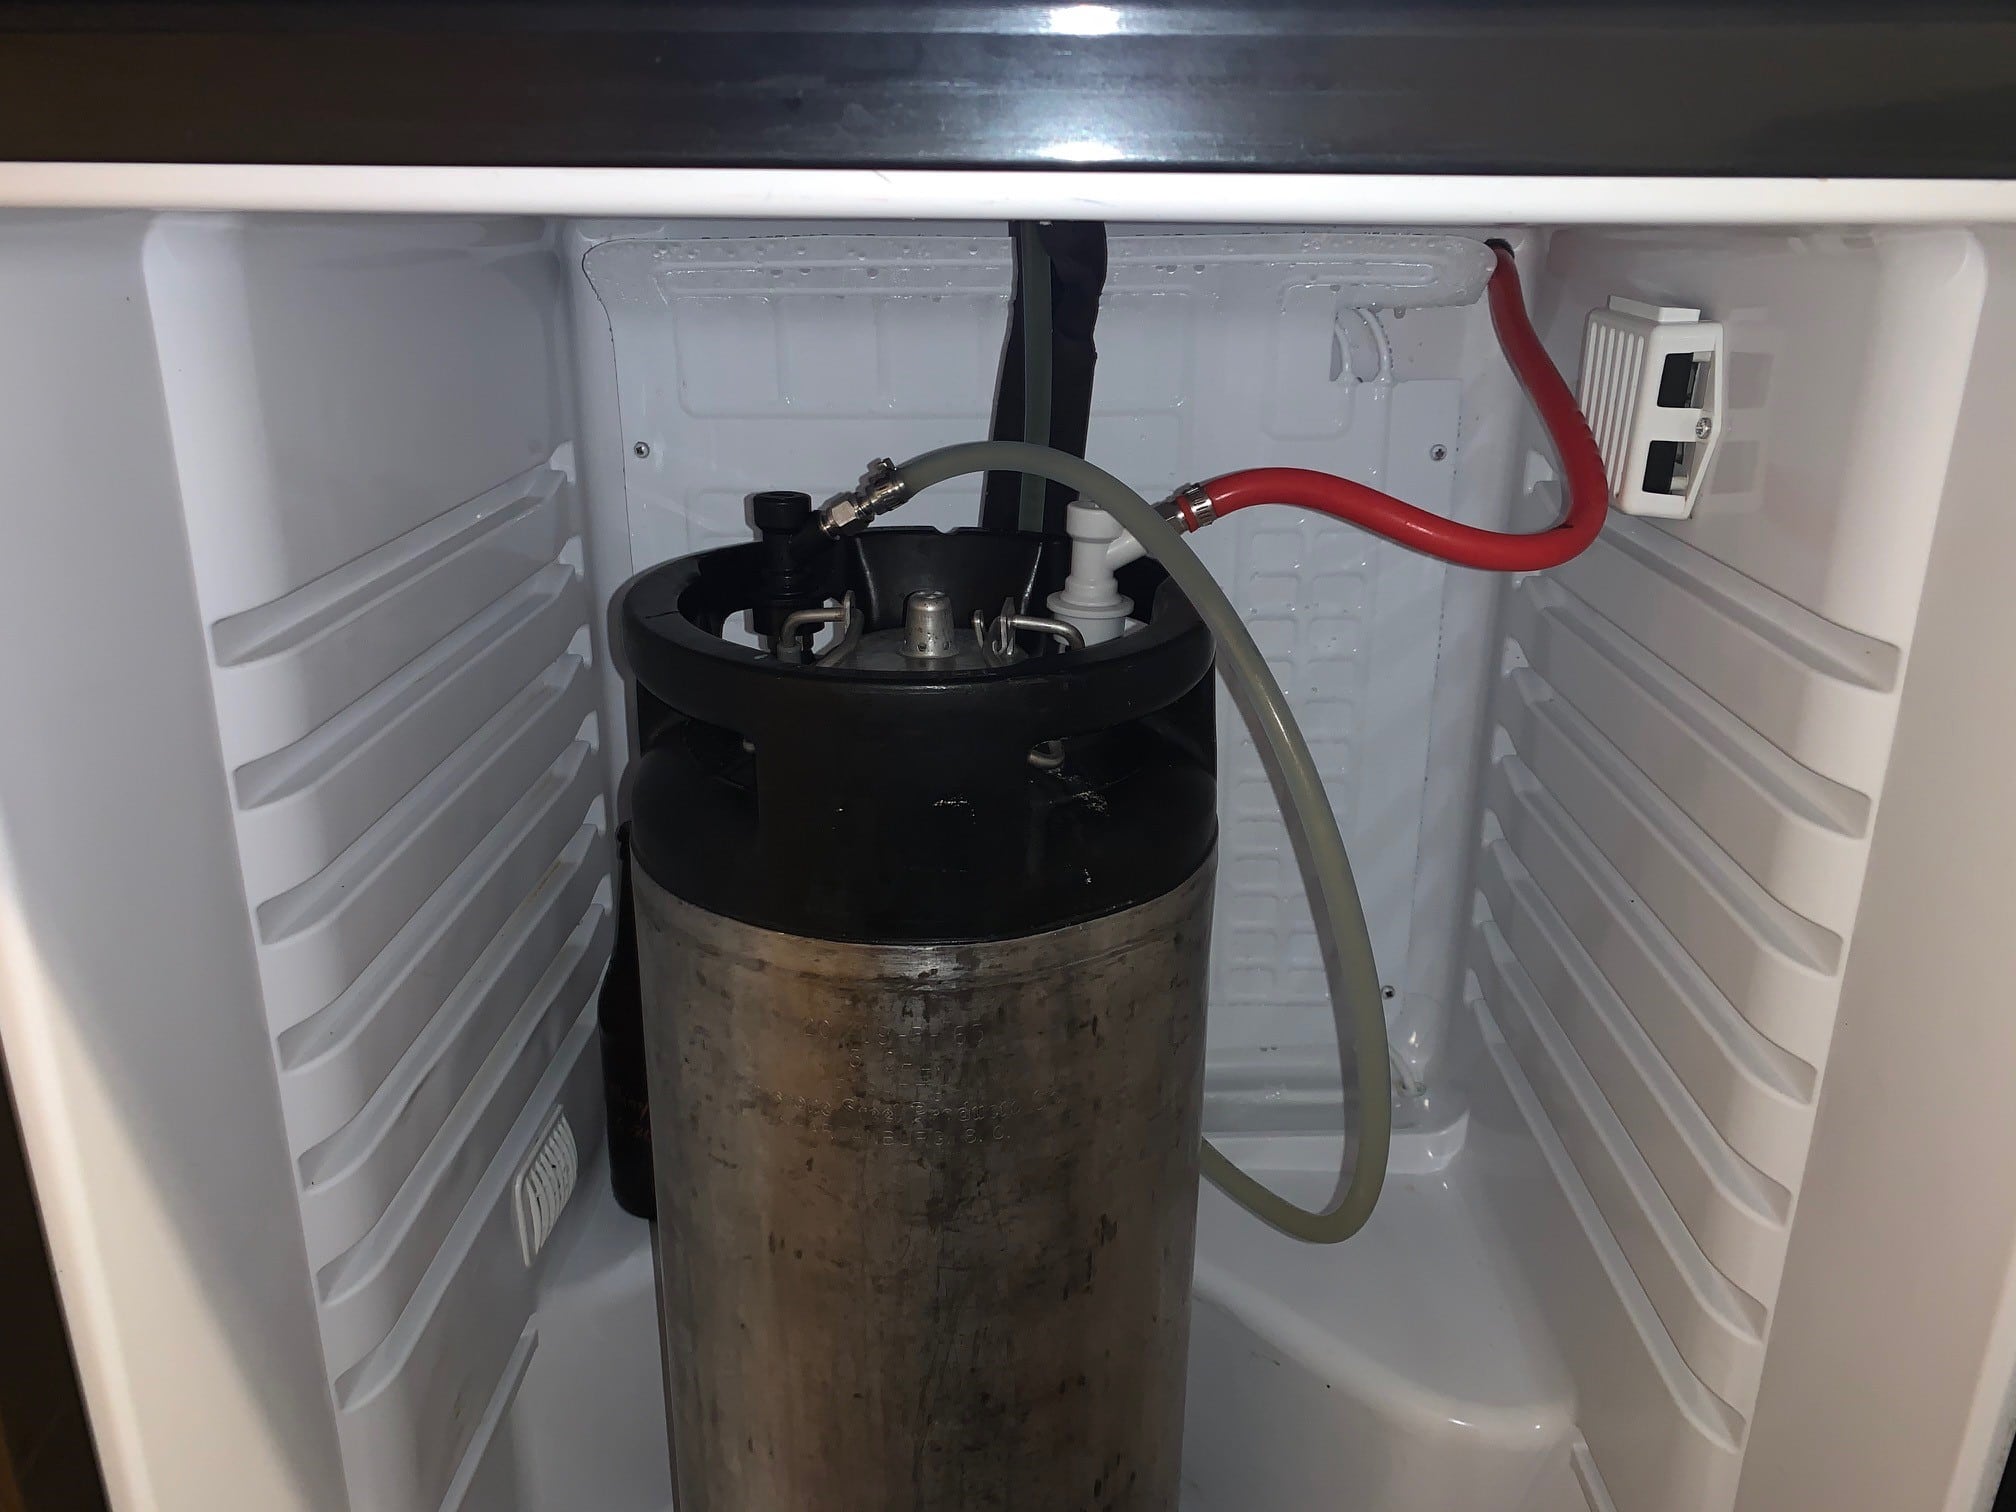
Step 2: Disconnect the keg
Now that you have all the necessary supplies ready, it’s time to disconnect the keg from your kegerator. This step is crucial to ensure that the cleaning solution reaches all parts of the beer lines and removes any accumulated residue or bacteria.
Follow these steps to disconnect the keg:
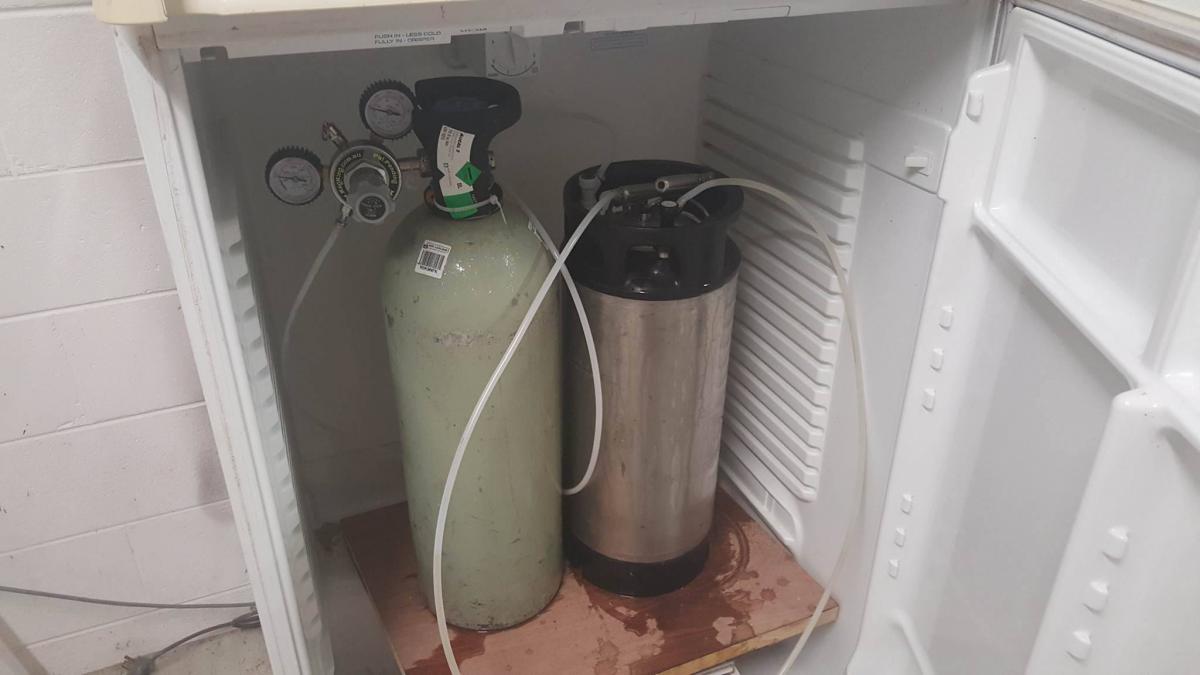
- Turn off the CO2 valve: Before disconnecting the keg, make sure to turn off the CO2 valve to prevent any gas pressure from building up.
- Release the pressure: Depressurize the keg by pulling on the pressure relief valve or using a CO2 pressure release tool. This will help remove any remaining gas and pressure inside the keg.
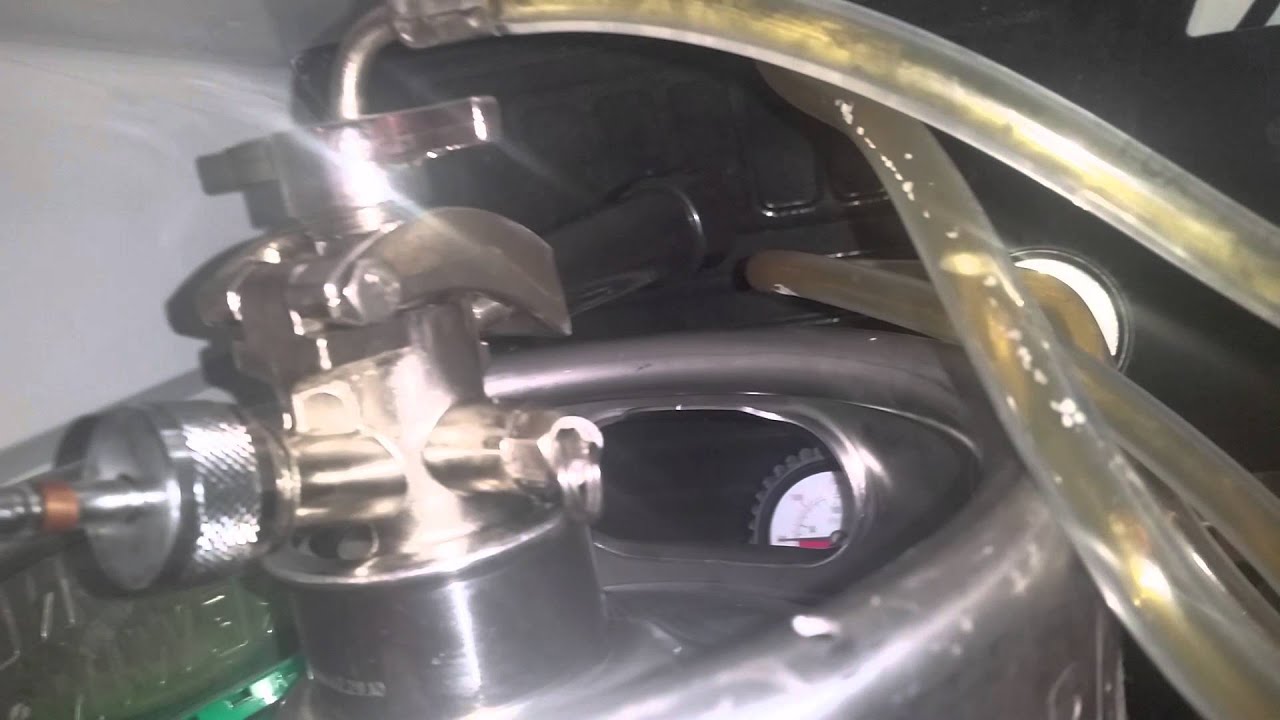
- Disconnect the coupler: Using a wrench or your hands, carefully disconnect the coupler from the keg. Be cautious not to spill any beer or damage the keg in the process.
- Set the keg aside: Once the keg is disconnected, set it aside in a cool and dry place. Make sure to cover it to prevent any contaminants from entering.
By disconnecting the keg, you ensure that the cleaning solution can effectively flush through the beer lines, removing any impurities and build-up that may affect the taste and quality of your beer.
With the keg disconnected, you’re now ready to move on to the next step: flushing the lines with a cleaning solution.
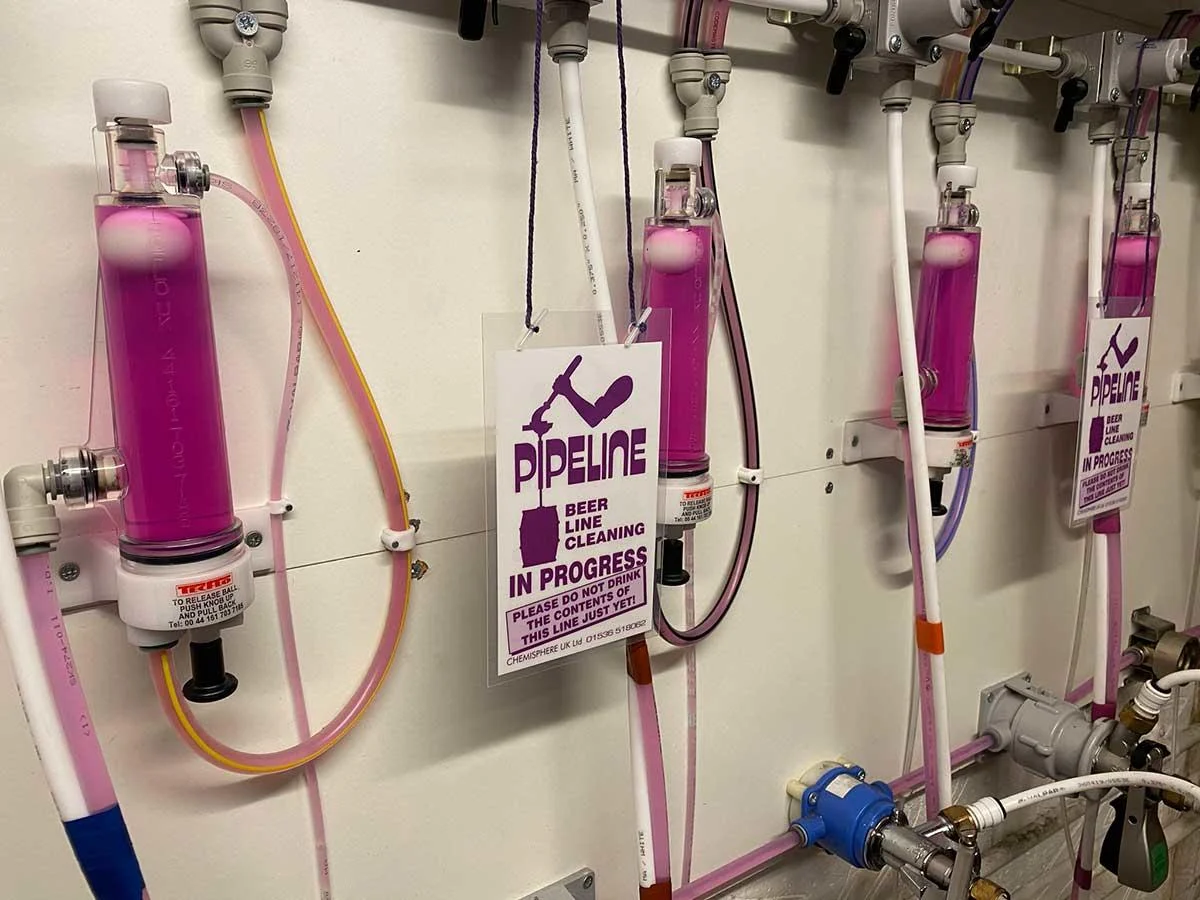
Step 3: Flush the lines with cleaning solution
Now that you have successfully disconnected the keg, it’s time to flush the lines with a cleaning solution. This step is crucial to remove any residue, bacteria, or yeast that may have built up in the beer lines.
Follow these steps to flush the lines with a cleaning solution:
- Prepare the cleaning solution: Start by preparing the cleaning solution according to the instructions provided with your kegerator cleaning kit. Typically, you’ll need to mix a specific amount of the cleaning solution with hot water in the bucket or basin.
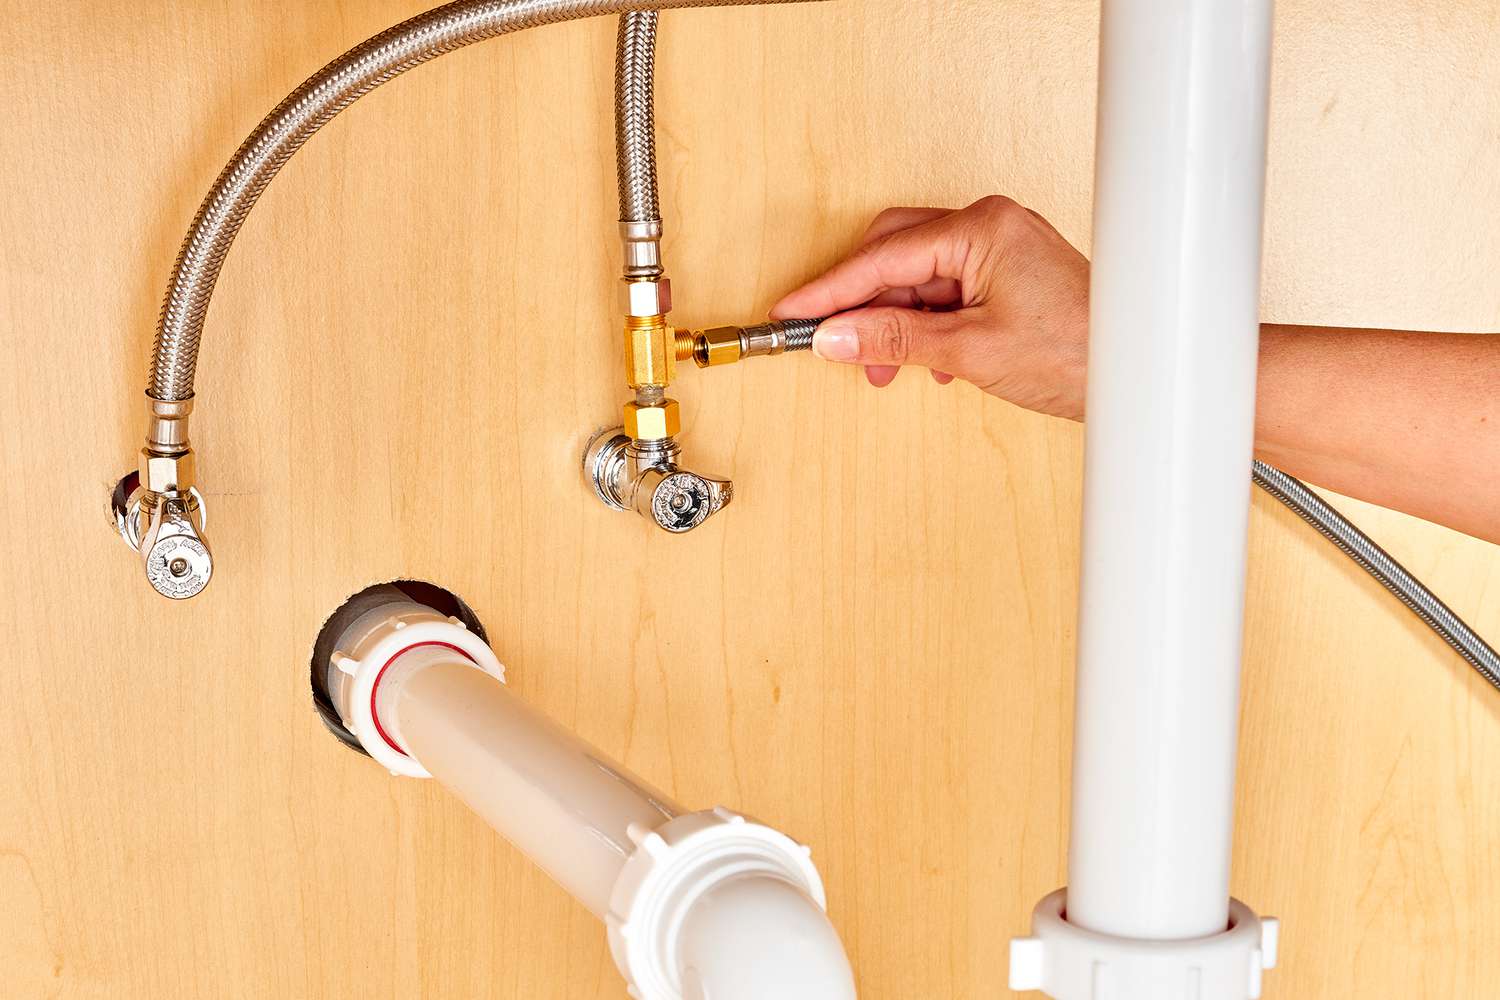
- Attach the cleaning kit: Attach the appropriate cleaning attachment to the beer line, ensuring a secure fit. The cleaning attachment is usually a small tube or brush that connects to the faucet and allows the cleaning solution to flow through the lines.
- Submerge the cleaning attachment: Submerge the cleaning attachment into the prepared cleaning solution in the bucket or basin.
- Turn on the faucet: Turn on the faucet to allow the cleaning solution to flow through the beer lines. Make sure to position a container or bottle under the faucet to catch the cleaning solution.
- Flush the lines: Let the cleaning solution flow through the lines for a few minutes, ensuring that it reaches every part of the beer lines. This will help loosen and remove any debris or build-up.
- Empty the container: Once the cleaning solution has flushed through the lines, empty the container or bottle filled with the cleaning solution. You can discard it or save it for future cleaning purposes, depending on the product instructions.
By flushing the lines with a cleaning solution, you ensure that any contaminants or impurities are effectively removed, leaving your beer lines clean and ready for use.
Now that you’ve successfully flushed the lines, you’re ready to proceed to the next step: cleaning the faucet.
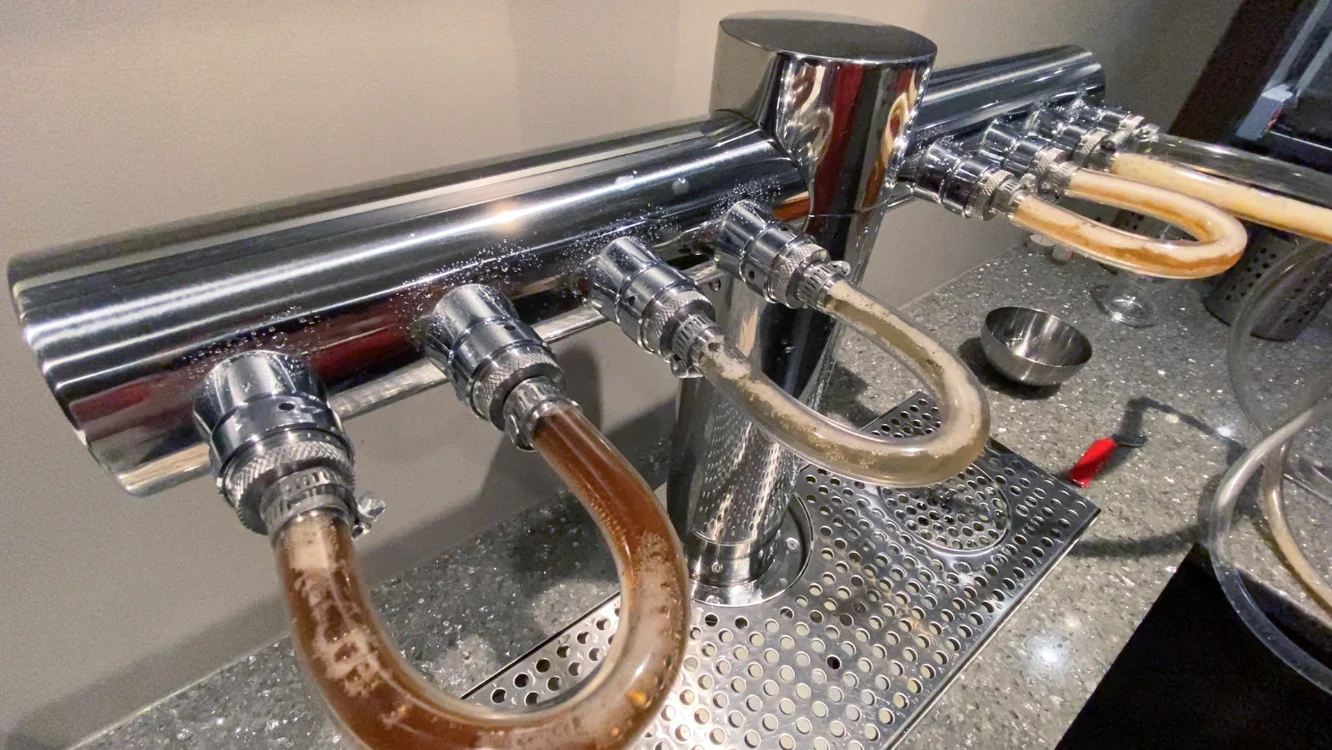
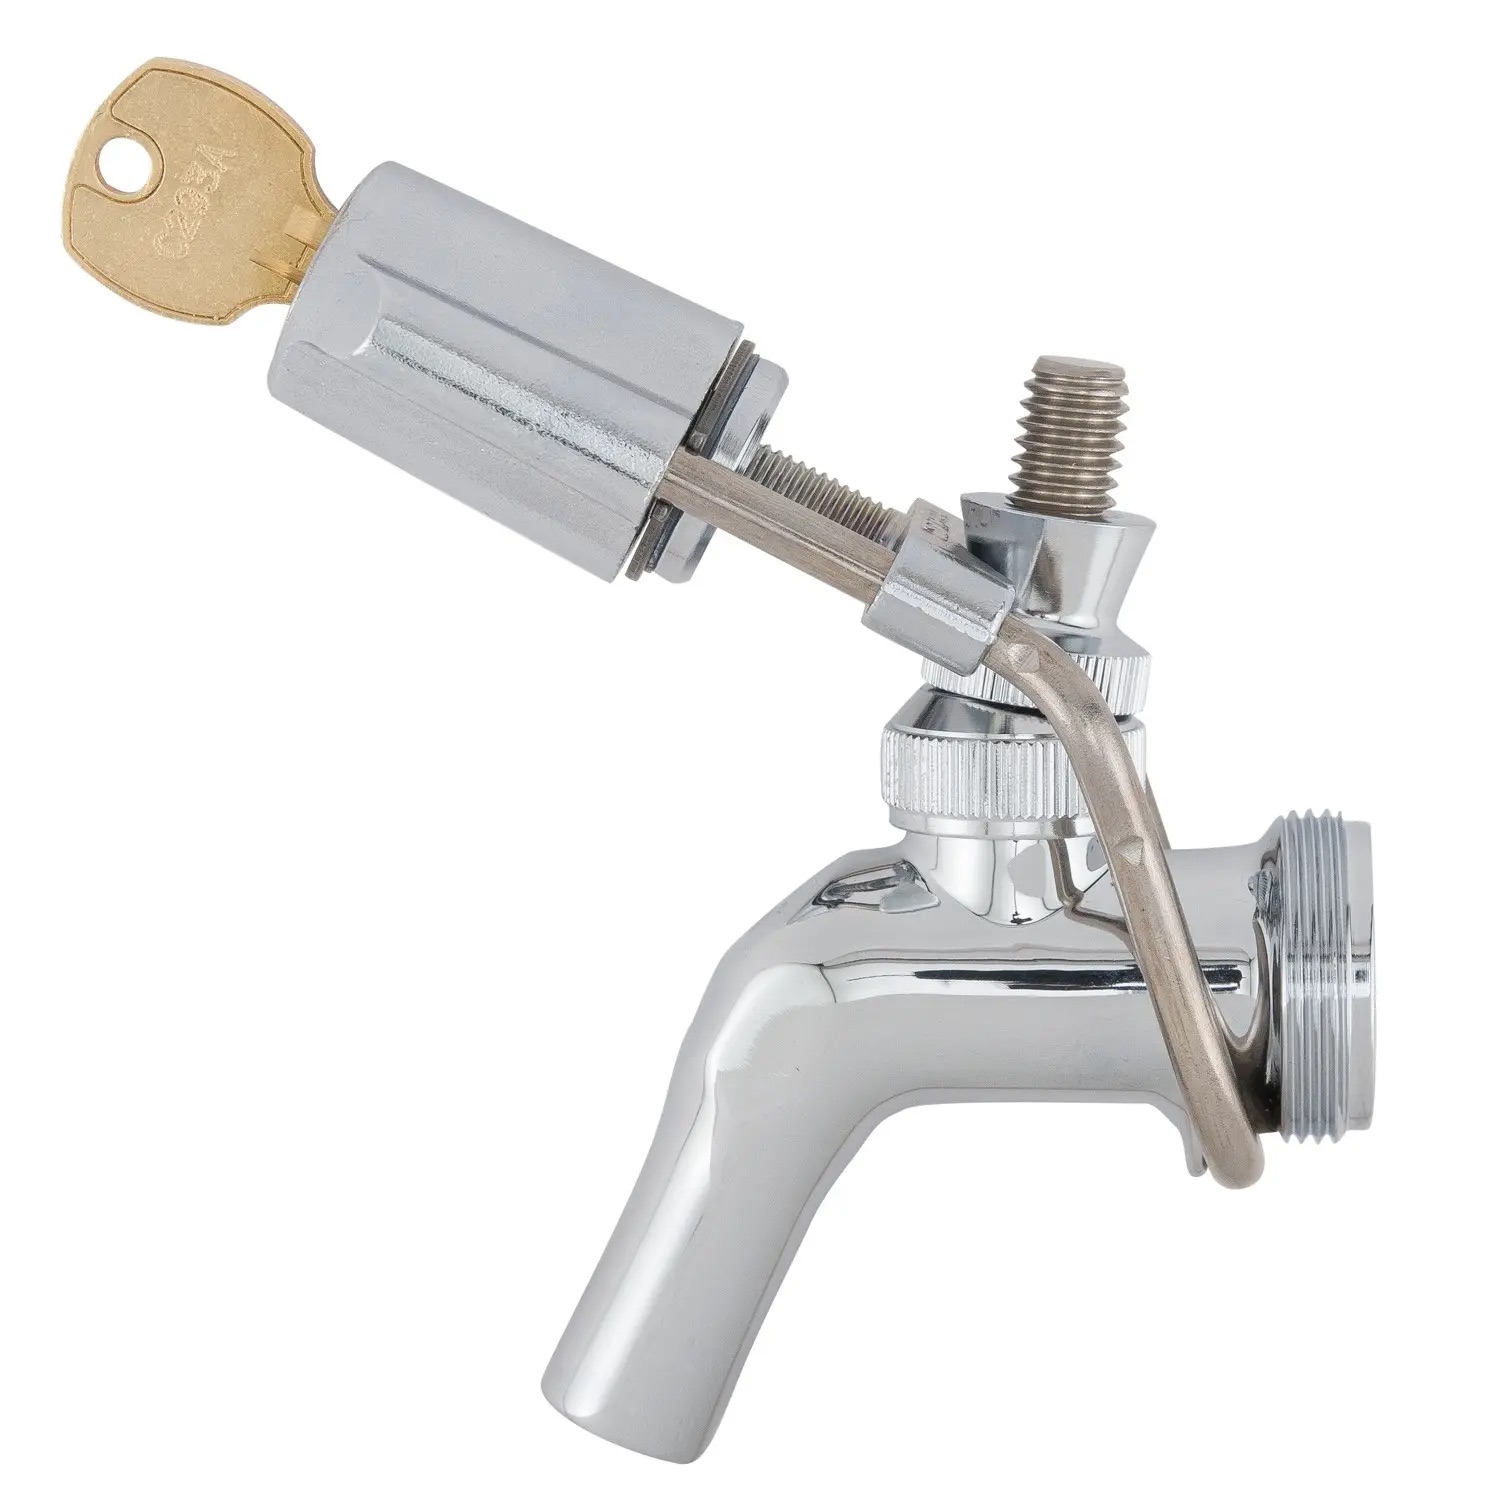
Step 4: Clean the faucet
After flushing the beer lines with a cleaning solution, it’s time to give special attention to cleaning the faucet. The faucet is a critical component of your kegerator that can accumulate residue and bacteria, affecting the taste and quality of your beer.
Follow these steps to clean the faucet:
- Detach the faucet: Start by detaching the faucet from the kegerator. Depending on the type of kegerator you have, this may involve unscrewing or twisting the faucet to remove it from the shank or tower.
- Soak the faucet: Fill a container or basin with the remaining cleaning solution or a fresh batch of cleaning solution. Submerge the faucet in the cleaning solution and let it soak for a few minutes.
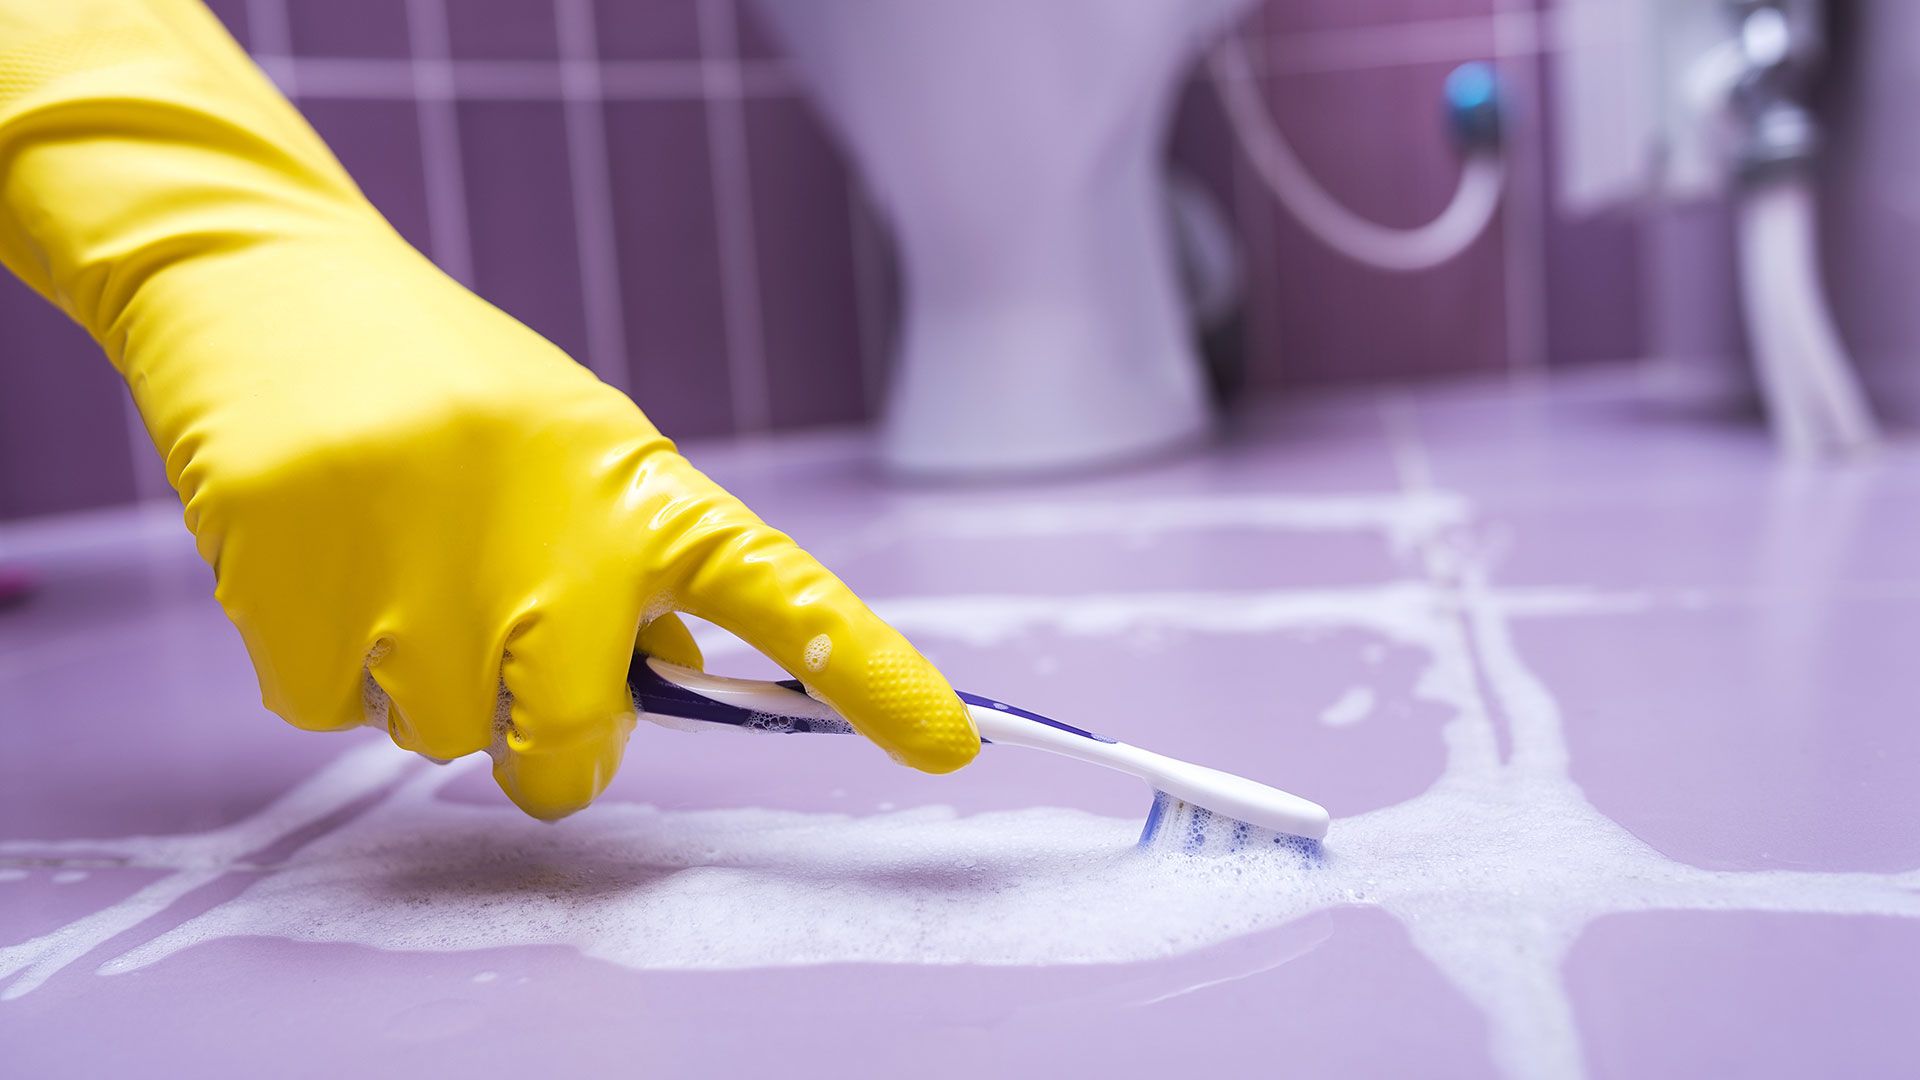
- Clean the faucet: Use a small brush or a faucet cleaning attachment from your kegerator cleaning kit to clean the inside and outside of the faucet thoroughly. Pay attention to any nooks and crannies where residue might accumulate.
- Rinse the faucet: Once you’re satisfied with the cleanliness of the faucet, rinse it with warm water to remove any remaining cleaning solution or debris.
- Dry the faucet: Use a clean towel or paper towel to dry the faucet completely. Ensuring that the faucet is dry will help prevent any moisture-related issues, such as mold or bacteria growth.
By cleaning the faucet, you ensure that it is free from any build-up or contaminants that can affect the taste and quality of your beer. Take your time to clean the faucet thoroughly to maintain the optimal performance of your kegerator.
With the faucet cleaned, it’s time to move on to the next step: rinsing the beer lines.
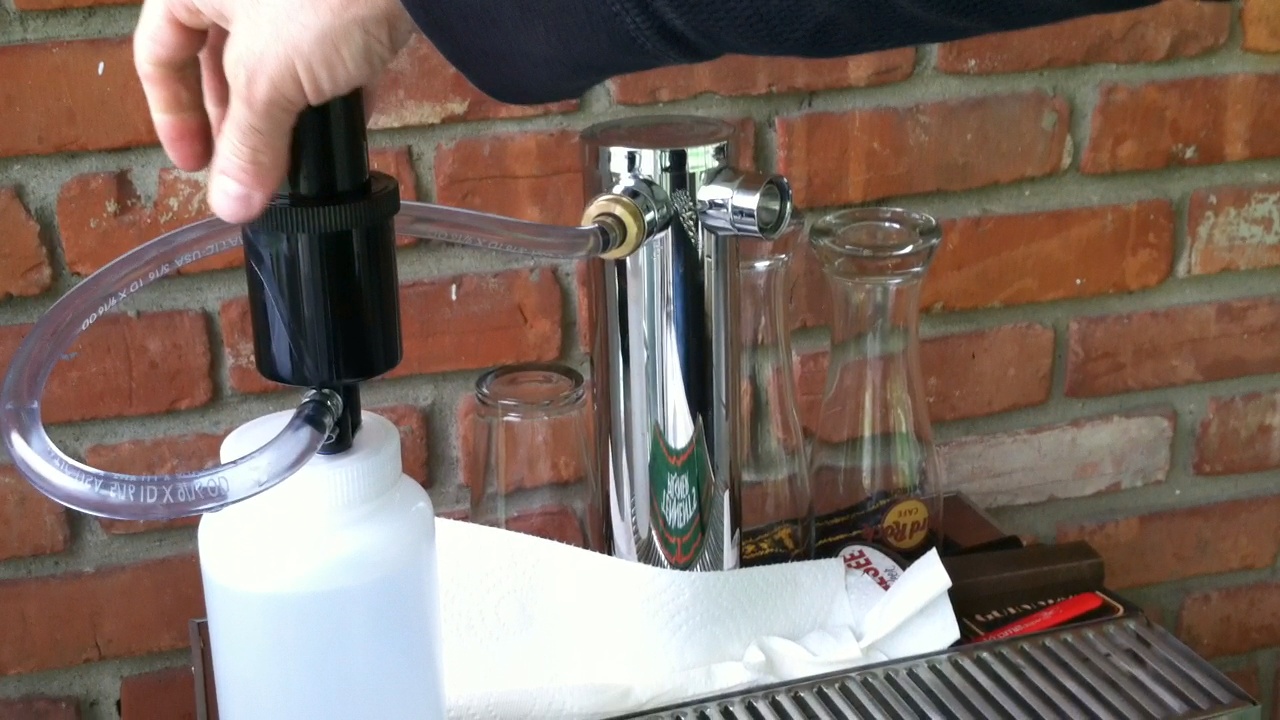
To clean your kegerator lines, use a cleaning kit with a pump, cleaning solution, and faucet brush. Follow the instructions carefully to ensure a thorough cleaning.
Read more: How To Change Beer Lines In Kegerator
Step 5: Rinse the lines
After cleaning the faucet, it’s important to rinse the beer lines to remove any residue from the cleaning solution and ensure that there are no lingering flavors or odors.
Follow these steps to rinse the lines:
- Prepare a container with clean water: Fill a container or basin with clean, warm water. The water should be at a similar temperature to the cleaning solution used in the previous steps.
- Attach the cleaning attachment: Attach the cleaning attachment to the beer line, similar to the process in step 3.
- Dip the cleaning attachment in the water: Submerge the cleaning attachment into the container with clean water.
- Turn on the faucet: Turn on the faucet to allow the clean water to flow through the beer lines, effectively rinsing away any residue or cleaning solution.
- Flush the lines with clean water: Let the clean water flow through the lines for a few minutes, ensuring that it reaches all parts of the beer lines.
- Empty the container: Once the lines have been thoroughly rinsed, collect the water used for rinsing in a separate container or discard it as appropriate.
Rinsing the beer lines is crucial to remove any traces of the cleaning solution and ensure that your beer will not be affected by any residual flavors or odors. Make sure to flush the lines with enough clean water to ensure a thorough rinse.
With the lines properly rinsed, it’s time to reattach the keg and move on to the next step: reconnecting the keg.
Step 6: Reconnect the keg
Now that you have completed the cleaning and rinsing process for your kegerator lines, it’s time to reconnect the keg and get ready to enjoy your freshly cleaned beer.
Follow these steps to reconnect the keg:
- Inspect the keg: Before reconnecting, take a moment to inspect the keg for any signs of damage or contamination. Ensure that the keg is clean, properly sealed, and in good condition.
- Sanitize your hands: Prior to handling the keg, sanitize your hands thoroughly to maintain the cleanliness of the kegerator and avoid introducing any outside contaminants.
- Place the keg in the kegerator: Carefully place the keg back into the kegerator, ensuring that it is properly aligned and secure.
- Reconnect the coupler: Attach the coupler to the keg by aligning the notches and twisting it into place. Make sure it is properly sealed to prevent any leaks.
Once the keg is reconnected, you can turn on the CO2 valve and gradually increase the pressure to the desired level for dispensing the beer. Give it a few minutes to reach the proper carbonation level before pouring your first glass of freshly cleaned beer.
Remember to also clean and sanitize any other equipment that came into contact with the beer during the cleaning process, such as cups, taps, or beer lines outside of the kegerator, to maintain the overall cleanliness and quality of your beer.
Now that the keg is securely reconnected, it’s time for the final step: testing the lines to ensure everything is working properly.
Step 7: Test the lines
After reassembling your kegerator and reconnecting the keg, it’s important to test the lines to ensure that everything is working properly before serving your beer.
Follow the steps below to test the lines:
- Check for leaks: Inspect the connections and fittings to ensure there are no leaks. Look for any signs of drips or hissing sounds that could indicate a leak. If you identify a leak, turn off the CO2 valve, recheck and tighten the connections, and test again.
- Purge the air from the lines: To ensure a smooth flow of beer, purge any air from the lines. To do this, simply open the faucet and allow some beer to flow until all the air is expelled.
- Pour a test glass: Pour a small test glass of beer to examine its appearance, aroma, and taste. Look for any signs of off-flavors or abnormalities in the beer. If everything appears to be normal, proceed to the next step.
- Adjust carbonation and temperature: If necessary, adjust the carbonation level and temperature of the kegerator to your liking. Remember to consult the recommendations for your specific beer style.
- Enjoy your beer: After successfully testing the lines and ensuring that everything is in proper working order, you can now sit back, relax, and enjoy your freshly cleaned beer!
By testing the lines, you can verify that your kegerator is functioning optimally and that your beer is being served at its best. It’s always a great feeling to taste a perfectly poured and delicious beer from a well-maintained kegerator.
Remember, regular cleaning and maintenance of your kegerator lines are essential to ensure the longevity and quality of your beer. It’s recommended to clean your kegerator lines every few weeks or as needed, depending on usage and beer type.
Cheers to clean and tasty beer!
Conclusion
Cleaning your kegerator lines is a vital step in maintaining the taste, quality, and hygiene of your beer. By following the step-by-step guide outlined in this article, you can ensure that your kegerator lines are sparkling clean and free from any residue, bacteria, or yeast build-up.
Remember, regular cleaning of your kegerator lines is essential to prevent off-flavors, keep your beer tasting fresh, and extend the lifespan of your equipment. Neglecting to clean the lines can lead to clogs, foam problems, and compromised beer quality.
Throughout the cleaning process, it’s important to gather the necessary supplies, disconnect the keg, flush the lines with a cleaning solution, clean the faucet, rinse the lines, reconnect the keg, test the lines for leaks, and enjoy your beer with confidence.
By incorporating regular cleaning and maintenance into your kegerator routine, you can ensure that every glass of beer you pour is a pleasure to drink, with the flavors and aromas that the brewers intended. So, raise a glass to a clean kegerator and the perfect pint!
Cheers!
Frequently Asked Questions about How To Clean Your Kegerator Lines
Was this page helpful?
At Storables.com, we guarantee accurate and reliable information. Our content, validated by Expert Board Contributors, is crafted following stringent Editorial Policies. We're committed to providing you with well-researched, expert-backed insights for all your informational needs.


0 thoughts on “How To Clean Your Kegerator Lines”