Articles
How To Clean Oil Spill On Driveway
Modified: January 18, 2024
Learn effective methods for cleaning oil spills on your driveway in this informative article. Discover tips, tricks, and recommended products to tackle this common problem.
(Many of the links in this article redirect to a specific reviewed product. Your purchase of these products through affiliate links helps to generate commission for Storables.com, at no extra cost. Learn more)
Introduction
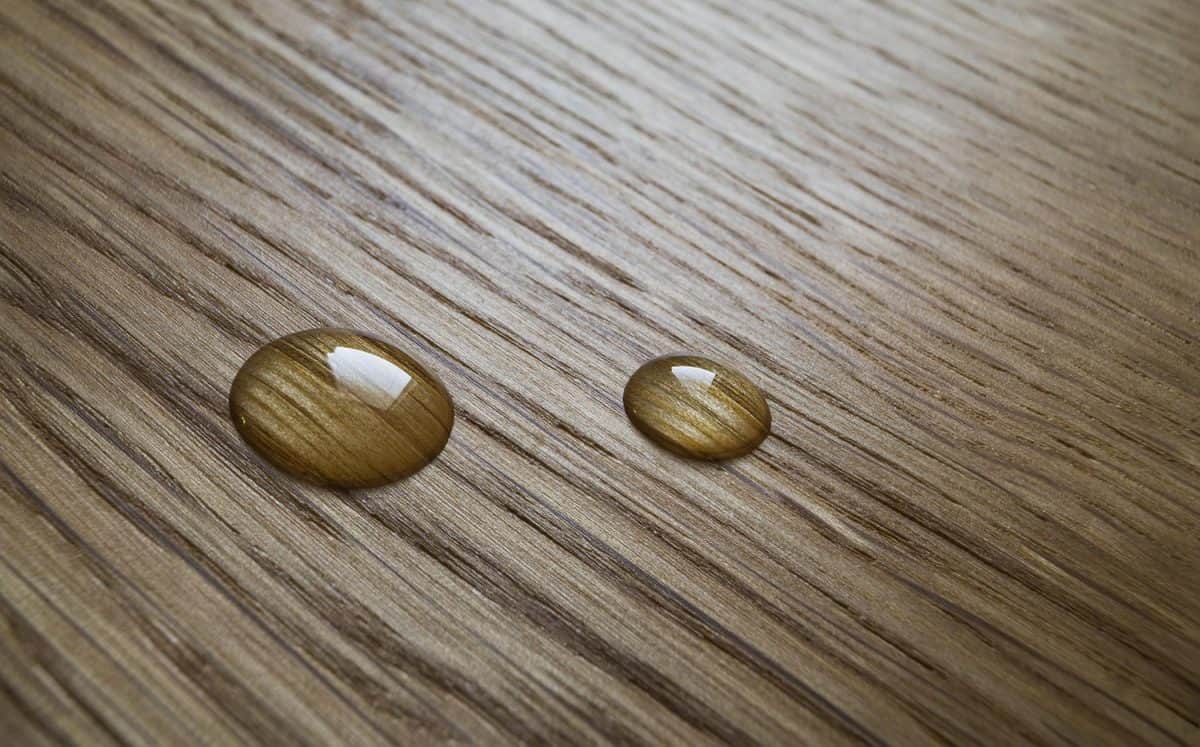
An oil spill on your driveway can be a frustrating and unsightly problem. Whether it’s from a leaky car or an accidental spill, cleaning up the oil can seem like a daunting task. However, with the right knowledge and materials, you can effectively clean the oil spill and restore the cleanliness and appearance of your driveway.
In this article, we will guide you through the step-by-step process of cleaning an oil spill on your driveway. We will also provide you with essential safety precautions to follow and recommend the materials needed for the task. By following these instructions, you will be able to effectively clean up the oil spill and prevent any further damage to your driveway.
Before we dive into the cleaning process, it’s important to highlight the significance of promptly addressing an oil spill on your driveway. Oil spills can not only leave unsightly stains but can also penetrate the surface and cause long-term damage if left unattended. Therefore, taking immediate action is crucial to mitigate the effects of the spill and prevent any potential harm.
Now, let’s get started with some vital safety precautions that you need to consider before tackling the oil spill.
Key Takeaways:
- Promptly addressing an oil spill on your driveway is crucial to prevent long-term damage. By following safety precautions, gathering the necessary materials, and implementing the step-by-step cleaning process, you can effectively restore the cleanliness of your driveway.
- Implementing preventative measures, such as regular vehicle maintenance and strategic parking, can minimize the risk of future oil spills. By prioritizing safety, proper disposal, and proactive care, you can maintain a clean and beautiful driveway.
Read more: How To Clean Up Spilled Diffuser Oil
Safety Precautions
When dealing with an oil spill on your driveway, it’s important to prioritize your safety. Oil can make surfaces slippery, so taking proper precautions will minimize the risk of accidents or injuries. Here are some essential safety measures to follow:
- Wear Protective Gear: Before you begin the cleaning process, make sure to wear appropriate protective gear. This may include gloves, safety goggles, and a face mask. These items will shield you from potential skin irritation and inhalation of harmful fumes.
- Protect the Surrounding Area: Oil spills can be messy, so take measures to protect the surrounding area. Use absorbent materials or plastic sheets to cover any nearby plants, grass, or sensitive surfaces. This will prevent the oil from seeping into the ground or causing further damage.
- Ventilate the Area: If you are cleaning the spill in an enclosed area, ensure proper ventilation. Open windows and doors or use fans to promote airflow. This will help dissipate any fumes and prevent the accumulation of hazardous vapors.
- Dispose of Waste Properly: Oil-soaked materials and cleaning products used during the spill cleanup should be disposed of properly. Check with your local waste management authorities for guidelines on how to dispose of hazardous waste. Never pour oil or contaminated materials down drains or sewers, as this can lead to environmental pollution.
- Keep Children and Pets Away: While cleaning up the oil spill, ensure that children and pets are kept away from the area. They may inadvertently come into contact with the oil or cleaning products, which can pose risks to their health.
By adhering to these safety precautions, you can minimize the potential hazards associated with cleaning an oil spill on your driveway. Now that you are aware of the necessary safety measures, let’s move on to the materials needed to effectively clean the spill.
Materials Needed
To successfully clean an oil spill on your driveway, you will need the following materials:
- Oil Absorbent: Look for a high-quality oil absorbent product, such as kitty litter or absorbent pads specifically designed for oil spills. These absorbents will help lift and absorb the oil from the surface of your driveway.
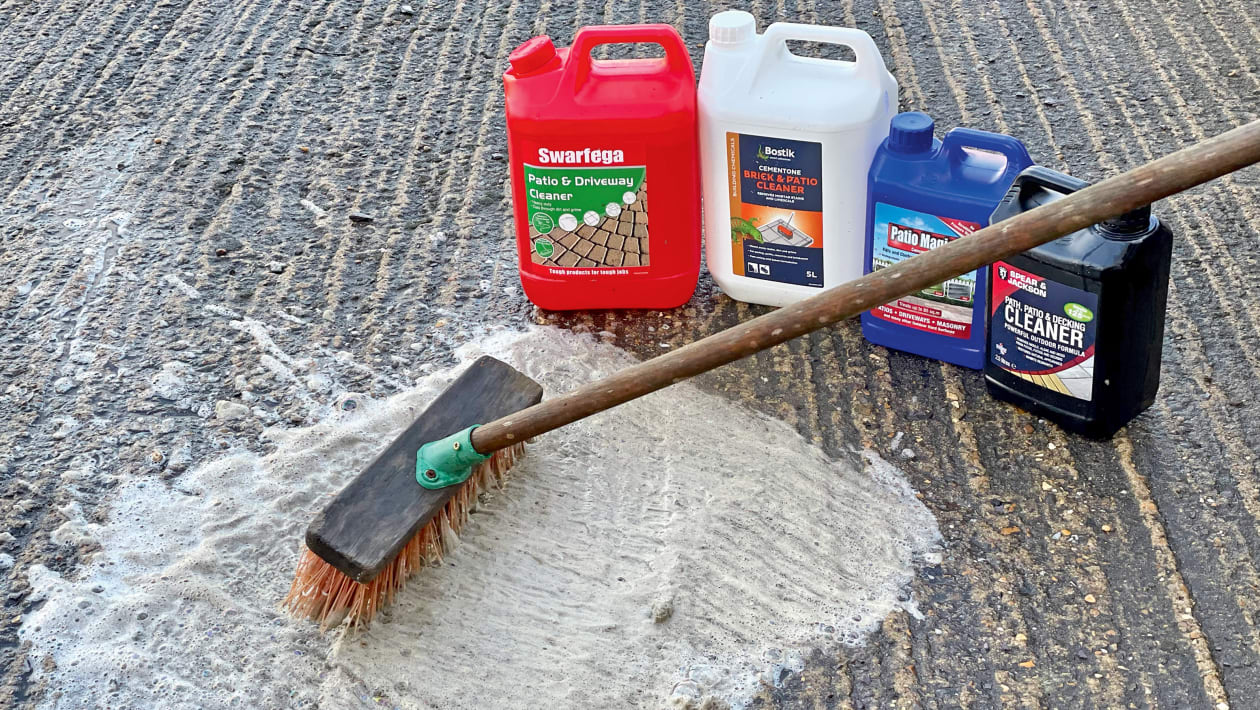
- Detergent or Degreaser: Select a detergent or degreaser that is suitable for removing oil stains. You can choose a commercial degreaser or opt for household items like dish soap or baking soda. These cleaning agents will help break down the oil and lift the stain.
- Hot Water: Hot water will aid in removing stubborn oil stains. Ensure that you have access to a hot water source, such as a hose with warm water or a bucket of hot water.
- Stiff Bristle Brush: A stiff bristle brush or broom is essential for scrubbing the oil stain and working the cleaning agents into the surface of the driveway. Choose a brush with durable bristles that will effectively lift the oil without damaging the driveway.
- Bucket: A bucket will be useful for holding hot water and mixing cleaning agents. Make sure to use a bucket that is large enough to accommodate the necessary amount of water and cleaning solution.
- Protective Gloves: Wear protective gloves to shield your hands from the cleaning agents and prevent any skin irritation or chemical exposure. Choose gloves that are chemical-resistant and provide a good grip.
- Safety Goggles and Face Mask: Protect your eyes and respiratory system by wearing safety goggles and a face mask. These items will prevent any splashes or fumes from coming into contact with your eyes or being inhaled.
- Plastic Sheet or Tarp: Use a plastic sheet or tarp to cover the affected area and protect surrounding surfaces from potential contamination.
- Spatula or Scraper: A spatula or scraper will come in handy for gently scraping off any excess or solidified oil from the driveway.
By gathering these materials before you start the cleaning process, you’ll be well-prepared to tackle the oil spill on your driveway. Now that you have everything you need, let’s move on to the step-by-step process of cleaning the spill.
Step 1: Assess the Spill
Before diving into the cleaning process, it’s essential to assess the extent of the oil spill on your driveway. By understanding the size and severity of the spill, you can determine the appropriate methods and materials required for effective cleanup. Here’s how to assess the spill:
- Observe the size and location: Take a close look at the spill and assess its size and location. Note if it’s a small spot or if it covers a larger area. This will help you estimate the amount of absorbent material and cleaning agents needed.
- Check the condition of the oil: Determine the state of the oil spill. Is it fresh and liquid, or has it hardened and solidified? Fresh spills are usually easier to clean, while solidified oil may require additional steps to soften and remove.
- Inspect the driveway surface: Assess the type of driveway surface you have, whether it’s concrete, asphalt, or another material. Different surfaces may require specific cleaning techniques to prevent damage.
- Note any surrounding vegetation: Take note of any nearby plants, grass, or other vegetation. If the spill has reached these areas, you’ll need to take extra care to protect them during the cleaning process.
By carefully assessing the spill, you can plan your cleaning process accordingly and ensure the most effective and efficient cleanup. Once you have a clear understanding of the spill, you can move on to the next step: containing the spill.
Step 2: Contain the Spill
After assessing the oil spill on your driveway, the next step is to contain it. Containing the spill prevents it from spreading further and causing more damage. Follow these steps to effectively contain the oil spill:
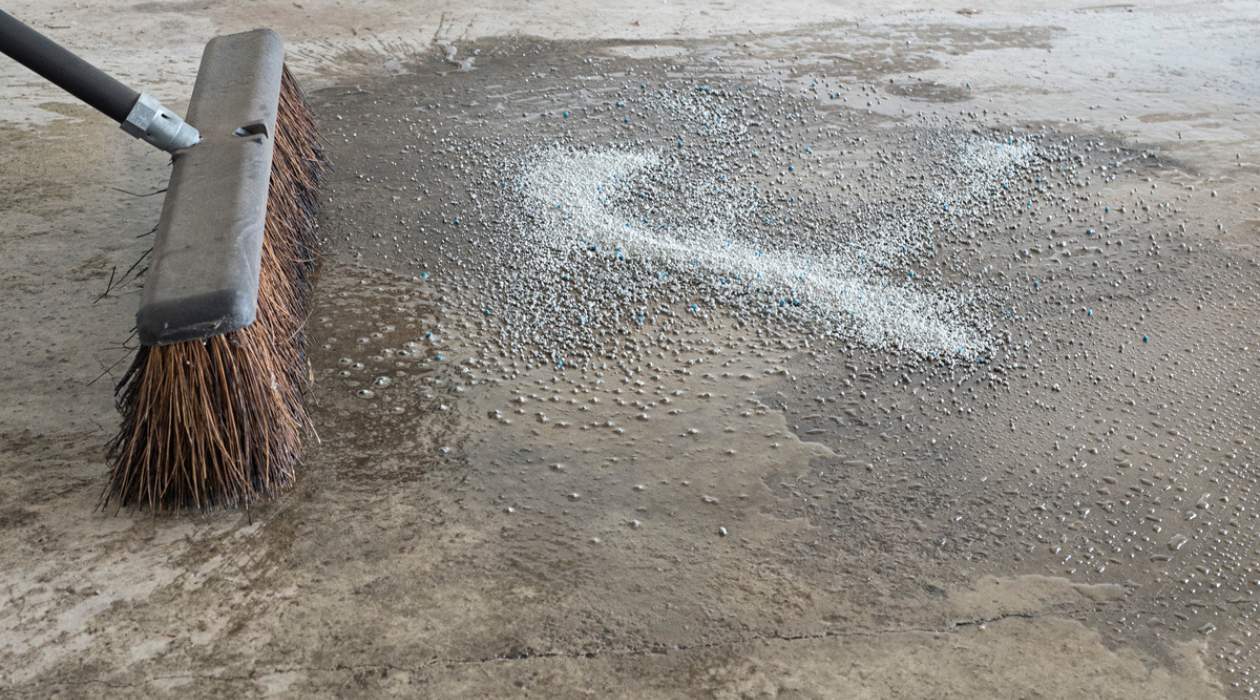
- Use absorbent materials: Place absorbent materials, such as kitty litter or absorbent pads, directly on the oil spill. These materials will help soak up the oil and prevent it from spreading.
- Cover the spill: Once the absorbent materials are in place, cover the spill with a plastic sheet or tarp to further contain it. Ensure that the entire spill is adequately covered to prevent any accidental spreading.
- Block drainage areas: Place barriers or absorbent socks around any drainage areas or cracks in the driveway to prevent the oil from seeping into them. This will help contain the spill and minimize the risk of environmental contamination.
- Secure the containment area: Use rocks or heavy objects to secure the edges of the plastic sheet or tarp and keep it in place. This will prevent wind or accidental movement from disrupting the containment.
By following these steps, you can effectively contain the oil spill and prevent it from spreading further. Once the spill is contained, you can proceed to the next step: absorbing the oil.
Use a commercial degreaser or dish soap to break down the oil. Scrub the affected area with a stiff brush, then rinse with hot water. For stubborn stains, sprinkle with baking soda and scrub again.
Read more: How To Clean A Paver Driveway
Step 3: Absorb the Oil
Now that you have successfully contained the oil spill on your driveway, it’s time to start absorbing the oil. Absorbing the oil will help lift it from the surface and prepare it for the cleaning process. Follow these steps to absorb the oil effectively:
- Spread oil absorbent material: Sprinkle a generous amount of oil absorbent material, such as kitty litter or absorbent pads, directly onto the spill. Spread it evenly to cover the entire affected area.
- Gently press down: Use the back of a shovel or the sole of your shoe to gently press down on the absorbent material. This will help it penetrate the oil and absorb as much as possible.
- Leave it to sit: Allow the absorbent material to sit on the spill for at least 30 minutes, or as instructed on the product packaging. This will give it enough time to absorb the oil effectively.
- Sweep or vacuum: After the designated waiting time, use a broom or vacuum cleaner to sweep or vacuum up the absorbed oil and absorbent material. Be thorough to ensure you remove as much of the oil as possible.
- Dispose of the waste: Place the oil-soaked absorbent material in a sealed bag or container to prevent any leakage. Check with your local waste management authorities for guidance on proper disposal methods for hazardous waste.
By following these steps, you can effectively absorb the oil from your driveway, making it easier to proceed with the cleaning process in the next step.
Now that you have successfully absorbed the oil spill, it’s time to move on to the next step: cleaning the driveway.
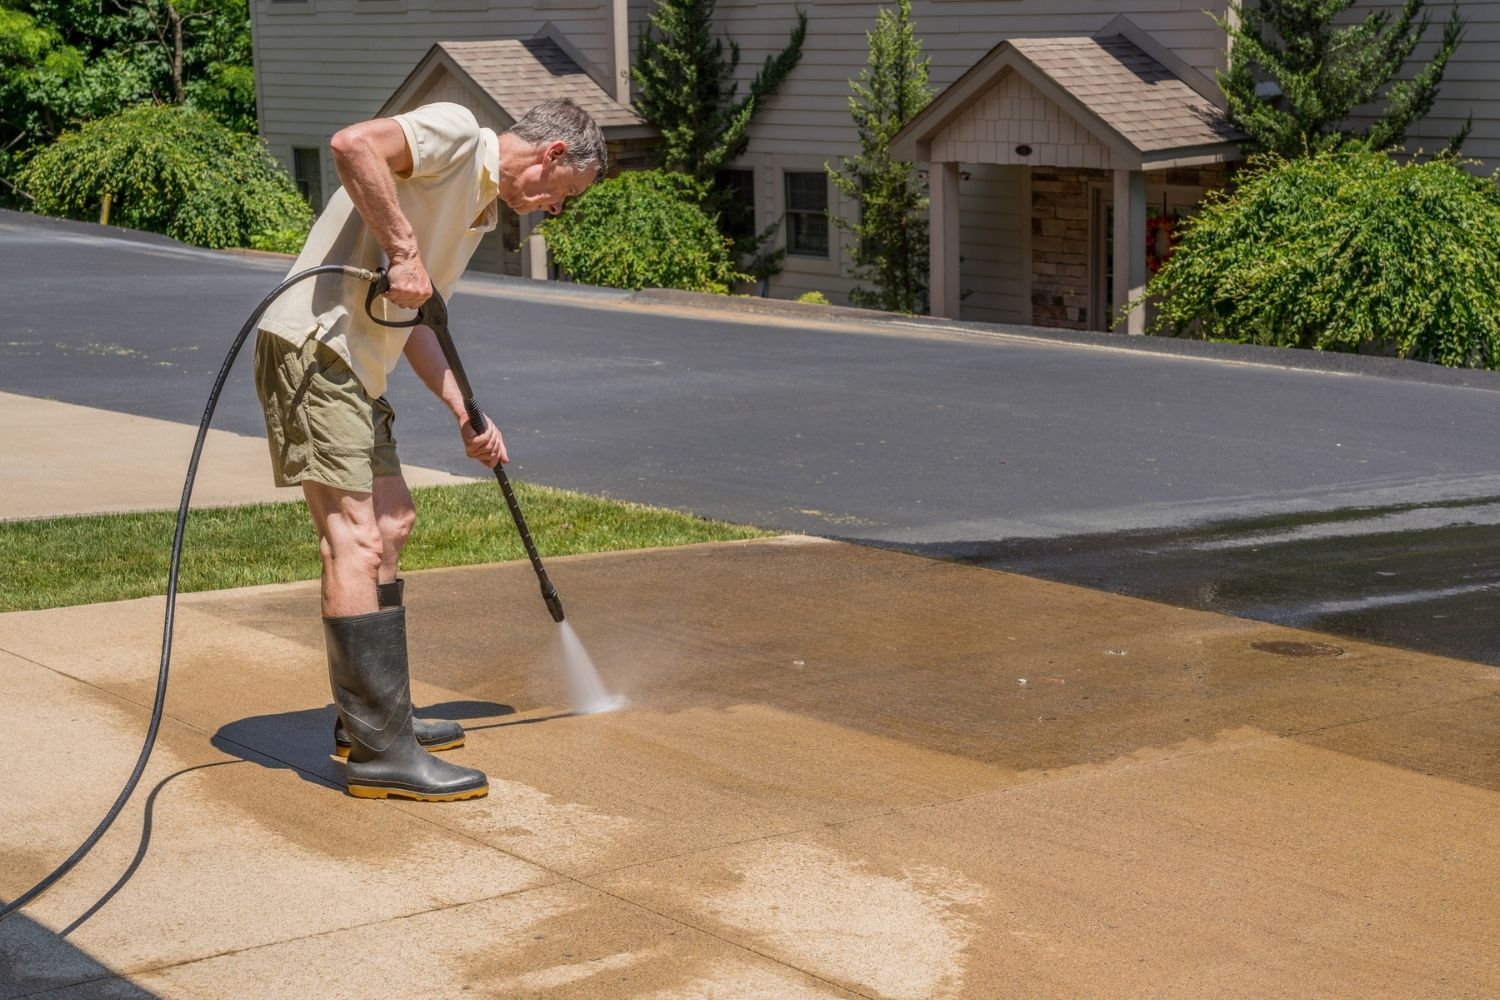
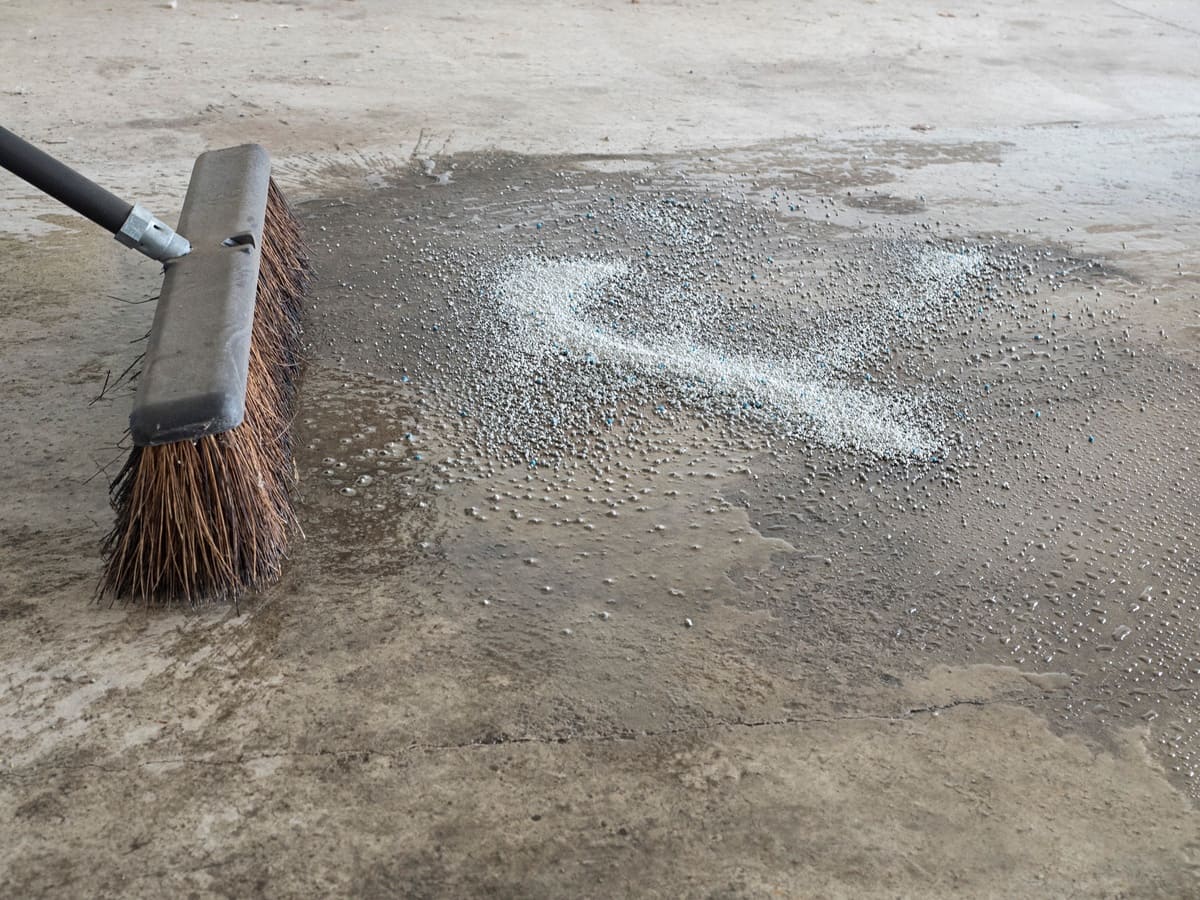
Step 4: Clean the Driveway
After successfully absorbing the oil spill on your driveway, it’s time to clean the surface to remove any remaining stains and residue. Follow these steps to effectively clean your driveway:
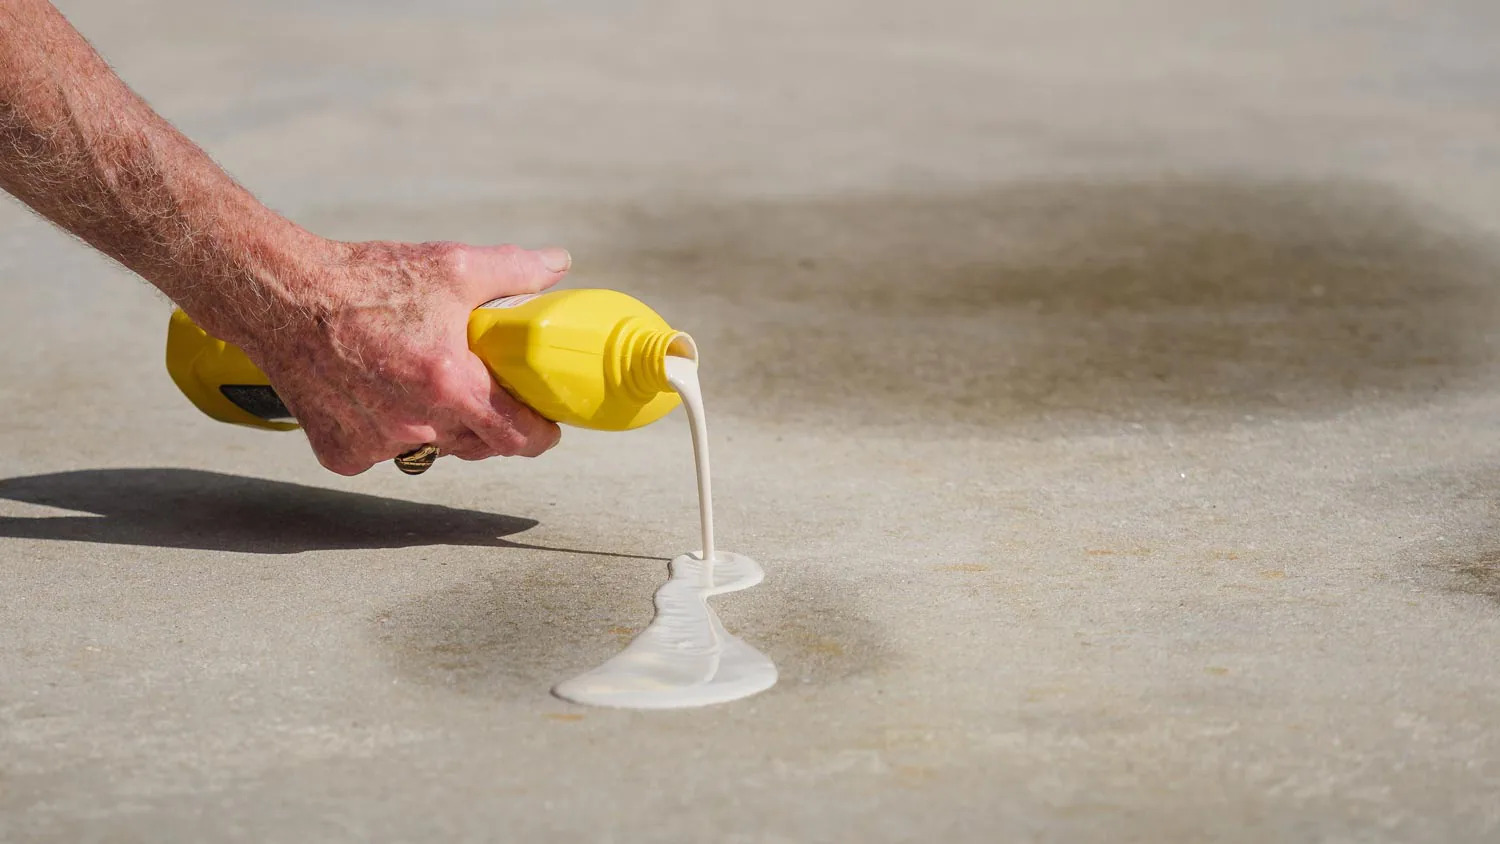
- Create a cleaning solution: In a bucket, mix a detergent or degreaser with hot water according to the product instructions. This solution will help break down and lift any remaining oil stains.
- Pour the cleaning solution: Pour the cleaning solution directly onto the remaining oil stains. Make sure to cover the entire stained area.
- Scrub the stains: Use a stiff bristle brush or broom to scrub the stains vigorously. Apply firm pressure to work the cleaning solution into the surface of the driveway. Focus on the stained areas, but also scrub the surrounding areas to ensure a thorough clean.
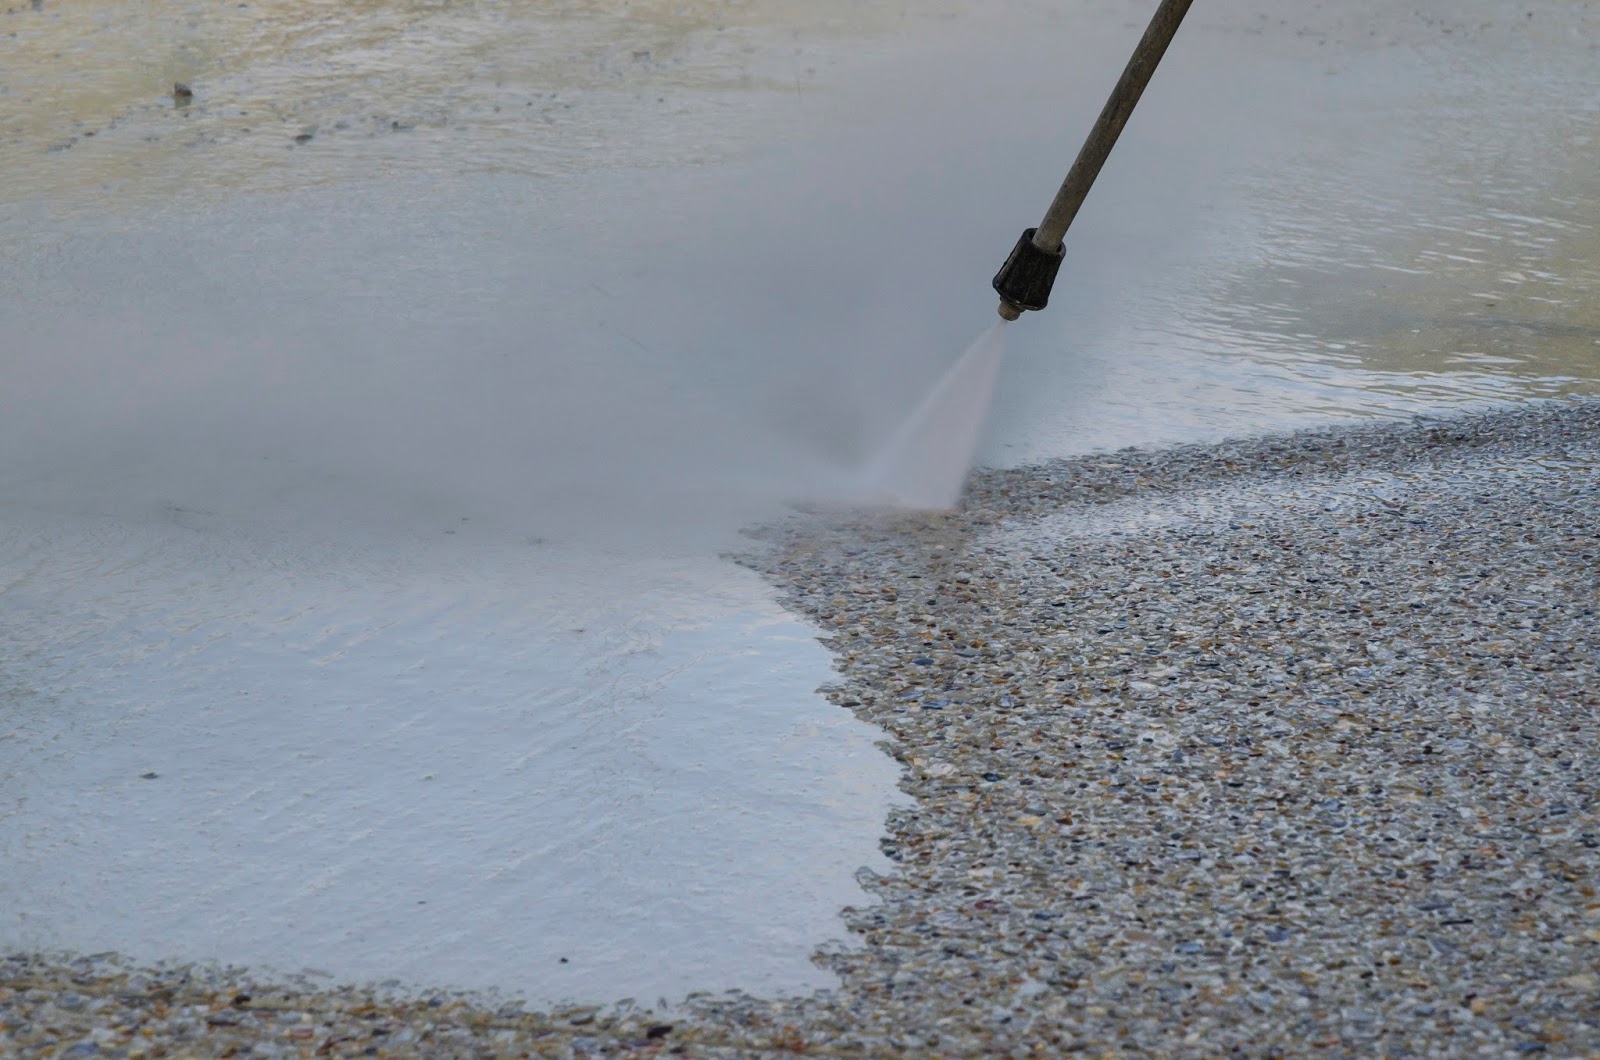
- Rinse with hot water: Rinse the driveway with hot water using a hose or bucket. This will help wash away the cleaning solution, as well as any loosened oil and residue.
- Inspect for remaining stains: After rinsing, inspect the driveway for any remaining stains. If there are still visible oil stains, repeat the cleaning process until the stains are no longer visible.
- Dry the driveway: Allow the driveway to air dry, or use absorbent towels to soak up any excess water. This will prevent any slipping accidents and ensure the driveway is safe to walk on.
By following these steps and thoroughly cleaning your driveway, you can remove any remaining oil stains and restore its appearance. Now that the cleaning process is complete, it’s time to move on to the next step: disposing of the contaminated materials.
Step 5: Dispose of Contaminated Materials
After successfully cleaning the oil spill on your driveway, it’s important to properly dispose of the contaminated materials to prevent any environmental harm. Follow these steps to dispose of the materials responsibly:
- Gather the waste: Collect all the oil-soaked absorbent materials, cleaning tools, and any other waste generated during the cleanup process. Place them in a sturdy sealed bag or container.
- Check local regulations: Research and familiarize yourself with the local regulations regarding the disposal of hazardous waste. It’s important to follow the guidelines provided by your local waste management authorities.
- Find a disposal facility: Locate a designated disposal facility in your area that accepts hazardous waste. This could be a waste management facility or a recycling center. Contact them to verify if they accept the type of waste you have.
- Transport and drop off: Safely transport the sealed bags or containers to the designated disposal facility. Follow their instructions for drop-off procedures and any additional requirements they may have.
- Observe any special instructions: If there are any specific instructions provided by the disposal facility, such as labeling requirements or specific disposal methods, make sure to follow them accordingly.
Remember, it is crucial to dispose of the contaminated materials properly to protect the environment and comply with local regulations. By following these steps, you can ensure the safe and responsible disposal of the waste generated from the oil spill cleanup.
Now that you have disposed of the contaminated materials, it’s time to move on to the final step: implementing measures to prevent future spills.
Step 6: Prevent Future Spills
After successfully cleaning the oil spill on your driveway, it’s important to take proactive measures to prevent future spills. By implementing these preventative steps, you can minimize the risk of another oil spill and maintain the cleanliness of your driveway. Follow these tips to prevent future spills:
- Maintain your vehicle: Regularly inspect your vehicle for any leaks or drips. Address any issues promptly to prevent oil from dripping onto the driveway. Regular maintenance can help identify potential problems before they escalate.
- Park strategically: Consider where you park your vehicles. Choose a location that minimizes the risk of spills, such as a designated parking area away from driveways or sensitive surfaces.
- Use drip pans: If you have a vehicle that tends to leak oil, place a drip pan or absorbent mat under the engine compartment to catch any drips and prevent them from reaching the driveway.
- Store oils properly: Ensure that any oil or petroleum products are stored in secure containers that are specifically designed for such materials. Keep them in a dedicated storage area away from driveways or areas prone to spills.
- Be cautious during maintenance: When performing maintenance tasks that involve oil changes or handling of oils, take precautions to prevent spills. Use drip pans, funnels, or other tools to minimize the risk of accidental spills.
- Regularly inspect your driveway: Keep an eye on your driveway and promptly address any oil stains or spills that occur. The sooner you attend to them, the easier they will be to clean and prevent further damage.
- Provide proper drainage: Ensure that your driveway has adequate drainage systems in place. This will help direct water and potential spills away from sensitive areas and prevent pooling or accumulation.
By following these preventative measures, you can reduce the risk of future oil spills on your driveway. Being proactive and taking care of your vehicles and driveway can save you time, effort, and potential damage in the long run.
With the completion of this final step, you have successfully learned how to clean an oil spill on your driveway and implement preventative measures. Remember to always prioritize safety and be mindful of proper disposal methods to protect both yourself and the environment.
Congratulations on a job well done!
Read more: How To Clean Your Driveway
Conclusion
Cleaning an oil spill on your driveway may initially seem like a challenging task, but with the right knowledge and materials, it is entirely manageable. By following the step-by-step process outlined in this article, you can effectively clean the spill and restore the cleanliness and appearance of your driveway.
Remember to prioritize safety by wearing appropriate protective gear and taking necessary precautions to prevent accidents or injuries. Taking immediate action to contain the spill and absorb the oil is vital to prevent further damage and minimize the risk of environmental contamination.
Properly disposing of the contaminated materials is crucial to protect the environment and comply with local regulations. Research and follow the guidelines provided by your local waste management authorities to ensure the responsible disposal of hazardous waste.
Implementing preventative measures is essential to reduce the risk of future oil spills on your driveway. Regular vehicle maintenance, strategic parking, and proper storage of oils are just a few examples of how you can prevent spills and maintain the cleanliness of your driveway.
By following these steps and taking the necessary precautions, you can tackle an oil spill on your driveway effectively and efficiently. Remember, prompt action, attention to detail, and a proactive approach are key to successfully managing and preventing oil spills.
Now that you have the knowledge and understanding, you are well-equipped to tackle any oil spill on your driveway and maintain its pristine condition. Enjoy your clean and beautiful driveway!
Frequently Asked Questions about How To Clean Oil Spill On Driveway
Was this page helpful?
At Storables.com, we guarantee accurate and reliable information. Our content, validated by Expert Board Contributors, is crafted following stringent Editorial Policies. We're committed to providing you with well-researched, expert-backed insights for all your informational needs.


0 thoughts on “How To Clean Oil Spill On Driveway”