Articles
How To Change Porch Light Bulb
Modified: February 23, 2024
Learn how to change your porch light bulb with this easy step-by-step guide. Our articles provide helpful tips and detailed instructions for a seamless replacement.
(Many of the links in this article redirect to a specific reviewed product. Your purchase of these products through affiliate links helps to generate commission for Storables.com, at no extra cost. Learn more)
Introduction
Changing the porch light bulb is a simple home maintenance task that anyone can do. Whether your old porch light bulb has burned out or you simply want to upgrade to a more energy-efficient option, this step-by-step guide will walk you through the process. With just a few tools and materials, you can have your porch light shining brightly again in no time.
Before you begin, keep in mind that safety should always be your top priority. Ensure that the power to the porch light is turned off before starting any work. If you have any doubts or concerns, it’s always best to consult a professional electrician.
In this article, we’ll cover everything you need to know about changing a porch light bulb. From gathering the necessary tools and materials to installing the new bulb and testing it, we’ve got you covered. So, let’s get started and brighten up your porch!
Key Takeaways:
- Changing a porch light bulb is a simple DIY task that can enhance your home’s curb appeal. Prioritize safety, choose the right replacement bulb, and enjoy a well-lit and welcoming outdoor space.
- By following the step-by-step guide, you can confidently replace your porch light bulb. Test the new bulb for proper functionality, prioritize safety, and brighten up your outdoor space in no time.
Read more: How To Change Front Porch Light Bulb
Step 1: Gather the necessary tools and materials
Before you begin changing the porch light bulb, it’s important to gather all the necessary tools and materials. This will ensure a smooth and efficient process. Here’s a list of items you’ll need:
- A ladder or step stool: Depending on the height of your porch light, you may need a ladder or step stool to reach it safely. Make sure the ladder is stable and secure before climbing up.
- Safety gloves: It’s always a good idea to wear safety gloves when working with electrical fixtures to protect your hands from potential injuries.
- Replacement light bulb: Choose a bulb that is compatible with your porch light fixture. Check the wattage and size specifications to ensure it is the right fit.
- Screwdriver or wrench: Depending on the type of porch light fixture, you may need a screwdriver or wrench to loosen the screws or bolts holding it in place.
- Flashlight: If the area around the porch light is dimly lit, a flashlight will come in handy to provide additional light and improve visibility.
Take a moment to gather all these items before moving on to the next step. This will save you time and make the process more streamlined. Once you have everything ready, you can proceed to the next step: turning off the power source.
Step 2: Turn off the power source
Your safety is of utmost importance when working with electrical fixtures, so it’s crucial to turn off the power source before replacing the porch light bulb. Follow these steps to ensure a safe working environment:
- Locate the electrical panel in your home. It is typically found in the garage, basement, or utility room.
- Open the electrical panel door to reveal the circuit breakers or fuses.
- Identify the circuit that controls the porch light. It may be labeled or you may need to manually test each breaker or fuse to determine the correct one.
- Once you have identified the correct circuit, switch off the corresponding breaker or remove the fuse from its socket.
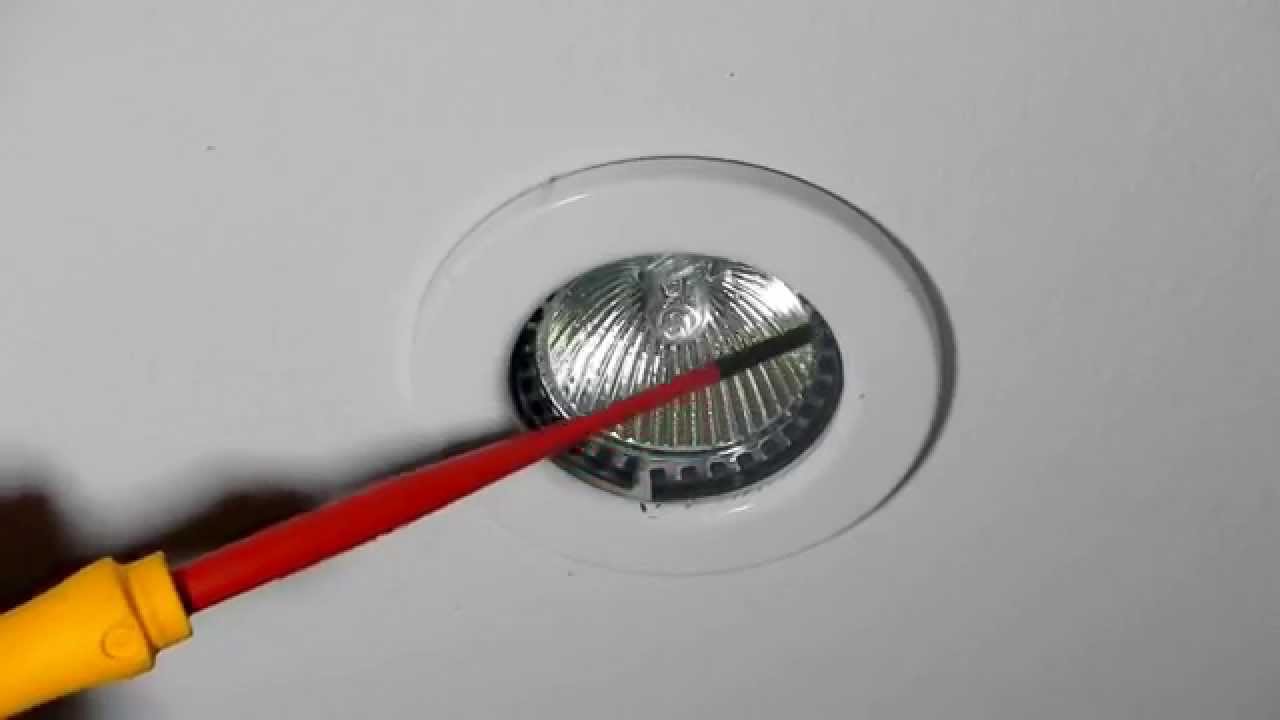
- Double-check that the power is indeed off by attempting to turn on the porch light. If it remains off, you can proceed to the next step.
By turning off the power source, you eliminate the risk of electrical shock while working on the porch light. Remember, safety should always be your top priority. If you have any doubts or concerns about the electrical work involved, it’s always best to consult a professional electrician.
Now that the power is off, you can safely proceed to the next step: removing the old porch light bulb.
Step 3: Remove the old light bulb
With the power source turned off, it’s time to remove the old light bulb from the porch light fixture. Follow these steps to safely remove the bulb:
- Put on your safety gloves to protect your hands from any broken glass or sharp edges.
- If there is a glass enclosure or cover over the light bulb, carefully unscrew or unclip it to expose the bulb. Set the enclosure aside in a safe place.
- Gently grip the base of the old light bulb and twist it counterclockwise. Most bulbs will loosen easily with a few rotations, so be careful not to apply excessive force.
- Once the bulb is loose, carefully remove it from the socket and place it in a designated disposal container. If it’s a compact fluorescent bulb, be sure to dispose of it in accordance with your local regulations.
Inspect the socket to ensure it is clean and free from any debris or corrosion. Use a soft cloth or a small brush to clean the socket if necessary. Taking the time to clean the socket will help ensure a proper connection with the new light bulb.
Now that the old light bulb is safely removed, you can proceed to the next step: choosing a replacement bulb.
Step 4: Choose a replacement bulb
Choosing the right replacement bulb for your porch light is essential to ensure proper functionality and optimal lighting. Here are a few factors to consider when selecting a replacement bulb:
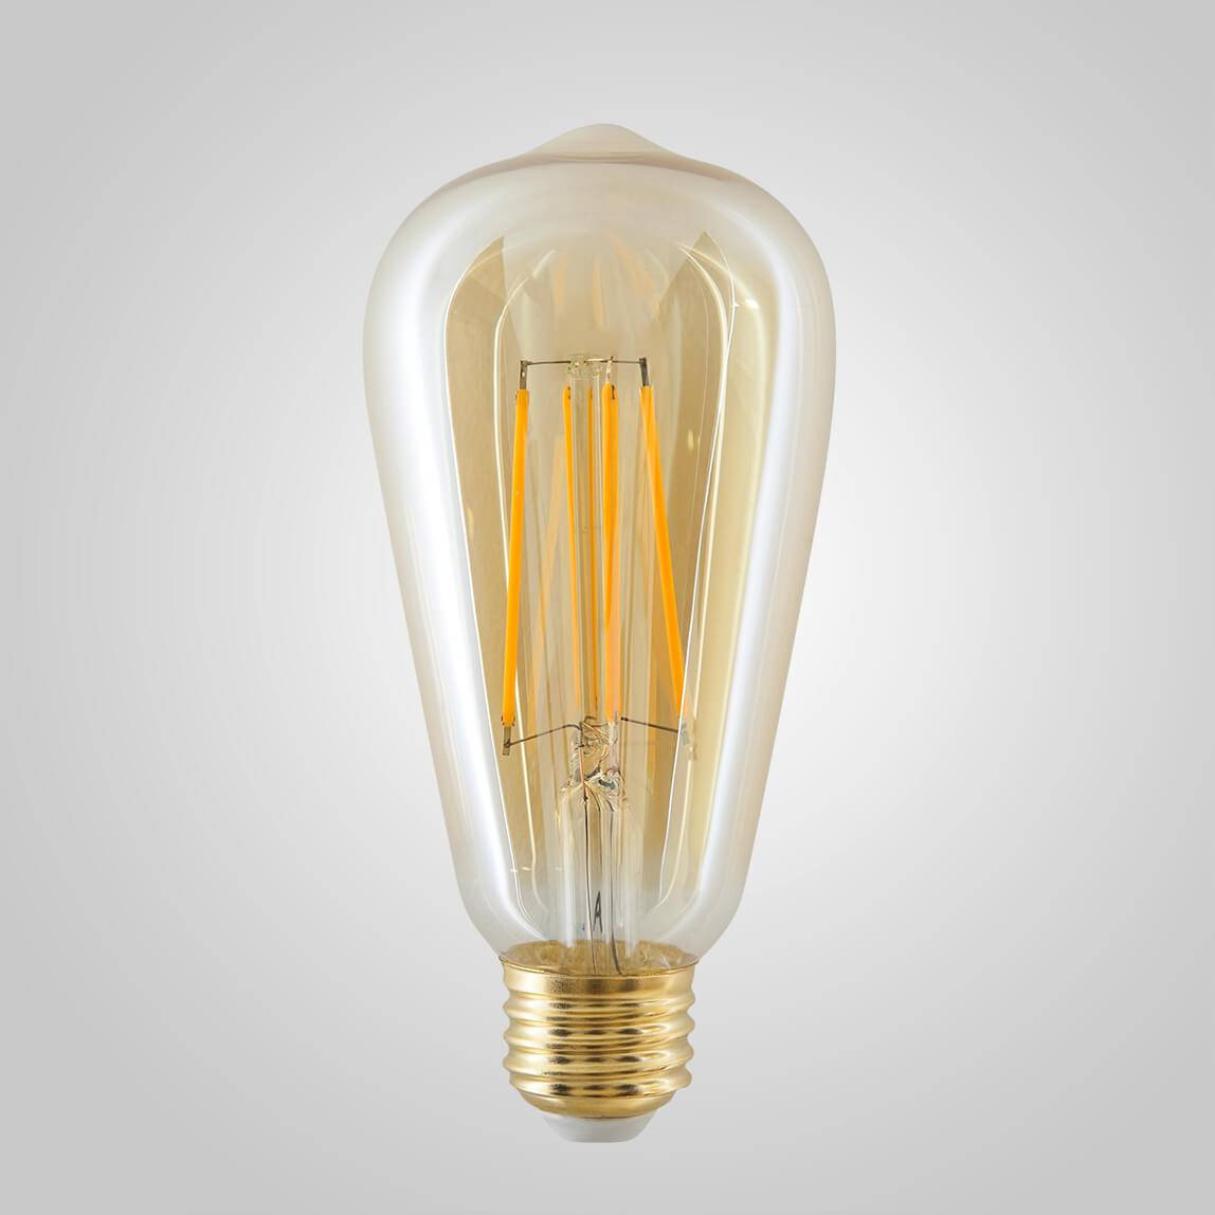
- Bulb Type: Consider the type of bulb you want to use. There are various options available, including incandescent bulbs, LED bulbs, and CFL bulbs. Each has its own advantages and disadvantages in terms of brightness, energy efficiency, and lifespan.
- Wattage: Check the wattage recommendations for your porch light fixture. Using a bulb with a wattage higher than the recommended maximum can lead to overheating and potential damage. On the other hand, using a bulb with a lower wattage may result in insufficient lighting.
- Color Temperature: Consider the color temperature of the bulb, which determines the perceived “warmth” or “coolness” of the light emitted. Common color temperatures include warm white (2700-3000K), cool white (3500-4100K), and daylight (5000-6500K). Choose a color temperature that matches your preferences and complements the ambiance of your porch.
- Bulb Size and Shape: Ensure that the replacement bulb fits properly in the socket and is compatible with the design of your porch light fixture. Check the bulb’s size and shape specifications before making your selection.
Take these factors into consideration when choosing a replacement bulb for your porch light. Once you’ve made your decision, you can move on to the next step: installing the new light bulb.
When changing a porch light bulb, make sure to turn off the power at the breaker to avoid any electrical accidents. Use a ladder if necessary and wear gloves to protect your hands from broken glass.
Read more: How To Change A Light Bulb
Step 5: Install the new light bulb
Now that you have chosen the perfect replacement bulb for your porch light, it’s time to install it. Follow these steps to ensure a proper installation:
- Take the new light bulb out of its packaging and make sure it is clean and in good condition.
- If the bulb has a protective covering, remove it carefully without touching the glass part.
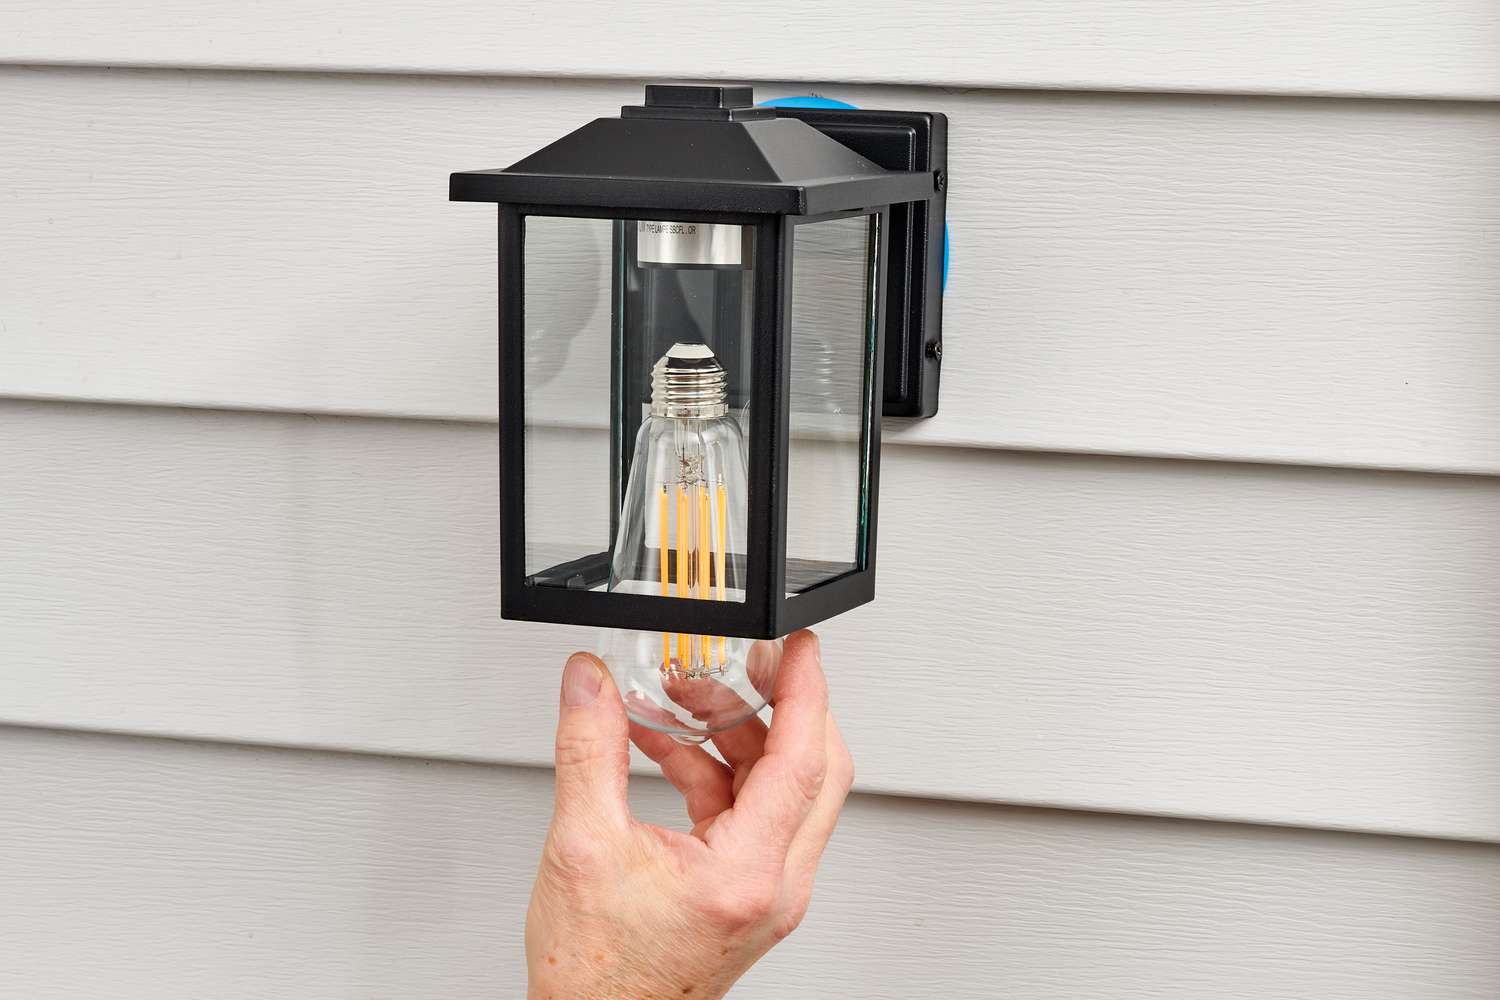
- Hold the bulb by its base and align the threads with the socket in the porch light fixture.
- Gently insert the bulb into the socket and twist it clockwise until it is securely in place. Take care not to overtighten, as this can damage the bulb or the socket.
- If your porch light has a glass enclosure or cover, reattach it by aligning it with the slots or screws and screwing or clipping it back into place.
Double-check that the bulb is properly installed and sitting securely in the socket. Ensure that there are no loose connections or wobbling. This will help prevent any potential issues such as flickering or poor lighting.
With the new light bulb installed, you’re almost done! The next step is to test the newly installed porch light bulb to ensure it’s working correctly.
Step 6: Test the newly installed porch light bulb
Now that you have successfully installed the new light bulb, it’s time to test it to make sure it’s functioning properly. Follow these steps to test the newly installed porch light bulb:
- Ensure that the power to the porch light is still turned off.
- Go to the electrical panel and switch on the breaker or insert the fuse for the porch light circuit.
- Head back to the porch and turn on the light switch or activate the motion sensor, depending on the type of porch light you have. The new light bulb should illuminate without any issues.
- Observe the brightness and quality of the light emitted by the bulb. If you are satisfied with the result, proceed to the next step.
- If the bulb does not light up or flickers, turn off the power and double-check the installation. Make sure the bulb is securely seated in the socket and that there are no loose connections. If the issue persists, try using a different bulb or consult a professional if needed.
Testing the newly installed porch light bulb is crucial to ensure proper functionality and avoid any potential problems. Once you are confident that the bulb is working correctly, you can move on to the final step: restoring power and cleaning up.
Step 7: Restore power and clean up
With the new porch light bulb successfully tested, it’s time to restore power and wrap up the installation process. Follow these final steps to complete the task:
- Turn off the porch light switch or deactivate the motion sensor to ensure the light is off.
- Return to the electrical panel and switch off the breaker or remove the fuse for the porch light circuit.
- Double-check that the power to the porch light is indeed turned off by attempting to turn it on again.
- Once you are certain that the power is off, clean up any tools or materials used during the installation. Store them in a safe place for future use.
- Remove your safety gloves and dispose of them properly, especially if they are damaged or contaminated.
- If necessary, carefully wipe down the porch light fixture and any surrounding areas to remove any dirt or debris.
- Finally, turn the breaker back on or insert the fuse for the porch light circuit to restore power.
- Test the porch light one more time to ensure it turns on properly. If all is in order, congratulations! You have successfully changed the porch light bulb.
By following these steps and taking care of the clean-up process, you not only ensure a safe and functional porch light but also maintain a tidy and organized work environment.
With the installation complete and the power restored, sit back and enjoy your newly brightened porch. It’s a small task that can make a big difference in enhancing curb appeal and providing a welcoming ambiance to your home.
Remember, if you ever have any concerns or doubts about working with electrical fixtures, it’s always advisable to seek professional assistance. Safety should always be the top priority when it comes to any home maintenance task.
Conclusion
Changing a porch light bulb is a straightforward task that you can easily do yourself with just a few tools and materials. By following the step-by-step guide outlined in this article, you can safely and successfully replace your porch light bulb, brightening up your outdoor space and enhancing the overall look of your home.
Throughout the process, it’s crucial to prioritize safety. Always turn off the power source before starting any work and wear safety gloves to protect your hands. If you feel unsure or uncomfortable, don’t hesitate to seek professional assistance from an electrician.
Remember to choose the right replacement bulb by considering factors like bulb type, wattage, color temperature, and size. This will ensure that your porch light provides optimal lighting and fits securely in the fixture.
After installing the new bulb, be sure to test it to ensure it’s functioning properly. If any issues arise, double-check the installation and consult a professional if needed.
Restoring power and cleaning up after the installation is important to complete the task. It helps you maintain a safe and organized workspace while enjoying the benefits of your new porch light bulb.
By following these steps and guidelines, you can confidently change the porch light bulb and enjoy a well-lit and welcoming outdoor space. So, go ahead and take on this simple home maintenance task, and let your porch light shine brightly!
Frequently Asked Questions about How To Change Porch Light Bulb
Was this page helpful?
At Storables.com, we guarantee accurate and reliable information. Our content, validated by Expert Board Contributors, is crafted following stringent Editorial Policies. We're committed to providing you with well-researched, expert-backed insights for all your informational needs.


0 thoughts on “How To Change Porch Light Bulb”