Home>Home Appliances>Lighting Appliances>How To Connect Merkury LED Strips Together
Lighting Appliances
How To Connect Merkury LED Strips Together
Modified: December 21, 2023
Learn how to easily connect Merkury LED strips together for seamless lighting effects. Upgrade your lighting appliances with these simple steps.
(Many of the links in this article redirect to a specific reviewed product. Your purchase of these products through affiliate links helps to generate commission for Storables.com, at no extra cost. Learn more)
Introduction
Welcome to the world of Merkury LED strips, where innovative lighting meets seamless connectivity. As technology continues to revolutionize the way we illuminate our surroundings, LED strips have emerged as a popular choice for adding ambient lighting to homes, offices, and various other spaces. Among the array of options available, Merkury LED strips stand out for their quality, versatility, and ease of use.
In this comprehensive guide, we will delve into the fascinating realm of Merkury LED strips, exploring their features and functionalities. Whether you are a seasoned DIY enthusiast or a novice eager to embark on an illuminating journey, this article will equip you with the knowledge and insights needed to connect Merkury LED strips together seamlessly.
From understanding the intricacies of Merkury LED strips to mastering the art of connecting them effectively, we have you covered. So, let's embark on this enlightening expedition and unravel the magic of Merkury LED strips. Whether you seek to transform your living space with captivating lighting or infuse your workspace with a touch of modernity, Merkury LED strips offer a myriad of possibilities. Let's illuminate your path to a brighter, more vibrant environment.
Key Takeaways:
- Connecting Merkury LED strips is a simple process involving assessing the layout, preparing the strips, using extension cables, aligning connections, and testing the setup for seamless illumination.
- When connecting Merkury LED strips, choose high-quality accessories, secure proper power supply, consider waterproofing, manage cables, explore smart control options, maintain the installation, and customize lighting effects for a captivating experience.
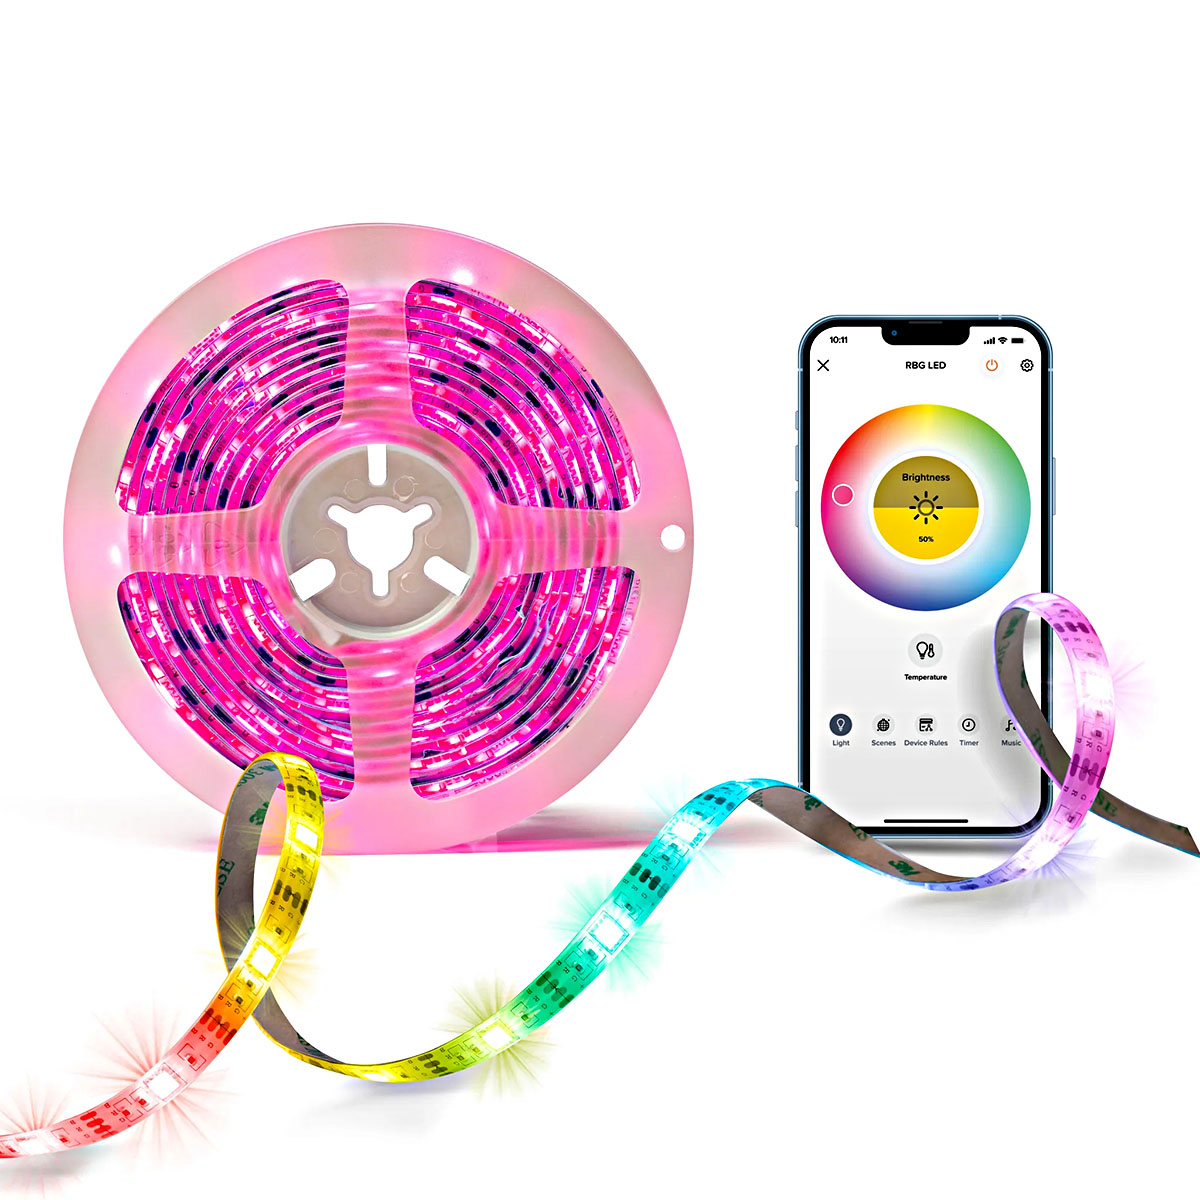
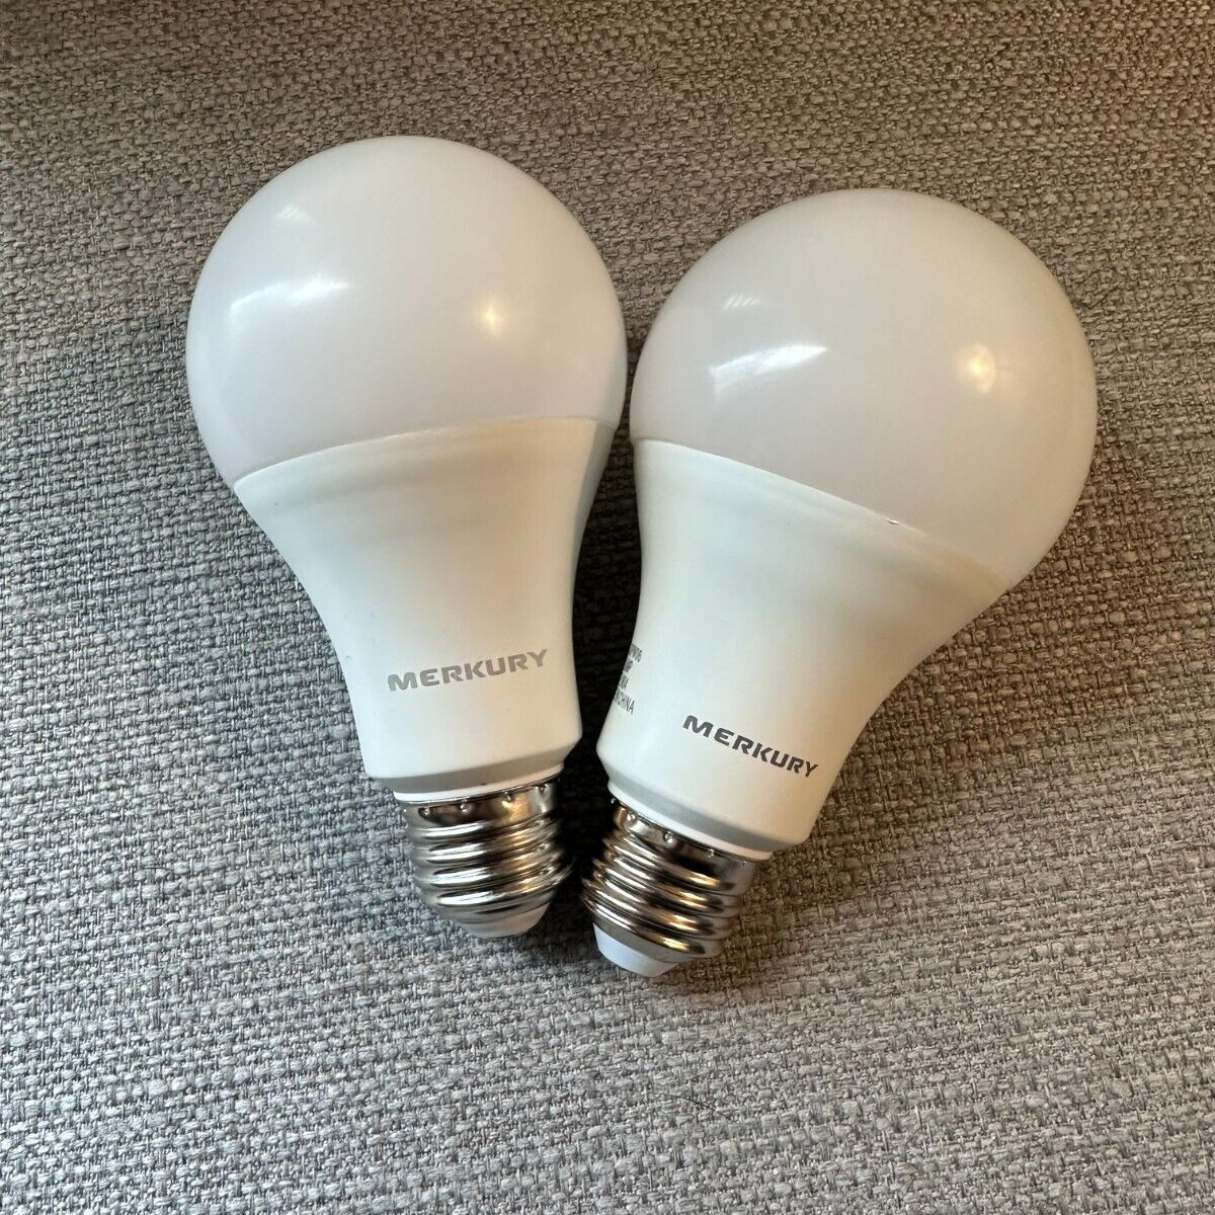
Understanding Merkury LED Strips
Before delving into the intricacies of connecting Merkury LED strips together, it’s essential to grasp the fundamental characteristics and functionalities of these innovative lighting solutions. Merkury LED strips are renowned for their versatility, energy efficiency, and vibrant illumination, making them a popular choice for both residential and commercial applications.
These LED strips are designed to offer a seamless and customizable lighting experience, allowing users to transform their spaces with ease. Available in various lengths and color options, Merkury LED strips cater to a diverse range of lighting preferences, from warm ambient glows to vibrant multicolored displays.
One of the standout features of Merkury LED strips is their flexibility, both in terms of physical bendability and programmable control. The strips can be easily manipulated to fit around corners, contours, and various surfaces, enabling users to create captivating lighting arrangements that suit their specific needs.
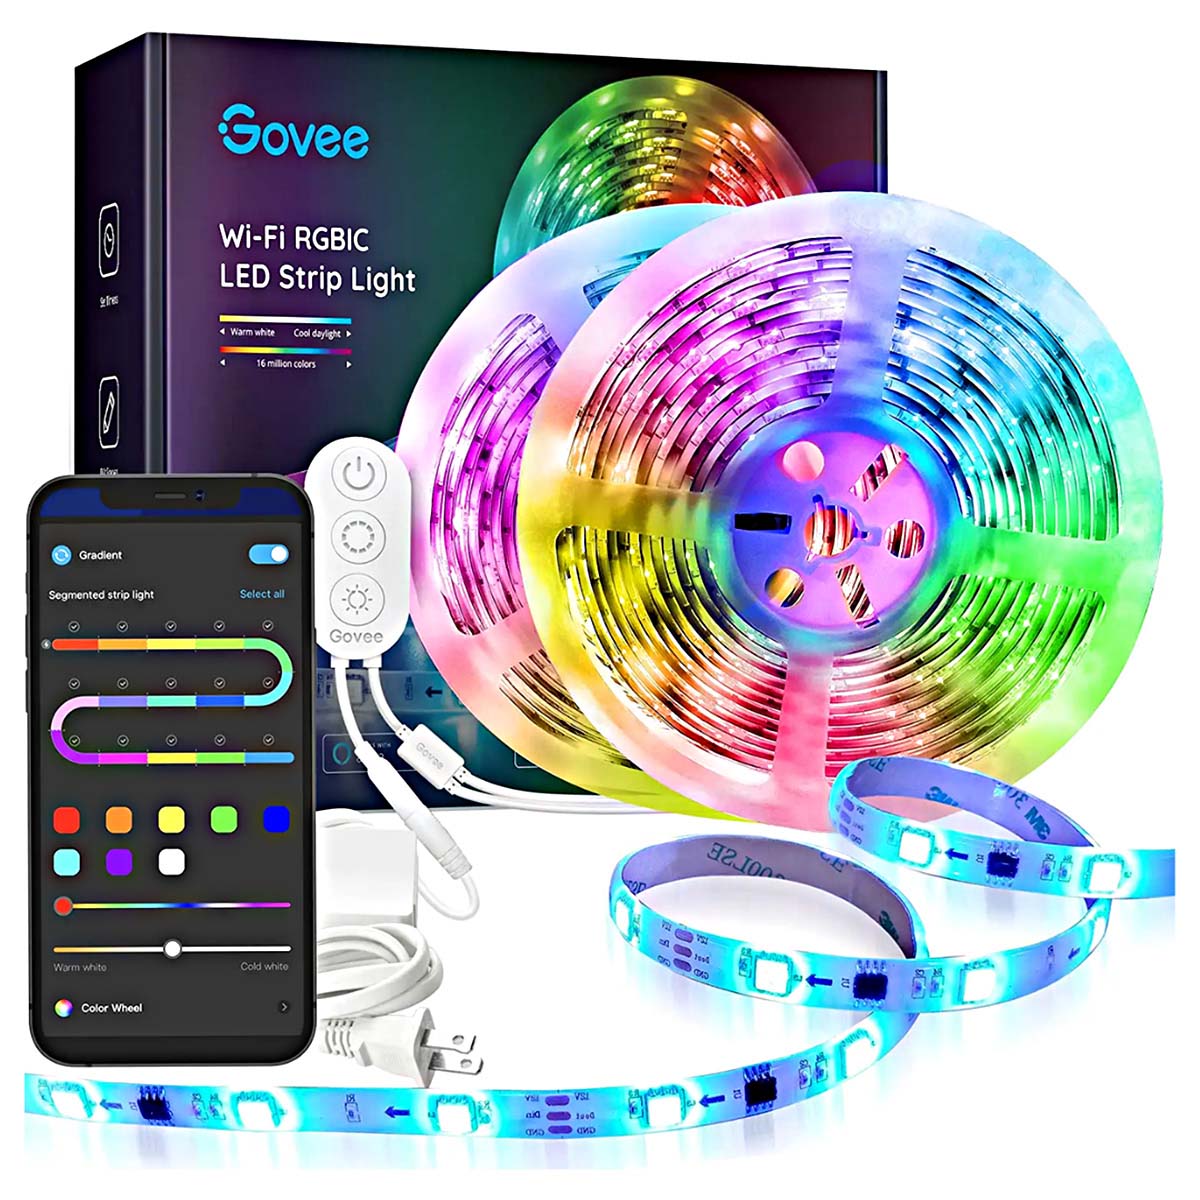
Furthermore, Merkury LED strips are often equipped with smart technology capabilities, allowing for seamless integration with voice assistants and mobile applications. This integration empowers users to control the lighting settings, colors, and brightness levels with effortless convenience, adding a layer of modern sophistication to their spaces.
With a focus on energy efficiency, Merkury LED strips consume minimal power while delivering impressive luminosity, making them an environmentally conscious lighting solution. Whether used for accent lighting, task lighting, or decorative purposes, these LED strips offer a cost-effective and sustainable way to illuminate various environments.
Overall, understanding the versatility, adaptability, and technological prowess of Merkury LED strips sets the stage for harnessing their full potential when it comes to connecting and utilizing them in diverse lighting setups. Now that we have a solid grasp of the essence of Merkury LED strips, let’s proceed to unravel the process of connecting them together seamlessly.
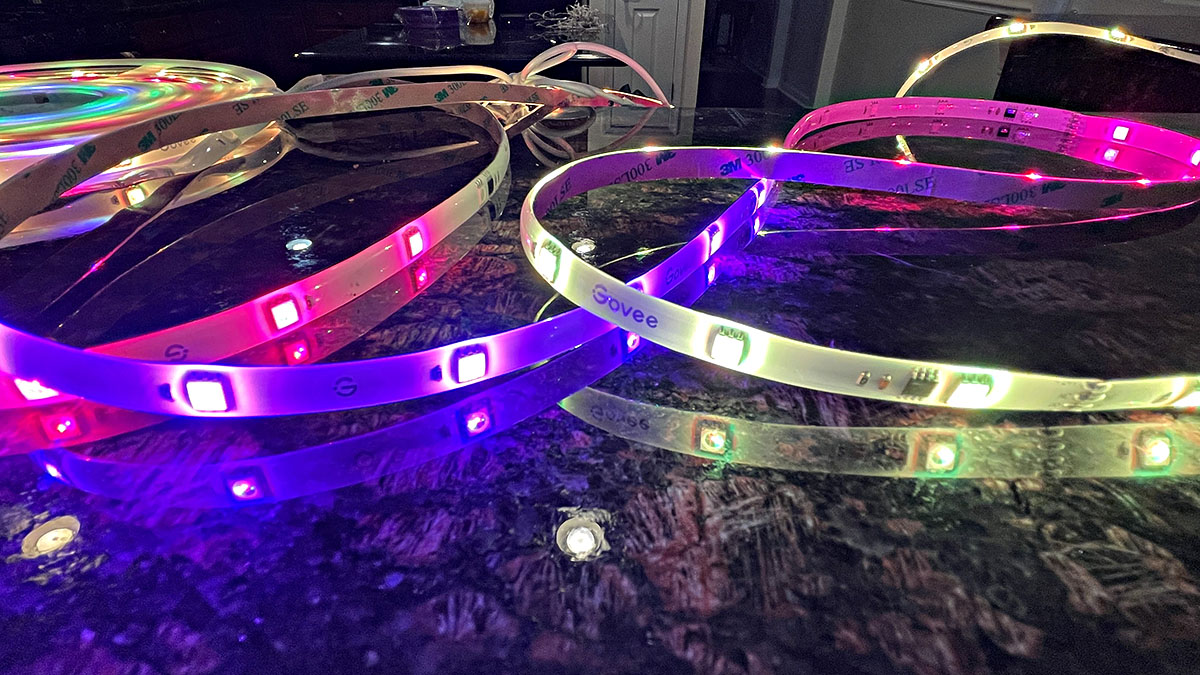
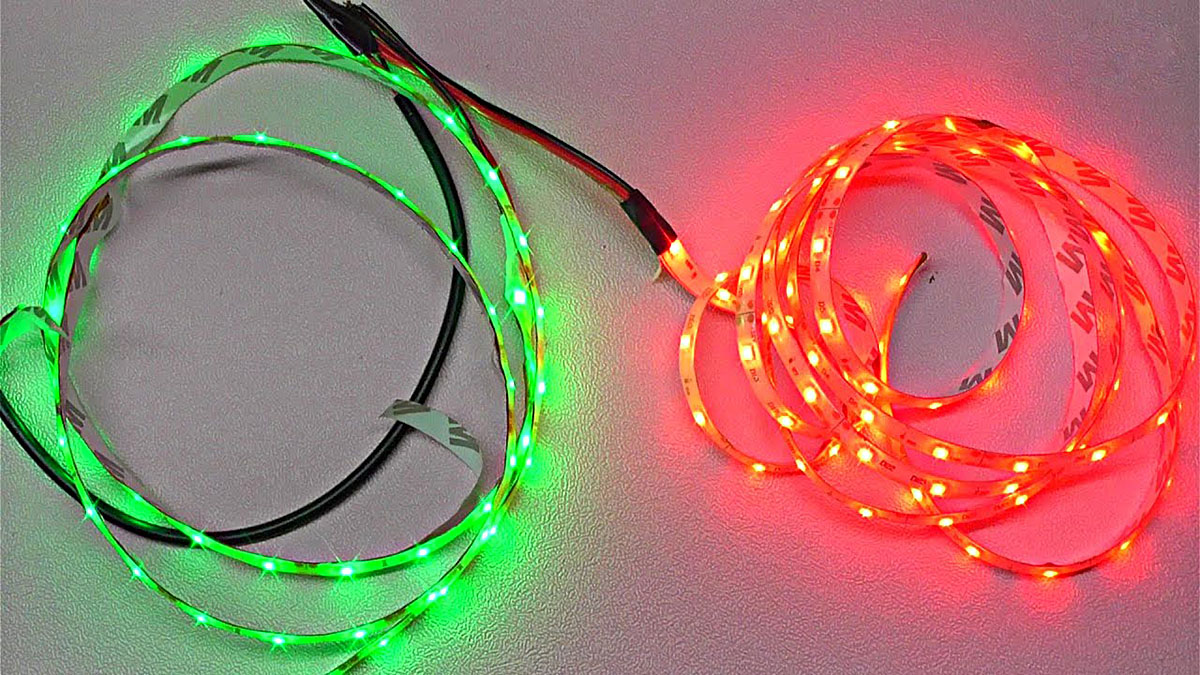
Connecting Merkury LED Strips Together
Connecting Merkury LED strips together is a straightforward process that allows for the seamless extension of captivating lighting effects across larger spaces. Whether you aim to create a continuous flow of illumination or synchronize multiple segments for dynamic color displays, the following steps will guide you through the process with ease.
Step 1: Assess Your Lighting Layout
Prior to connecting the LED strips, carefully assess the layout of your space to determine the ideal placement and configuration. Consider factors such as power source proximity, desired lighting patterns, and any obstacles that may impact the installation process. This initial assessment will pave the way for a well-organized and visually appealing lighting setup.
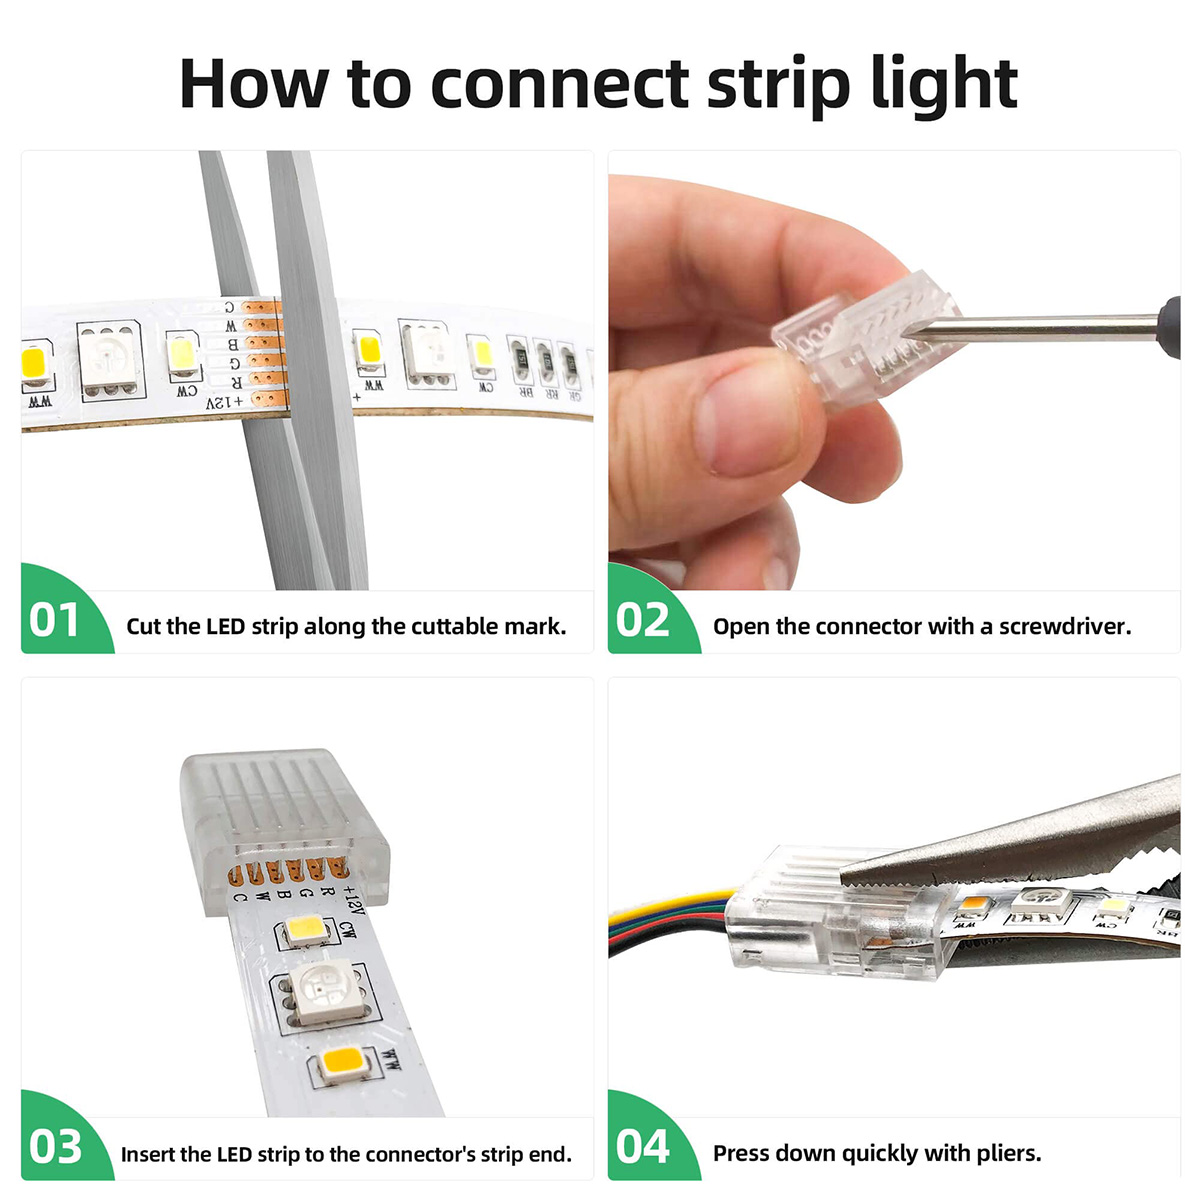
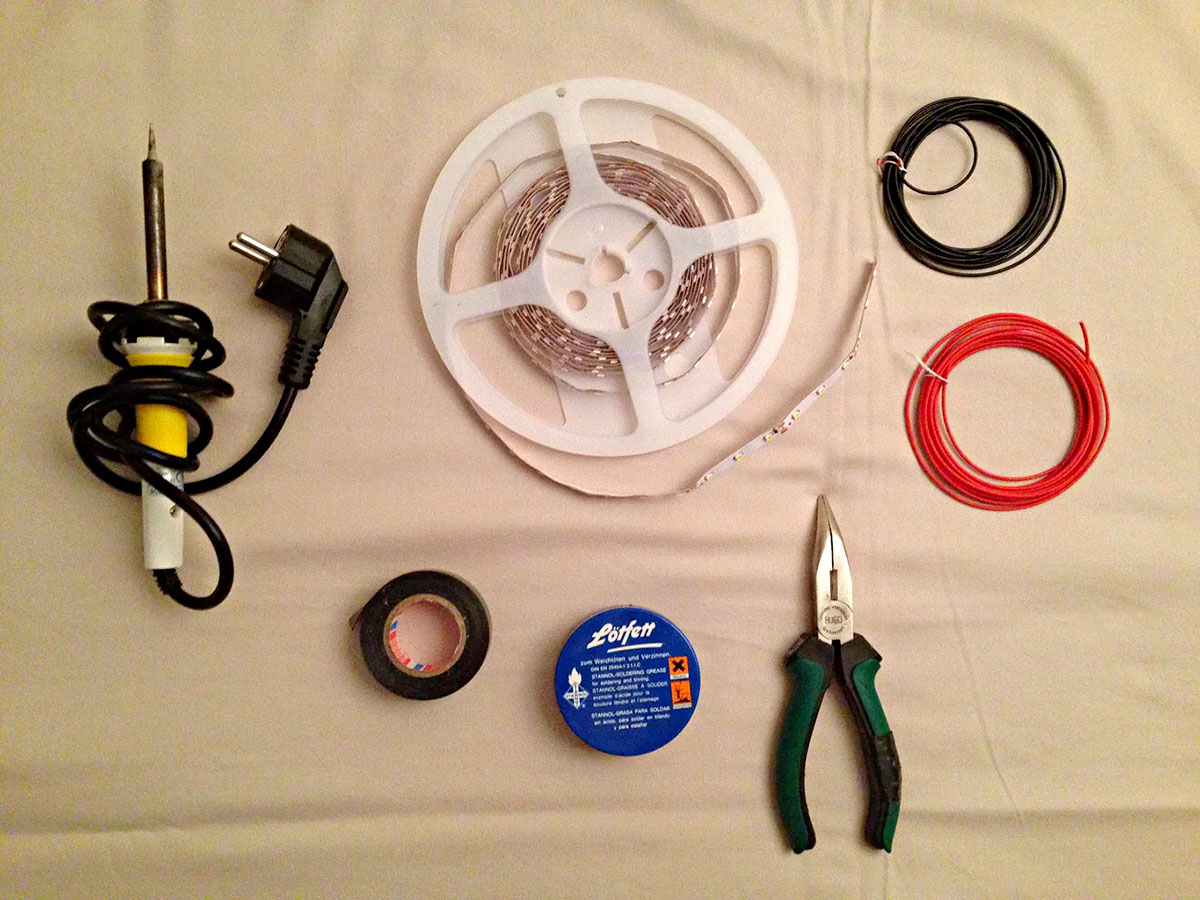
Step 2: Prepare the LED Strips
Ensure that the Merkury LED strips are clean and free from any debris or moisture that may hinder the connectivity. If necessary, trim the strips to the desired length using the designated cut marks, ensuring precision and accuracy to achieve a seamless connection between segments.
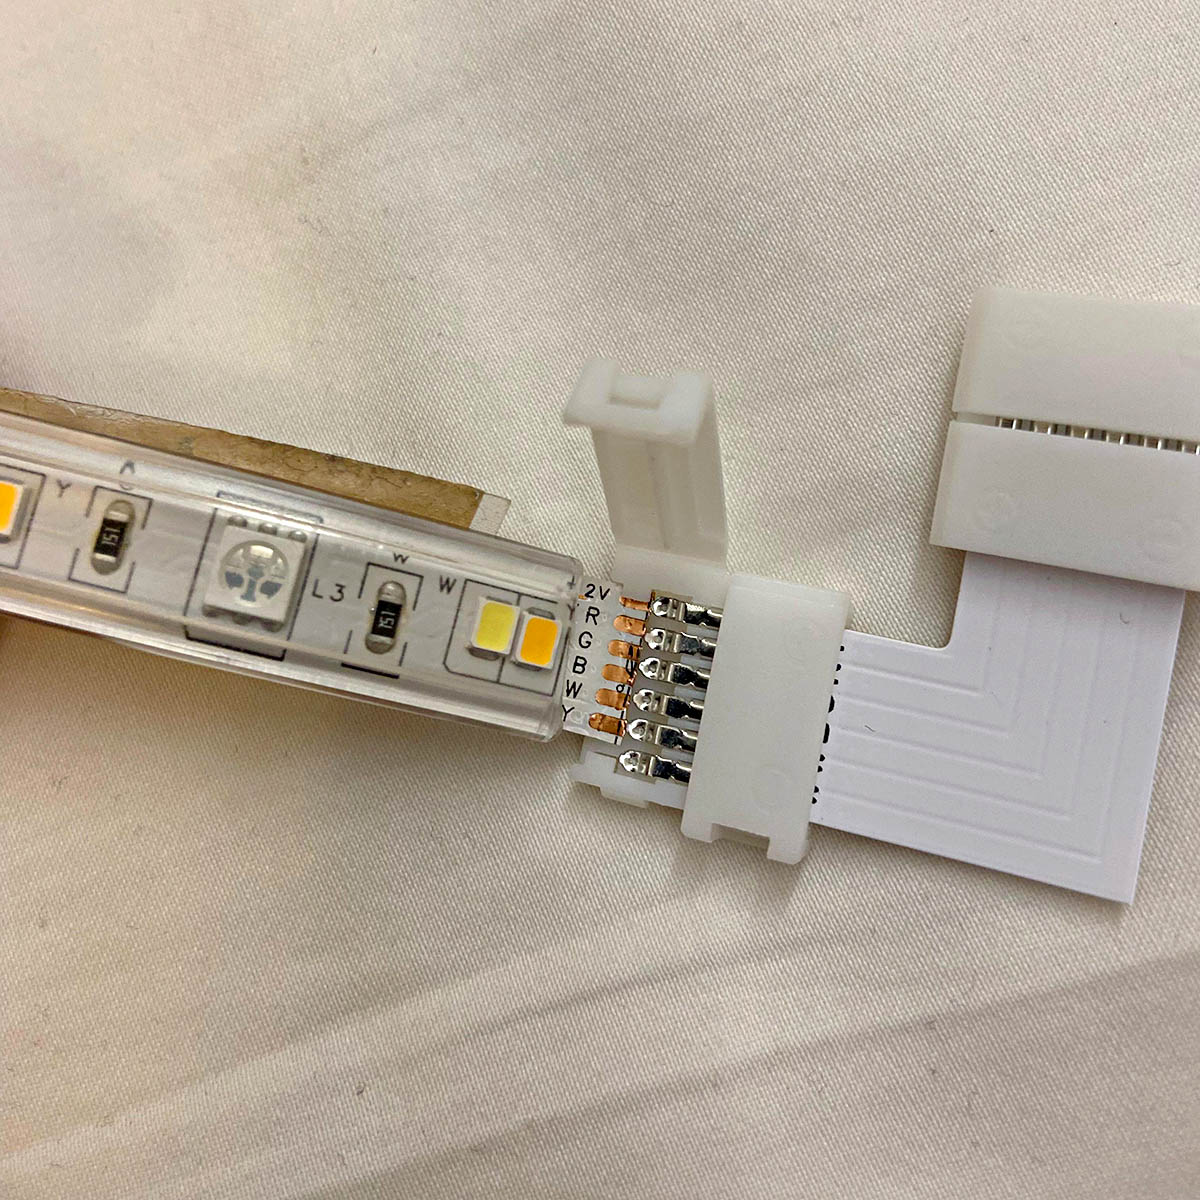
Step 3: Utilize Extension Cables or Connectors
Depending on the specific model of Merkury LED strips, extension cables or connectors may be required to bridge the gap between individual segments. These accessories facilitate a secure and reliable connection, allowing for a continuous flow of power and data transmission between the LED strips.
Step 4: Align and Secure the Connections
When connecting the LED strips, align the designated contact points and connectors to ensure a snug and secure fit. Gently press the segments together, ensuring that the electrical contacts are properly aligned to enable seamless functionality. Additionally, consider using adhesive clips or mounting brackets to secure the connected segments in place, minimizing the risk of displacement over time.
Step 5: Test the Connectivity
Once the LED strips are connected, conduct a thorough test to ensure that the connectivity is robust and the lighting effects are consistent across the entire installation. Verify that the colors, brightness levels, and any programmed effects are seamlessly replicated across the connected segments, indicating a successful and harmonious connection.
By following these steps, you can effortlessly connect Merkury LED strips together, unlocking the potential for captivating lighting displays that seamlessly traverse your designated spaces. With a solid understanding of the connection process, let’s explore some valuable tips to enhance your experience when connecting and utilizing Merkury LED strips.
When connecting Merkury LED strips together, make sure to align the arrows on the connectors and firmly press them together. Double-check the connections to ensure they are secure before powering on the strips.
Tips for Connecting Merkury LED Strips
As you embark on the journey of connecting Merkury LED strips, incorporating the following tips will streamline the process and elevate your lighting experience to new heights. These insightful recommendations are designed to optimize the connectivity, functionality, and visual impact of your LED strip installations.
- Choose High-Quality Extension Cables and Connectors: Opt for extension cables and connectors that are specifically designed for use with Merkury LED strips. High-quality accessories ensure reliable connectivity and minimize the risk of signal loss or electrical disruptions.
- Secure Proper Power Supply: Ensure that the power supply is adequate to accommodate the total length of connected LED strips. Overloading the power source can lead to inconsistent illumination and potential damage to the LED strips.
- Utilize Waterproofing Measures: If installing LED strips in areas prone to moisture or humidity, consider utilizing waterproof extension cables and connectors to safeguard the electrical connections from environmental factors, enhancing the longevity of the installation.
- Implement Cable Management Techniques: Organize and secure the extension cables and connectors using cable management solutions to prevent tangling, minimize visual clutter, and maintain a neat and professional-looking installation.
- Explore Smart Control Options: Consider integrating smart control options, such as mobile applications or voice assistants compatible with Merkury LED strips, to unlock advanced lighting features, scheduling capabilities, and seamless integration with smart home ecosystems.
- Opt for Uniform Color Temperature: When connecting multiple LED strips, ensure that the color temperature remains consistent across the entire installation to achieve a cohesive and visually appealing lighting ambiance.
- Customize Lighting Effects: Experiment with programmable lighting effects, such as color transitions, pulsating patterns, and dynamic animations, to infuse your space with personalized and captivating lighting displays.
- Regular Maintenance and Inspection: Periodically inspect the connected LED strips for any signs of wear, loose connections, or dust accumulation. Regular maintenance ensures optimal functionality and prolongs the lifespan of the lighting installation.
By integrating these tips into your approach to connecting Merkury LED strips, you can elevate the installation process and unleash the full potential of these innovative lighting solutions. With a focus on precision, reliability, and creative expression, your LED strip installations will captivate and inspire, transforming your spaces with mesmerizing illumination.
Conclusion
As we conclude this illuminating journey into the realm of Merkury LED strips, it is evident that these innovative lighting solutions offer a harmonious blend of versatility, functionality, and aesthetic appeal. Whether adorning residential interiors, accentuating commercial spaces, or adding a touch of ambiance to various environments, Merkury LED strips stand as a beacon of modern lighting ingenuity.
From understanding the fundamental characteristics of Merkury LED strips to mastering the art of connecting them together seamlessly, we have uncovered the essential steps and tips to empower you in harnessing the full potential of these captivating lighting solutions. As you embark on your endeavors to connect and utilize Merkury LED strips, remember that precision, creativity, and attention to detail are the cornerstones of a truly mesmerizing lighting installation.
By embracing the flexibility, adaptability, and smart technology integration offered by Merkury LED strips, you have the opportunity to transform your spaces into captivating realms of illumination, tailored to your unique preferences and creative vision. Whether it’s a subtle ambient glow, a dynamic color display, or a synchronized lighting ensemble, the possibilities are boundless with Merkury LED strips at your disposal.
As you venture forth into the realm of LED strip connectivity, remember to infuse your installations with a touch of personal flair, explore the myriad of lighting effects and configurations, and embrace the seamless connectivity that Merkury LED strips offer. Let your spaces come alive with the enchanting allure of modern LED illumination, and let your creativity illuminate the path to a brighter, more vibrant environment.
With these insights and guidelines at your disposal, may your journey with Merkury LED strips be filled with innovation, inspiration, and the transformative power of light. Illuminate your world, connect with ease, and let the radiance of Merkury LED strips elevate your surroundings to new heights of visual splendor.
Frequently Asked Questions about How To Connect Merkury LED Strips Together
Was this page helpful?
At Storables.com, we guarantee accurate and reliable information. Our content, validated by Expert Board Contributors, is crafted following stringent Editorial Policies. We're committed to providing you with well-researched, expert-backed insights for all your informational needs.


0 thoughts on “How To Connect Merkury LED Strips Together”