Articles
How To Connect Conduit To Box
Modified: October 19, 2024
Learn how to connect conduit to a box with our informative articles. Discover step-by-step guides to ensure a secure and efficient electrical installation.
(Many of the links in this article redirect to a specific reviewed product. Your purchase of these products through affiliate links helps to generate commission for Storables.com, at no extra cost. Learn more)
Introduction
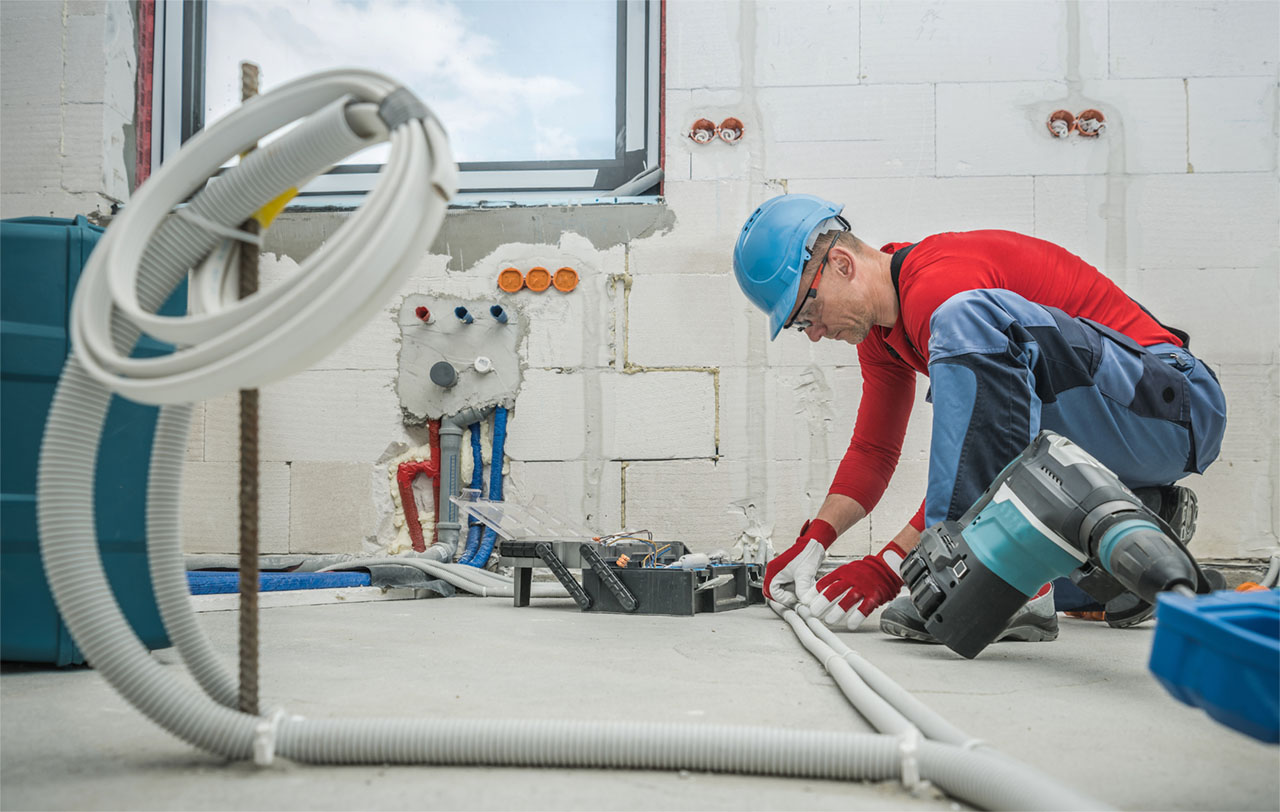
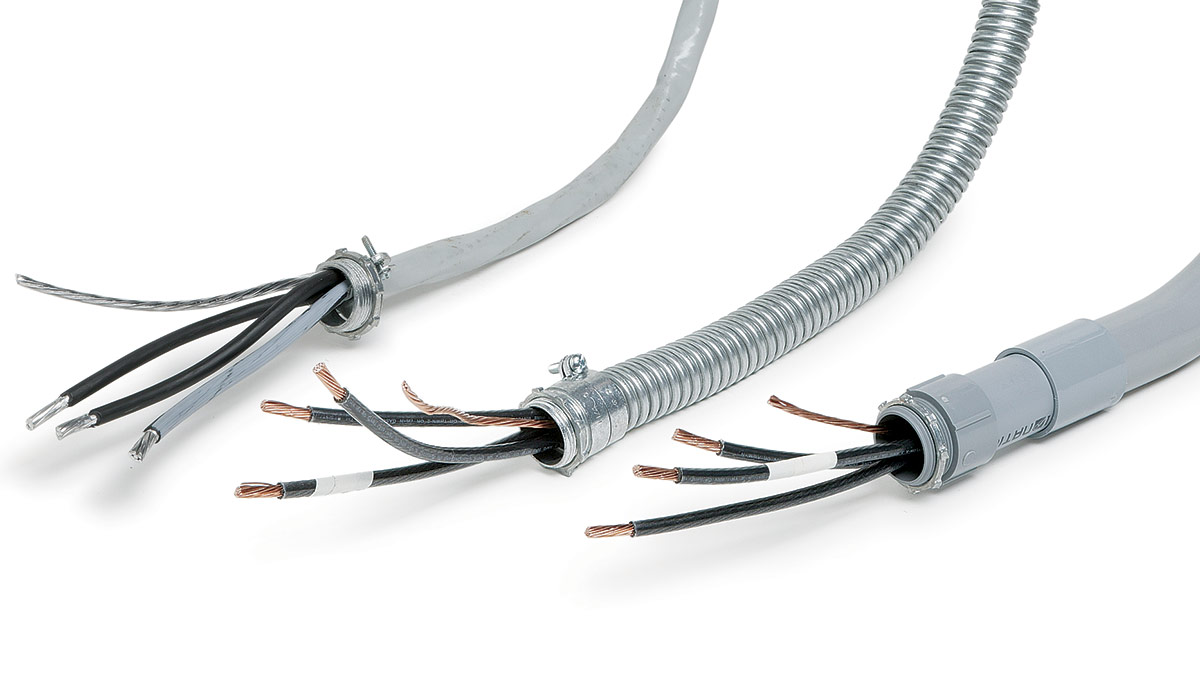
Connecting conduit to an electrical box is an important step in any electrical installation project. Conduit serves as a protective housing for electrical wires, keeping them safe from damage and providing a neat and organized appearance. Whether you are installing new conduit or replacing an existing one, knowing how to connect conduit to a box is essential.
In this article, we will guide you through the step-by-step process of connecting conduit to an electrical box. We will cover the materials you will need, as well as detailed instructions on how to properly position, secure, and connect the conduit to the box. By following these guidelines, you can ensure a safe and efficient electrical installation.
Before we begin, it’s important to ensure that you have a basic understanding of electrical systems and the necessary tools. If you are unsure or uncomfortable working with electrical systems, it is highly recommended to hire a licensed electrician for the job. Safety should always be the top priority.
Now, let’s gather the materials needed for this project.
Key Takeaways:
- Proper preparation is essential for connecting conduit to an electrical box. From measuring and cutting the conduit to positioning and securing it, attention to detail ensures a smooth and secure installation process.
- Testing the connection is crucial for safety and functionality. Before turning the power back on, visually inspect the connections, check the wires, and perform voltage testing to ensure a secure and reliable electrical installation.
Read more: How To Connect PVC Conduit To Electrical Box
Materials Needed
Before you begin connecting conduit to an electrical box, make sure you have the following materials:
1. Conduit: Depending on your project, you may need rigid metal conduit (RMC), intermediate metal conduit (IMC), or electrical non-metallic tubing (ENT). Choose the appropriate type and size of conduit for your specific application.
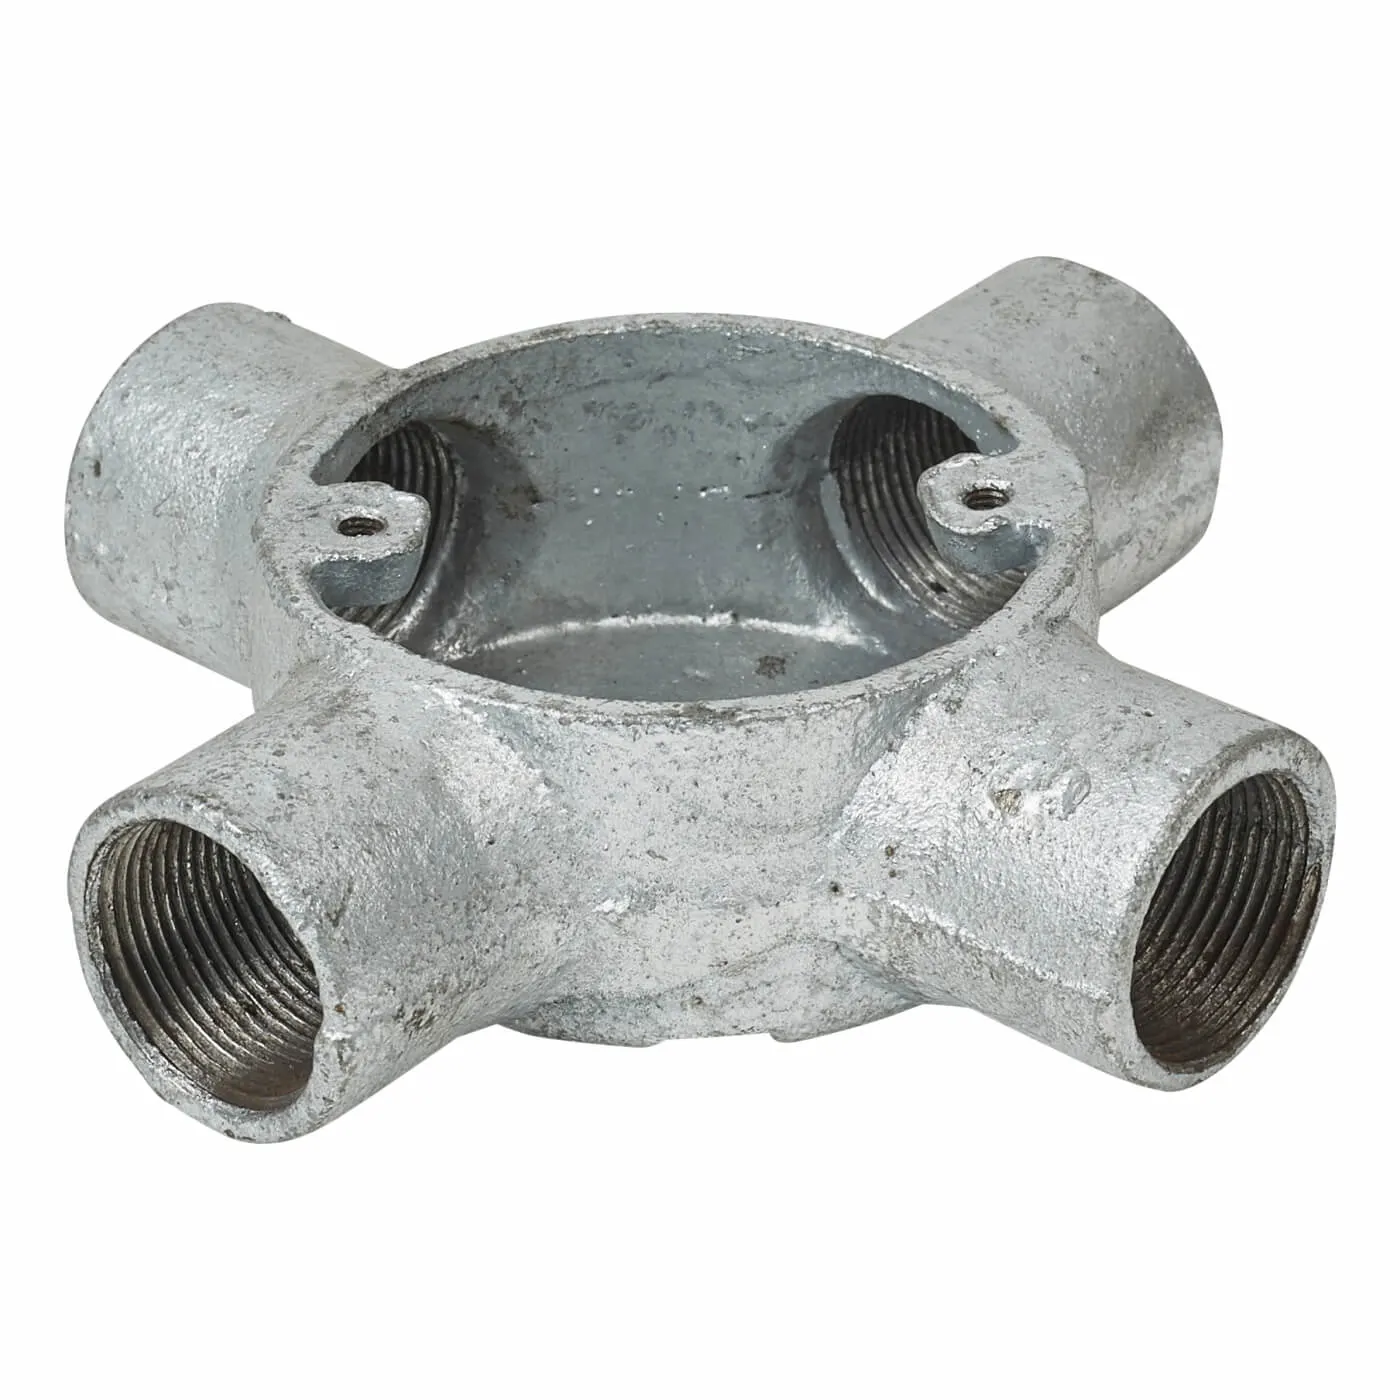
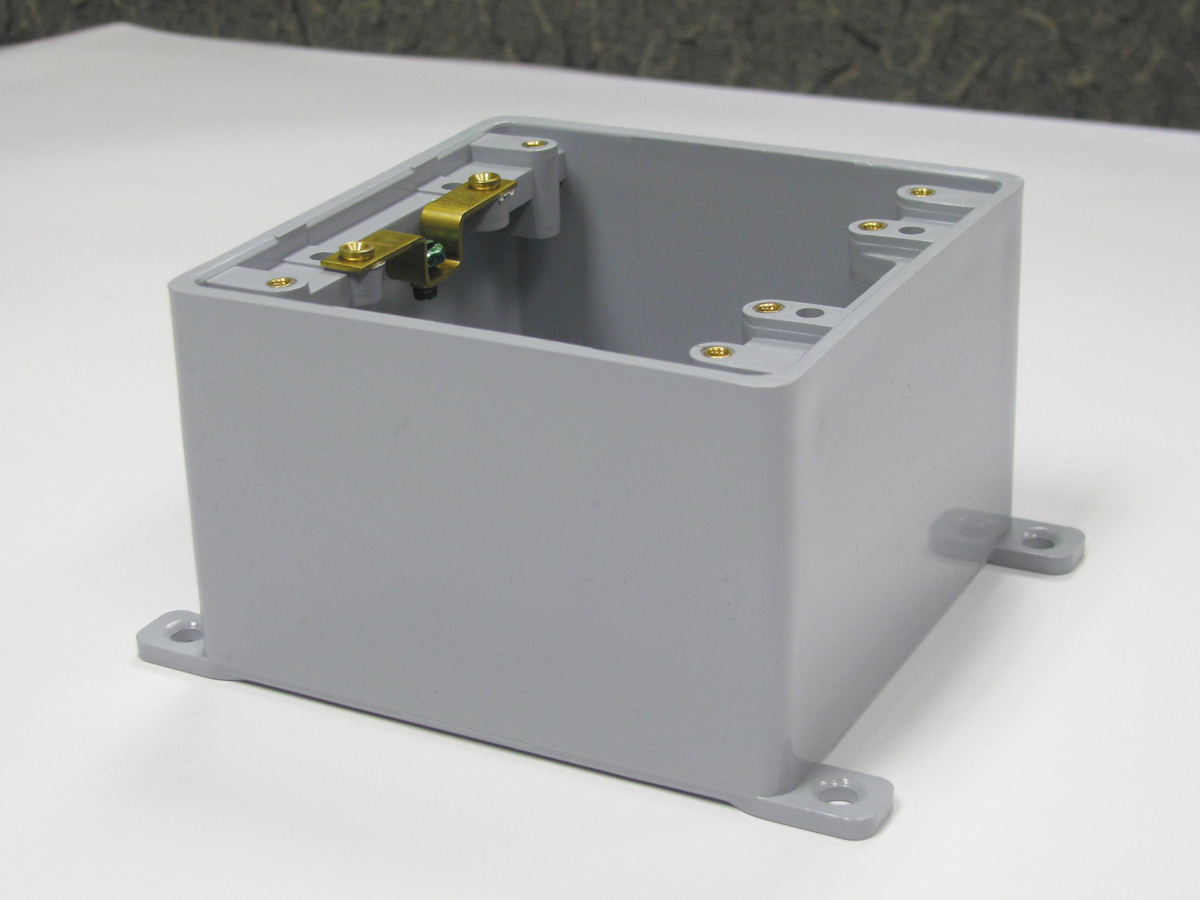
2. Electrical Box: Select an electrical box that is suitable for the type of conduit you are using. The box should be compatible with the size and shape of the conduit and have enough space to accommodate the wires.
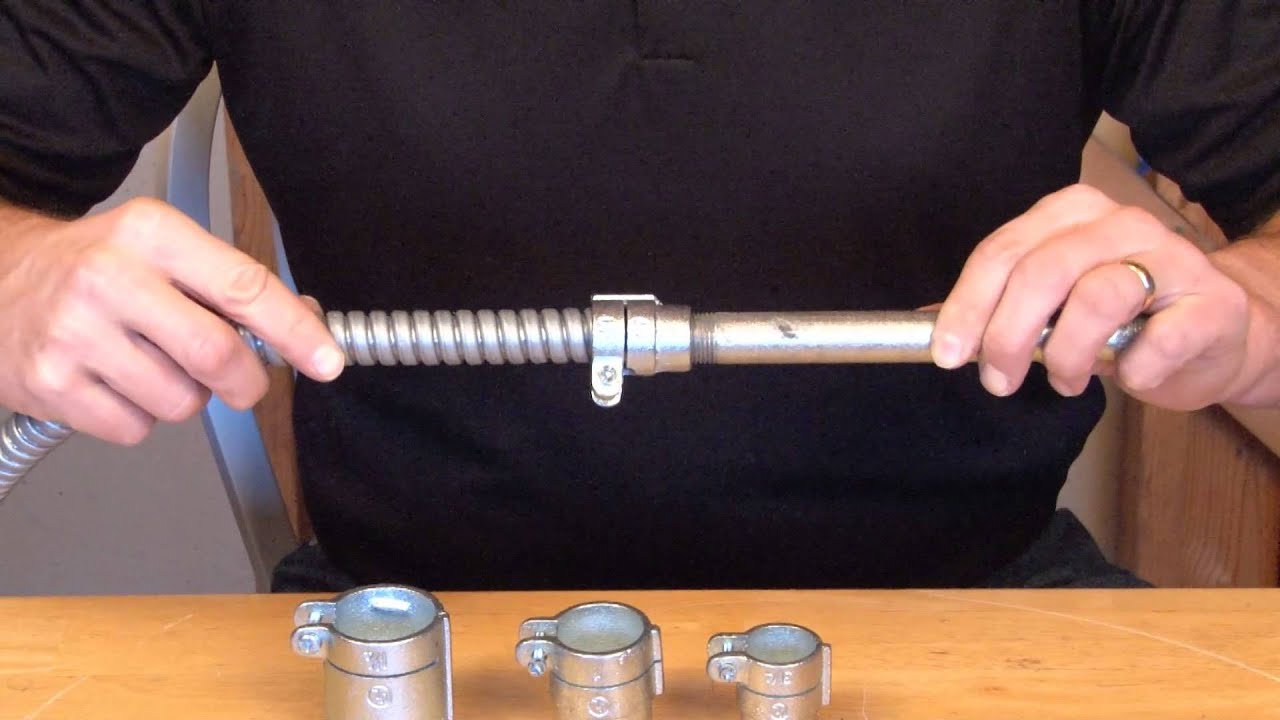
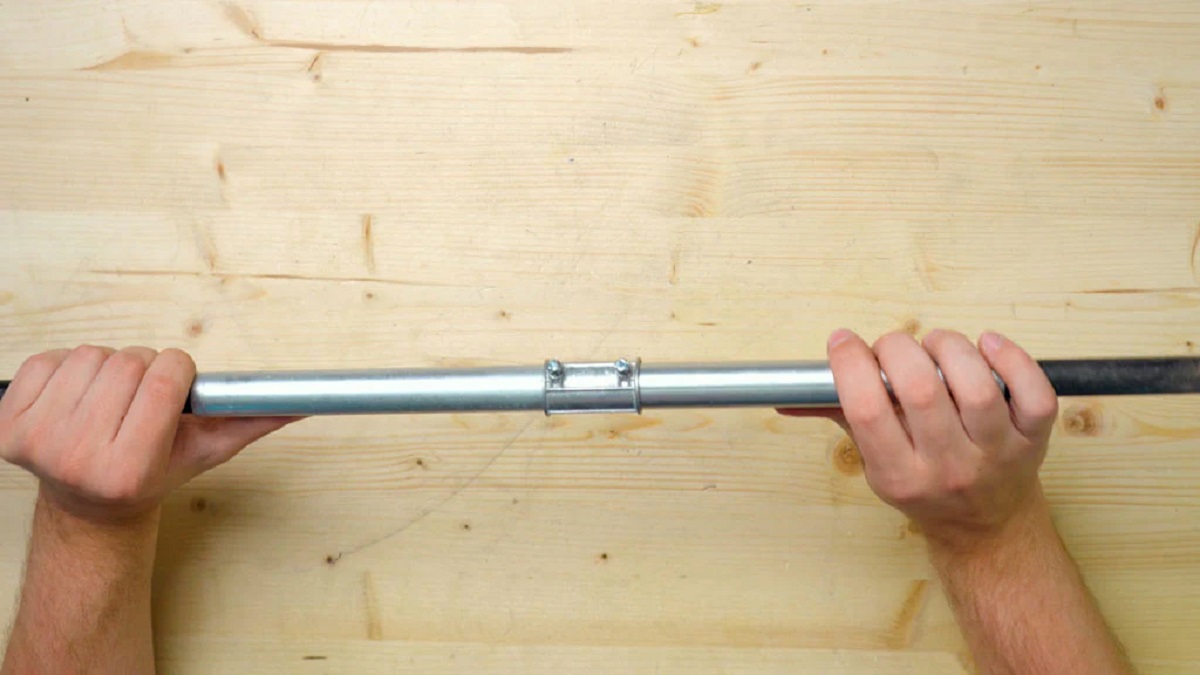
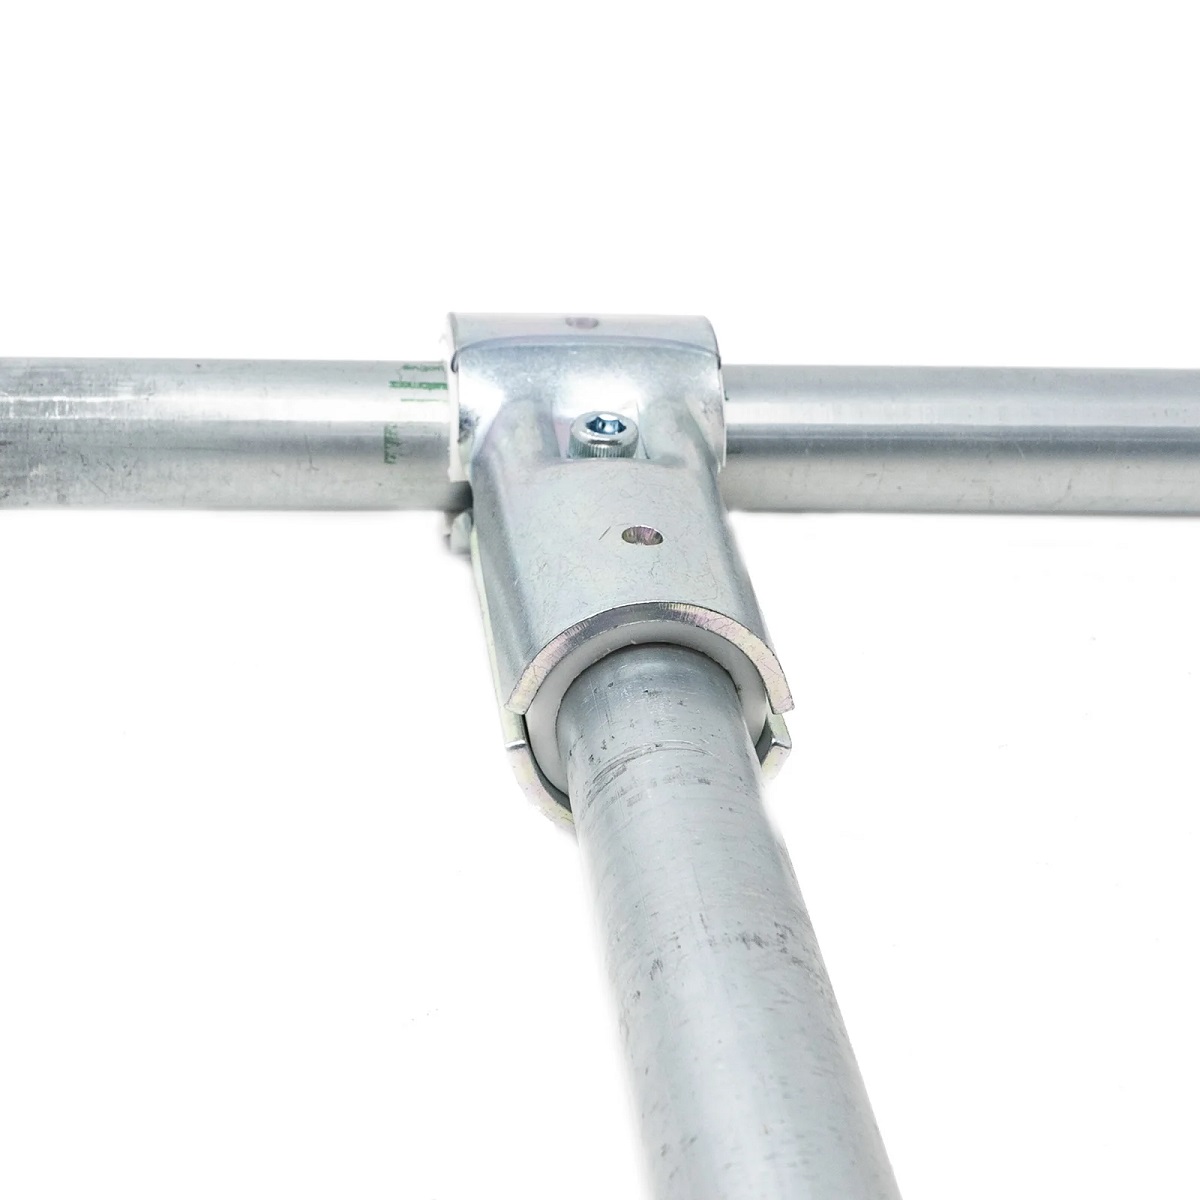
3. Conduit Connectors: These fittings are essential for joining the conduit to the electrical box. Choose connectors that are designed for the type of conduit you are using, such as RMC connectors, IMC connectors, or ENT connectors.
4. Locknuts: Locknuts are used to secure the conduit connectors to the box. Make sure you have the appropriate size locknuts for your connectors and box.
5. Screws: You may need screws to attach the electrical box to a wall or other surface. Choose screws that are suitable for the material you are mounting the box on.
6. Wire and Wire Connectors: Depending on your project, you may need electrical wires and wire connectors to connect the wires to the box. Make sure you have the correct gauge and type of wire for your application.
7. Electrical Tools: To complete the installation, you will need various electrical tools such as wire cutters, wire strippers, screwdrivers, and pliers. Ensure that you have all the necessary tools on hand before you begin the project.
It’s important to have all the materials ready before starting the installation to ensure a smooth and efficient process. Now that you have gathered the necessary materials, let’s move on to the step-by-step instructions on connecting conduit to an electrical box.
Step 1: Prepare the Conduit and Box
Before connecting the conduit to the electrical box, it’s essential to prepare both the conduit and the box. Follow these steps:
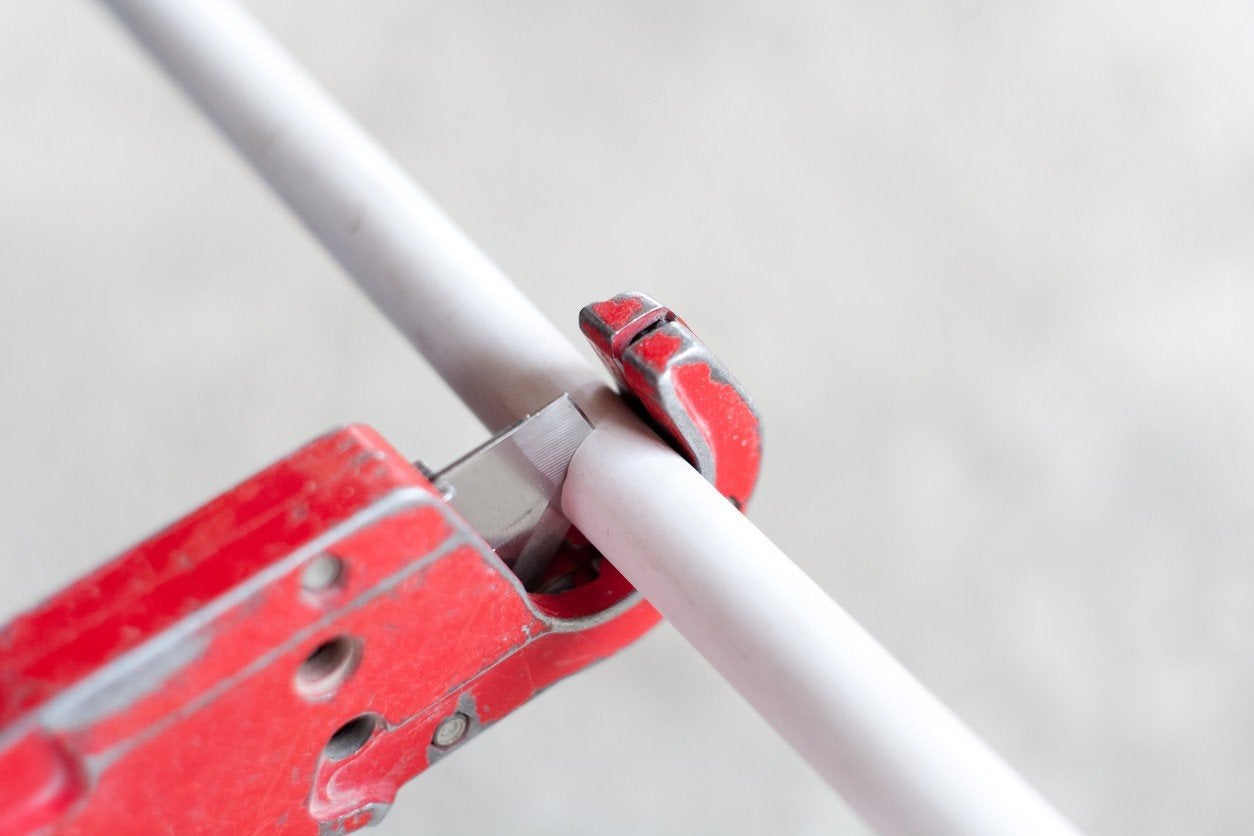
- Measure and Cut the Conduit: Measure the length of conduit needed for your installation and use a conduit cutter or hacksaw to cut it to the desired length. Ensure that the cut is clean and square.
- Deburr the Cut Ends: Use a deburring tool or a file to remove any sharp edges or burrs from the cut ends of the conduit. This will prevent damage to the wires and make it easier to insert the conduit into the connectors.
- Prepare the Electrical Box: If the electrical box does not have knockout holes for the conduit, use a knockout punch or a hammer and screwdriver to create the necessary holes. Remove any punched-out metal pieces or debris from the box.
- Check for Proper Fit: Place the conduit into the connectors and slide the connectors onto the electrical box. Ensure that the conduit fits securely and snugly into the connectors without any gaps or looseness.
By properly preparing the conduit and box, you can ensure a smooth and secure connection. Once you have completed these preparation steps, you are ready to position the conduit and box.
Step 2: Position the Conduit and Box
After preparing the conduit and box, it’s time to position them in the desired location. Follow these steps:
- Choose the Installation Location: Determine the ideal location for the conduit and box, keeping in mind factors such as accessibility, code requirements, and aesthetics. Measure and mark the location on the wall or surface where you will be mounting the box.
- Align the Conduit: Hold the conduit against the marked location and ensure that it is level and straight. Make any necessary adjustments to ensure proper alignment.
- Position the Box: Place the electrical box over the conduit, aligning it with the marked location. Ensure that the box is centered over the conduit and level with the surrounding surface. Use a level to double-check the position.
- Secure the Box: If necessary, use screws to secure the electrical box to the wall or surface. Insert the screws through the mounting holes in the box and into the wall. Make sure the box is firmly anchored in place.
Proper positioning of the conduit and box is crucial for a successful installation. Take your time to ensure that everything is aligned correctly before proceeding to the next step.
When connecting conduit to a box, make sure to use the appropriate fittings and connectors for a secure and watertight connection. Tighten all fittings properly to ensure a safe and reliable installation.
Step 3: Secure the Conduit to the Box
Once you have positioned the conduit and box, the next step is to secure the conduit to the electrical box. Follow these steps:
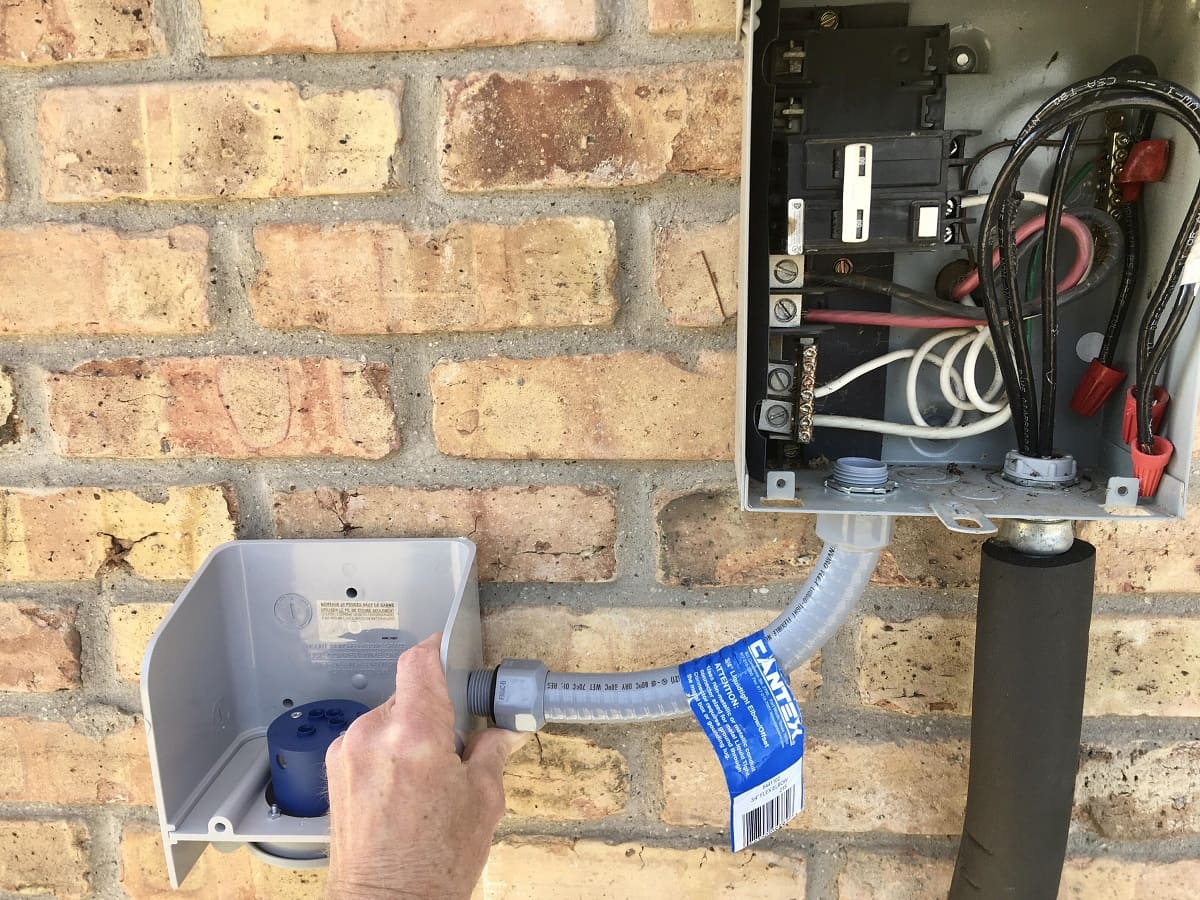
- Insert the Connector: Take one end of the conduit and insert it into the connector on the electrical box. Ensure that the conduit is fully inserted into the connector until it cannot go any further.
- Tighten the Locknut: With the conduit in place, hand-tighten the locknut onto the connector. Use pliers or a wrench to securely tighten the locknut. This will fasten the conduit to the box and create a stable connection.
- Repeat for Multiple Conduits: If you are connecting multiple conduits to the same box, repeat the process for each conduit. Make sure to insert each conduit into its respective connector and tighten the locknut securely.
It is important to ensure that the conduits are securely fastened to the electrical box to prevent them from coming loose or disconnecting during use. Once you have secured the conduits, you are ready to proceed to the next step of connecting the conduit to the box.
Read more: How To Connect Flex Conduit To Junction Box
Step 4: Connect the Conduit to the Box
Now that the conduit is securely attached to the electrical box, it’s time to connect the conduit to the box. Follow these steps:
- Insert the Conduit into the Connector: Take the other end of the conduit and insert it into the corresponding connector on the electrical box. Ensure that the conduit is fully inserted and seated properly in the connector.
- Align the Set-Screw: Some connectors have set-screws that need to be aligned with the flats on the conduit. If your connector has a set-screw, rotate it until it aligns with the flats on the conduit.
- Tighten the Set-Screw: Use a screwdriver or Allen wrench to tighten the set-screw. This will secure the conduit in place and create a tight connection between the conduit and the box.
- Repeat for Multiple Conduits: If you are connecting multiple conduits to the same box, repeat the process for each conduit. Ensure that each conduit is properly inserted into its respective connector and the set-screws are tightened securely.
By connecting the conduit to the box, you are creating a pathway for the electrical wires and ensuring a secure and reliable connection. Once you have completed this step, it’s time to move on to the final step of testing the connection.
Step 5: Test the Connection
After connecting the conduit to the electrical box, it’s important to test the connection to ensure it is functioning properly. Follow these steps:
- Turn Off Power: Before conducting any tests, make sure to turn off the power to the circuit at the main electrical panel to prevent any electrical accidents or shocks.
- Check for Secure Fit: Visually inspect the connections between the conduit and the box. Ensure that the conduits are securely fastened and there are no loose parts or gaps in the connections.
- Inspect the Wires: Check the wires inside the conduit to make sure they are not damaged or exposed. Ensure that the wires are properly seated and secured within the box.
- Test with a Voltage Tester: Using a voltage tester, carefully test for the presence of electrical current inside the box. Follow the manufacturer’s instructions to safely perform the test.
- Turn the Power Back On: If the test indicates a proper connection, you can safely turn the power back on to the circuit and test the functionality of the connected electrical system.
Testing the connection is crucial to ensure the safety and functionality of the electrical installation. If any issues or abnormalities are detected during the testing process, it is recommended to consult a licensed electrician for further inspection and troubleshooting.
Finally, it’s important to note that electrical work should always be performed in compliance with local electrical codes and regulations. If you are unfamiliar with these requirements or are unsure about any aspect of the installation process, it is best to seek professional assistance.
Conclusion
Connecting conduit to an electrical box is a crucial step in any electrical installation project. By following the steps outlined in this article, you can ensure a secure and reliable connection that adheres to safety standards. Here’s a quick recap of the process:
- Prepare the conduit and box by measuring, cutting, deburring, and creating knockout holes if necessary.
- Position the conduit and box in the desired location, ensuring proper alignment and levelness.
- Secure the conduit to the box by inserting it into the connectors and tightening the locknuts.
- Connect the conduit to the box by inserting the other end of the conduit into the corresponding connectors and tightening set-screws if applicable.
- Test the connection by checking for a secure fit, inspecting the wires, and performing voltage testing before turning the power back on.
Remember, it’s important to have a basic understanding of electrical systems and the necessary tools before attempting any electrical work. If you are unsure or uncomfortable with the process, it is recommended to hire a licensed electrician for the job.
By following these guidelines and prioritizing safety, you can successfully connect conduit to an electrical box and ensure a reliable electrical installation. Whether you are working on a home renovation or a commercial construction project, this knowledge will prove invaluable in achieving a safe and functional electrical system.
Always stay updated with local electrical codes and regulations to ensure compliance and consult an expert when in doubt. With the proper techniques and precautions, you can confidently complete your electrical installation project and enjoy the benefits of a well-connected conduit system.
Frequently Asked Questions about How To Connect Conduit To Box
Was this page helpful?
At Storables.com, we guarantee accurate and reliable information. Our content, validated by Expert Board Contributors, is crafted following stringent Editorial Policies. We're committed to providing you with well-researched, expert-backed insights for all your informational needs.


0 thoughts on “How To Connect Conduit To Box”