Articles
How To Connect EMT Conduit
Modified: October 20, 2024
Learn how to connect EMT conduit with these helpful articles. Step-by-step instructions and tips to ensure a secure and efficient electrical installation.
(Many of the links in this article redirect to a specific reviewed product. Your purchase of these products through affiliate links helps to generate commission for Storables.com, at no extra cost. Learn more)
Introduction
Connecting EMT (Electrical Metallic Tubing) conduit is an essential step in electrical installations for routing and protecting electrical wiring. EMT conduit is commonly used in residential, commercial, and industrial settings due to its durability, cost-effectiveness, and ease of installation. Whether you are working on a DIY electrical project or a professional electrician, knowing how to connect EMT conduit correctly is crucial to ensure the safety and efficiency of your electrical system.
In this article, we will guide you through the step-by-step process of connecting EMT conduit. We will cover everything from gathering the necessary materials to verifying the connection. By following these instructions, you’ll be able to confidently connect EMT conduit and have a reliable electrical system in no time.
Key Takeaways:
- Proper preparation is key to successful EMT conduit connections. From gathering materials to verifying the connection, attention to detail ensures a safe and reliable electrical system.
- Safety, accuracy, and diligence are essential when connecting EMT conduit. Following the step-by-step process and adhering to local codes will result in a secure and efficient electrical installation.
Read more: What Is An EMT Conduit
Step 1: Gather the Required Materials
Before you begin connecting EMT conduit, it’s important to gather all the necessary materials. Having everything on hand will save you time and ensure a smooth and efficient installation process. Here are the materials you will need:
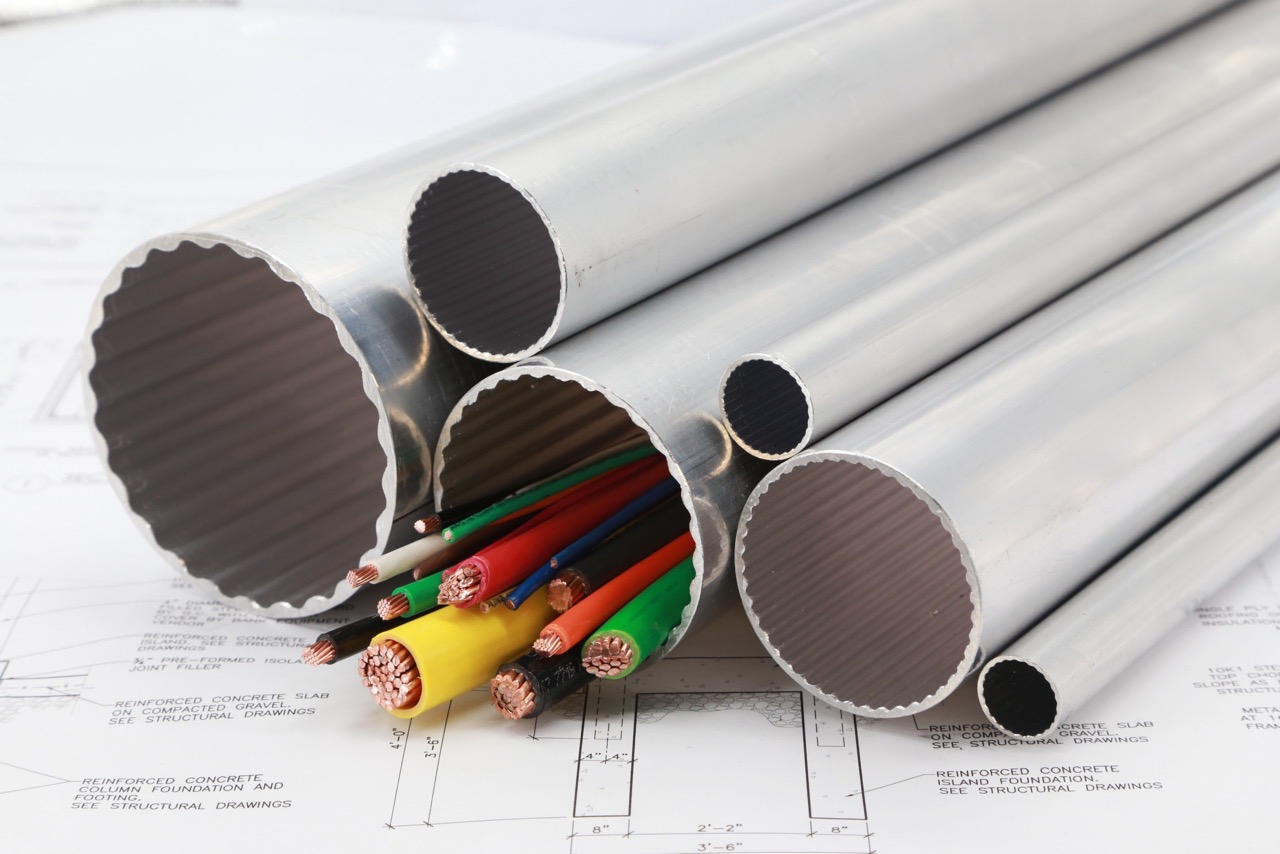
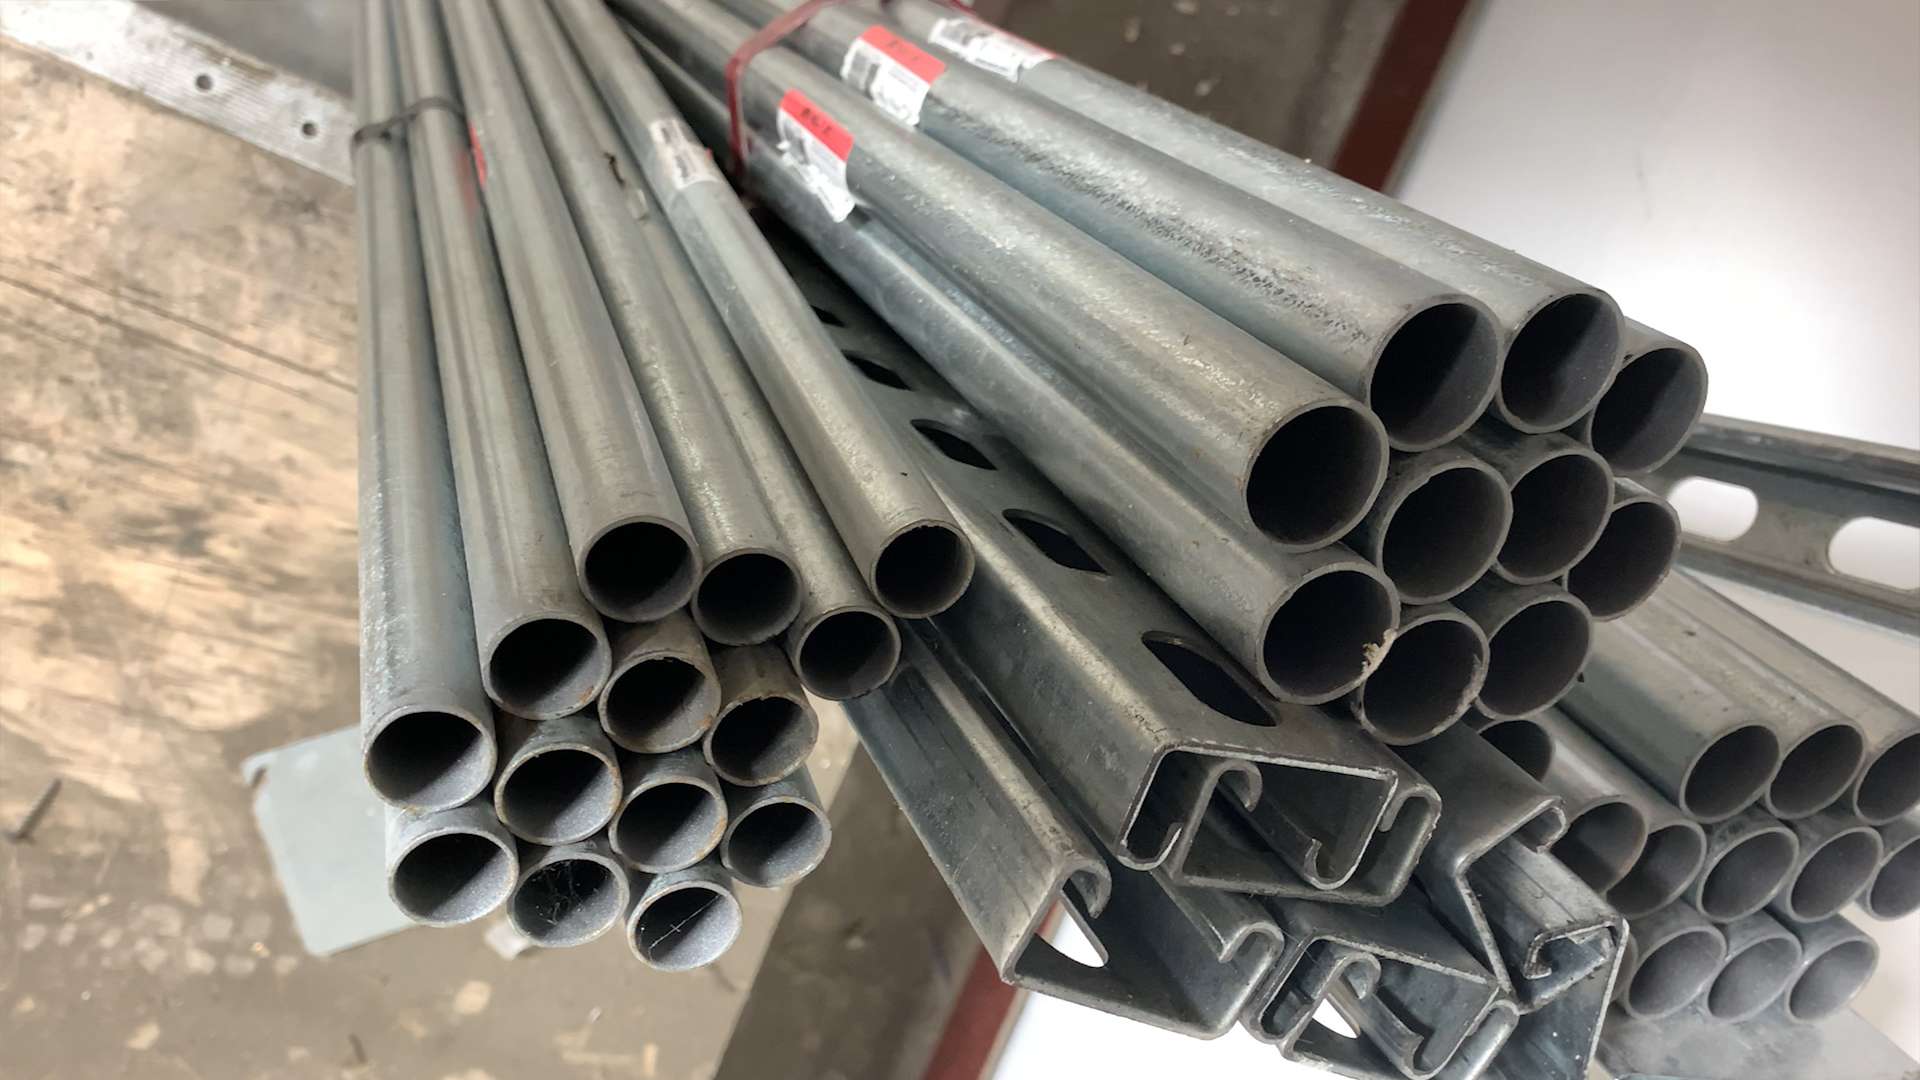
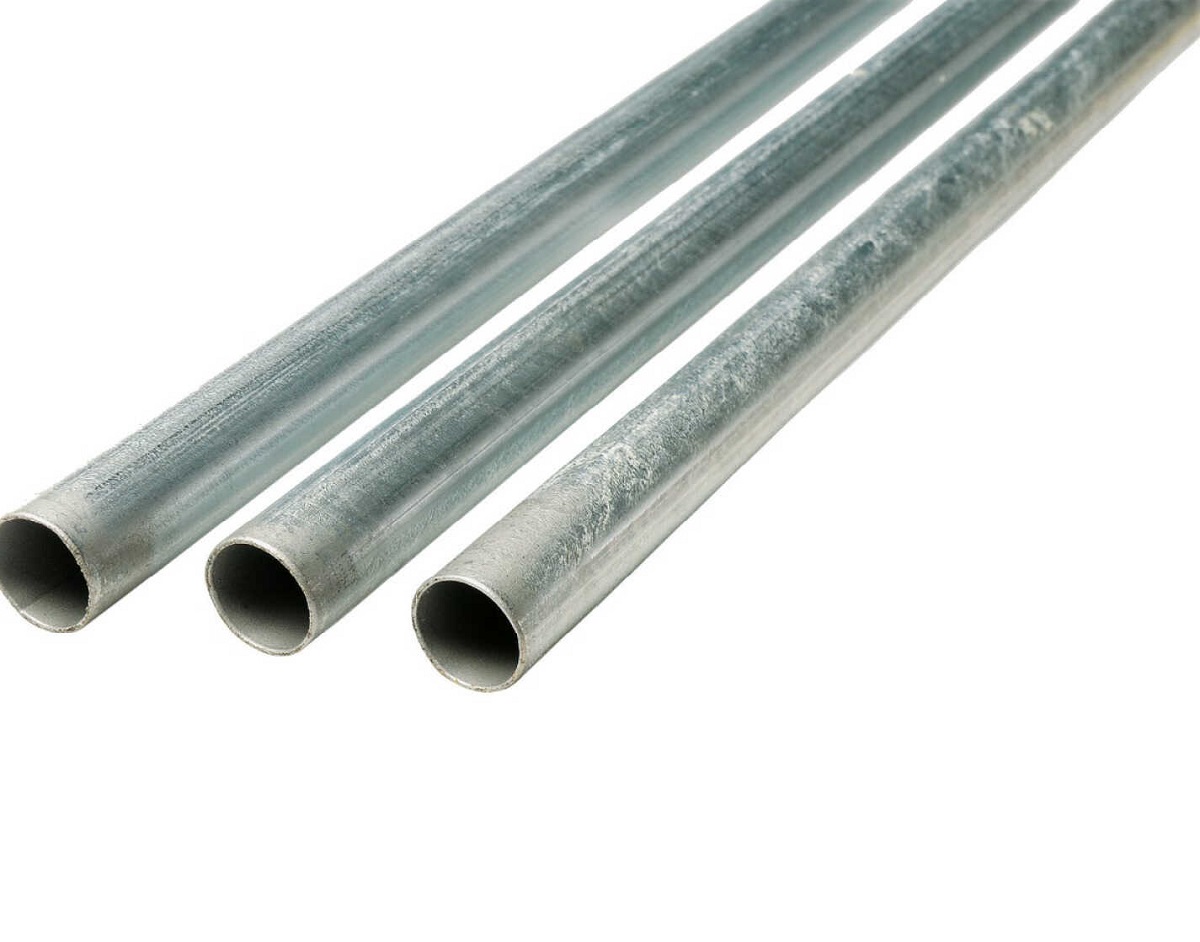
- EMT Conduit: Measure and determine the length of the conduit needed for your project. Purchase the appropriate length of EMT conduit.
- Conduit Connectors: These connectors are used to join two sections of EMT conduit together. Make sure you have enough connectors for your project.
- Conduit Straps: These straps are used to secure the conduit to walls or other surfaces. You will need enough straps to support the conduit at regular intervals.
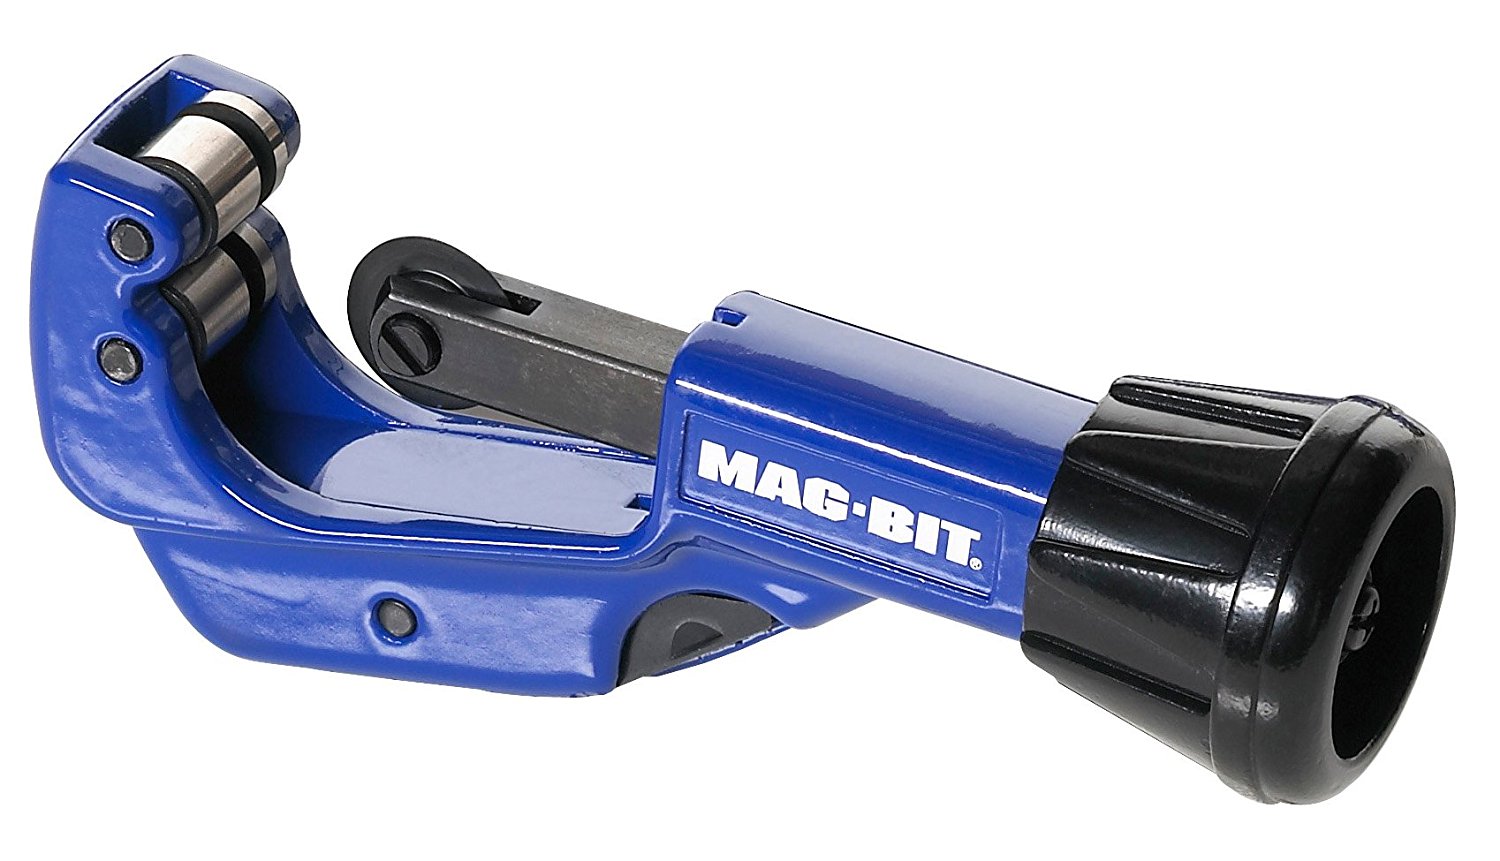
- Hacksaw or Conduit Cutter: You’ll need a tool to cut the EMT conduit to the desired length. A hacksaw or conduit cutter will work for this purpose.
- Deburring Tool: After cutting the conduit, you’ll need to remove sharp edges and burrs using a deburring tool. This will ensure a smooth and safe connection.
- Measuring Tape: A measuring tape will help you accurately measure and mark the conduit for cutting.
- Screwdriver or Drill: Depending on the type of conduit straps you’re using, you may need a screwdriver or drill to secure them in place.
- Safety Gear: Always prioritize safety when working with electrical components. Wear safety glasses, gloves, and appropriate clothing to protect yourself during the installation process.
Once you have gathered all the necessary materials, you’re ready to move on to the next step: measuring and cutting the EMT conduit.
Step 2: Measure and Cut the EMT Conduit
After gathering all the required materials, the next step is to measure and cut the EMT conduit to the appropriate length. Follow these steps:
- Using a measuring tape, measure the distance between the two points where you intend to connect the EMT conduit. Ensure that the measurement is accurate.
- Mark the measured distance on the conduit using a permanent marker or a piece of tape.
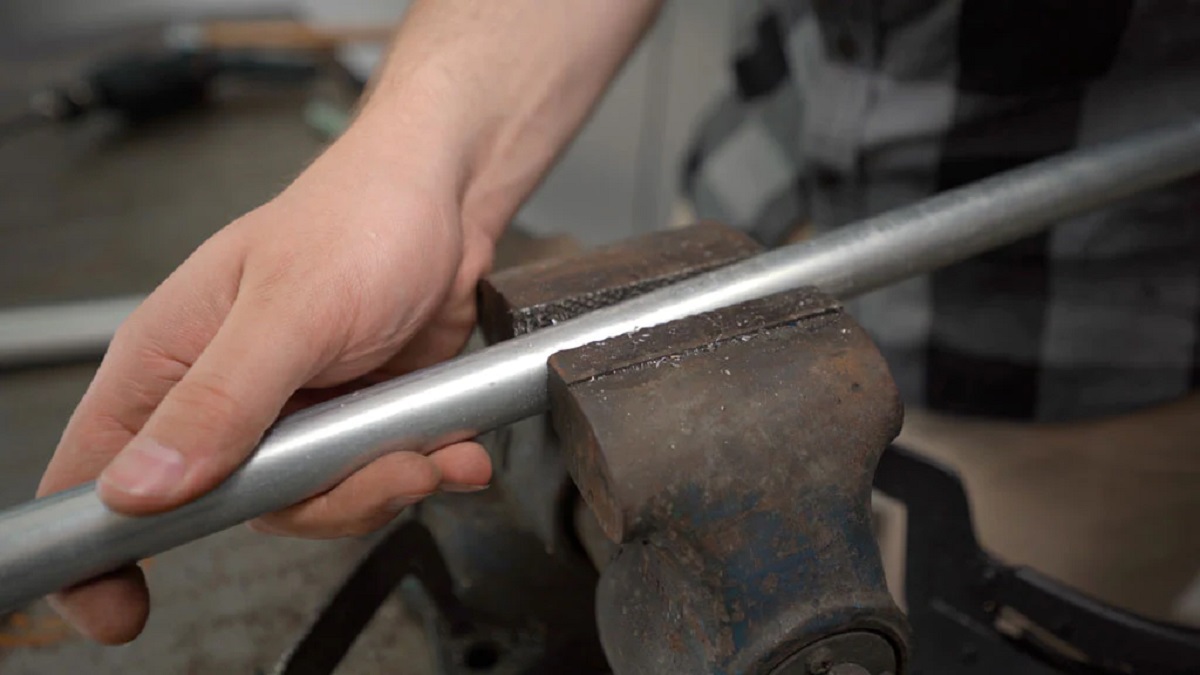
- Secure the conduit in a vice or clamp to prevent it from moving while cutting.
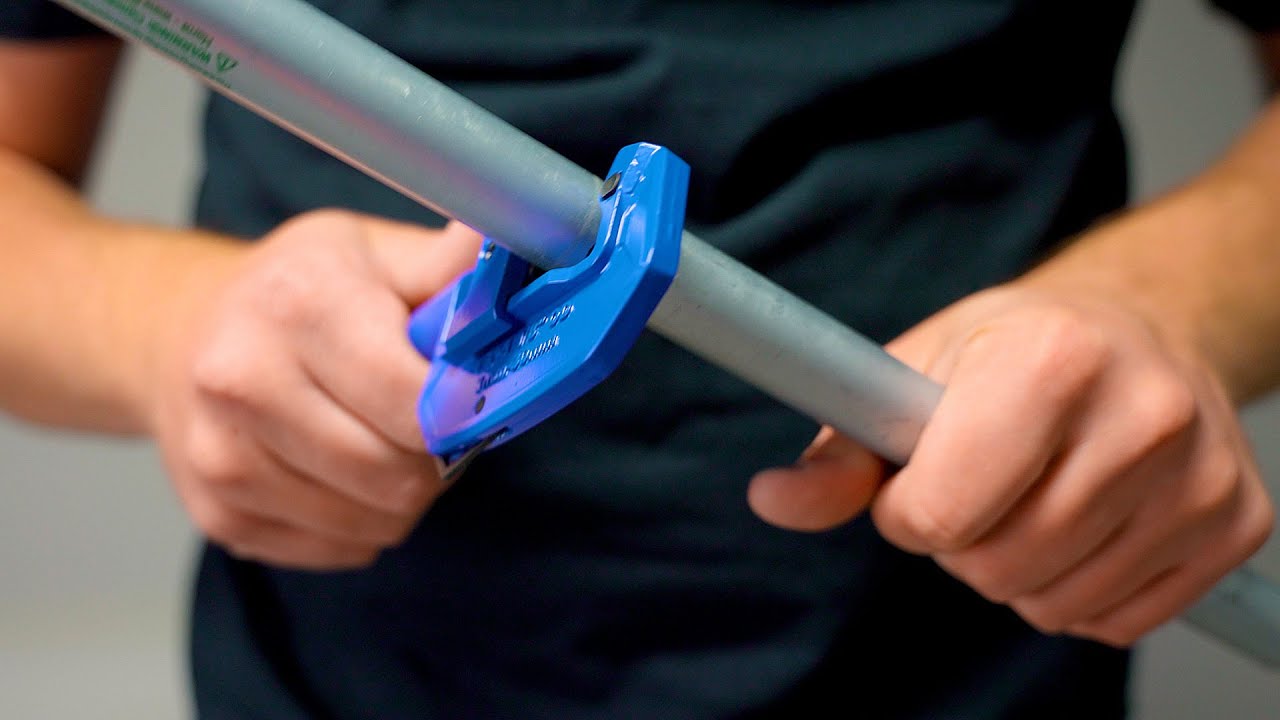
- If you’re using a hacksaw, position the blade perpendicular to the conduit and begin sawing back and forth along the marked line. Apply consistent pressure until the saw cuts through the conduit.
- If you’re using a conduit cutter, place the cutter’s cutting wheel on the marked line. Rotate the cutter around the conduit, gradually tightening the cutter’s handle until the blade cuts cleanly through the conduit.
- Once the conduit is cut, use a deburring tool to remove any sharp edges and burrs from the cut ends. Smoothly run the deburring tool along the inside and outside edges of the conduit until they are smooth.
It’s crucial to ensure the measurements are accurate and the cuts are clean to facilitate a proper and secure connection. Take your time and double-check the measurements and cuts before proceeding to the next step.
Now that you’ve measured and cut the EMT conduit, it’s time to prepare the conduit ends for connection.
Step 3: Prepare the Conduit Ends
Before connecting EMT conduit, it’s necessary to prepare the ends of the conduit for a secure and reliable connection. Here are the steps to follow:
- Using a file or conduit reamer, remove any burrs or rough edges from the inside and outside of the conduit ends. This will ensure a smooth fit for connectors and prevent damage to the wiring.
- Clean the conduit ends with a clean cloth or brush to remove any dirt, debris, or oil that may affect the connection. This step is crucial for establishing a strong electrical connection.
- Inspect the conduit ends for any dents, bends, or damage. If you notice any imperfections, consider replacing the damaged section to ensure a secure connection.
- Apply a thin layer of anti-corrosion lubricant or conduit lubricant to the inside of the conduit ends. This lubricant will help facilitate the insertion of the connectors and prevent friction or corrosion.
By properly preparing the conduit ends, you’ll ensure a smooth and secure connection, minimizing the risk of electrical issues or disruptions. Once the conduit ends are ready, you can proceed to the next step: connecting the EMT conduit with connectors.
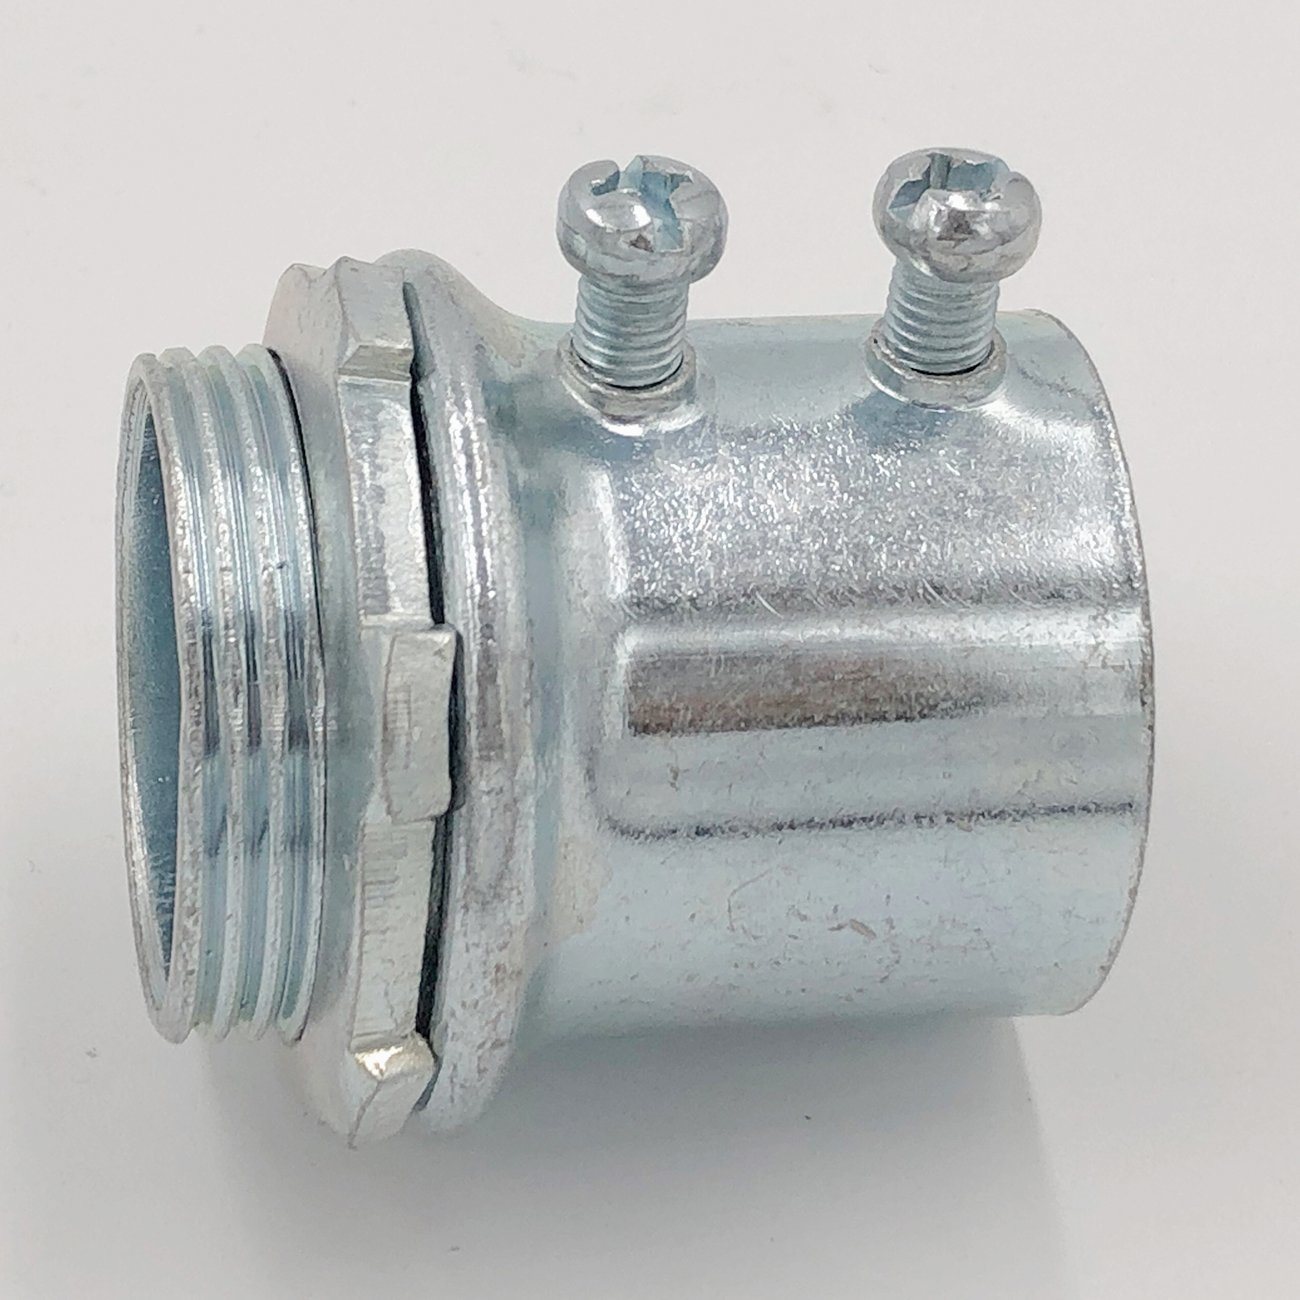
When connecting EMT conduit, make sure to use a proper connector that is compatible with EMT. Tighten the screws securely to ensure a strong and reliable connection.
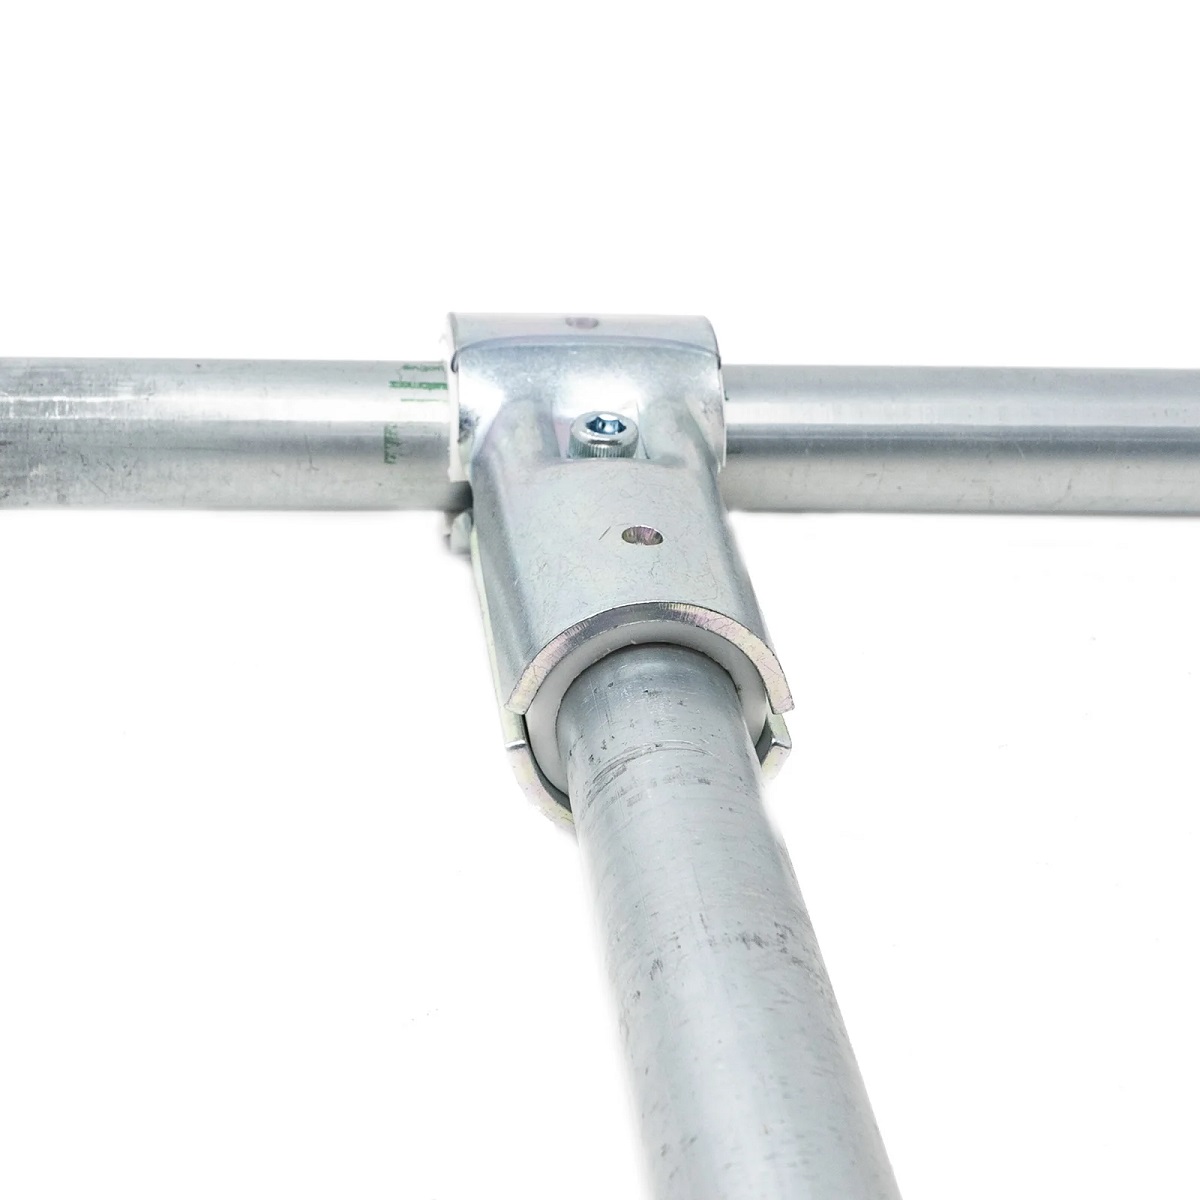
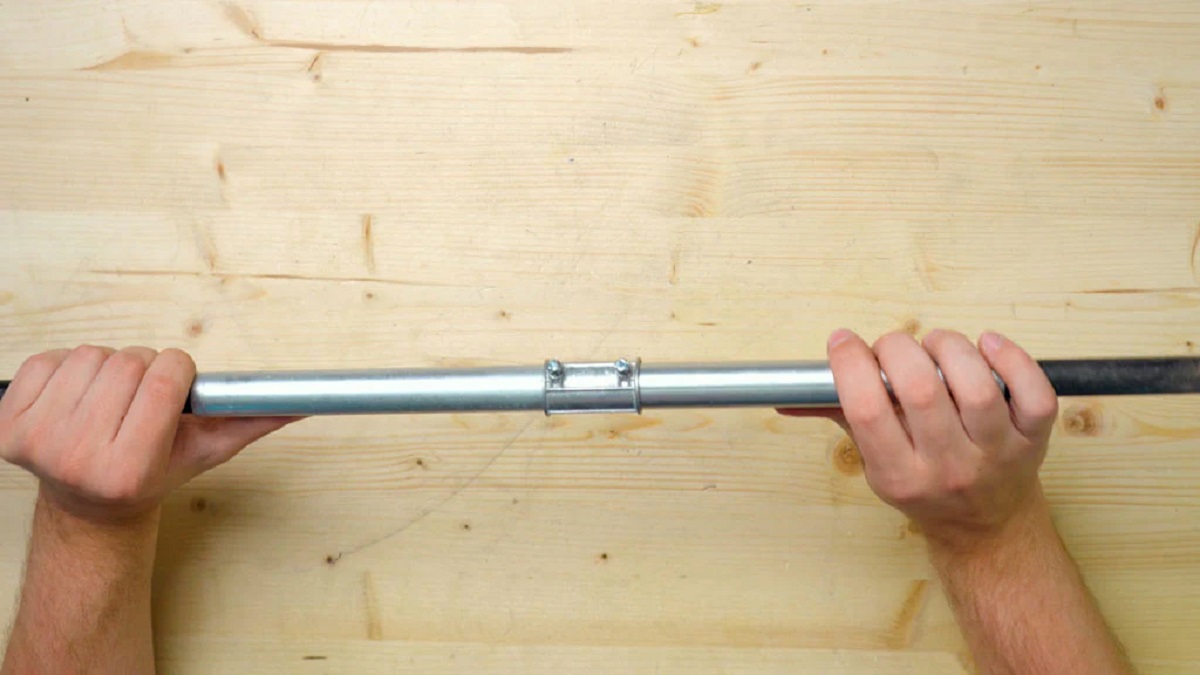
Step 4: Connect the EMT Conduit with Connectors
Connecting EMT conduit with connectors is a crucial step in ensuring a secure and stable electrical system. Follow these steps to connect the EMT conduit:
- Insert one end of the conduit into the first connector, ensuring a snug fit.
- Twist the connector clockwise until it is securely fastened to the conduit. Use a wrench to tighten the connector if necessary, but be careful not to overtighten and damage the conduit.
- Repeat the process with the other end of the conduit, inserting it into the second connector and tightening it securely.
- Ensure that both connectors are aligned properly and that the conduit is straight between them. This will ensure a smooth transition and a secure connection.
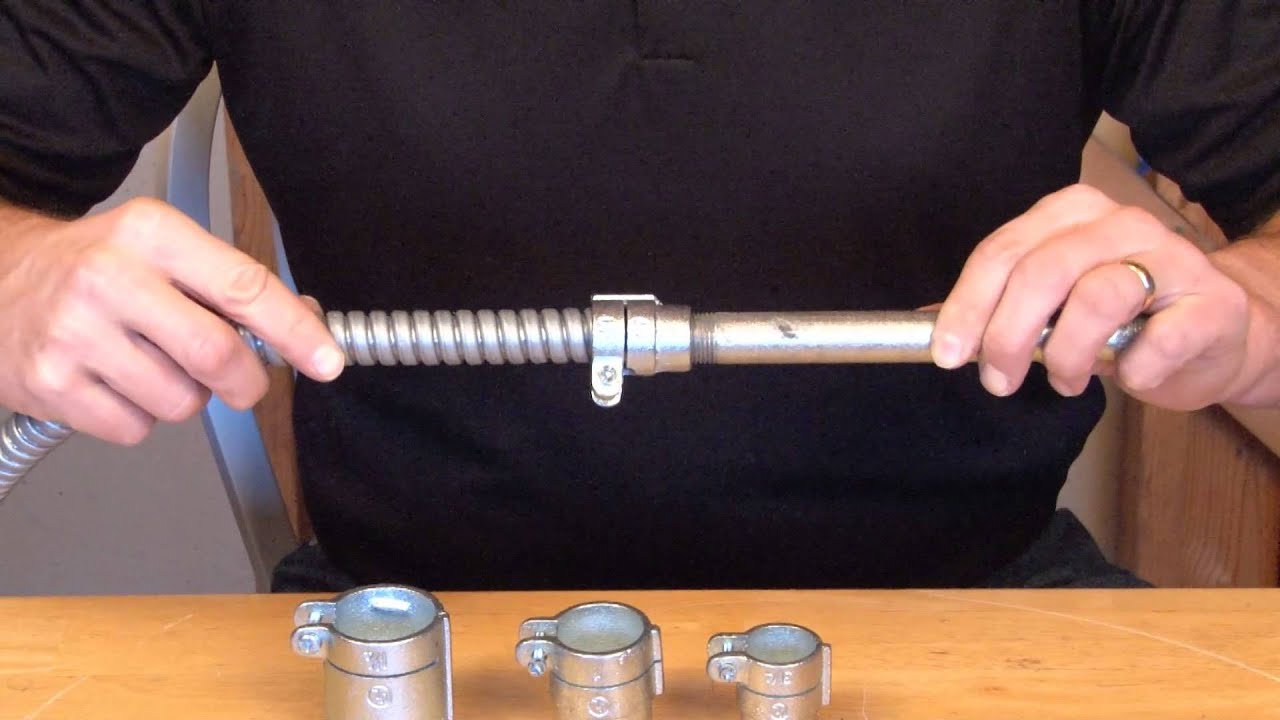
- If you are using compression connectors, follow the manufacturer’s instructions for proper installation. Typically, this involves sliding the connector over the conduit, inserting a compression ring, and tightening the compression nut to form a secure seal.
It’s important to note that connectors come in various types, such as set-screw connectors, compression connectors, or push-fit connectors. Choose the appropriate connector type for your specific project and follow the manufacturer’s instructions for installation.
Remember to check the tightness of the connectors after installation to ensure that they are securely fastened. Loose connectors can lead to electrical issues and compromise the integrity of the system.
With the EMT conduit connected using appropriate connectors, you’re ready to move on to the next step: securing the conduit with straps.
Read more: How To Successfully Install An EMT Conduit
Step 5: Secure the Conduit with Straps
To ensure the stability and proper support of the EMT conduit, it’s important to secure it in place using conduit straps. Follow these steps to securely fasten the conduit:
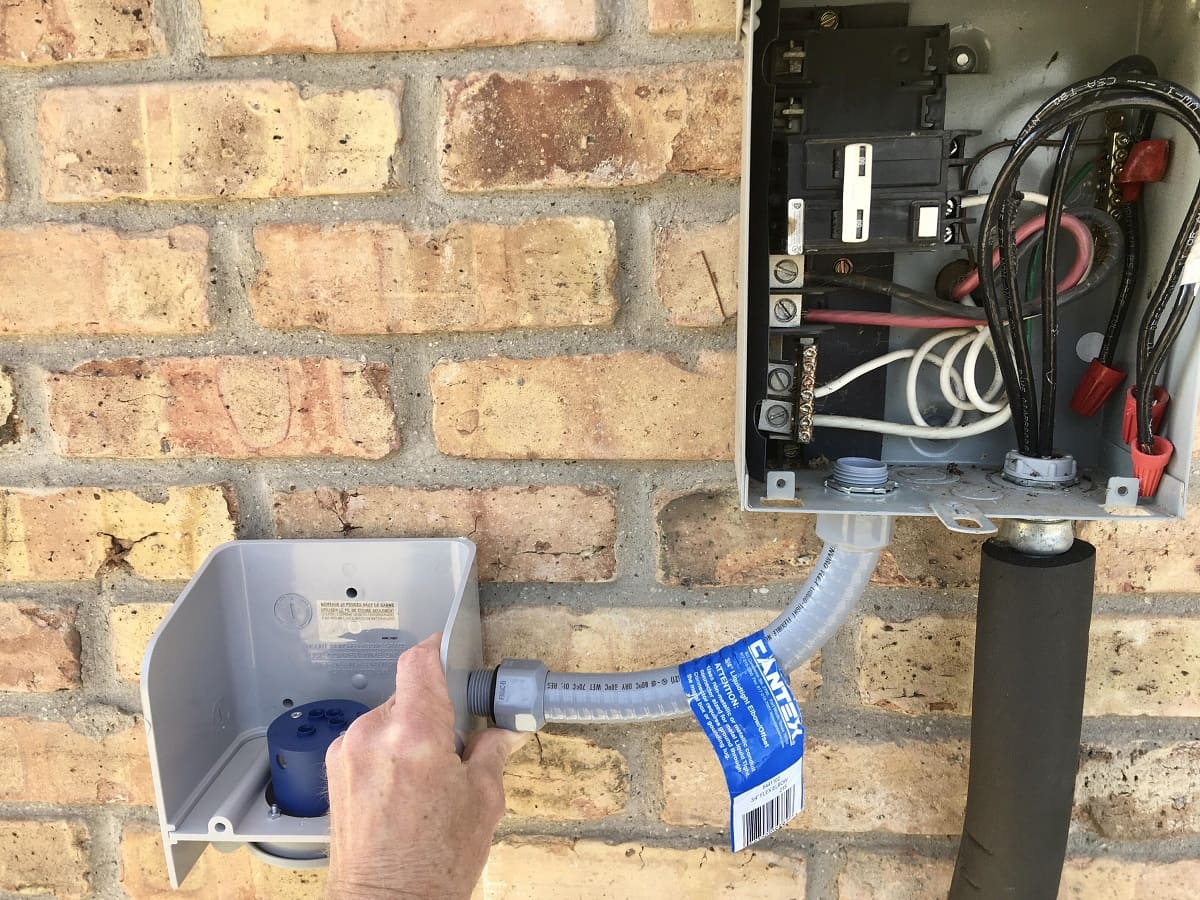
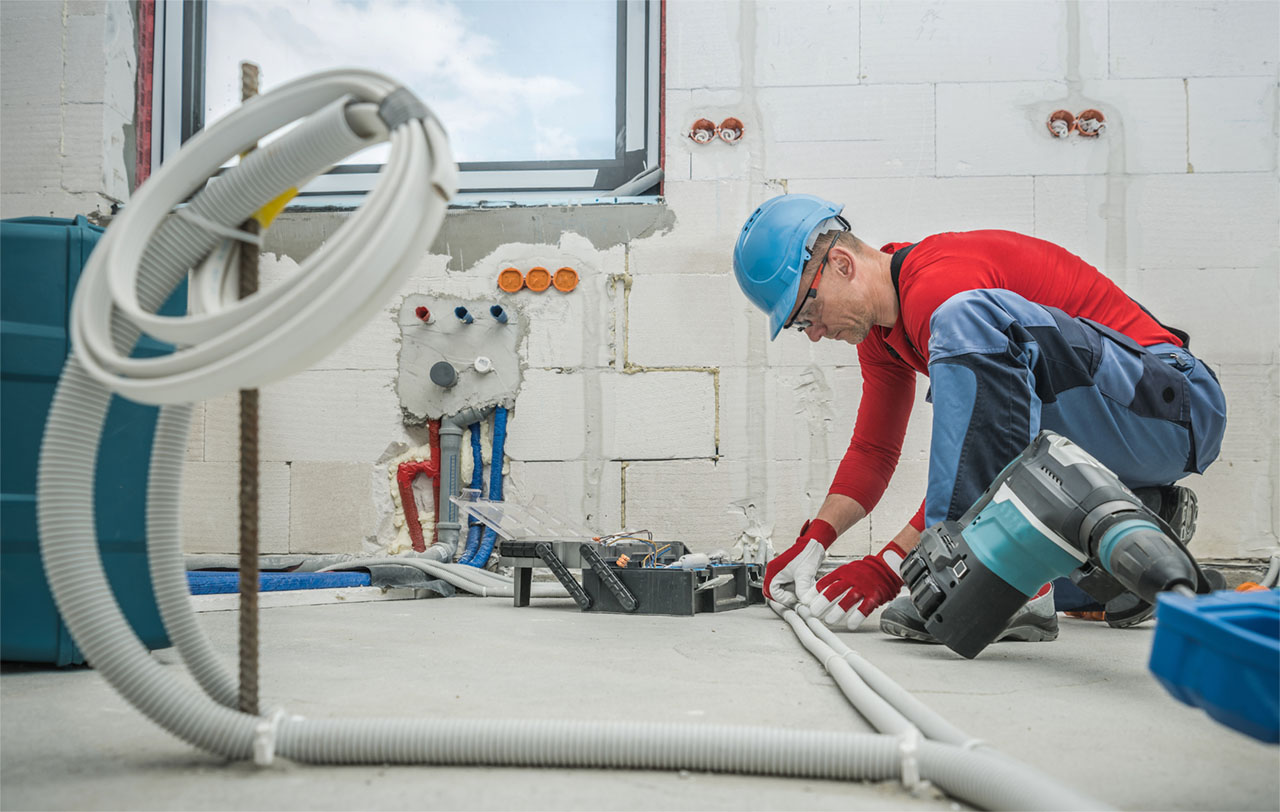
- Position the conduit parallel to the surface where it will be installed, such as a wall or ceiling.
- Using a screwdriver or drill, fasten the conduit straps around the conduit and onto the mounting surface. Ensure that the straps are tight enough to hold the conduit firmly in place but not too tight to distort or damage the conduit.
- Space the conduit straps evenly along the length of the conduit, adhering to local electrical codes and guidelines for proper support.
- For vertical runs, place additional straps to support the weight of the conduit and prevent sagging.
- Inspect the secured conduit to ensure that it is straight, properly aligned, and securely fastened.
Conduit straps come in various sizes and types, such as one-hole straps, two-hole straps, or snap-on straps. Choose the appropriate type for your project and make sure to adhere to the manufacturer’s instructions for secure installation.
Properly securing the conduit with straps is essential for maintaining the integrity of the electrical system and ensuring the safety of the installation. With the conduit securely in place, you’re ready to move on to the final step: verifying the connection.
Step 6: Verify the Connection
After completing all the previous steps to connect and secure the EMT conduit, it’s important to verify the connection to ensure its reliability and integrity. Here’s how you can verify the connection:
- Visually inspect the entire length of the conduit to ensure that all connectors are properly fastened and tightened. Check for any signs of looseness, gaps, or misalignment.
- Gently tug on the conduit at various points along its length to ensure it is securely attached and there is no movement or give.
- Check for any visible gaps or spaces between the conduit and connectors. Any gaps could indicate an improper or incomplete connection.
- Inspect the conduit straps to ensure they are holding the conduit firmly and aren’t overly tightened or damaging the conduit.
- If accessible, run a continuity tester or multi-meter along the length of the conduit to confirm that the electrical connection is intact and consistent throughout.
If you discover any issues or concerns during the verification process, take the necessary steps to rectify them. This may involve retightening connectors, adjusting straps, or replacing any damaged components.
Remember, a secure and properly connected EMT conduit is crucial for the safe and efficient functioning of your electrical system. Taking the time to verify the connection will provide peace of mind and minimize the risk of future electrical issues.
By following these steps and ensuring a successful connection, you have completed the process of connecting EMT conduit. Congratulations on a job well done!
Conclusion
Connecting EMT conduit is an essential skill for any DIY enthusiast or professional electrician. By following the step-by-step process outlined in this article, you can confidently and safely connect EMT conduit for your electrical installations.
Throughout this guide, we have discussed the materials needed, the steps to measure and cut the EMT conduit, prepare the conduit ends, connect the conduit with connectors, secure it with straps, and verify the connection. Each step is crucial to ensure the stability, reliability, and efficiency of your electrical system.
Remember to prioritize safety throughout the entire process. Wear appropriate safety gear, such as safety glasses and gloves, when handling tools and installing the conduit. Adhere to local electrical codes and regulations to ensure compliance and safety.
Whether you are working on a residential, commercial, or industrial project, proper installation of EMT conduit is essential to protect and route electrical wiring. By connecting EMT conduit correctly, you can have peace of mind knowing that your electrical system is secure and functioning optimally.
Now that you have a solid understanding of how to connect EMT conduit, you can confidently embark on your electrical projects. Remember, if at any point you are uncertain or feel overwhelmed, it is always advisable to consult with a qualified electrician for guidance and assistance.
Good luck with your EMT conduit connections, and may your electrical installations be safe, efficient, and successful!
Frequently Asked Questions about How To Connect EMT Conduit
Was this page helpful?
At Storables.com, we guarantee accurate and reliable information. Our content, validated by Expert Board Contributors, is crafted following stringent Editorial Policies. We're committed to providing you with well-researched, expert-backed insights for all your informational needs.

0 thoughts on “How To Connect EMT Conduit”