Articles
How To Convert A Light Socket Into An Outlet
Modified: August 16, 2024
Learn how to convert a light socket into an outlet with step-by-step instructions and expert tips. Find more informative articles on electrical conversions.
(Many of the links in this article redirect to a specific reviewed product. Your purchase of these products through affiliate links helps to generate commission for Storables.com, at no extra cost. Learn more)
Introduction
In our modern world, technological advancements have become an integral part of our daily lives. With the rise of electronic devices and appliances, the need for accessible electrical outlets has significantly increased. However, in some cases, you may find yourself in a room with limited outlets, leaving you searching for alternative solutions.
In this article, we will explore how to convert a light socket into an electrical outlet, providing you with an additional power source. This DIY project requires a basic understanding of electrical systems and wiring, so always exercise caution and consult a professional if needed.
By following these steps, you can transform a light socket into a functional outlet that can power up your devices and make your life more convenient.
Key Takeaways:
- Converting a light socket into an electrical outlet is a practical DIY project that can provide additional power sources for your electronic devices, offering convenience and flexibility in your living space.
- Prioritize safety and caution when working with electrical systems, and always consult a professional if you are unsure about any step of the process. With the right approach, you can successfully expand your electrical options while maintaining a safe environment.
Step 1: Gather necessary materials
Before you begin the process of converting a light socket into an electrical outlet, it is important to gather all the necessary materials. Having everything ready will save you time and ensure a smooth workflow. Here are the materials you will need:
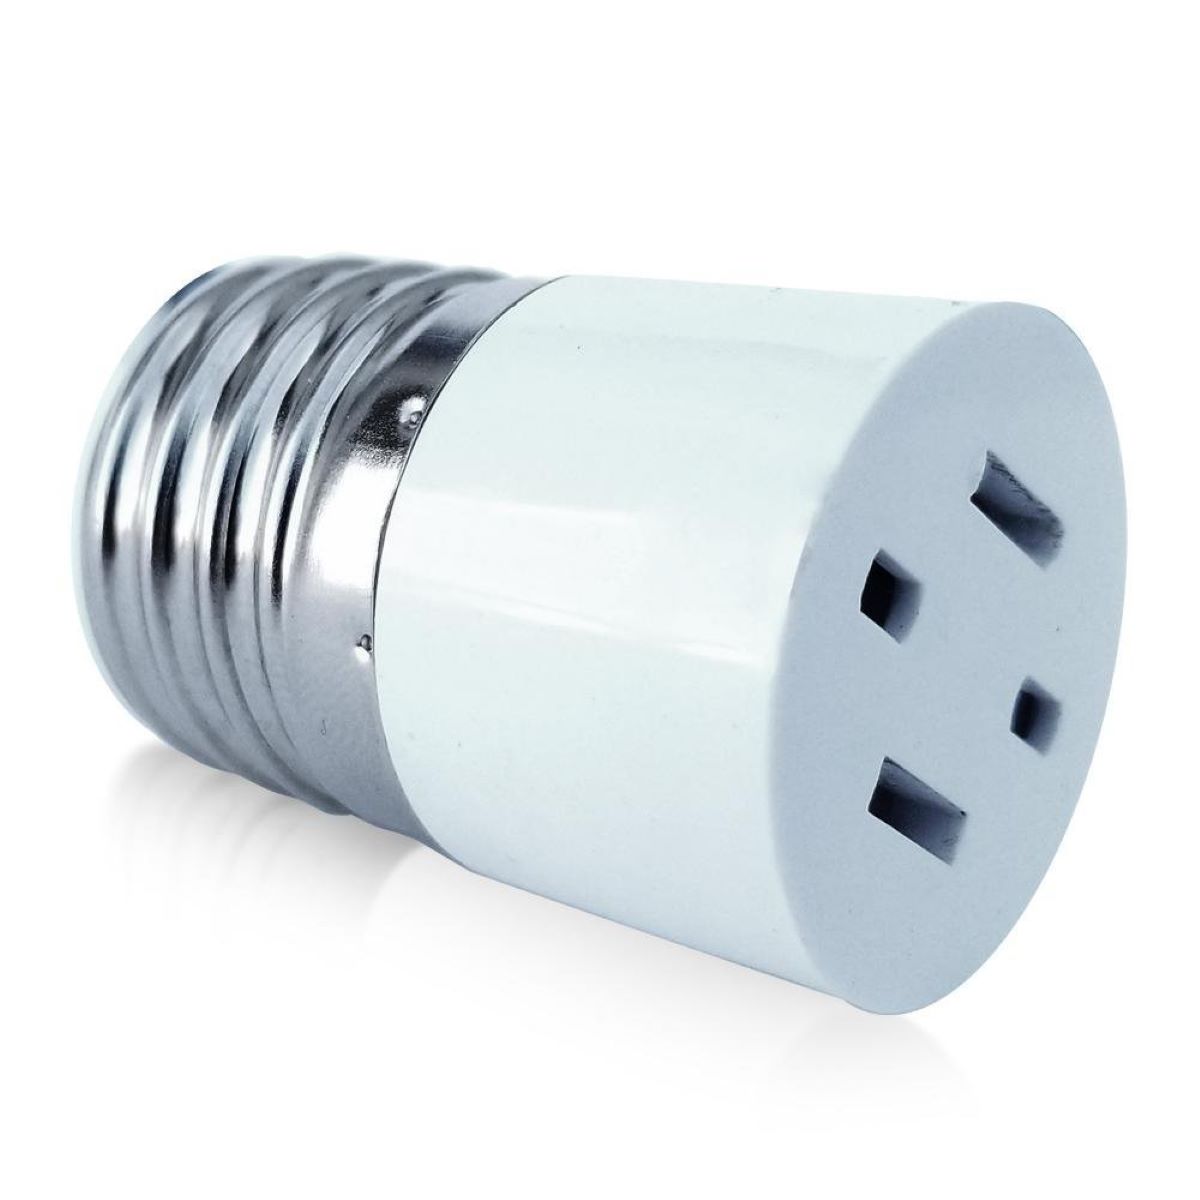
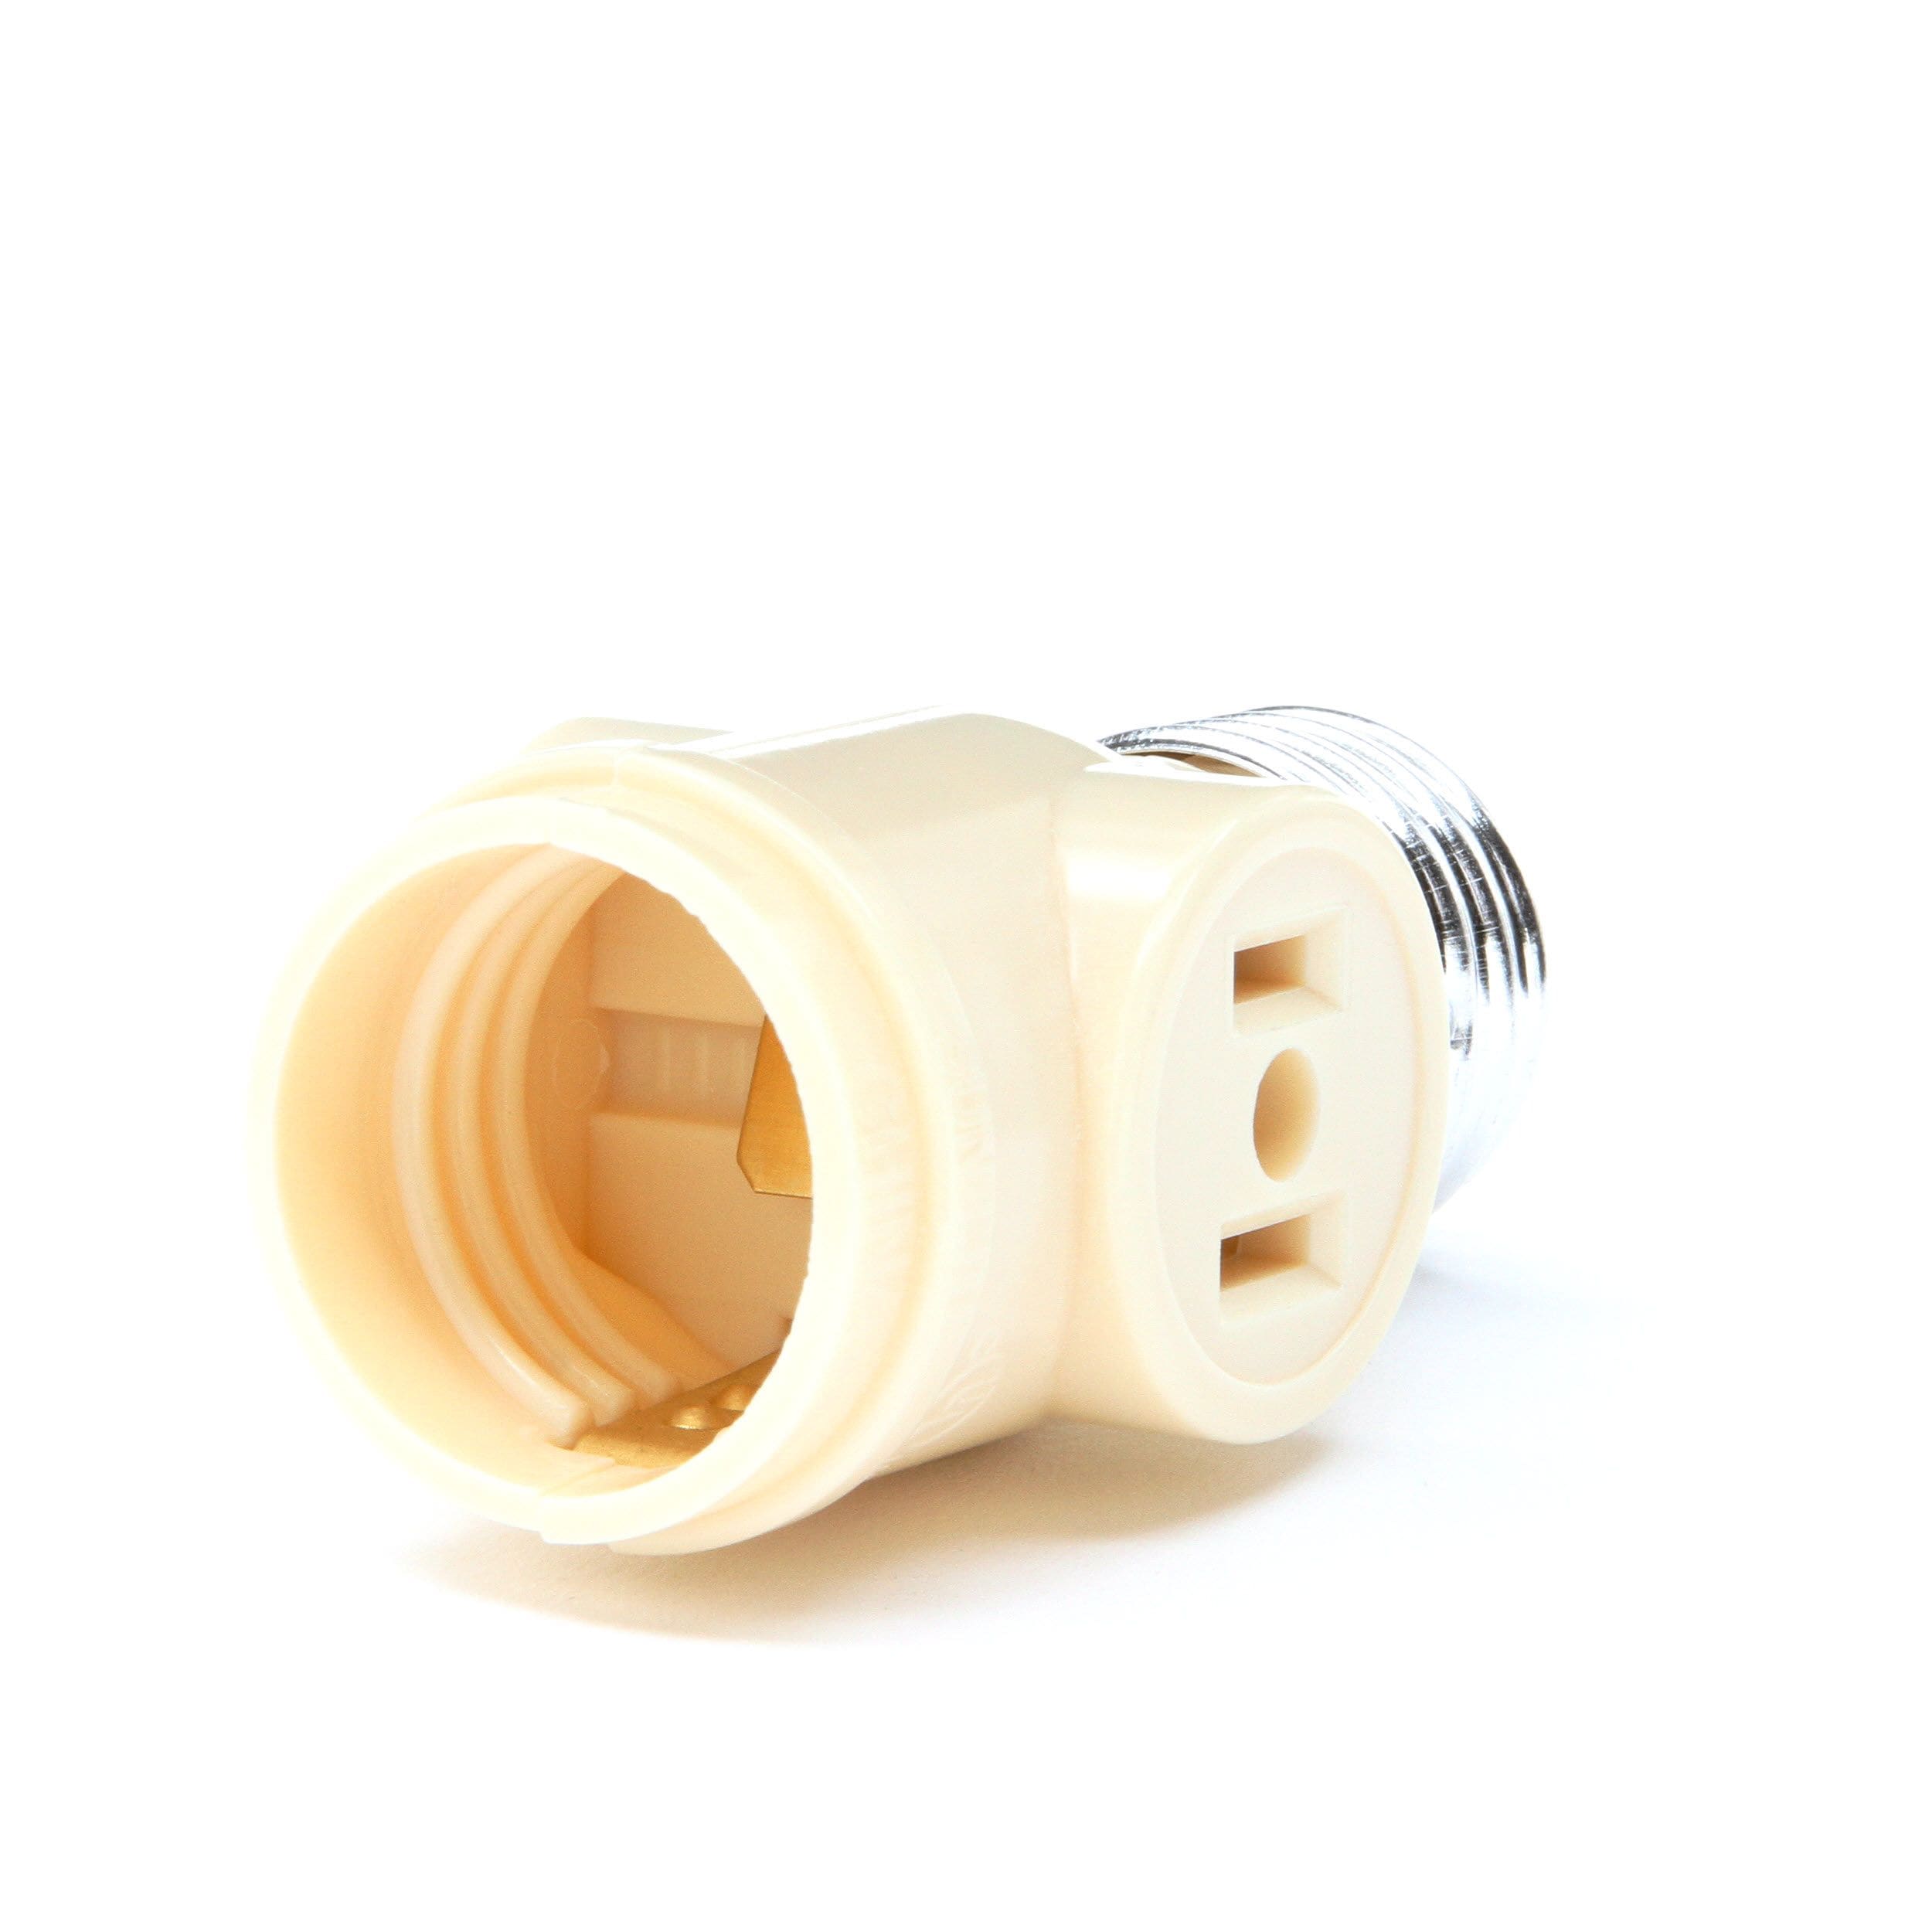
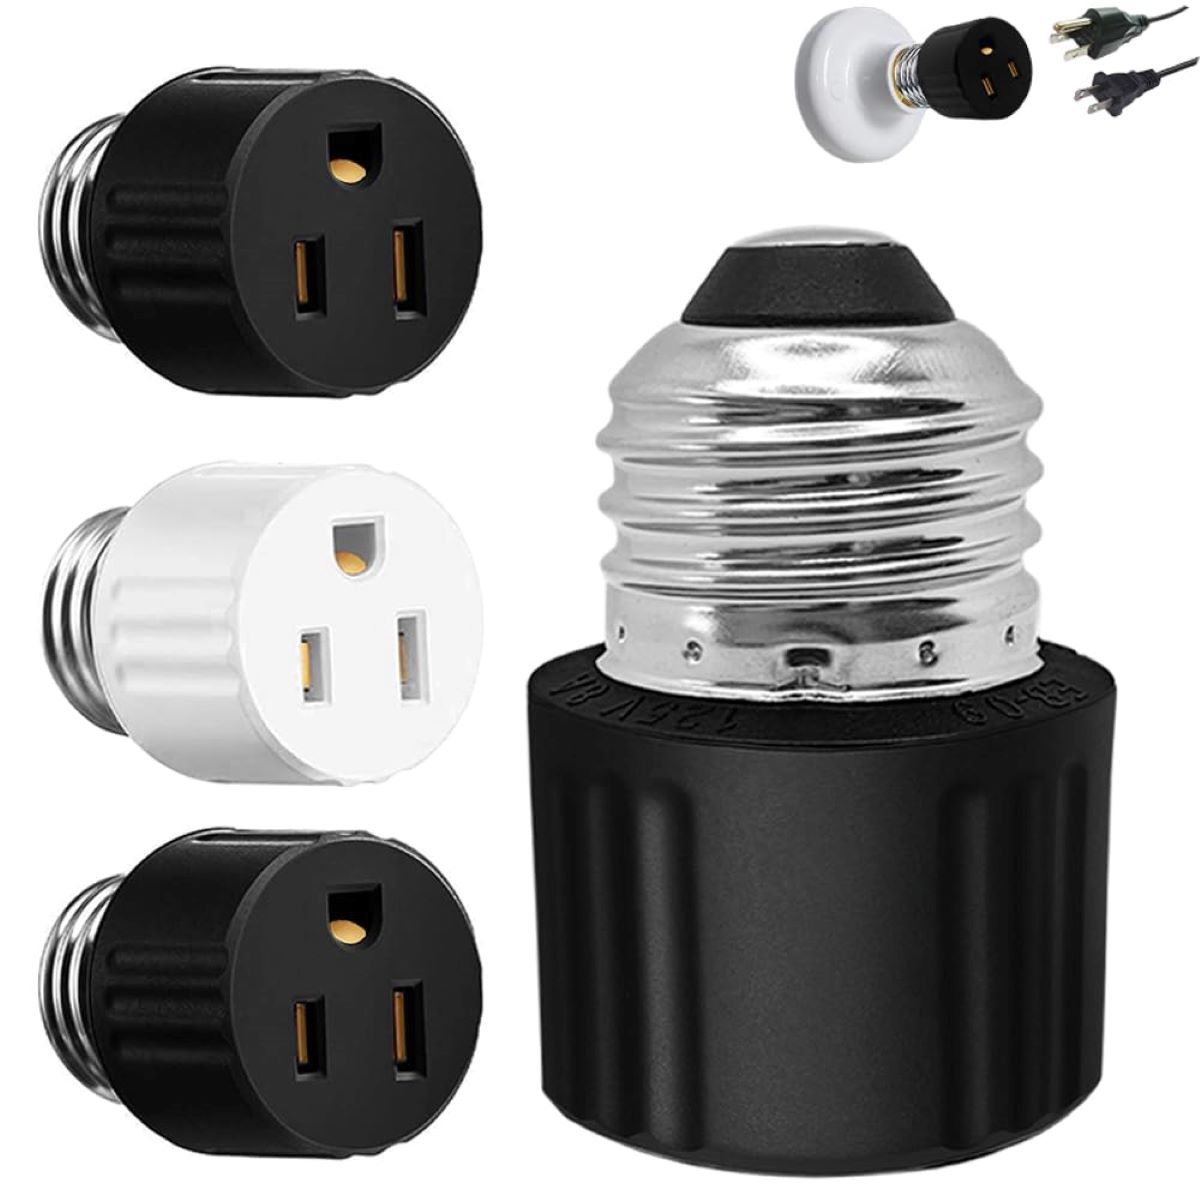
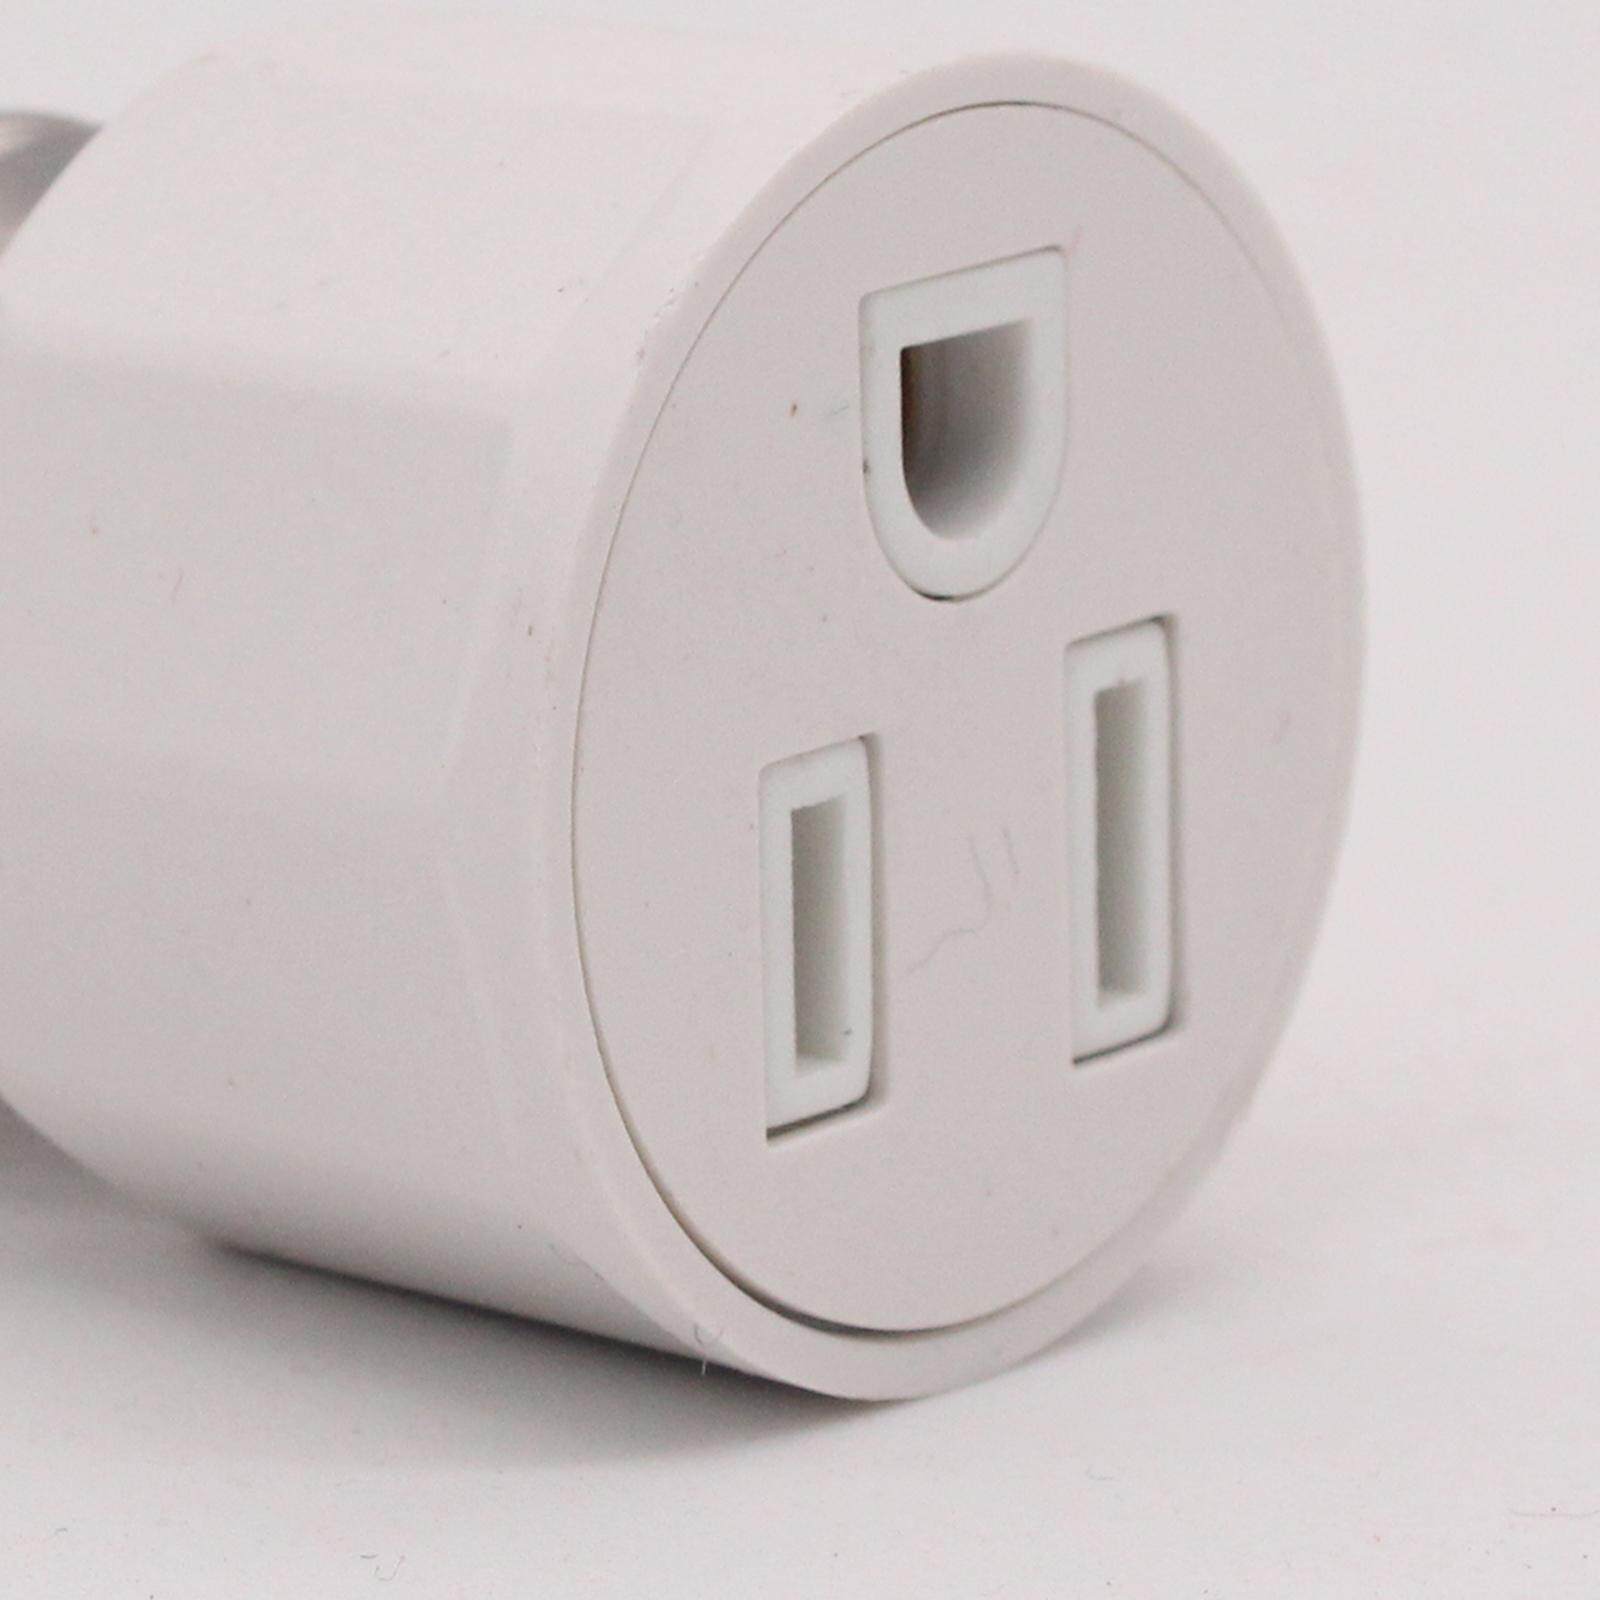
- Outlet adapter: This device will allow you to connect plugs directly into the socket. Make sure to choose one that is compatible with your voltage and electrical system.
- Wire cutters: You will need these to remove the wires from the light socket.
- Wire strippers: These tools are used to remove the insulation from the wires, exposing the copper conductors.
- Electrical tape: This is used for insulating and securing the wires.
- Screwdriver: Depending on the light socket and adapter, you may need a flathead or Phillips screwdriver to loosen and tighten screws.
- Voltage tester: It is crucial to have a voltage tester to ensure the power is turned off before working on the electrical system.
Once you have gathered all these materials, you can move on to the next step of the process.
Step 2: Turn off the power
Safety should always be your top priority when working with electrical systems. Before you begin any work on the light socket, it is crucial to turn off the power supply to eliminate the risk of electric shock. Here’s how to turn off the power:
- Locate the electrical panel: The electrical panel, also known as the breaker box, is usually found in the basement, utility room, or garage. It contains a series of switches or circuit breakers that control the power supply to different areas of your home.
- Identify the relevant circuit breaker: Look for the circuit breaker that controls the power supply to the room where the light socket is located. The circuit breakers are typically labeled, either by room or by specific outlets and light fixtures.
- Switch off the circuit breaker: Once you have identified the correct circuit breaker, switch it to the “Off” position. This will cut off the power supply to the light socket and ensure your safety while working on the electrical system.
- Verify the power is off: It is essential to double-check that the power is turned off before proceeding. You can use a voltage tester to test the wires and ensure there is no electrical current present. If the tester indicates no voltage, you can proceed with the next steps.
Taking these precautions will help protect you from potential hazards and ensure a safe working environment. Always exercise caution when working with electricity, and if you are unsure, it is best to consult a qualified electrician.
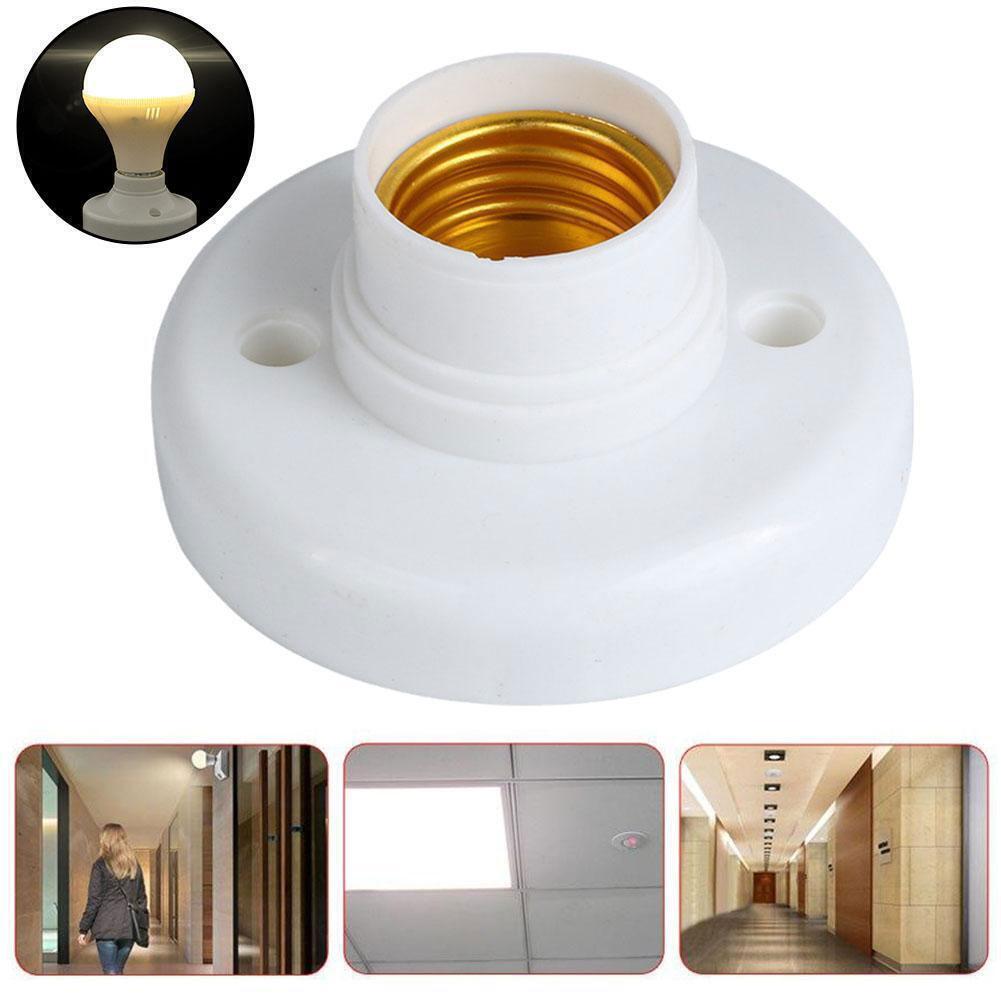
Step 3: Remove the light socket
Now that the power supply is turned off, you can proceed with removing the light socket. Follow these steps to safely remove the light socket:
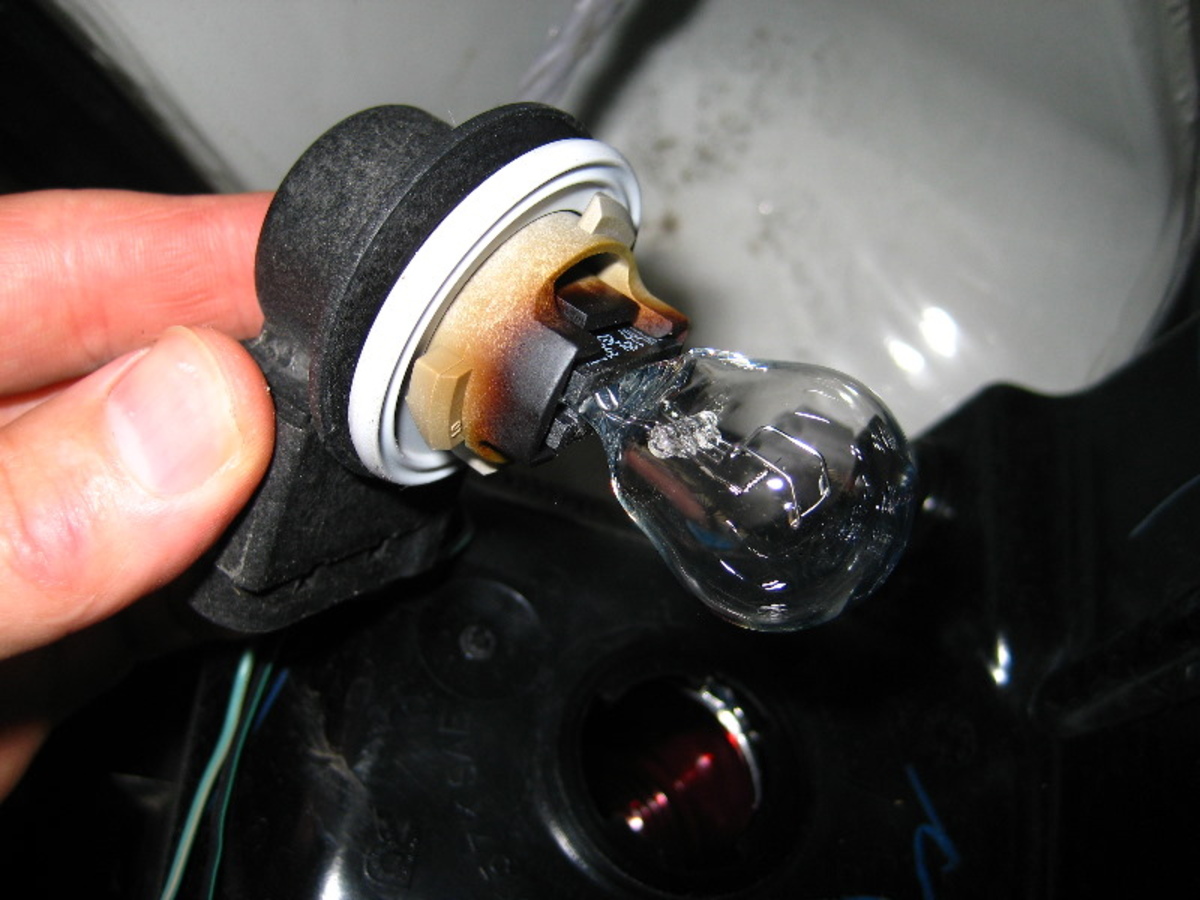
- Remove the light bulb: Start by unscrewing and removing the light bulb from the socket. This will give you easier access to the socket itself.
- Inspect the socket: Take a moment to inspect the socket and identify any screws or clips that are holding it in place. Every light socket is designed differently, so the removal method may vary. Some sockets have screws that need to be loosened, while others may have clips that need to be pressed or released.
- Loosen the screws or release the clips: Use a screwdriver or your fingers to loosen the screws or release the clips that are securing the socket in place. Be gentle and avoid using excessive force to prevent damaging the socket or surrounding components.
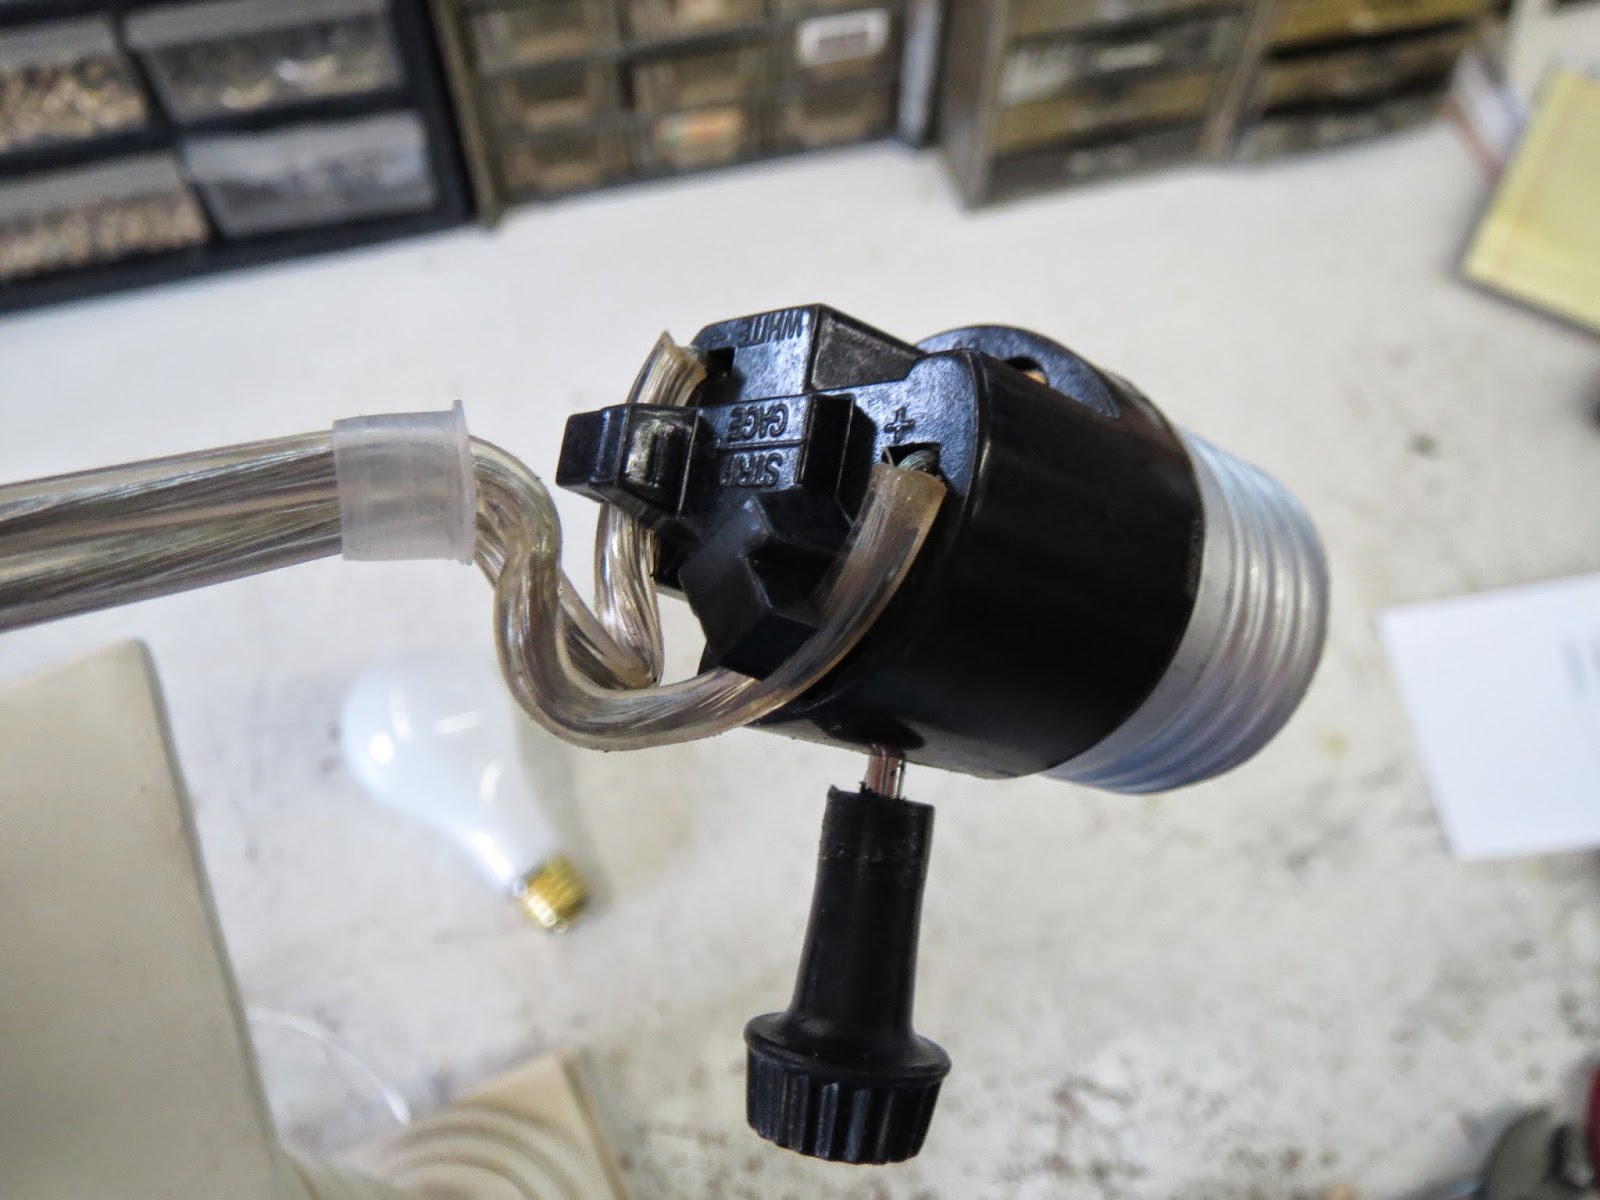
- Disconnect the wires: Once the socket is loose, you will be able to see the wires connected to it. Carefully disconnect the wires by loosening the screws or releasing any wire connectors. If the wires are soldered directly to the socket, you may need to use a soldering iron to remove them.
- Remove the socket: With the wires disconnected, you can now completely remove the light socket from the fixture. Set it aside as you will no longer need it for this project.
By following these steps, you can safely remove the light socket and prepare for the installation of the outlet adapter. Take care not to damage any parts or wiring during this process, as it can affect the functionality of the converted outlet.
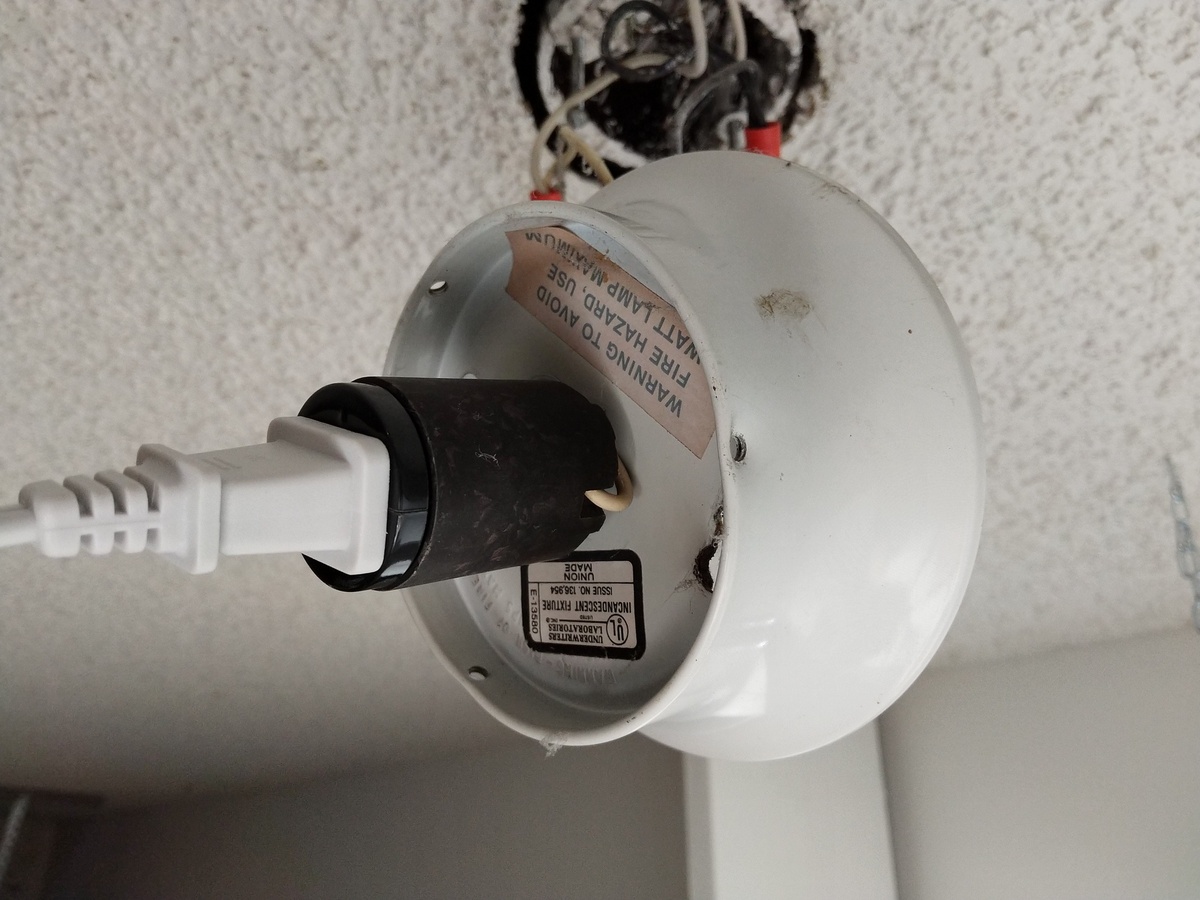
Step 4: Install the outlet adapter
With the light socket removed, it’s time to proceed with installing the outlet adapter. This device will serve as a bridge between the electrical wiring and the outlet itself. Follow these steps to properly install the outlet adapter:
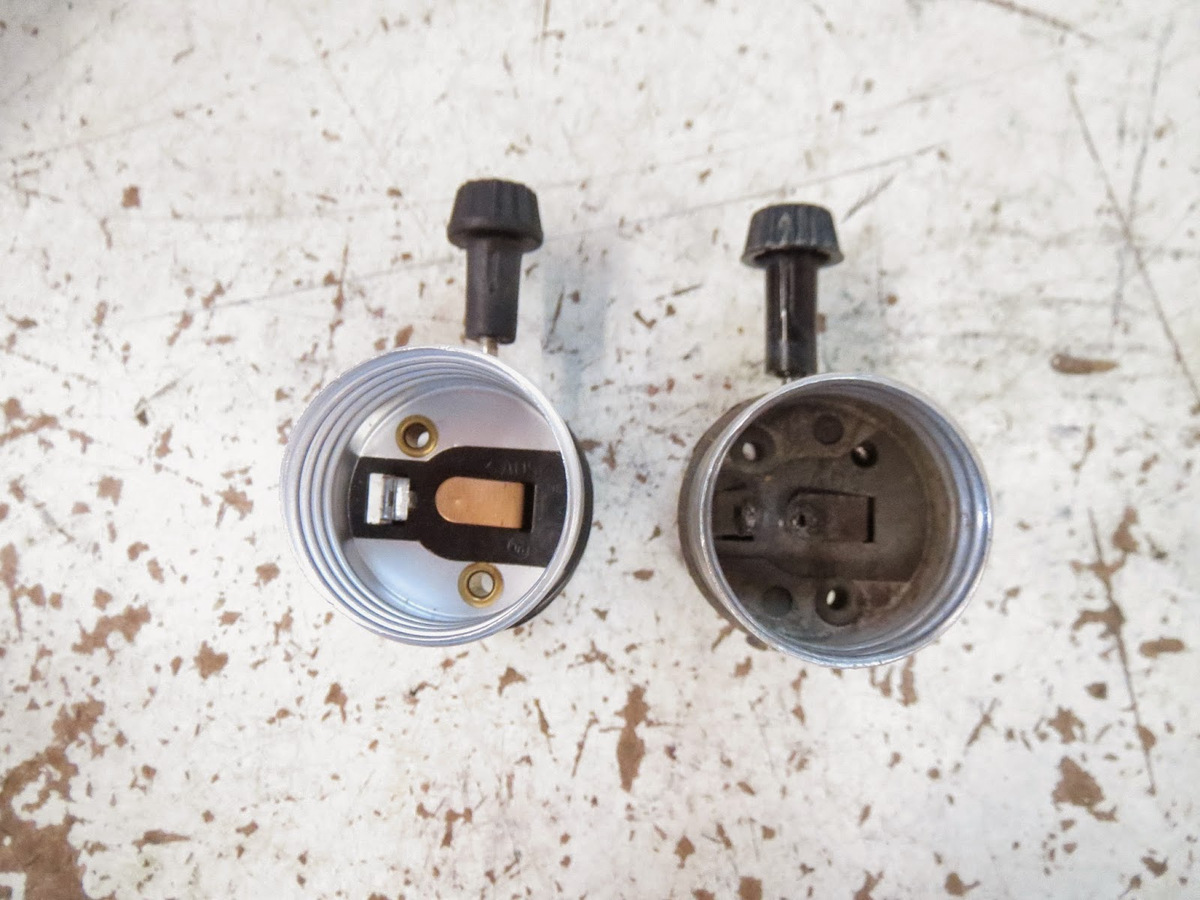
- Inspect the outlet adapter: Take a moment to examine the outlet adapter and familiarize yourself with its components. It typically consists of a base plate with screw terminals and a socket for the outlet.
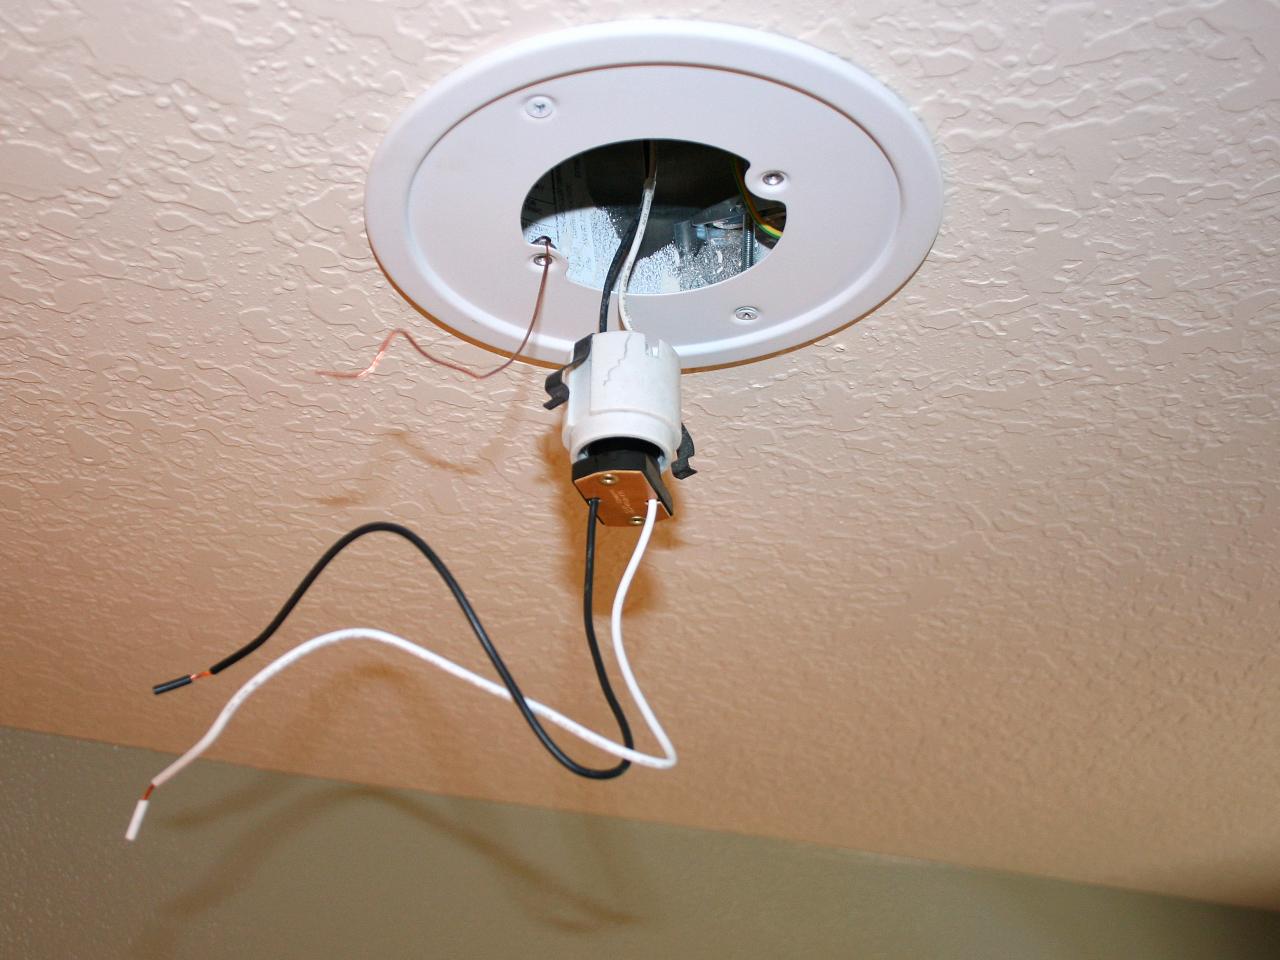
- Position the outlet adapter: Place the outlet adapter in the socket opening where the light socket was previously located. Make sure it is aligned properly and the screw terminals are accessible.
- Connect the wires: Take the wires that were previously connected to the light socket and attach them to the appropriate screw terminals on the outlet adapter. Most outlet adapters have color-coded terminals, with black (hot) wires connecting to brass-colored screws and white (neutral) wires connecting to silver-colored screws.
- Secure the wires: Once the wires are properly attached, use a screwdriver to tighten the screws on the outlet adapter’s terminals. Ensure that the wires are securely held in place and there is no risk of them coming loose.
- Double-check the connections: Once the wires are securely connected, double-check to make sure they are attached to the correct terminals. Improper connections can lead to electrical hazards, so it’s essential to ensure everything is in order before proceeding.
By following these steps, you can successfully install the outlet adapter, which will serve as the intermediary between the electrical wiring and the outlet itself. Make sure all connections are secure and properly aligned to ensure the safe and efficient functioning of your new outlet.
When converting a light socket into an outlet, make sure to turn off the power to the socket before starting any work. Use a voltage tester to ensure the power is off before proceeding with the installation.
Read also: 11 Amazing Light Socket Converter for 2025
Step 5: Reconnect the wires
With the outlet adapter securely installed, it’s time to reconnect the electrical wires. This step will enable the flow of electricity from the outlet adapter to your devices. Follow these steps to ensure proper wire connection:
- Identify the wires: Take a moment to identify the black (hot) and white (neutral) wires. These are the two main wires that need to be connected for the outlet to function correctly.
- Strip the wires: Use wire strippers to remove approximately half an inch of insulation from the ends of the black and white wires. This will expose the bare copper conductors and allow for proper connection.
- Connect the wires: Insert the exposed ends of the black (hot) wire into the brass-colored screw terminal on the outlet adapter. Tighten the screw to securely hold the wire in place. Repeat the same process for the white (neutral) wire, connecting it to the silver-colored screw terminal.
- Ensure secure connections: Double-check that the wires are tightly secured in the screw terminals. Loose connections can lead to electrical issues, so it’s crucial to ensure a tight and secure connection.
- Inspect for stray wires: After connecting the black and white wires, inspect the surrounding area for any stray wires or loose connections. These can pose a safety hazard and should be addressed immediately.
Once these steps are completed, the wires are properly connected, allowing for the safe and efficient flow of electricity to the outlet adapter. Take your time to ensure secure connections and inspect for any potential issues before proceeding to the next step.
Step 6: Secure the outlet adapter
After reconnecting the electrical wires, it is important to properly secure the outlet adapter in place. This step will ensure stability and prevent any accidental movement or dislodging. Follow these steps to securely fasten the outlet adapter:
- Position the outlet adapter: Align the outlet adapter with the opening where the light socket was previously located. Make sure it fits snugly and is centered properly within the fixture.
- Secure the outlet adapter: Depending on the design of the outlet adapter, you may need to use screws or clips to secure it in place. Refer to the manufacturer’s instructions to determine the appropriate method.
- Tighten screws or engage clips: Using a screwdriver or your fingers, tighten any screws or engage any clips that are provided with the outlet adapter. This will ensure that the adapter is securely anchored in its position.
- Check for stability: Give the outlet adapter a gentle tug to ensure it is firmly in place. It should not move or come loose. If you notice any instability, recheck the screws or clips and ensure they are properly tightened.
By properly securing the outlet adapter, you are ensuring its stability and reducing the risk of any accidental movements or disconnections. This step is crucial to maintain a reliable and safe electrical outlet for your devices.
Step 7: Test the outlet
Before considering the project complete, it is important to test the newly converted outlet to ensure it is functioning properly and providing a reliable power source. Follow these steps to test the outlet:
- Turn on the power supply: Go back to the electrical panel and switch on the circuit breaker that controls the power supply to the room where the converted outlet is located. This will restore power to the outlet.
- Use a voltage tester: Take a voltage tester and place one of the prongs into the smaller vertical slot of the outlet, and the other prong into the larger vertical slot. The voltage tester should indicate the presence of electrical current.
- Plug in a device: To further test the outlet, plug in a small device such as a lamp or phone charger. If the device powers on, it confirms that the outlet is providing electrical current and is functioning properly.
- Check for proper grounding: If the outlet has a grounding prong (third prong), use a grounding tester to ensure that it is properly grounded. This is important for safety purposes.
- Test all outlet plugs: If there are multiple plugs in the outlet adapter, test each one individually to make sure they are all functioning correctly.
- Inspect for any issues: During the testing process, visually inspect the outlet and surrounding area for any signs of damage, sparks, or unusual behavior. If you notice any concerning issues, turn off the power immediately and consult a professional electrician.
By following these steps and conducting a thorough testing process, you can ensure that the converted outlet is working efficiently and providing a reliable power source for your devices. If any issues arise, it is best to consult a qualified electrician for further assistance.
Conclusion
Converting a light socket into an electrical outlet can be a practical and convenient solution when you need an additional power source in a room. By following the steps outlined in this article and exercising caution, you can successfully transform a light socket into a functional outlet that powers your electronic devices.
Remember, safety is of utmost importance when working with electrical systems. Always turn off the power before beginning any work and take precautions to avoid electric shock or other hazards. If you are unsure about any step of the process or encounter any issues, it is best to seek the assistance of a qualified electrician.
Throughout the conversion process, gather all the necessary materials, turn off the power supply, remove the light socket, install the outlet adapter, reconnect the wires, secure the outlet adapter, and test the outlet to ensure it is functioning properly. By following these steps, you can enjoy the convenience of an additional outlet while maintaining the safety of your electrical system.
Remember, if you are not comfortable or confident in your abilities to undertake this DIY project, it is always recommended to seek professional help. Your safety should be the top priority when working with electrical systems.
With the newly converted outlet, you now have the flexibility to power your devices in a convenient location. This DIY project not only expands your electrical options but also saves you the trouble of relying solely on limited existing outlets.
Always exercise caution and prioritize safety when working with electrical systems. With the right approach and careful execution, you can successfully convert a light socket into an electrical outlet and enjoy the convenience it provides.
Frequently Asked Questions about How To Convert A Light Socket Into An Outlet
Was this page helpful?
At Storables.com, we guarantee accurate and reliable information. Our content, validated by Expert Board Contributors, is crafted following stringent Editorial Policies. We're committed to providing you with well-researched, expert-backed insights for all your informational needs.


0 thoughts on “How To Convert A Light Socket Into An Outlet”