Articles
How To Check If A Light Socket Is Working
Modified: February 22, 2024
Learn how to easily check if a light socket is working with our informative articles. Discover helpful tips and steps to troubleshoot lighting issues.
(Many of the links in this article redirect to a specific reviewed product. Your purchase of these products through affiliate links helps to generate commission for Storables.com, at no extra cost. Learn more)
Introduction
Welcome to our guide on how to check if a light socket is working. Lighting plays a crucial role in our daily lives, providing us with visibility and creating a warm and inviting atmosphere in our homes and offices. However, there may be times when a light bulb fails to illuminate, leaving us to wonder whether the issue lies with the bulb or the socket itself.
Before you call an electrician or rush to replace the fixture, it’s essential to determine whether the problem lies with the light socket. Fortunately, there are a few simple steps you can take to troubleshoot and diagnose the issue, helping you save time and money.
In this article, we will walk you through the process of checking if a light socket is working. We’ll cover various methods, from visual inspections to using a multimeter, ensuring that you have all the knowledge you need to tackle this common household problem.
Whether you’re a DIY enthusiast or simply looking to educate yourself on basic electrical repairs, this guide is for you. So, let’s get started and shed some light on how to determine if a light socket is in working condition.
Key Takeaways:
- Easily troubleshoot light socket issues with visual inspections, testing with a known working bulb, and using a multimeter. Save time and money by identifying and addressing the problem efficiently.
- When in doubt, consult a professional electrician to ensure safety and proper repair of light socket issues. Prioritize safety and avoid complex electrical repairs without the necessary expertise.
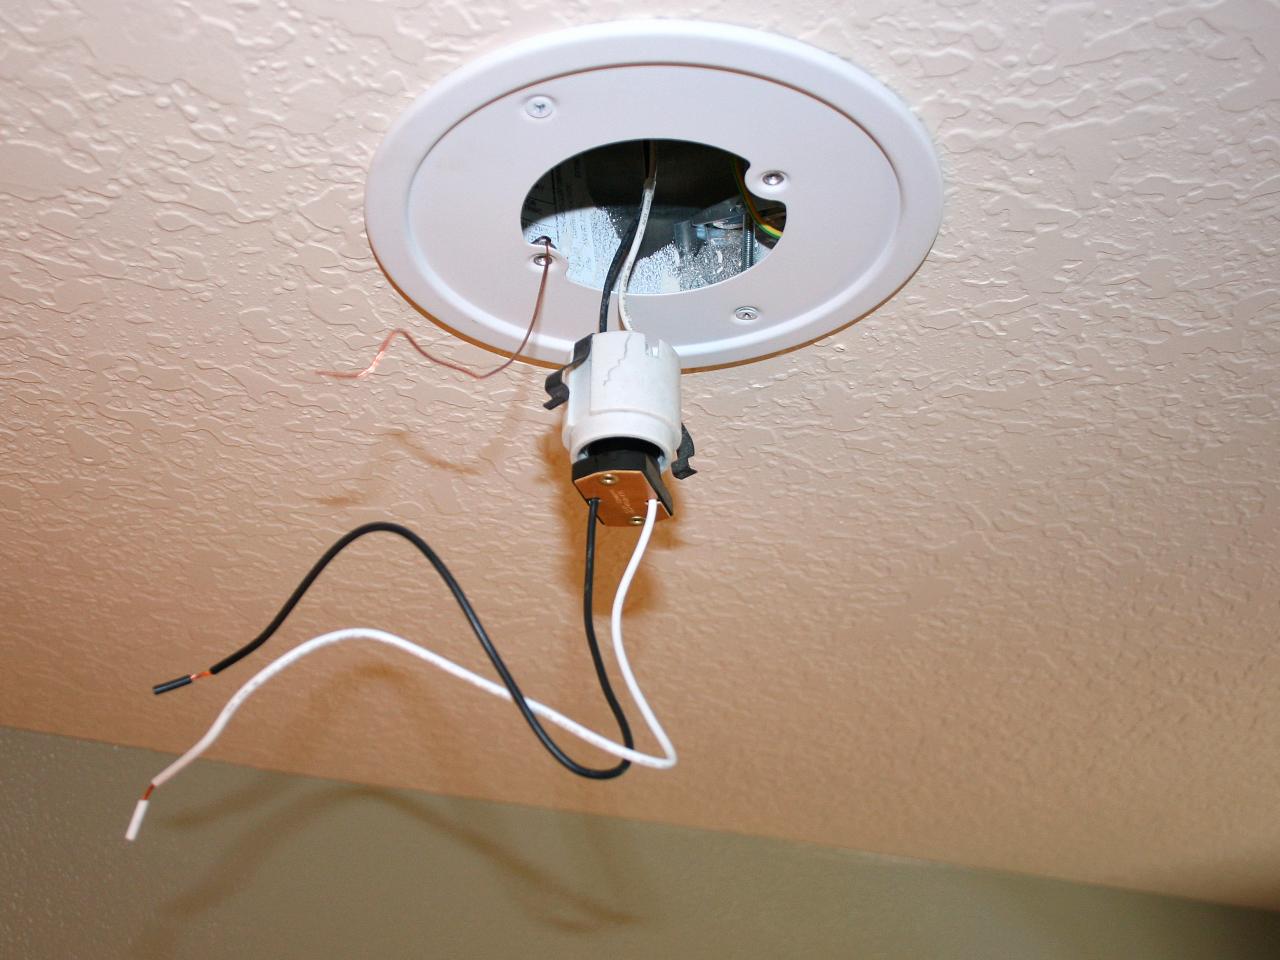
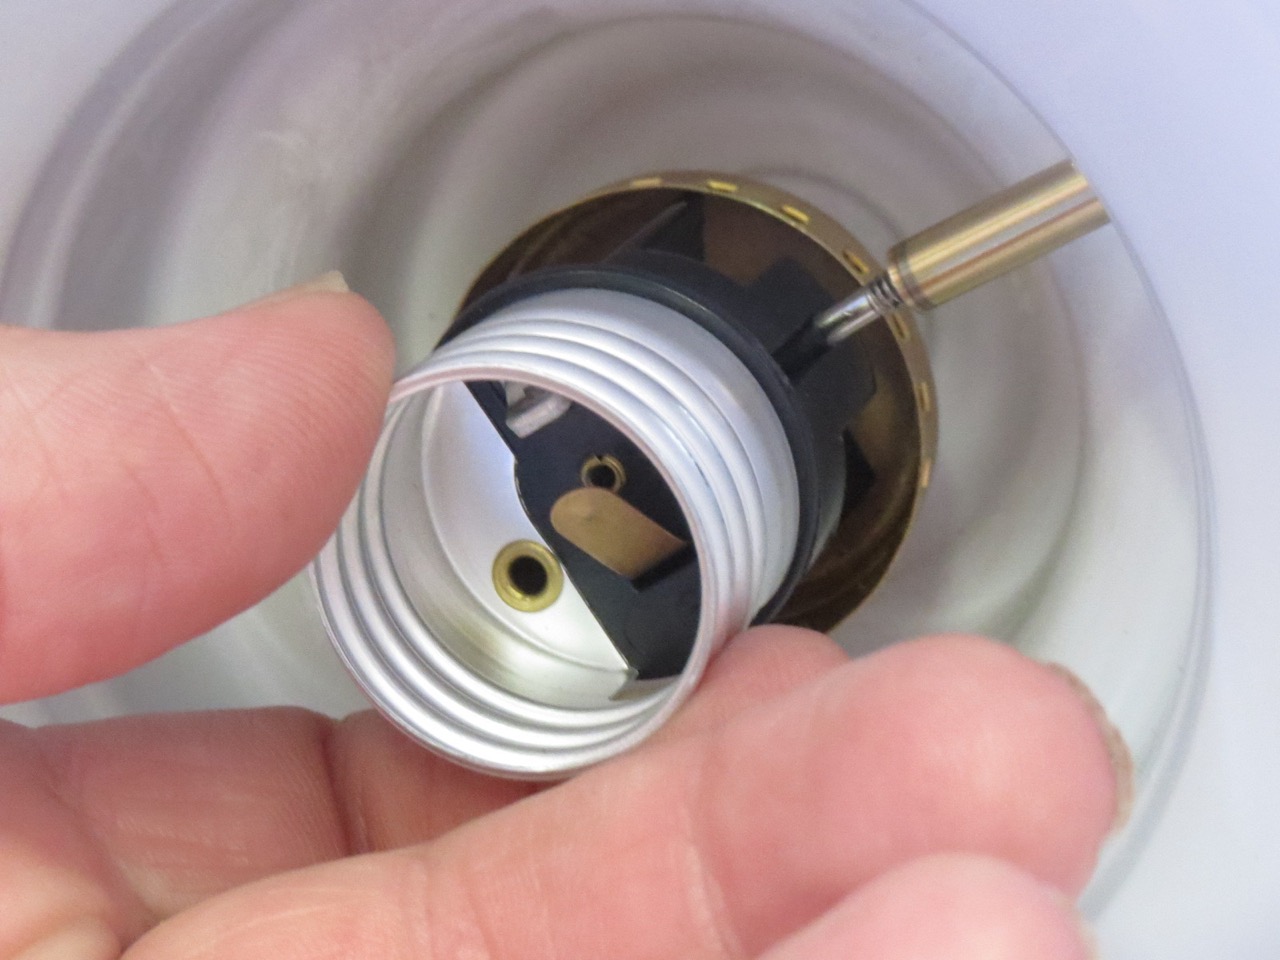
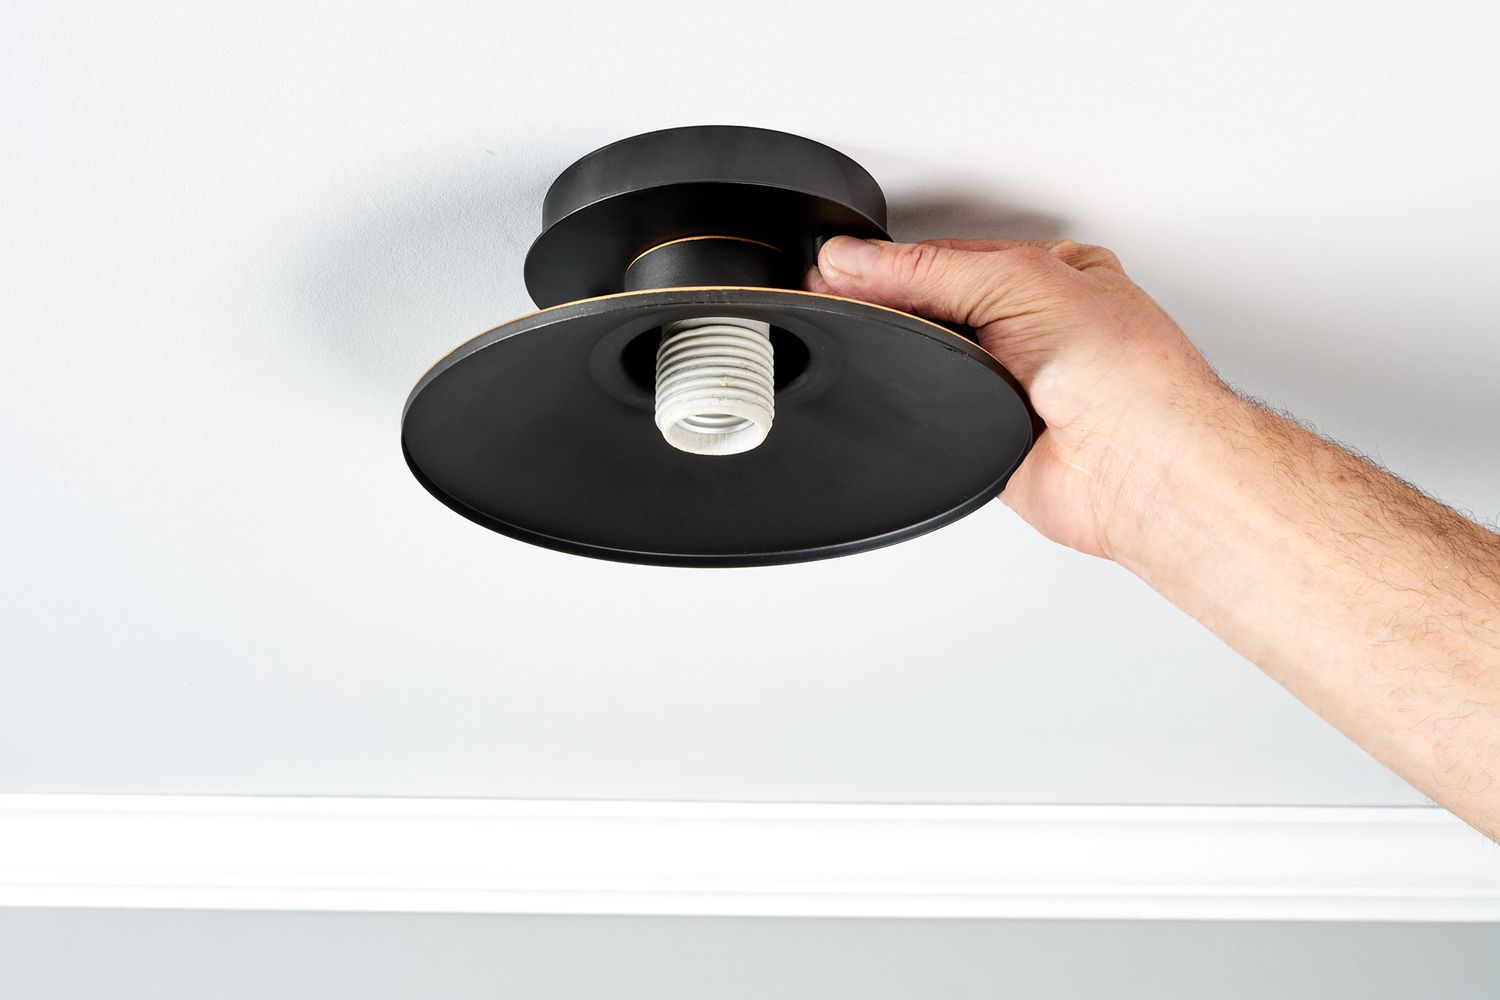
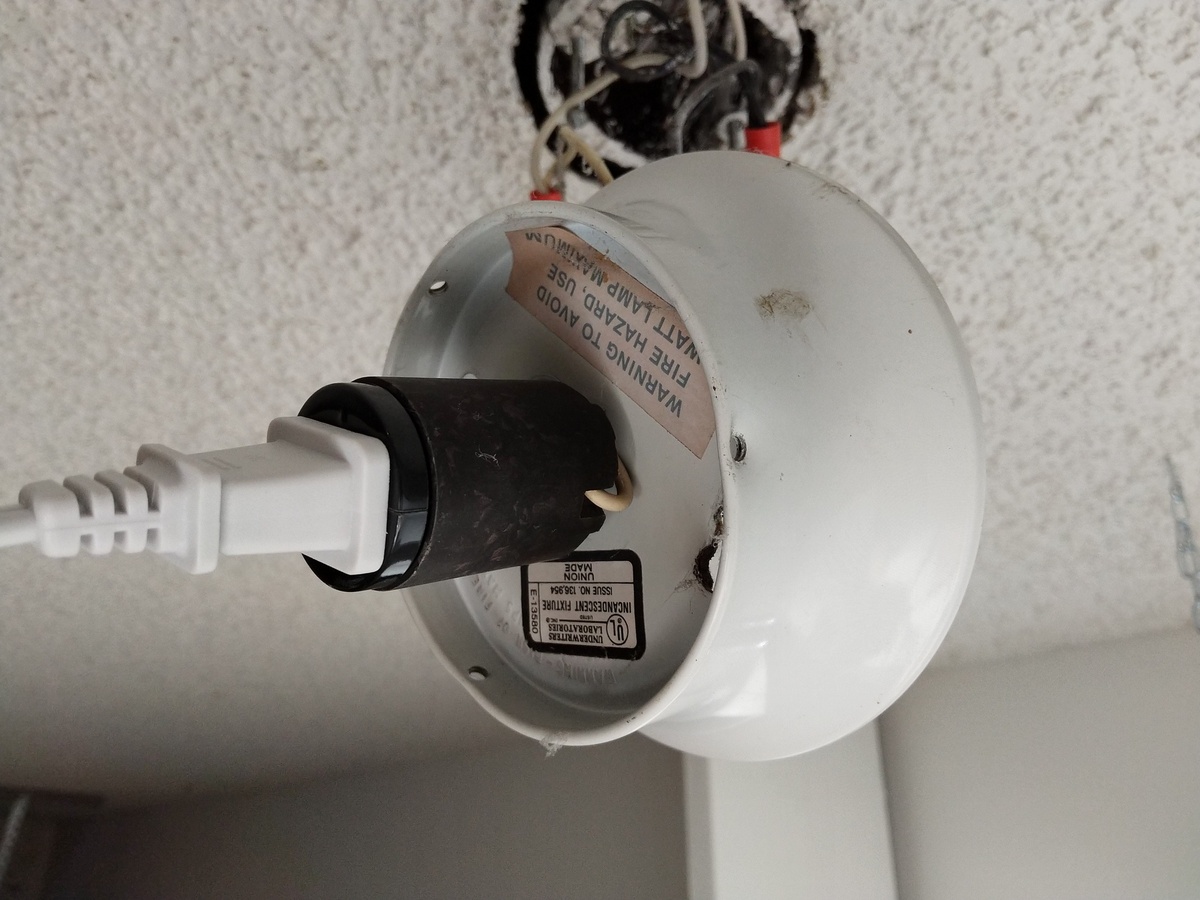
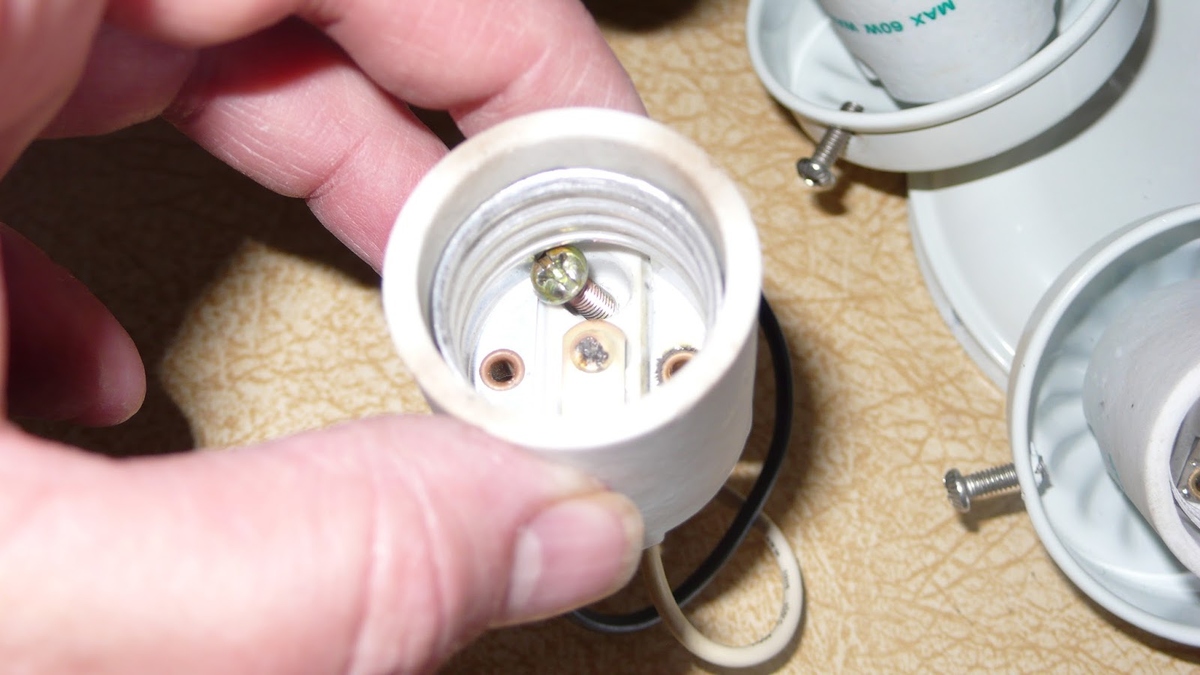
Step 1: Visual Inspection
The first and easiest step in checking if a light socket is working is to conduct a visual inspection. This method allows you to identify any obvious issues or signs of damage that may be affecting the socket’s functionality.
Start by turning off the power to the light fixture from the circuit breaker or by disconnecting it from the power source. Safety should always be a priority when working with electricity.
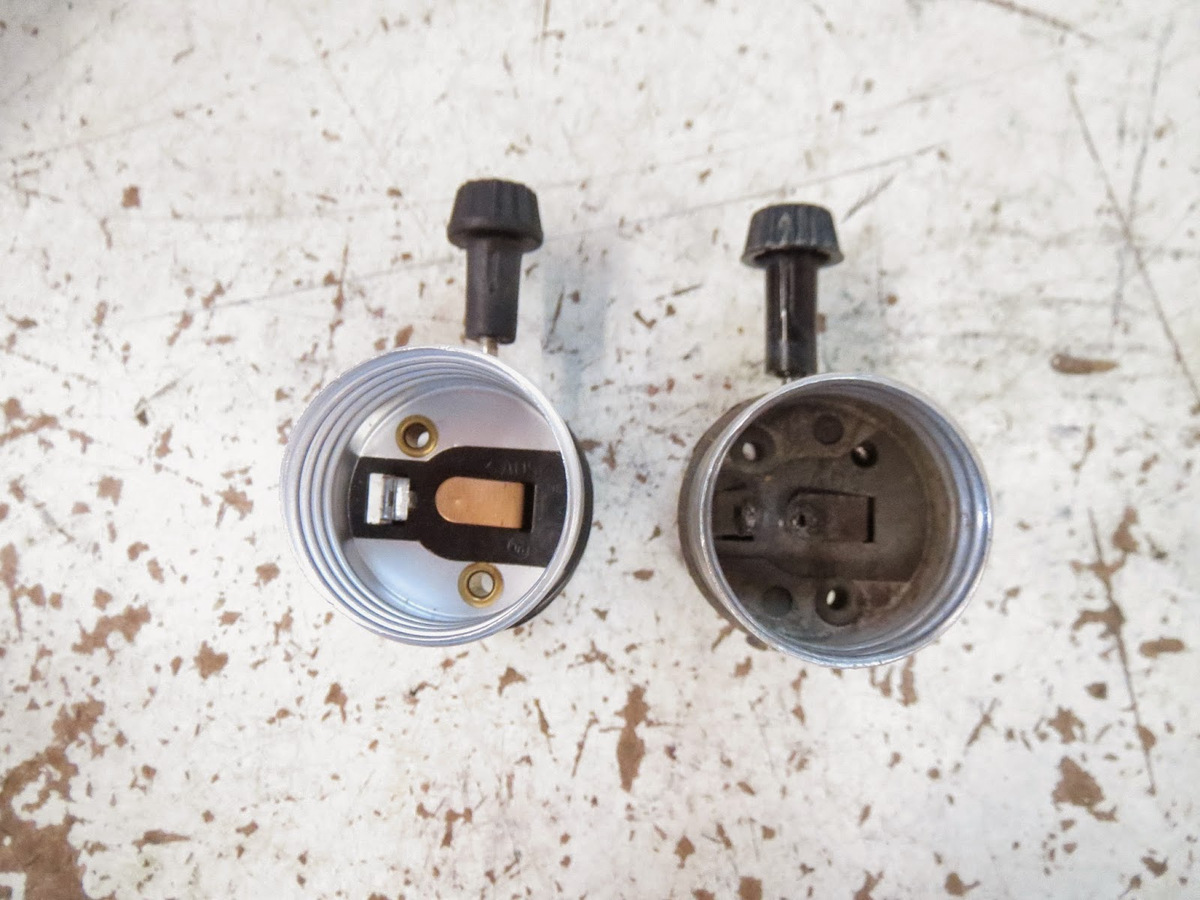
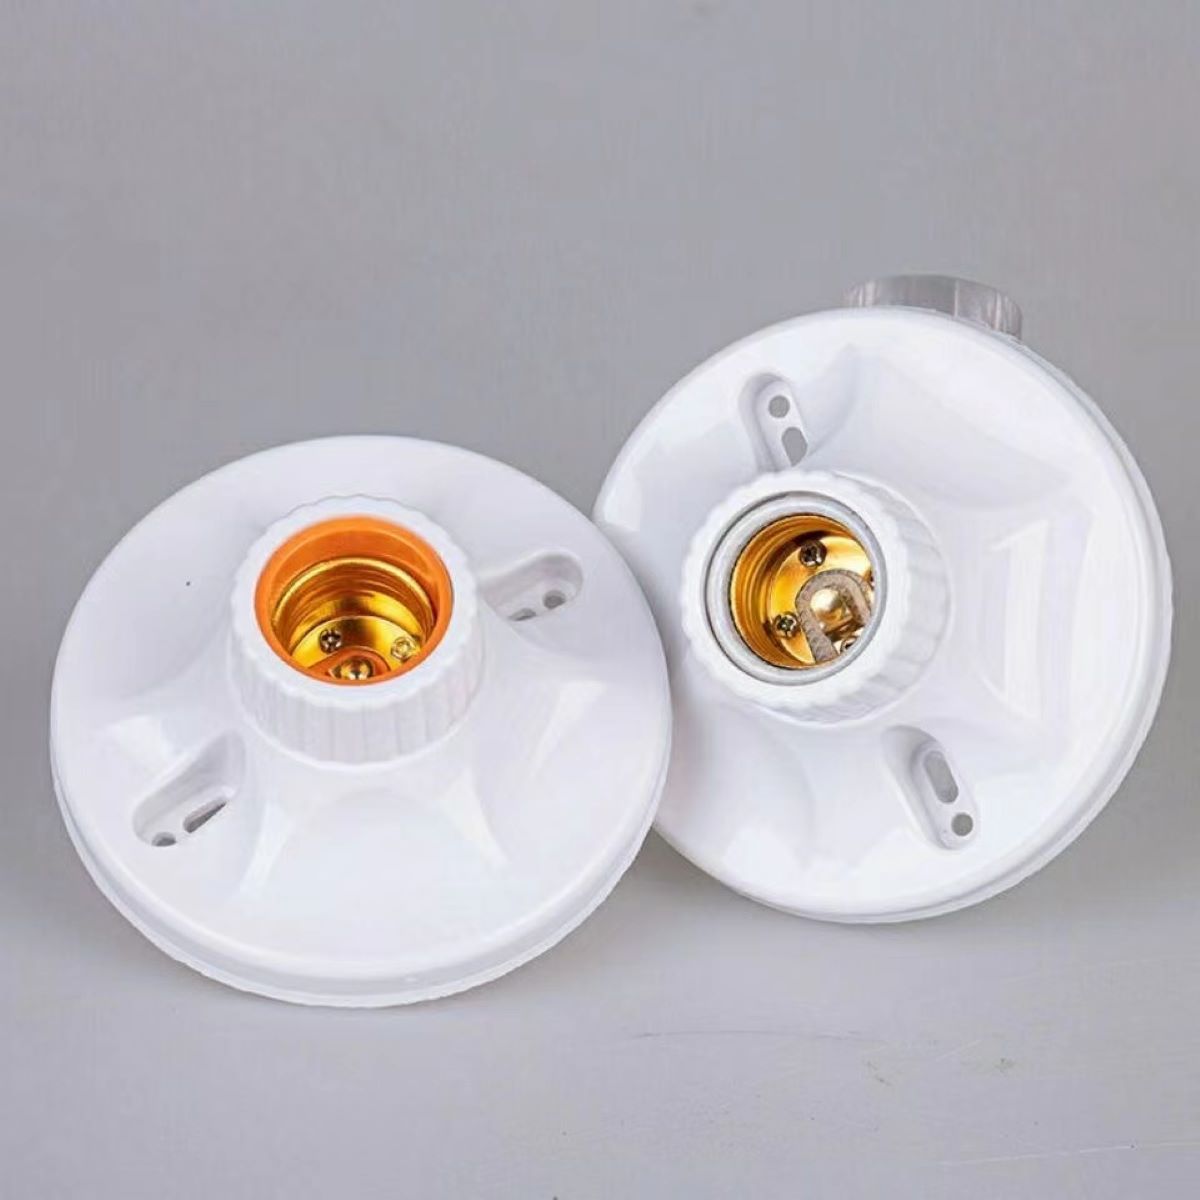
Once the power is off, carefully remove the light bulb from the socket. Take a close look at the socket itself, checking for any signs of corrosion, discoloration, or loose connections. Inspect the socket’s interior for debris, such as dirt or dust, which can interfere with the proper connection between the bulb and the socket.
If you notice any visible damage to the socket, such as a broken or bent tab, charred or melted areas, or loose wires, it’s likely that the socket needs to be replaced. A damaged socket can lead to electrical hazards, so it’s crucial to address the issue promptly.
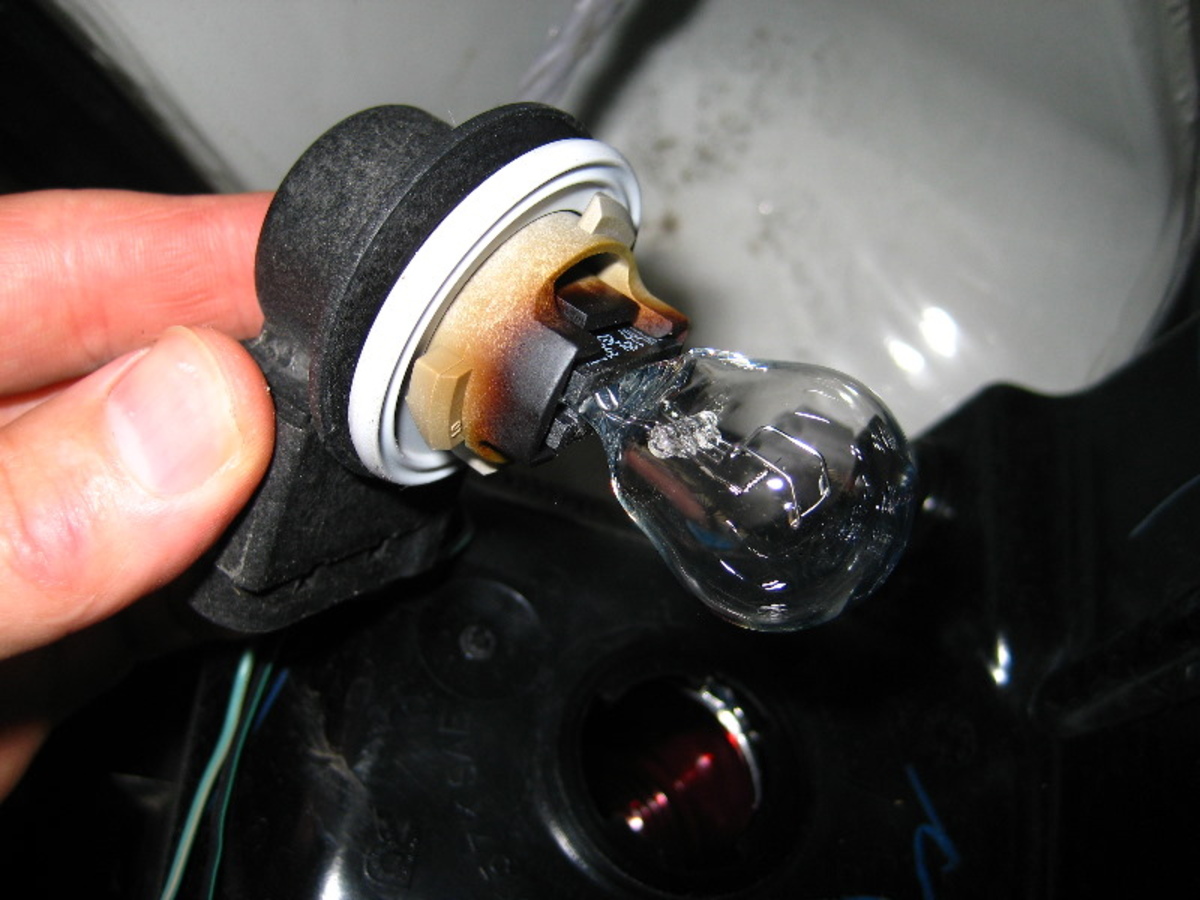
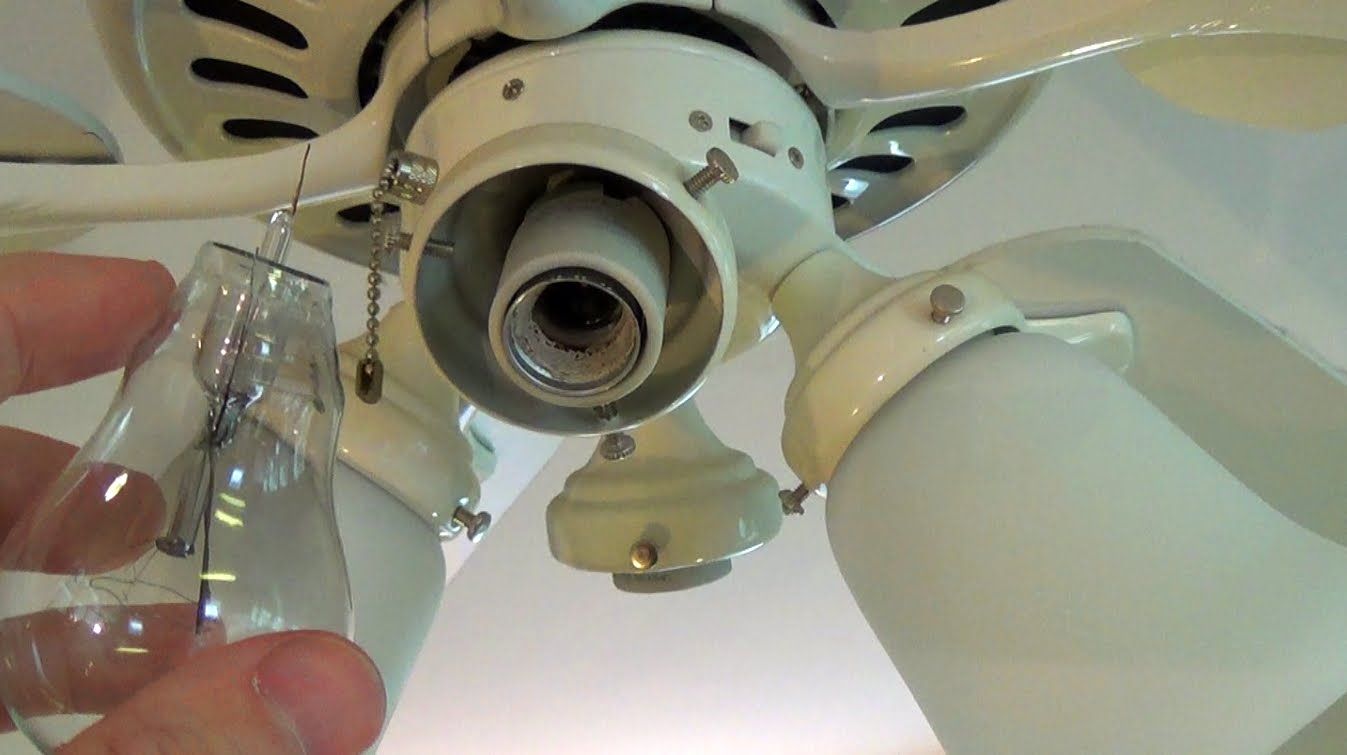
If the socket appears to be in good condition, it’s also essential to examine the base of the light bulb. Look for any signs of damage, such as a broken filament or blackened areas. If the bulb is damaged, replace it with a new one.
During the visual inspection, it’s also a good idea to check the surrounding area for any signs of electrical issues. Look for blackened or discolored walls, evidence of overheating or burning smells, as these can indicate a more significant problem with the electrical wiring that requires professional assistance.
Remember, a visual inspection can help identify obvious issues, but it may not reveal underlying electrical problems. If everything appears to be in good condition, but the socket still isn’t working, it’s time to move on to the next step.
Step 2: Test with a Known Working Bulb
When a light socket fails to work, it’s not always the socket itself that is the problem. Sometimes, the issue lies with the light bulb. To determine if the socket is functional, we need to test it with a known working bulb.
Start by getting a light bulb that you know is in working condition. This can be a bulb from another fixture or a new bulb that you’ve purchased specifically for this test.
With the power to the light fixture turned off, carefully insert the known working bulb into the socket. Make sure it is securely screwed or clicked into place.
Once the bulb is in place, switch on the power to the fixture. If the bulb illuminates, it confirms that the socket is working correctly. In this case, the problem lies with the previous bulb that you were using, which may have been faulty or burned out.
However, if the known working bulb does not illuminate, it’s an indication that the issue lies with the socket itself. In this case, you will need to explore further troubleshooting methods to identify and rectify the problem.
It’s worth noting that sometimes a loose connection between the socket and the bulb can cause improper contact, resulting in the bulb not lighting up. To rule out this possibility, you can try gently rotating or wiggling the bulb within the socket to see if it triggers the illumination. If it does, there might be a loose connection that needs to be addressed.
Testing with a known working bulb helps to isolate the problem and saves you from unnecessary socket replacement. However, if the socket still doesn’t work with a known working bulb, it’s time to move on to the next step of troubleshooting.
Use a voltage tester to check if the light socket is working. Simply insert the tester into the socket and if it lights up, the socket is working. If not, there may be an issue with the wiring or the socket itself.
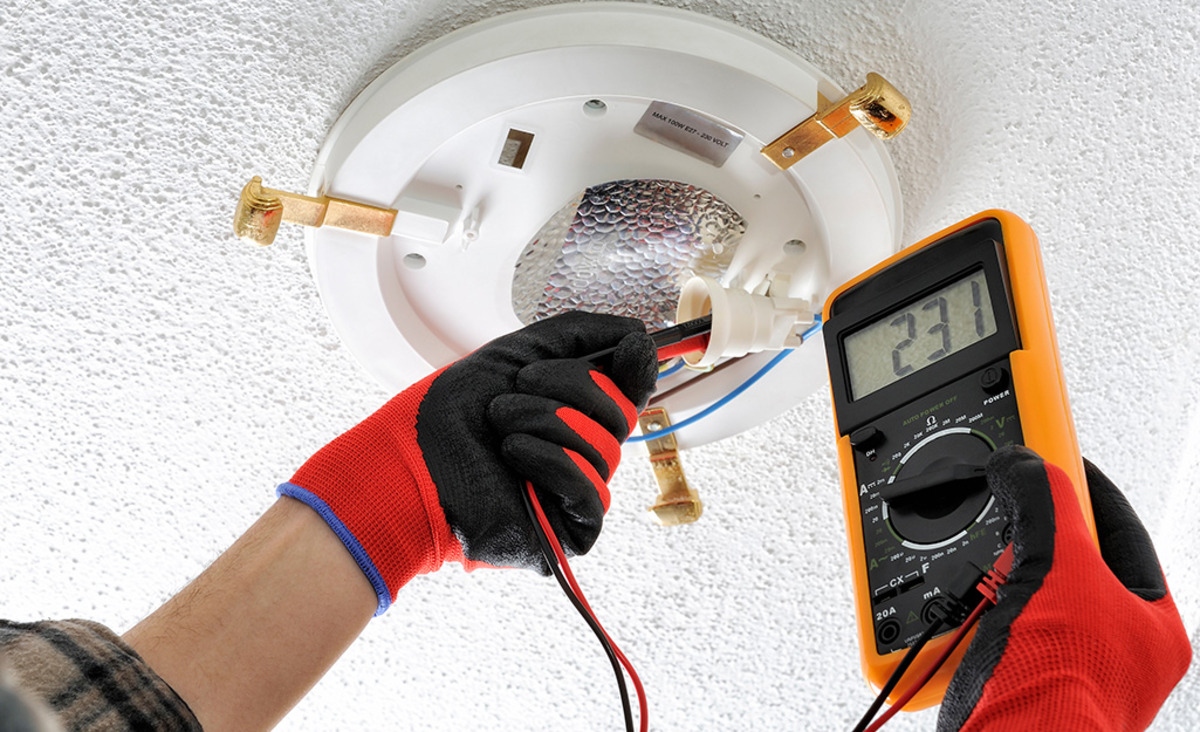
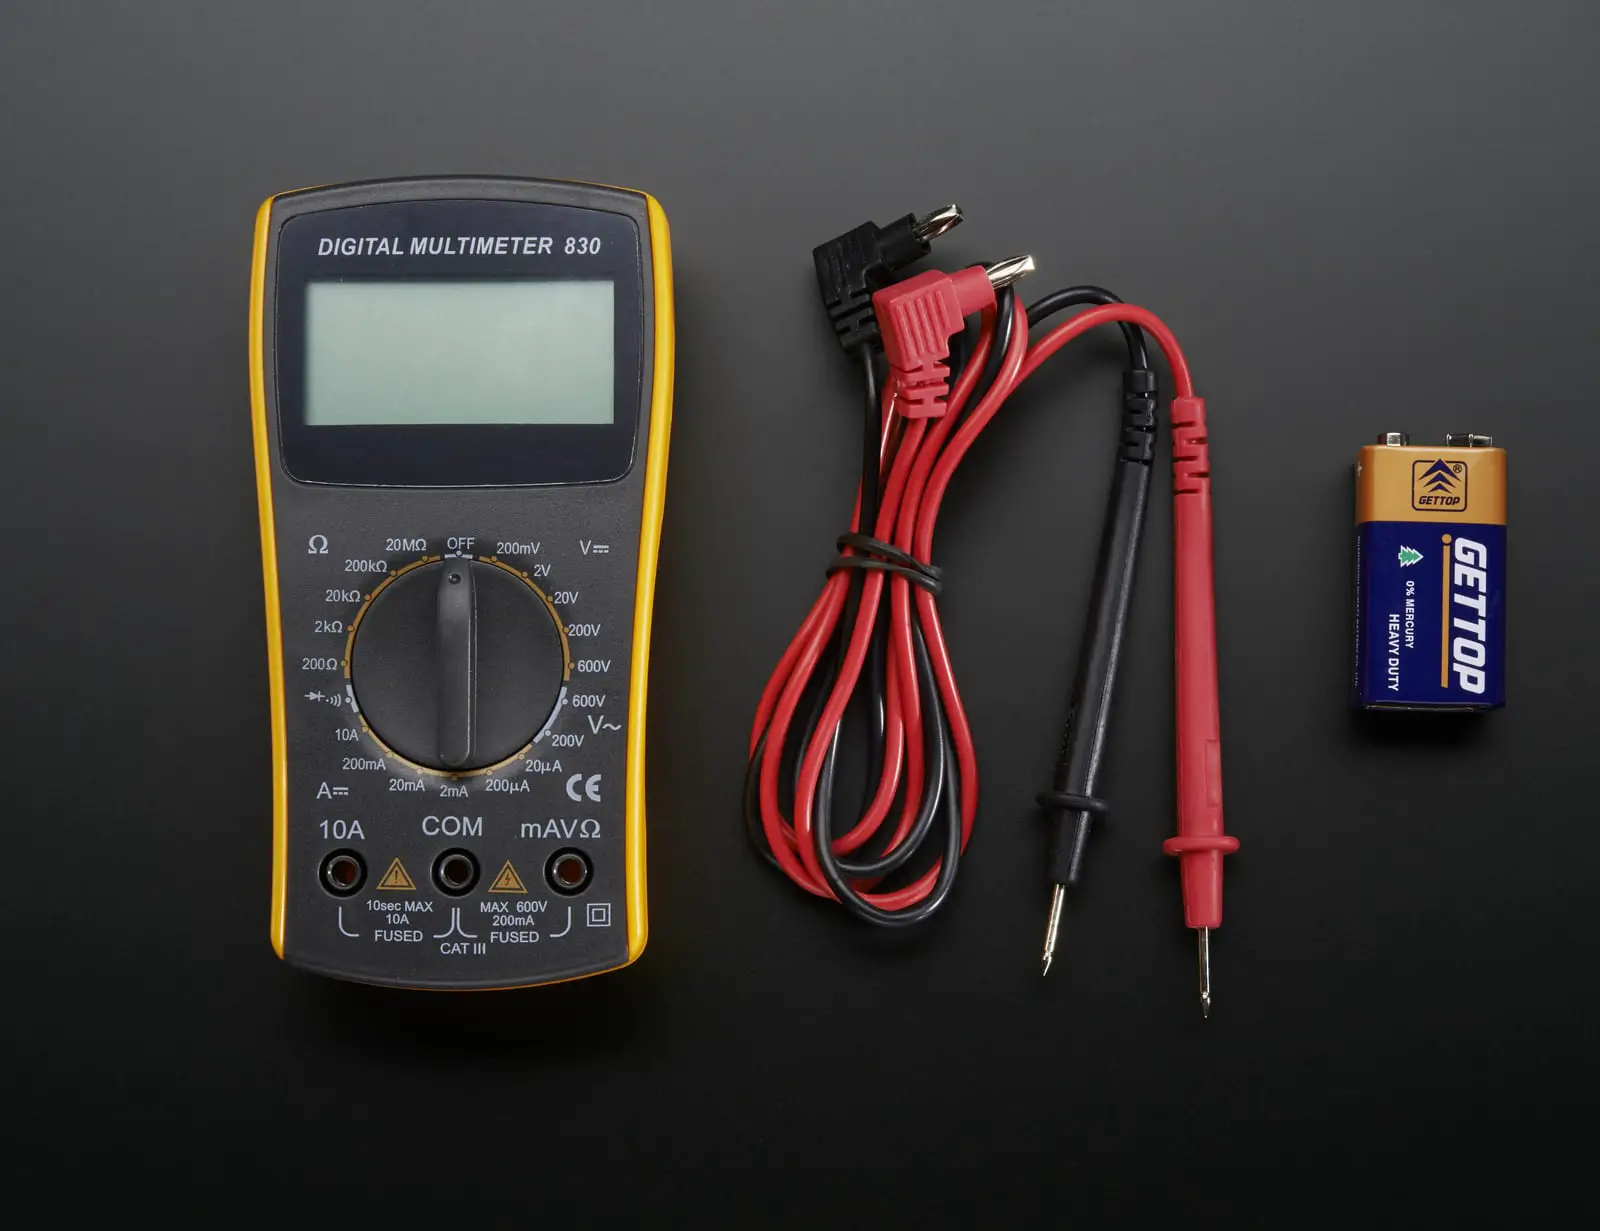
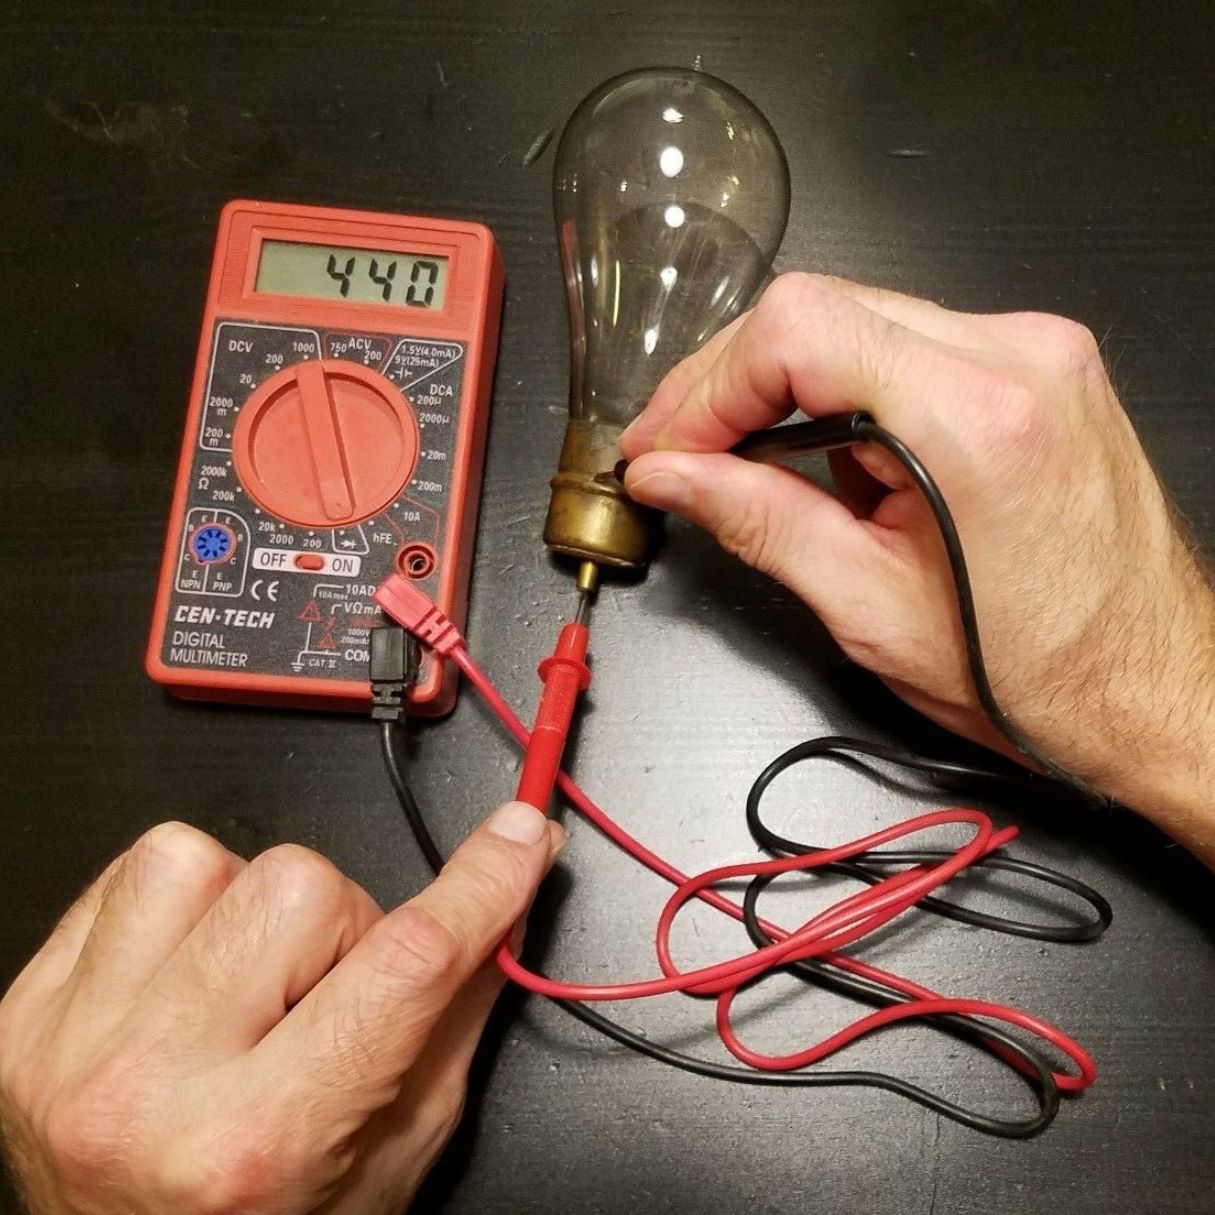
Step 3: Use a Multimeter
If the visual inspection and testing with a known working bulb haven’t resolved the issue with the light socket, it’s time to use a multimeter to further diagnose the problem. A multimeter is a versatile tool that measures electrical voltage, current, and resistance.
First, ensure that the power to the light fixture is turned off. Safety should always be a priority when working with electricity.
Next, set your multimeter to measure resistance (ohms). This setting will allow you to test the continuity of the electrical circuit within the light socket.
Take the multimeter’s probes and touch them to the metal contacts inside the light socket. One probe should make contact with the center contact, while the other probe touches the screw shell or any other exposed metal surface on the socket.
If the multimeter displays a reading of zero or a very low resistance value, it indicates that the circuit is complete, and the socket is functioning properly. This means that the issue lies elsewhere, such as the wiring or the switch.
On the other hand, if the multimeter displays an infinite resistance reading or a significantly high value, it suggests that there is a break in the circuit, indicating a faulty socket. In this case, the socket will need to be replaced to restore proper functionality.
Using a multimeter helps to provide a more accurate assessment of the electrical continuity within the light socket. It can help identify any hidden issues that may not be visible during a visual inspection. However, if you are not familiar with using a multimeter or do not feel confident in doing so, it is best to seek the assistance of a professional electrician.
Step 4: Consult a Professional Electrician
If the previous steps have not resolved the issue with your light socket, it may be time to seek the expertise of a professional electrician. Consulting an electrician can provide you with the peace of mind that the problem will be properly diagnosed and repaired, ensuring the safety and functionality of your lighting system.
An electrician has the knowledge, skills, and tools necessary to identify and resolve any underlying electrical issues that may be affecting the light socket. They can conduct a thorough inspection of the wiring, connections, and other components to pinpoint the exact cause of the problem.
When contacting an electrician, be sure to describe the issue in detail and provide them with information about the steps you have already taken to troubleshoot the light socket. This information will assist the electrician in diagnosing the problem more effectively and efficiently.
Hiring a professional electrician not only ensures a proper and safe repair but also saves you time and effort. They can identify any potential hazards or larger electrical issues that may require attention, preventing future problems and providing you with peace of mind.
Remember, working with electricity can be dangerous, so it’s crucial to prioritize safety and avoid attempting complex electrical repairs unless you have the necessary knowledge and experience. When in doubt, it’s always best to consult a professional.
By consulting a professional electrician, you can ensure that your light socket and overall electrical system are in optimal working condition, providing you with reliable and safe lighting for years to come.
Read more: How To Change Out A Light Socket
Conclusion
Checking if a light socket is working is an essential troubleshooting skill that can save you time, money, and potential dangers. By following the steps outlined in this guide, you can determine whether the issue lies with the socket itself or with other factors, such as the light bulb or electrical wiring.
Starting with a visual inspection allows you to identify any visible damage or loose connections that may be affecting the socket’s functionality. Testing with a known working bulb helps to determine if the issue is with the bulb or the socket. Using a multimeter provides a more accurate assessment of the electrical continuity within the socket, confirming if the circuit is complete.
If the problem persists after these steps, it’s best to consult a professional electrician. They have the expertise to diagnose and repair any underlying electrical issues, ensuring the safety and proper functionality of your lighting system.
Remember, safety should always be a priority when working with electricity. Always turn off the power before conducting any inspections or repairs. If you’re unsure or uncomfortable with handling electrical systems, it’s highly recommended to seek the assistance of a professional.
By following these steps and seeking professional help when needed, you can effectively troubleshoot and resolve issues with light sockets, ensuring that your lighting system remains reliable and functional.
We hope this guide has been helpful to you. Now, go ahead and put your newfound knowledge to use to keep your lights shining bright!
Frequently Asked Questions about How To Check If A Light Socket Is Working
Was this page helpful?
At Storables.com, we guarantee accurate and reliable information. Our content, validated by Expert Board Contributors, is crafted following stringent Editorial Policies. We're committed to providing you with well-researched, expert-backed insights for all your informational needs.

0 thoughts on “How To Check If A Light Socket Is Working”