Articles
How To Replace A Light Socket In A Lamp
Modified: March 1, 2024
Learn the step-by-step process for replacing a light socket in a lamp with helpful articles and expert tips. Safely transform your DIY skills with our easy-to-follow instructions.
(Many of the links in this article redirect to a specific reviewed product. Your purchase of these products through affiliate links helps to generate commission for Storables.com, at no extra cost. Learn more)
Introduction
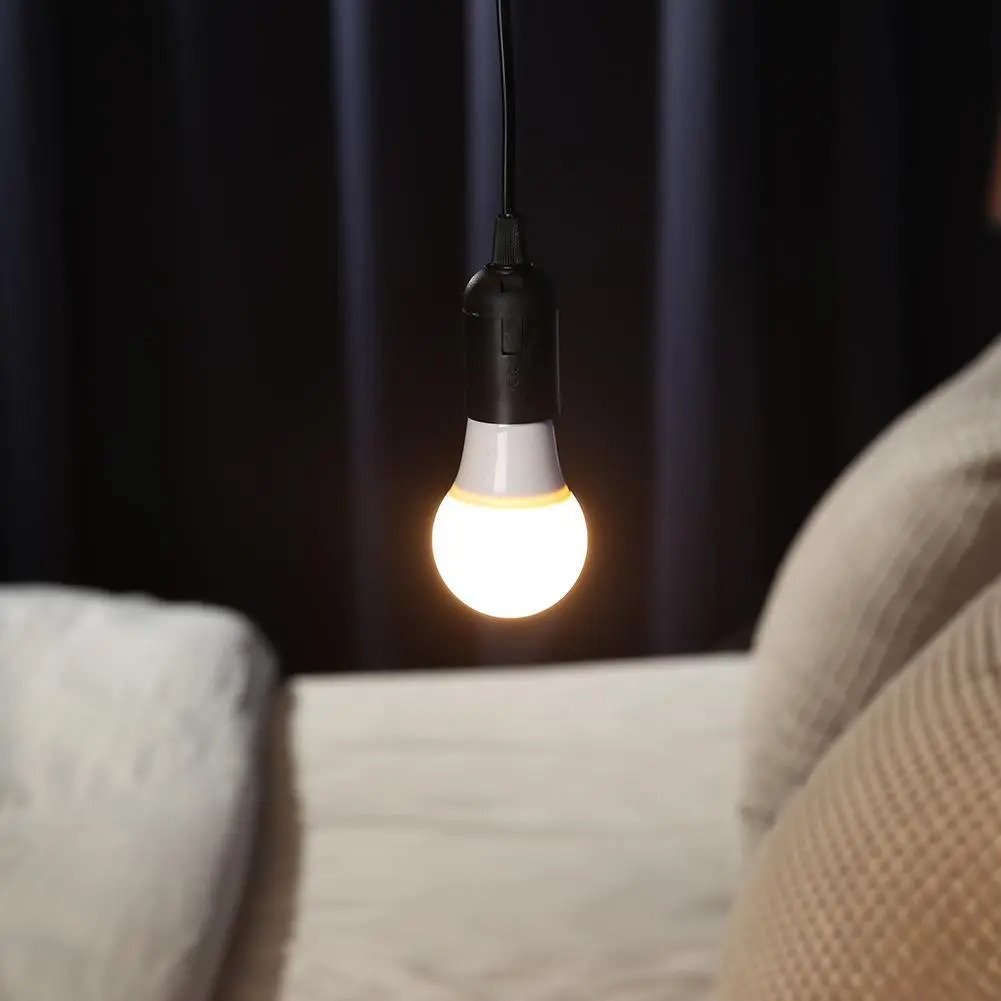
When a light socket in a lamp starts to malfunction or stops working altogether, it’s time to replace it. While this might seem like a daunting task, replacing a light socket in a lamp is actually a fairly simple and straightforward process that can be done at home. By following a few basic steps and taking proper safety precautions, you can have your lamp shining brightly again in no time.
In this article, we will guide you through the process of replacing a light socket in a lamp. We’ll cover each step in detail and provide helpful tips along the way. Whether you’re a seasoned DIY enthusiast or a beginner, this guide will equip you with the knowledge and confidence to successfully replace a light socket on your own.
Before we dive into the process, it’s important to note that working with electrical components can be dangerous if not done properly. Always prioritize safety and follow the necessary precautions to reduce the risk of electrical shock or fire hazards. If you’re unsure or uncomfortable with any step of the process, it’s always best to consult a professional electrician.
Now that we’ve covered the basics, let’s move on to the first step in replacing a light socket in a lamp.
Key Takeaways:
- Replacing a light socket in a lamp is a manageable DIY task that requires proper tools, safety precautions, and careful attention to wiring connections. By following the step-by-step process, anyone can restore their lamp’s functionality with confidence.
- Prioritizing safety, from unplugging the lamp to wearing protective gear, is crucial when working with electrical components. By taking the necessary precautions and testing the new light socket, you can enjoy a fully functional lamp once again.
Step 1: Gather the necessary tools and materials
Before you begin replacing the light socket in your lamp, it’s important to gather all the necessary tools and materials. Having everything prepared beforehand will make the process smoother and more efficient. Here’s a list of items you’ll need:
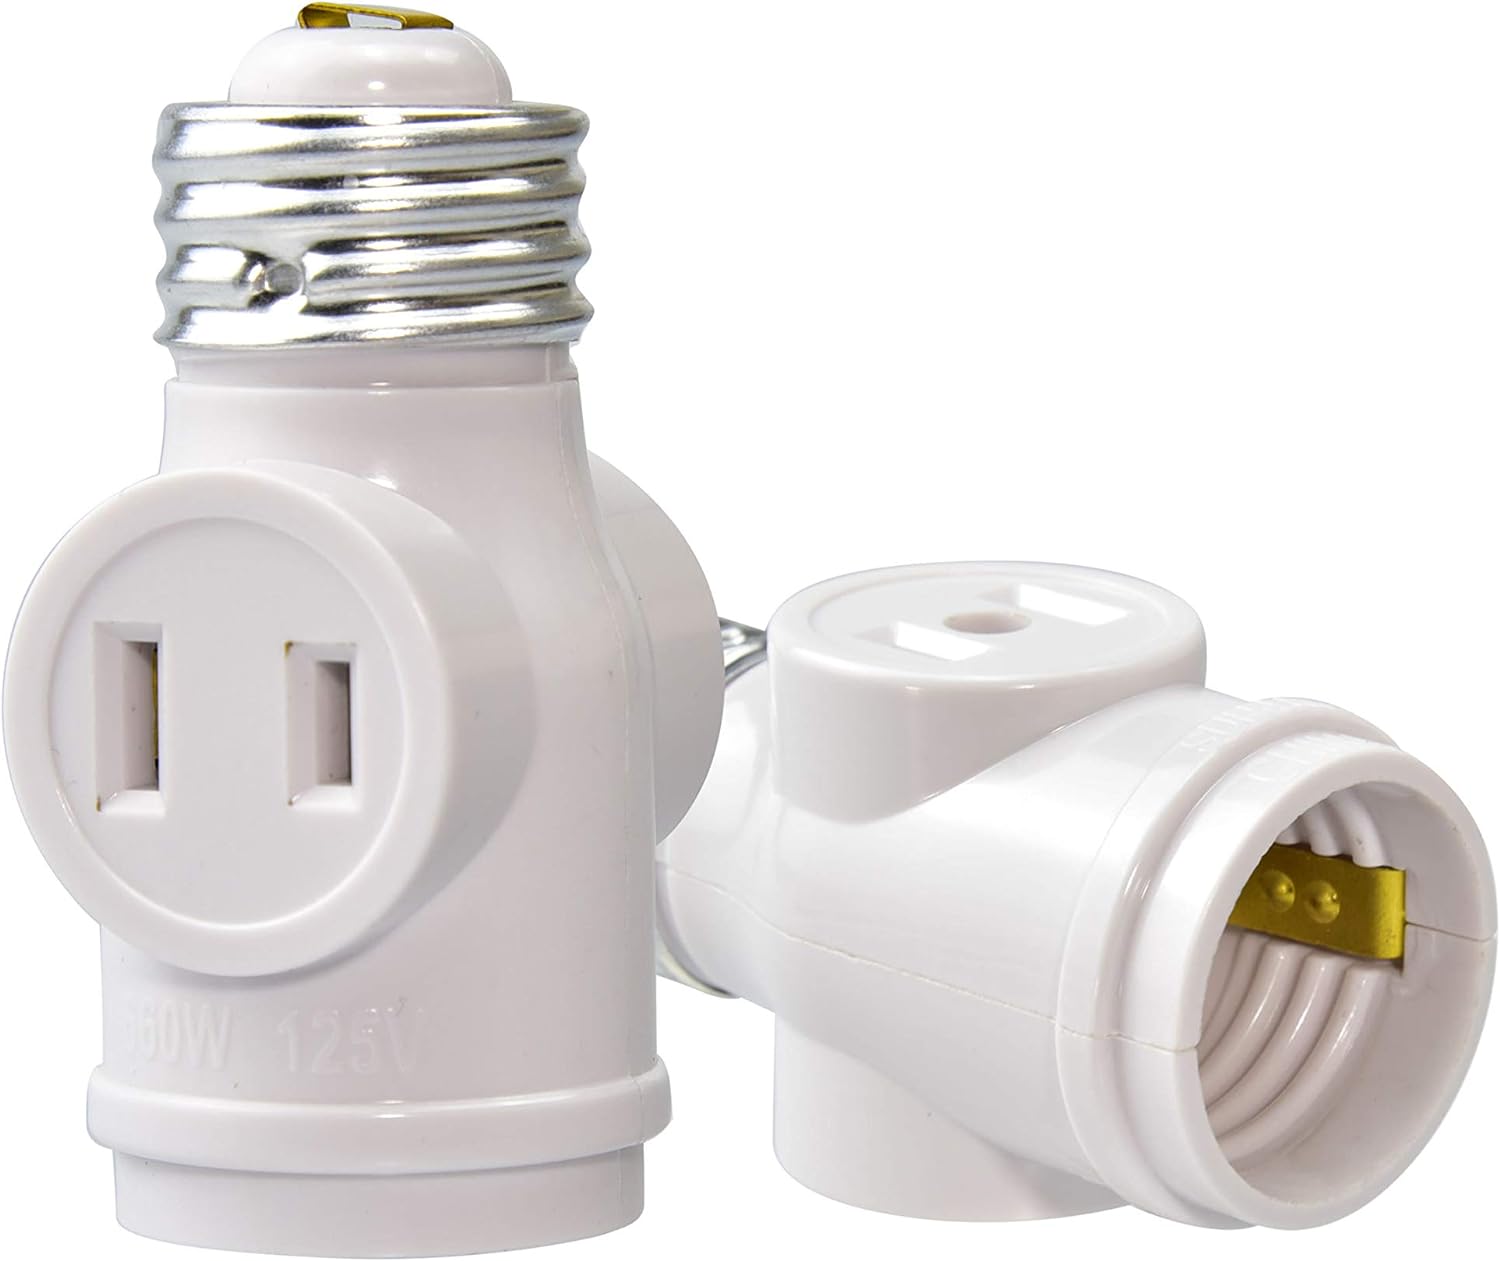
- A new light socket: Make sure to choose a socket that is compatible with your lamp and the type of bulb you plan to use.
- Screwdriver: You may need a flathead or Phillips screwdriver, depending on the type of screws used in your lamp.
- Wire cutters/strippers: These tools will come in handy for cutting and stripping wires as needed during the replacement process.
- Electrical tape: This will be used to secure and insulate the wires.
- A replacement light bulb: If your lamp’s bulb is old or burnt out, it’s a good idea to replace it while you’re working on the socket.
Once you have all the necessary tools and materials ready, you can move on to the next step. It’s always a good idea to double-check and ensure that you have everything you need before proceeding with the replacement process.
Step 2: Ensure safety precautions
When working with electrical components, it is crucial to prioritize safety to prevent any accidents or injuries. Before you start replacing the light socket, follow these safety precautions:
- Turn off the lamp: Make sure the lamp is unplugged from the power source before you begin. This will minimize the risk of electrical shock.
- Work in a well-lit area: Ensure that you have proper lighting in your workspace to clearly see what you’re doing. This will help prevent any mistakes or mishaps.
- Wear protective gear: It’s a good idea to wear safety goggles and gloves to protect your eyes and hands while handling electrical components.
- Inspect the wiring: Take a close look at the lamp’s wiring to ensure there are no frayed or damaged wires. If you notice any issues, it’s best to consult a professional electrician.
- Keep children and pets away: To avoid any distractions or potential hazards, keep children and pets at a safe distance from your workspace.
By following these safety precautions, you can minimize the risk of accidents and work confidently knowing that you’re taking the necessary steps to protect yourself and those around you.
Now that you have taken the necessary safety measures, you’re ready to move on to the next step: unplugging the lamp and removing the old light bulb.
Step 3: Unplug the lamp and remove the old light bulb
Before you begin working on the light socket, it’s important to unplug the lamp from the power source to ensure your safety. Here’s how you can proceed:
- Locate the power cord: Follow the power cord of the lamp to find the plug that’s connected to the electrical outlet.
- Gently pull the plug: Firmly grasp the plug and gently pull it out of the electrical outlet. This will disconnect the lamp from the power source.
- Ensure the lamp is off: Double-check that the lamp’s switch is in the off position. This will prevent any accidental electrical contact while you’re working on the light socket.
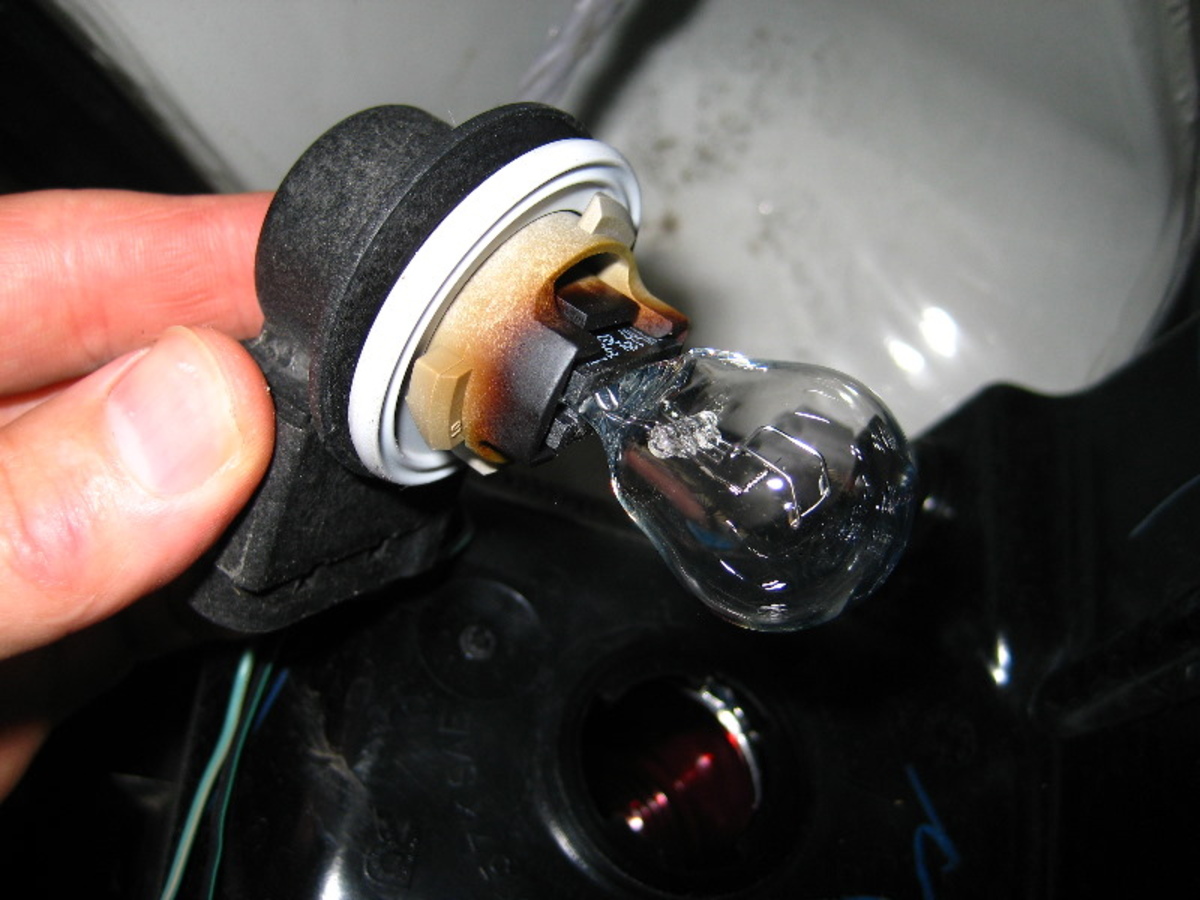
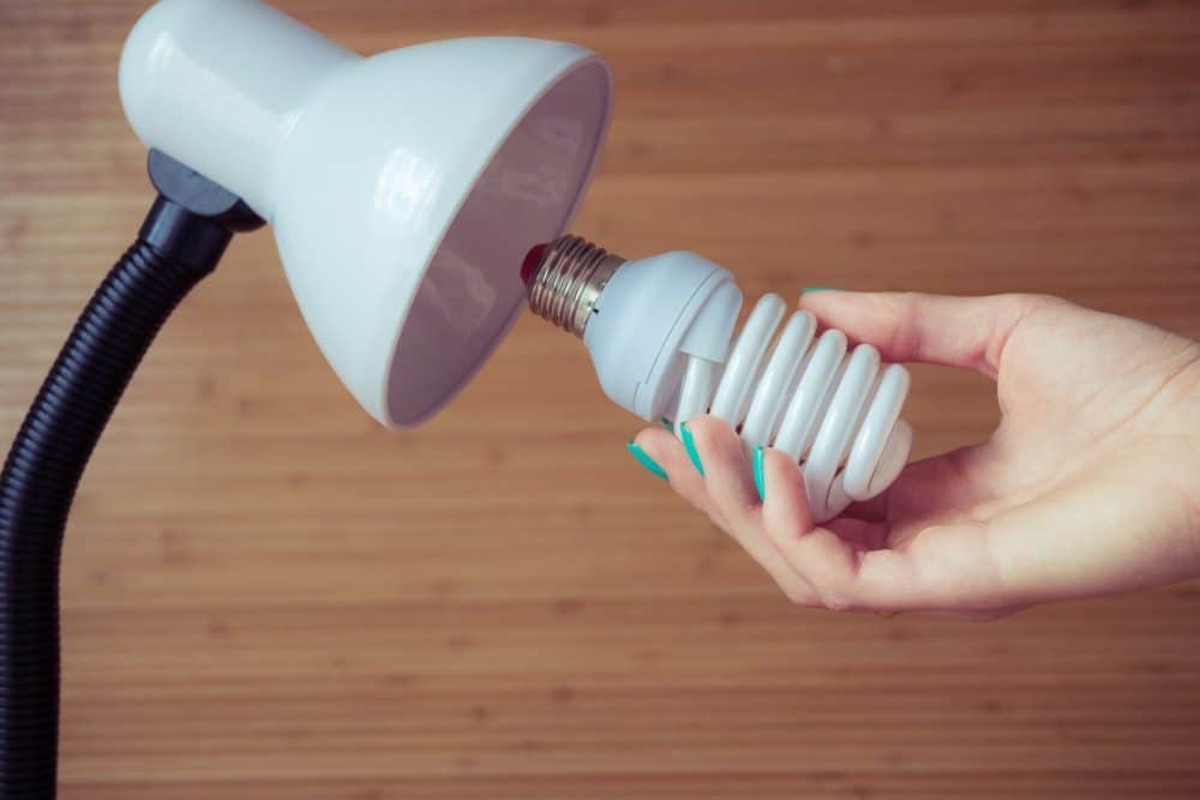
- Remove the old light bulb: If there is an existing light bulb in the lamp, carefully unscrew it counterclockwise to remove it.
- Set aside the old bulb: Place the old light bulb in a safe spot to avoid any accidental breakage.
Once you have unplugged the lamp and removed the old light bulb, you can move on to the next step: disassembling the lamp socket.
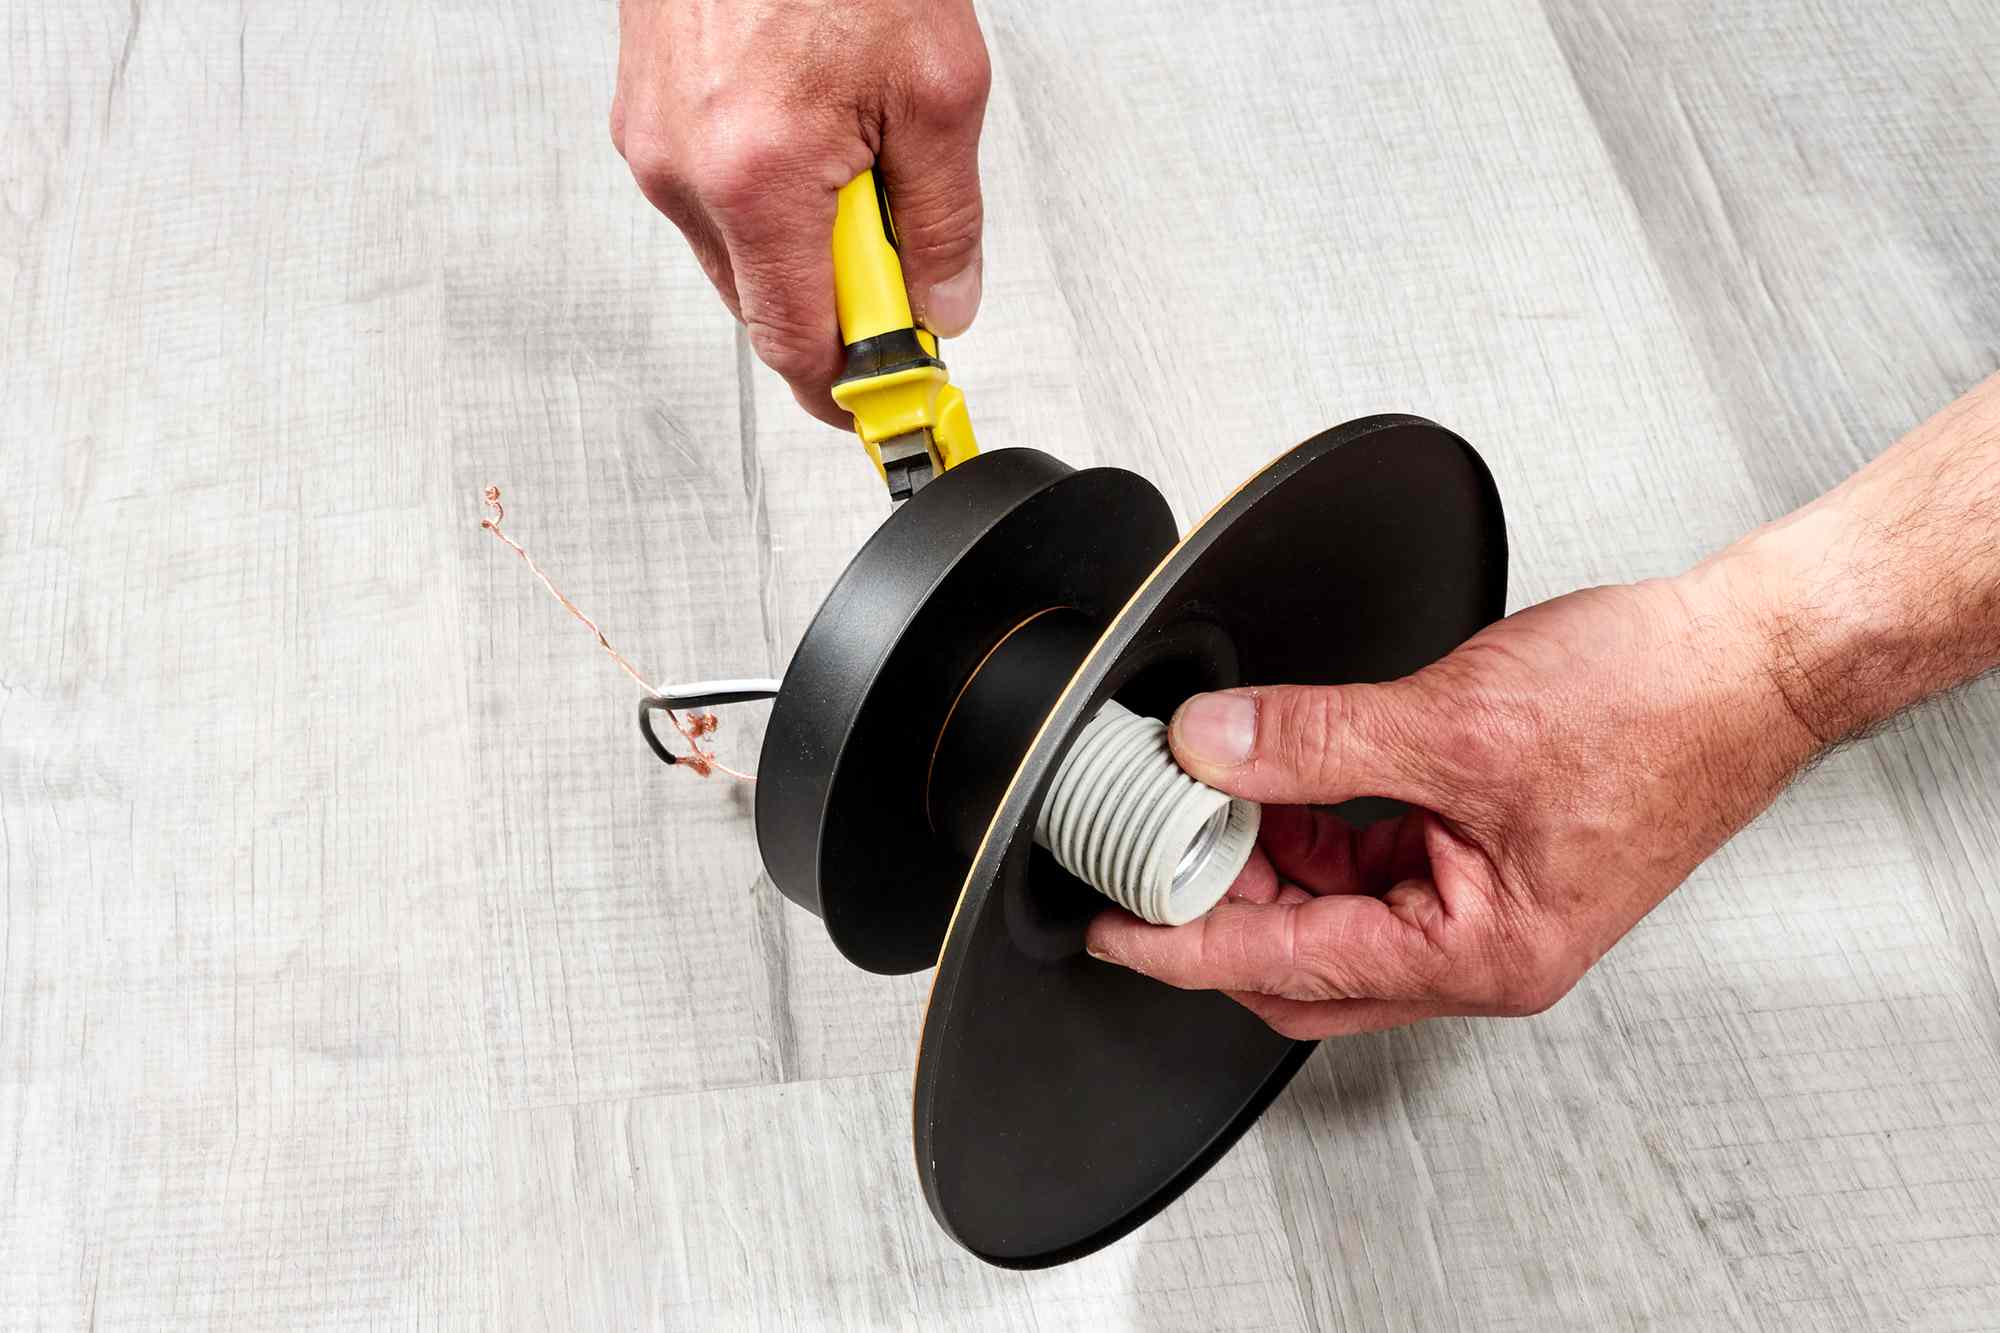
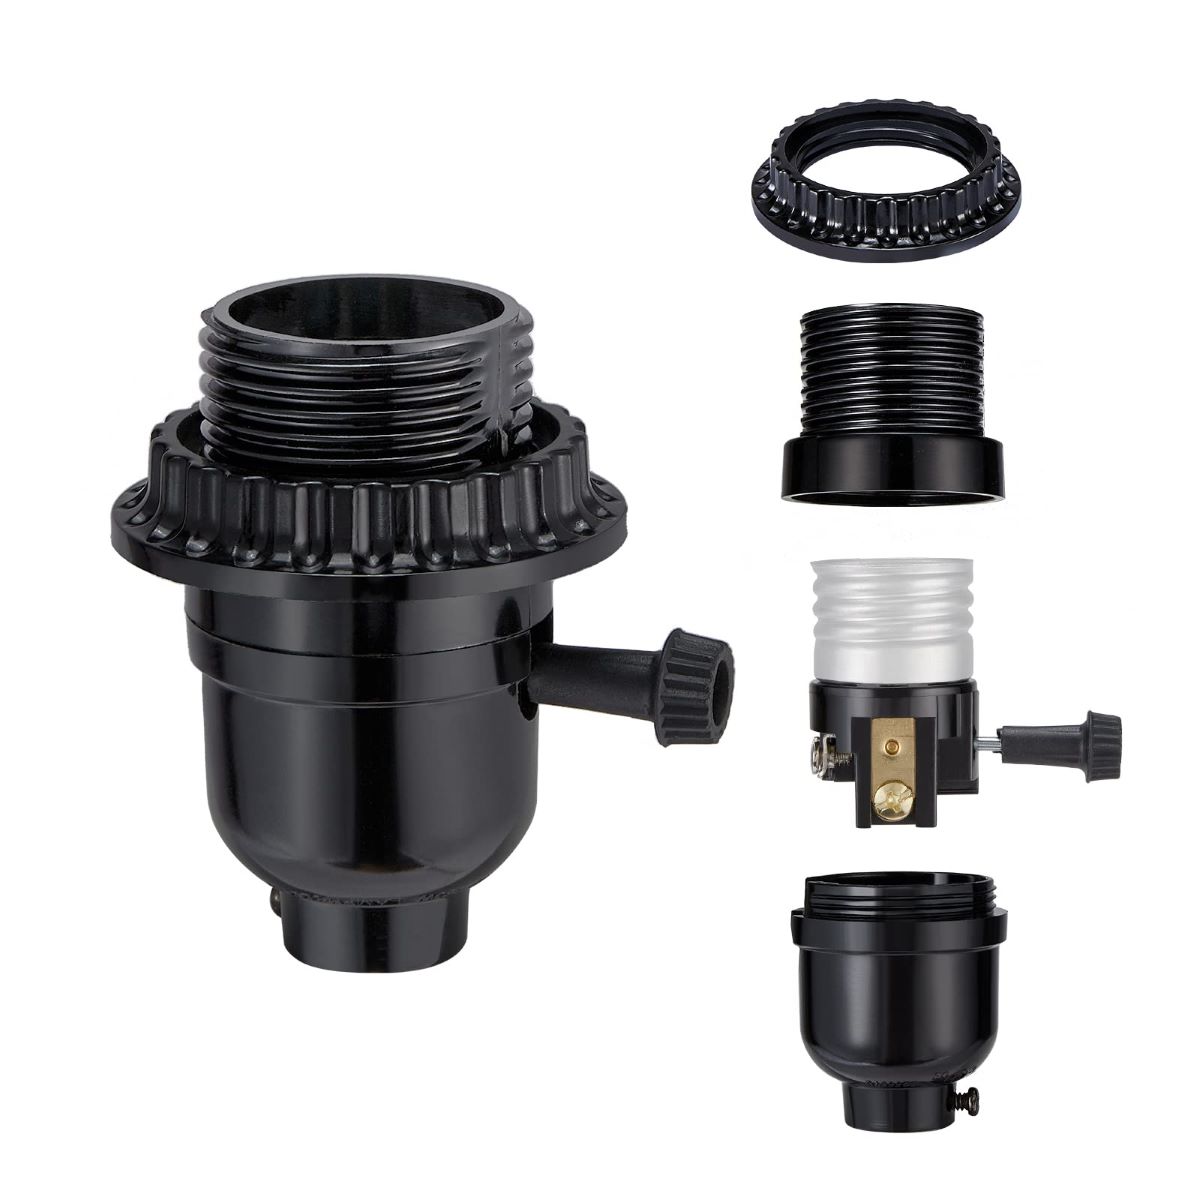
Step 4: Disassemble the lamp socket
After you have unplugged the lamp and removed the old light bulb, it’s time to disassemble the lamp socket. Here’s how you can proceed:
- Inspect the lamp socket: Take a close look at the socket to identify any screws or clips that are holding it in place.
- Remove the socket cover: If there is a cover or decorative piece over the lamp socket, gently remove it by unscrewing or unclipping it.
- Remove the socket base: Once the cover is removed, you should see the socket base. Use a screwdriver to unscrew it counterclockwise and separate it from the lamp body.
- Set aside the socket components: Keep the screws, clips, cover, and socket base in a safe place so that you can easily reassemble the lamp socket later.
By disassembling the lamp socket, you’ll have better access to the wiring connections within the socket. This will allow you to proceed with disconnecting the old light socket in the next step.
With the lamp socket disassembled, you’re now ready to move on to Step 5: Identifying the wiring connections.
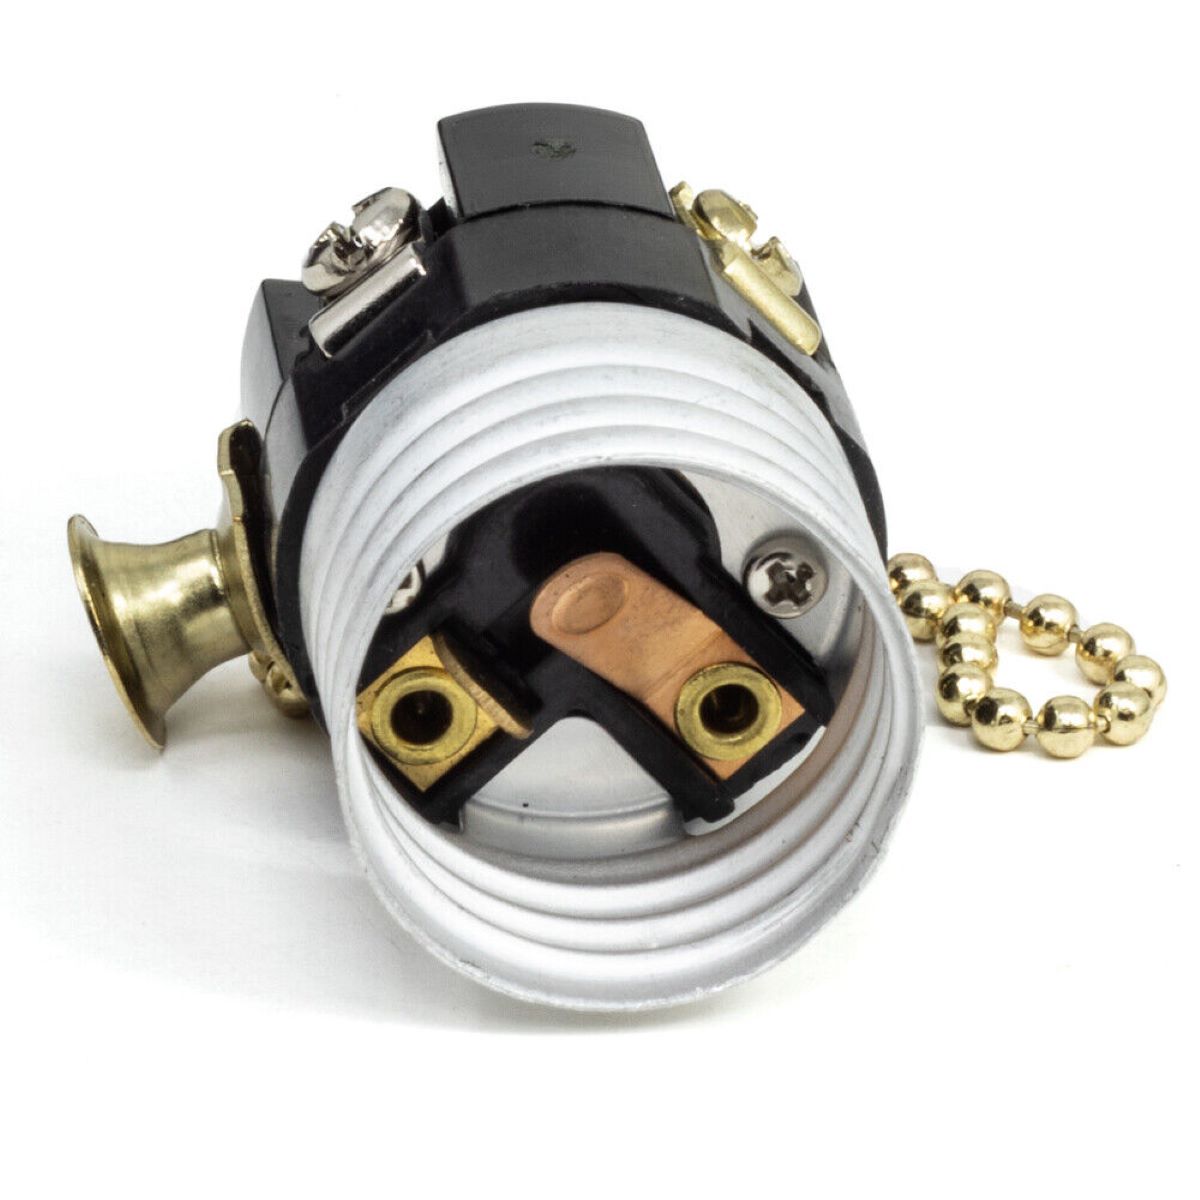
Step 5: Identify the wiring connections
Now that you have disassembled the lamp socket, it’s time to identify the wiring connections within the socket. Understanding the wiring connections will help you disconnect the old light socket correctly and install the new one properly. Here’s what you need to do:
- Take a close look at the wiring: Examine the wires inside the socket and note their positions and colors. Typically, you will find two wires – one neutral wire (usually white or gray) and one hot wire (usually black or red).
- Pay attention to the socket terminals: Notice the small metal terminals located at the base of the socket. These terminals are where the wires attach to the socket.
- Observe the wire connections: Determine how the wires are connected to the socket terminals. They may be attached using screws, clips, or push-in connectors.
- Make a note or take a picture: To ensure you reconnect the wires correctly later on, it’s helpful to make a note or take a picture of the wiring connections. This will serve as a reference during the reassembly process.
By carefully identifying the wiring connections, you’ll have a better understanding of how the old light socket is connected and be prepared to disconnect it in the next step. This knowledge will also assist you when installing the new light socket.
With the wiring connections identified, you’re now ready to move on to Step 6: Disconnecting the old light socket.
When replacing a light socket in a lamp, always make sure to disconnect the power source before starting the replacement process to avoid any electrical accidents.
Step 6: Disconnect the old light socket
Now that you’ve identified the wiring connections in the lamp socket, it’s time to disconnect the old light socket. Follow these steps:
- Locate the wire connections: Find the points where the wires are attached to the socket terminals.
- Loosen the screws or detach the connectors: If the wires are connected to the socket using screws, use a screwdriver to loosen them counterclockwise. If the wires are attached with connectors or clips, carefully detach them.
- Separate the wires from the socket terminals: Once the screws are loosened or the connectors are detached, gently pull the wires to separate them from the socket terminals.
- Inspect the wires: Take a moment to inspect the wires for any signs of damage or fraying. If you notice any issues, it’s important to replace the damaged wires or seek professional assistance.
Remember to handle the wires with care and avoid tugging or twisting them forcefully. Delicate handling will help prevent any damage to the wires and ensure a smoother installation of the new light socket.
With the old light socket disconnected, you’re now ready to move on to Step 7: Installing the new light socket.
Step 7: Install the new light socket
With the old light socket disconnected, it’s time to install the new light socket. Follow these steps to ensure a successful installation:
- Prepare the new light socket: Take the new light socket and inspect it to ensure it’s in good condition and compatible with your lamp. Make sure it has the same wiring configuration as the old socket.
- Position the new socket: Align the new socket with the socket base and insert it into place. The socket should fit snugly and securely onto the base.
- Connect the wires: Begin by connecting the neutral wire (usually white or gray) to the corresponding socket terminal. If the socket has screw terminals, wrap the wire around the terminal clockwise and tighten the screw. If the socket has push-in connectors, insert the wire into the appropriate slot. Repeat the same process for the hot wire (usually black or red).
- Secure the wire connections: Double-check that the wires are securely connected to the socket terminals. If needed, tighten the screws or adjust the connectors to ensure a firm connection.
- Inspect the connections: Give the wire connections a final visual inspection to ensure there are no loose strands or exposed wires. If necessary, trim any excess wire and use wire strippers to remove the insulation, exposing the correct amount of wire for connection.
Proper installation of the new light socket is crucial for its functionality and your safety. Take your time during this step to ensure that the wiring connections are accurate and secure.
With the new light socket successfully installed, you’re now ready to move on to Step 8: Reassembling the lamp socket.
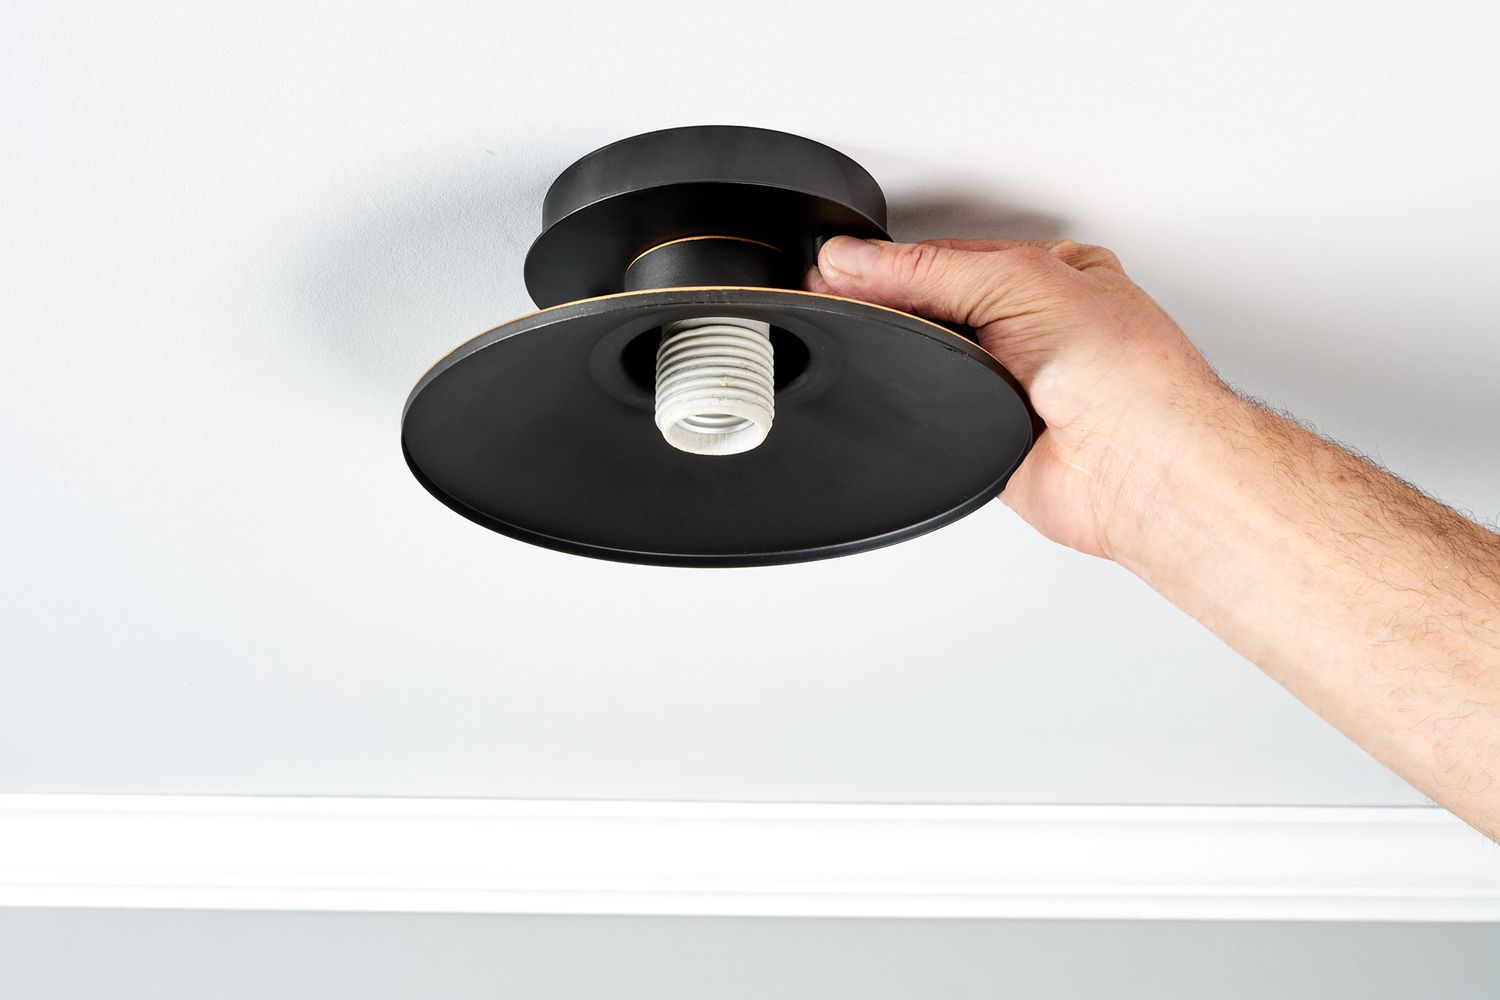
Step 8: Reassemble the lamp socket
Now that you have installed the new light socket, it’s time to reassemble the lamp socket. Follow these steps to ensure everything is put back together properly:
- Retrieve the socket components: Locate the socket cover, socket base, and any screws or clips that were removed during the disassembly process.
- Attach the socket base: Align the socket base with the lamp body and gently screw it clockwise until it is securely attached. Be careful not to overtighten as it could damage the socket or lamp.
- Secure the socket cover: If there is a socket cover or decorative piece, position it over the socket base and secure it into place using screws or clips.
- Tighten any loose screws: Double-check that all screws in the lamp socket are tightened to ensure stability and proper functioning.
Take a moment to examine the reassembled lamp socket to ensure it looks intact and aligned. If any component appears loose or misaligned, make the necessary adjustments before moving on to the final step.
With the lamp socket successfully reassembled, you’re now ready to move on to Step 9: Testing the new light socket.
Read more: How To Replace A 3-Way Lamp Socket
Step 9: Test the new light socket
After reassembling the lamp socket, it’s important to test the functionality of the new light socket before completing the process. Follow these steps to ensure everything is working correctly:
- Insert a compatible light bulb: Take a new or working light bulb that is appropriate for your lamp and screw it into the new light socket.
- Plug in the lamp: Gently insert the plug into the electrical outlet and ensure that it is securely connected.
- Turn on the lamp: Flip the lamp’s switch or use the designated control to turn on the light.
- Check the new light socket: Observe the new light socket to see if it is functioning properly. Verify that the bulb lights up without flickering or any other issues.
- Test the switch: If your lamp has a switch that allows you to control the light intensity or turn it on/off, make sure it functions correctly. Test various switch positions to confirm functionality.
If the new light socket is working correctly and the light bulb illuminates as expected, congratulations! You have successfully replaced the light socket in your lamp.
However, if you encounter any problems such as flickering lights, inconsistent functionality, or no light at all, double-check the wiring connections and reassemble the lamp socket as needed. If the issues persist, it may be necessary to seek professional assistance.
Now that you have tested the new light socket, you can proceed with enjoying your fully functional lamp once again.
Conclusion
Replacing a light socket in a lamp may seem like a daunting task, but with the right tools, materials, and guidance, it can be easily accomplished. By following the step-by-step process outlined in this article, you can successfully replace a light socket in your lamp and restore its functionality.
Throughout this guide, we have emphasized the importance of safety precautions when working with electrical components. Always remember to unplug the lamp, work in a well-lit area, and wear protective gear to minimize the risk of accidents.
From gathering the necessary tools and materials to disconnecting the old light socket, identifying the wiring connections, and installing the new socket, each step plays a vital role in the successful replacement process. Take your time, follow the instructions carefully, and refer to any manufacturer’s guidelines specific to your lamp or light socket model.
After replacing the light socket, reassembling the lamp socket, and testing the new socket’s functionality, you can enjoy the satisfaction of a well-restored lamp that illuminates your space as intended.
Remember, if you encounter any difficulties or doubts during the process or feel uncomfortable working with electrical components, it is always recommended to consult a professional electrician.
With the knowledge gained from this article, you have the confidence and skills to tackle the task of replacing a light socket in a lamp. Put your newfound knowledge to use and bring life back to your lamp effortlessly.
Frequently Asked Questions about How To Replace A Light Socket In A Lamp
Was this page helpful?
At Storables.com, we guarantee accurate and reliable information. Our content, validated by Expert Board Contributors, is crafted following stringent Editorial Policies. We're committed to providing you with well-researched, expert-backed insights for all your informational needs.


0 thoughts on “How To Replace A Light Socket In A Lamp”