Articles
How To Replace Tail Light Socket
Modified: March 1, 2024
Discover step-by-step guide on replacing a tail light socket with informative articles. Learn tips, tricks, and safety precautions to ensure a successful DIY project.
(Many of the links in this article redirect to a specific reviewed product. Your purchase of these products through affiliate links helps to generate commission for Storables.com, at no extra cost. Learn more)
Introduction
Having a properly functioning tail light is essential for the safety of your vehicle and those around you. The tail light socket is a crucial component that holds the bulb in place and provides the necessary electrical connection. Over time, the socket may become corroded or damaged, resulting in a faulty tail light.
In this guide, we will show you how to replace a tail light socket to ensure your taillights are working effectively. With just a few tools and materials, you can easily complete this task yourself and save money on expensive repairs. Let’s dive in and get started!
Key Takeaways:
- Ensure your safety and save money by replacing a faulty tail light socket yourself. Follow the step-by-step guide, test the new socket, and keep your vehicle roadworthy with properly functioning tail lights.
- Prioritize safety and take your time when replacing a tail light socket. Test the new socket for functionality and drive with confidence, knowing you’ve maintained the safety of your vehicle and others on the road.
Tools and Materials Needed
Before you begin replacing the tail light socket, gather the necessary tools and materials. Here’s a list of what you’ll need:
- Screwdriver (Phillips or flathead, depending on your vehicle)
- Pliers
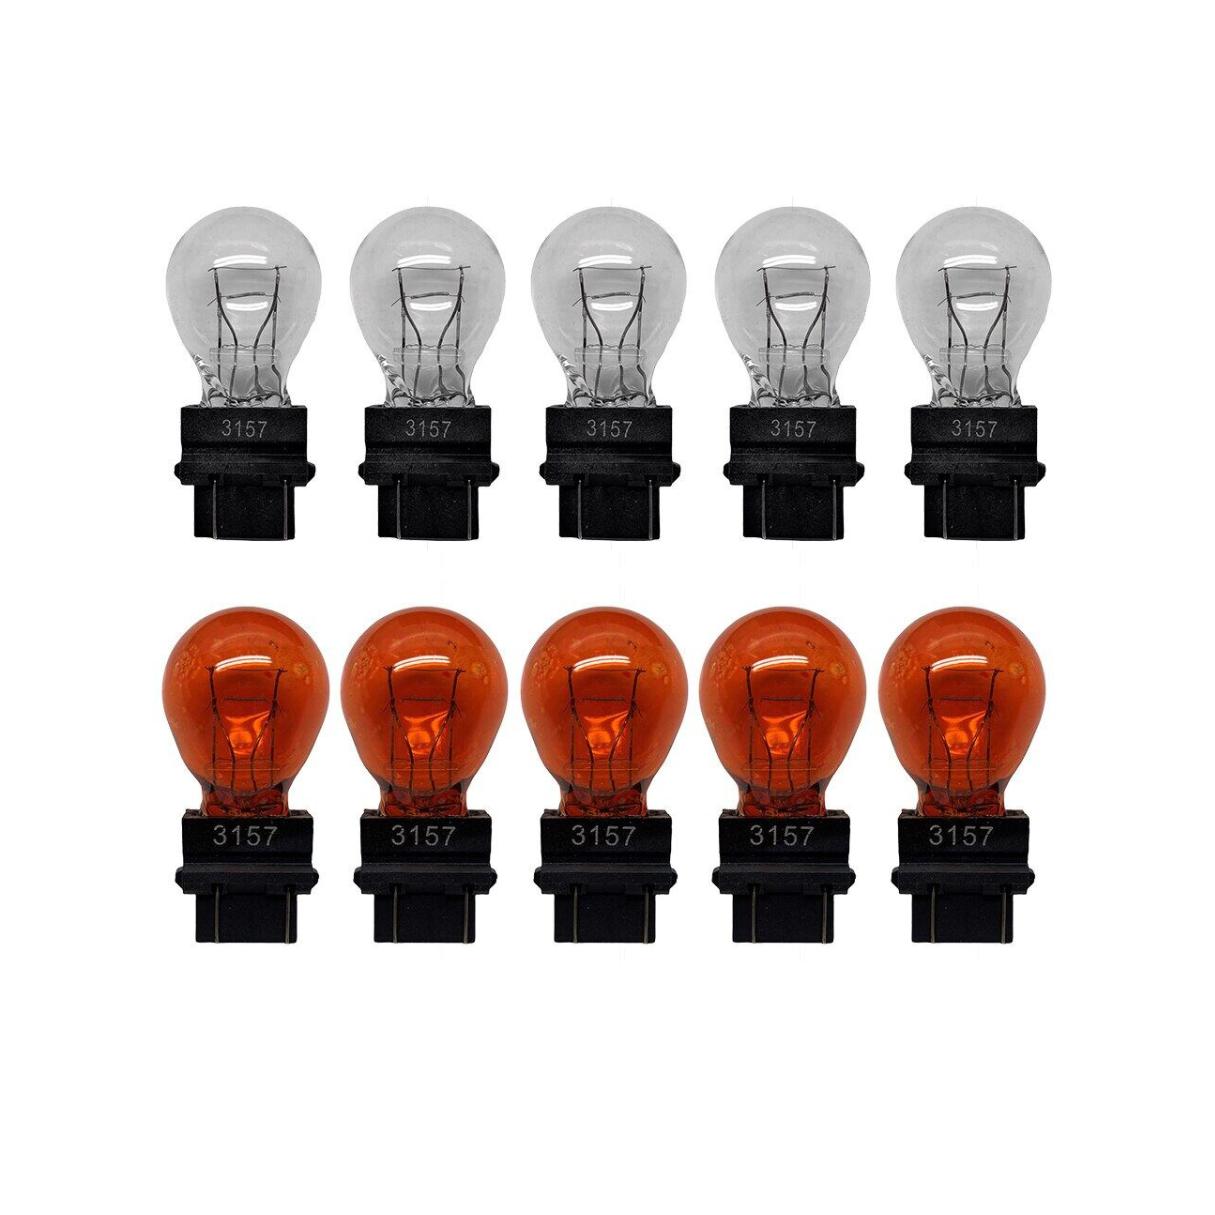
- New tail light socket (make sure it is compatible with your vehicle’s make and model)
- Electrical tape
- Disposable gloves
- Safety glasses
Make sure you have all of these items on hand before proceeding, as it will make the process smoother and more efficient.
Step 1: Preparation
Before you begin the actual replacement process, it’s important to take a few steps to prepare yourself and your vehicle. Follow these preparation steps:
- Ensure the engine is turned off and the key is removed from the ignition.
- Put on your disposable gloves to protect your hands from any dirt or oil.
- Put on safety glasses to protect your eyes from any debris that may come loose during the replacement.
- Park your vehicle on a level surface and engage the parking brake.
Once you have completed these preparation steps, you can move on to the next step of removing the old tail light socket. Taking these precautions will not only make the process safer but also help prevent any damage to your vehicle.
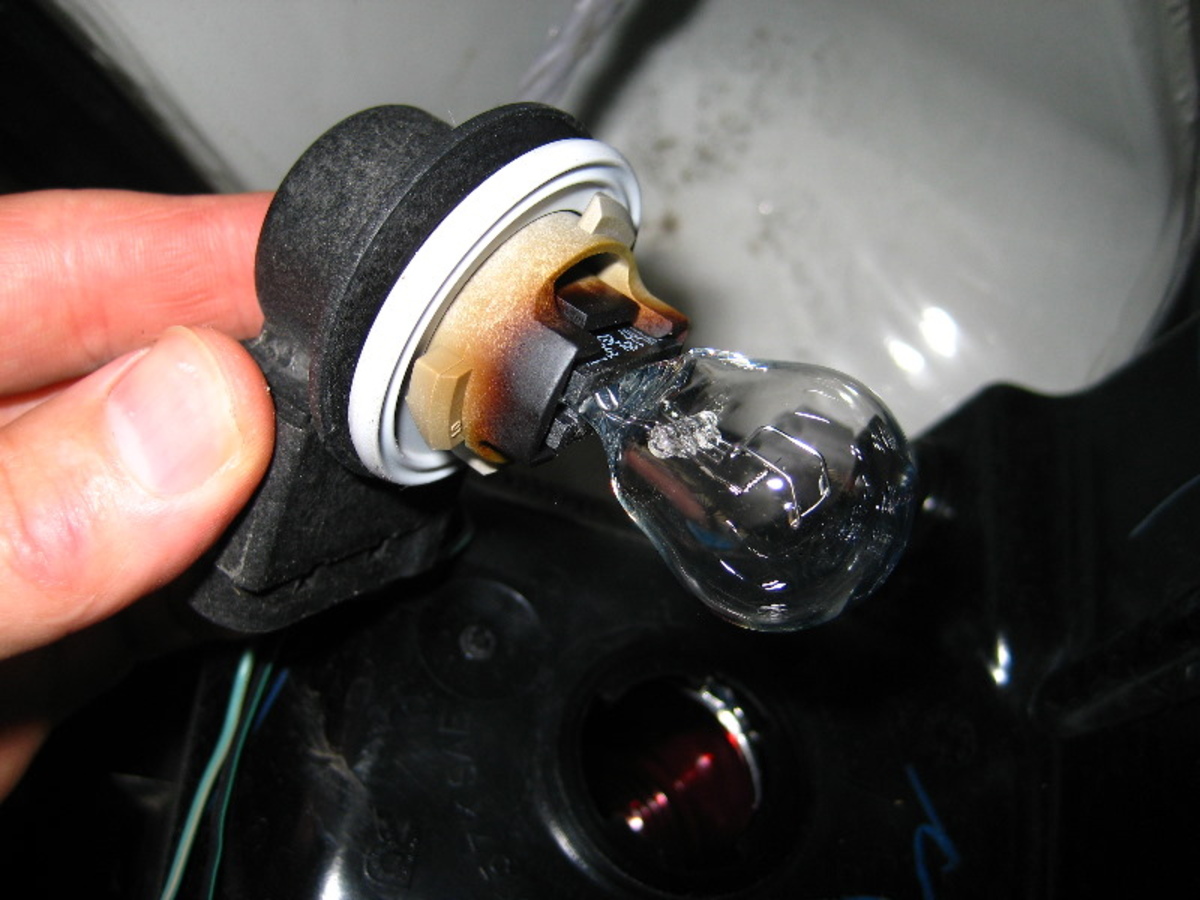
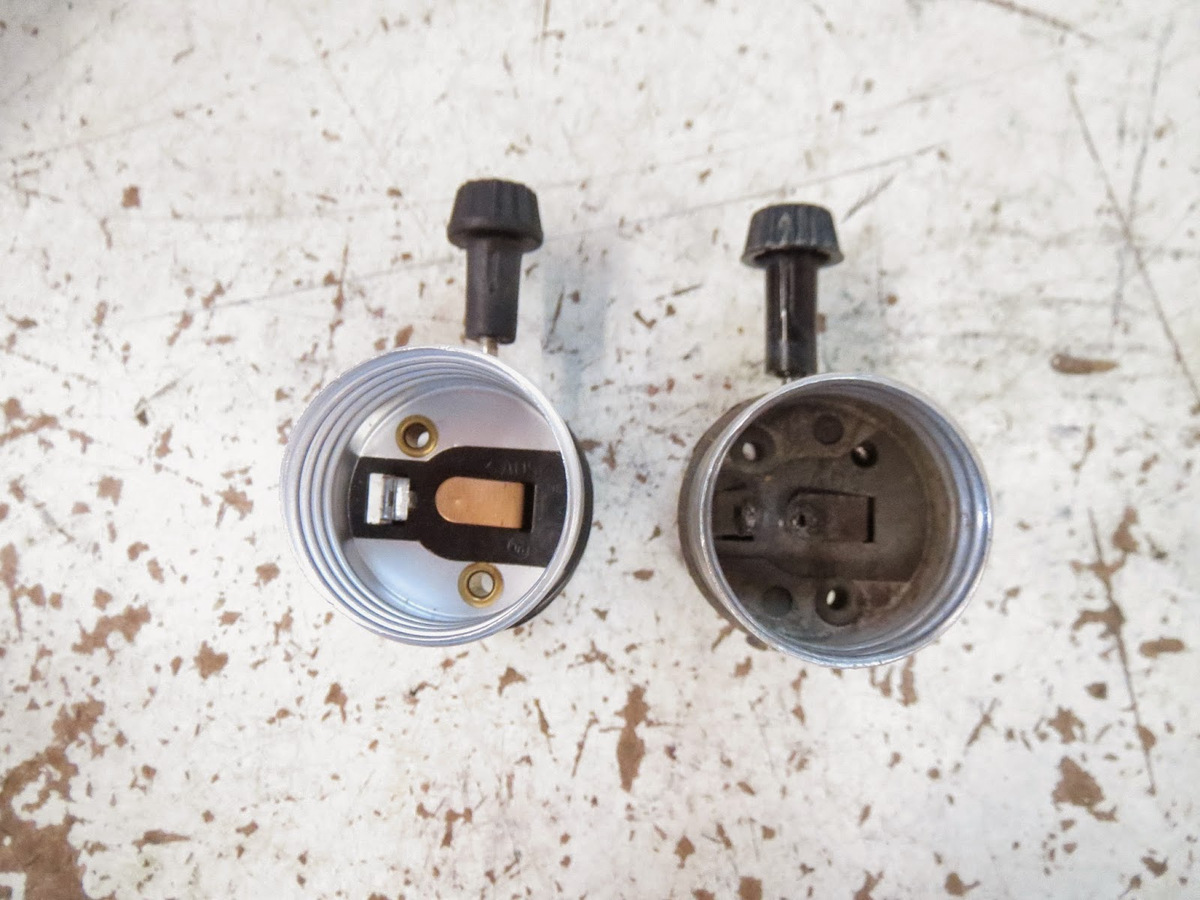
Step 2: Removing the Old Tail Light Socket
Now that you’re prepared, it’s time to remove the old tail light socket. Follow these steps:
- Locate the tail light assembly on your vehicle. This is typically located on the rear of your vehicle and may be covered by a plastic lens or housing.
- Use a screwdriver to remove any screws or clips that are securing the lens or housing in place. Be careful not to strip the screws if they are rusted or tight.
- Gently pull the lens or housing away from the vehicle to reveal the tail light socket.
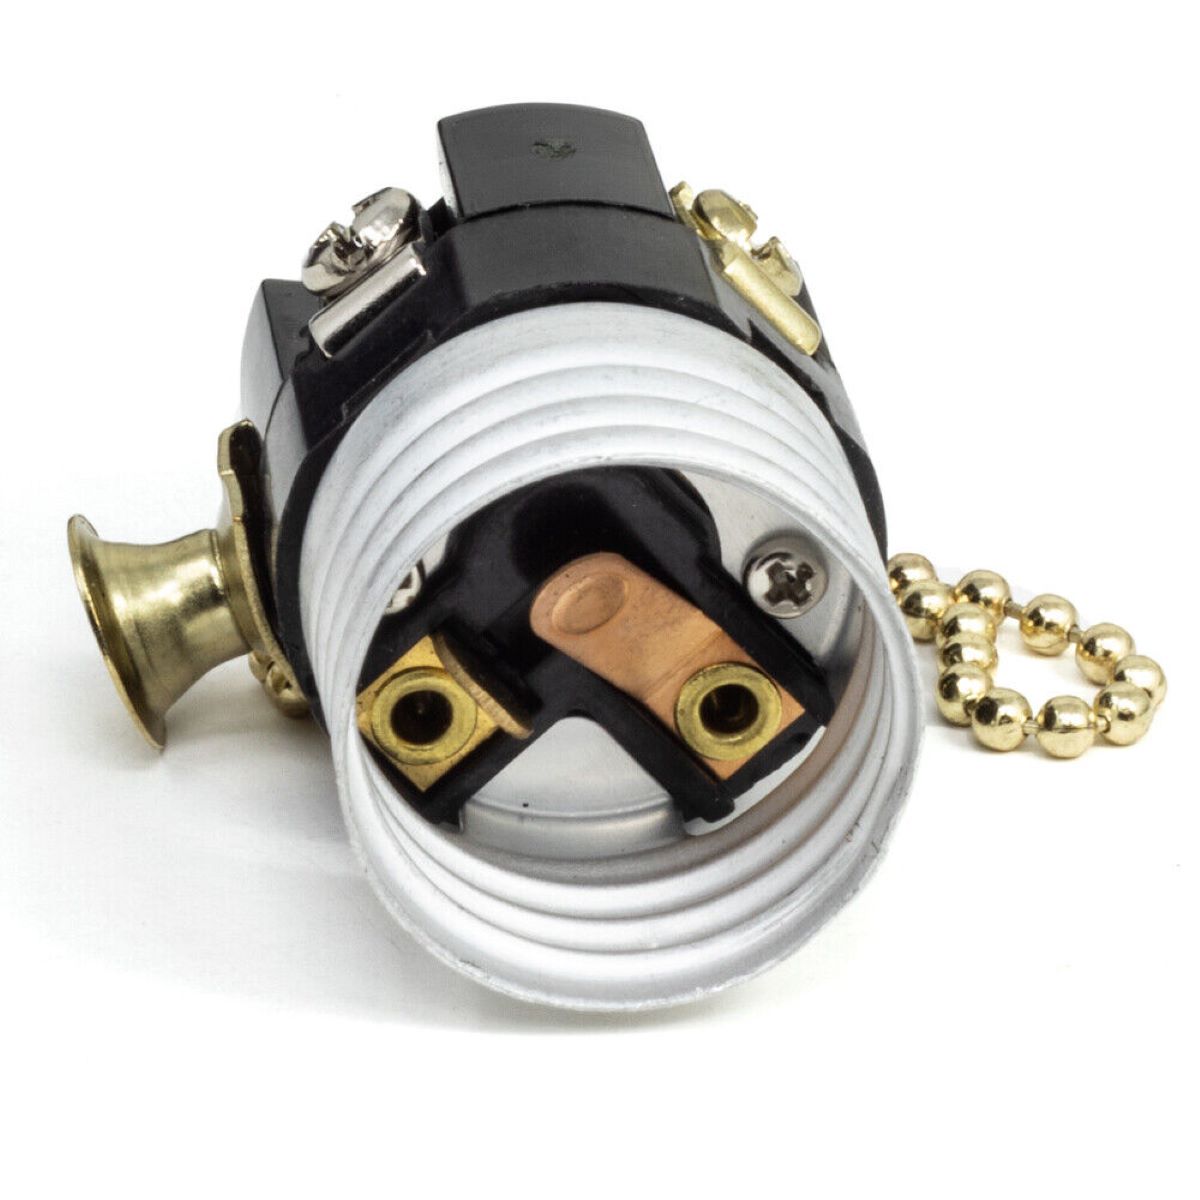
- Inspect the socket for any signs of damage or corrosion. If it appears to be in good condition, you can proceed with removing it.
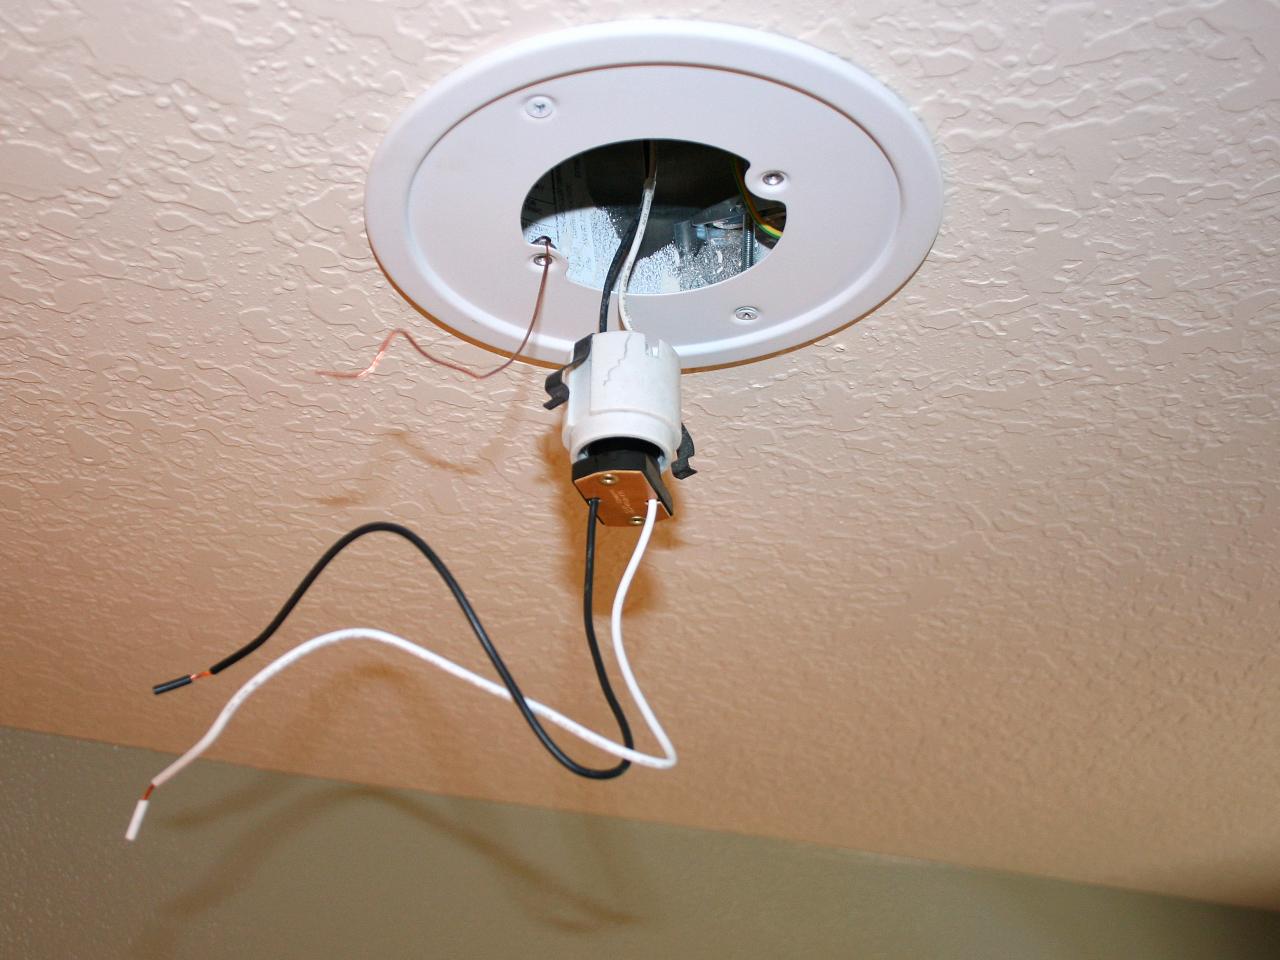
- Using pliers, carefully disconnect the wiring harness from the socket by gently pulling it away. Be sure to grip the connector and not the wires themselves to avoid causing any damage.
- Next, locate the tabs or clips that are holding the socket in place within the tail light assembly. Press or release these tabs to unlock the socket.
- Once the tabs are released, gently wiggle the socket to loosen it from the assembly. Be careful not to force it as it may break if it is stuck or corroded.
- Finally, remove the old tail light socket from the assembly and set it aside.
With the old socket removed, you can now proceed to the next step of installing the new tail light socket.
When replacing a tail light socket, make sure to disconnect the negative battery cable first to avoid any electrical accidents. Then, carefully remove the old socket and replace it with the new one, ensuring a secure connection.
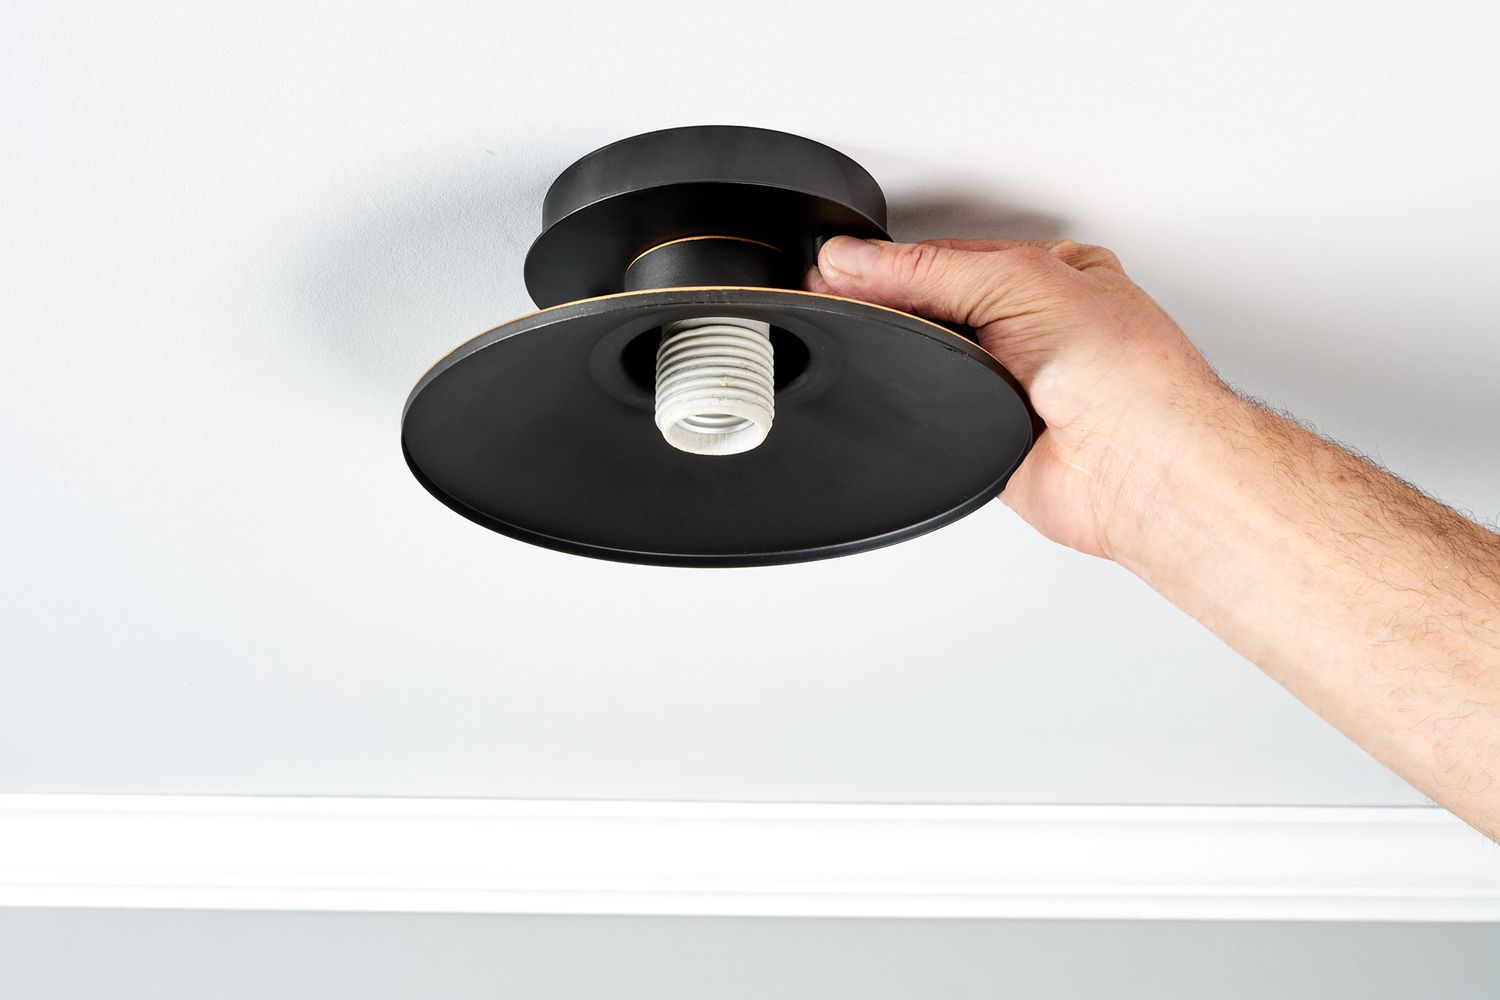
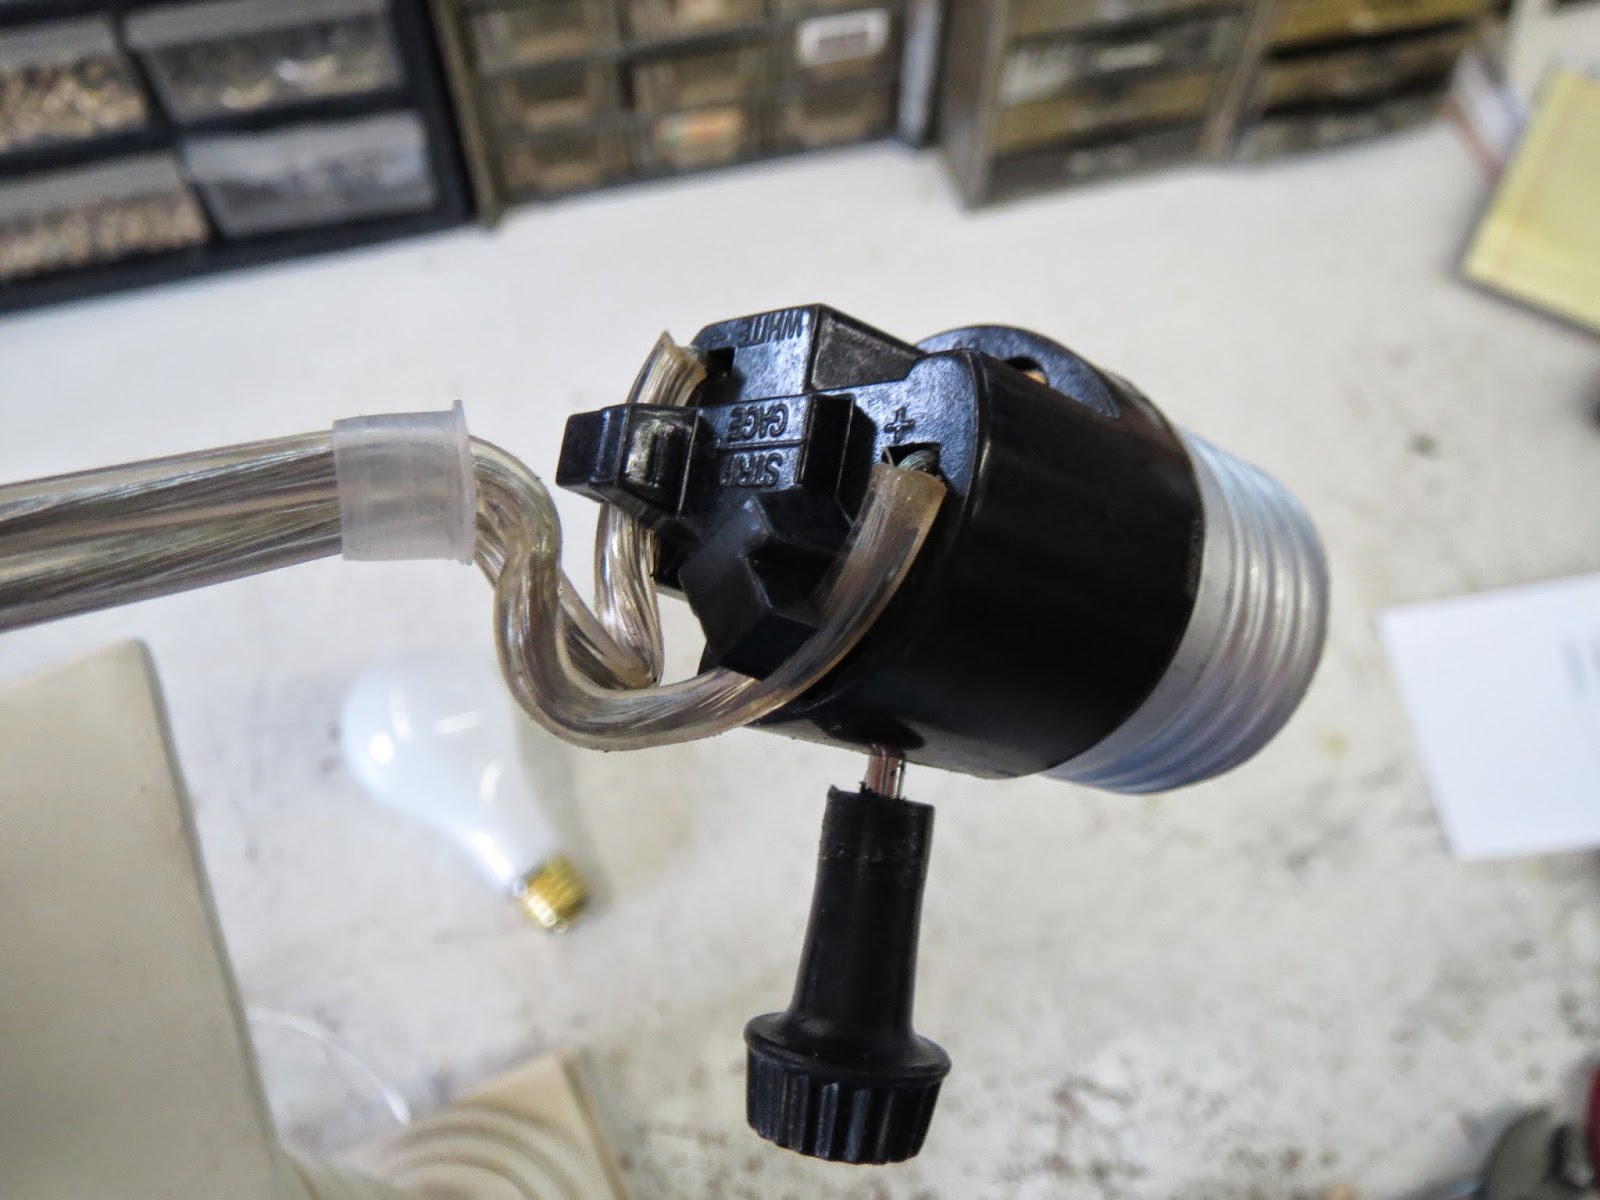
Step 3: Installing the New Tail Light Socket
Now that you have removed the old tail light socket, you can proceed to install the new one. Follow these steps:
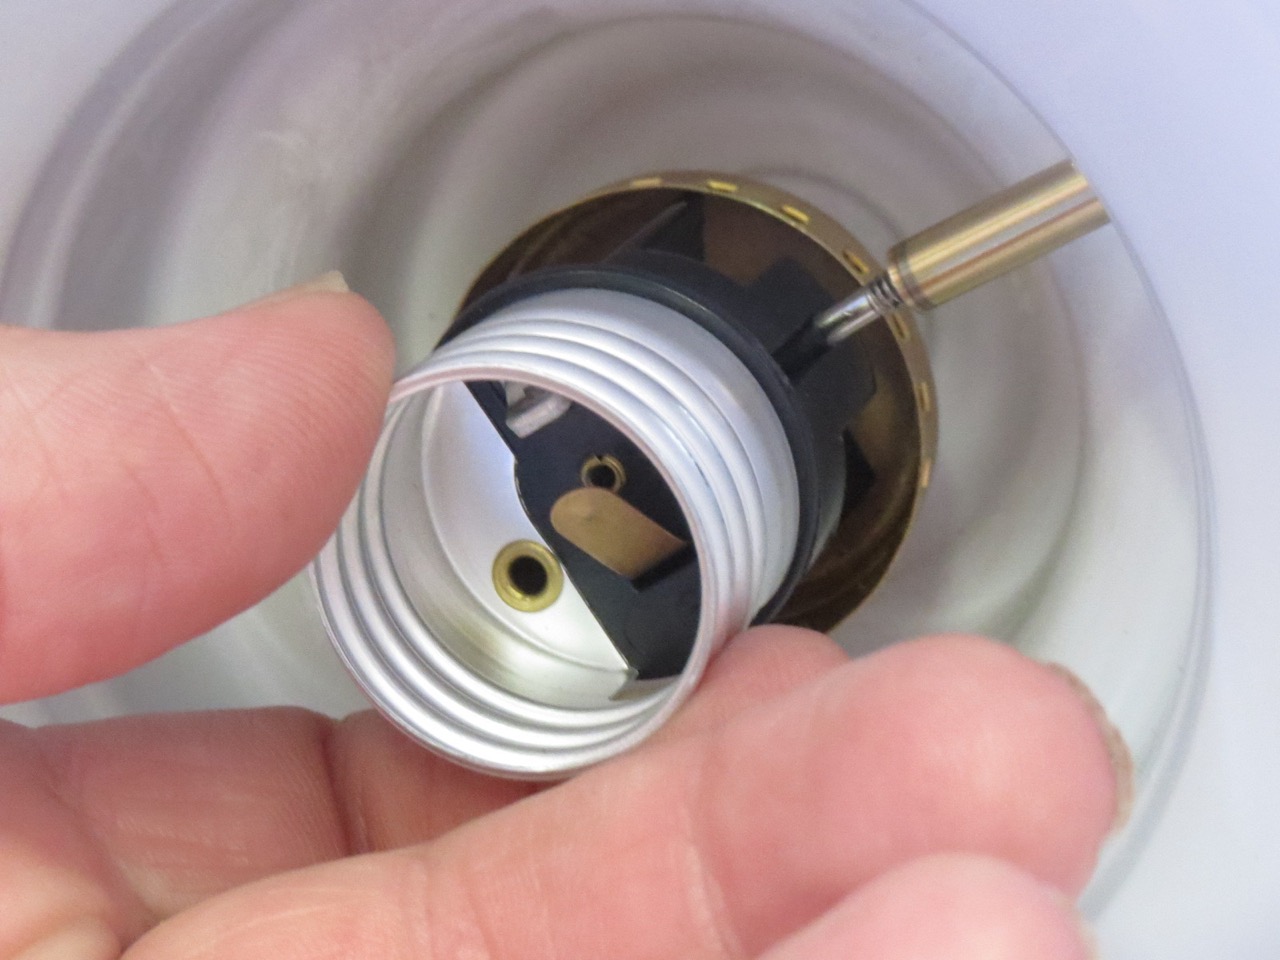
- Take the new tail light socket and align it with the slot or opening in the tail light assembly. Ensure that it is positioned correctly and securely.
- Insert the tabs or clips on the socket into the corresponding slots or openings in the tail light assembly. Press or snap the socket into place until it is securely locked.
- Take the wiring harness that you disconnected earlier and connect it to the new tail light socket. Ensure that it fits snugly and that all the wires are properly aligned.
- If there are any loose wires or exposed connections, use electrical tape to secure and insulate them. This will help prevent any electrical shorts or malfunctions.
- Double-check that all connections are secure and that the new tail light socket is properly installed. Give it a slight tug to ensure it is firmly in place.
With the new tail light socket installed, you are almost done. Before you finish, it’s important to test the functionality of the new socket.
Read also: 13 Amazing Bmw Tail Light Socket for 2025
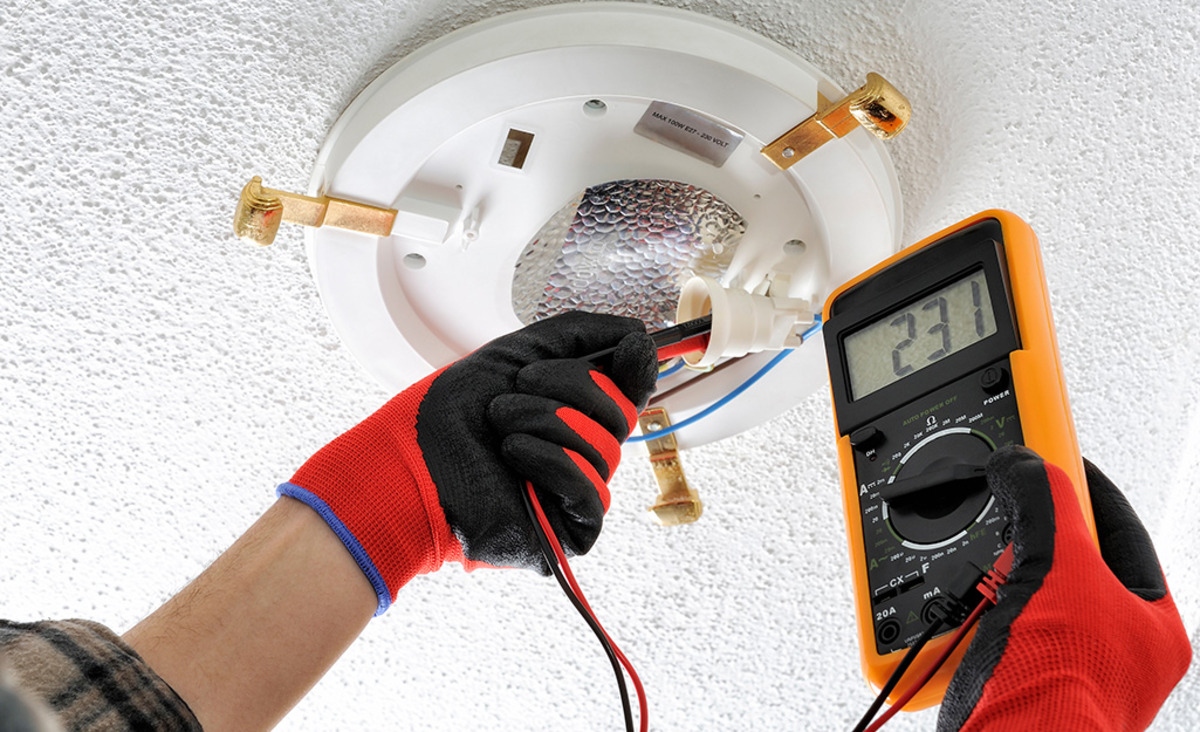
Step 4: Testing the New Tail Light Socket
Testing the new tail light socket is crucial to ensure that it is working properly. Follow these steps to test the functionality:
- Turn on your vehicle’s headlights and activate the tail lights.
- Walk to the rear of your vehicle and inspect the newly installed tail light socket. Ensure that the bulb is properly lit and that there are no flickering or intermittent issues.
- If the tail light is working correctly, congratulations! You have successfully replaced the tail light socket.
- If the tail light is still not functioning as expected, double-check the connections and wiring. Make sure everything is securely connected and properly aligned.
- If you are still experiencing issues, it may be necessary to seek professional assistance to diagnose and resolve the problem.
Always remember to exercise caution and prioritize safety when working on your vehicle’s electrical components. If at any point you feel uncomfortable or unsure, consult a professional mechanic for assistance.
By following these steps, you can replace the tail light socket in your vehicle and ensure that your taillights are functioning properly. This not only enhances the safety of your vehicle but also helps you avoid any potential issues or citations related to malfunctioning lights. Keep your vehicle roadworthy and drive with peace of mind!
Read also: 13 Amazing Bmw Tail Light Socket for 2025
Step 4: Testing the New Tail Light Socket
Testing the functionality of the new tail light socket is crucial to ensure that it is working properly. Here’s how you can test it:
- Turn on your vehicle’s headlights and activate the tail lights.
- Walk to the rear of your vehicle and carefully inspect the newly installed tail light socket. Ensure that the bulb is properly lit and that there are no signs of flickering or intermittent issues.
- If the tail light is functioning correctly, congratulations! You have successfully replaced the tail light socket.
- However, if the tail light is still not working as expected, there are a few troubleshooting steps you can take:
- Double-check the connections between the wiring harness and the tail light socket. Ensure that all connections are secure and properly aligned.
- Check the wiring and look for any signs of damage or fraying. If you spot any issues, it may be necessary to replace the wiring or seek professional assistance.
- If the bulb is not lighting up at all, try replacing the bulb with a new one. Sometimes, the issue may lie with the bulb itself.
- If you have tried these troubleshooting steps and are still experiencing issues, it is advised to consult a professional mechanic or seek specialized help.
- Always prioritize your safety when working with electrical components. If at any point you feel uncomfortable or unsure, it is best to seek professional assistance.
By following these steps and testing the new tail light socket, you can ensure that your taillights are working correctly. Properly functioning tail lights are crucial for the safety of your vehicle and those around you. If you have successfully completed this process, you can drive with confidence knowing that your tail lights are in optimal condition.
Remember to regularly check your vehicle’s tail lights and perform maintenance as needed. By doing so, you can avoid any potential issues or citations related to malfunctioning lights and keep your vehicle roadworthy.
Conclusion
Replacing a faulty tail light socket is a relatively simple task that can be done by yourself, saving you time and money. By following the step-by-step instructions provided in this guide, you can successfully replace the tail light socket in your vehicle.
Remember to gather all the necessary tools and materials before you begin, and take the time to prepare yourself and your vehicle for the task. Safety should always be a priority, so make sure to wear gloves and safety glasses to protect yourself from any potential hazards.
Removing the old tail light socket requires careful maneuvering and attention to detail, ensuring that you disconnect the wiring harness and release any tabs or clips holding it in place. Taking your time and being cautious will help prevent any damage to your vehicle or the new socket.
Installing the new tail light socket is a straightforward process. Ensure that it is properly aligned and securely locked into place, and make sure to reconnect the wiring harness securely. Testing the functionality of the new socket is essential to ensure that your tail lights are working correctly. If any issues persist, double-check the connections, wiring, and bulbs for any potential problems.
In conclusion, by following the steps outlined in this guide, you can replace a tail light socket in your vehicle efficiently and effectively. Keep in mind that if you are unsure or encounter any difficulties during the process, it is always best to seek professional assistance.
Remember, having properly functioning tail lights is crucial for the safety of your vehicle and others on the road. Regularly inspect your tail lights and perform maintenance as needed to ensure they are in optimal condition. Drive with confidence, knowing that you have taken the necessary steps to maintain the functionality of your tail lights.
Frequently Asked Questions about How To Replace Tail Light Socket
Was this page helpful?
At Storables.com, we guarantee accurate and reliable information. Our content, validated by Expert Board Contributors, is crafted following stringent Editorial Policies. We're committed to providing you with well-researched, expert-backed insights for all your informational needs.


0 thoughts on “How To Replace Tail Light Socket”