Articles
How To Change Out A Light Socket
Modified: September 2, 2024
Learn how to easily change out a light socket with our helpful step-by-step articles. Upgrade your lighting fixtures today!
(Many of the links in this article redirect to a specific reviewed product. Your purchase of these products through affiliate links helps to generate commission for Storables.com, at no extra cost. Learn more)
Introduction
Welcome to this step-by-step guide on how to change out a light socket. Whether you’re experiencing a faulty socket or simply want to upgrade to a new one, knowing how to replace a light socket can save you money and give you the satisfaction of completing a DIY project. In this article, we’ll walk you through the process of changing out a light socket in a clear and concise manner.
Before we dive into the steps, it’s important to note that electrical work should be approached with caution. Always prioritize safety, and if you’re unsure about any step, it’s best to consult a professional electrician. With that said, let’s gather our tools and materials and get started.
Key Takeaways:
- Prioritize safety and gather the necessary tools before replacing a light socket. Turning off the power, disconnecting wires, and securely installing the new socket are crucial steps for a successful DIY project.
- By learning how to change out a light socket, you empower yourself to handle simple electrical projects at home. Enjoy the benefits of reliable lighting and remember to regularly inspect and maintain your fixtures.
Read more: How To Change Out A Toilet
Tools and Materials Needed
Before you begin replacing a light socket, make sure you have the following tools and materials handy:
- Screwdriver (flathead or Phillips, depending on the screws)
- Needle-nose pliers
- Wire cutters/strippers
- New light socket
- Electrical tester
- Electrical tape
- Wire nuts
- Step ladder or stool (if necessary)
Gathering these tools beforehand will ensure that you have everything you need to complete the task efficiently. It’s always handy to have a step ladder or stool nearby to reach high or hard-to-reach light fixtures. Once you have all the necessary tools and materials, proceed to the next step to safely begin replacing the light socket.
Step 1: Turn Off the Power
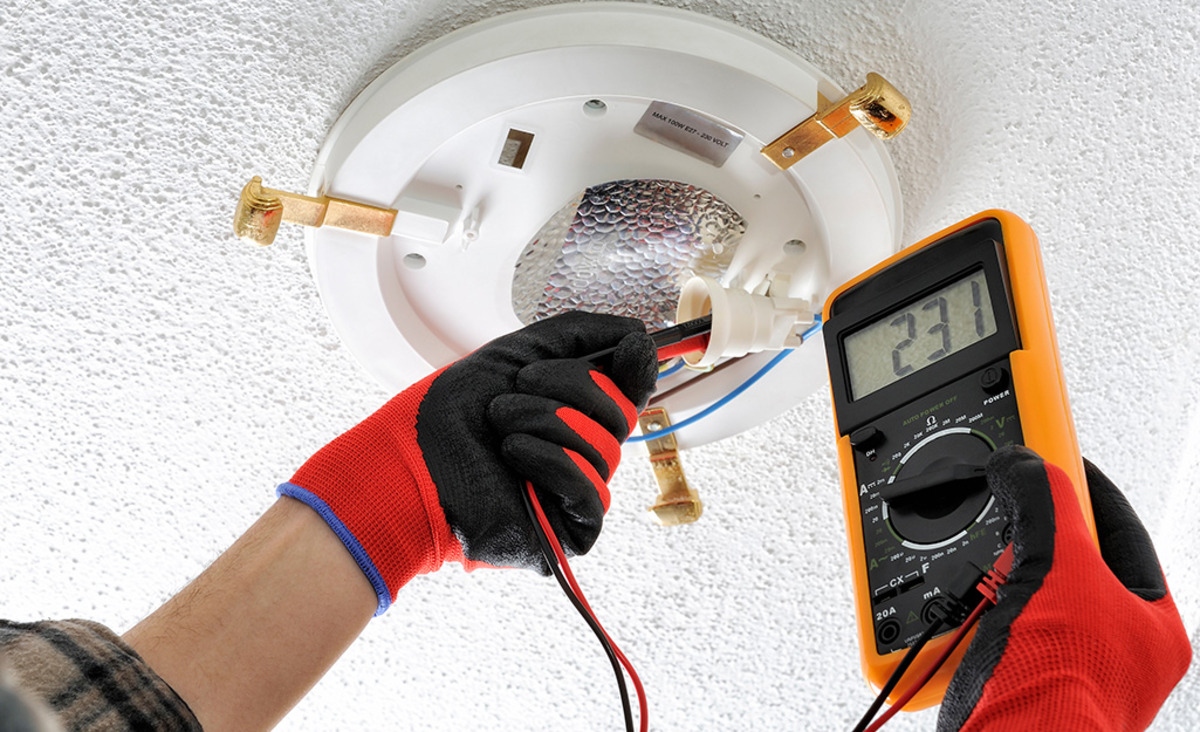
Safety is paramount when working with electricity, so the first step is to turn off the power to the light fixture you’ll be working on. This will help prevent any electrical shocks or accidents.
To turn off the power, locate the circuit breaker box in your home. It is usually found in the basement, garage, or utility room. Open the circuit breaker box and look for the breaker corresponding to the area where the light fixture is located. Flip the switch for that breaker to the “off” position.
Once you’ve turned off the power, it’s a good idea to test the light switch to ensure that the power is indeed off. Flip the light switch on and off, and if the light does not turn on, you can proceed knowing that the power is safely off.
Remember, it’s essential to take caution and treat all wires as if they are live until you have confirmed that the power is off. Safety should always be the top priority.
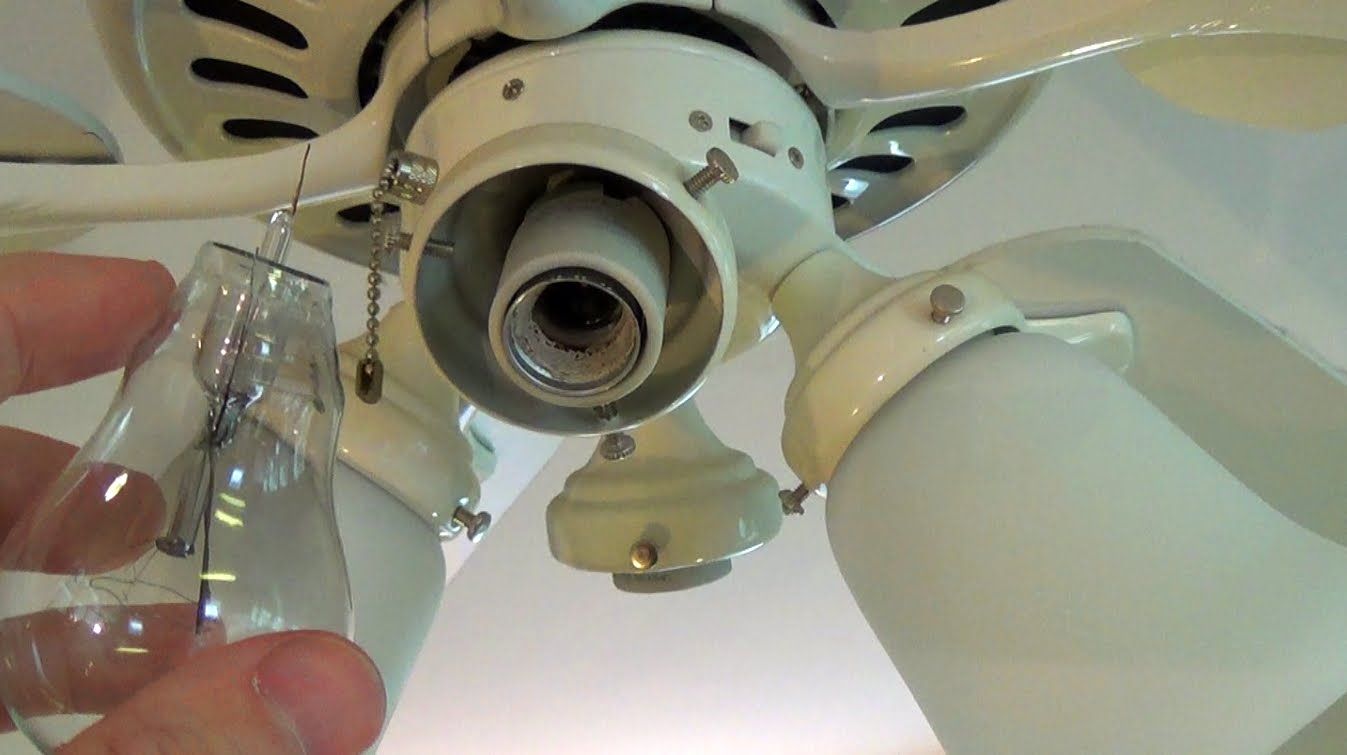
Step 2: Remove the Light Bulb
Before you can remove the old light socket, you’ll need to remove the light bulb from the fixture. This step is important to ensure your safety and prevent any accidental breakage of the bulb.
If the light bulb is currently on, wait for it to cool down before attempting to remove it. Once the bulb is cool to the touch, gently twist it counterclockwise to unscrew it from the socket. Be careful not to apply too much force or use excessive pressure, as this can damage the bulb.
If the bulb is stuck or difficult to remove, try using a pair of clean, dry gloves to provide a better grip. If that doesn’t work, you may need to use a bulb remover tool specifically designed to safely remove stuck light bulbs. These tools can be purchased at most hardware or home improvement stores.
Once the light bulb is successfully removed, set it aside in a safe place. It’s always a good idea to have a spare light bulb on hand in case the new socket requires a different type or wattage.
With the light bulb removed, you can now move on to the next step of unscrewing the old socket.
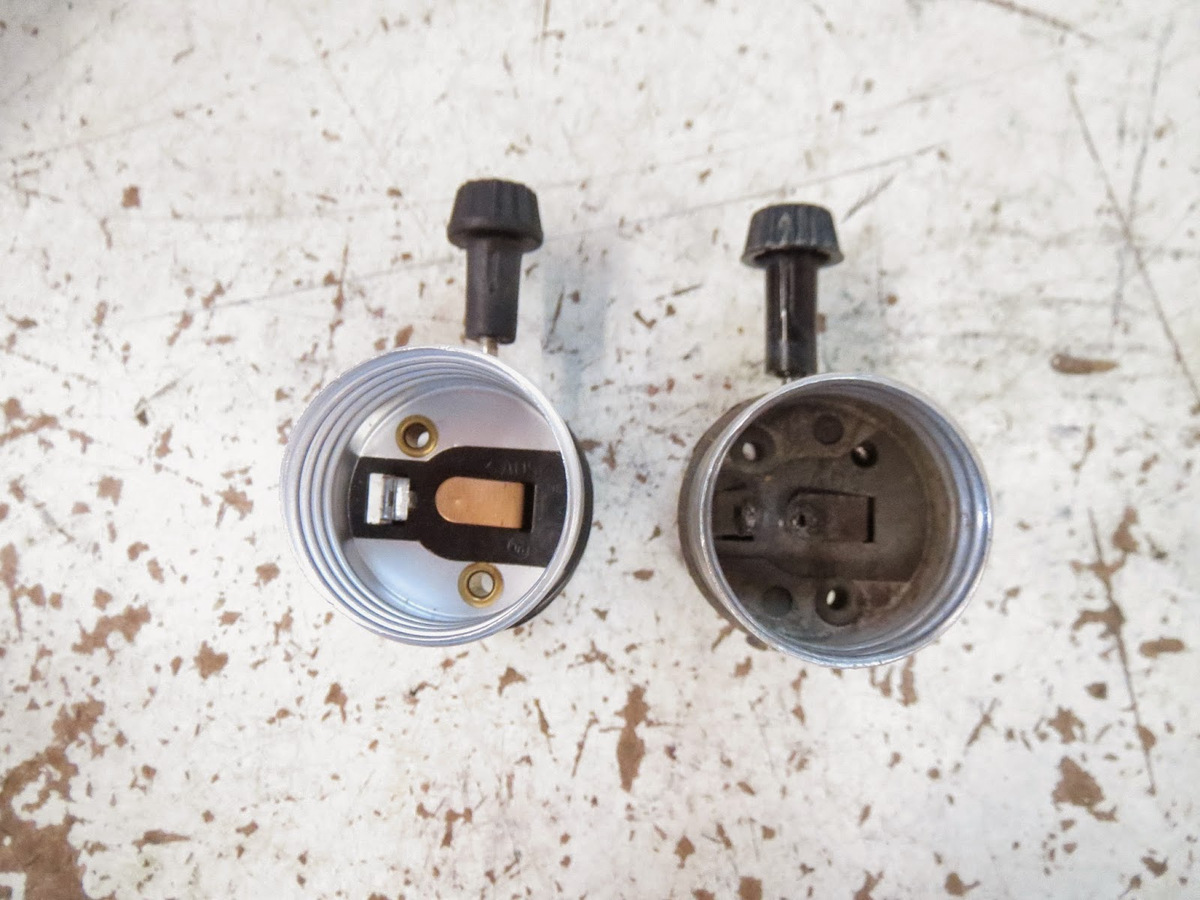
Step 3: Unscrew the Old Socket
With the light bulb removed, it’s time to unscrew the old socket from the light fixture. The socket is typically held in place by screws or a retaining ring.
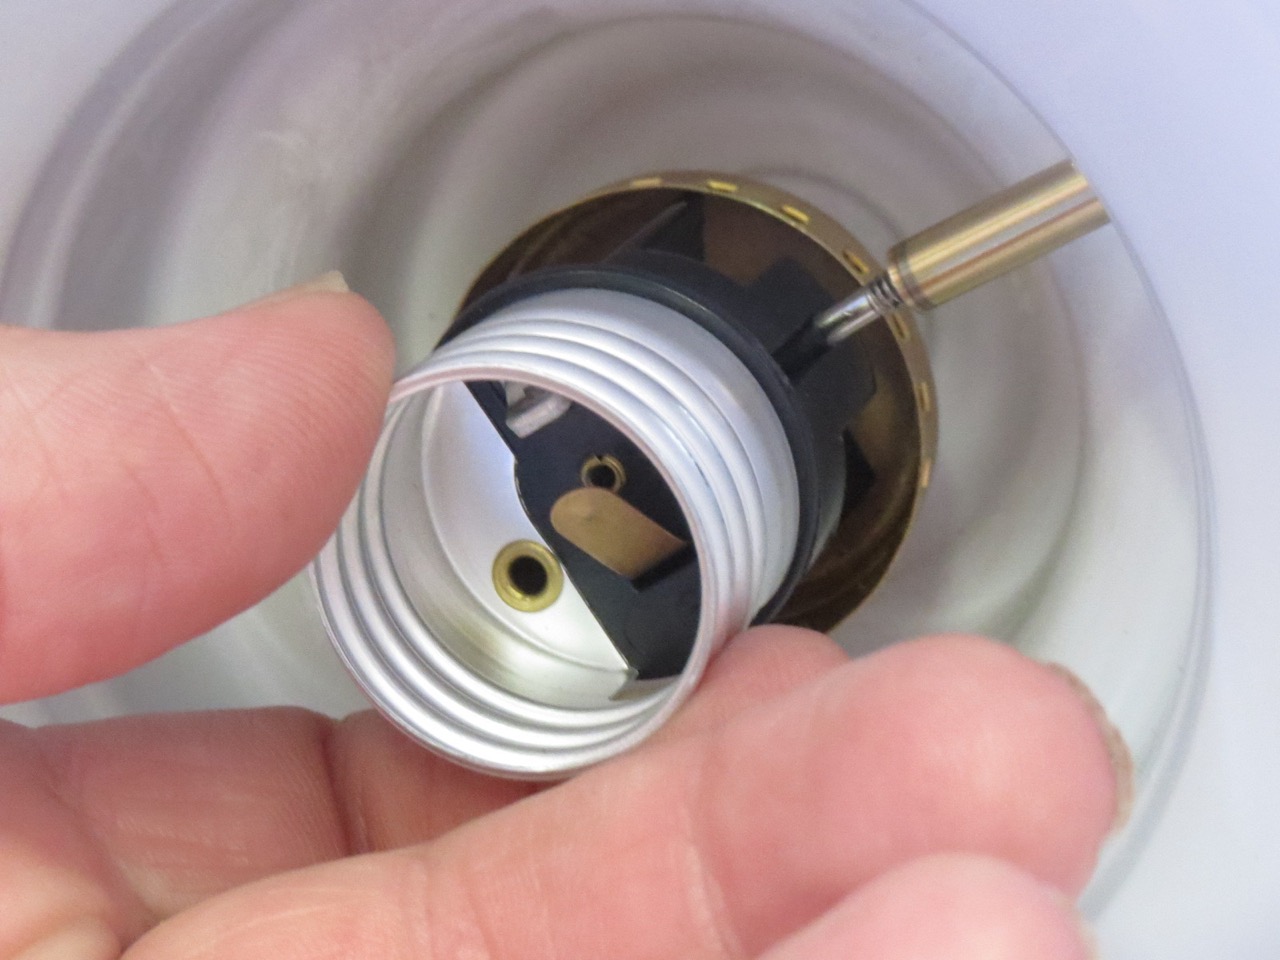
Start by inspecting the socket for any visible screws that are holding it in place. There may be one or more screws securing the socket to the fixture. Using the appropriate screwdriver (either flathead or Phillips), carefully loosen and remove these screws. Set them aside in a safe place.
If your socket does not have visible screws, it likely has a retaining ring. To remove the socket with a retaining ring, locate the small tab or lever on the socket and push or lift it to release the ring. This will allow you to unscrew and remove the socket from the light fixture.
As you unscrew the socket, be mindful of any wires that may be attached to it. Take note of how the wires are connected, as you will need this information when installing the new socket. If necessary, take pictures or make a diagram to ensure you can easily reconnect the wires correctly later on.
Once the old socket is detached from the fixture, set it aside. You are now ready to move on to the next step of disconnecting the wires from the socket.
Read more: How To Change A Light Bulb
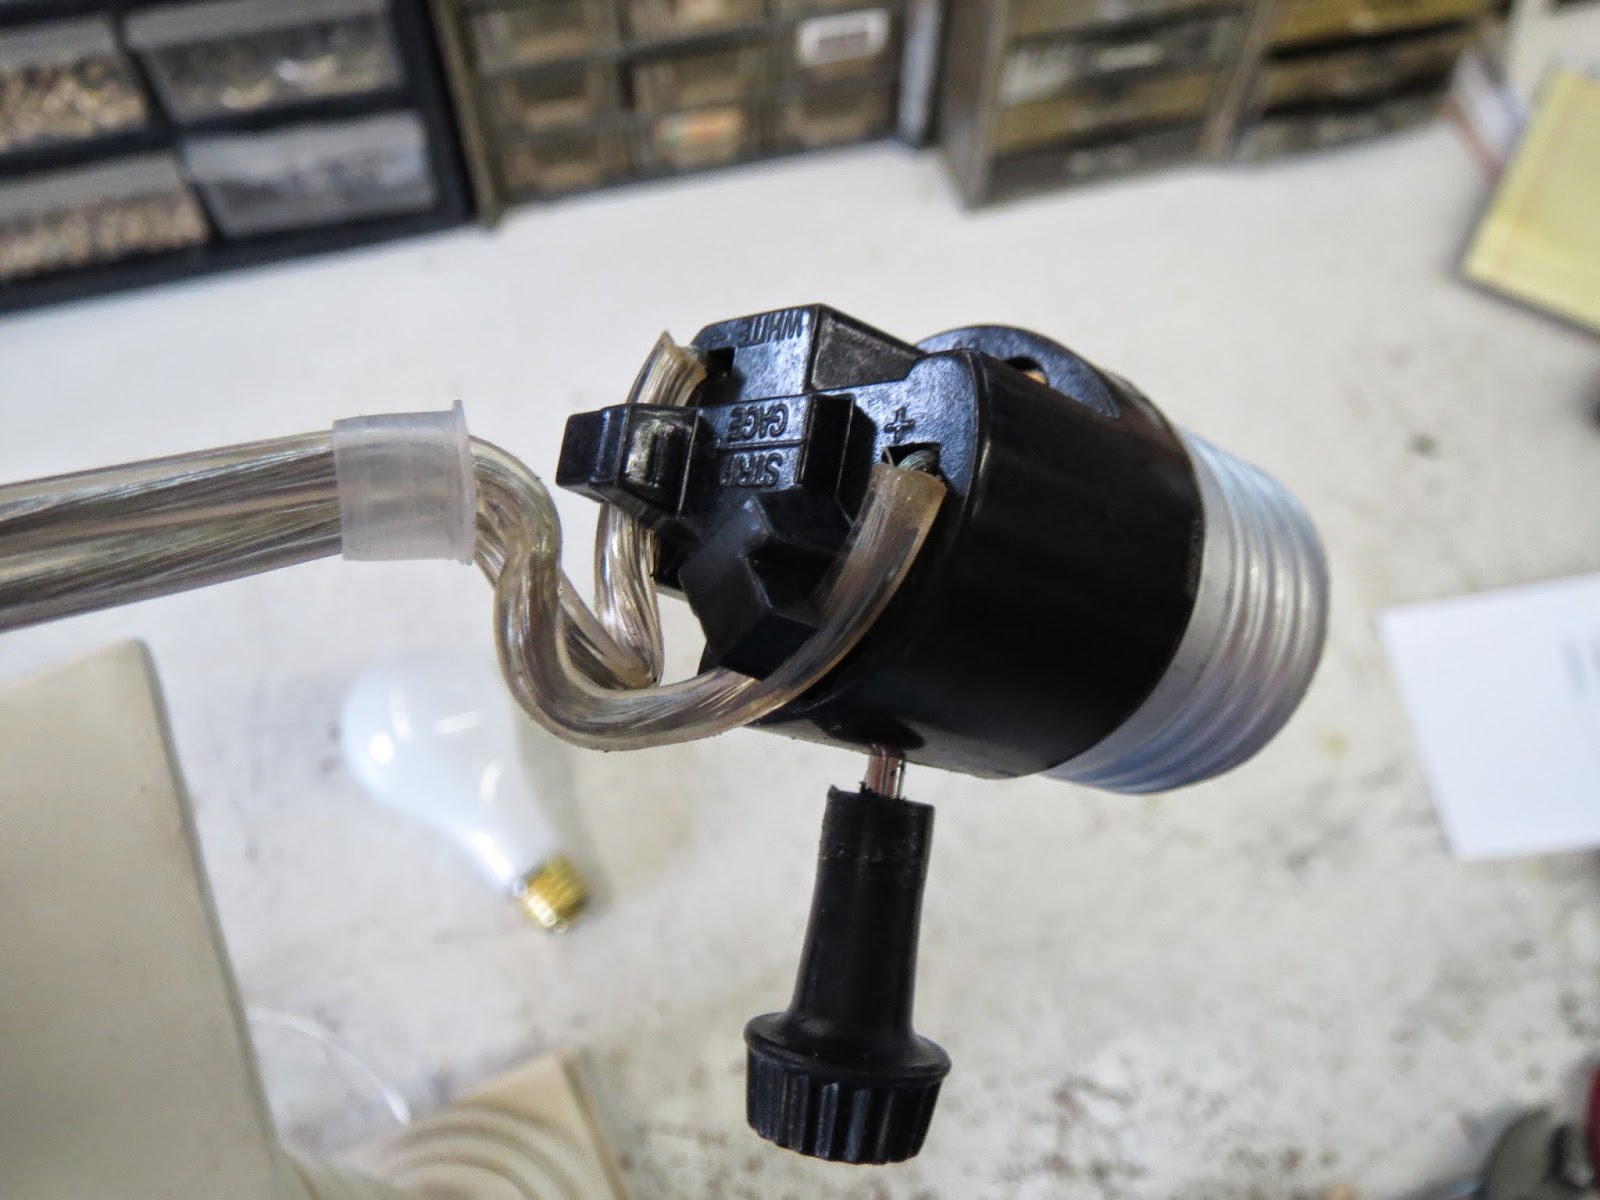
Step 4: Disconnect Wires from the Socket
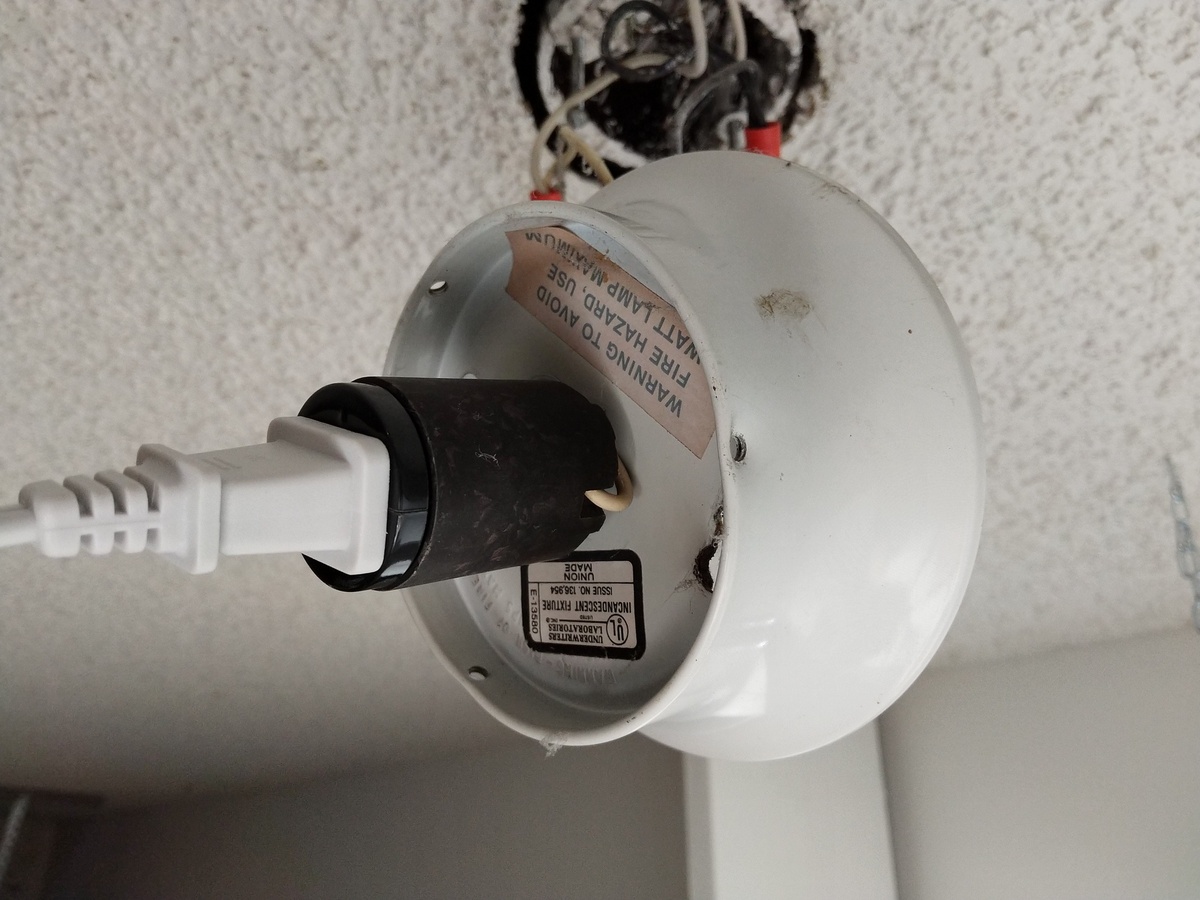
Now that you have removed the old socket, it’s time to disconnect the wires that are connected to it. Before proceeding, double-check that the power to the light fixture is turned off to ensure your safety.
Inspect the wires connected to the socket. Typically, there will be two wires – a black or hot wire and a white or neutral wire. In some cases, there may also be a green or copper wire, which is the ground wire.
Using your wire cutters or strippers, carefully remove any wire nuts or connectors that are securing the wires to the socket. Unscrew the wire nuts in a counterclockwise direction and gently separate the wires.
It’s crucial to note the original connections of the wires before removing them. Pay attention to the color-coding of the wires and any markings on the socket itself. This information will help you later when connecting the wires to the new socket.
Once the wires are disconnected, use electrical tape to cover the exposed ends of the wires to prevent any accidental contact. This extra precaution is essential for safety purposes.
Now that the wires are safely disconnected and protected, you’re ready to move on to Step 5: Connect Wires to the New Socket.
When changing out a light socket, always remember to turn off the power at the circuit breaker before starting. This will ensure your safety while working with electrical components.
Step 5: Connect Wires to the New Socket
With the old socket and wires disconnected, it’s time to connect the wires to the new socket. Before proceeding, make sure the power to the light fixture is still turned off for your safety.
Start by examining the new socket and locating the corresponding terminals or screw terminals. Typically, there will be two terminals – one for the hot wire (usually black) and one for the neutral wire (usually white).
Take the black or hot wire and carefully connect it to the terminal designated for the hot wire on the new socket. Ensure that the wire is wrapped around the terminal in a clockwise direction. Tighten the screw until the wire is securely held in place. Repeat the process for the white or neutral wire, connecting it to the corresponding terminal on the socket.
If your light fixture has a ground wire (usually green or copper), connect it to the designated ground terminal on the new socket. If there is no ground wire, this step can be skipped.
Once all the wires are securely connected, double-check to ensure that there are no loose or exposed wires. Make sure the connections are tight and properly secured to prevent any electrical hazards.
Before moving on to the next step, it’s a good idea to wrap electrical tape around the terminals and wire connections for added insulation and protection.
Now that the wires are successfully connected to the new socket, you’re ready to move on to Step 6: Screw in the New Socket.
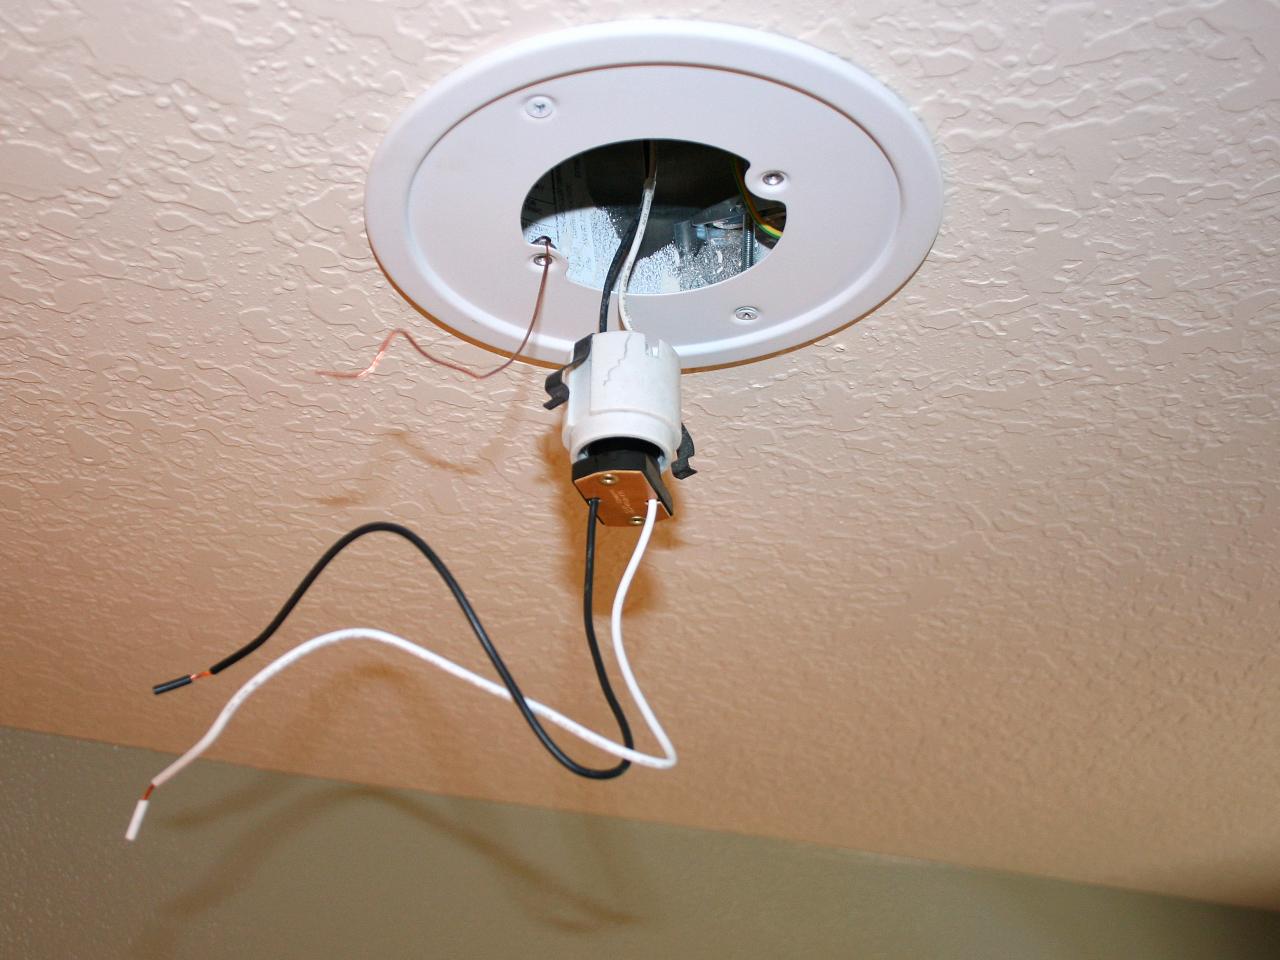
Step 6: Screw in the New Socket
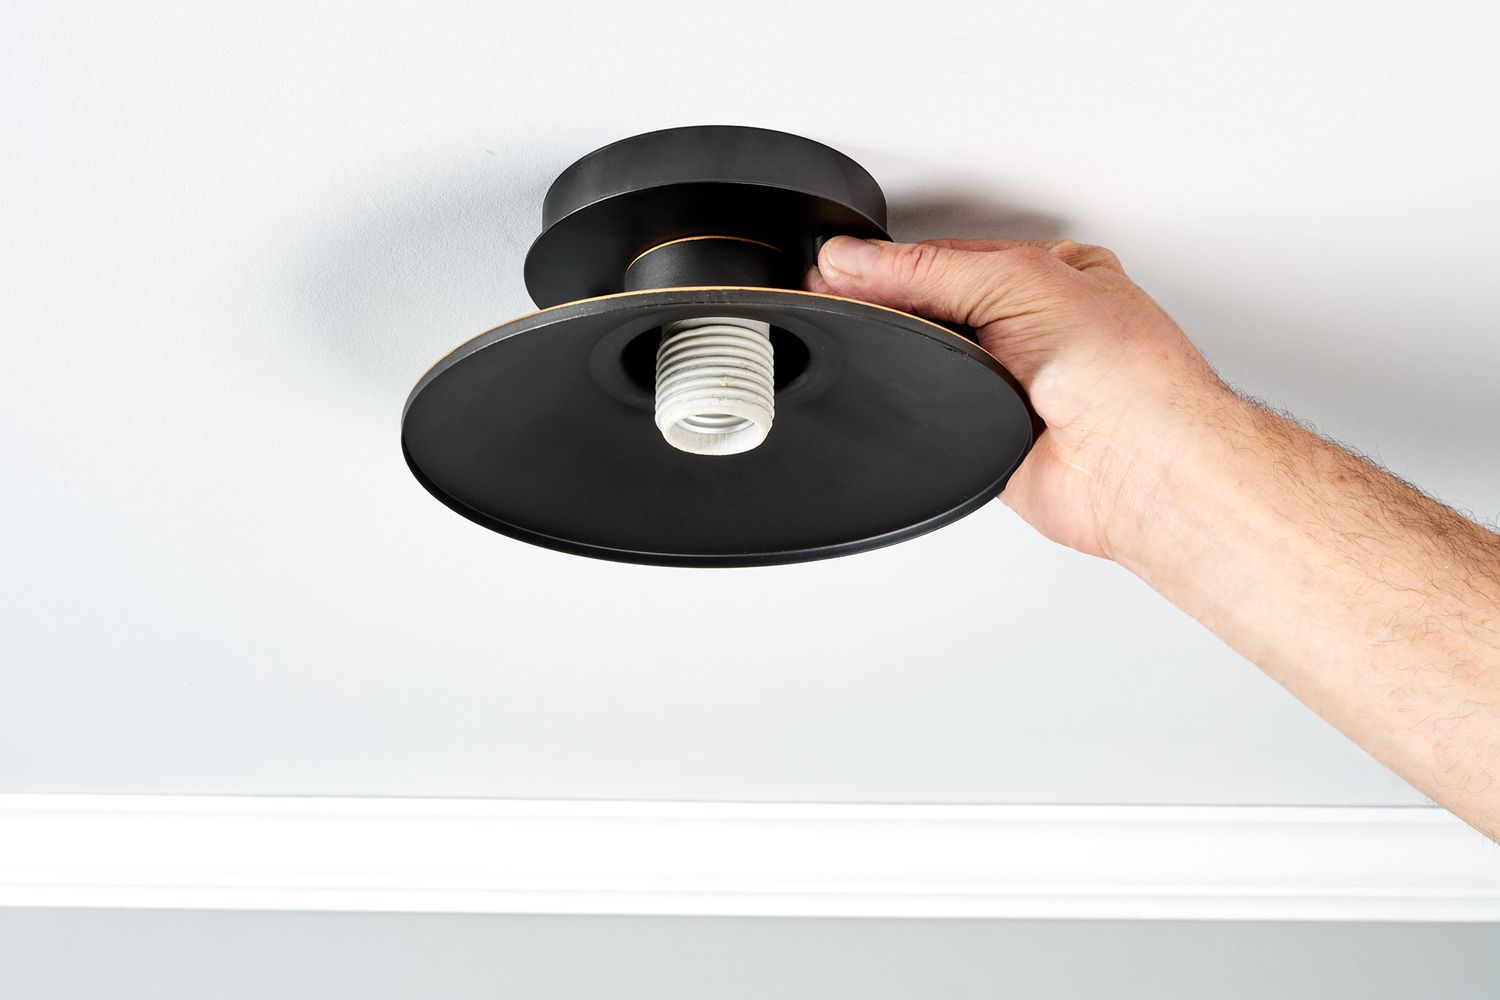
Now that the wires are securely connected to the new socket, it’s time to install the socket back into the light fixture. Make sure the power to the light fixture is still turned off before proceeding.
Take the new socket and align it with the screw holes or retaining ring on the light fixture. If there are visible screws, position the socket over the holes and insert the screws into the screw holes. Use the appropriate screwdriver to tighten the screws securely. If the socket has a retaining ring, align the notches or tabs on the socket with the corresponding slots on the fixture and twist the socket clockwise until it locks into place.
As you secure the new socket, be cautious not to pinch or trap any wires between the socket and the light fixture. Ensure that the socket sits flush against the fixture and is tightly secured.
If your new socket comes with a built-in switch or other additional features, follow the manufacturer’s instructions for proper installation.
Once the socket is securely in place, gently tug on the wires to ensure they are firmly connected and won’t come loose. Inspect the connections to make sure there are no exposed wires or loose terminals.
With the new socket installed, you’re almost done! The final step is to replace the light bulb and test the new socket.
Step 7: Replace the Light Bulb
Now that the new socket is securely installed, it’s time to replace the light bulb. Remember to ensure that the power to the light fixture is still turned off.
Take the light bulb that you removed earlier or a new one if necessary. Gently insert the bulb into the socket, aligning the base with the socket’s threads. Rotate the bulb clockwise until it is firmly screwed into place. Avoid using excessive force when tightening the bulb to prevent any damage.
If you have a dimmable light bulb or a bulb with any specific features, ensure that it is compatible with the new socket before installing it.
After the light bulb is securely in place, take a moment to clean the bulb and socket if needed. Use a soft, dry cloth to wipe away any fingerprints or dust that may have accumulated.
With the light bulb replaced, you’re almost done! The final step is to turn on the power and test the new socket.
Read more: How To Replace Tail Light Socket
Step 8: Turn On the Power
Now that you’ve completed the installation of the new socket and replaced the light bulb, it’s time to turn on the power and test the functionality of the light fixture. Before proceeding, ensure that all tools and materials are safely cleared from the work area.
Head over to the circuit breaker box where you previously turned off the power. Locate the breaker that controls the light fixture and flip it to the “on” position.
Once the power is turned on, head back to the light fixture and test the new socket. Flip the light switch or use the wall switch to turn on the light. If everything has been installed correctly, the light should illuminate without any issues.
Take a moment to observe the new socket and ensure that there are no flickering lights, unusual sounds, or overheating. If you notice any anomalies, turn off the power immediately and consult a professional electrician.
If the light functions properly, congratulations! You’ve successfully changed out the light socket. Take a moment to bask in your accomplishment before tidying up the work area and putting away the tools.
Remember, if you encounter any difficulties, it’s always best to consult a professional electrician for assistance. Electrical work can be complex and potentially dangerous, so prioritize your safety at all times.
With the light fixture now back in operation, you can enjoy the benefits of a newly installed socket that provides reliable and safe lighting for your space.
Conclusion
Congratulations! You have successfully learned how to change out a light socket. By following these step-by-step instructions, you were able to replace the old socket with a new one and ensure the safe and proper functioning of your light fixture.
Remember, when working with electricity, safety should always be the top priority. Make sure to turn off the power to the light fixture before starting the process and take precautions to prevent any accidental shocks or injuries.
Having the right tools and materials readily available, such as a screwdriver, wire cutters, a new socket, and electrical tape, made the process much smoother. Taking the time to understand the wiring connections and properly reconnecting them to the new socket ensured a seamless transition.
Throughout the process, it’s essential to pay attention to detail, follow the manufacturer’s instructions, and trust your instincts. If at any point you find the task too challenging or complex, it’s always recommended to seek assistance from a qualified electrician.
By learning how to change out a light socket, you have empowered yourself to tackle simple electrical projects in your home. This valuable skill can save you time and money by avoiding the need to call a professional for minor repairs or upgrades.
Enjoy the benefits of your newly installed socket, providing you with reliable lighting for years to come. Remember to regularly inspect your light fixtures and sockets for any signs of damage or wear and address any issues promptly.
Thank you for following this comprehensive guide. We hope it has been informative and helpful in your journey to become a DIY enthusiast. Happy lighting!
Frequently Asked Questions about How To Change Out A Light Socket
Was this page helpful?
At Storables.com, we guarantee accurate and reliable information. Our content, validated by Expert Board Contributors, is crafted following stringent Editorial Policies. We're committed to providing you with well-researched, expert-backed insights for all your informational needs.
0 thoughts on “How To Change Out A Light Socket”