Articles
How To Fix A Ceiling Fan Light Socket
Modified: August 29, 2024
Learn how to fix a ceiling fan light socket with this informative article. Get step-by-step instructions and expert tips to ensure a successful repair.
(Many of the links in this article redirect to a specific reviewed product. Your purchase of these products through affiliate links helps to generate commission for Storables.com, at no extra cost. Learn more)
Introduction
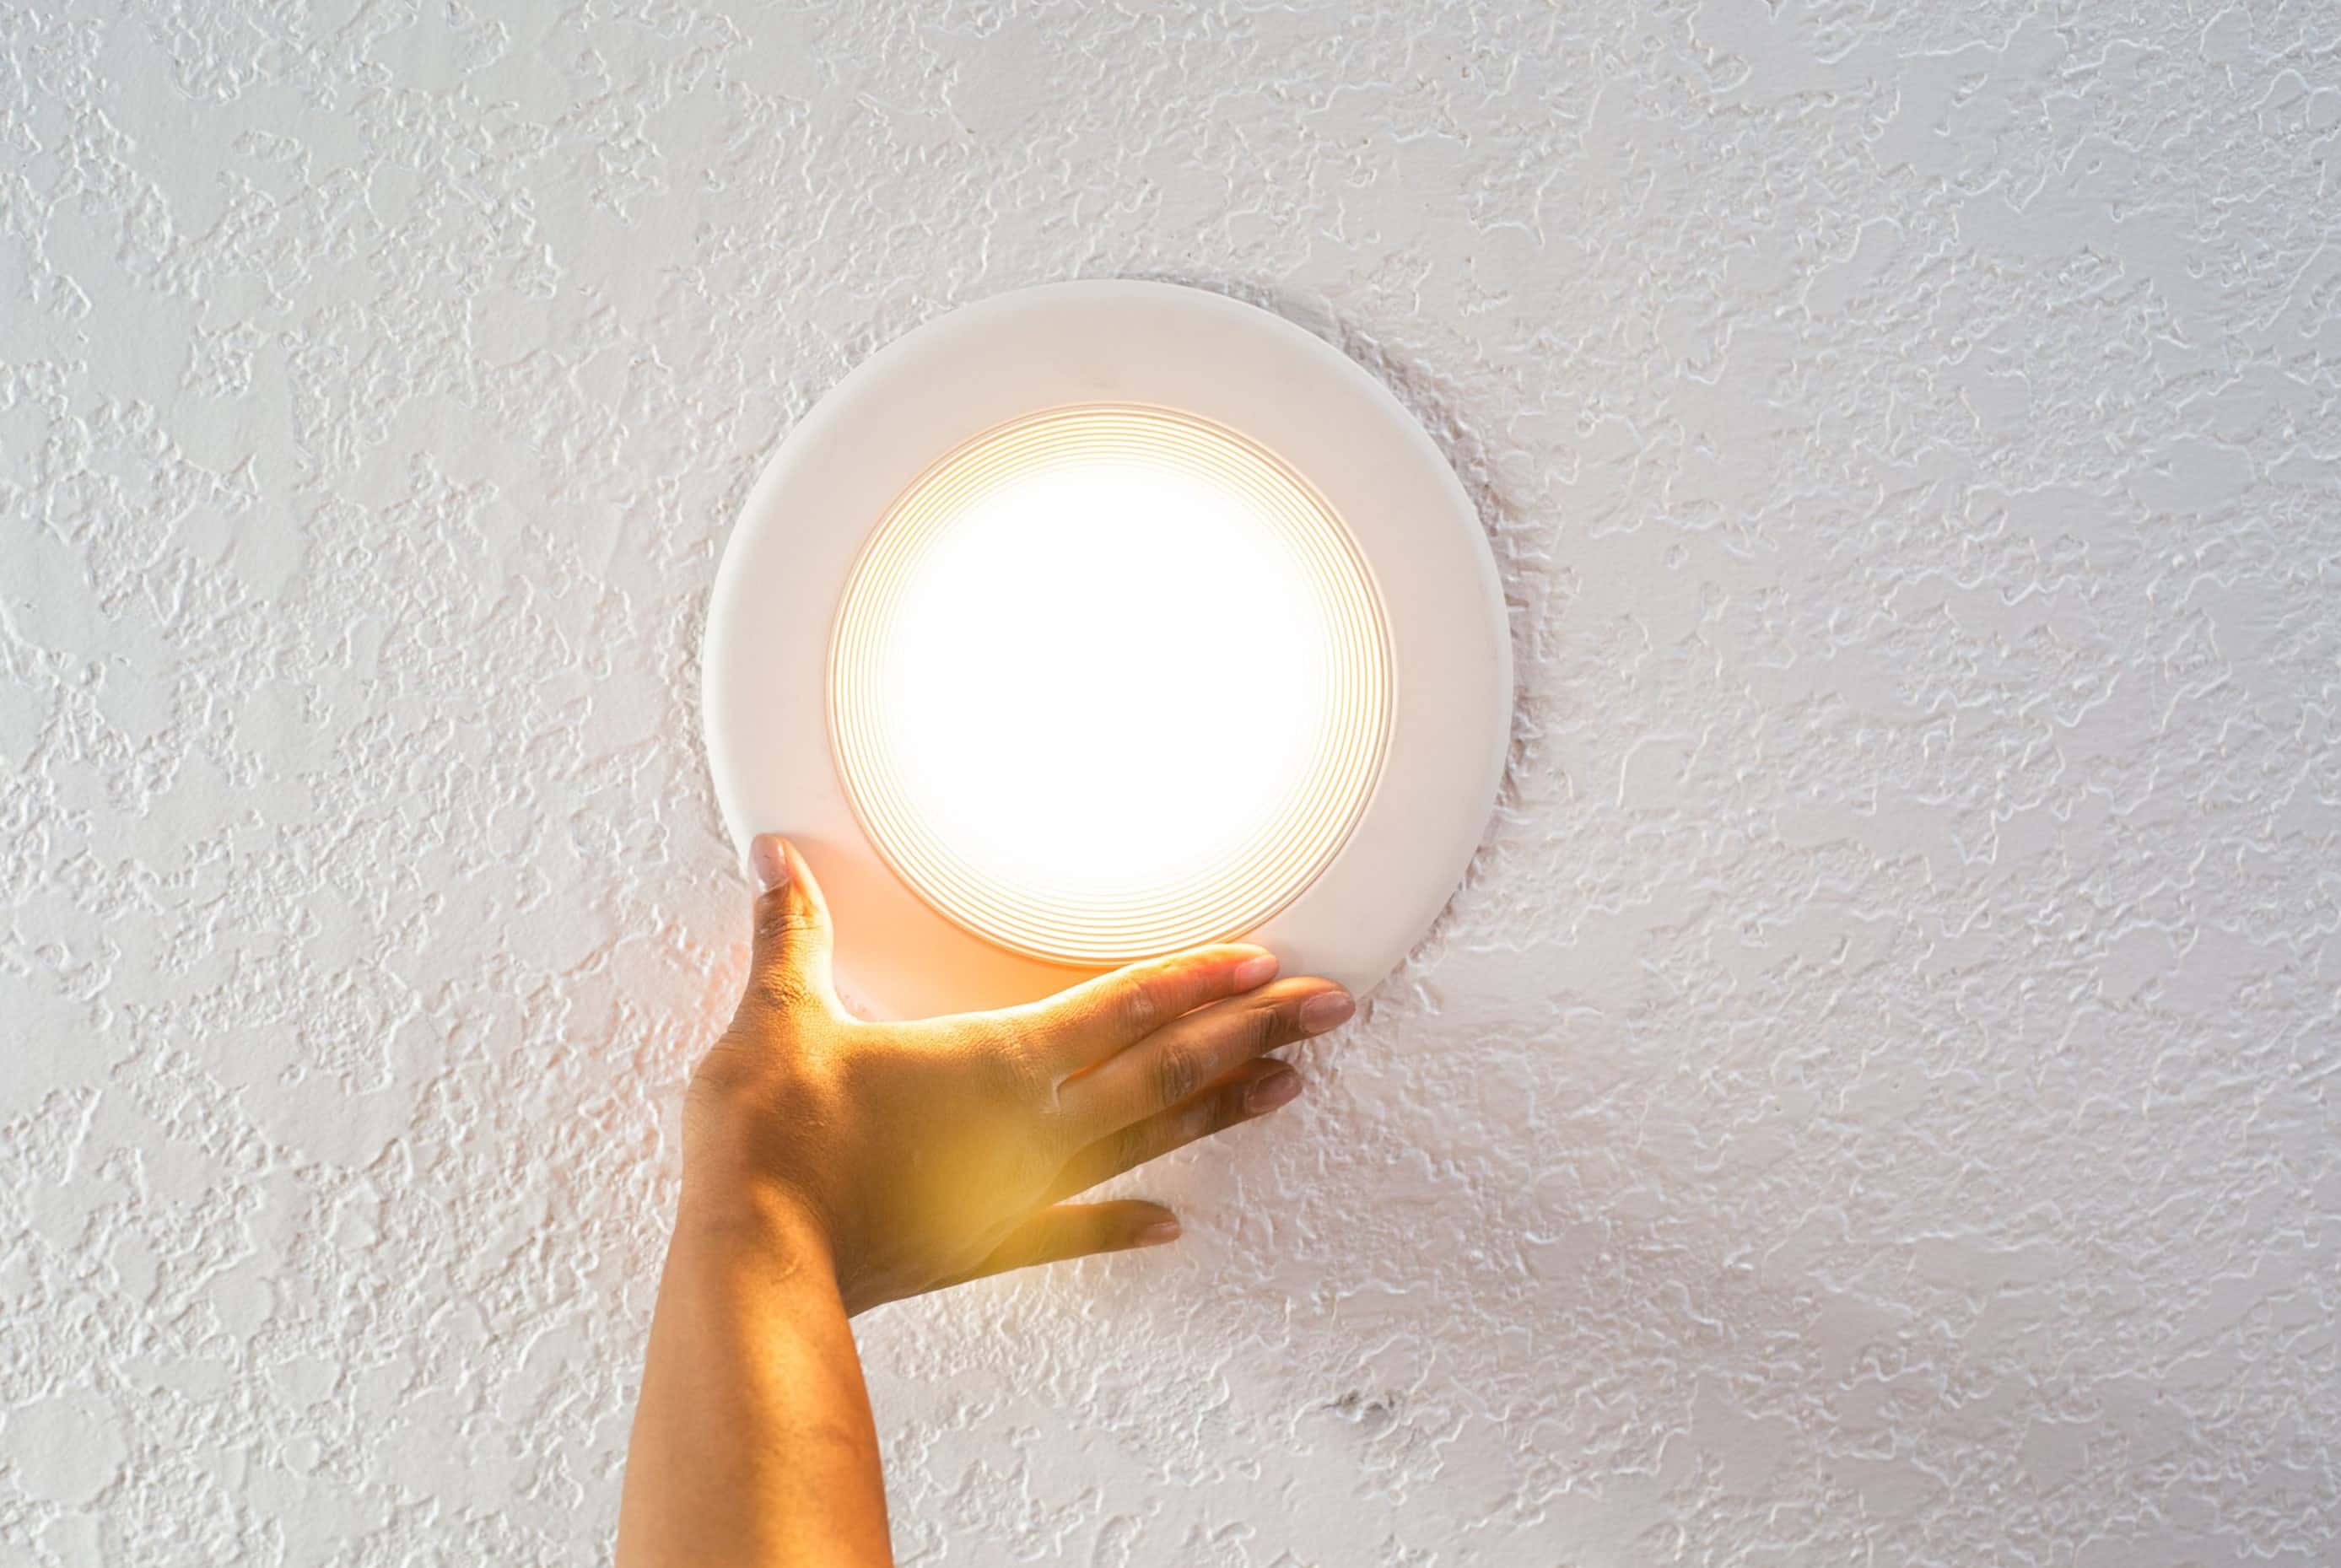
A ceiling fan with a light fixture can provide both comfort and illumination to any room. However, over time, the light socket in your ceiling fan may encounter issues such as flickering lights, bulbs that burn out quickly, or even a complete failure of the socket. Rather than replacing the entire ceiling fan, you can often fix the problem by replacing the light socket.
In this article, we will guide you through the process of fixing a ceiling fan light socket. We will discuss the steps involved, including identifying the issue, gathering the necessary tools and materials, disconnecting the power, removing the light kit, examining the light socket, replacing the socket, testing the new socket, and finally, reassembling the fan. By following these instructions, you’ll be able to address the issue and restore the functionality of your ceiling fan’s light fixture.
Before we begin, it’s important to note that working with electricity can be dangerous. If you are unsure or uncomfortable with performing any of the steps mentioned, it is best to consult a professional electrician. Safety should always be your top priority when dealing with electrical components.
Now that we have covered the necessary precautions, let’s proceed to the first step in fixing a ceiling fan light socket, which is identifying the issue.
Key Takeaways:
- Identify, gather, and fix! From flickering lights to burnt-out bulbs, learn to troubleshoot and replace a ceiling fan light socket with safety as the top priority.
- DIY success and enhanced ambiance! By following step-by-step instructions, you can save on costs and extend the lifespan of your ceiling fan while enjoying a fully functional light fixture.
Read also: 15 Amazing Ceiling Fan Light Socket for 2025
Identifying the Issue
Before you can fix a ceiling fan light socket, it’s important to identify the specific issue you’re facing. This will help determine whether the problem lies with the socket itself or if there are any other underlying issues that need to be addressed.
Common issues that can occur with a ceiling fan light socket include:
- Flickering lights: If you notice that the lights on your ceiling fan are flickering or inconsistent in brightness, it could indicate a problem with the socket.
- Bulbs burning out quickly: If you find that the bulbs in your ceiling fan’s light fixture are burning out faster than usual, it could be due to a faulty socket.
- No lights at all: If the lights on your ceiling fan are not turning on at all, it’s likely that there is an issue with the socket or the electrical connection.
- Loose or damaged socket: Inspect the socket for any signs of physical damage or looseness. A damaged or loose socket can cause electrical issues that affect the functionality of the light fixture.
Once you have identified the specific issue, you can proceed to the next step, which is gathering the necessary tools and materials.
Note: If you are uncertain about the issue or if you are not comfortable working with electrical components, it is advisable to seek the assistance of a professional electrician.
Gathering Tools and Materials
Before you can begin the process of fixing a ceiling fan light socket, you will need to gather the necessary tools and materials. Having everything prepared beforehand will ensure a smoother and more efficient repair process.
Here is a list of the tools and materials you will need:
- Screwdriver: You will need a screwdriver to remove the screws that hold the light kit in place. The type of screwdriver needed may vary depending on the fan model, so it’s a good idea to have a few different sizes and types on hand.
- Wire stripper: If you need to replace the socket, a wire stripper will come in handy to remove the insulation from the electrical wires.
- Replacement light socket: Depending on the specific issue you’re encountering, you may need to have a replacement light socket. Make sure to purchase a socket that is compatible with your ceiling fan model.
- Electrical tape: Electrical tape is useful for securing the electrical connections and preventing any potential hazards.
- Ladder or step stool: Depending on the height of your ceiling fan, you may need a ladder or step stool to reach the light fixture safely.
- Safety goggles and gloves: It’s important to prioritize your safety when working with electrical components, so wearing safety goggles and gloves is highly recommended.
By having these tools and materials ready, you can ensure a smoother repair process without any unnecessary delays or interruptions. With everything prepared, you are now ready to move on to the next step, which involves disconnecting the power.
Note: Always exercise caution when working with electricity, and if you are uncertain or uncomfortable with any aspect of the repair process, it is best to consult a professional electrician.
Disconnecting the Power
Prior to beginning any work on the ceiling fan light socket, it is crucial to disconnect the power to ensure your safety. Working with live electrical wiring can be hazardous, so taking this precautionary step is essential.
To disconnect the power to the ceiling fan, follow these steps:
- Locate the circuit breaker: Find the circuit breaker in your home’s electrical panel that controls the power supply to the ceiling fan. If you are unsure which breaker controls the fan, you may need to switch off the main breaker to ensure complete disconnection.
- Turn off the breaker: Switch off the designated breaker by flipping it to the “off” position. You can verify that the power is disconnected by attempting to turn on the fan and lights. If they do not respond, it indicates a successful power disconnection.
- Use a non-contact voltage tester: For added safety, use a non-contact voltage tester to confirm that there is no power running to the ceiling fan. This device will detect the presence of electrical current without the need for direct contact.
Remember, always treat electrical components as if they are live until you have confirmed otherwise. By disconnecting the power, you eliminate the risk of electric shock or injury while working on the light socket.
Once you have ensured that the power is disconnected, you can proceed to the next step, which involves removing the light kit from the ceiling fan.
Note: If you are unsure about disconnecting the power or do not feel confident in doing so, it is best to consult a professional electrician.
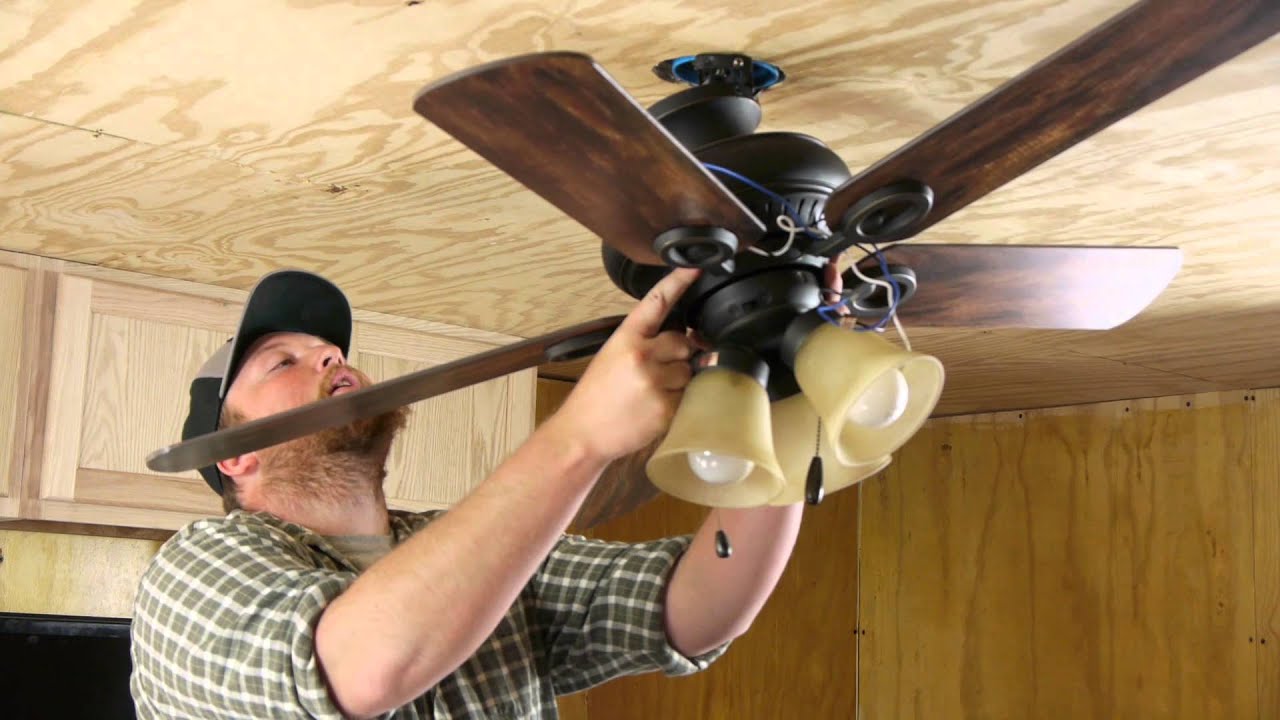
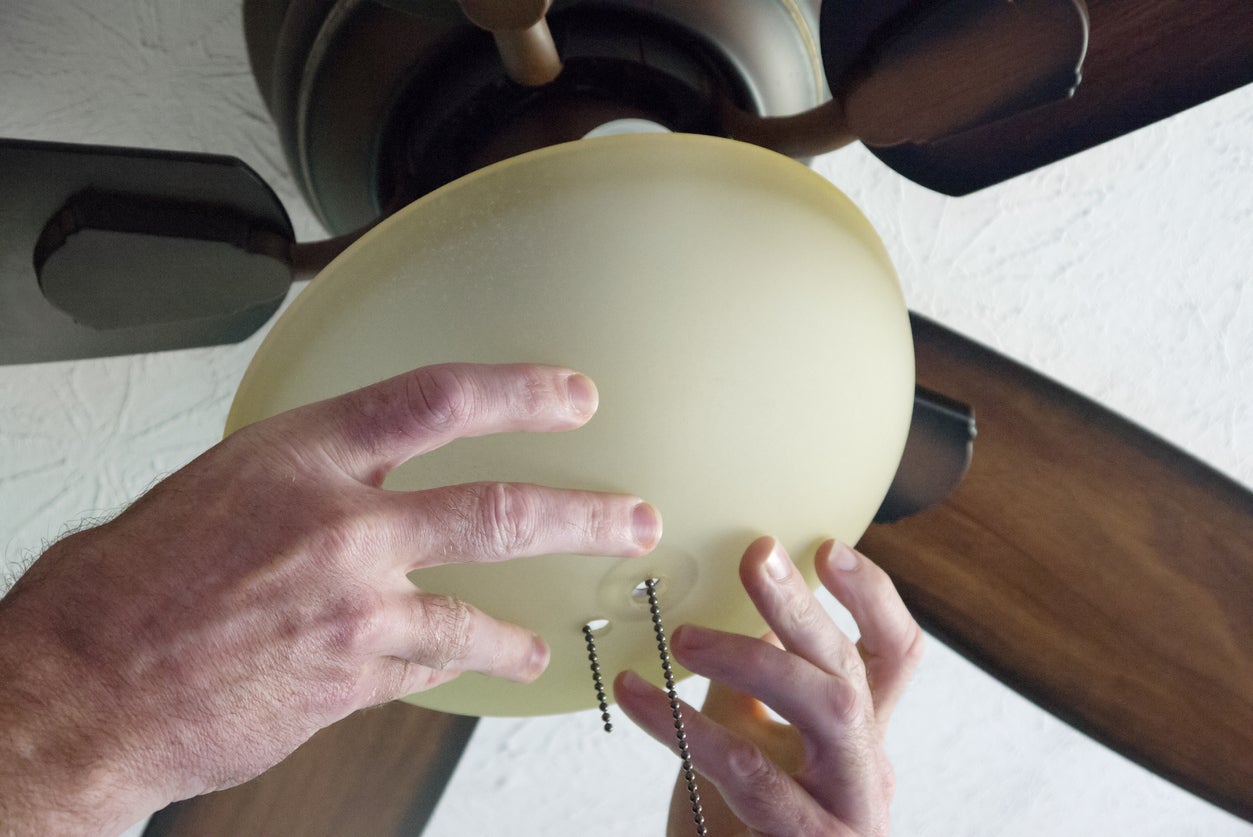
Removing the Light Kit
After disconnecting the power, the next step in fixing a ceiling fan light socket is to remove the light kit from the fan. The light kit is the component that holds the light bulbs and the socket itself.
To remove the light kit, follow these steps:
- Locate the screws or fasteners: Inspect the light kit to identify the screws or fasteners that secure it to the fan. These screws are typically located on the sides or bottom of the light kit.
- Loosen the screws or fasteners: Use a screwdriver to carefully loosen and remove the screws or fasteners that hold the light kit in place. Be sure to keep track of these screws, as you will need them later when reassembling the fan.
- Lower the light kit: Once the screws or fasteners are removed, gently lower the light kit and disconnect any wiring that connects it to the ceiling fan. Take note of the wire connections to ensure proper reassembly later.
With the light kit removed, you now have access to the light socket. Inspect the socket for any obvious signs of damage or issues, such as burn marks or loose connections. If the socket appears to be in good condition, you may be able to proceed with addressing any other underlying issues, such as wiring or bulb compatibility. However, if the socket is damaged, it will likely need to be replaced.
Now that the light kit has been removed, you can move on to the next step, which involves examining the light socket in more detail.
Note: If you are unsure about removing the light kit or have difficulties in doing so, it is best to consult the fan’s manufacturer or a professional electrician for assistance.
When fixing a ceiling fan light socket, first turn off the power to the fan. Then, use a voltage tester to ensure the power is off. Next, remove the light bulb and carefully unscrew the socket from the fan. Check for any loose wires or corrosion, and replace the socket if necessary. Finally, reassemble the fan and test the light.
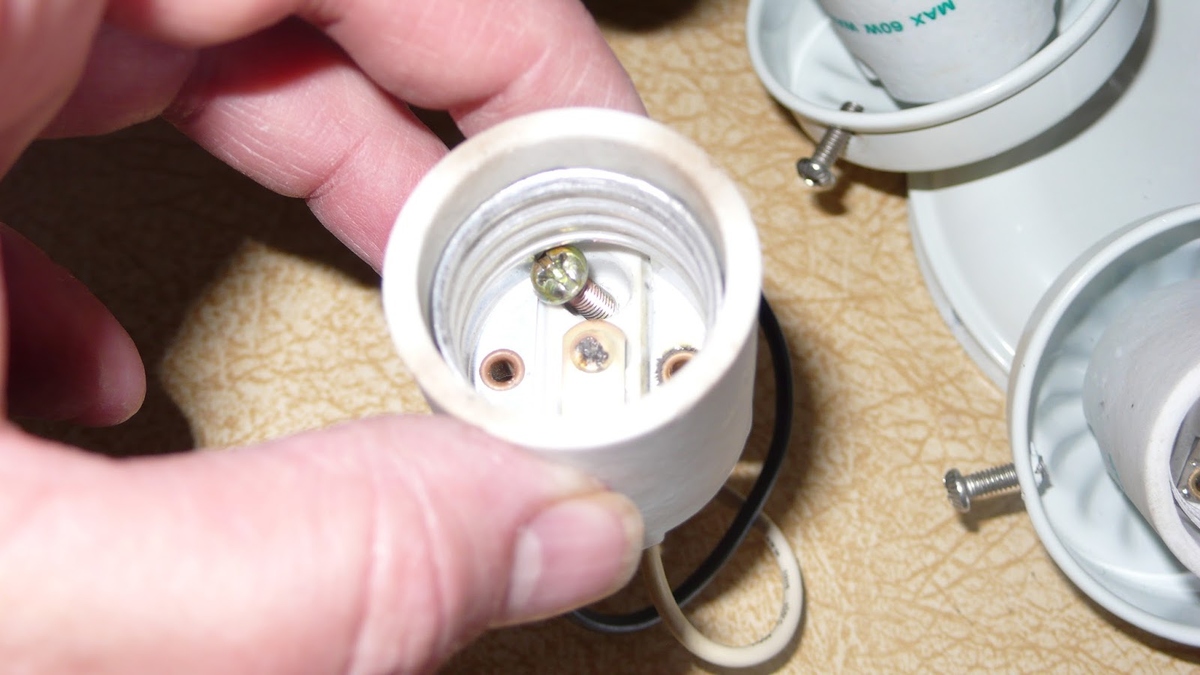
Examining the Light Socket
Once you have removed the light kit from the ceiling fan, it is time to examine the light socket in more detail. This step will help you determine if the socket is the root cause of the issue or if there are any other underlying problems that need to be addressed.
Here are some things to check and consider while examining the light socket:
- Physical damage: Inspect the light socket for any visible signs of physical damage, such as cracks, burn marks, or melted components. Any noticeable damage may indicate that the socket needs to be replaced.
- Loose connections: Check the wiring connections within the socket to ensure they are secure. Loose connections can cause flickering lights or intermittent power supply. If you find any loose connections, tighten them carefully.
- Bulb compatibility: Verify that the bulbs you have been using are compatible with the socket. Some sockets have specific wattage or bulb type requirements, and using the wrong bulbs can lead to issues like overheating or premature bulb failure.
- Cleanliness: Take a moment to clean the socket gently. Dust or debris can accumulate over time and interfere with proper contact between the bulb and the socket. Use a soft cloth or a small brush to remove any dirt or residue.
If you observe any issues during the examination, such as significant damage or loose connections that cannot be repaired, it is likely that the light socket needs to be replaced. However, if the socket appears to be in good condition and there are no other obvious problems, you can proceed with testing the socket before considering a replacement.
Take your findings into consideration and determine the most appropriate course of action for addressing the issue with the light socket. In the next step, we will discuss how to replace the light socket if necessary.
Note: If you are unsure about examining the light socket or need further assistance, it is advisable to consult the fan’s manufacturer or a professional electrician.
Replacing the Light Socket
If you have determined that the light socket needs to be replaced based on your examination, it is time to proceed with the replacement process. Replacing the light socket will help resolve issues like flickering lights, bulb burnout, or a complete failure of the socket.
Follow these steps to replace the light socket:
- Disconnect the wiring: Carefully disconnect the wiring that is connected to the existing light socket. Use a wire stripper to remove the insulation from the wire ends, ensuring a clean connection for the new socket.
- Remove the existing socket: Unscrew the existing light socket from the light kit. Pay attention to the type of socket and the number of wires attached to it to ensure you purchase the correct replacement.
- Install the new light socket: Take the new light socket and attach it to the light kit, securing it with screws. Make sure it is firmly in place.
- Reconnect the wiring: Take the wires from the ceiling fan and connect them to the corresponding terminals on the new light socket. Twist the wires together and secure them with wire nuts. Ensure a tight and secure connection.
- Secure the wiring: Use electrical tape to wrap around the wire connections for added security and insulation. This will help prevent any potential electrical hazards.
Once you have replaced the light socket, take a moment to double-check all the connections and ensure that everything is tightly secured. This will help prevent any future issues or malfunctions.
With the new light socket in place, you are now ready to move on to the next step, which involves testing the functionality of the socket and the light fixture.
Note: If you are unsure about replacing the light socket or are not comfortable with electrical work, it is recommended to seek the assistance of a professional electrician.
Testing the New Light Socket
After replacing the light socket in your ceiling fan, it is important to test its functionality to ensure that the issue has been resolved and the light fixture is working properly.
Follow these steps to test the new light socket:
- Reconnect the power: Turn the breaker back on to restore power to the ceiling fan.
- Turn on the light switch: Flip the light switch that controls the ceiling fan’s lights to the “on” position.
- Observe the lights: Check if the lights turn on and operate as expected. Look for any signs of flickering, dimness, or other irregularities.
- Test different bulbs: If you have experienced issues with specific bulbs, try using different bulbs in the new light socket and observe their performance.
- Check for stability: Make sure the new light socket is securely in place and does not show any signs of looseness.
If the new light socket functions properly and the lights operate without any issues, congratulations! You have successfully fixed the ceiling fan light socket. However, if you still encounter problems with the lights or the socket, it may be necessary to re-evaluate the wiring connections or consult a professional for further assistance.
It’s worth noting that if the issue persists even after replacing the light socket, there may be other underlying problems with the ceiling fan’s electrical system. In such cases, it is best to contact a professional electrician to assess and resolve the issue.
With the new light socket tested and functioning correctly, you are now ready to move on to the final step, which involves reassembling the fan.
Note: Always exercise caution while testing electrical components. If you encounter any issues or are unsure about the testing process, it is advisable to seek the assistance of a professional electrician.
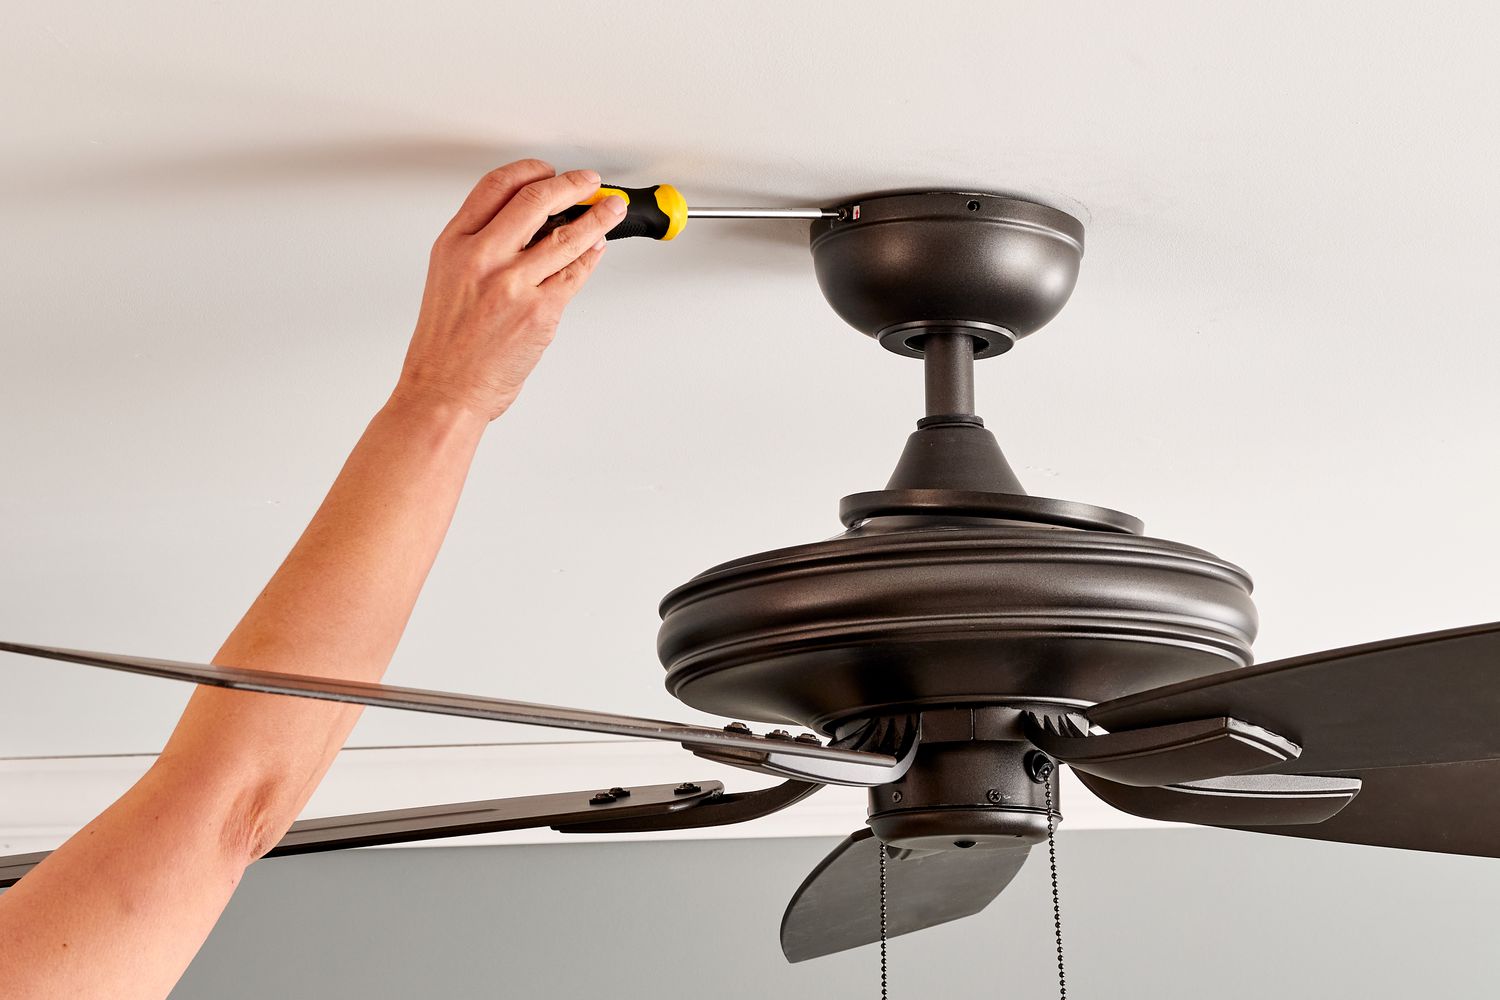
Reassembling the Fan
After successfully fixing the light socket in your ceiling fan, the final step is to reassemble the fan. Reassembling the fan involves putting all the components back together so that it is fully functional and ready to use.
Follow these steps to reassemble the fan:
- Retrieve the light kit: Locate the light kit that you previously removed from the fan.
- Align the light kit: Position the light kit under the fan housing, aligning it with the mounting holes or slots.
- Secure the light kit: Use the screws or fasteners that you removed earlier to secure the light kit to the fan. Tighten them securely, but avoid over-tightening.
- Connect the wiring: Reconnect the wiring that you disconnected during the removal process. Match the wire colors (typically black to black, white to white, and green or copper to the ground) and secure them with wire nuts.
- Test the fan and lights: Turn on the fan and lights to ensure that everything is functioning correctly. Verify that the fan blades are spinning smoothly, and the lights are operating as expected.
- Double-check everything: Take a moment to double-check all connections, screws, and fasteners to ensure they are secure. Look for any loose or wobbly components and tighten them if necessary.
With the fan reassembled and fully functional, you can now enjoy the improved performance of your ceiling fan’s light fixture. Regularly clean and maintain the fan to prolong its lifespan and prevent future issues.
Remember, if at any point during the reassembly process you encounter difficulties or are unsure about any step, it is advisable to consult the fan’s manufacturer or seek the assistance of a professional electrician.
Congratulations! You have successfully fixed the ceiling fan light socket and reassembled the fan. Enjoy the renewed functionality and illumination of your ceiling fan!
Conclusion
Fixing a ceiling fan light socket can be a relatively simple DIY task that can save you the cost and hassle of replacing the entire fan. By identifying the issue, gathering the necessary tools and materials, disconnecting the power, removing the light kit, examining the light socket, replacing it if necessary, testing the new socket, and reassembling the fan, you can restore the functionality of your ceiling fan’s light fixture.
Throughout the process, it is important to prioritize safety by taking precautions, such as disconnecting the power and seeking professional assistance if needed. Working with electricity can be dangerous, and it is essential to exercise caution at all times.
By following the step-by-step instructions provided in this article, you can troubleshoot and fix common issues with your ceiling fan’s light socket. Whether it’s flickering lights, bulbs burning out quickly, or a complete failure of the socket, the solutions presented here will guide you through the repair process.
Remember, if you are uncertain about any aspect of the repair or feel uncomfortable working with electrical components, it is always advisable to consult a professional electrician who can ensure the job is done safely and effectively.
By taking the time to fix your ceiling fan’s light socket, you not only save money but also extend the lifespan of your fan. A fully functional light fixture ensures optimal illumination and adds to the overall comfort and ambience of your living space.
We hope this article has provided you with valuable insights and guidance to tackle the task of fixing a ceiling fan light socket. With the right knowledge and tools, you can successfully address the issue and enjoy the benefits of a fully functioning ceiling fan.
Remember to prioritize safety, follow the instructions carefully, and always seek professional help when needed. We wish you success in fixing your ceiling fan light socket!
Now that you've mastered fixing a ceiling fan light socket, why stop there? Extend your DIY prowess by diving into essential home maintenance routines that keep your living space in top shape. Or maybe you're ready to take on a new challenge? Learn ceiling fan installation to refresh your room's ambiance. If you encounter any snags along the way, our guide on ceiling fan repair will help you troubleshoot like a pro. Each step you take builds your skills and enhances your home's comfort and functionality.
Frequently Asked Questions about How To Fix A Ceiling Fan Light Socket
Was this page helpful?
At Storables.com, we guarantee accurate and reliable information. Our content, validated by Expert Board Contributors, is crafted following stringent Editorial Policies. We're committed to providing you with well-researched, expert-backed insights for all your informational needs.


0 thoughts on “How To Fix A Ceiling Fan Light Socket”