Articles
How To Install Light Socket In Ceiling
Modified: March 1, 2024
Learn how to install a light socket in your ceiling with this informative guide. Find step-by-step instructions and useful tips in this article.
(Many of the links in this article redirect to a specific reviewed product. Your purchase of these products through affiliate links helps to generate commission for Storables.com, at no extra cost. Learn more)
Introduction
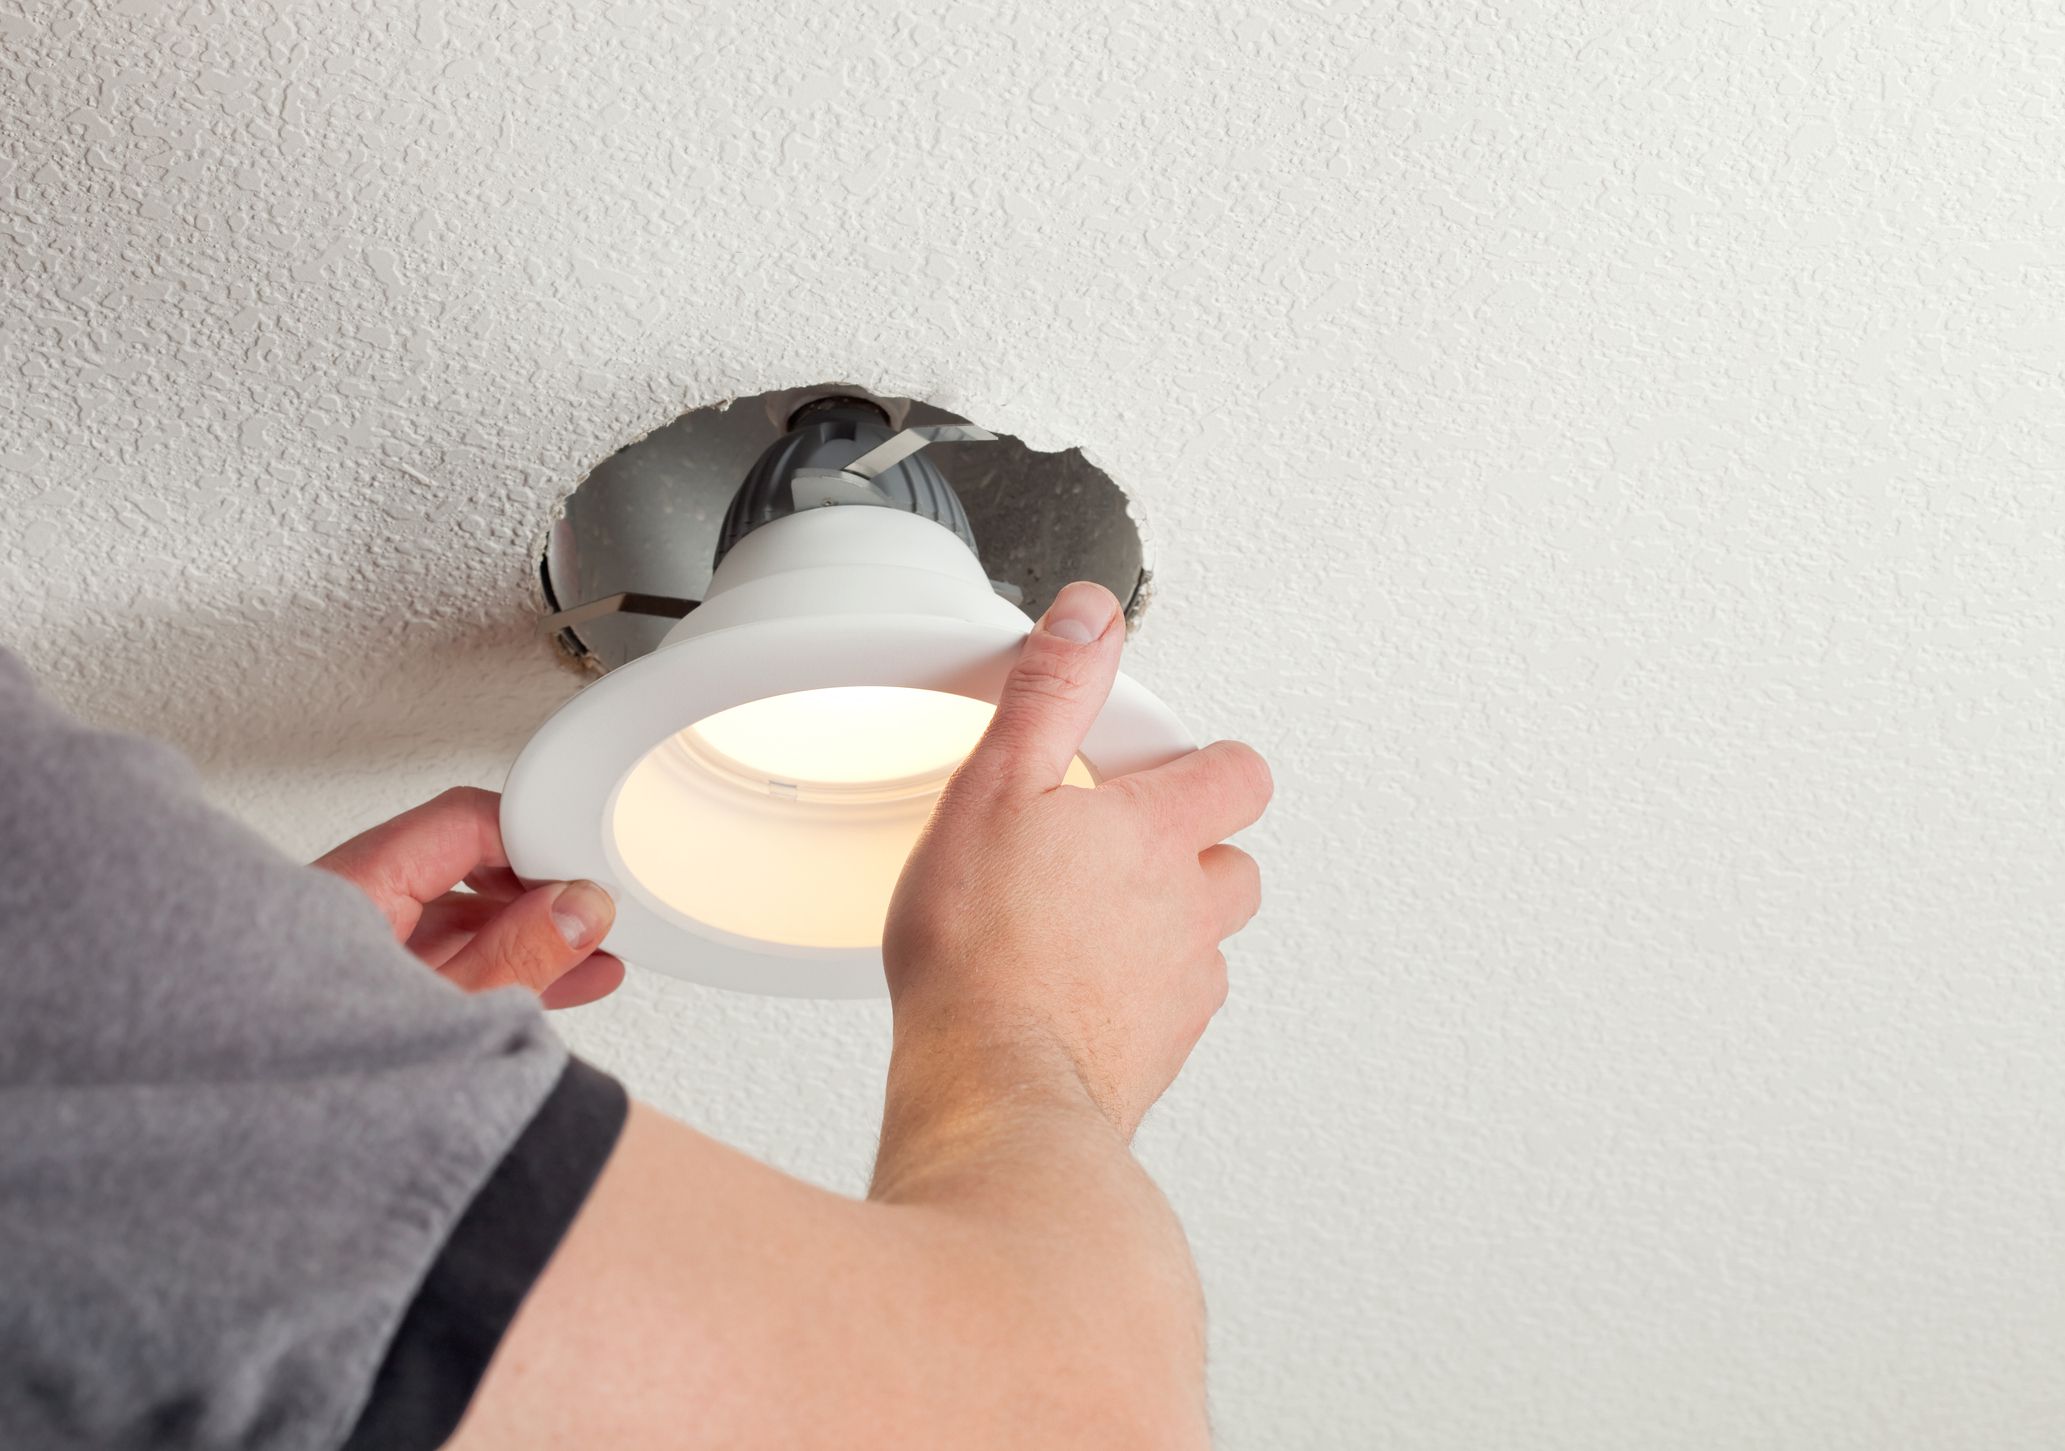
Installing a light socket in a ceiling is a simple and practical DIY project that can enhance the lighting in any room. Whether you’re replacing an old, worn-out socket or installing a brand new one, this guide will walk you through the process step by step. With the right tools and materials, you’ll have a functioning light socket in no time.
Before you start the installation process, it’s important to remember to follow safety precautions. Make sure to turn off the power to the circuit you’ll be working on, and use caution when handling electrical wires. If you’re not comfortable working with electricity, it’s always best to hire a professional electrician.
In this guide, we’ll outline the tools and materials you’ll need, as well as provide detailed instructions on how to install a light socket in a ceiling. Now let’s get started!
Key Takeaways:
- Prioritize safety by turning off the power, selecting the right socket, and properly connecting the wires to ensure a successful and functional light socket installation.
- Enjoy the satisfaction of enhancing your room’s lighting by following the step-by-step guide, securing the socket, and restoring power for a job well done.
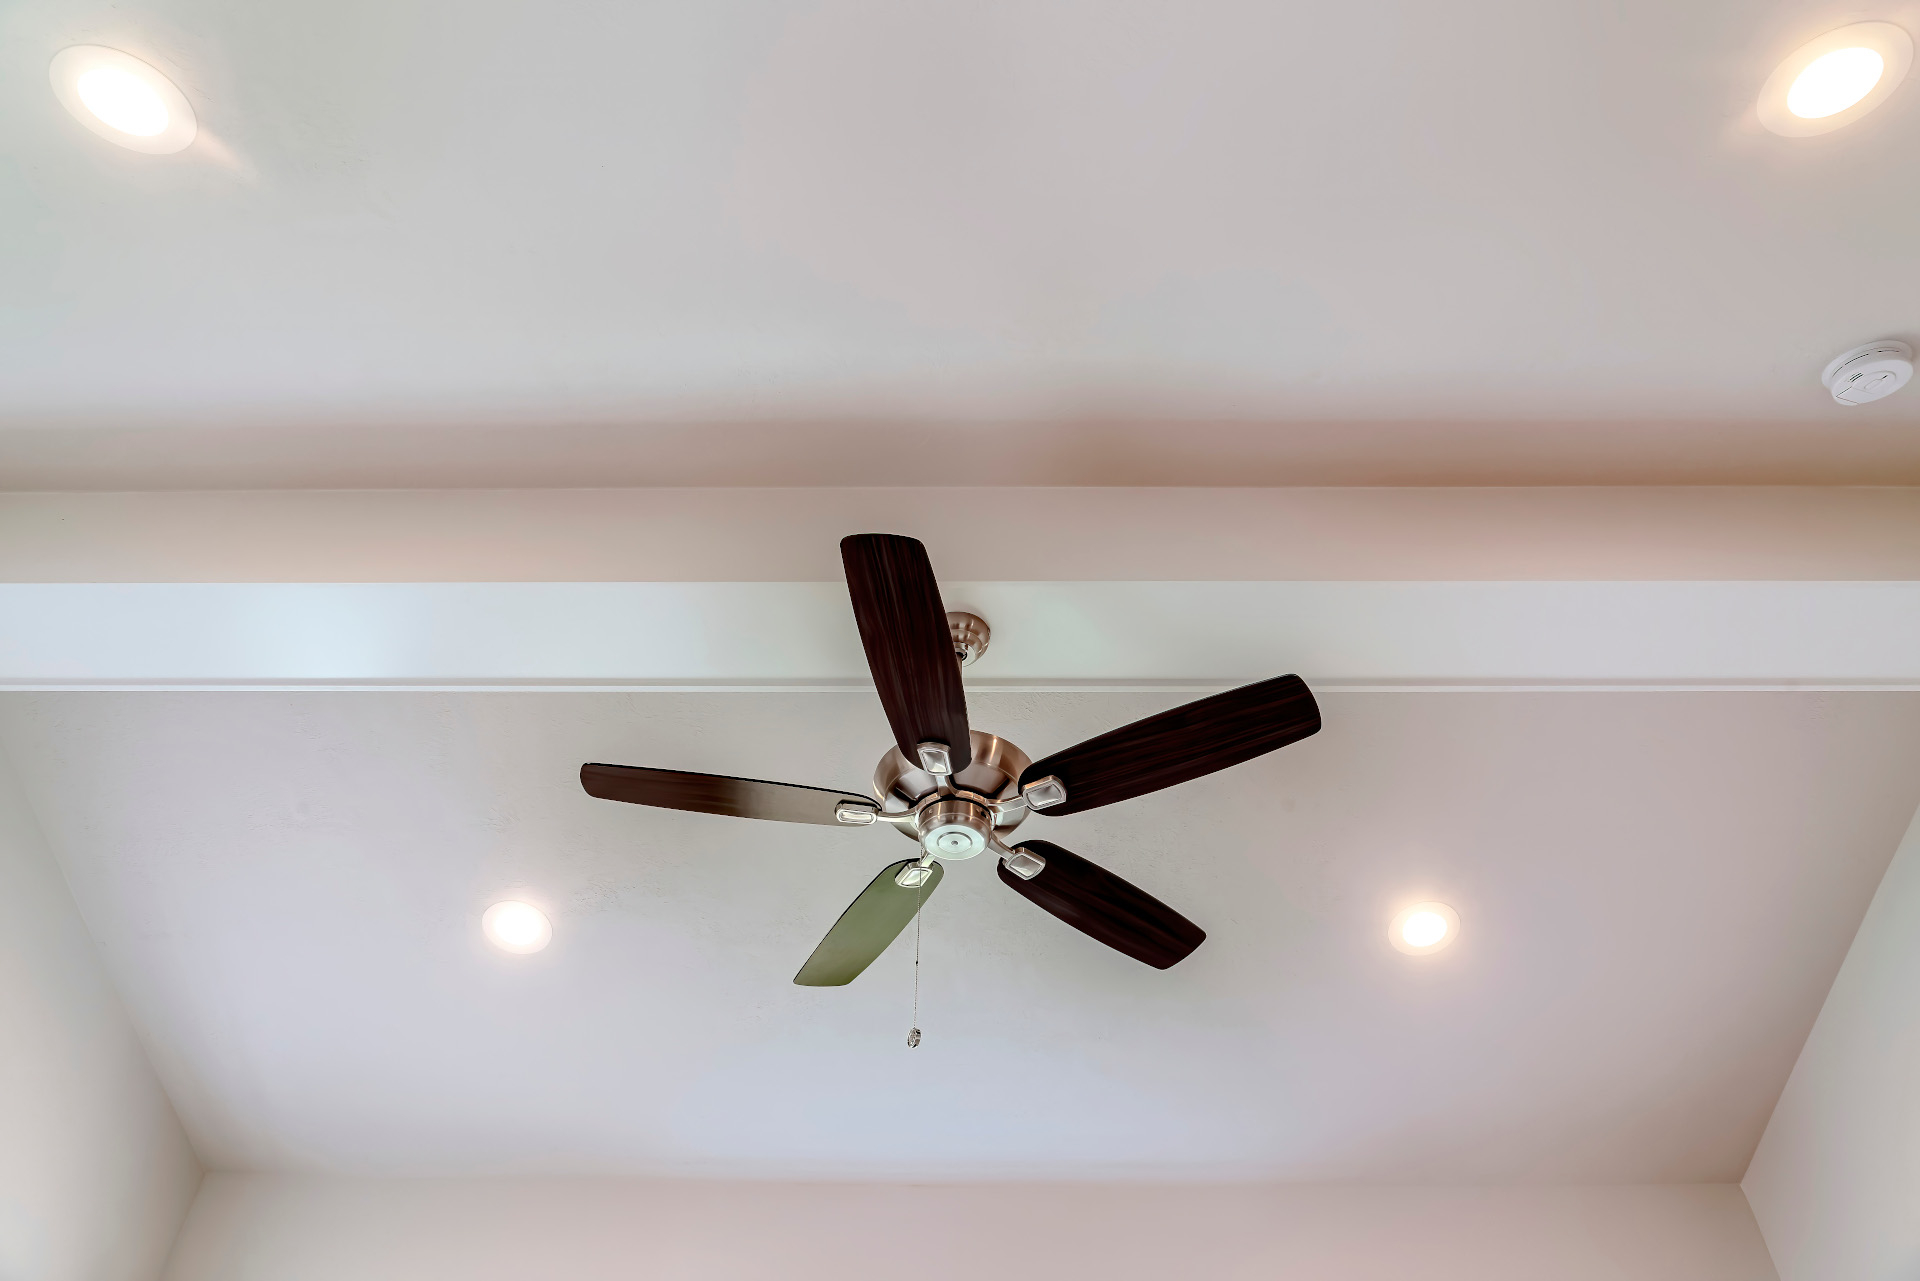
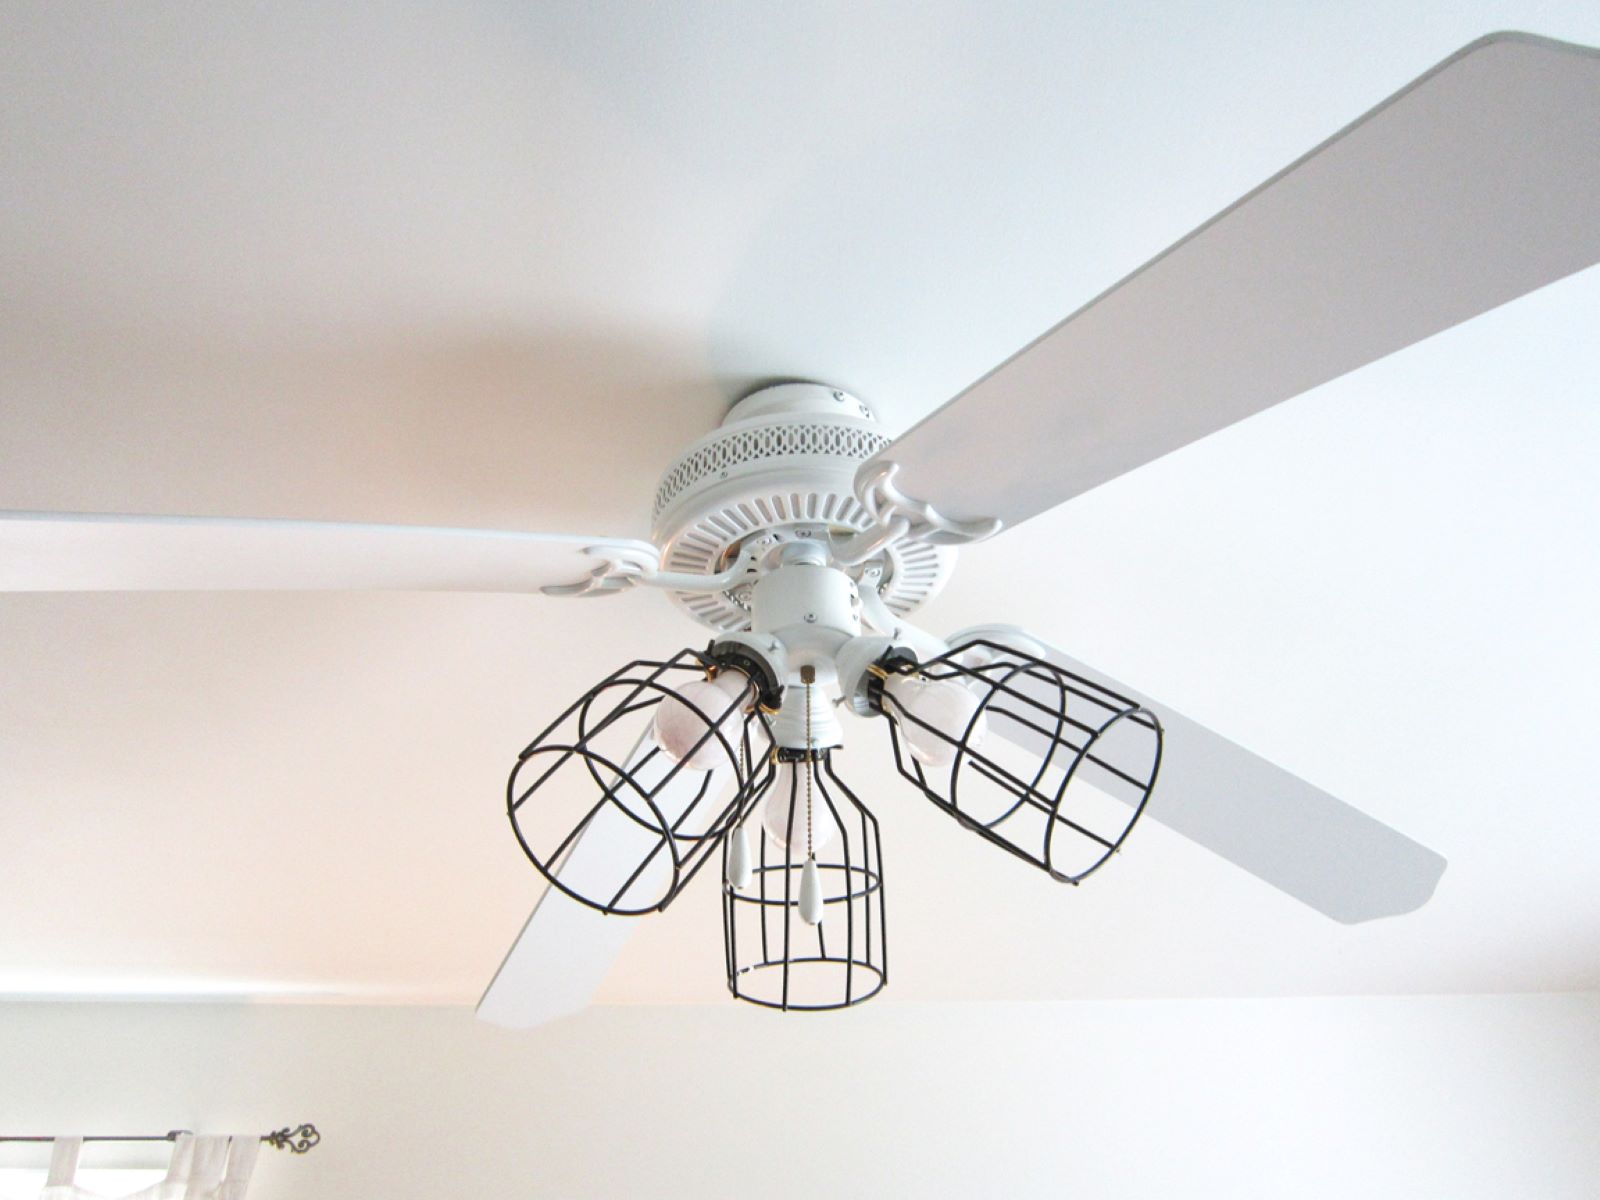
Read more: How To Fix A Ceiling Fan Light Socket
Tools and Materials Needed
Before you begin the installation process, gather the following tools and materials:
- Stepladder or sturdy stool
- Screwdriver set
- Needle-nose pliers
- Wire strippers
- Electrical tape
- Wire connectors
- Light socket
- Wire nuts
- Electrical tester
It’s important to have these tools and materials on hand to ensure a smooth and efficient installation process. Make sure your screwdriver set includes both flathead and Phillips head screwdrivers, as you may encounter different types of screws during the process. Additionally, having a stepladder or sturdy stool will help you reach the ceiling safely.
When selecting a light socket, choose one that is compatible with the type of bulb you plan to use. It’s also worth considering the aesthetic appeal of the socket to ensure it matches the style of your room.
Once you have gathered all the necessary tools and materials, you’ll be ready to proceed with the installation process. Remember to always exercise caution and work with the power turned off to avoid any accidents.
Step 1: Turn off Power
Before starting any electrical work, it’s crucial to turn off the power to the circuit you’ll be working on. This step is essential for your safety and to prevent any electrical accidents.
Start by locating the electrical panel in your home. It is usually found in the basement, garage, or a utility room. Open the panel door and look for the circuit breaker labeled with the room or area where you’ll be installing the light socket.
Flip the corresponding circuit breaker to the “off” position. It’s a good idea to place a piece of tape over the switch to remind yourself and others that the power is off. This will prevent anyone from accidentally turning it back on while you’re working.
Once you’ve turned off the circuit breaker, it’s also a good idea to double-check that the power is indeed off. You can use an electrical tester to verify that there is no electricity flowing to the wires. Simply touch the tester to the wires of the circuit you’ll be working on. If the tester doesn’t light up or make any sounds, it’s a clear indication that the power is off.
Remember, electrical safety should always be a top priority. Never attempt to work on live wires or circuits, as it poses a serious risk of electrocution. Take the time to ensure the power is completely turned off before proceeding to the next steps.
Step 2: Select the Right Socket
Choosing the right light socket is an important step in the installation process. The socket you select should be compatible with the type of bulb you plan to use and should also complement the style of your room.
When it comes to bulb compatibility, consider factors such as the bulb type (incandescent, LED, CFL), the bulb base size (E26, E27, etc.), and the maximum wattage the socket can handle. Ensure that the socket can support the wattage of your desired bulb to avoid any issues or hazards.
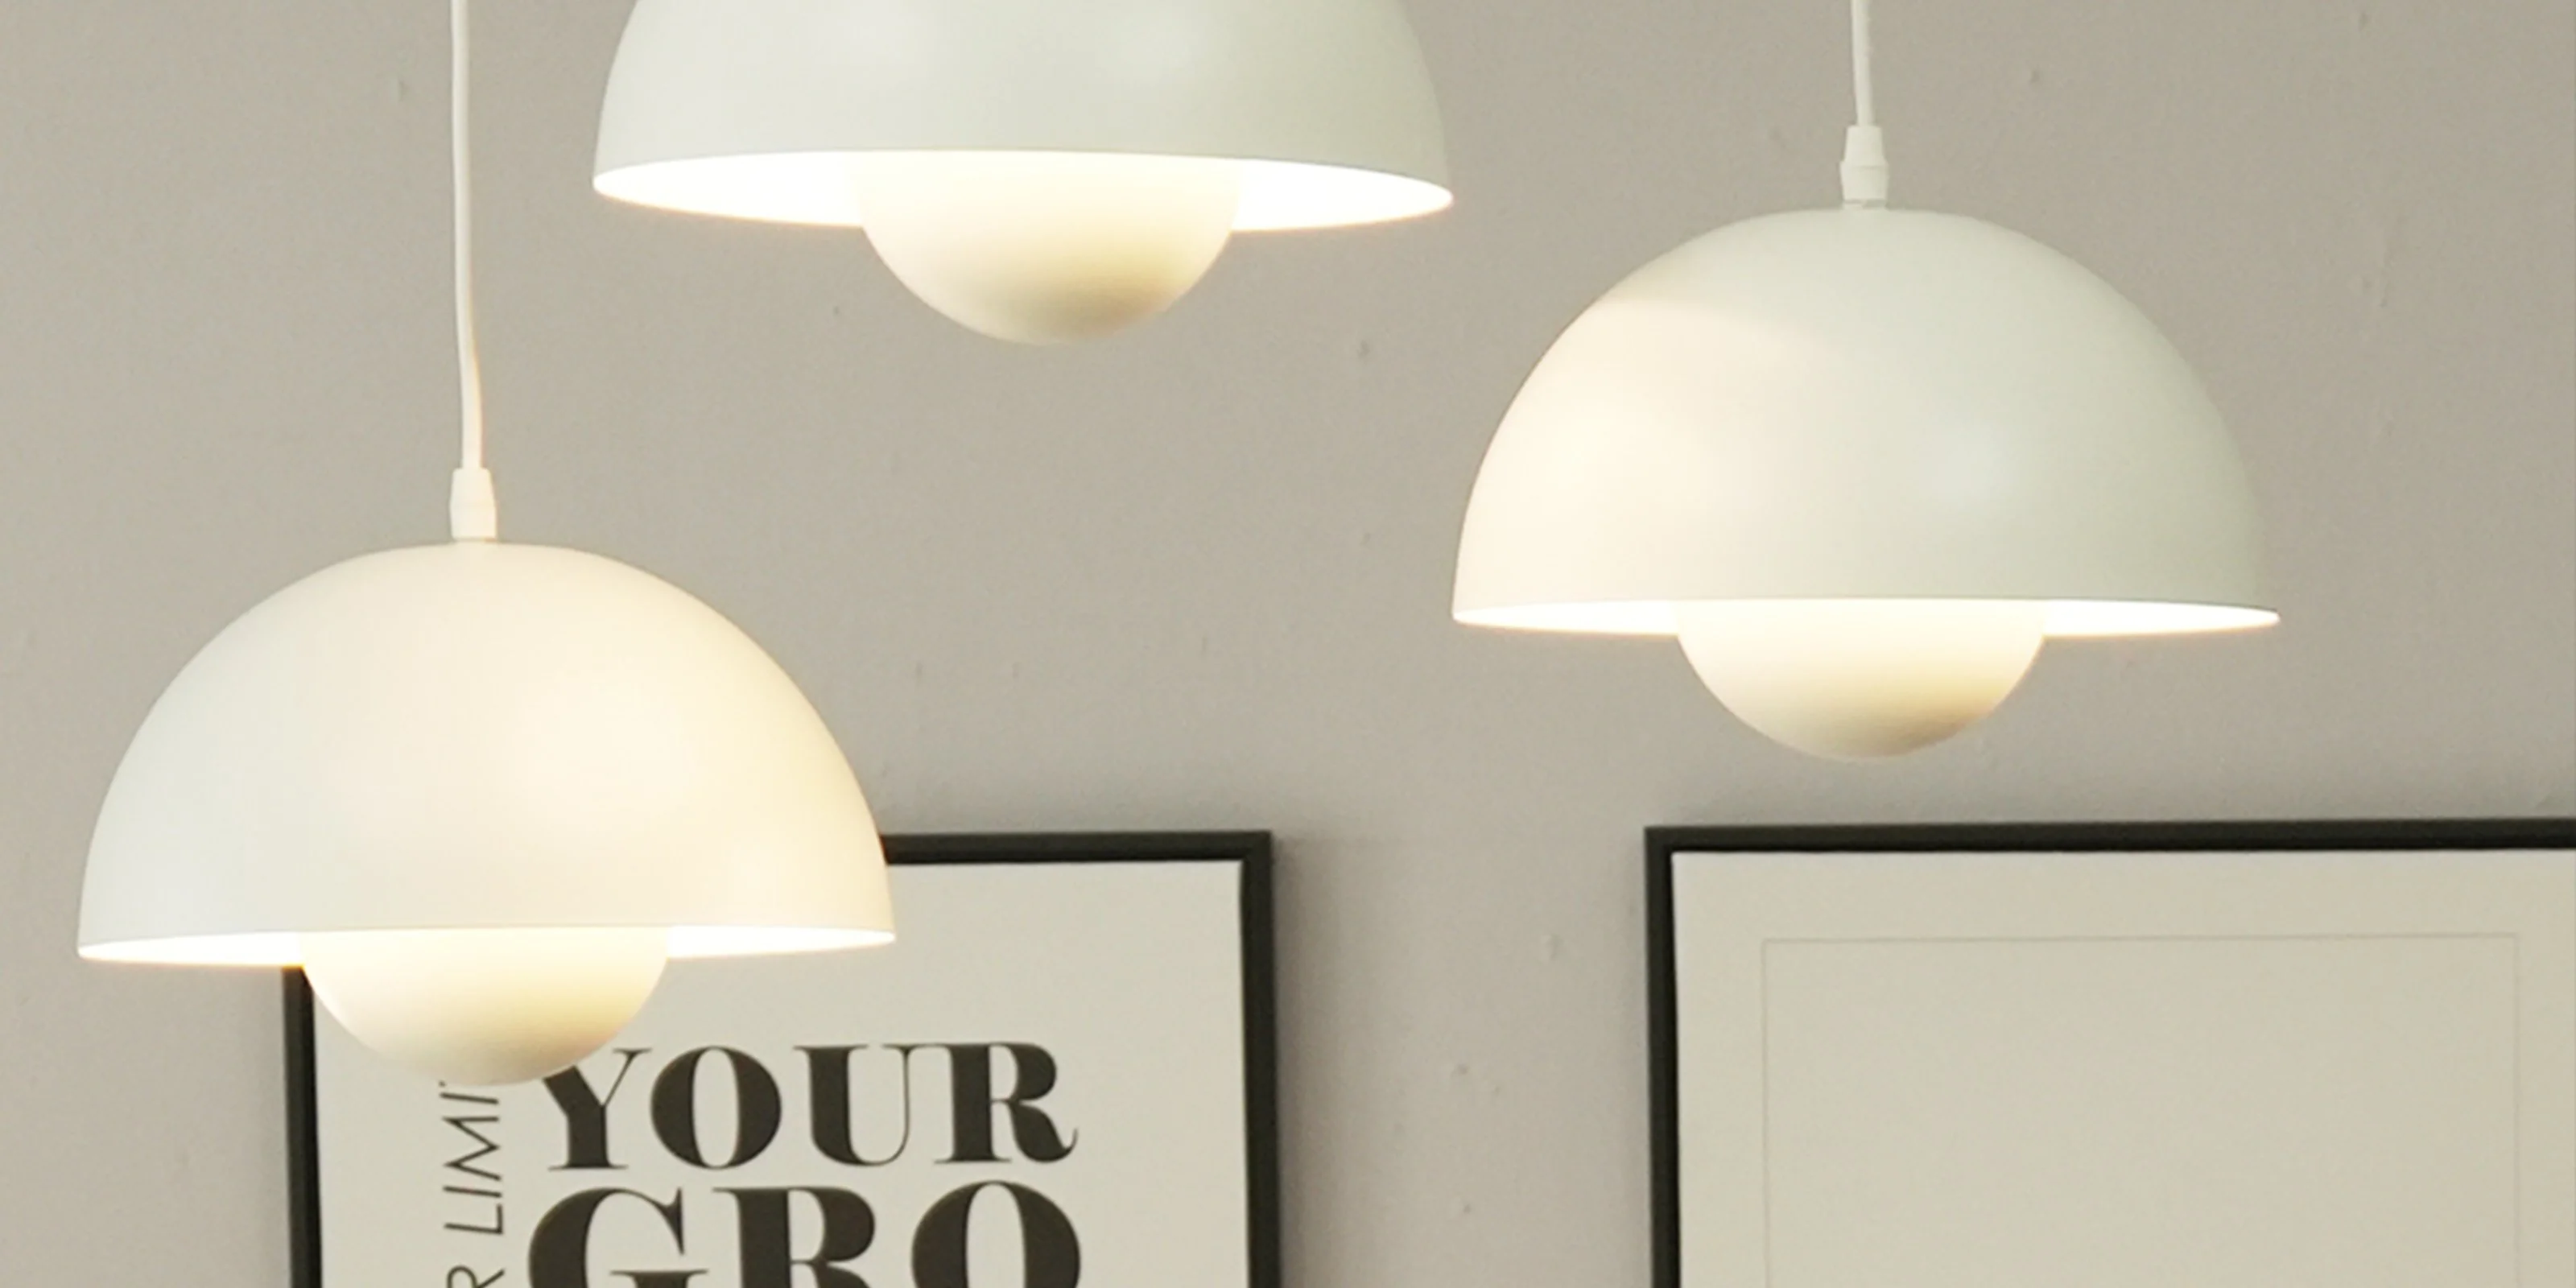
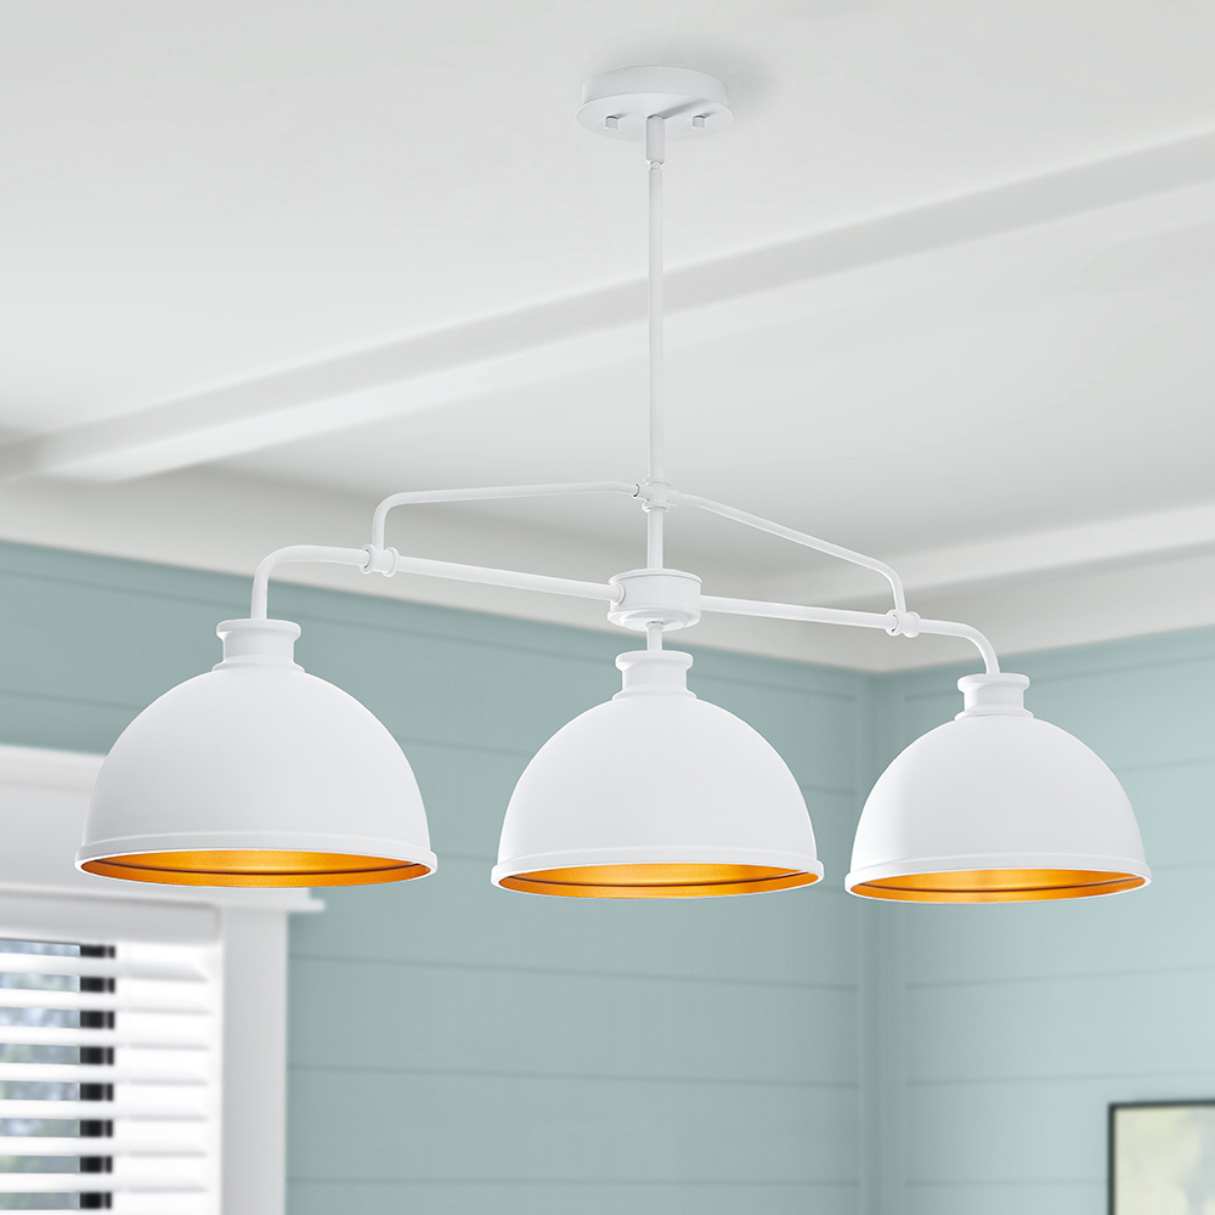
Additionally, think about the aesthetic appeal of the socket. There is a wide variety of socket designs available, ranging from vintage-inspired to modern and minimalist options. Choose a socket that aligns with the overall decor of your room and matches your personal style.
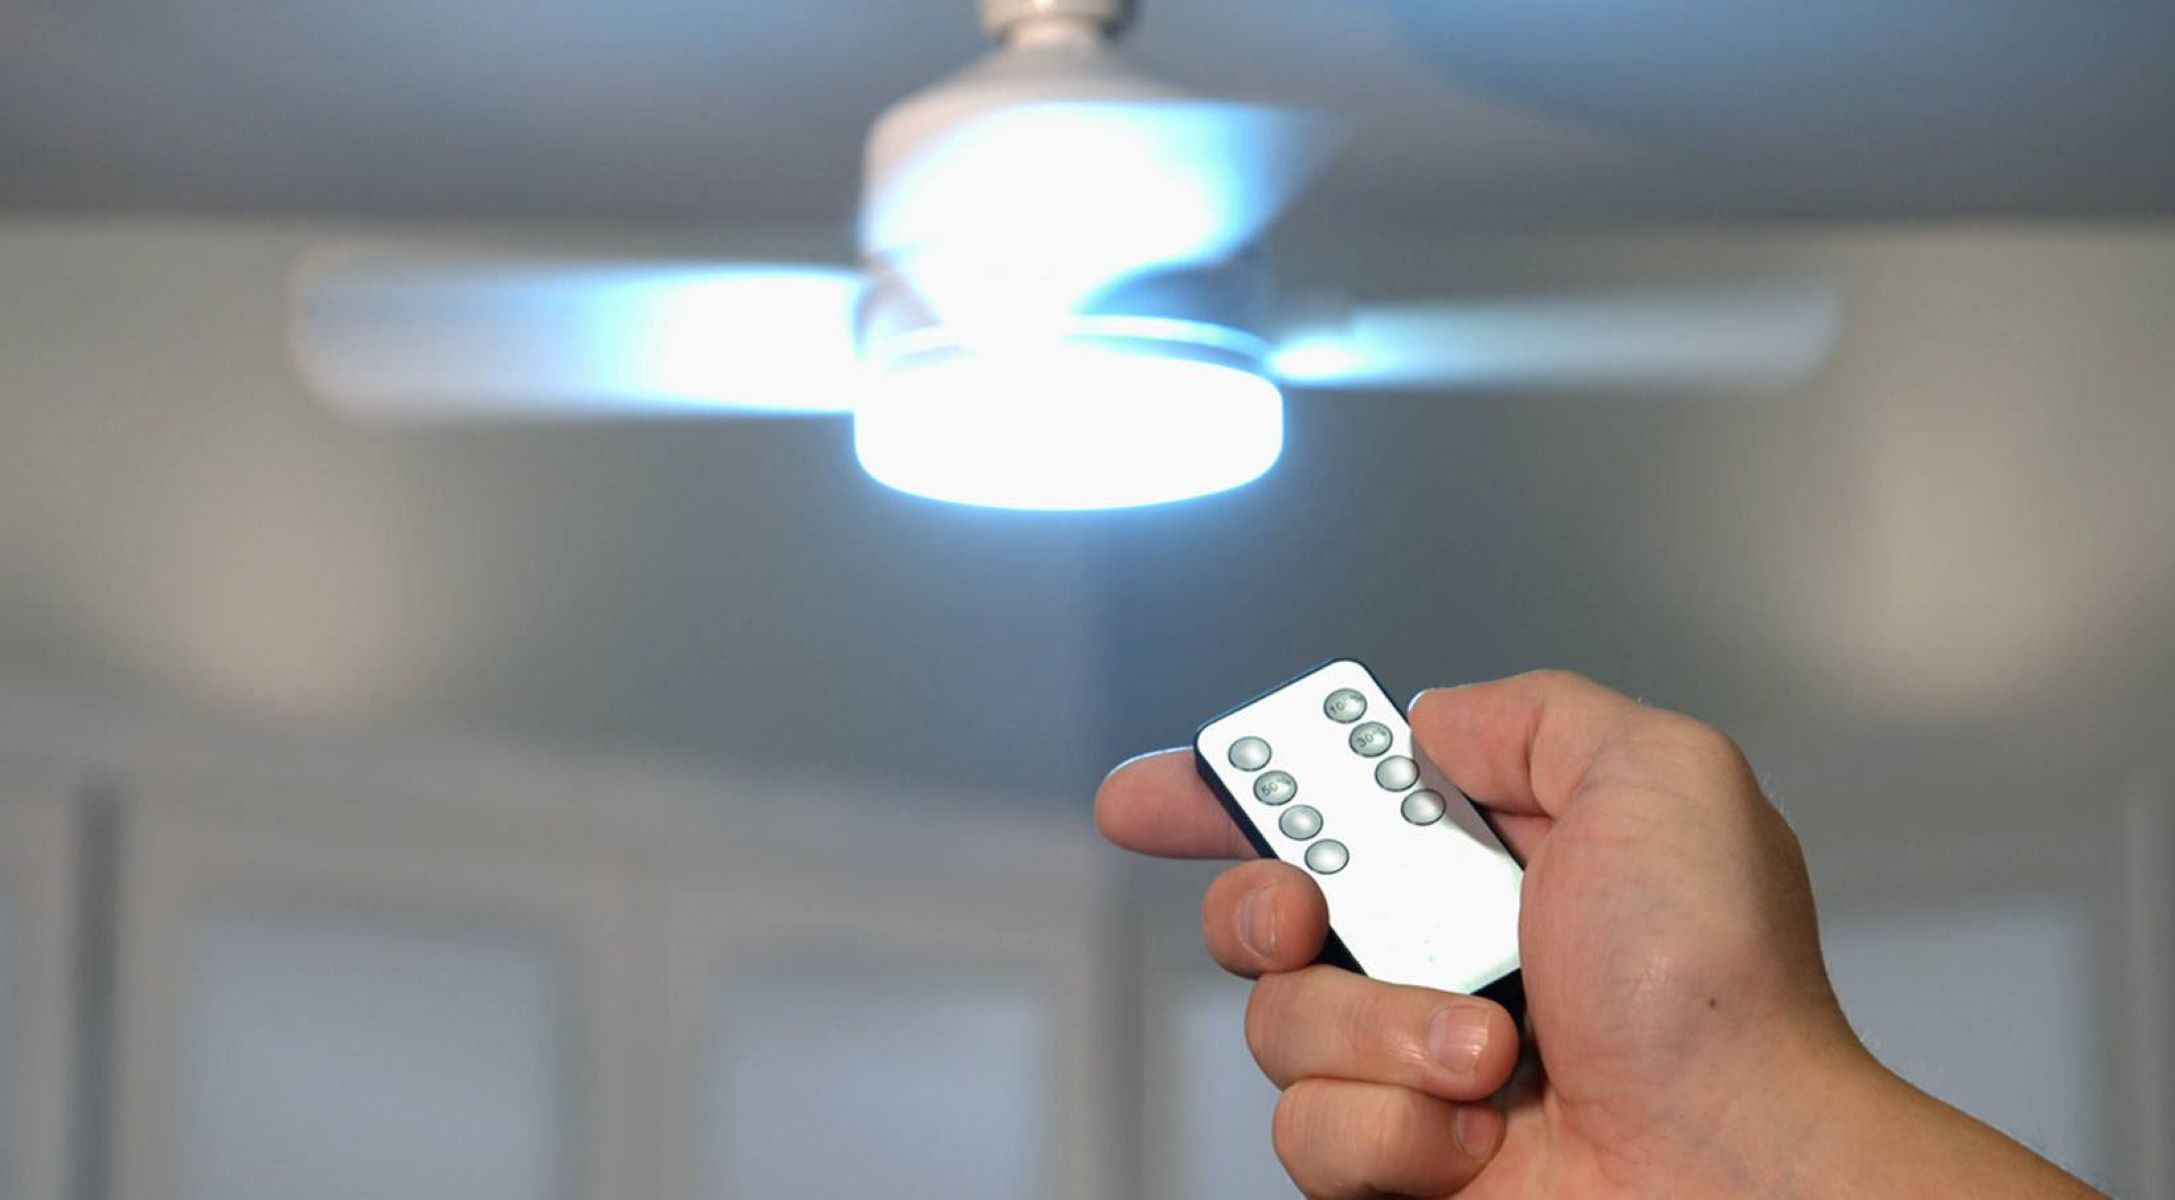
It’s also worth noting that some light sockets come with specific features, such as built-in dimmers or motion sensors. Consider if any of these additional features would enhance the functionality of your lighting setup.
When purchasing a light socket, you can find a wide selection at your local hardware store or online retailers. Read product descriptions carefully to ensure that the socket meets your requirements in terms of bulb compatibility, wattage, and aesthetic appeal.
Take the time to select the right socket for your needs, as it will play a significant role in the functionality and appearance of your lighting fixture.
Step 3: Remove Existing Fixture
Before you can install a new light socket in the ceiling, you’ll need to remove the existing fixture. Follow these steps to safely and properly remove the old fixture:
- Turn off the power: As mentioned in Step 1, make sure the power to the circuit is turned off to avoid any electrical hazards.
- Remove the light bulb: Twist the light bulb counterclockwise to unscrew it from the socket. Set it aside for safekeeping.
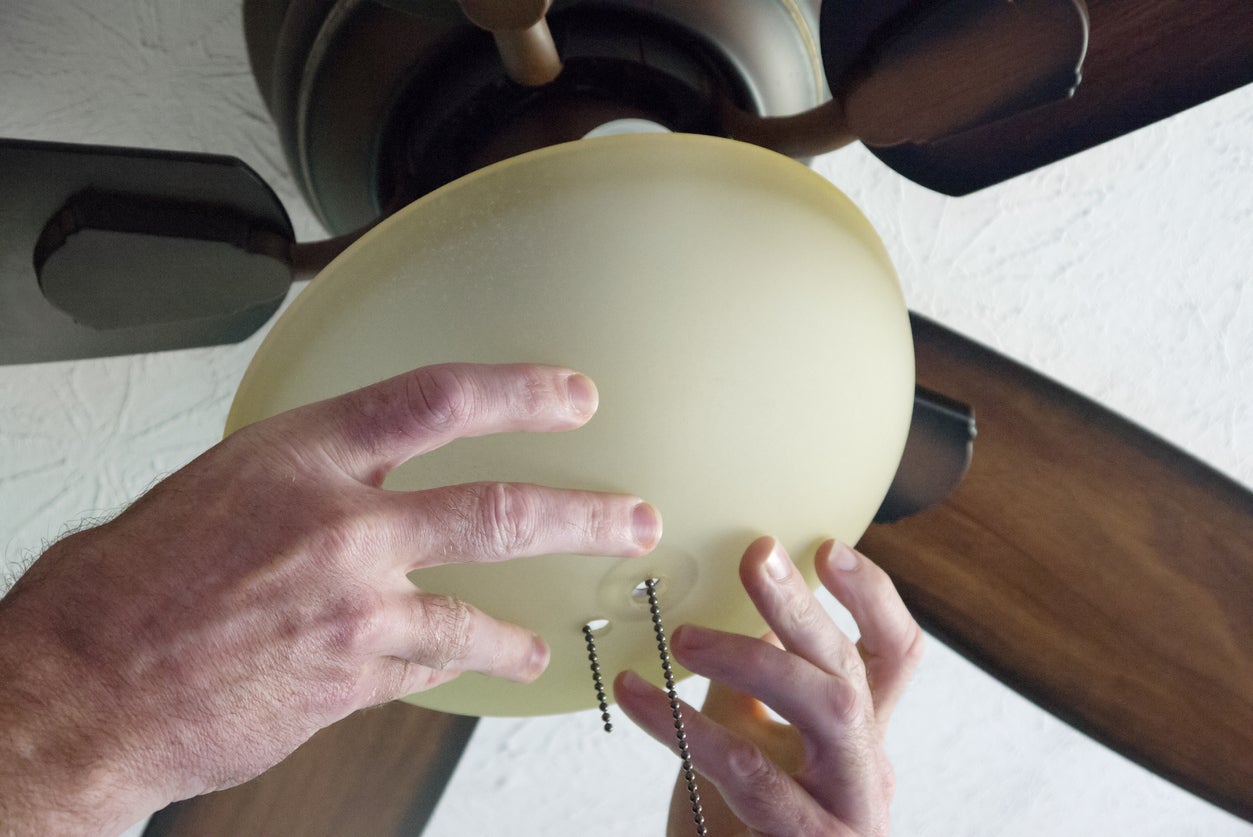
- Remove the shade or cover: If your existing fixture has a shade or cover, gently detach it from the fixture. This may involve unscrewing any screws or clips holding it in place.
- Remove the screws: Most fixtures are attached to the ceiling using screws. Use a screwdriver to remove these screws and detach the fixture from the ceiling. Set the screws aside, as you may need them for the new socket installation.
- Disconnect the wires: Once the fixture is loosened, you’ll see a set of wires connected to it. Carefully disconnect these wires, taking note of how they are connected. It’s a good idea to take a photo or make a diagram to ensure you can correctly wire the new socket later.
- Remove the mounting plate: Some fixtures have a separate mounting plate that attaches to the ceiling housing. Unscrew any screws holding the mounting plate and remove it from the ceiling.
- Inspect the wiring: With the fixture removed, take a closer look at the exposed wiring in the ceiling. Check for any damage or loose connections that may need to be addressed before installing the new socket.
Once the existing fixture is completely removed and any necessary repairs or adjustments have been made to the wiring, you’re ready to move on to the next step: preparing the wires for the new socket installation.
Read more: How To Install An LED Ceiling Light
Step 4: Prepare Wires
With the old fixture removed, it’s time to prepare the wires for the installation of the new light socket. Follow these steps to properly prepare the wires:
- Inspect the wires: Take a close look at the exposed wires in the ceiling. Check for any frayed or damaged insulation, as well as loose or disconnected wires. If you notice any issues, it’s important to address and fix them before proceeding.
- Strip the wires: If the ends of the wires are covered in insulation, you’ll need to strip them to expose the bare copper. Use a pair of wire strippers to carefully remove about half an inch of insulation from the ends of the wires. This will allow for a proper connection to the new socket.
- Separate the wires: Depending on the wiring configuration, you may have multiple wires to work with. Typically, you’ll have a black (hot) wire, a white (neutral) wire, and a green or bare (ground) wire. Separate these wires from each other to prevent any accidental contact or confusion during the installation process.
- Make sure the wires are long enough: Check the length of the wires to ensure they are long enough to reach the new socket. If they are too short, you may need to splice in additional wire using wire connectors to extend their length. Make sure to follow proper wiring practices when splicing the wires.
- Label the wires: To avoid any confusion later on, it’s a good idea to label the wires according to their function. Use electrical tape or wire labels to mark each wire as “hot,” “neutral,” or “ground.” This will make it easier to connect them to the corresponding terminals on the new light socket.
By properly preparing and labeling the wires, you’ll ensure a smooth and hassle-free installation of the new light socket. Take your time during this step to make sure everything is in order before moving on to the next step: connecting the wires to the new socket.
When installing a light socket in the ceiling, make sure to turn off the power at the breaker before starting. Use a voltage tester to double-check that the power is off before working on the wiring. Always follow the manufacturer’s instructions for proper installation.
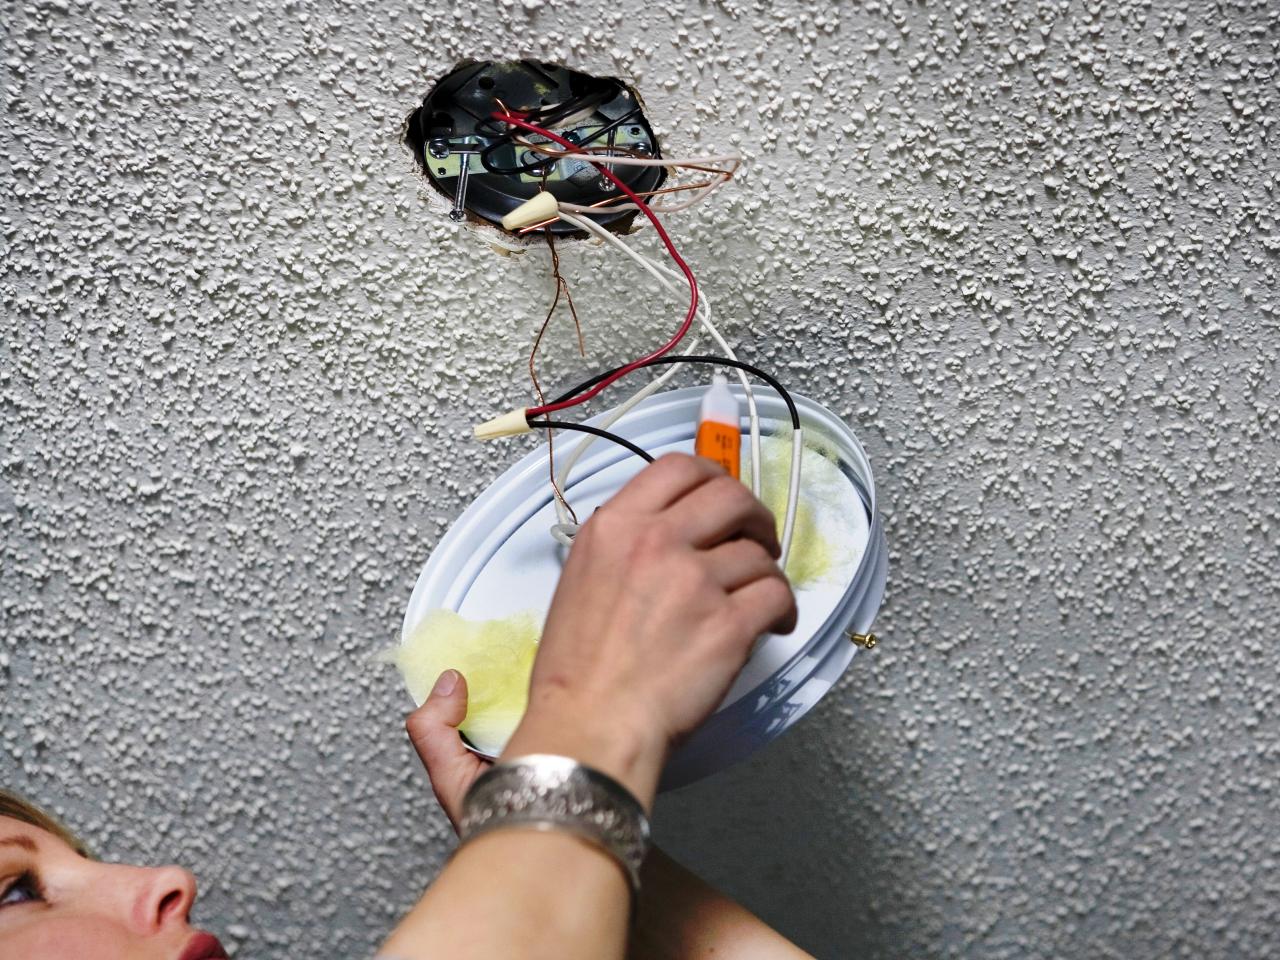
Step 5: Connect the Wires
Now that the wires are prepared, it’s time to connect them to the new light socket. Follow these steps to ensure a secure and proper connection:
- Identify the wire terminals: Take a look at the new light socket and locate the wire terminals. Most sockets will have terminals labeled or color-coded for easy identification. Typically, you’ll find terminals for the hot (black) wire, neutral (white) wire, and ground (green or bare) wire.
- Connect the hot wire: Take the hot wire (commonly black) from the ceiling and connect it to the corresponding terminal on the new socket. Loosen the screw on the terminal, insert the wire, and tighten the screw securely. Make sure the wire is held firmly in place.
- Connect the neutral wire: Connect the neutral wire (commonly white) from the ceiling to the neutral terminal on the new socket. Again, loosen the screw on the terminal, insert the wire, and tighten the screw securely.
- Connect the ground wire: If your light socket has a ground terminal (commonly green or bare), connect the ground wire from the ceiling to this terminal. Just like with the previous wires, loosen the screw, insert the wire, and tighten the screw securely.
- Double-check the connections: Once all the wires are connected, double-check the connections to ensure they are secure. Give each wire a gentle tug to make sure it is firmly attached to the socket.
- Cover the wire connections: Once you’re confident in the wire connections, you can use electrical tape to cover the exposed wire ends where they meet the socket terminals. This provides an added layer of insulation and protects against any accidental contact.
Properly connecting the wires is crucial for a safe and functional light socket. Take your time during this step to ensure the wires are securely attached to the appropriate terminals on the new socket.
Next, we’ll move on to Step 6: attaching the socket to the ceiling.
Step 6: Attach the Socket
With the wires securely connected, it’s time to attach the new light socket to the ceiling. Follow these steps to properly install the socket:
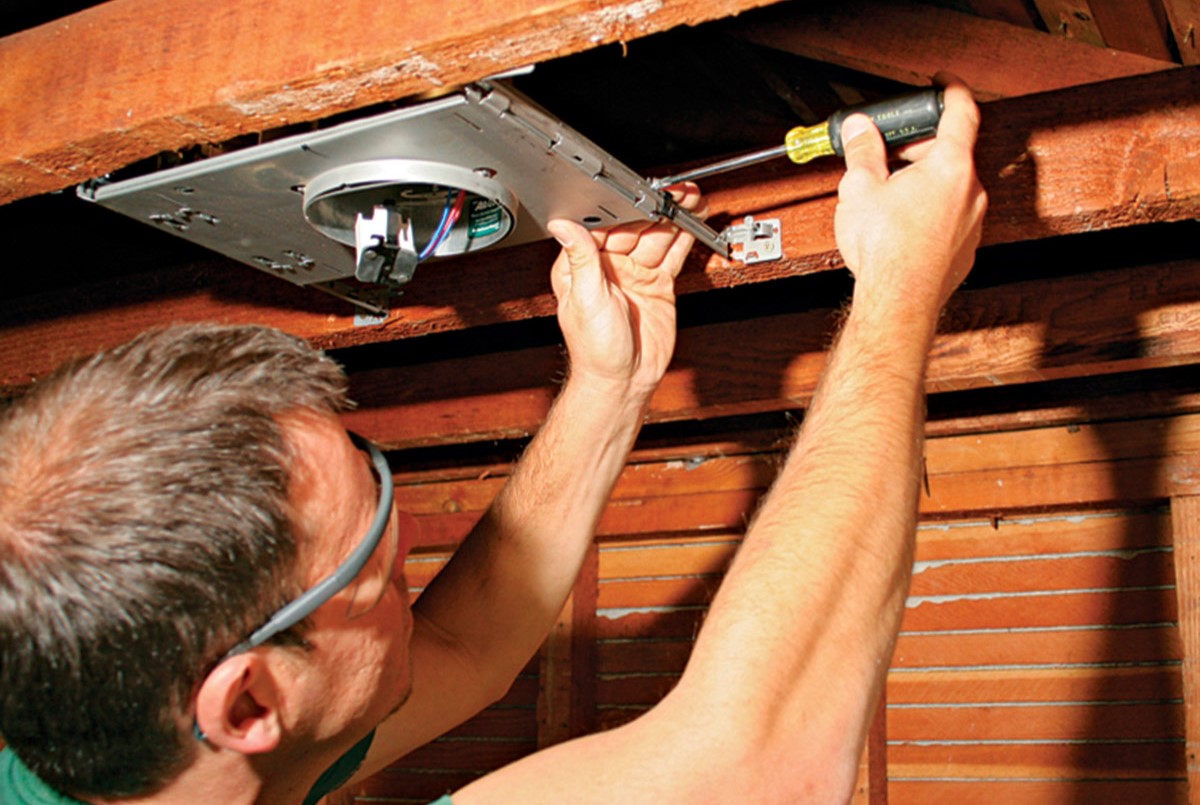
- Position the socket: Hold the socket up to the ceiling, aligning the screw holes on the socket base with the corresponding holes on the electrical box in the ceiling. Make sure the socket is level and centered in the desired location.
- Secure the socket with screws: Once the socket is positioned correctly, take the screws provided with the socket (or the screws you removed from the old fixture) and insert them into the screw holes. Use a screwdriver to tighten the screws, but be careful not to over-tighten as it may damage the socket or the ceiling.
- Ensure stability: After the screws are tightened, give the socket a gentle tug to ensure it is securely attached to the ceiling. It should be stable and not wobble or move.
- Double-check the wire connections: Before proceeding to the next step, double-check the wire connections inside the socket. Ensure that each wire is securely attached to its respective terminal and that there is no loose wiring.
By properly attaching the socket to the ceiling, you ensure its stability and proper functioning. Take your time to position the socket correctly and secure it tightly with the appropriate screws.
Next, we’ll move on to Step 7: testing the connection to ensure everything is working as expected.
Step 7: Test the Connection
After installing the new light socket, it’s crucial to test the connection to ensure that everything is working properly and safely. Follow these steps to test the connection:
- Turn on the power: Go back to the electrical panel and flip the circuit breaker for the room or area where you installed the light socket, turning the power back on.
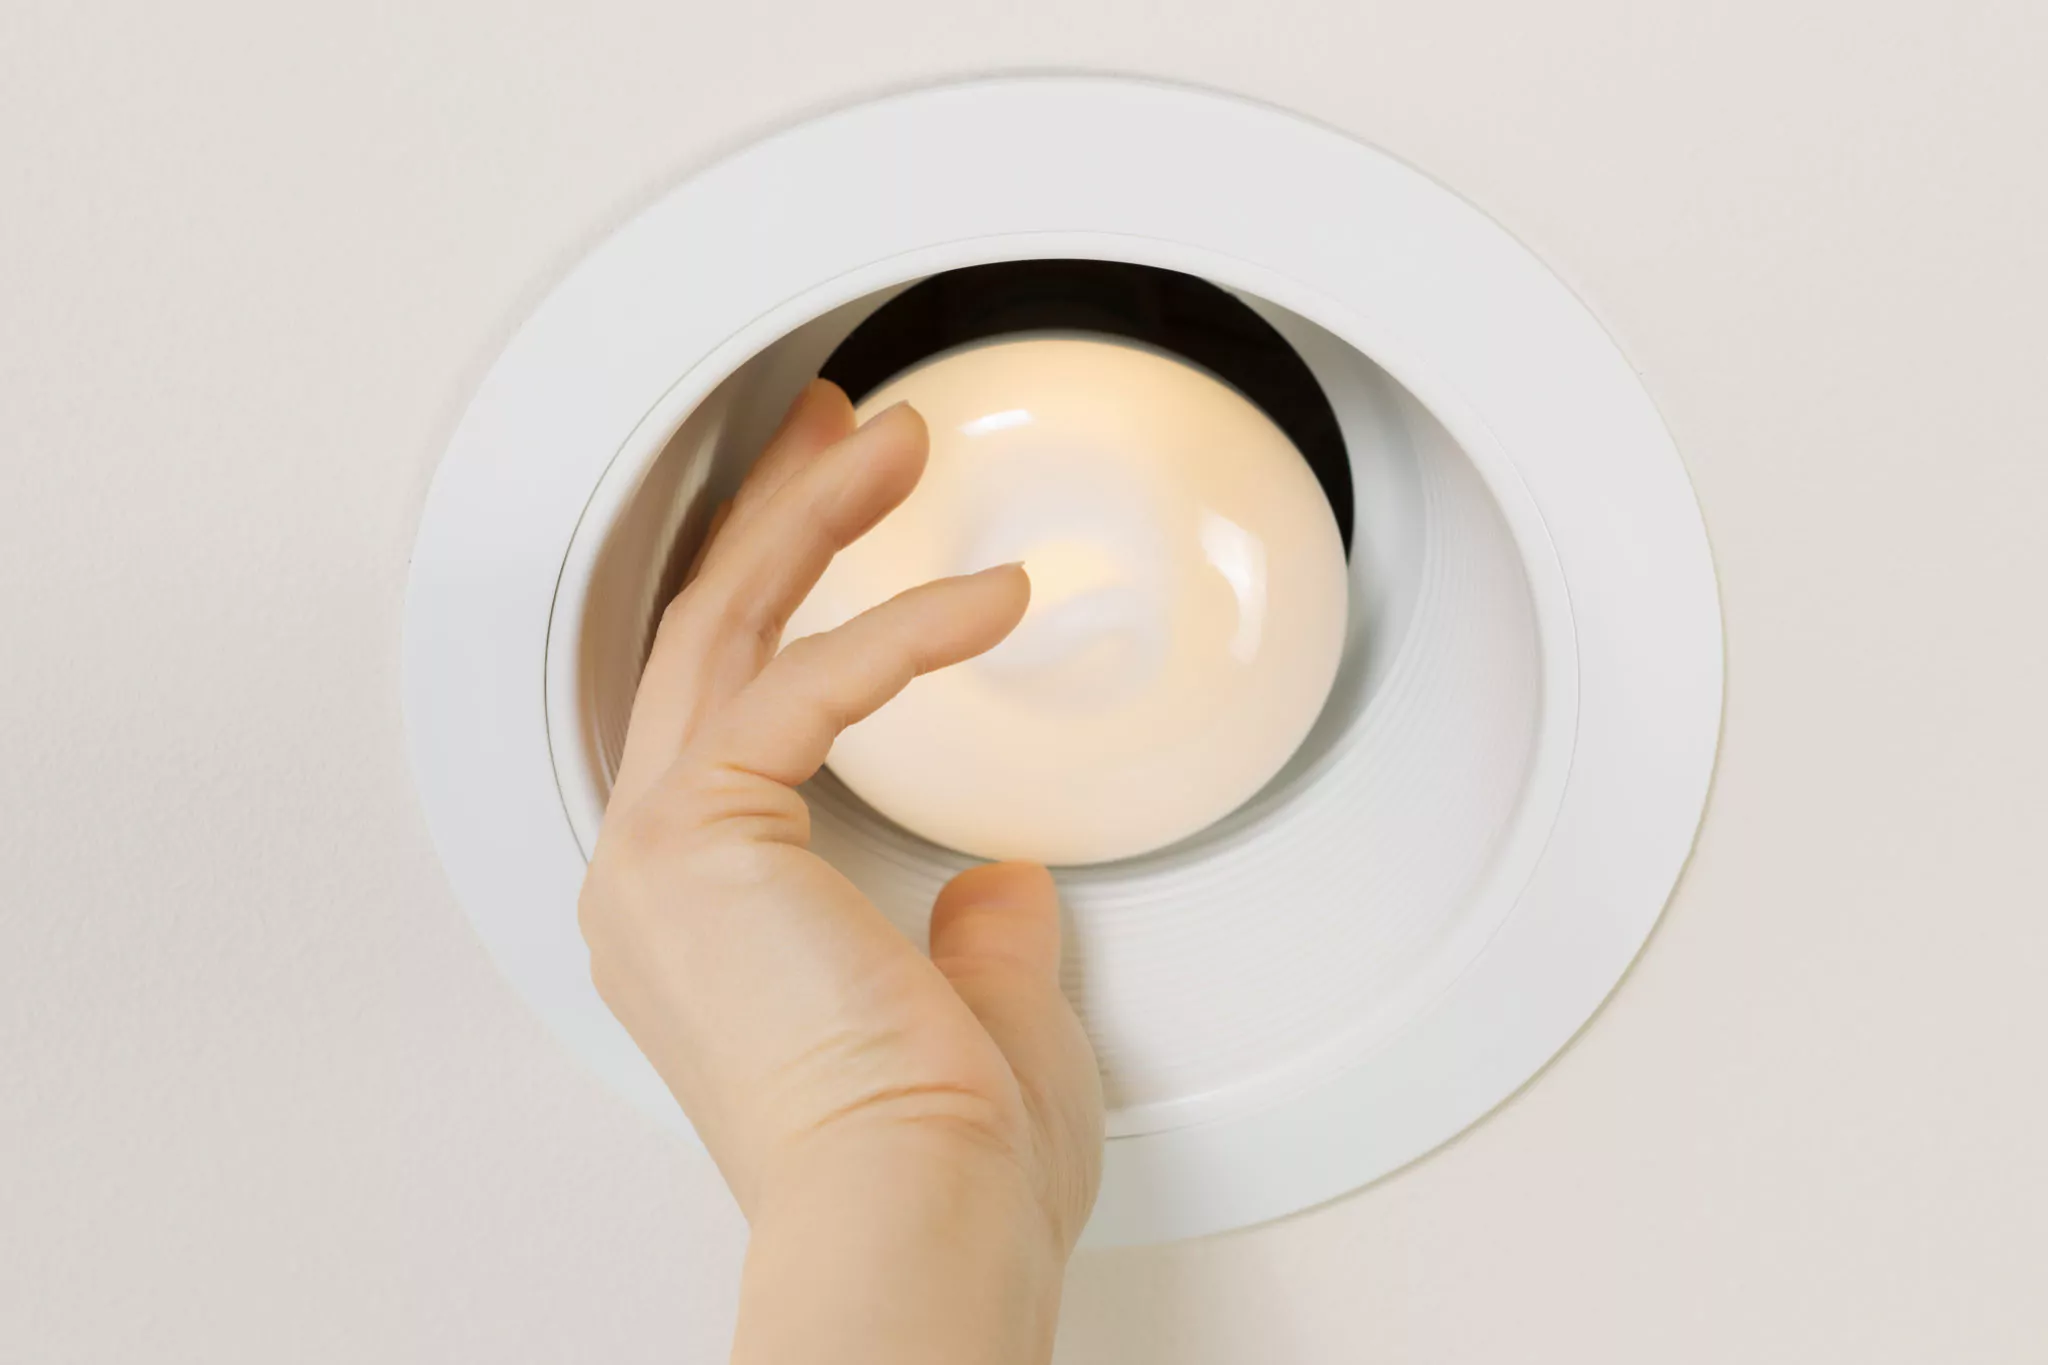
- Insert a light bulb: Take a light bulb that is compatible with the socket and screw it into the socket. Make sure it is securely in place.
- Flip the light switch: Go to the corresponding light switch for the socket and flip it on. The light bulb should illuminate if the connection is successful.
- Check for any issues: Observe the light bulb to see if it turns on and off as expected. Ensure that there are no flickering lights, sparks, or other signs of electrical issues.
- Test the light switch: Flip the light switch on and off multiple times to ensure that it controls the light socket properly. The light should turn on and off each time you toggle the switch.
- Verify stability: While the light is on, gently tap or shake the socket to check for any loose connections. The light should remain steady and not flicker or go out.
- Turn off the power: Once you have tested the connection and verified that everything is functioning correctly, go back to the electrical panel and turn off the circuit breaker for the light socket’s circuit.
Testing the connection is an essential step to confirm that the new light socket is installed correctly and that there are no issues with the wiring or socket. If you encounter any problems during testing, it may be necessary to review the previous steps and ensure that the wires are connected properly and securely. If you’re unsure or encounter significant issues, it’s best to consult a professional electrician for assistance.
Next, we’ll move on to Step 8: securing the socket in place to ensure its long-term stability.
Read also: 8 Amazing Ceiling Light Socket for 2024
Step 8: Secure the Socket in Place
After testing the connection and ensuring everything is working correctly, it’s important to secure the socket in place to provide long-term stability. Follow these steps to secure the socket:
- Remove the light bulb: Before proceeding, make sure to turn off the power by flipping the circuit breaker for the light socket’s circuit.
- Tighten the screws: Using a screwdriver, tighten the screws on the socket base to ensure that it is securely fastened to the ceiling. Be careful not to overtighten and damage the socket or the ceiling.
- Check for stability: After tightening the screws, give the socket a gentle tug to ensure that it is firmly in place. It should not wobble or move when pulled or pushed.
- Replace and test the light bulb: Insert the light bulb back into the socket. Turn on the power by flipping the circuit breaker, and then toggle the light switch to test the connection. Verify that the light bulb illuminates and functions as expected.
- Reattach any covers or shades: If your light fixture has a shade or cover, reattach it following the manufacturer’s instructions. Make sure it is properly aligned and securely fastened.
- Double-check the wiring: Take one final look at the wiring inside the socket to ensure that all connections are secure and properly insulated. Make sure there are no exposed wires or loose connections.
By securing the socket in place, you ensure its stability and prevent it from coming loose over time. This step is crucial for the long-term functionality and safety of the light socket.
Next, we’ll move on to Step 9: restoring power to the circuit for the final step of the installation process.
Step 9: Restore Power
Now that you have completed the installation and verified that everything is in working order, it’s time to restore power to the circuit. Follow these steps to safely restore power:
- Double-check your work: Before proceeding, take a final look at the socket to ensure that all connections are securely made and there are no exposed wires.
- Turn the light switch off: Toggle the light switch to the off position to prevent the light from turning on immediately when the power is restored.
- Go to the electrical panel: Locate the circuit breaker that controls the light socket and flip it back to the on position.
- Verify power restoration: With the circuit breaker turned on, go back to the light switch and toggle it on to test if the light illuminates. You should now have power restored to the light socket.
- Test the functionality: Check if the light turns on and off as expected when you toggle the light switch. Ensure that there are no issues with flickering or unusual behavior.
Restoring power to the circuit is the final step in the installation process. By following these steps, you ensure that the newly installed light socket is connected to a functioning power source and ready for use.
Remember, if you encounter any issues or are unsure about any step of the installation process, it’s always best to consult a professional electrician for guidance and assistance.
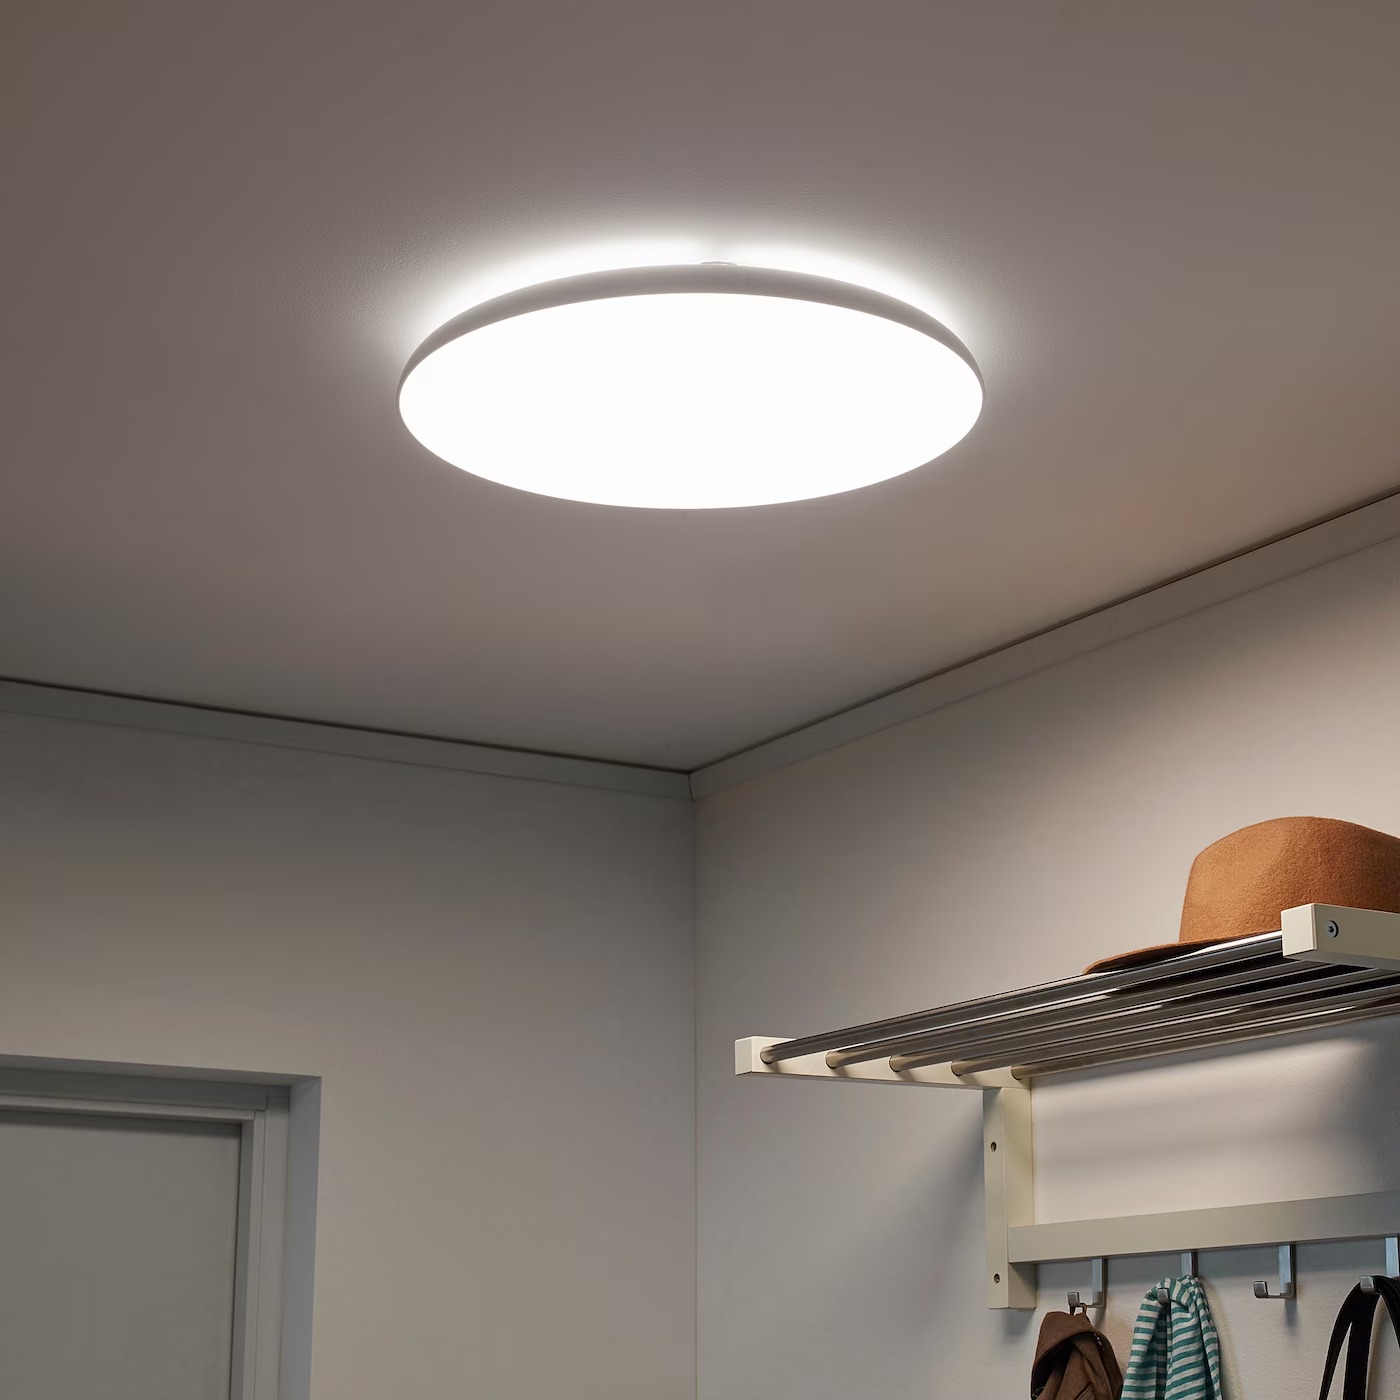
Congratulations! You have successfully installed a light socket in your ceiling, which will enhance the lighting in your room and provide a functional and stylish lighting fixture.
Before concluding, make sure to double-check your work to ensure everything is secure and properly connected. Always prioritize safety and follow the necessary precautions when working with electrical fixtures.
Now sit back, relax, and enjoy the warm glow of your newly installed light socket!
Conclusion
Installing a light socket in a ceiling is a straightforward DIY project that can greatly improve the lighting in any room. By following the steps outlined in this guide and taking the necessary precautions, you can successfully install a new light socket and enjoy improved illumination and functionality.
Throughout the installation process, it’s important to prioritize safety. Remember to turn off the power to the circuit you’ll be working on, use appropriate tools, and handle electrical wires with caution. If you’re unsure about any step, it’s always best to consult a professional electrician for guidance.
From selecting the right socket and removing the existing fixture to connecting the wires and securing the socket in place, each step plays a crucial role in the successful installation of the light socket. Take your time, follow the instructions carefully, and double-check your work to ensure everything is properly connected and secure.
Once the installation is complete and power is restored, take a moment to admire your work. Enjoy the enhanced lighting in your space and bask in the satisfaction of a job well done.
Remember, if you ever need to replace or upgrade the light bulb or make any adjustments to the socket, always turn off the power and follow the necessary safety precautions.
Now that you have the knowledge and confidence to install a light socket in a ceiling, you can tackle this DIY project and brighten up your living spaces. Happy installing!
Frequently Asked Questions about How To Install Light Socket In Ceiling
Was this page helpful?
At Storables.com, we guarantee accurate and reliable information. Our content, validated by Expert Board Contributors, is crafted following stringent Editorial Policies. We're committed to providing you with well-researched, expert-backed insights for all your informational needs.


0 thoughts on “How To Install Light Socket In Ceiling”