Articles
How To Cover Pillows With Fabric
Modified: January 9, 2024
Learn how to cover pillows with fabric in these informative articles. Discover tips and techniques for a professional finish and update your home decor.
(Many of the links in this article redirect to a specific reviewed product. Your purchase of these products through affiliate links helps to generate commission for Storables.com, at no extra cost. Learn more)
Introduction
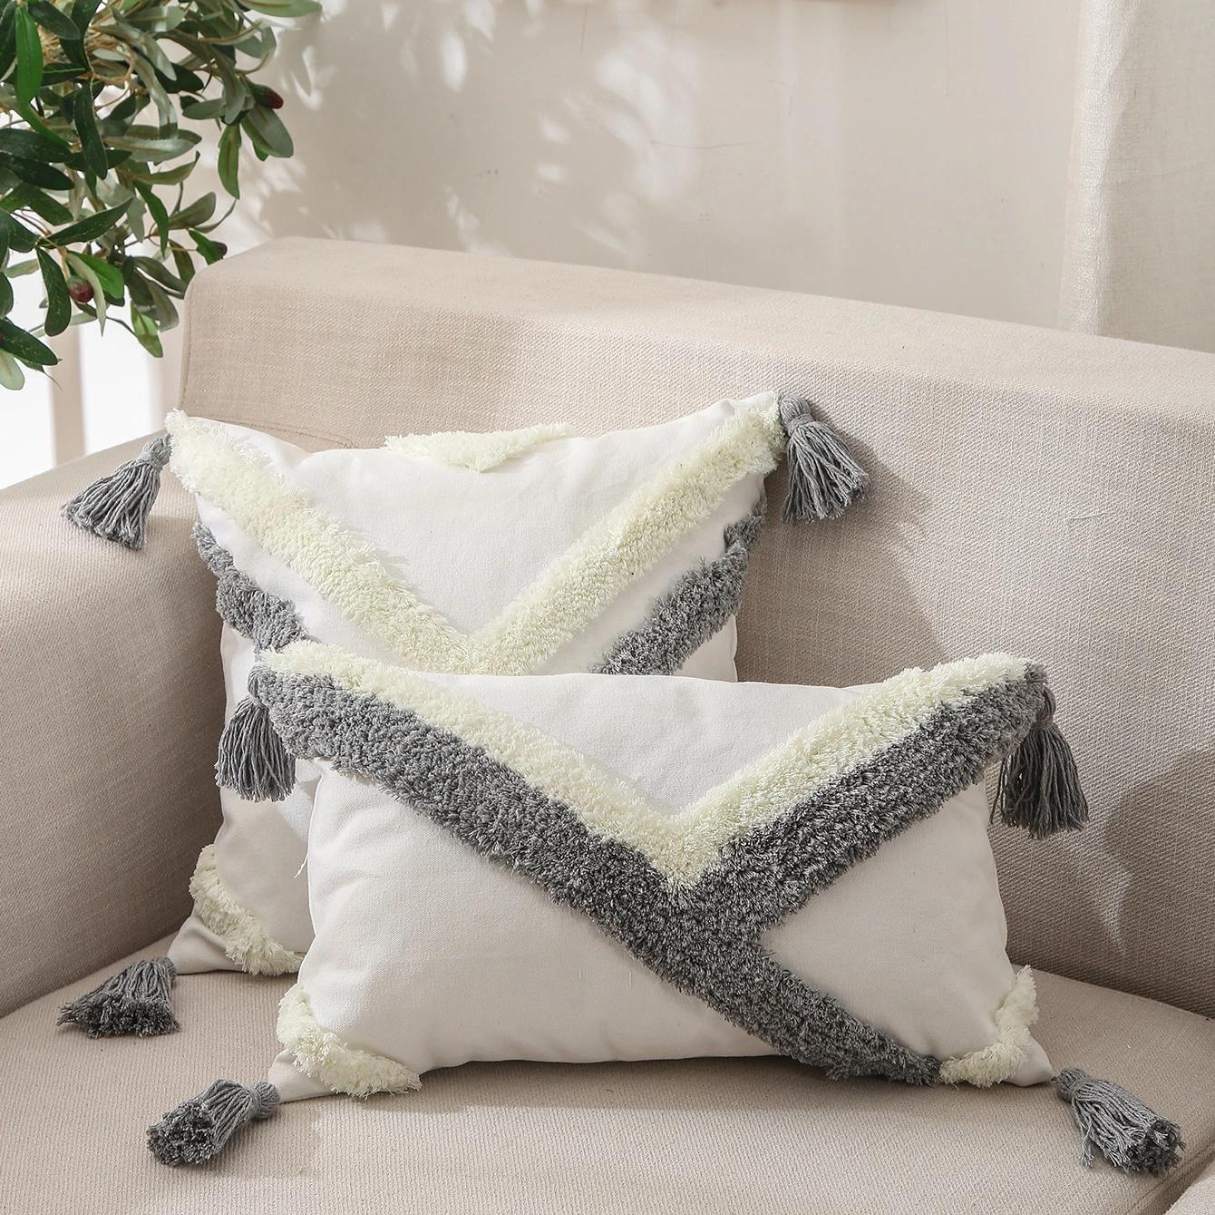
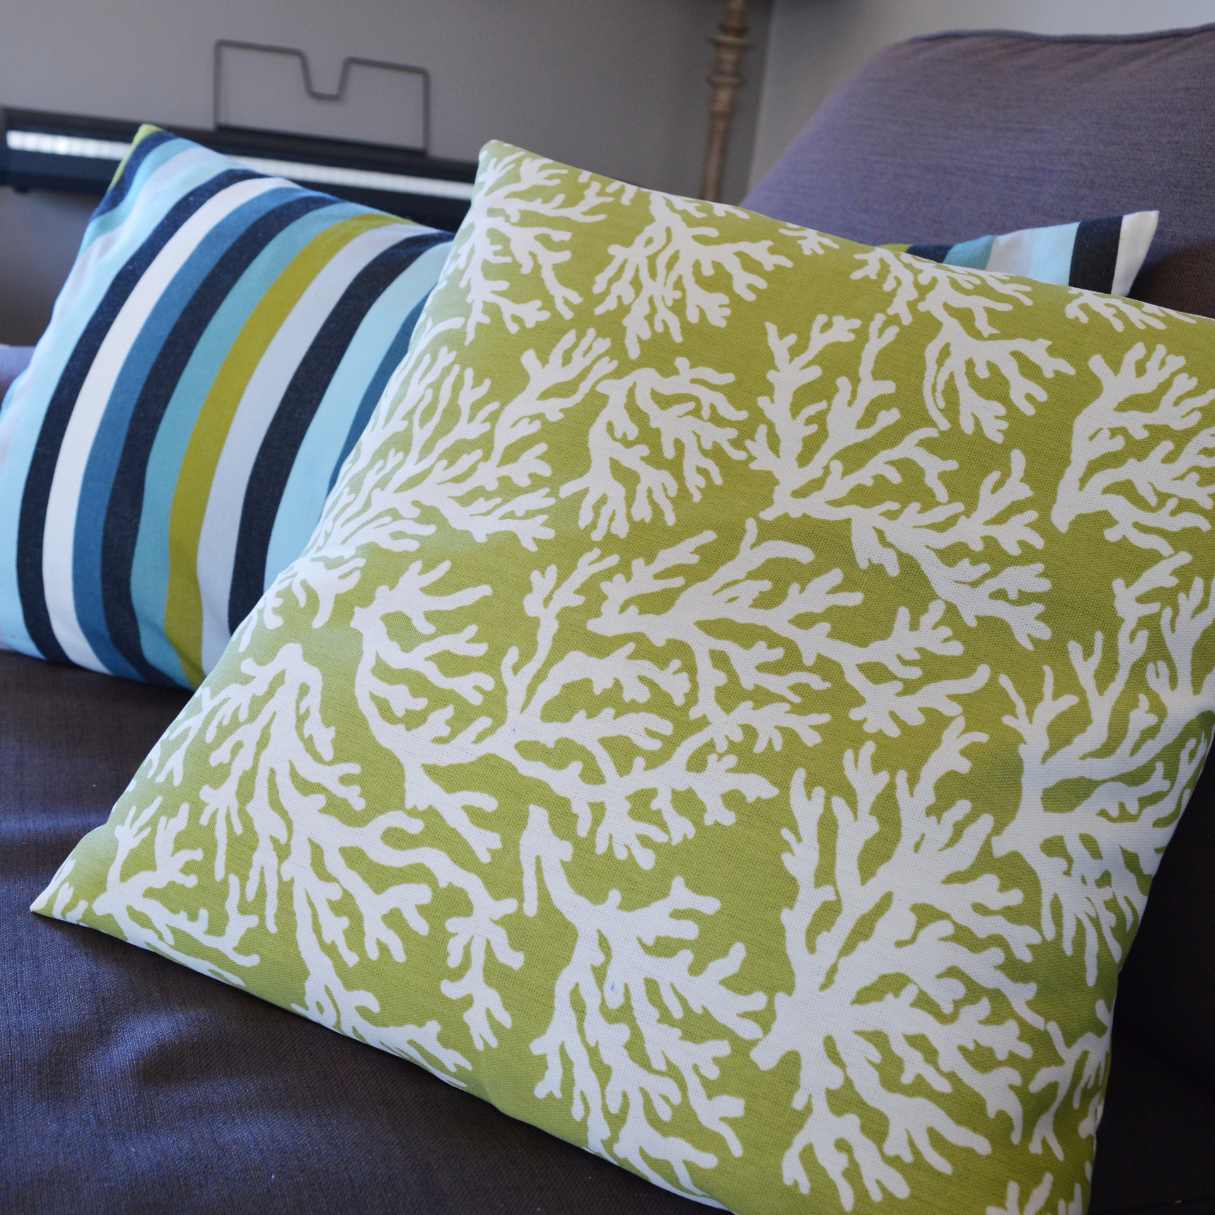
Welcome to the world of DIY home decor! If you’re looking to add a personal touch to your living space, learning how to cover pillows with fabric is a great place to start. Whether you want to revamp old throw pillows or create custom ones from scratch, this step-by-step guide will walk you through the process.
By covering pillows with fabric, you can easily coordinate them with your existing decor, experiment with different patterns and colors, and give your space a fresh new look. Not only is it a fun and creative project, but it’s also a cost-effective way to update the look of your home.
In this article, we will guide you through the entire process, from gathering the necessary materials to adding those finishing touches. So, grab your sewing kit and let’s get started!
Key Takeaways:
- Transform ordinary pillows into personalized home decor accents with fabric covers. Enjoy the creative process and cost-effective home updates while showcasing your unique style.
- Elevate your living space with fabric-covered pillows, adding comfort and style. Unleash your creativity, save money, and create a cohesive and inviting environment with DIY home decor.
Read more: How To Cover A Ceiling With Fabric
Step 1: Gather Materials
Before you start covering your pillows with fabric, it’s important to gather all the necessary materials. Here’s what you’ll need:
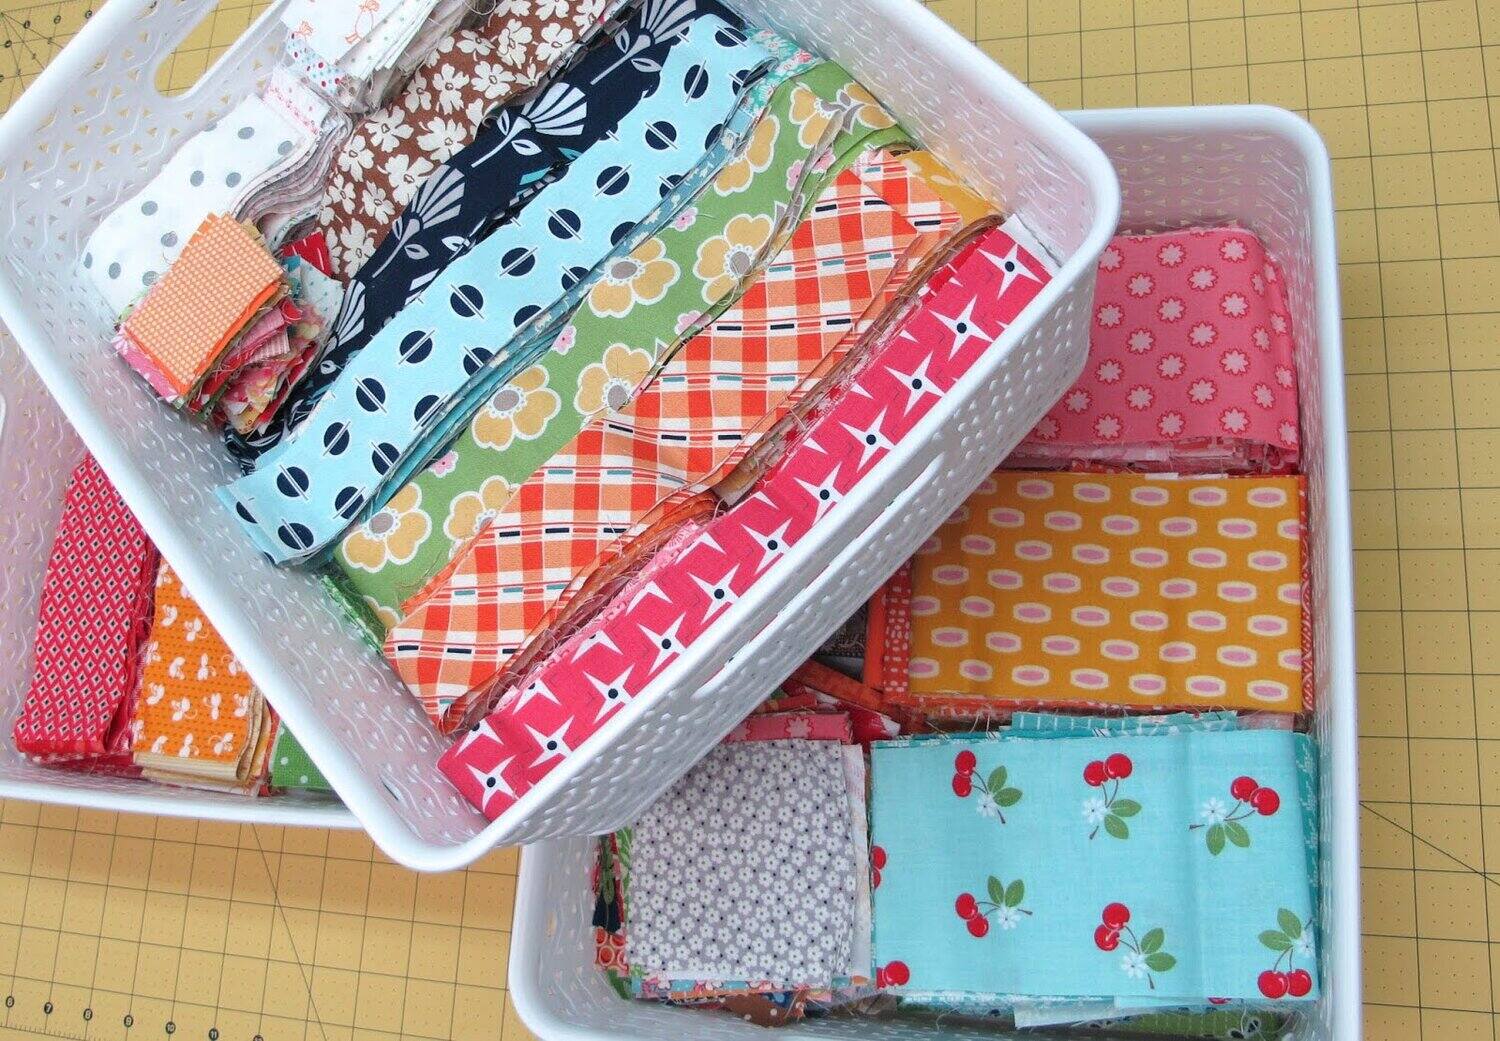
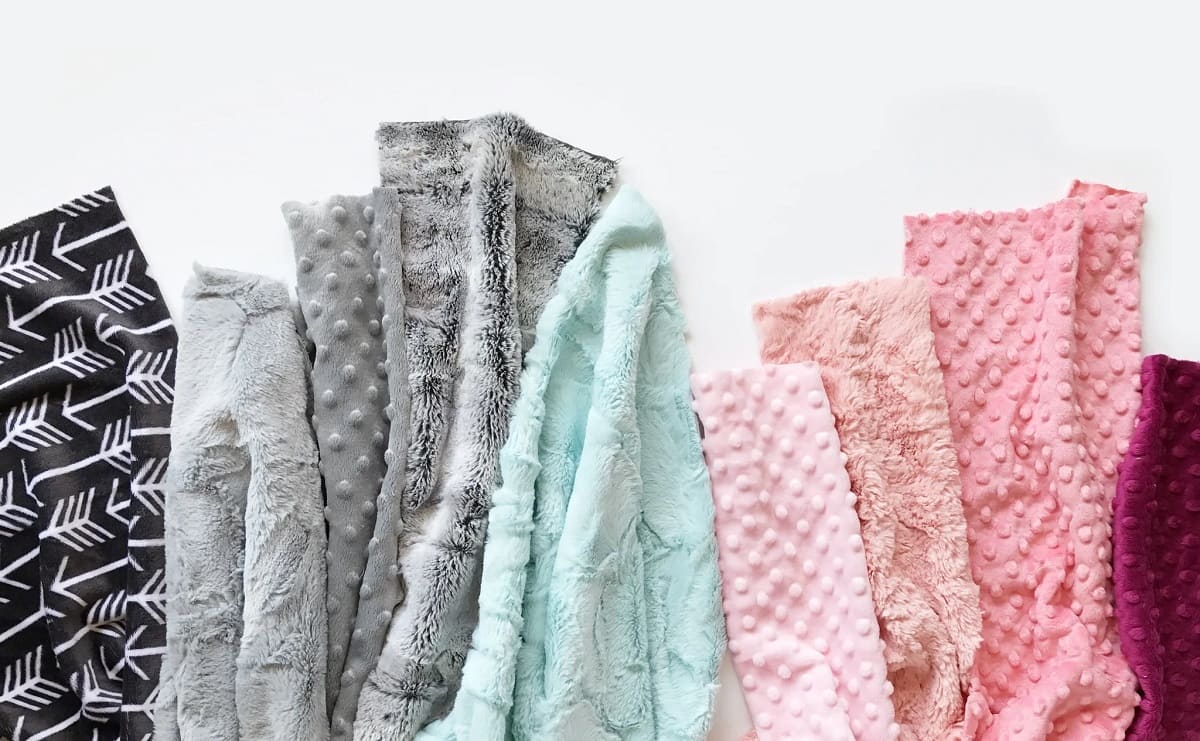
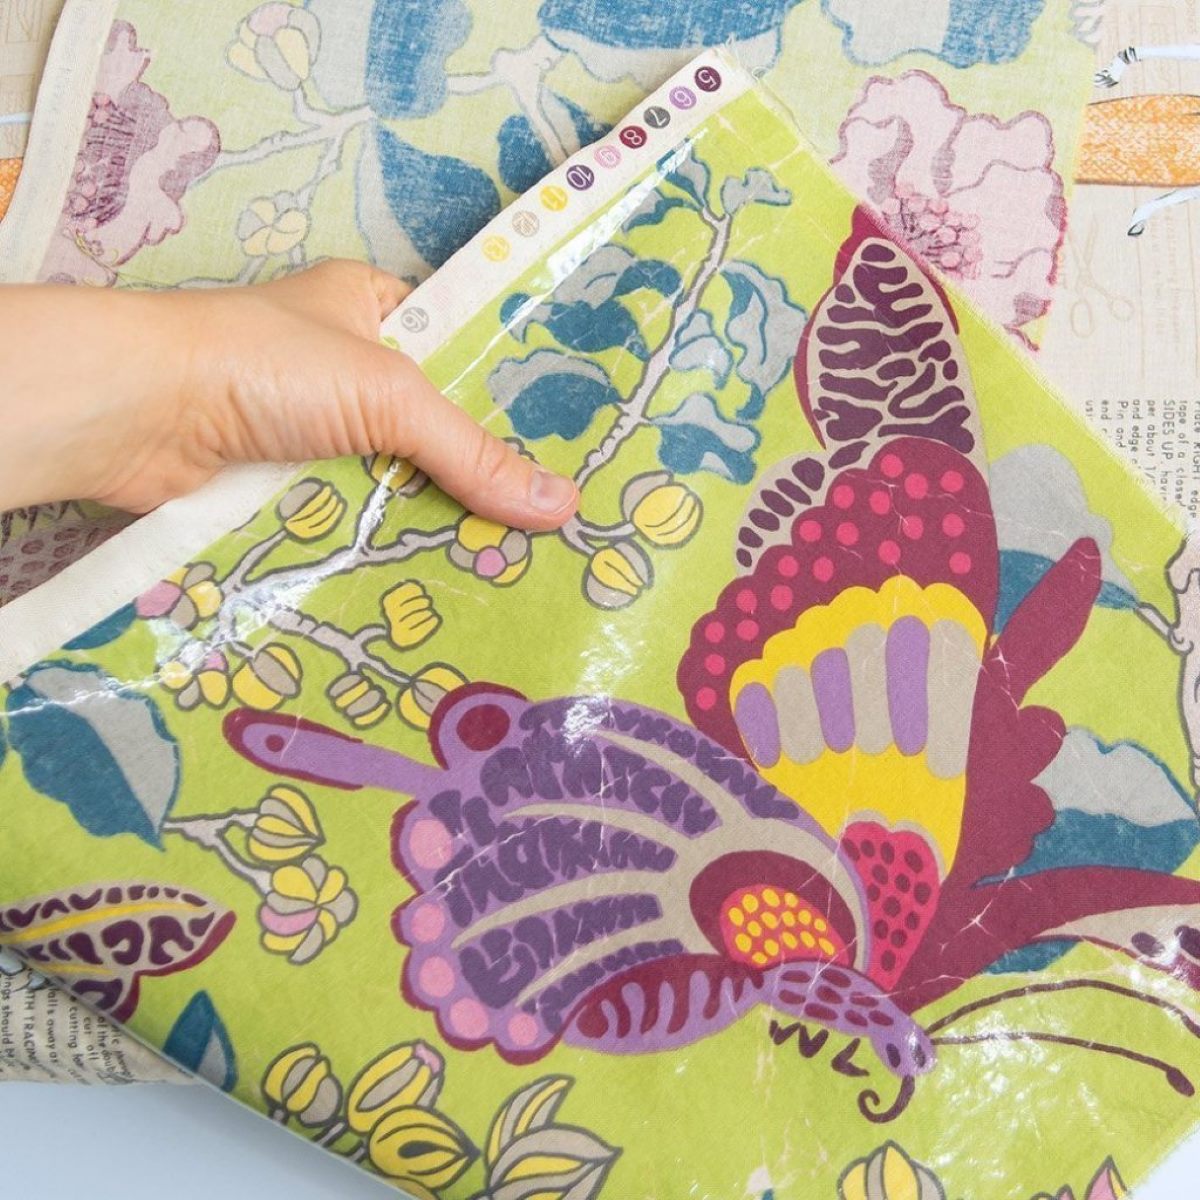
- Fabric: Choose a fabric that suits your style and desired aesthetic. Consider factors such as color, pattern, and texture. Keep in mind that medium-weight fabrics like cotton or linen work best for pillow covers.
- Pillow Inserts: If you’re working with existing pillows, make sure you have the appropriate pillow inserts for them. You can also purchase new inserts if needed.
- Measuring Tape: To ensure accurate measurements, have a measuring tape handy.
- Scissors: Sharp scissors are essential for cutting the fabric.
- Sewing Pins: These will help secure the fabric in place before sewing.
- Sewing Machine or Needle and Thread: Depending on your preference and sewing skills, you can use a sewing machine or sew by hand with a needle and thread.
- Iron and Ironing Board: Ironing the fabric before and after sewing will help create crisp edges and a professional finish.
- Optional: Trimming and Embellishments: If you want to add some extra flair to your pillow covers, consider including trimming or embellishments like buttons or lace.
Once you have gathered all these materials, you’re all set to dive into the next steps of the process. Make sure you have a clean and organized workspace to carry out the project smoothly and comfortably.
Step 2: Measure the Fabric
Now that you have all your materials ready, it’s time to measure the fabric for your pillow covers. Precision is key in this step to ensure a perfect fit. Follow these steps:
- Measure the dimensions of your pillow insert: Use a measuring tape to determine the length and width of your pillow insert. Write down these measurements as you will need them for cutting the fabric.
- Add seam allowance: To provide room for sewing and ensure a snug fit, add an extra 1 inch to both the length and width measurements. For example, if your pillow insert is 16 inches by 16 inches, your fabric piece should be 18 inches by 18 inches.
- Account for overlapping fabric: If you prefer an envelope-style closure for your pillow covers, add an additional 6 inches to the length measurement. This will allow the fabric to overlap and create a neat closure on the back of the pillow cover.
- Cut the fabric: Use your measurements to cut the fabric according to the dimensions calculated in the previous steps. Make sure to cut straight and even lines for a professional finish.
Remember to double-check your measurements before cutting the fabric to avoid any mistakes. It’s always better to be precise from the start to save time and effort later on.
Once you have measured and cut your fabric, you are ready to move on to the next step: cutting and prepping the fabric for sewing.
Step 3: Cut the Fabric
With your fabric measured and ready, it’s time to move on to cutting it to the correct dimensions for your pillow covers. Follow these steps to ensure accurate and precise cuts:
- Prepare your workspace: Clear a flat surface and make sure it’s clean and free of any obstructions. This will provide you with a smooth area to work on.
- Lay out the fabric: Unroll or unfold your fabric and lay it flat on your work surface. Smooth out any wrinkles or creases, so you have a clear and even surface to work with.
- Place your pattern: If you are using a patterned fabric or want to cut multiple pieces for a more intricate design, position your pattern or template on the fabric. Secure it with sewing pins to prevent it from shifting during cutting.
- Mark the cut lines: Using a fabric marking tool or a pencil, carefully outline your desired cut lines onto the fabric. Make sure to follow the measurements you calculated earlier to ensure accurate dimensions.
- Cut the fabric: With your marked lines as a guide, use sharp fabric scissors to cut along the lines. Take your time and make clean, straight cuts for a professional-looking finish.
Remember to work slowly and carefully during the cutting process to maintain accuracy. It’s better to take your time and ensure precise cuts rather than rushing and potentially making mistakes.
Once you have finished cutting the fabric pieces for your pillow covers, you are ready to move on to the next step: preparing the pillows for covering.
Step 4: Prep the Pillow
Now that you have your fabric pieces ready, it’s time to prepare your pillows for the fabric coverings. Follow these steps to ensure your pillows are in the right condition for covering:
- Remove existing covers: If you are working with pillows that already have covers, carefully remove them. This will give you a clean surface to work with and ensure a proper fit for the new fabric covers.
- Inspect the pillow inserts: Take a close look at the pillow inserts to ensure they are clean, in good condition, and properly filled. If any of the pillows are lacking in shape or support, consider replacing them with new inserts for optimal comfort and aesthetics.
- Fluff the pillows: Give each pillow insert a good fluff to plump them up and distribute the filling evenly. This will ensure a nice, full appearance for your finished pillows.
- Optional: Add extra padding or inserts: If you prefer a fuller or firmer pillow, you can add additional padding or inserts to enhance the shape and comfort.
By prepping your pillows before covering them, you ensure a clean and well-maintained surface for your fabric covers. This step helps to create a polished and professional look for your finished pillows.
With the pillows prepped and ready, it’s time to move on to the next step: attaching the fabric to the pillows.
When covering pillows with fabric, make sure to measure the fabric carefully to ensure a snug fit. Use a sewing machine for a professional finish, or hand-stitch for a more rustic look.
Read more: How To Quilt A Pillow Cover
Step 5: Attach the Fabric to the Pillow
Now comes the exciting part: attaching the fabric to the pillows and bringing your vision to life. Follow these steps to securely attach the fabric covers:
- Place the fabric right side down: Lay your fabric piece on your work surface with the right side facing down. The wrong side of the fabric should be facing up.
- Position the pillow insert: Take your pillow insert and place it in the center of the fabric piece. Make sure it is aligned evenly on all sides.
- Optional: Pin the fabric in place: If you find it helpful, you can use sewing pins to temporarily secure the fabric to the pillow insert. This step can prevent the fabric from shifting as you work on attaching it.
- Start with one side: Choose one side of the pillow cover to begin attaching the fabric. Fold the fabric over the pillow insert, ensuring it is taut and smooth. If you are using an envelope-style closure, make sure there is enough fabric overlapping for the desired closure size.
- Secure with pins or clips: Use sewing pins or fabric clips to hold the fabric in place on the chosen side. Place the pins or clips close to the edge but not directly on it, as this could interfere with the sewing process later on.
- Continue on the remaining sides: Repeat the folding and securing process on the remaining sides of the pillow cover. Smooth out any wrinkles or creases as you go along to ensure a neat and polished appearance.
Remember to take your time and ensure the fabric is smooth and straight as you fold it over the pillow. This will result in a professional and tailored look for your fabric covers.
With the fabric securely attached, you’re almost done. The next step will ensure the fabric stays in place and adds that extra touch of polish to your pillow covers.
Step 6: Secure the Fabric
Now that you have attached the fabric to the pillow, it’s crucial to secure it to ensure a long-lasting and professional finish. Follow these steps to secure the fabric in place:
- Remove the pins or clips: Carefully remove any sewing pins or fabric clips that were used to temporarily hold the fabric in place. Take your time to avoid snagging the fabric or accidentally shifting it.
- Choose your sewing method: Depending on your preference and sewing skills, you can either sew the fabric by hand or use a sewing machine to secure the edges.
- Start sewing: Begin sewing along the edge of the fabric, making sure to leave a 1/4 to 1/2-inch seam allowance. Use a straight stitch or zigzag stitch to ensure a secure seam.
- Continue sewing: Sew along all the edges of the fabric, making sure to backstitch at the beginning and end of each seam to reinforce the stitches.
- Optional: Finish the raw edges: If desired, you can further secure and finish the raw edges by using an overlock stitch, serger, or by carefully zigzag stitching along the edges.
Take your time while sewing to ensure even stitching and a neat appearance. If you’re hand-sewing, make small, even stitches to create a sturdy seam. If using a sewing machine, guide the fabric carefully and sew at a steady pace.
Once you finish securing the fabric, give it a quick once-over to ensure everything is in place. Trim any loose threads, and gently press the fabric with an iron to smooth out any wrinkles. This additional step will give your pillow covers a polished and professional look.
With the fabric secured, you’re almost done. Just a few more touches to add, and your pillow covers will be ready for display.
Step 7: Finishing Touches
Now that you have successfully covered and secured your pillows with fabric, it’s time to add those final finishing touches to complete the look. Follow these steps to give your pillow covers that extra touch:
- Trim any excess fabric: Carefully trim any excess fabric from the seams to create a clean and polished appearance.
- Optional: Add decorative elements: If you want to add some embellishments or decorative elements to your pillow covers, now is the time to do so. Consider adding buttons, lace, ribbons, or other trims to enhance the visual appeal of the pillows.
- Press the pillow covers: Give your pillow covers a final press with an iron to remove any wrinkles and create a smooth finish. Be sure to follow the instructions for ironing the fabric based on its type.
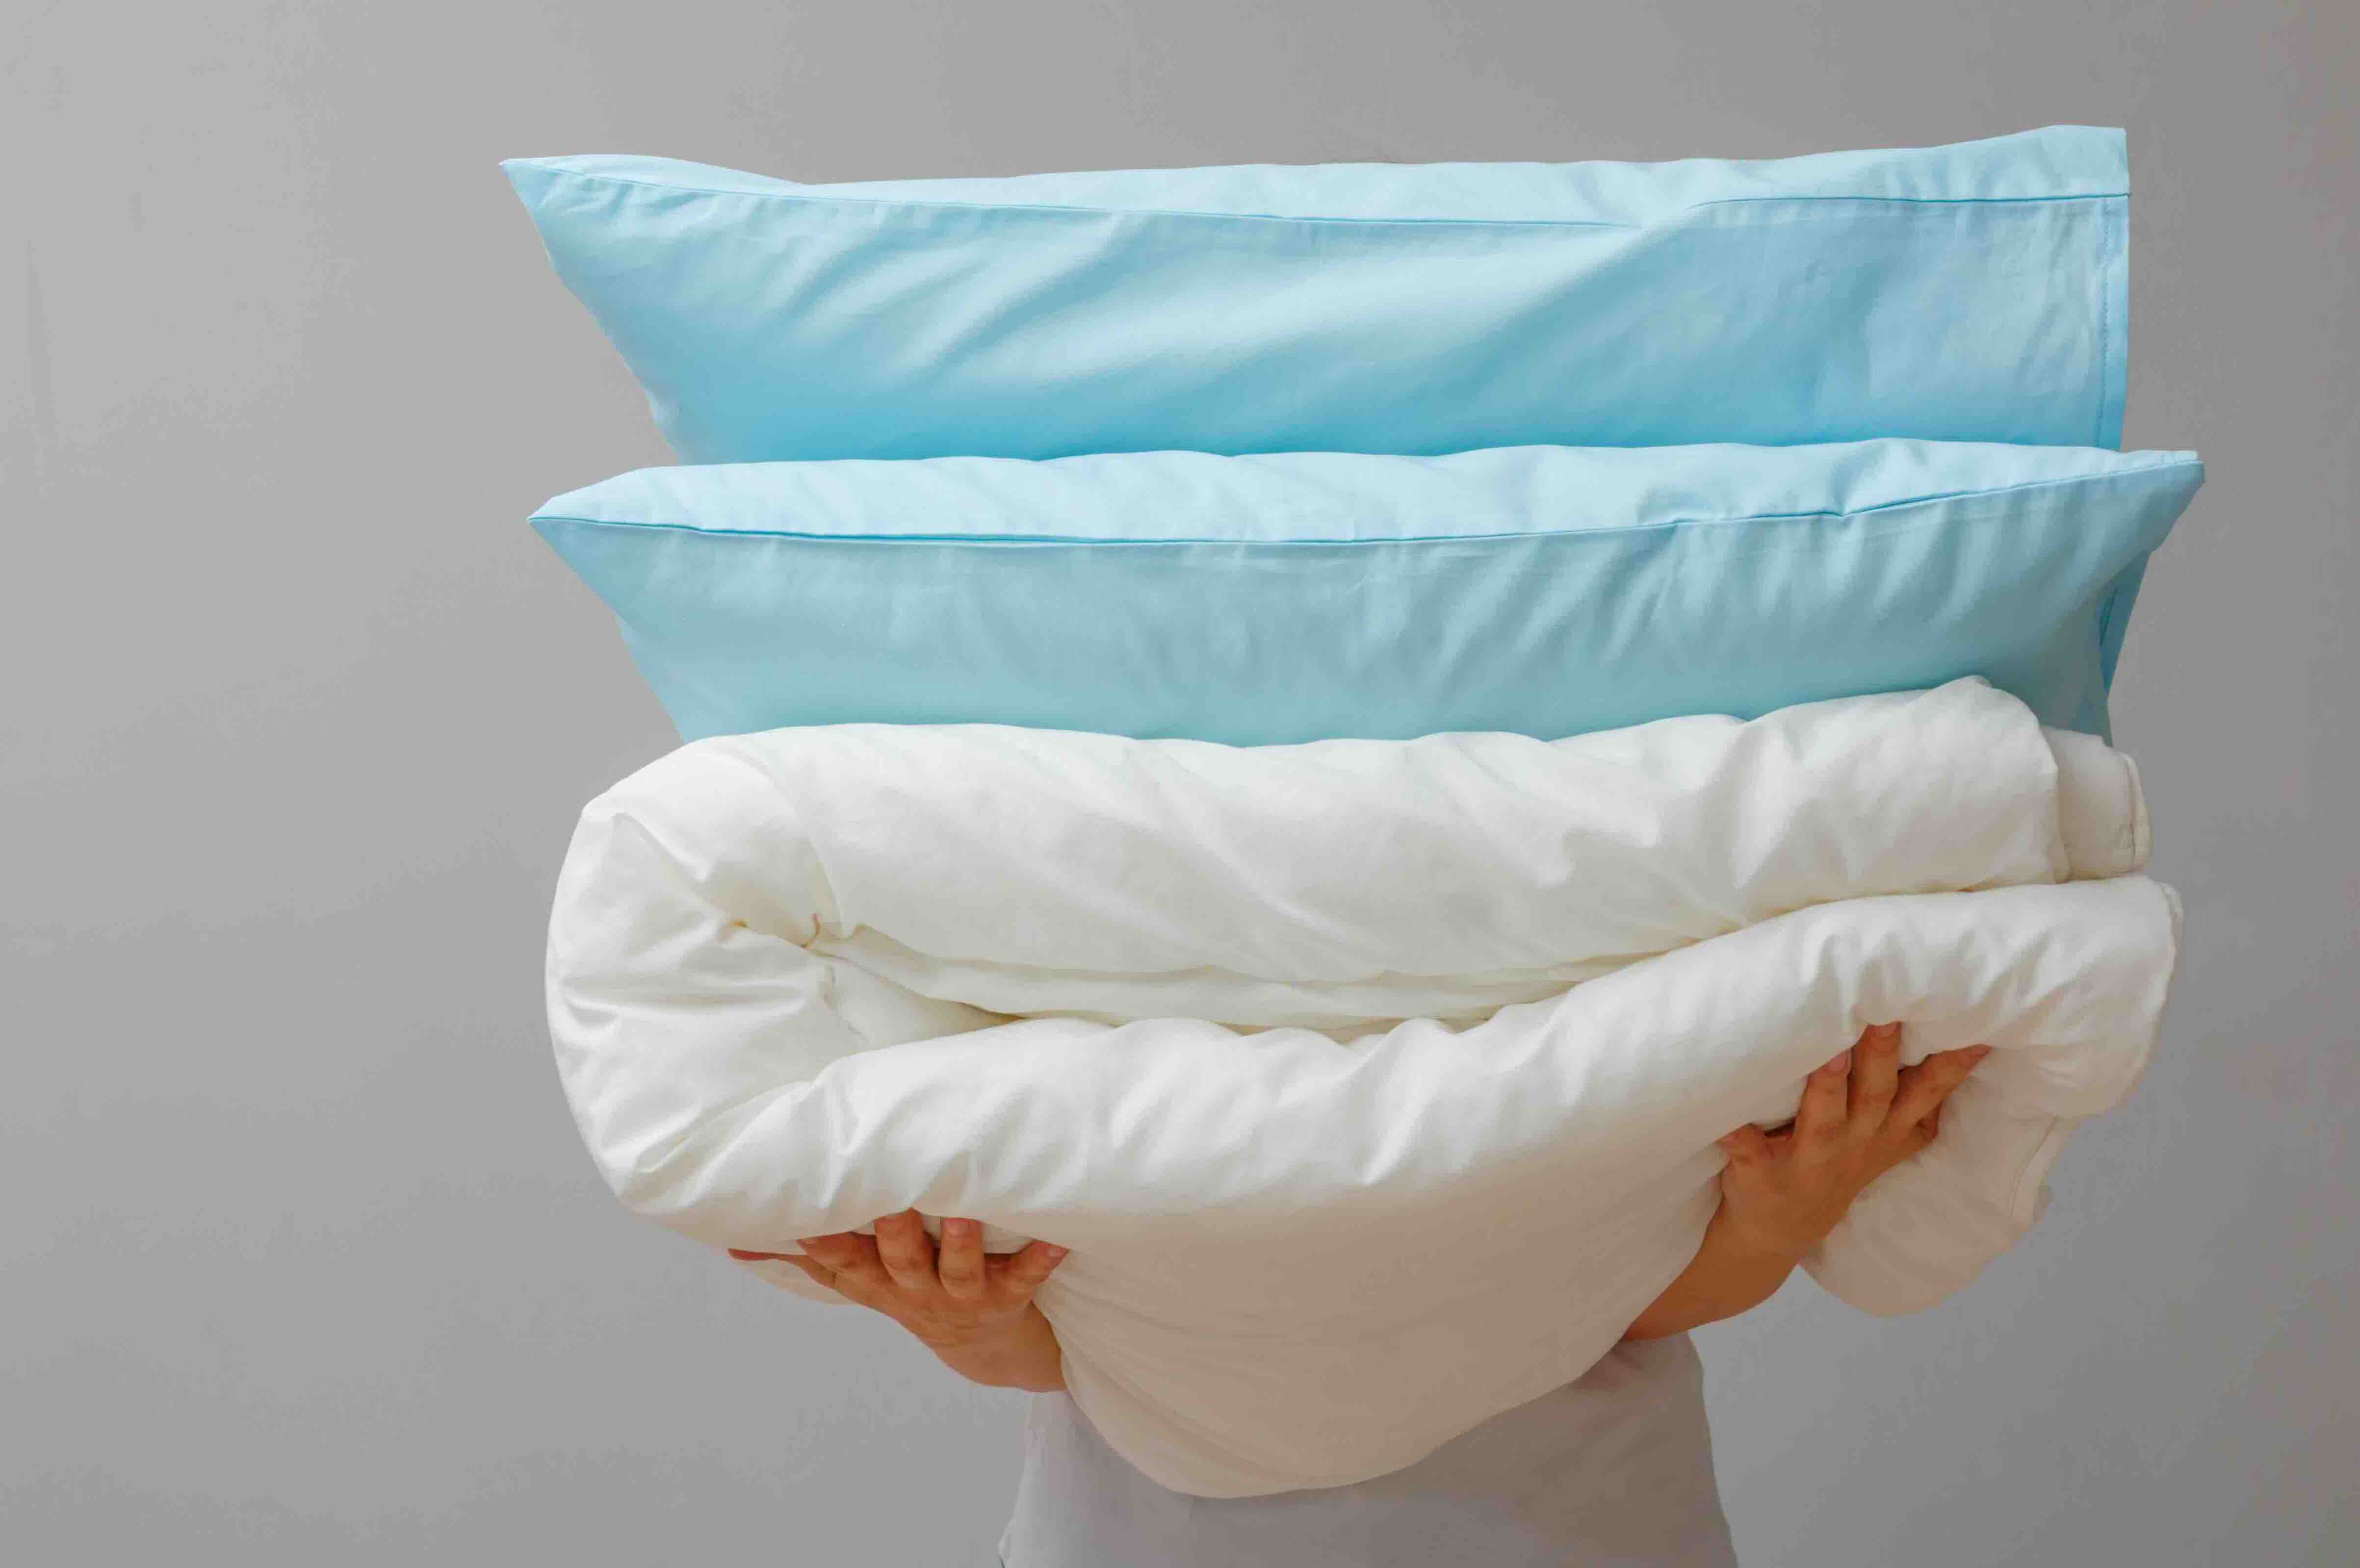
- Insert the pillows: Once your pillow covers are neatly pressed and finished, it’s time to insert the pillows. Gently slide each pillow insert into its respective cover, ensuring it fits snugly and fills out the corners.
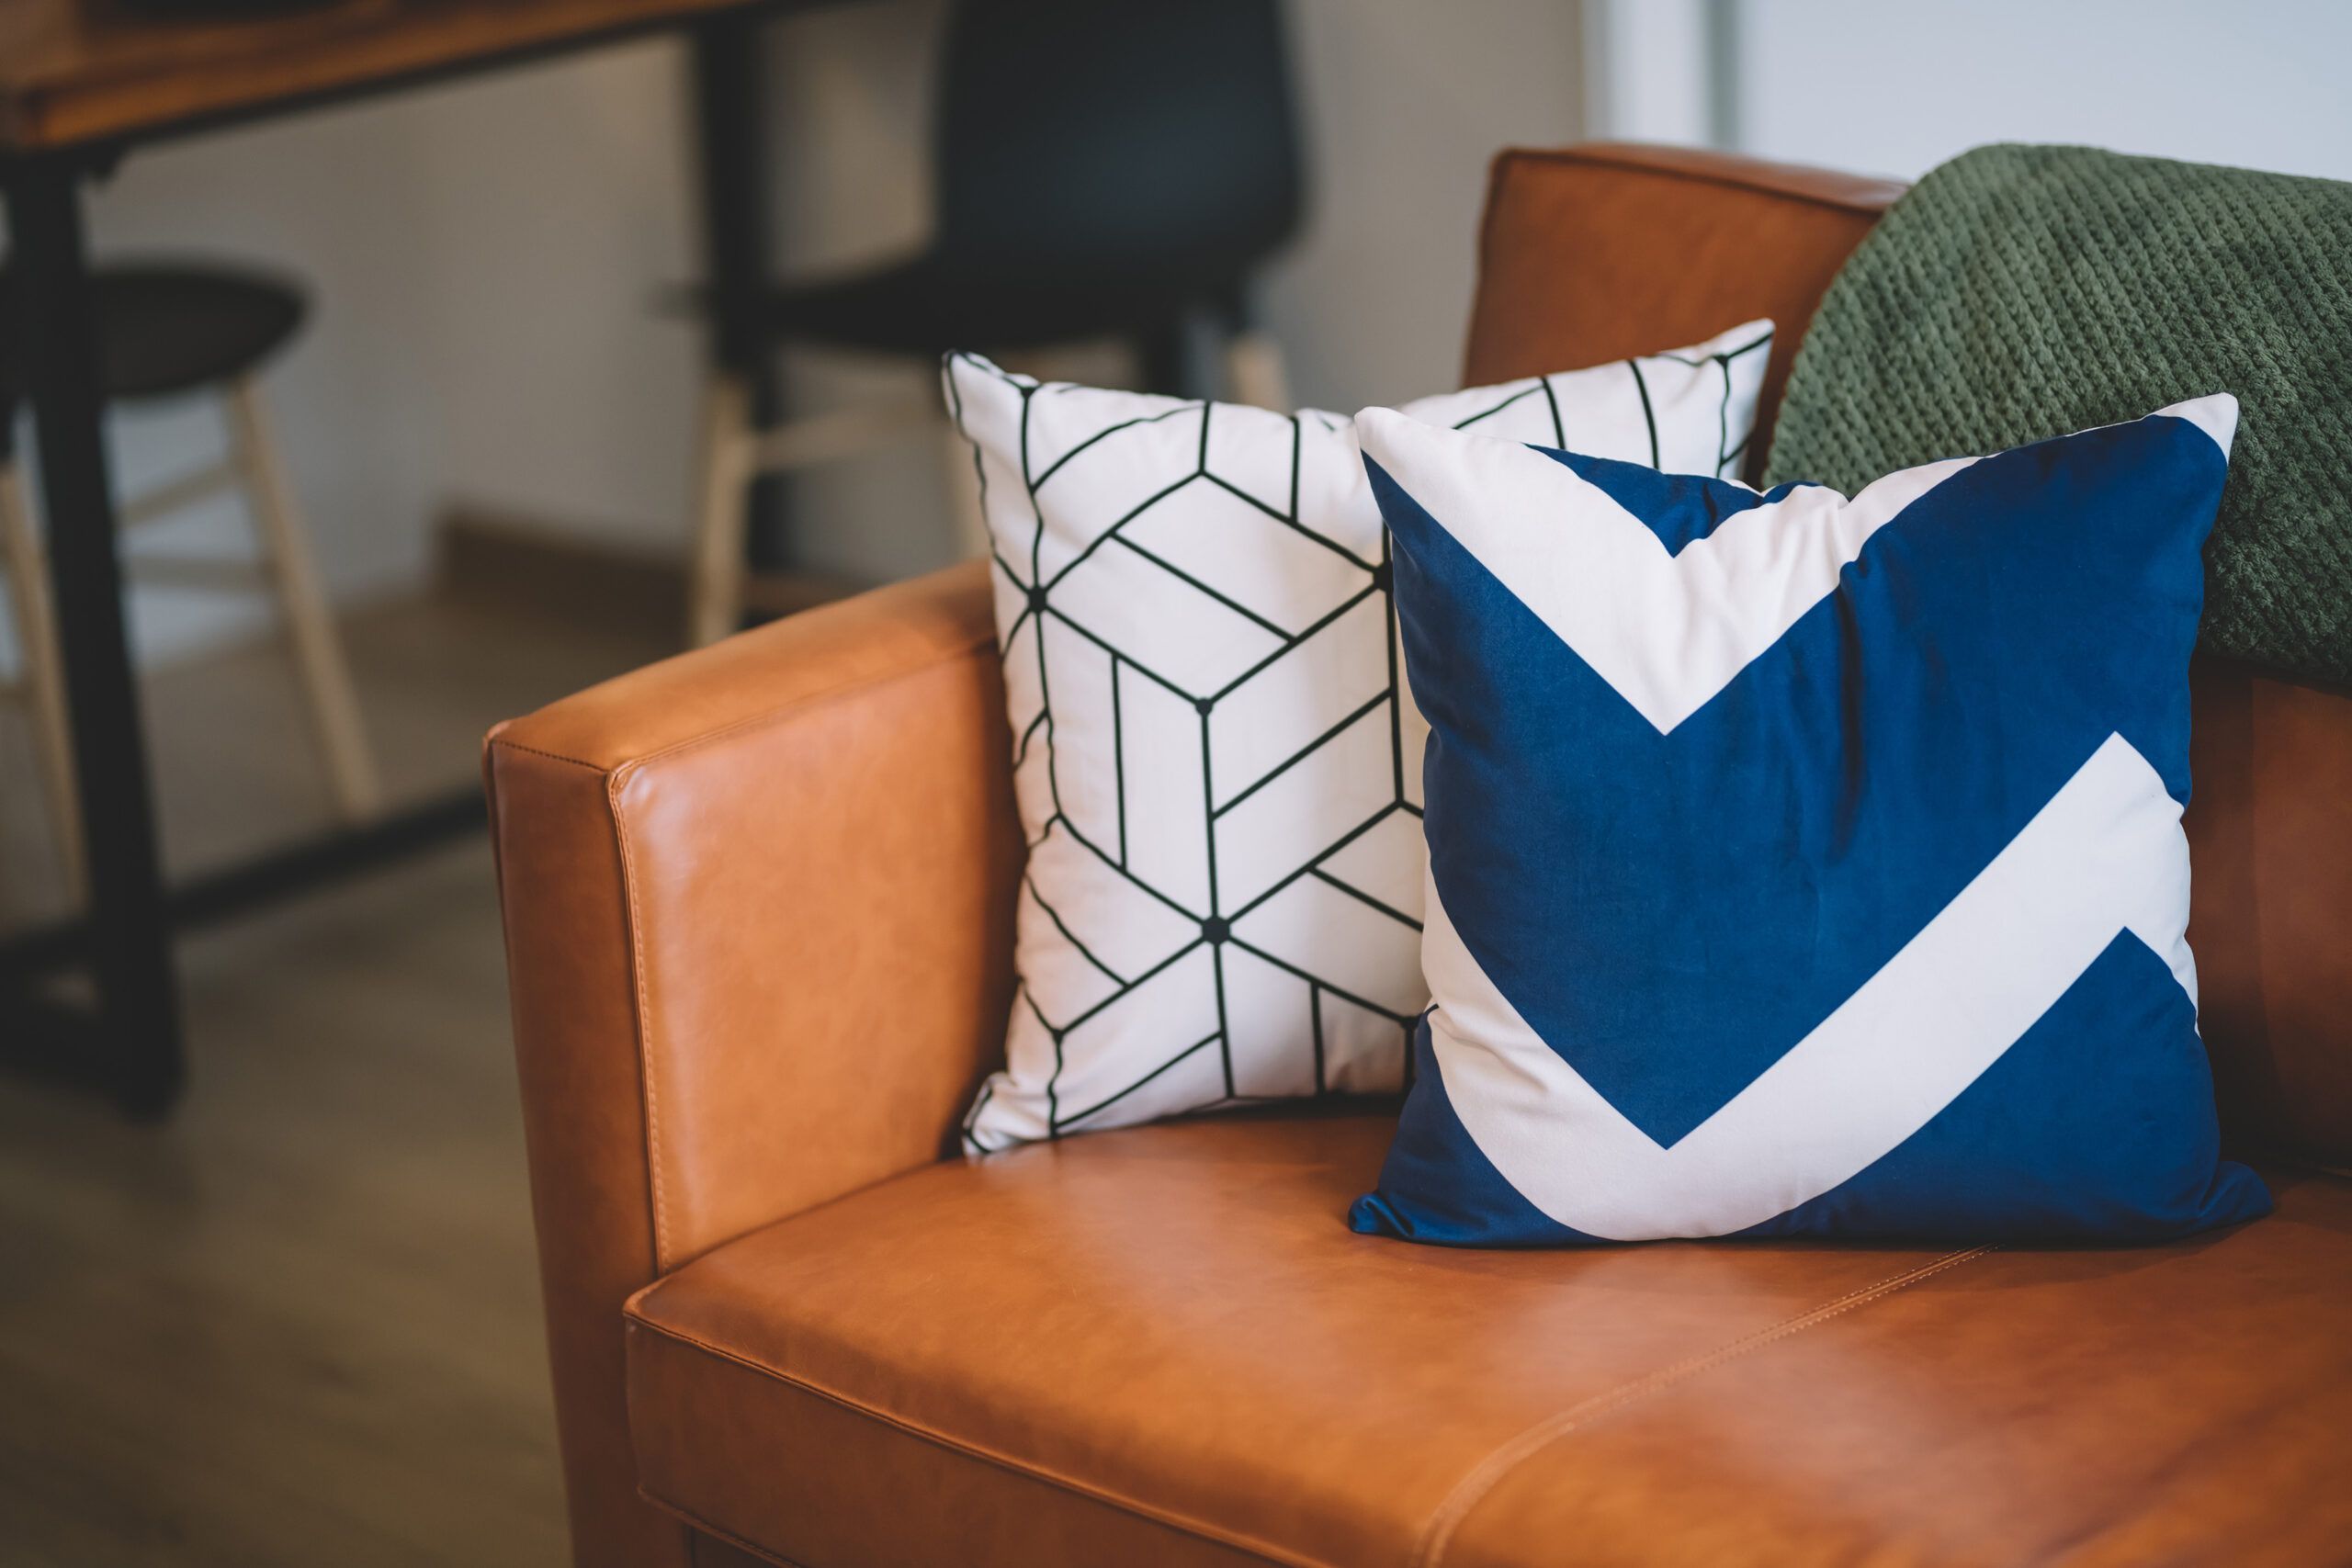
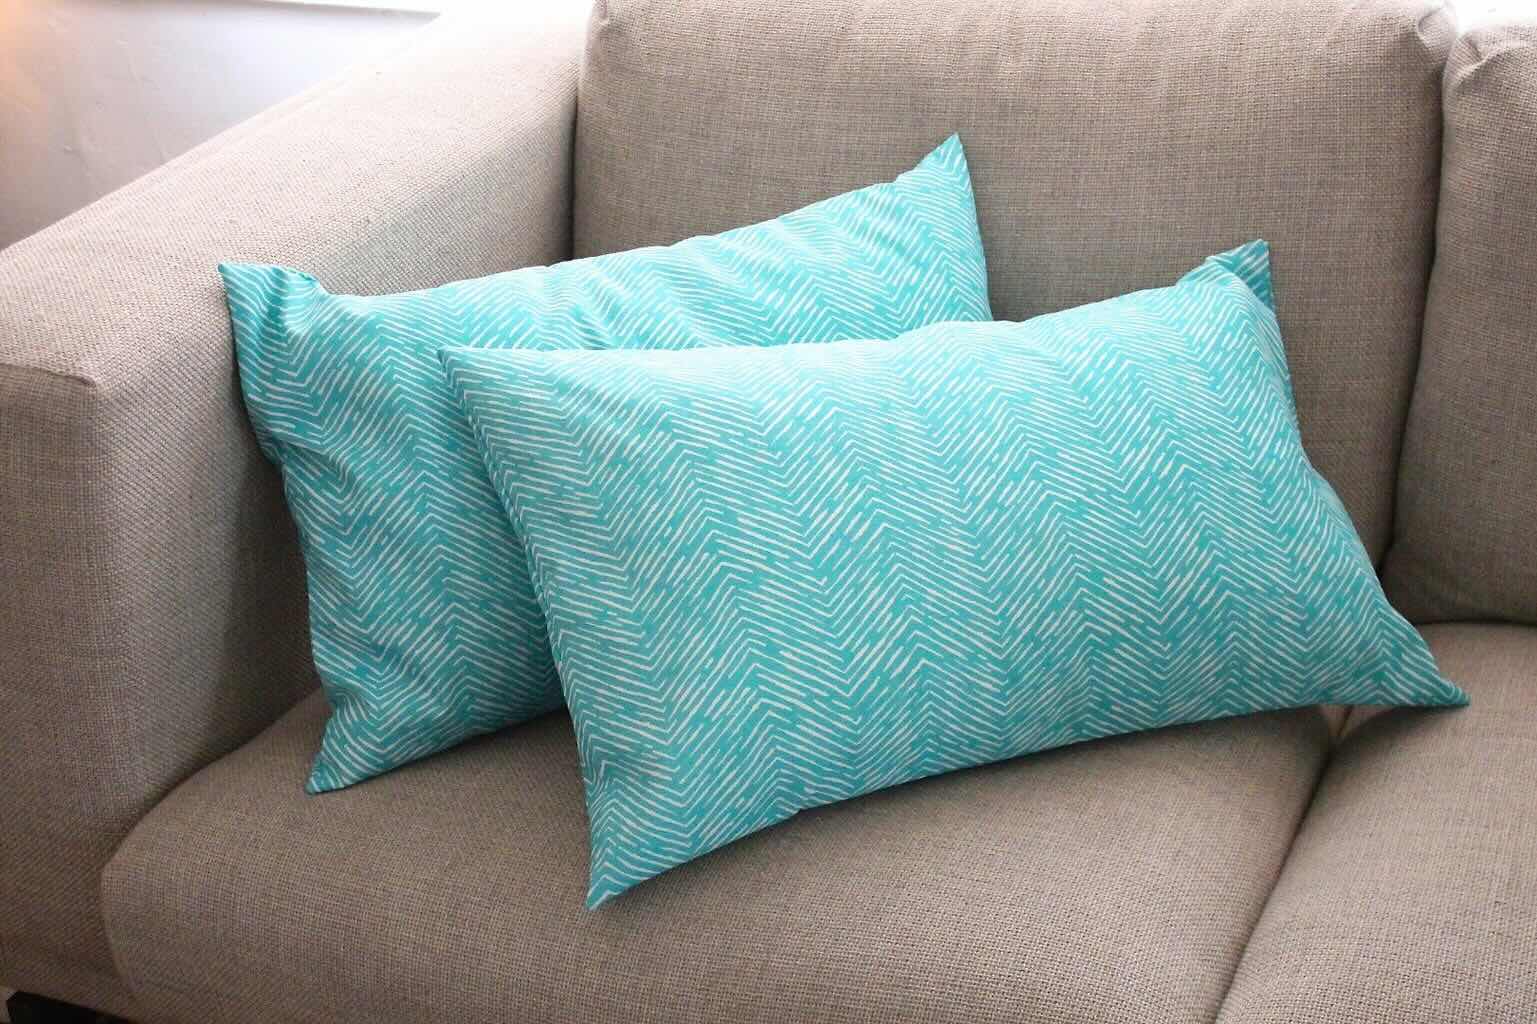
- Arrange and style: With your pillow covers complete, arrange them on your sofas, chairs, or beds to add a touch of comfort and style to your space. Play around with different combinations of colors, patterns, and textures to create an inviting atmosphere.
Remember to step back and admire your handiwork. You’ve successfully covered pillows with fabric and transformed them into stunning decorative accents for your home.
Whether you choose to cover all your existing pillows or create new ones from scratch, this DIY project allows you to showcase your creativity and add a personal touch to your living space. Enjoy the process and take pride in the unique and beautiful pillow covers you have created.
Congratulations on completing the process of covering pillows with fabric, and enjoy the cozy and stylish ambiance your pillows bring to your living space!
Conclusion
Covering pillows with fabric is a rewarding DIY project that allows you to showcase your creativity and add a personal touch to your home decor. By following the steps outlined in this guide, you have learned how to transform ordinary pillows into beautiful accents that complement your style and enhance the ambiance of your living space.
Throughout the process, you gathered the necessary materials, measured and cut the fabric, prepped the pillows, attached and secured the fabric, and added those final finishing touches. Each step contributed to the overall success of the project, ensuring a professional and polished look for the pillow covers.
Not only is covering pillows with fabric a fun and creative endeavor, but it also offers cost-effective solutions for updating your home. Rather than purchasing new pillows, you can breathe new life into your existing ones, saving both money and resources.
Furthermore, by choosing fabrics that align with your personal style and the overall aesthetic of your space, you can create a cohesive and inviting environment. Whether you opt for bold patterns, soothing neutrals, or something in between, your fabric-covered pillows can become a focal point or a subtle accent that ties the visual elements of your room together.
So go ahead, unleash your creativity, and enjoy the process of covering pillows with fabric. With the skills and knowledge gained from this guide, you can confidently embark on future DIY projects and continue to transform your living space into a reflection of your unique style.
Remember, the beauty of DIY projects lies in the journey and the personal touch you bring to each creation. So take pride in your craft, showcase your newfound skills, and most importantly, enjoy the cozy and stylish ambiance your fabric-covered pillows bring to your home.
Frequently Asked Questions about How To Cover Pillows With Fabric
Was this page helpful?
At Storables.com, we guarantee accurate and reliable information. Our content, validated by Expert Board Contributors, is crafted following stringent Editorial Policies. We're committed to providing you with well-researched, expert-backed insights for all your informational needs.
0 thoughts on “How To Cover Pillows With Fabric”