Articles
How To Cover A Ceiling With Fabric
Modified: August 26, 2024
Learn how to cover a ceiling with fabric in these informative articles. Transform your space with this unique and cost-effective DIY technique.
(Many of the links in this article redirect to a specific reviewed product. Your purchase of these products through affiliate links helps to generate commission for Storables.com, at no extra cost. Learn more)
Introduction
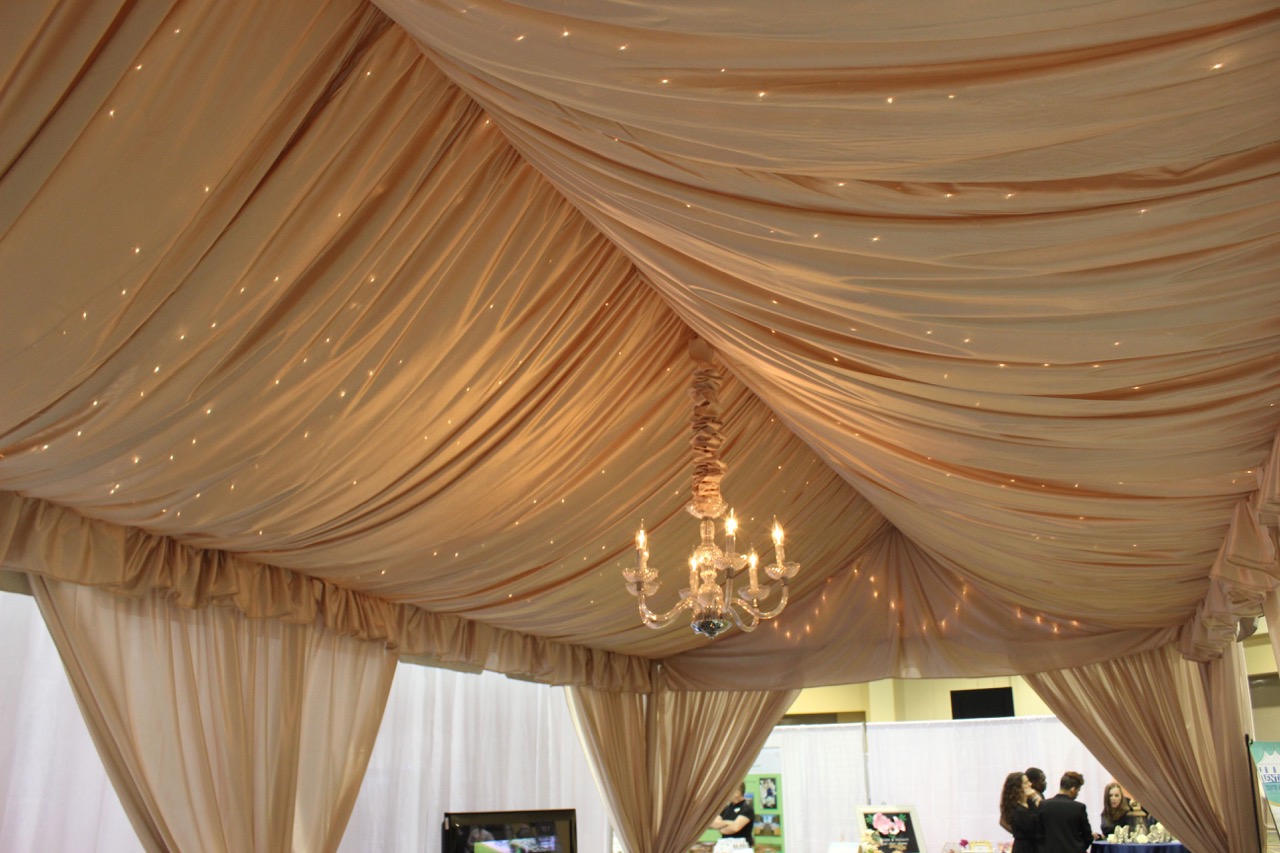
When it comes to transforming the look and feel of a room, the ceiling is often an overlooked element. However, by covering a ceiling with fabric, you can add a touch of elegance and sophistication to any space. This DIY project is not only cost-effective but also allows you to customize your ceiling to match your personal style and décor.
In this article, we will guide you through the step-by-step process of covering a ceiling with fabric. From preparing the ceiling to attaching the fabric, we will provide all the information you need to successfully complete this project. So, grab your tools and let’s get started on transforming your ceiling into a stunning focal point.
Before we dive into the details, let’s take a look at the materials you’ll need to complete this project.
Key Takeaways:
- Elevate your room’s elegance and sophistication by covering the ceiling with fabric. Follow the step-by-step process for a personalized and stunning focal point that reflects your unique style and taste.
- Transform your ceiling into a masterpiece with a DIY fabric covering. Enjoy the satisfaction of a job well done and bask in the beauty of your newly covered ceiling.
Read more: How To Cover Pillows With Fabric
Materials Needed
- Fabric of your choice (make sure it is lightweight and suitable for ceiling application)
- Measuring tape
- Scissors
- Adhesive or wall-mounting hardware (such as hooks or clips)
- Paint roller or brush
- Paint tray
- Utility knife
- Staple gun
- Staples
- Ladder or step stool
- Optional: Primer and paint if you intend to paint the ceiling before applying the fabric
Now that you have gathered all the necessary materials, let’s move on to the step-by-step process of covering a ceiling with fabric.
Step 1: Preparing the Ceiling
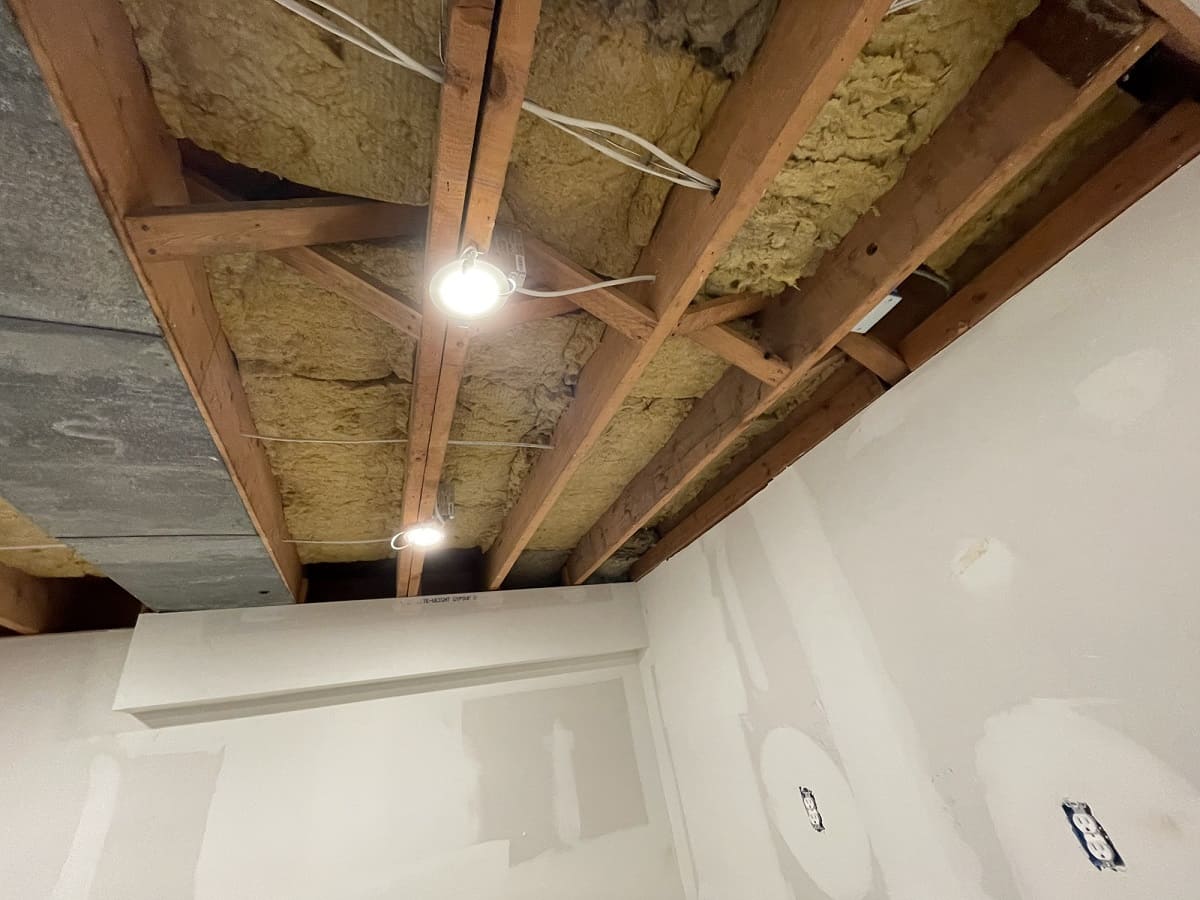
The first step in covering a ceiling with fabric is to prepare the surface. This involves ensuring that the ceiling is clean, dry, and free from any debris or imperfections.
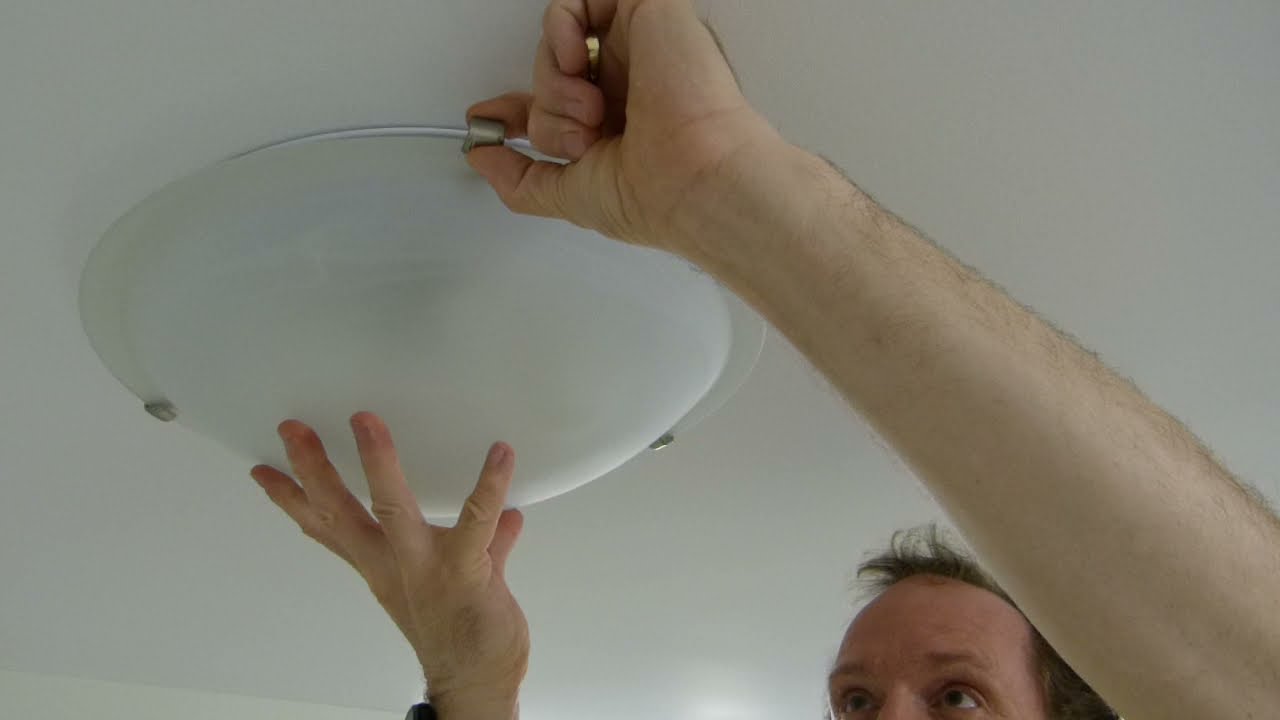
- Remove any light fixtures or ceiling fans that may hinder your work. This will make it easier to access the entire ceiling surface.
- Use a broom or vacuum cleaner to remove any dust or dirt from the surface. You can also wipe the ceiling with a damp cloth to ensure it is clean and ready for the fabric.
- If there are any cracks, dents, or holes on the ceiling, fill them in with spackle or putty. Allow the filler to dry and then sand it down until it is smooth and flush with the surrounding surface.
- For better adhesion of the fabric, you can choose to prime the ceiling before applying the fabric. Apply a coat of primer using a paint roller or brush, following the instructions on the primer’s label. Allow the primer to dry completely before moving on to the next step.
Once your ceiling is clean, smooth, and primed (if desired), you are ready to move on to the next step: measuring and cutting the fabric.
Step 2: Measuring and Cutting the Fabric
Before you can attach the fabric to the ceiling, you need to measure and cut it to the appropriate size. This ensures a precise and snug fit once the fabric is installed.
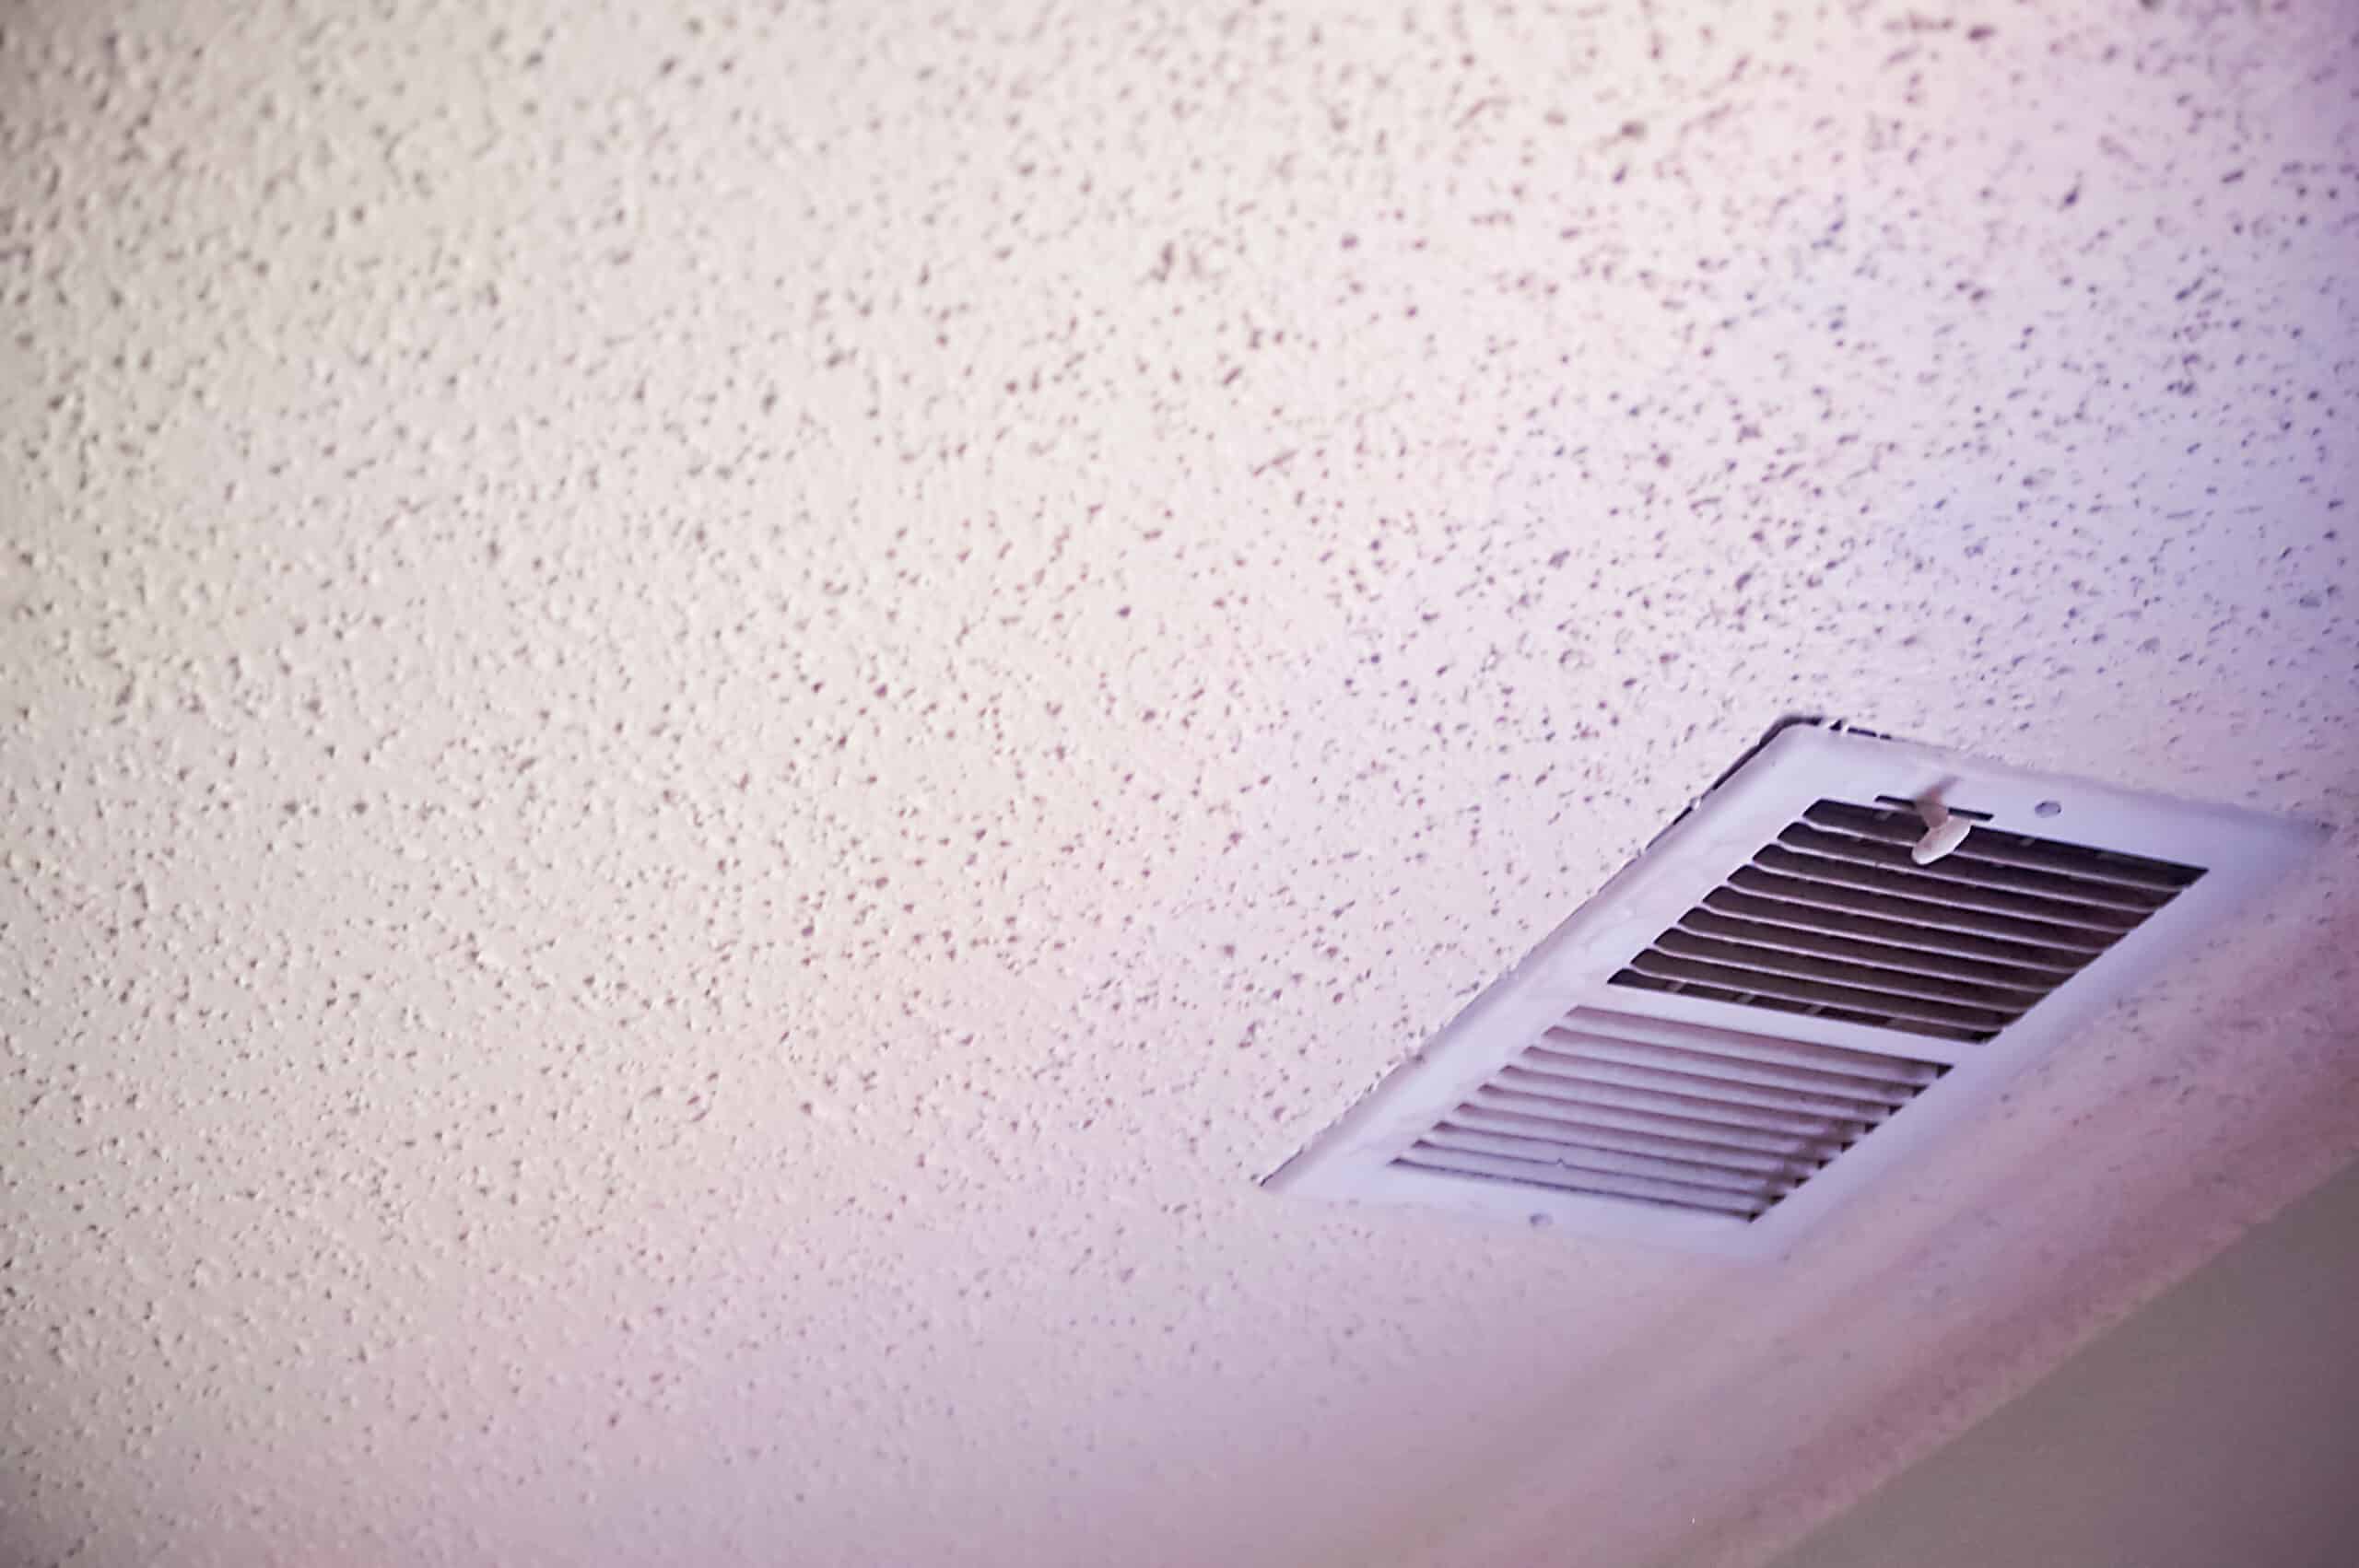
- Start by measuring the width and length of the ceiling. Use a measuring tape to accurately determine the dimensions. Make sure to account for any obstructions like light fixtures or vents that will require you to cut around them.
- Add some extra fabric to the measurements to allow for overlap and securing the edges. This will also ensure that the fabric covers the entire ceiling surface without any gaps.
- Lay the fabric on a flat surface and use a straight edge, such as a ruler, to mark the measurements. Double-check the measurements to ensure accuracy before proceeding.
- Using sharp scissors or a utility knife, carefully cut along the marked lines to create your fabric panel. Take your time to cut smoothly and precisely, as this will affect the overall appearance of the finished ceiling.
Once the fabric is cut to size, you are ready to move on to the next step: applying adhesive or wall-mounting hardware to the ceiling.
Step 3: Applying Adhesive or Wall-Mounting Hardware
Depending on your preference and the type of fabric you are using, there are two main methods for attaching the fabric to the ceiling: using adhesive or wall-mounting hardware.
If you choose to use adhesive, follow these steps:
- Read the instructions on the adhesive product you have chosen and ensure that it is suitable for fabric application.
- Starting in one corner of the ceiling, apply a thin, even layer of adhesive using a paint roller or brush. Work in small sections to prevent the adhesive from drying too quickly.
- As you apply the adhesive, carefully position the fabric panel onto the ceiling, starting from the corner where you applied the adhesive. Smooth out any wrinkles or air bubbles as you go along, using your hands or a clean cloth.
- Continue to apply adhesive and attach the fabric panel section by section, working your way across the entire ceiling.
- Allow the adhesive to dry according to the manufacturer’s instructions before moving on to the next step.
If you prefer to use wall-mounting hardware, such as hooks or clips, follow these steps:
- Measure and mark the desired locations for the wall-mounting hardware on the ceiling. Make sure they are evenly spaced and align with the edges and corners of the fabric panel.
- Install the wall-mounting hardware according to the manufacturer’s instructions, using a drill or screwdriver if necessary.
- Hang the fabric panel onto the wall-mounting hardware, making sure it is taut and secure.
Once you have applied the adhesive or installed the wall-mounting hardware, you are ready to move on to the next step: attaching the fabric to the ceiling.
Before covering a ceiling with fabric, make sure to clean and prime the surface to ensure the fabric adheres properly. Use a lightweight fabric to make the installation process easier.
Read more: How To Drape A Ceiling With Fabric
Step 4: Attaching the Fabric to the Ceiling
Now that you have prepared the ceiling and applied the adhesive or wall-mounting hardware, it’s time to attach the fabric to the ceiling. This step requires careful positioning and smooth application to ensure a professional-looking finish.
- Starting from one end of the fabric panel, carefully lift and position it onto the ceiling. Align the edges of the fabric with the walls or any other reference points you have established.
- Slowly press the fabric onto the adhesive or hook it onto the wall-mounting hardware. Work your way across the ceiling, gently smoothing out any wrinkles or air bubbles as you go along.
- As you attach the fabric, be mindful of any obstructions like light fixtures or vents. Cut small slits in the fabric to accommodate these obstacles, allowing the fabric to lay flat against the ceiling.
- If using adhesive, press down firmly on the fabric to ensure proper adhesion. Pay extra attention to the edges and corners to eliminate any loose or unsecured areas.
If you encounter any difficulties during this step, take your time and make any necessary adjustments to ensure a seamless and professional-looking installation.
Now that the fabric is attached to the ceiling, it’s time to move on to the next step: securing the edges and corners.
Step 5: Securing the Edges and Corners
After attaching the fabric to the ceiling, it is important to secure the edges and corners to ensure a neat and polished appearance. This step will help prevent the fabric from sagging or coming loose over time.
- Starting from one corner of the ceiling, use a staple gun to secure the fabric to the surface. Place the staples about 6-8 inches apart, following the edge of the fabric.
- Continue stapling along the edges of the fabric, pulling it taut as you go. Make sure to maintain an even and smooth tension to avoid any wrinkles or bulges.
- As you approach the corners, fold the excess fabric neatly and secure it with staples. Trim any excess fabric if necessary to keep the corners neat and tight.
- Once the edges are secured, inspect the entire ceiling for any loose areas. If you find any, use the staple gun to add additional staples to ensure a secure hold.
Take your time during this step to achieve a clean and professional finish. It may be helpful to step back from time to time to assess the overall appearance and make any necessary adjustments.
Now that the edges and corners are secured, we can move on to the next step: adjusting and smoothing the fabric.
Step 6: Adjusting and Smoothing the Fabric
With the fabric attached and the edges secured, it’s time to focus on adjusting and smoothing the fabric to achieve a flawless finish. This step will help eliminate any remaining wrinkles or imperfections for a professional-looking result.
- Starting from one end of the ceiling, gently tug on the fabric to remove any small wrinkles or bulges. Use your hands or a clean cloth to smooth out the fabric as you go along.
- Work your way across the entire ceiling, adjusting and smoothing the fabric section by section. Take your time to ensure a smooth and even appearance.
- If you encounter stubborn wrinkles or folds, you can use a fabric steamer or a warm iron (on a low-setting) to gently apply heat and help relax the fabric. Be careful not to overheat the fabric or damage it in the process.
As you adjust and smooth the fabric, continue to step back and assess the overall appearance. Make any necessary adjustments and ensure that the fabric is taut and wrinkle-free.
Now that the fabric is adjusted and smoothed, it’s time to move on to the final step: adding finishing touches to complete the covered ceiling.
Step 7: Adding Finishing Touches
Now that the fabric is properly installed and smoothed, it’s time to add some finishing touches to complete the covered ceiling and enhance its overall appearance.
- Inspect the entire ceiling to ensure that the fabric is securely attached and there are no loose areas. Make any necessary adjustments and add additional staples or adhesive as needed.
- If you have any light fixtures or ceiling fans that were previously removed, reinstall them according to the manufacturer’s instructions. This will help restore the functionality and aesthetics of the room.
- Add any desired trim or moldings along the edges of the ceiling to give it a more polished and refined look. Choose trim that complements your décor and attach it using appropriate adhesive or nails.
- Consider painting the trim or moldings to match the fabric or complement the overall color scheme of the room. This can give the covered ceiling a cohesive and integrated look.
- Step back and admire your newly covered ceiling. Take the time to appreciate the transformation and how it enhances the overall ambiance and style of the room.
Congratulations! You have successfully covered your ceiling with fabric and added a touch of elegance and luxury to your space. This DIY project allows you to create a personalized and unique look for your ceiling, making it a real standout feature in your room.
Remember to periodically inspect the covered ceiling and make any necessary maintenance or repairs to ensure its longevity and continued beauty.
Now it’s time to sit back, relax, and enjoy the beauty and charm of your newly covered ceiling!
Disclaimer: Always exercise caution and follow safety guidelines when working on any home improvement project. If you are unsure about any aspect of this process, consult a professional.
Read more: How To Fix Car Ceiling Fabric
Conclusion
Covering a ceiling with fabric is a fantastic way to elevate the aesthetic appeal of any room. By following the step-by-step process outlined in this article, you can achieve a beautifully covered ceiling that adds elegance and sophistication to your space.
We started by preparing the ceiling, ensuring it was clean, smooth, and primed if desired. Then, we moved on to measuring and cutting the fabric, ensuring a precise fit. Next, we applied adhesive or installed wall-mounting hardware to securely attach the fabric to the ceiling.
After attaching the fabric, we secured the edges and corners to create a neat and polished appearance. Then, we adjusted and smoothed the fabric to eliminate any wrinkles or imperfections. Finally, we added finishing touches such as reinstalling light fixtures and adding trim or moldings to complete the covered ceiling.
This DIY project allows for creativity and personalization, giving you the opportunity to transform your ceiling into a stunning focal point that reflects your unique style and taste. Whether you prefer a subtle and neutral fabric or opt for a bold pattern or color, the choice is yours to make.
Remember, take your time throughout the process and pay attention to detail. Step back from time to time to assess the overall look and make any necessary adjustments. With proper planning and execution, you will be rewarded with a beautiful, covered ceiling that will leave your guests in awe.
So, why wait? Gather your materials and tools and embark on this exciting DIY project to transform your ceiling into a masterpiece. Enjoy the satisfaction of a job well done and bask in the beauty of your newly covered ceiling.
Disclaimer: This article is for informational purposes only and should not be considered professional advice. Always exercise caution and follow safety guidelines when working on any home improvement project. If you are unsure about any aspect of this process, consult a professional.
Frequently Asked Questions about How To Cover A Ceiling With Fabric
Was this page helpful?
At Storables.com, we guarantee accurate and reliable information. Our content, validated by Expert Board Contributors, is crafted following stringent Editorial Policies. We're committed to providing you with well-researched, expert-backed insights for all your informational needs.

0 thoughts on “How To Cover A Ceiling With Fabric”