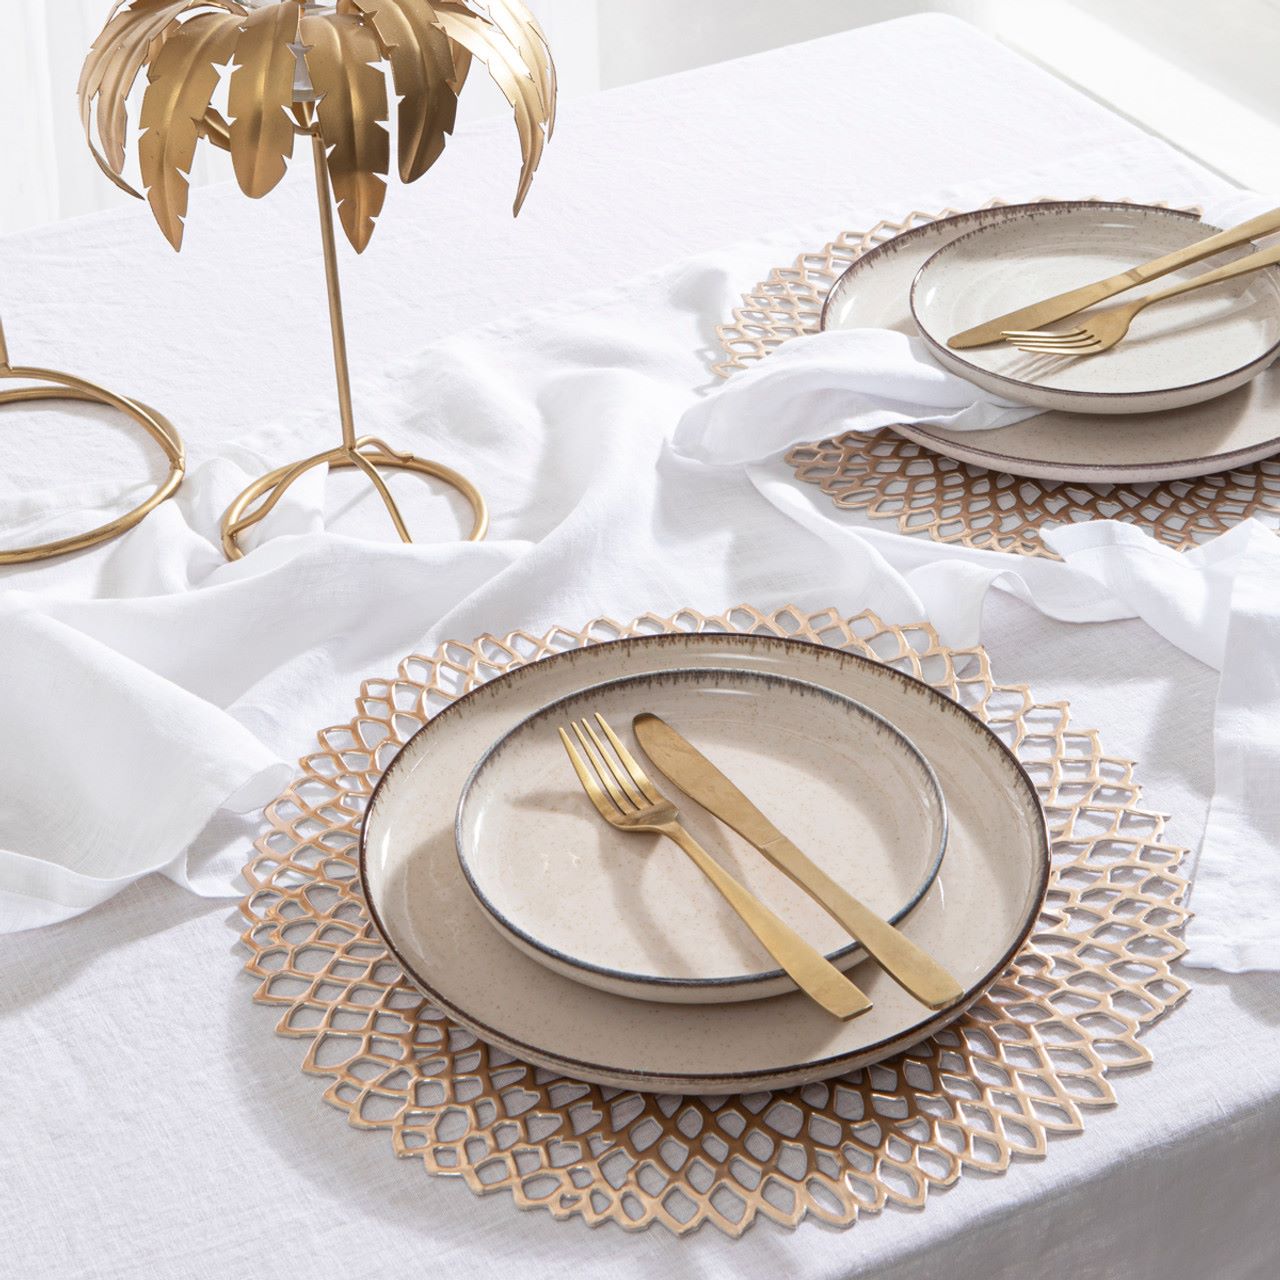
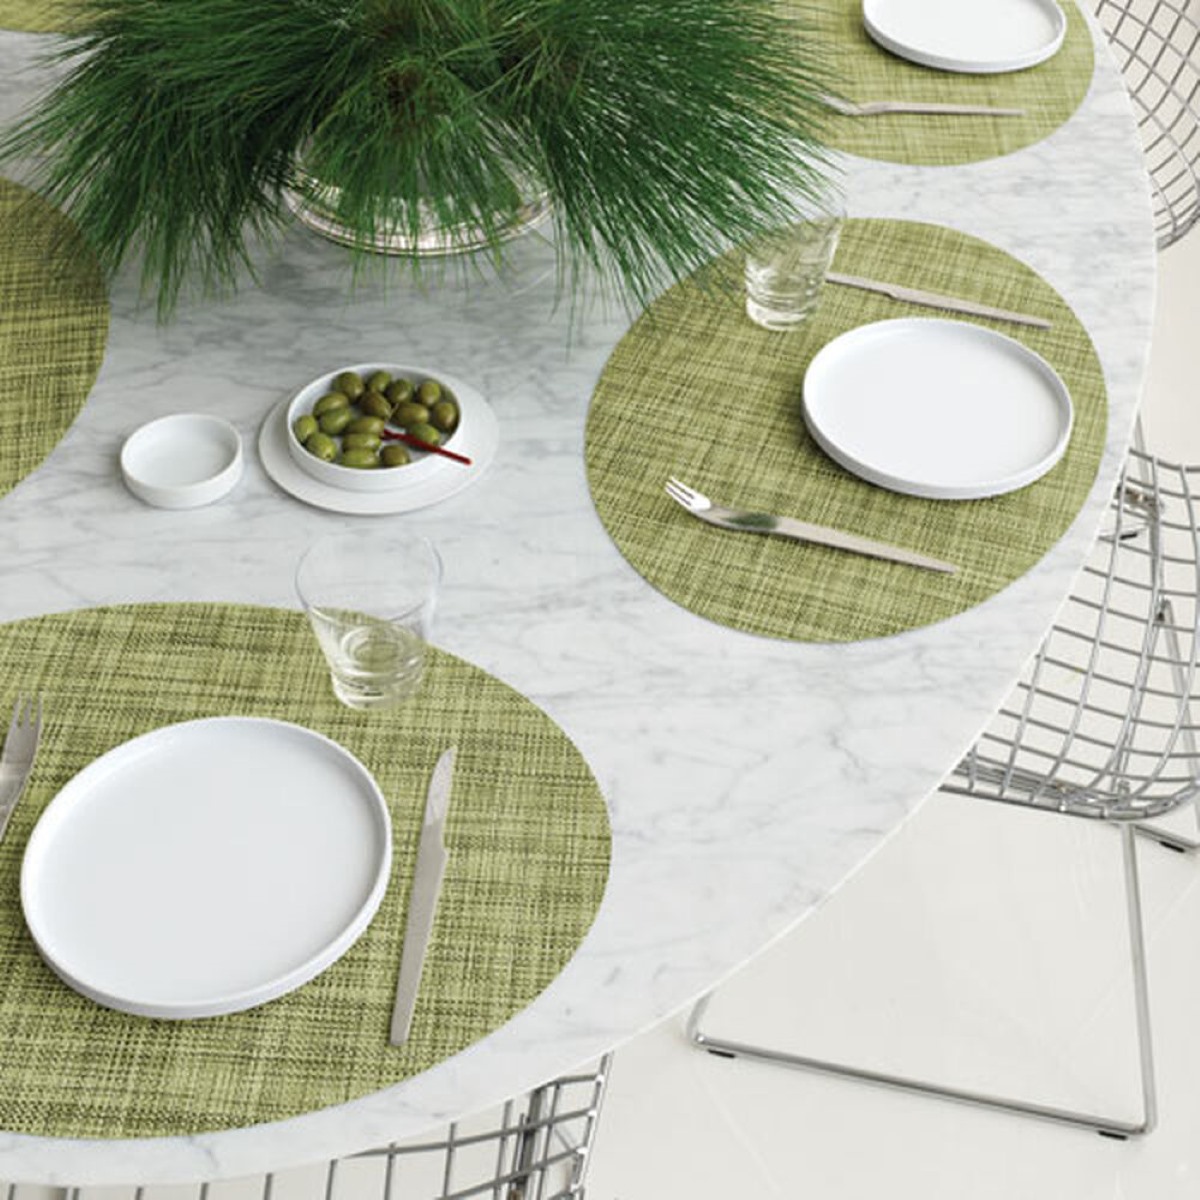
Tableware
How To Laminate Fabric Placemats
Modified: October 20, 2024
Discover the easy process of laminating fabric placemats to enhance your tableware collection. Step-by-step guide and tips for achieving professional results at home.
(Many of the links in this article redirect to a specific reviewed product. Your purchase of these products through affiliate links helps to generate commission for Storables.com, at no extra cost. Learn more)
Introduction
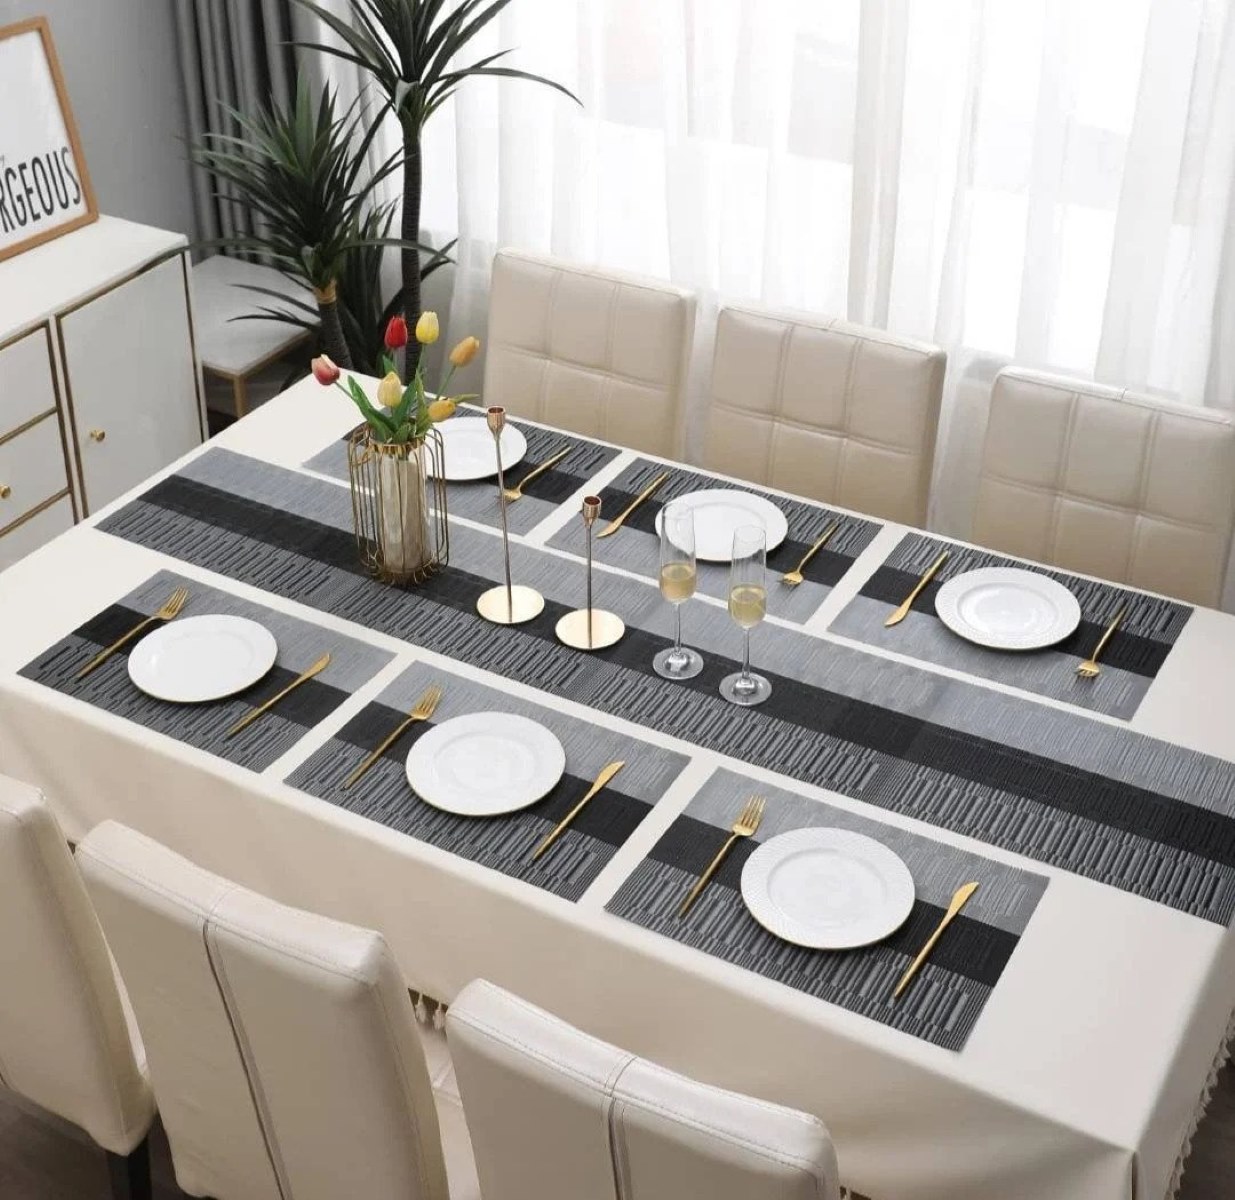
Are you looking to add a touch of elegance to your dining table? Fabric placemats are a popular choice for adding style and protection to your table setting. However, fabric placemats can be prone to stains and spills, which can be difficult to clean. That’s where lamination comes in handy.
Laminating fabric placemats not only adds a layer of protection but also makes them durable, easy to clean, and reusable. The laminated surface ensures that spills and stains can be quickly wiped away, preserving the beauty of your placemats for years to come.
In this article, we will guide you through a step-by-step process to laminate your fabric placemats. With just a few materials and some simple techniques, you’ll be able to transform your ordinary fabric placemats into stylish and functional table accessories.
So, let’s gather our materials and get started on creating beautiful and long-lasting fabric placemats!
Key Takeaways:
- Transform ordinary fabric placemats into stylish, durable table accessories by following a simple lamination process. Enjoy the benefits of easy cleaning, long-lasting protection, and enhanced visual appeal for your dining table.
- With the right materials and step-by-step guidance, laminating fabric placemats is an easy and rewarding DIY project. Elevate your dining experience with beautifully protected and visually appealing table accessories.
Read more: How To Quilt Placemats
Materials Needed
Before you begin laminating your fabric placemats, make sure you have the following materials ready:
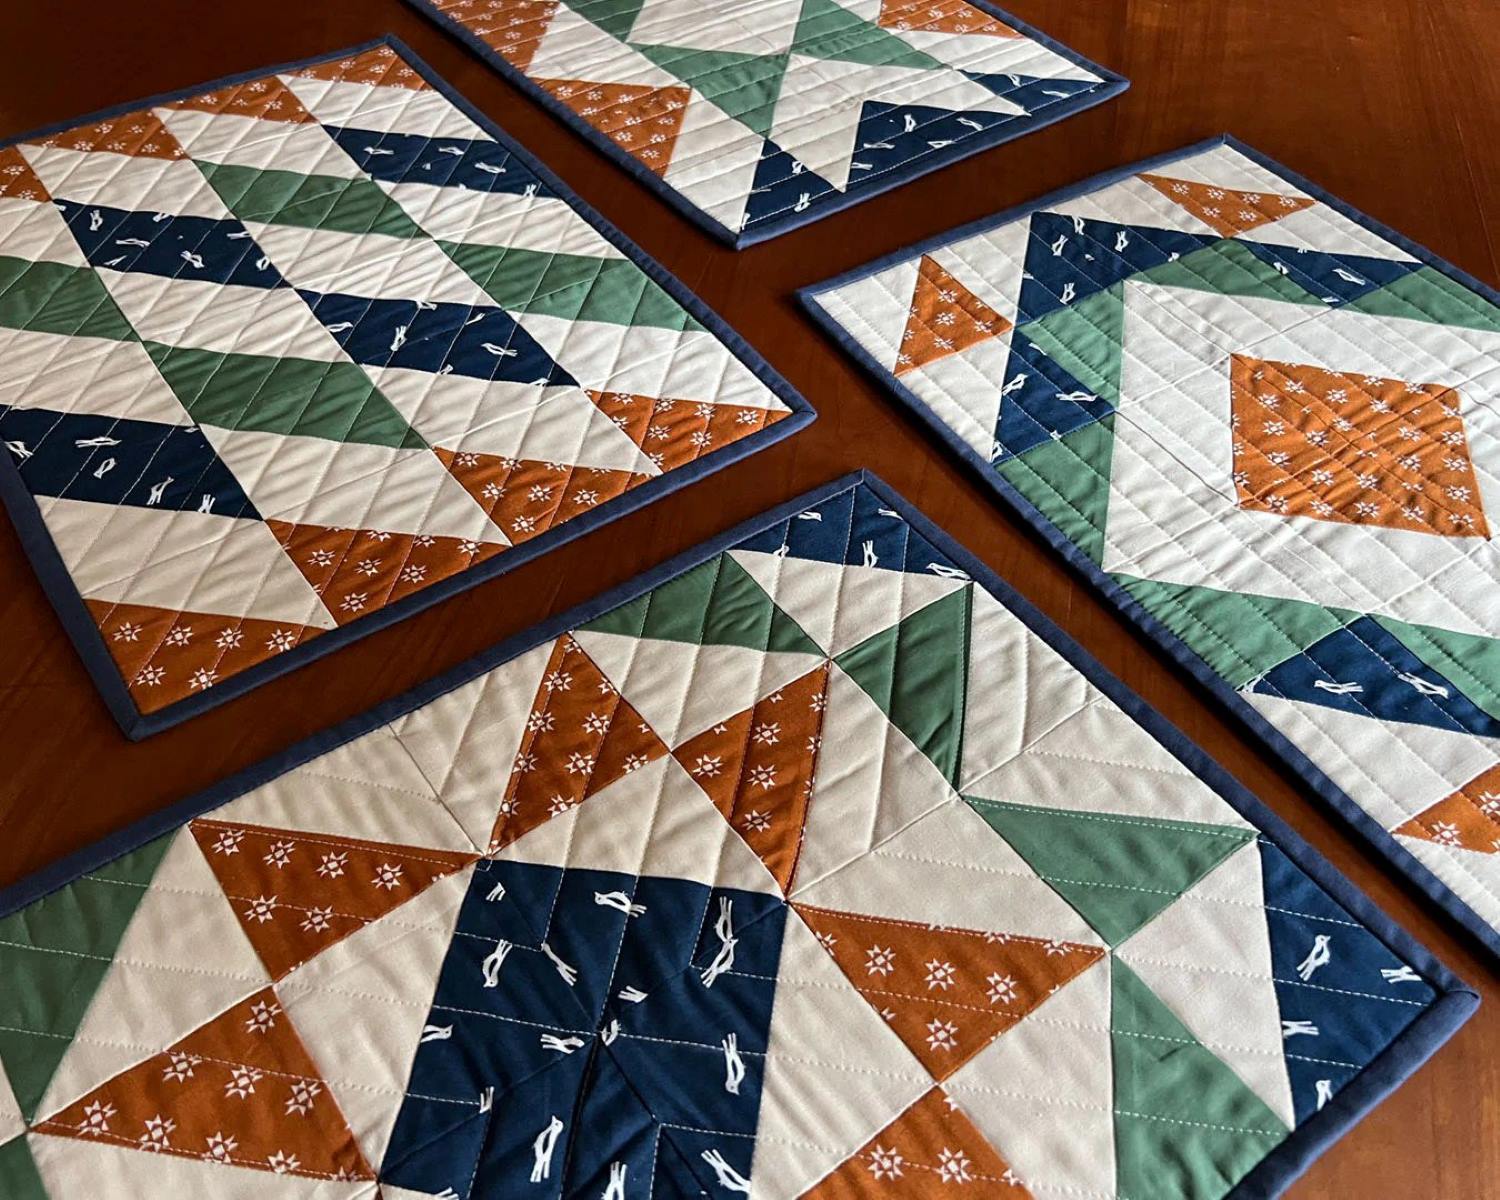
- Fabric placemats: Choose fabric placemats that are suitable for lamination. Cotton or linen fabrics work well for this project.
- Lamination pouches: These are transparent pouches that will encase your fabric placemats and protect them from spills and stains.
- Laminating machine: You will need a laminating machine to seal the lamination pouches and secure the fabric placemats.
- Scissors: These will be used to trim any excess fabric and create clean edges.
- Adhesive tape: This will help to hold the fabric in place while laminating.
- Iron: If your fabric placemats have wrinkles or creases, you’ll need an iron to press them out before laminating.
- Cutting mat: A cutting mat will provide a stable surface for trimming the edges of the laminated fabric placemats.
- Craft knife or rotary cutter: You’ll need a sharp cutting tool to trim the excess fabric and create straight edges.
Once you have gathered all the necessary materials, you’re ready to move on to the next step: preparing the fabric.
Step 1: Preparing the Fabric
Before laminating the fabric placemats, it’s important to prepare the fabric to ensure a smooth and successful lamination process. Follow these steps to prepare your fabric:
- Wash and dry the fabric: Start by washing the fabric placemats according to the manufacturer’s instructions. This will remove any dirt, stains, or chemicals from the fabric. After washing, allow the fabric to dry completely before moving on to the next step.
- Iron the fabric: Use an iron to remove any wrinkles or creases from the fabric. Place the fabric on an ironing board and set the iron to the appropriate temperature for the fabric type. Gently press the iron on the fabric, moving it in a back and forth motion until the fabric is smooth and wrinkle-free.
- Trim the fabric: If necessary, trim any excess fabric from the placemats. Use scissors to carefully cut the fabric to the desired size and shape. Ensure that the edges are straight and even for a clean finished look.
- Secure the fabric: To prevent the fabric from shifting during the lamination process, use adhesive tape to secure it to a flat surface. This will help maintain the fabric’s position and ensure a smooth lamination.
By properly preparing the fabric, you’ll ensure that the lamination process goes smoothly and the final result is a well-protected and visually appealing fabric placemat.
Now that the fabric is ready, let’s move on to the next step: applying the adhesive.
Step 2: Applying the Adhesive
Once you have prepared the fabric for lamination, it’s time to apply the adhesive. This step is crucial in ensuring that the fabric adheres properly to the lamination pouches. Follow these steps to apply the adhesive:
- Choose the right adhesive: There are various types of adhesive available for laminating fabric placemats. Make sure to choose an adhesive that is specifically designed for fabric lamination and is compatible with the lamination pouches you’re using.
- Prepare the adhesive: Follow the manufacturer’s instructions to prepare the adhesive. Some adhesives may require mixing or activation before use. Make sure to wear protective gloves and work in a well-ventilated area when handling the adhesive.
- Apply the adhesive: Use a roller or brush to apply an even layer of adhesive onto the fabric, ensuring that you cover the entire surface. Take care not to apply too much adhesive, as it can cause the fabric to become stiff or the laminated surface to appear uneven.
- Let the adhesive dry: Allow the adhesive to dry according to the manufacturer’s instructions. This will typically take a few minutes. Avoid touching the adhesive or moving the fabric during this time to prevent any disturbances.
Applying the adhesive correctly is essential for a successful lamination process. It ensures that the fabric securely adheres to the lamination pouches, creating a durable and long-lasting laminated fabric placemat.
With the adhesive applied, we can now move on to the next step: laminating the fabric.
When laminating fabric placemats, make sure to use a clear, waterproof laminate to protect the fabric from spills and stains. Trim the excess laminate carefully to ensure a clean, professional finish.
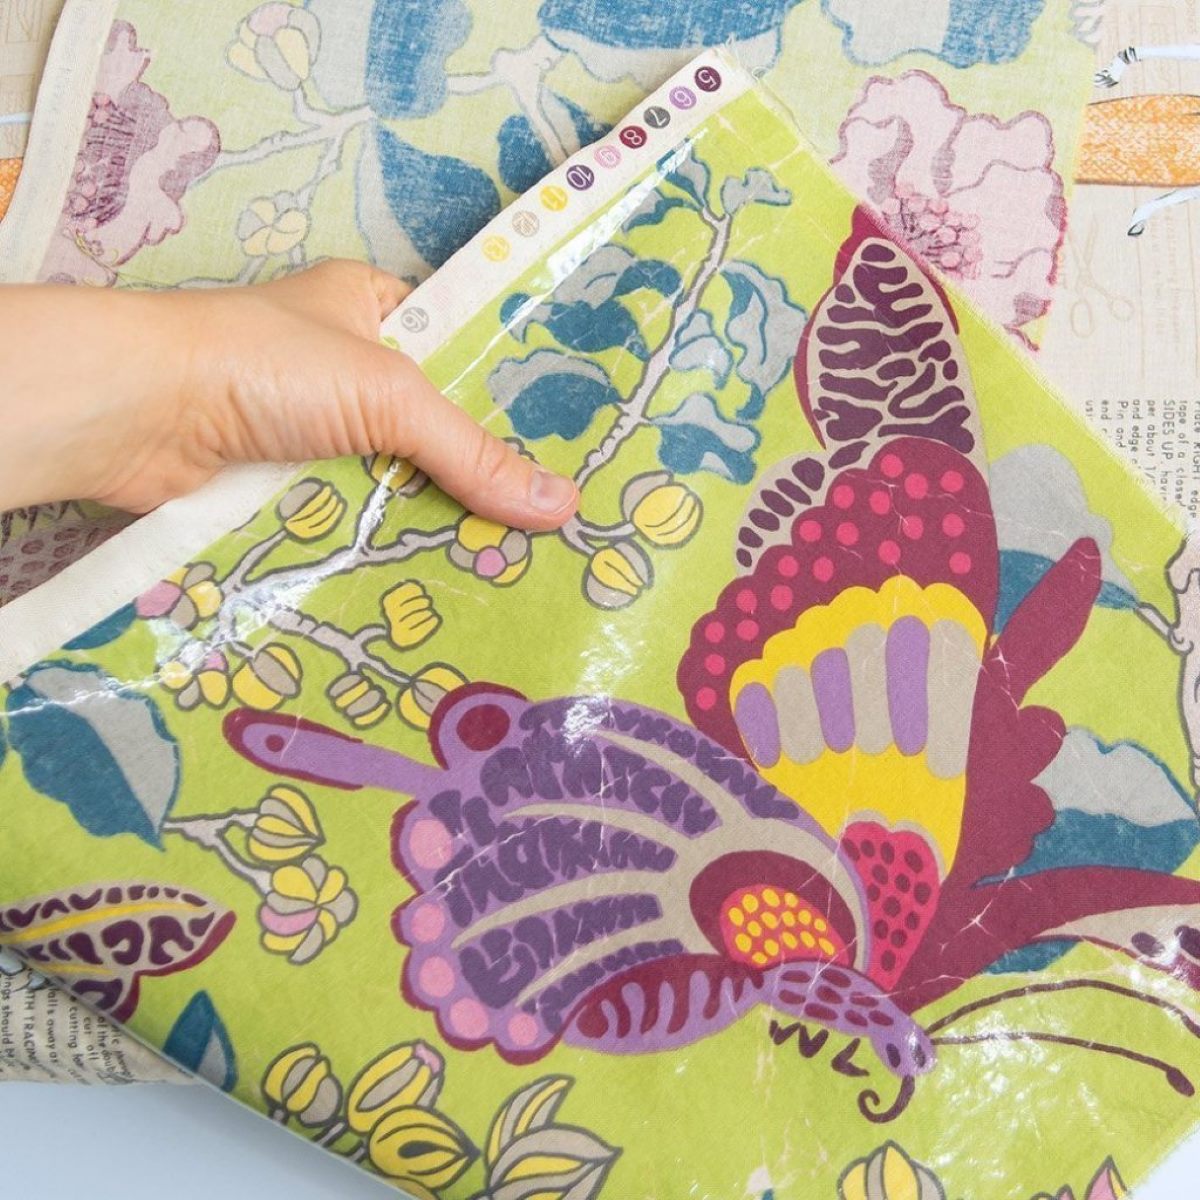
Step 3: Laminating the Fabric
Now that you have applied the adhesive to the fabric, it’s time to laminate it. Laminating the fabric will seal and protect it, making it resistant to spills, stains, and everyday wear and tear. Follow these steps to laminate your fabric placemat:
- Preheat the laminating machine: Turn on your laminating machine and allow it to heat up to the appropriate temperature. Refer to the manufacturer’s instructions for the recommended temperature settings based on the type and thickness of the lamination pouches you’re using.
- Insert the fabric into the lamination pouch: Carefully place the fabric placemat with the adhesive side down into the lamination pouch. Make sure that the fabric is aligned properly and there are no wrinkles or creases.
- Feed the pouch into the laminating machine: Insert the lamination pouch with the fabric into the laminating machine, ensuring that the sealed end of the pouch goes in first. Gently guide the pouch through the machine as it laminates the fabric.
- Collect the laminated fabric: As the laminated fabric comes out of the machine, hold the pouch’s free end and gently pull the laminated fabric out. Be careful not to touch the hot laminated surface, as it can cause burns.
- Smooth out any bubbles or wrinkles: If you notice any bubbles or wrinkles in the laminated fabric, use a roller or a flat object to smooth them out gently. Start from the center and work your way towards the edges to ensure a smooth and flat result.
Laminating the fabric not only provides protection but also gives your fabric placemat a polished and professional appearance. The lamination process creates a strong bond between the fabric and the lamination pouch, making it resistant to spills, stains, and daily wear.
With the fabric now laminated, let’s move on to the next step: trimming the edges.
Read more: How To Set A Placemat
Step 4: Trimming the Edges
After laminating the fabric, it’s time to trim the edges to create a clean and finished look for your fabric placemat. Follow these steps to trim the edges:
- Allow the laminated fabric to cool: Before trimming the edges, allow the laminated fabric to cool down completely. This will prevent any distortion or damage to the fabric.
- Place the laminated fabric on a cutting mat: Lay the laminated fabric placemat on a cutting mat to provide a stable surface for trimming.
- Align the edges: Use a ruler or straightedge to align the edges of the fabric placemat. Make sure they are straight and even.
- Trim the excess fabric: Using a craft knife or rotary cutter, carefully trim the excess fabric, following the aligned edges. Take your time and make precise cuts to achieve clean and straight edges.
- Inspect the edges: Once you have trimmed the excess fabric, inspect the edges of the laminated fabric placemat. If there are any rough or uneven areas, gently sand them using a fine-grit sandpaper or use a small amount of adhesive to seal any loose edges.
Trimming the edges of the laminated fabric placemat will give it a professional and polished look. Take your time during this step to ensure that the edges are straight, smooth, and free from any fraying or loose threads.
Now that the edges are trimmed, we can move on to the final step: adding the finishing touches.
Step 5: Finishing Touches
With the fabric placemat laminated and the edges trimmed, it’s time to add the finishing touches to complete the transformation. These final touches will enhance the overall look and durability of your fabric placemat. Follow these steps to add the finishing touches:
- Inspect the placemat: Before using your fabric placemat, carefully inspect it for any imperfections or loose edges. If you notice any issues, use a small amount of adhesive to secure any loose edges or fix any minor imperfections.
- Clean the placemat: Wipe down your laminated fabric placemat with a damp cloth to remove any dust or debris. This will keep it looking fresh and clean.
- Decorate if desired: If you want to add a personal touch to your fabric placemat, consider adding decorative elements such as ribbons, trims, or fabric appliques. Use fabric glue to attach these decorations securely.
- Store properly: When not in use, store your fabric placemat in a cool and dry place to prevent any damage or discoloration. You can stack them neatly or roll them up for easy storage.
By adding these finishing touches, you’ll ensure that your fabric placemat is visually appealing and ready to grace your dining table for any occasion.
Congratulations on successfully laminating your fabric placemat! With these easy steps, you can enjoy a beautiful and long-lasting table accessory that combines style and functionality.
Remember to periodically clean your laminated fabric placemat to maintain its pristine appearance and durability. With proper care, your fabric placemat will continue to enhance your dining experience for years to come.
Thank you for following along with this guide! Enjoy your beautifully laminated fabric placemat!
Conclusion
Laminating fabric placemats is a fantastic way to protect and elevate your dining table decor. With just a few simple steps and the right materials, you can transform ordinary fabric placemats into stylish and durable table accessories.
Throughout this guide, we have taken you through the process of laminating fabric placemats, from preparing the fabric and applying the adhesive to laminating the fabric, trimming the edges, and adding the finishing touches. Each step is important in the overall success of the lamination process.
By laminating your fabric placemats, you can enjoy numerous benefits. The laminated surface provides protection against spills, stains, and everyday wear and tear, making your placemats easy to clean and long-lasting. Additionally, the lamination process adds a layer of durability to the fabric, ensuring that your placemats can withstand regular use.
Remember to choose the right materials for lamination, including fabric placemats, lamination pouches, and adhesive. Taking the time to prepare the fabric properly, applying the adhesive correctly, and using a laminating machine will result in a beautifully laminated fabric placemat.
Once your fabric placemats are laminated, take care to trim the edges neatly and inspect for any imperfections. Adding decorative elements is optional but can enhance the aesthetics of your placemats.
Lastly, store your laminated fabric placemats properly when not in use, and clean them regularly to maintain their beauty and functionality.
By following this comprehensive guide, you can confidently laminate your fabric placemats and enjoy the benefits of a visually appealing and long-lasting table accessory.
So, go ahead and give your dining table a touch of elegance with laminated fabric placemats. Enjoy a beautiful and protected table setting for all your meals and gatherings!
Frequently Asked Questions about How To Laminate Fabric Placemats
Was this page helpful?
At Storables.com, we guarantee accurate and reliable information. Our content, validated by Expert Board Contributors, is crafted following stringent Editorial Policies. We're committed to providing you with well-researched, expert-backed insights for all your informational needs.


0 thoughts on “How To Laminate Fabric Placemats”