Home>Gardening & Outdoor>Outdoor Structures>How To Clean A Fabric Awning
Outdoor Structures
How To Clean A Fabric Awning
Published: January 30, 2024
Learn how to effectively clean and maintain your outdoor fabric awning with our expert tips and techniques. Keep your outdoor structures looking fresh and vibrant.
(Many of the links in this article redirect to a specific reviewed product. Your purchase of these products through affiliate links helps to generate commission for Storables.com, at no extra cost. Learn more)
Introduction
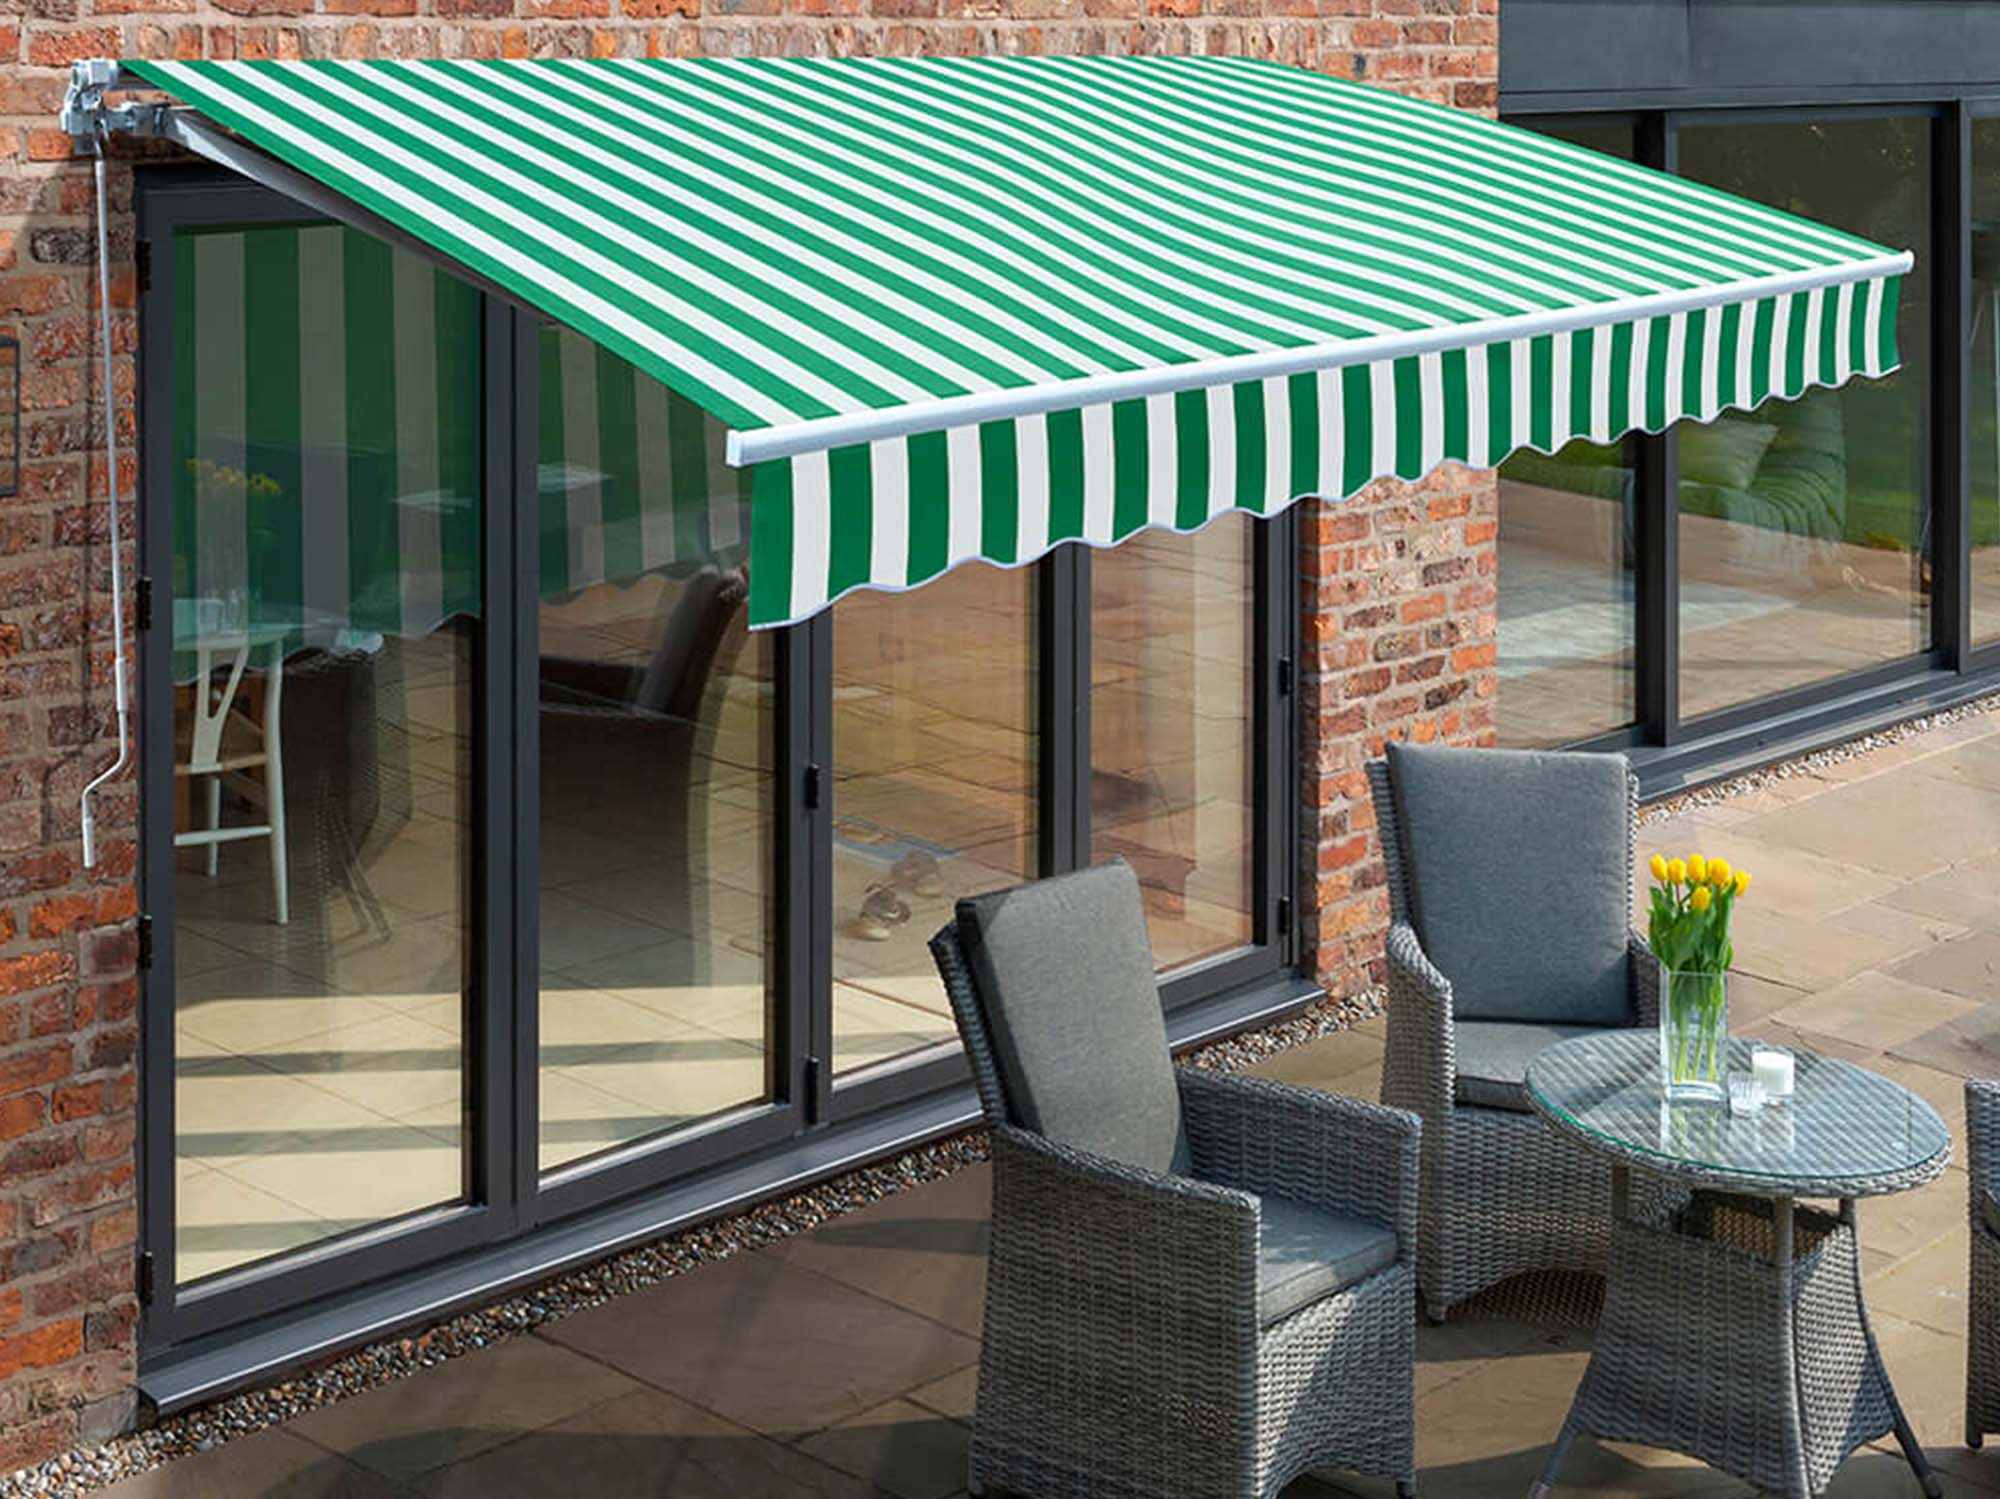
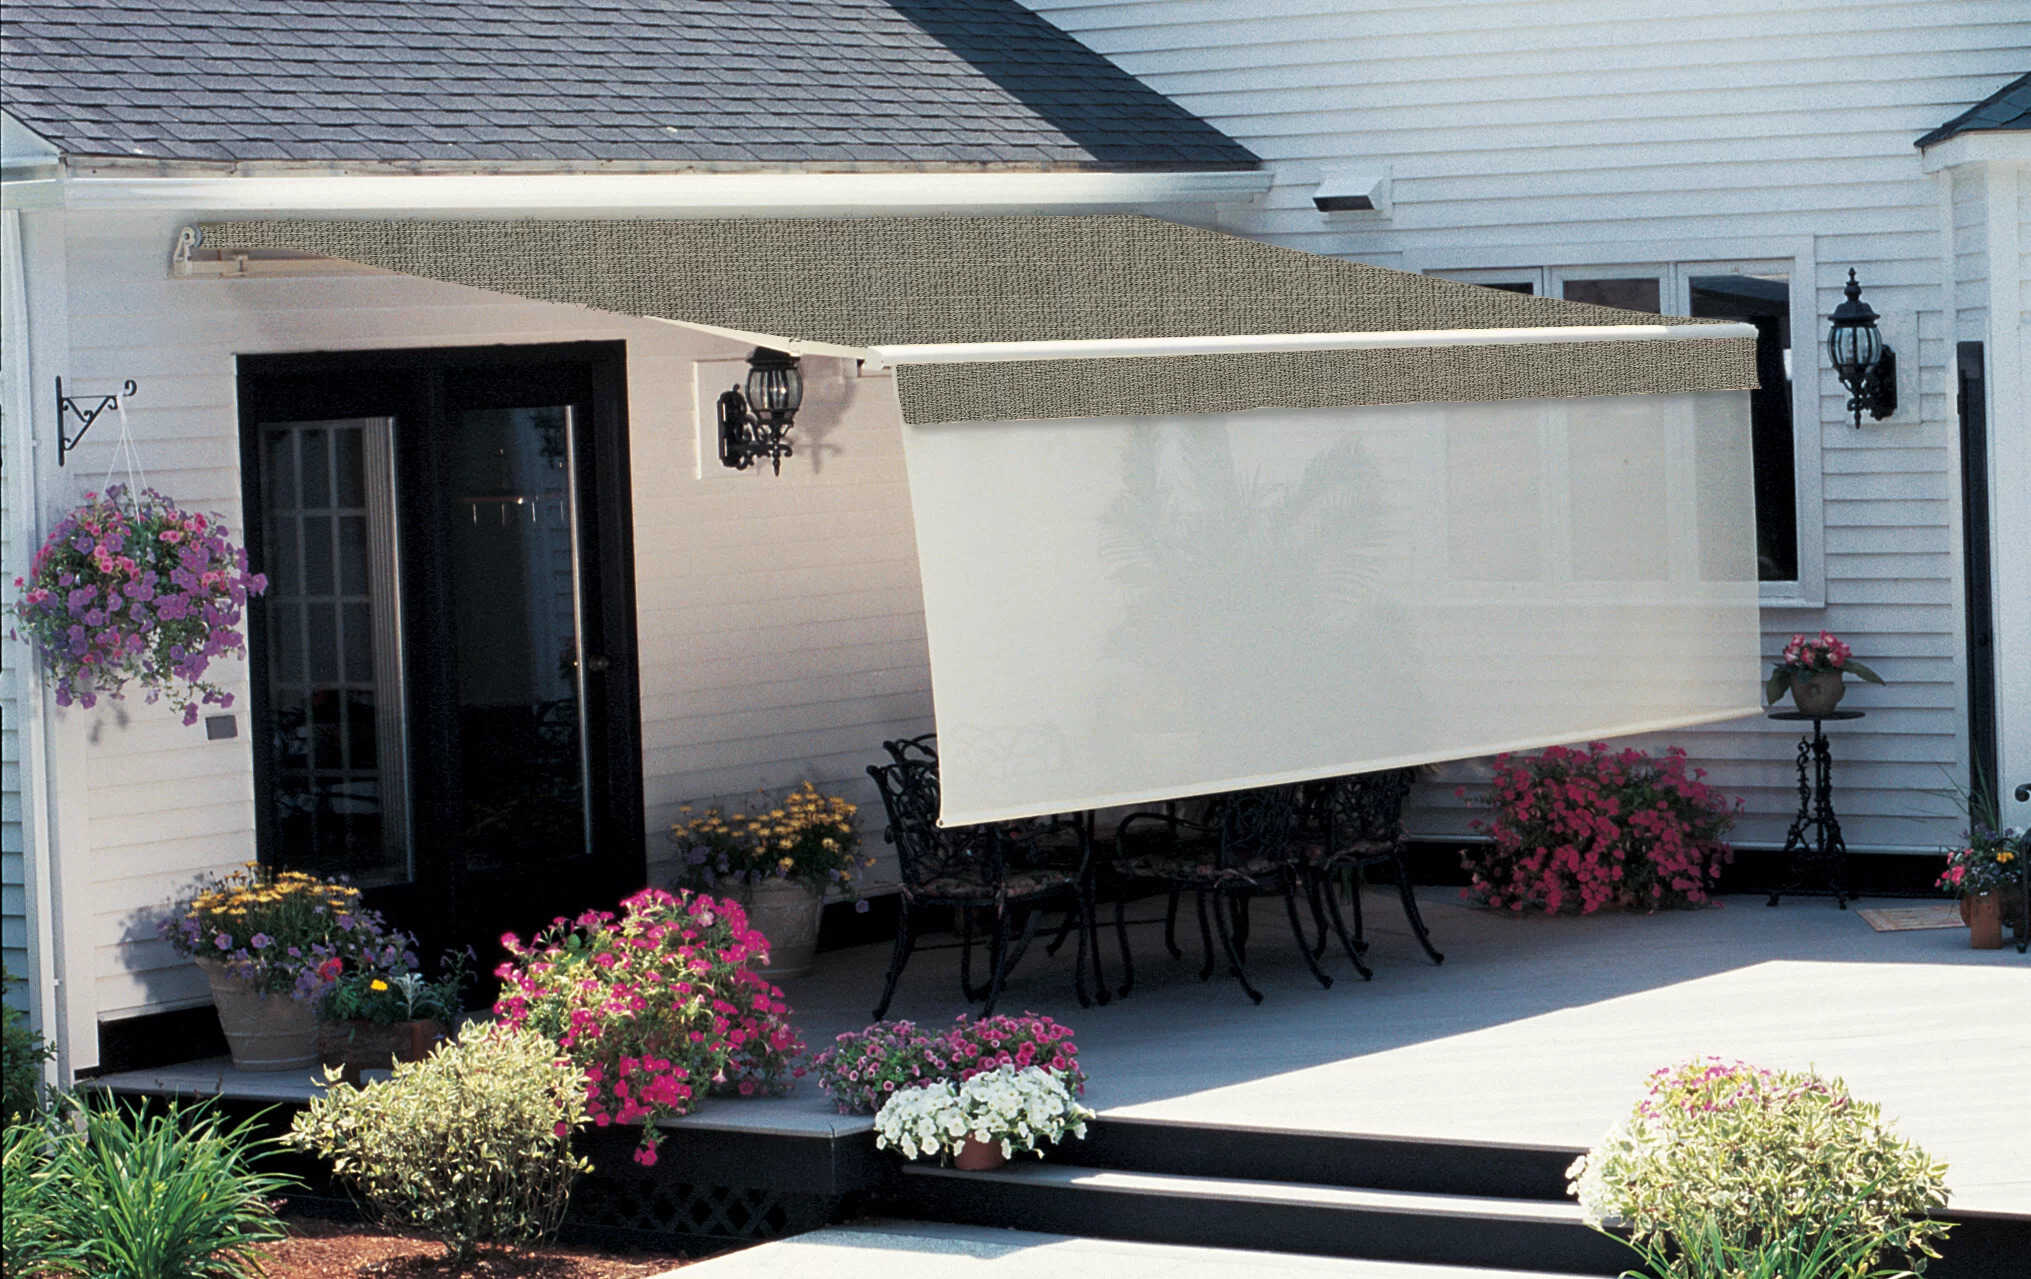
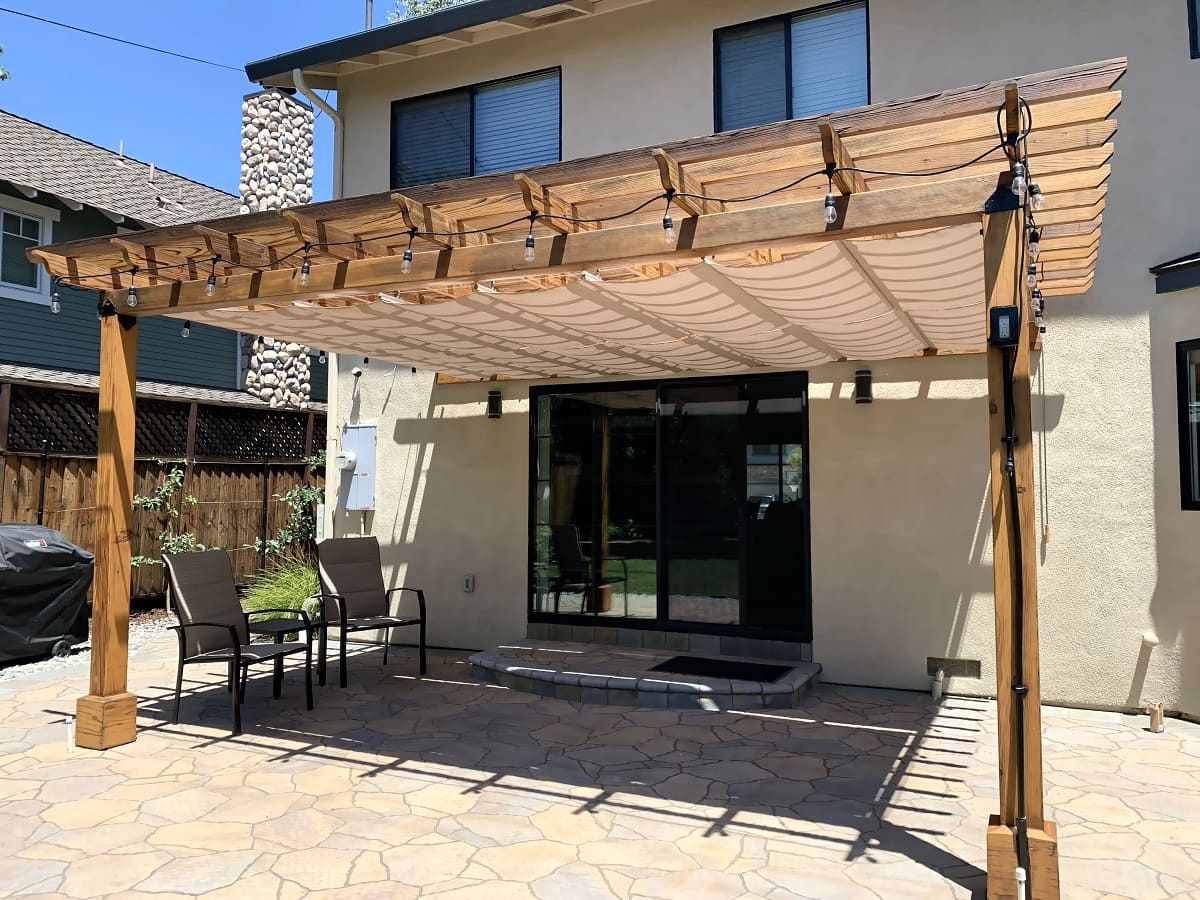
Outdoor fabric awnings are a beautiful and functional addition to any home, providing shade and enhancing the aesthetic appeal of outdoor spaces. However, over time, these awnings can accumulate dirt, dust, and other debris, detracting from their appearance and potentially causing damage to the fabric. Regular cleaning and maintenance are essential to preserve the longevity and visual appeal of fabric awnings. In this comprehensive guide, we will walk you through the step-by-step process of effectively cleaning a fabric awning, ensuring that it remains in pristine condition for years to come.
By following these simple yet crucial steps, you can revitalize your fabric awning, removing unsightly stains and grime while protecting its structural integrity. Let’s dive into the essential tools and techniques required to restore your fabric awning to its former glory.
Key Takeaways:
- Keep your fabric awning clean and pristine by gathering the right tools, brushing off loose dirt, and preparing a gentle cleaning solution. Thorough rinsing and natural drying are essential for maintaining its longevity and visual appeal.
- Applying a fabric protectant after cleaning helps repel water and protect against UV damage, ensuring your fabric awning remains clean, vibrant, and resilient against environmental elements.
Read more: What Is Awning Fabric
Step 1: Gather the Necessary Tools and Materials
Before embarking on the cleaning process, it’s vital to assemble the essential tools and materials to ensure a thorough and efficient cleaning experience. Here’s a list of items you’ll need:
- Broom or Soft-bristled Brush: Use a broom or a soft-bristled brush to gently remove loose dirt, debris, and cobwebs from the fabric awning. This initial step will prevent the accumulation of grime during the cleaning process.
- Mild Detergent: Opt for a gentle, pH-neutral detergent specifically formulated for cleaning fabric surfaces. Avoid harsh chemicals or bleach-based cleaners, as they can damage the fabric.
- Bucket: Prepare a cleaning solution in a bucket large enough to accommodate the necessary quantity of water and detergent.
- Soft Cloths or Sponges: Select soft, non-abrasive cloths or sponges to apply the cleaning solution to the fabric awning without causing damage or fraying.
- Hose with Spray Nozzle: A garden hose equipped with a gentle spray nozzle will facilitate the rinsing process, ensuring thorough removal of the cleaning solution and residual dirt.
- Ladder: If your fabric awning is positioned at a height that requires access via a ladder, ensure that the ladder is stable and secure before commencing the cleaning process.
- Protective Gloves: To shield your hands from potential irritation caused by cleaning solutions, consider wearing protective gloves throughout the process.
By gathering these tools and materials, you’ll be well-equipped to proceed with the subsequent cleaning steps, effectively restoring the pristine condition of your fabric awning.
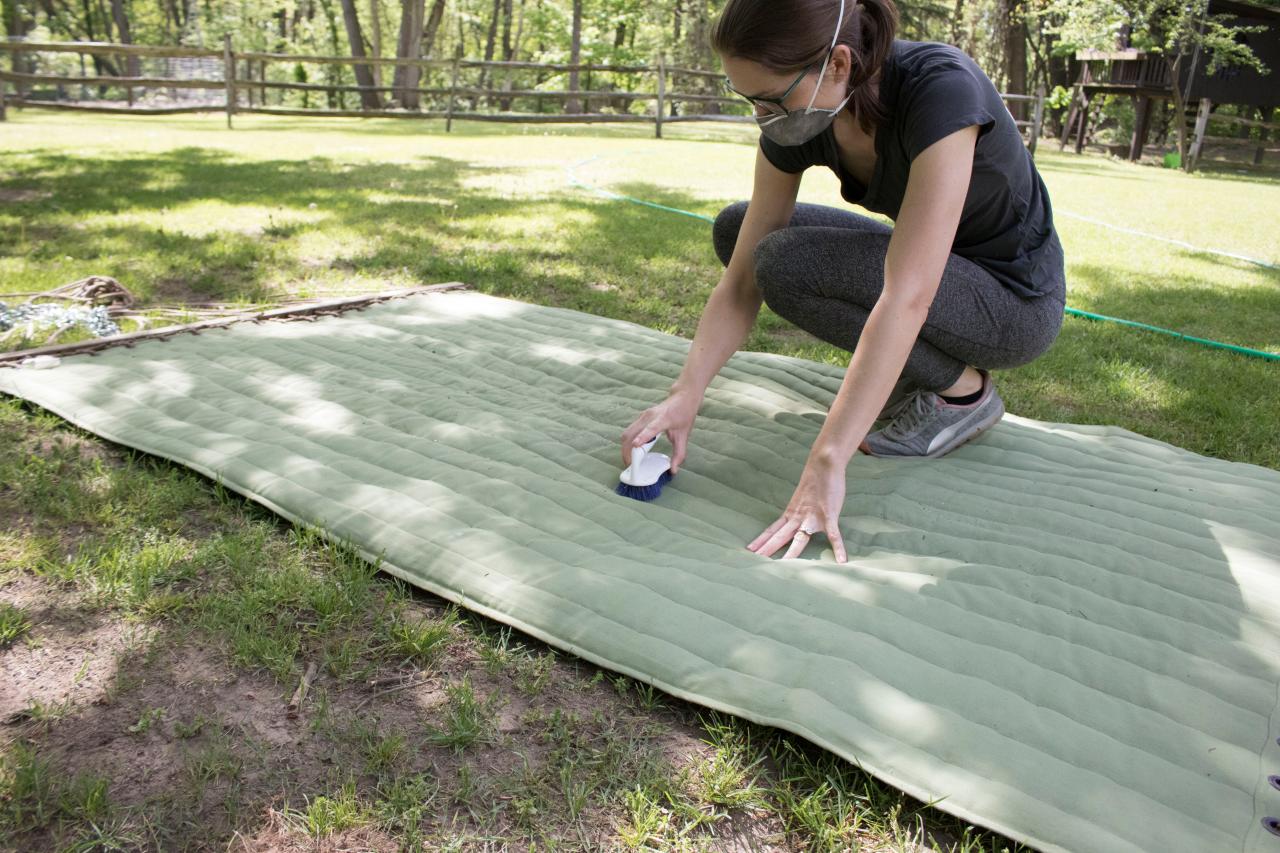
Step 2: Brush Off Loose Dirt and Debris
Prior to applying any cleaning solution, it’s crucial to remove loose dirt, debris, and other surface contaminants from the fabric awning. This initial step prevents the potential spread of dirt during the cleaning process and minimizes the risk of embedding particles into the fabric. Here’s how to effectively brush off loose dirt and debris:
- Begin at the Top: Start at the top of the fabric awning and work your way down, ensuring that you cover the entire surface area. Use a broom or a soft-bristled brush to gently sweep away loose dirt, dust, and cobwebs. Employing a top-down approach prevents dislodged debris from falling onto areas that have already been cleaned.
- Use Gentle Strokes: Employ light and deliberate strokes to dislodge the debris without causing damage to the fabric. Avoid excessive force, as aggressive brushing may lead to fraying or weakening of the fabric fibers.
- Pay Attention to Seams and Edges: Focus on seams, edges, and creases where dirt and debris tend to accumulate. Thoroughly brush these areas to ensure comprehensive removal of surface contaminants.
- Address Stubborn Stains: If you encounter stubborn stains or localized areas of heavy soiling, take extra care to loosen the debris using gentle brushing motions. Avoid aggressive scrubbing, as this can exacerbate the staining and damage the fabric.
By diligently brushing off loose dirt and debris, you’ll create a clean foundation for the subsequent cleaning steps, setting the stage for a thorough and effective fabric awning restoration process. With the surface contaminants removed, you can proceed to prepare a suitable cleaning solution to address any remaining stains and grime.
Step 3: Prepare a Cleaning Solution
Creating a gentle yet effective cleaning solution is essential for safely and efficiently removing stains, dirt, and grime from the fabric awning. By utilizing the appropriate cleaning agents and following the recommended dilution ratios, you can achieve optimal cleaning results while safeguarding the integrity of the fabric. Here’s how to prepare a suitable cleaning solution:
- Choose a Mild Detergent: Select a mild, pH-neutral detergent specifically formulated for cleaning fabric surfaces. Avoid harsh chemicals, bleach, or abrasive cleaners, as these can compromise the fabric’s color and structural integrity.
- Dilute the Detergent: In a bucket, combine the mild detergent with lukewarm water, following the manufacturer’s recommended dilution ratio. Stir the solution gently to ensure thorough mixing without creating excessive suds.
- Opt for Environmentally Friendly Options: If you prefer eco-friendly cleaning solutions, consider using biodegradable detergents that are gentle on the environment while remaining effective at lifting stains and soil from the fabric.
- Avoid Strong Chemicals: Refrain from adding bleach, ammonia, or other strong chemicals to the cleaning solution, as these substances can cause discoloration, deterioration, and weakening of the fabric fibers.
- Maintain a Balanced pH: Ensure that the pH level of the cleaning solution is neutral to slightly alkaline, as overly acidic or caustic solutions can have adverse effects on the fabric’s color and texture.
By meticulously preparing a gentle yet potent cleaning solution, you’ll be equipped to effectively address stains, grime, and other surface blemishes on the fabric awning. This proactive approach sets the stage for a thorough and successful cleaning process, allowing you to revitalize the appearance of your fabric awning while preserving its structural integrity.
Step 4: Test the Cleaning Solution on a Small Area
Prior to applying the cleaning solution to the entire fabric awning, it’s imperative to conduct a patch test on a small, inconspicuous area to assess its compatibility and impact on the fabric. This precautionary measure allows you to ascertain the cleaning solution’s effectiveness in lifting stains and grime while ensuring that it does not cause adverse effects such as discoloration or fabric damage. Here’s how to conduct a test of the cleaning solution:
- Select an Unobtrusive Area: Choose a discreet section of the fabric awning, such as a corner or the underside, where the test application will not be readily visible. This ensures that any potential effects of the cleaning solution will not significantly impact the awning’s overall appearance.
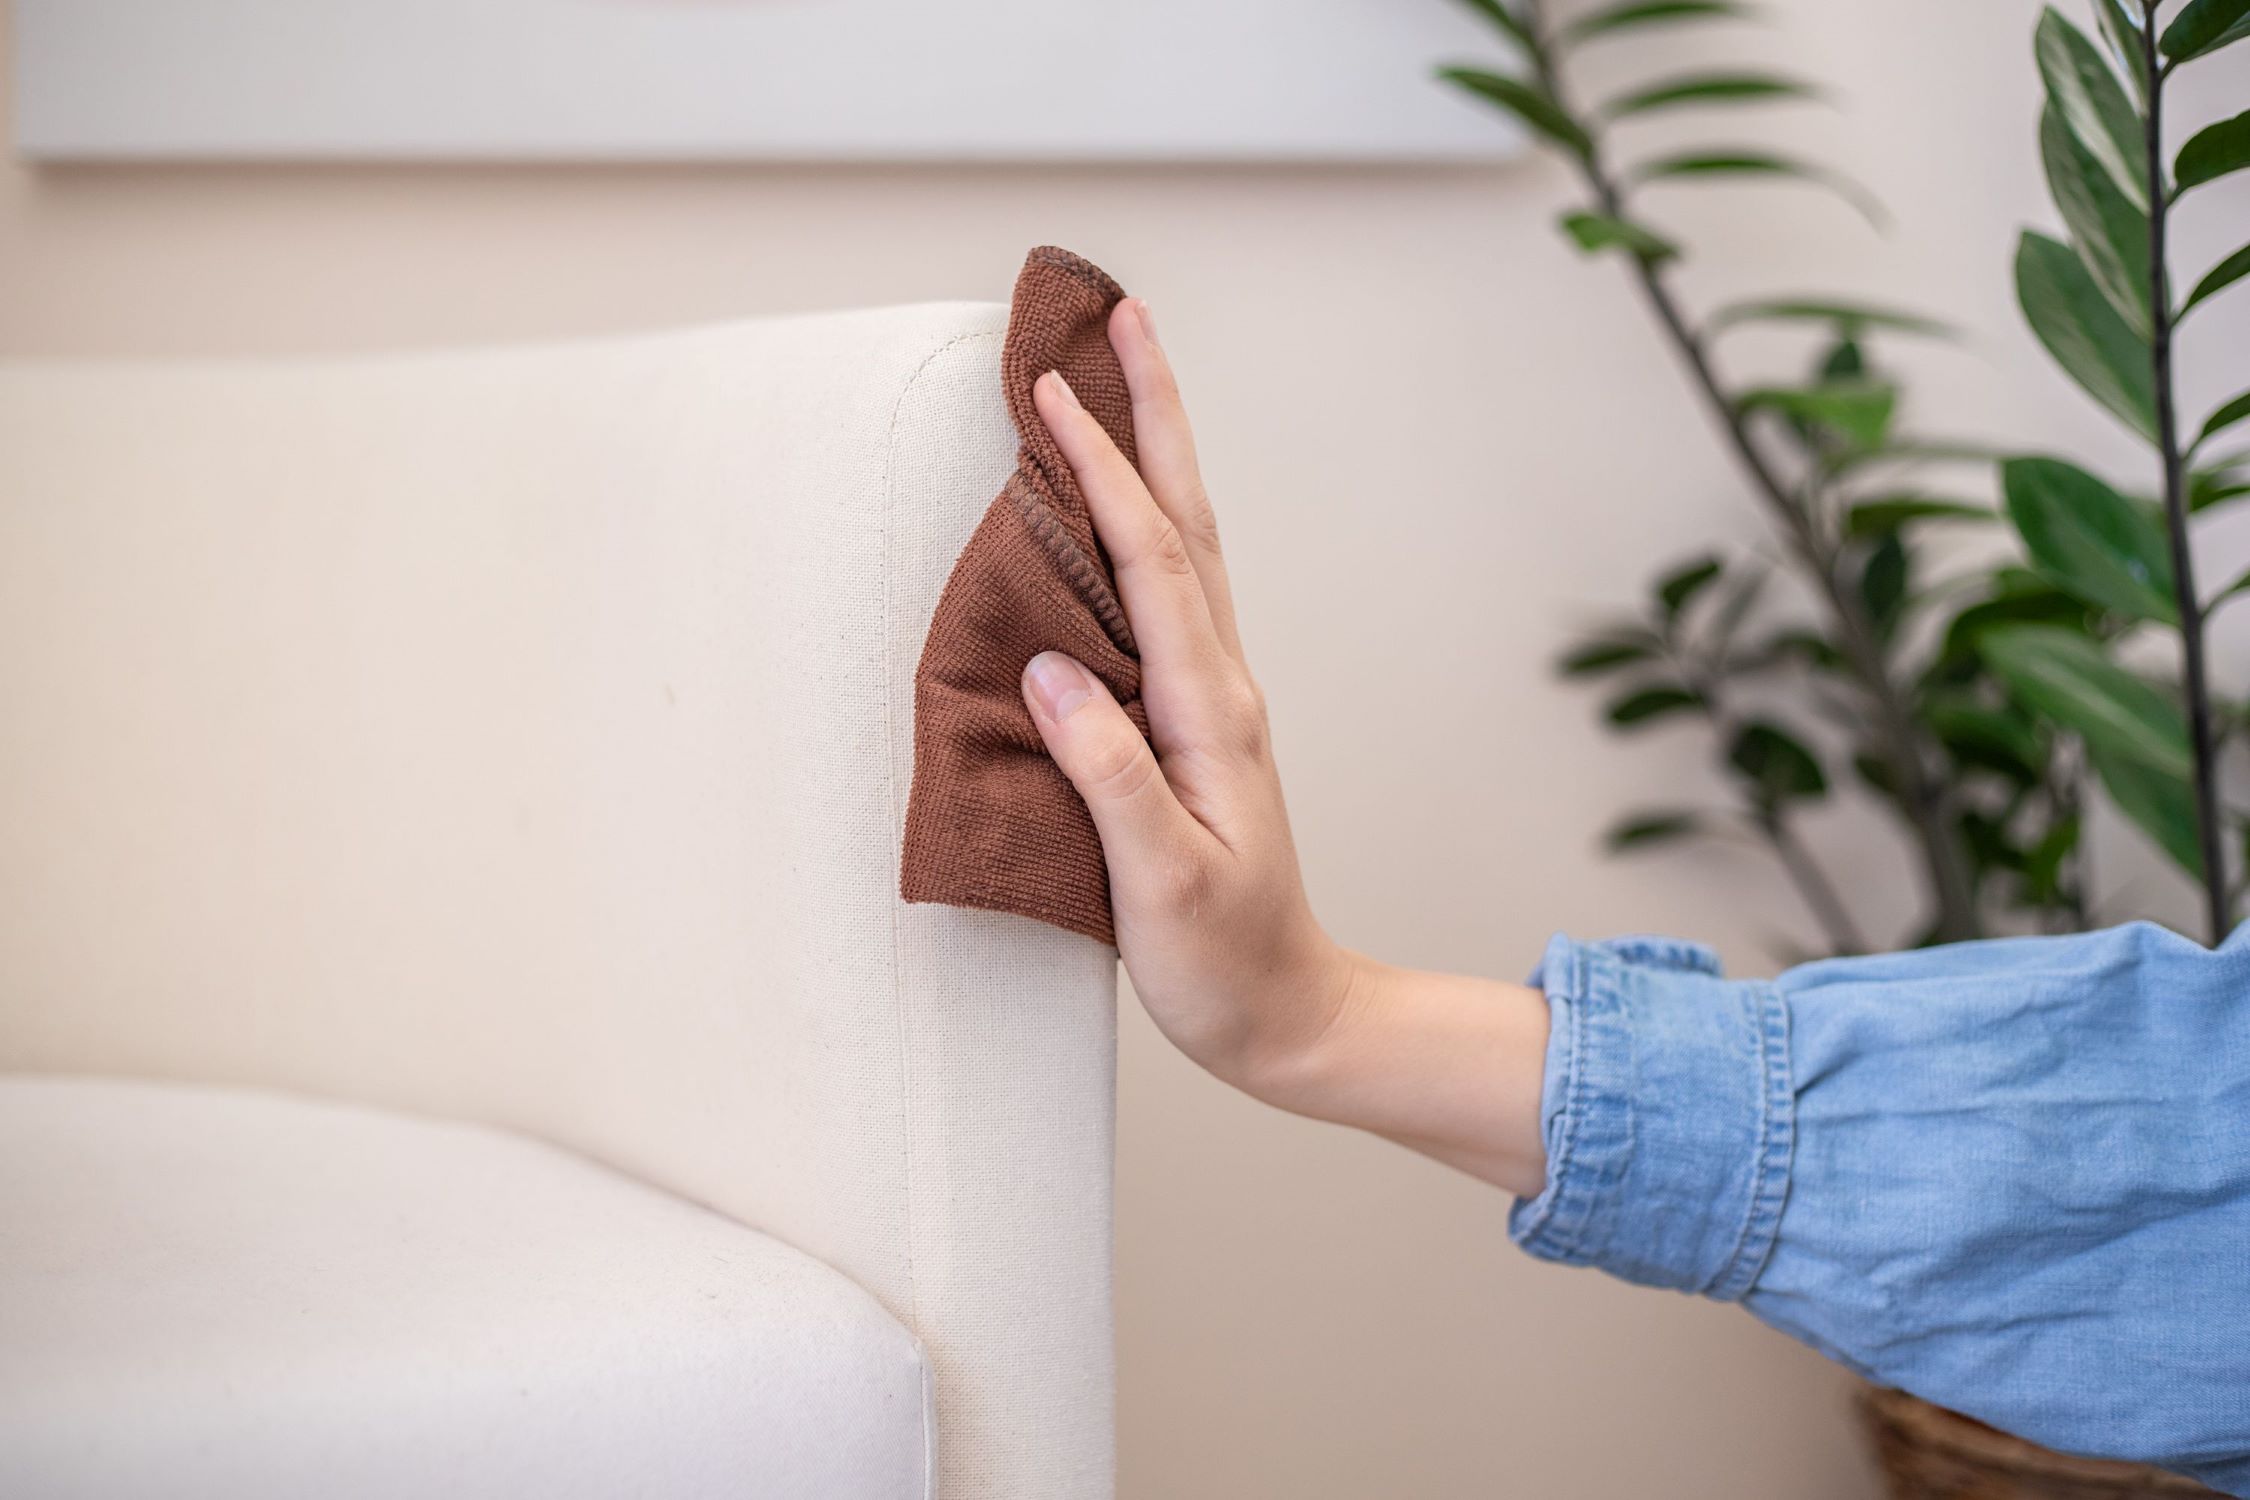
- Apply a Small Amount of Solution: Using a soft cloth or sponge, apply a small quantity of the prepared cleaning solution to the selected test area. Gently work the solution into the fabric using light, circular motions, ensuring thorough coverage of the test spot.
- Observe for Colorfastness: Allow the test area to air dry naturally, then assess the fabric for any signs of color changes, fading, or discoloration. If the fabric retains its original color and appearance after drying, it indicates that the cleaning solution is safe for use on the entire awning.
- Check for Adverse Reactions: Inspect the test spot for any adverse reactions, such as fabric puckering, texture alteration, or unusual odors. If the fabric remains unaffected and no adverse reactions are observed, the cleaning solution is likely suitable for the entire awning.
By conducting a thorough test of the cleaning solution on a small area, you can mitigate the risk of unintended damage or discoloration to the fabric awning. This proactive approach empowers you to make an informed decision regarding the safety and efficacy of the cleaning solution, ensuring that the subsequent cleaning process proceeds with confidence and minimal risk to the fabric’s integrity.
To clean a fabric awning, mix mild soap with water and use a soft brush to scrub the surface. Rinse with water and let it air dry completely before retracting. Avoid using harsh chemicals or high-pressure washers to prevent damage.
Read more: How To Change Fabric On A Retractable Awning
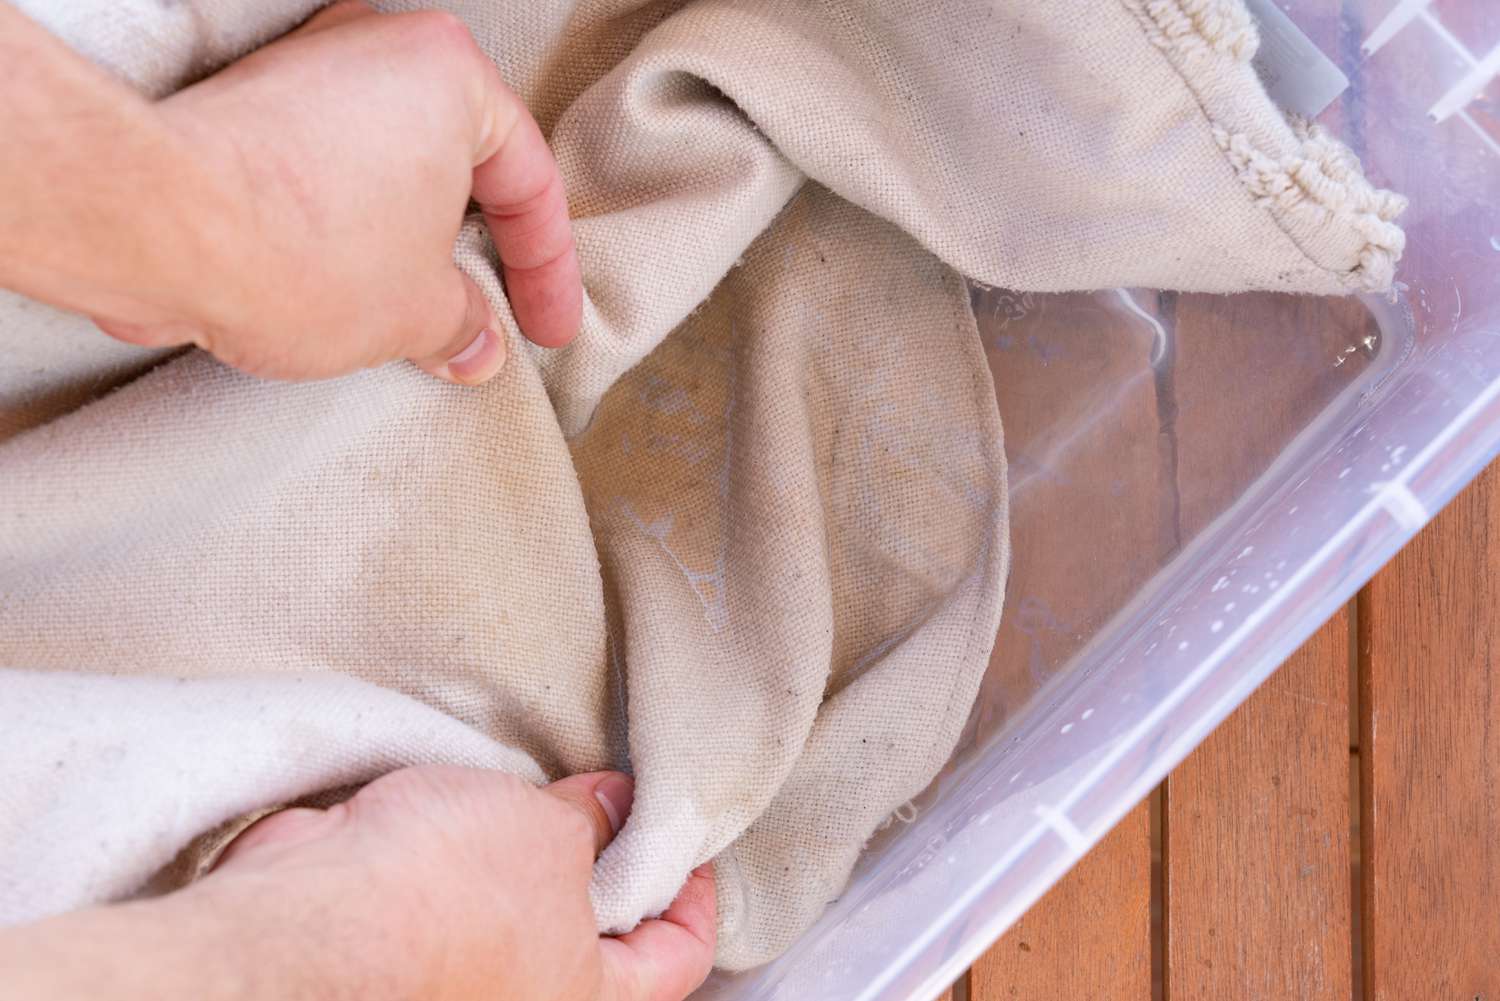
Step 5: Clean the Fabric Awning
With the cleaning solution tested and confirmed for safety, it’s time to proceed with the comprehensive cleaning of the fabric awning. By following proper techniques and employing gentle yet effective cleaning methods, you can effectively remove stains, dirt, and grime while preserving the fabric’s appearance and integrity. Here’s how to clean the fabric awning:
- Apply the Cleaning Solution: Working in manageable sections, apply the prepared cleaning solution to the fabric awning using a soft cloth or sponge. Begin at the top and work your way down, ensuring even coverage of the fabric surface.
- Gently Agitate the Fabric: Using light pressure, gently agitate the cleaning solution into the fabric using circular motions. Focus on areas with visible stains or soiling, ensuring thorough saturation of the fabric without excessive scrubbing.
- Address Stubborn Stains: For persistent stains or localized areas of heavy soiling, allow the cleaning solution to dwell on the fabric for a few minutes to loosen the debris. Then, gently work the stained areas with the soft cloth or sponge to lift the stains without causing damage to the fabric fibers.
- Be Mindful of Excessive Moisture: Avoid oversaturating the fabric with the cleaning solution, as excessive moisture can prolong the drying process and potentially lead to water spots. Use the cleaning solution sparingly while ensuring comprehensive coverage of the fabric surface.
- Work Methodically: Progress systematically across the entire fabric awning, ensuring that each section receives equal attention and cleaning treatment. This methodical approach guarantees uniform cleaning results and prevents uneven application of the cleaning solution.
By diligently following these cleaning steps, you can effectively lift stains, dirt, and grime from the fabric awning, restoring its visual appeal and cleanliness. This meticulous cleaning process sets the stage for the subsequent rinsing and drying stages, ensuring that the fabric awning emerges revitalized and rejuvenated.
Step 6: Rinse the Awning Thoroughly
After the fabric awning has been effectively cleaned with the appropriate solution, thorough rinsing is essential to remove residual cleaning agents, dirt, and grime, ensuring a pristine and residue-free surface. Proper rinsing not only enhances the fabric’s appearance but also prevents the potential accumulation of cleaning solution remnants, which could compromise the awning’s integrity over time. Here’s how to thoroughly rinse the fabric awning:
- Utilize a Gentle Water Stream: Using a garden hose equipped with a gentle spray nozzle, begin rinsing the fabric awning from top to bottom. The aim is to dislodge and wash away the cleaning solution and residual dirt without subjecting the fabric to excessive water pressure.
- Work in Sections: Divide the awning into manageable sections and proceed to rinse each section thoroughly before moving on to the next. This systematic approach ensures comprehensive removal of the cleaning solution and dirt from the entire fabric surface.
- Pay Attention to Seams and Folds: Direct the water stream to seams, folds, and creases where cleaning solution and dirt may accumulate. Thoroughly rinse these areas to prevent any residual contaminants from lingering and affecting the fabric’s appearance.
- Confirm Complete Removal: Continuously assess the runoff water for any traces of cleaning solution or dirt. If the runoff water remains clear and free of suds or discoloration, it indicates that the fabric awning has been thoroughly rinsed.
- Allow for Adequate Drainage: After completing the rinsing process, allow the fabric awning to naturally drain excess water. Avoid vigorous shaking or excessive manipulation of the fabric to prevent potential damage or distortion.
By meticulously rinsing the fabric awning, you effectively eliminate residual cleaning solution and dirt, leaving the fabric surface clean, refreshed, and free from potentially damaging contaminants. This critical step sets the stage for the final phase of the cleaning process, allowing the fabric awning to dry naturally and regain its pristine appearance.
Step 7: Allow the Awning to Dry
After the thorough rinsing process, allowing the fabric awning to dry naturally is crucial to complete the cleaning regimen and restore the awning to its optimal condition. Proper drying not only ensures the removal of residual moisture but also prevents the potential development of mold, mildew, or water spots, safeguarding the fabric’s cleanliness and longevity. Here’s how to facilitate the drying of the fabric awning:
- Select a Sunny, Well-Ventilated Area: Choose a location with ample sunlight and good air circulation for drying the fabric awning. This facilitates the evaporation of moisture and promotes efficient drying without the risk of prolonged dampness.
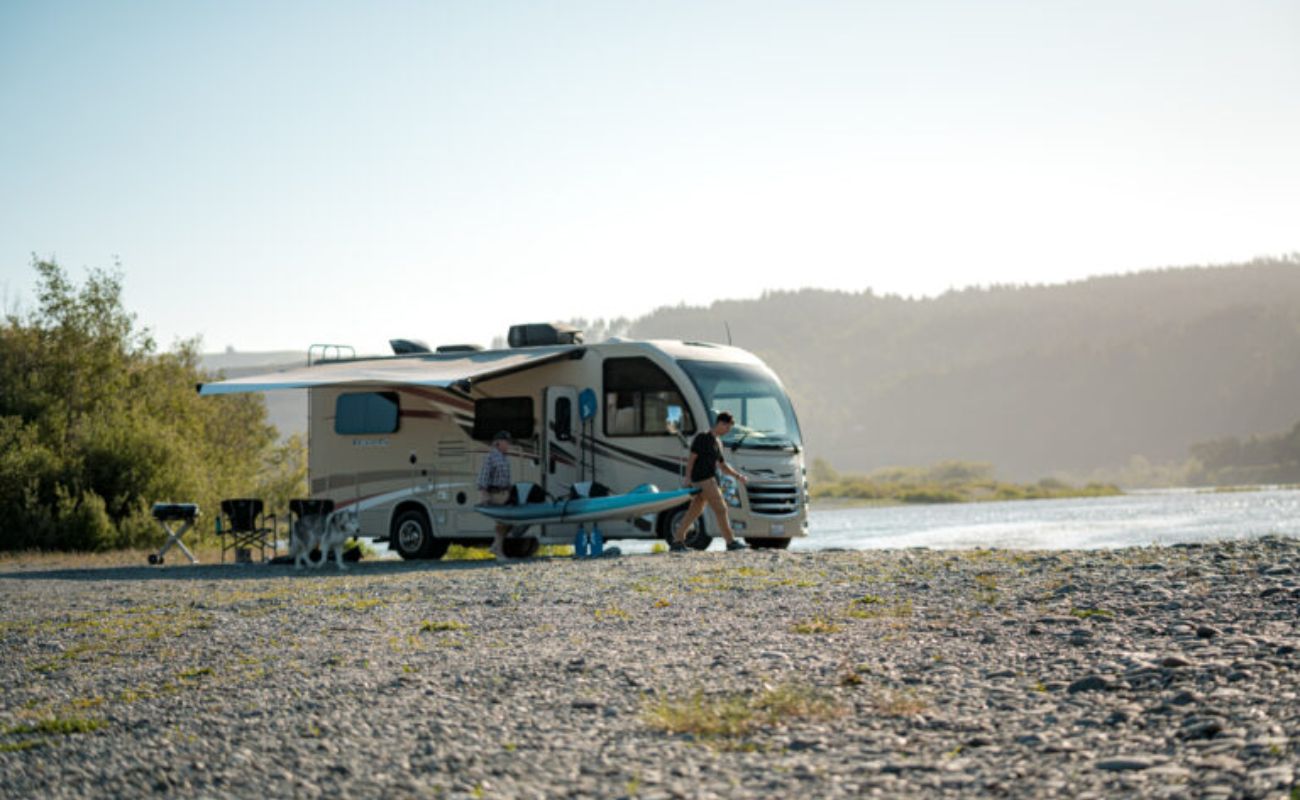
- Extend the Awning Fully: If the fabric awning is retractable, extend it fully to maximize the exposure of the fabric surface to air and sunlight. This aids in accelerating the drying process and ensures uniform drying across the entire awning.
- Allow Sufficient Drying Time: Depending on the prevailing weather conditions, the fabric awning may require several hours to a full day to dry completely. Exercise patience and allow the fabric ample time to air dry naturally, avoiding premature retraction or manipulation.
- Periodically Assess Dryness: Periodically check the fabric’s surface for signs of residual moisture. Lightly touch the fabric to gauge its dryness, ensuring that it feels dry to the touch without any lingering dampness.
- Prevent Contact with Surfaces: During the drying process, avoid allowing the fabric awning to come into contact with surfaces that may transfer dirt or moisture back onto the fabric. Ensure that the awning remains elevated and free from potential sources of contamination.
By allowing the fabric awning to dry thoroughly, you facilitate the completion of the cleaning process, ensuring that the fabric emerges clean, refreshed, and free from residual moisture. This final stage sets the stage for the application of a fabric protectant, which serves to safeguard the fabric against future staining and maintain its pristine appearance over time.
Step 8: Apply a Fabric Protectant
Following the thorough cleaning and drying of the fabric awning, applying a quality fabric protectant serves as a proactive measure to safeguard the fabric against future staining, UV damage, and environmental elements. A fabric protectant forms a protective barrier that repels liquids and inhibits the adhesion of dirt, prolonging the fabric’s cleanliness and enhancing its resilience. Here’s how to apply a fabric protectant to the fabric awning:
- Select a High-Quality Fabric Protectant: Choose a fabric protectant specifically formulated for outdoor use, designed to provide UV protection and water repellency while maintaining the fabric’s breathability.
- Read and Follow Application Instructions: Prior to application, carefully review the manufacturer’s instructions and recommendations for the proper application of the fabric protectant. Adhering to the specified guidelines ensures optimal product performance and efficacy.
- Apply Evenly and Liberally: Using a clean, soft cloth or a spray applicator, apply the fabric protectant to the entire surface of the fabric awning in a consistent and even manner. Ensure thorough coverage of the fabric, paying particular attention to seams and edges.
- Allow for Proper Curing Time: After applying the fabric protectant, allow the awning to dry and cure as per the manufacturer’s instructions. This curing period facilitates the bonding of the protectant to the fabric, ensuring lasting effectiveness and durability.
- Assess Water Repellency: Once the fabric protectant has cured, test its water repellency by lightly misting water onto the fabric surface. If the water beads and rolls off the fabric, it indicates that the protectant is effectively repelling moisture.
By applying a fabric protectant to the fabric awning, you fortify the fabric’s resistance to environmental elements, prolong its cleanliness, and preserve its visual appeal. This proactive measure contributes to the long-term maintenance and protection of the fabric awning, ensuring that it remains in optimal condition for years to come.
Read more: How To Replace Fabric On An RV Awning
Conclusion
Embarking on the journey to clean and revitalize a fabric awning is a rewarding endeavor that not only enhances the aesthetic appeal of outdoor spaces but also prolongs the awning’s lifespan. By diligently following the step-by-step process outlined in this guide, you have acquired the knowledge and techniques to effectively restore and maintain your fabric awning, ensuring its cleanliness and longevity.
From gathering the necessary tools and materials to applying a protective fabric treatment, each step plays a pivotal role in preserving the fabric’s integrity and visual allure. By employing gentle cleaning methods and proactive protective measures, you have taken proactive steps to safeguard the fabric awning against environmental elements, staining, and premature deterioration.
As you witness the fabric awning emerge clean, refreshed, and fortified against future challenges, take pride in your dedication to its maintenance. The renewed vibrancy and resilience of the fabric awning stand as a testament to your commitment to preserving outdoor beauty and functionality.
Armed with the insights and techniques shared in this guide, you are well-equipped to maintain your fabric awning’s pristine condition, ensuring that it remains a source of shade, comfort, and visual delight for years to come. Embrace the ongoing care and maintenance of your fabric awning as a rewarding investment in the allure and functionality of your outdoor living spaces.
Frequently Asked Questions about How To Clean A Fabric Awning
Was this page helpful?
At Storables.com, we guarantee accurate and reliable information. Our content, validated by Expert Board Contributors, is crafted following stringent Editorial Policies. We're committed to providing you with well-researched, expert-backed insights for all your informational needs.


0 thoughts on “How To Clean A Fabric Awning”